Constructive Feedback
For in-progress or completed build photos. Give and get contructive feedback!
Horch 1a With Flak 38
BBD468
Visit this Community
Texas, United States
Joined: March 08, 2010
KitMaker: 2,465 posts
Armorama: 2,383 posts
Posted: Tuesday, January 17, 2012 - 02:08 PM UTC
Hi Jonathan,

I am very impressed with your build. looks like a fun challenge. I gotta say you knocked it out of the park with your radiator and distributer. im takeing notes on all your stuff ...if you dont mind! thanks for shareing your project with us.

Gary
Babcat
Visit this Community
Michigan, United States
Joined: March 21, 2006
KitMaker: 269 posts
Armorama: 259 posts
Posted: Tuesday, January 17, 2012 - 02:27 PM UTC
Matt, first off thanks for commenting. I suppose I should have put more of an explaination of the thought behind the current set up... so here it goes... the boundries for the gun deck would be the rear covered deck and the front seats. which leave a space that is a little wider than it is long. As best as I can tell from the pictures of the truck I'm modeling the deck is slightly recessed. The gun itself seems to set near center or forward of center so with those bounds the third leg would have to set forward between the front seats. At least that is my thinking. Now I know these were a field mod and there is one museum version that has a flush deck with the gun mounted as you suggested, but I don't think that is the set up on these vehicles. It most certainly was my initial thought, but the pictures just don't support it. I sure wish there were some pictures of the gun decks on these vehicles, but I haven't been able to find any. I guess I'm just looking for a structural sanity check. If a vehicle was configured like this, would this deck support an operational flak gun? What kind of restraints would you need to keep it from jumping around? Hmmm Well that is some of the thinking going on around here right now. Think, think, think...
Babcat
Visit this Community
Michigan, United States
Joined: March 21, 2006
KitMaker: 269 posts
Armorama: 259 posts
Posted: Tuesday, January 17, 2012 - 09:42 PM UTC

Thanks a lot Gary, it has been a blast and a challenge. There have been a couple times I was thinking I should start over, or scrap this, or skip that, but so far it is just working out. As far taking notes, take all you want! In fact if need anything more than I put on here, just let me know. Between kit reviews, builds, and the help of my diverse model club I've got more than a couple pages of notes myself!

Jonathan
retiredyank
Visit this Community
Arkansas, United States
Joined: June 29, 2009
KitMaker: 11,610 posts
Armorama: 7,843 posts
Posted: Tuesday, January 17, 2012 - 10:27 PM UTC
In the photo, the flak gun appears to be situated closer to the front of the vehicle than you are planning yours. However, the quality of the photo shown is too poorly defined to be sure. I'm afraid a brace between the driver and passenger seat would interfere with operating the vehicle. Again, I am unsure of this(I just built my first horch a few months back). The progress on the scratchbuilding is beautiful. All comments are meant to critique, not critisize. I wish you the best of luck.
Babcat
Visit this Community
Michigan, United States
Joined: March 21, 2006
KitMaker: 269 posts
Armorama: 259 posts
Posted: Tuesday, January 17, 2012 - 11:58 PM UTC
It would help if I had some structure on the gun so I could do a little more "eyeballing". Maybe it is time to set the whole truck aside for a bit and get some of the flak gun put together. In the mean time I'll keep digging for info and if ya'll have any feel free! Matt thanks again and your comments are always appreciated! I hope I didn't come off as being miffed, not at all, just thinking, always thinking!!
Babcat
Visit this Community
Michigan, United States
Joined: March 21, 2006
KitMaker: 269 posts
Armorama: 259 posts
Posted: Thursday, January 19, 2012 - 09:49 PM UTC
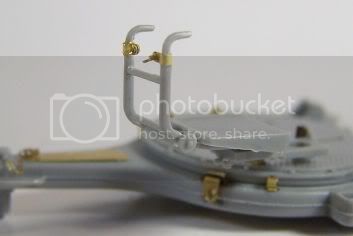
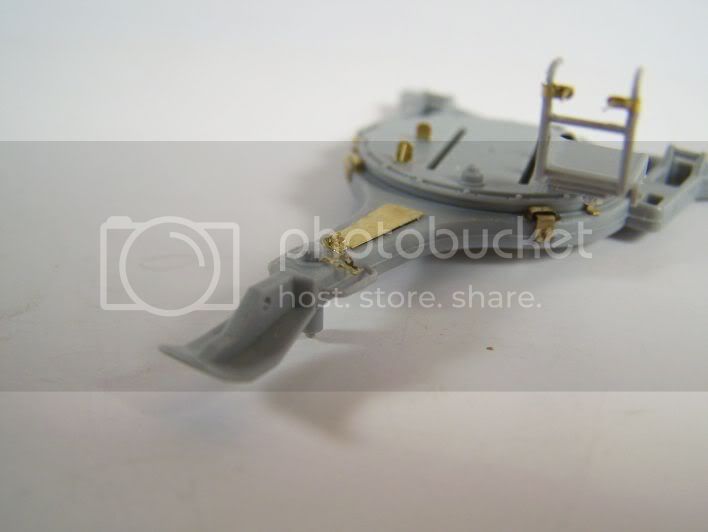
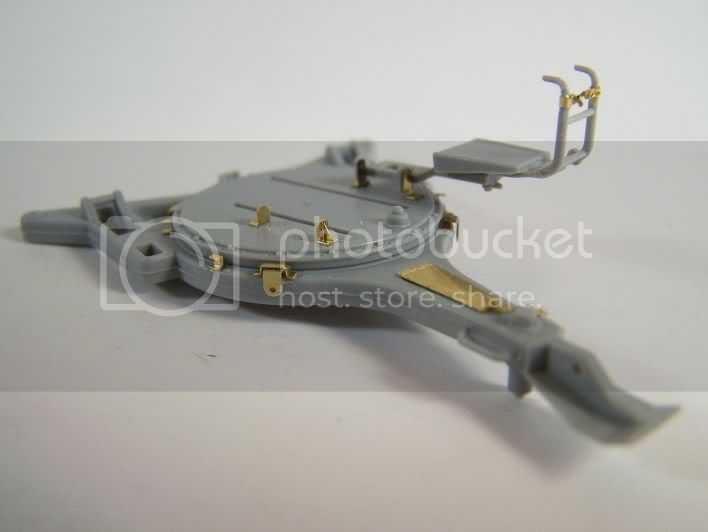
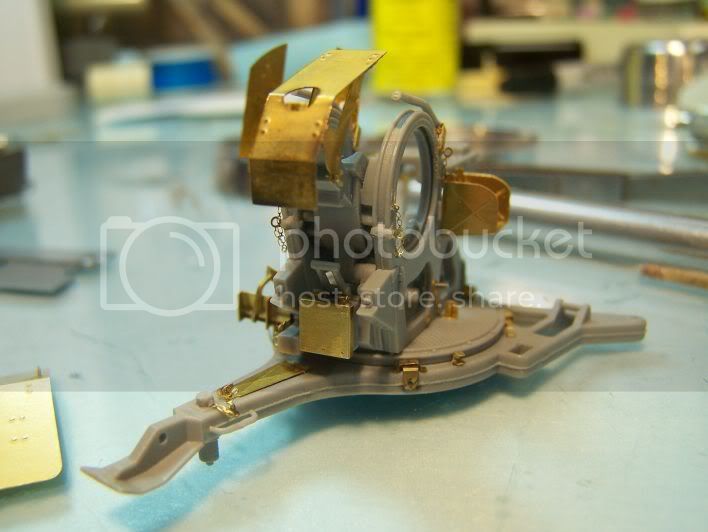
I went ahead with that idea and began serious construction of the Flak gun.


I am definately getting some schooling in photo etch with this part of the build!
I probably won't have as many updates, unless I run into some unique situations, or if anyone wants to see more of it. So far I am finding the references as valuable as the instructions for the PE.
retiredyank
Visit this Community
Arkansas, United States
Joined: June 29, 2009
KitMaker: 11,610 posts
Armorama: 7,843 posts
Posted: Thursday, January 19, 2012 - 11:27 PM UTC
That's some impressive work with the pe. Makes my head hurt just looking at it.
Babcat
Visit this Community
Michigan, United States
Joined: March 21, 2006
KitMaker: 269 posts
Armorama: 259 posts
Posted: Friday, January 20, 2012 - 03:35 AM UTC
I'll tell ya what, I am not used to PE and definately not used to that much PE! Pshew! I should have a dang good handle on it by the time this gun is finished! My magnifying visor has paid for itself on this project that is for sure.
retiredyank
Visit this Community
Arkansas, United States
Joined: June 29, 2009
KitMaker: 11,610 posts
Armorama: 7,843 posts
Posted: Friday, January 20, 2012 - 05:38 AM UTC
Ah... I remember spending hours at a time combing through the carpet looking for little fiddly bits like that. If you have carpet, right now, you may want to pick up some plastic sheet from your local hardware store. I purchased some white 1/16" thick plastic and my headaches went away. Now, if only I could catch one of those d*mned gremlins. I could make him talk.
Babcat
Visit this Community
Michigan, United States
Joined: March 21, 2006
KitMaker: 269 posts
Armorama: 259 posts
Posted: Friday, January 20, 2012 - 01:30 PM UTC
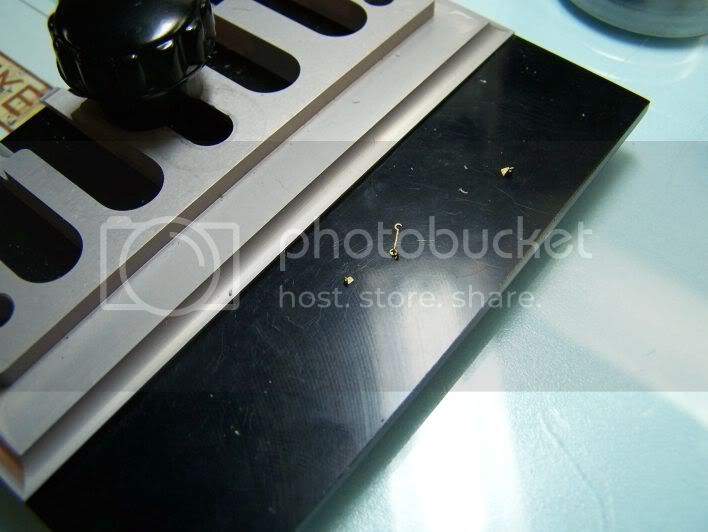
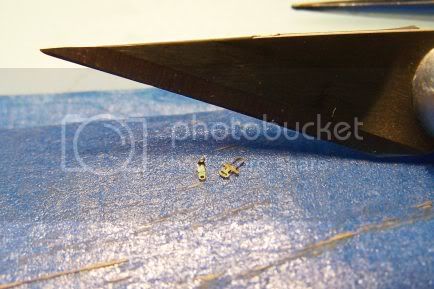
Oh I sure do know what you mean, after my first half hour forray onto the floor. I cleared off the bench and started hovering over the work surface. Even though the floor is cement, when I am working with pieces like this

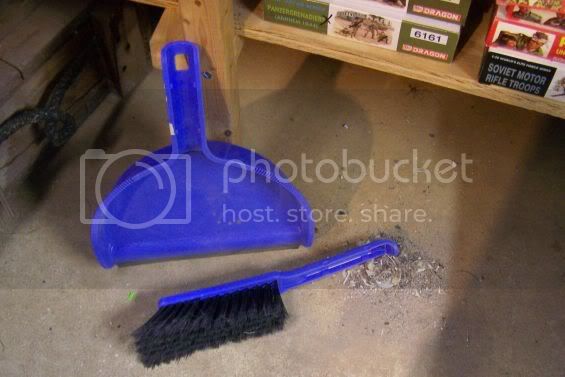
Dropping just one can turn into quite the event. So with my high tech search tools

it still takes some doing to come back up with the missing part!
210cav
Visit this Community
Virginia, United States
Joined: February 05, 2002
KitMaker: 6,149 posts
Armorama: 4,573 posts
Posted: Friday, January 20, 2012 - 01:57 PM UTC
Jonathan-- fantastic work!
Looks great
DJ

PS-- do you do brain surgery in your spare time?
Plasticbattle
#003
Visit this Community
Donegal, Ireland
Joined: May 14, 2002
KitMaker: 9,763 posts
Armorama: 7,444 posts
Posted: Friday, January 20, 2012 - 10:10 PM UTC
Nice job on the platform Jonathon. The supports look very convincing, as well as difficult to get alligned properly?
Babcat
Visit this Community
Michigan, United States
Joined: March 21, 2006
KitMaker: 269 posts
Armorama: 259 posts
Posted: Saturday, January 21, 2012 - 10:09 AM UTC

Quoted Text

PS-- do you do brain surgery in your spare time?


Somtimes I think I need brain surgery, for having so much fun doing stuff like this!


Quoted Text

Nice job on the platform Jonathon. The supports look very convincing, as well as difficult to get alligned properly?


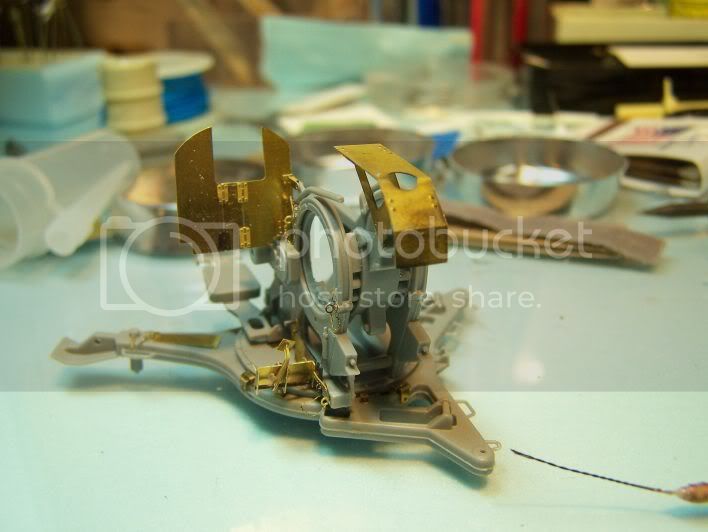
Thanks Frank, I was hoping they fit with the rest of the build. As for lining them up, it really isn't that bad. I layed out the design a piece of card stock, then cut and glued the plasic on the same card stock (kinda like the old balsa airplane kits). I glued in the cross frames and rear facing supports saving the front facing ones for last. Those I glued in place with the deck on since they will be most visible. In truth I don't really know if the back supports are touching the deck or not, but by my calculations... well we will see how that goes!
Babcat
Visit this Community
Michigan, United States
Joined: March 21, 2006
KitMaker: 269 posts
Armorama: 259 posts
Posted: Sunday, January 22, 2012 - 02:29 PM UTC
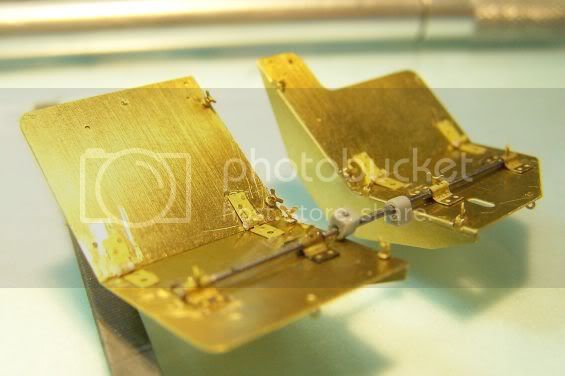
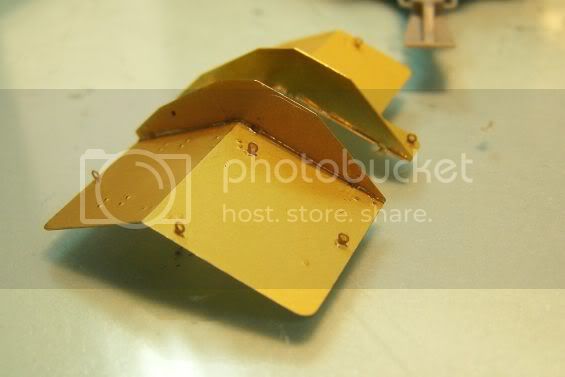
Just a quick progress report.
Some tedious and time consuming work.


More trimming, bending, and gluing to come!
retiredyank
Visit this Community
Arkansas, United States
Joined: June 29, 2009
KitMaker: 11,610 posts
Armorama: 7,843 posts
Posted: Sunday, January 22, 2012 - 09:06 PM UTC
The flak is progressing nicely. Excellent job on the pe.
BBD468
Visit this Community
Texas, United States
Joined: March 08, 2010
KitMaker: 2,465 posts
Armorama: 2,383 posts
Posted: Monday, January 23, 2012 - 05:22 AM UTC
Hi Jonathan,

Nice job man! that kind of PE work tries my patience.

Gary
Babcat
Visit this Community
Michigan, United States
Joined: March 21, 2006
KitMaker: 269 posts
Armorama: 259 posts
Posted: Thursday, January 26, 2012 - 02:06 AM UTC
A "no picture" (sorry) update. Work is progressing with the PE, and by progressing I don't mean fast! The gun is probably about two thirds complete now (I will try to get a couple of shots of the progress at the end of the day today). I have run across a couple issues, no show stoppers. I was surprised that the issues seem to be with the PE and instructions and not general kit interface. If anyone is interested I can tally up everything that I found at the end of the Flak build. It is the Lion Roar set that I am using. Well that's where I am right now.
Rouse713
Visit this Community
Wisconsin, United States
Joined: February 03, 2009
KitMaker: 367 posts
Armorama: 326 posts
Posted: Thursday, January 26, 2012 - 06:24 AM UTC
No picture update! Hulk Angry!

Your sense of humor is pretty funny. I like the high tech tools and brain surgery comments.

Also, your modelling is good
Babcat
Visit this Community
Michigan, United States
Joined: March 21, 2006
KitMaker: 269 posts
Armorama: 259 posts
Posted: Thursday, January 26, 2012 - 11:57 AM UTC
Easy Hulk, I have pictures!

And here they are...
Some of the smallest things I've ever had to assemble (ever!)

and then install...

then install that...

That may be why the progress is soooo slow.

I got the shield put together.


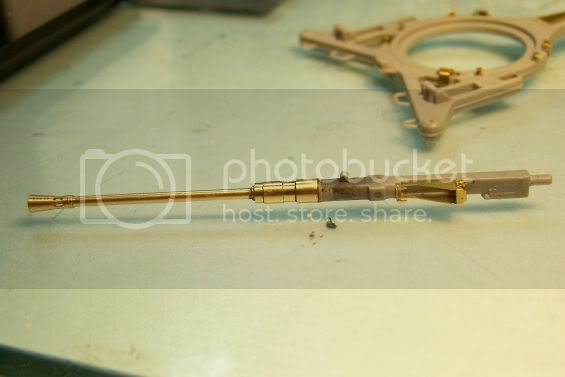
The turned barrel on the gun.


What? That's all? It just seems like there should be so much more.

Mark, it's a good thing when the build can be entertaining and informative!
Babcat
Visit this Community
Michigan, United States
Joined: March 21, 2006
KitMaker: 269 posts
Armorama: 259 posts
Posted: Saturday, January 28, 2012 - 02:00 PM UTC
It looks like I've taken the gun as far as I need to for this stage of the build. So it's time to get the ol'Horch out again and get to that eyeballing.


Any thoughts?

This photo was added 01/30/12
retiredyank
Visit this Community
Arkansas, United States
Joined: June 29, 2009
KitMaker: 11,610 posts
Armorama: 7,843 posts
Posted: Saturday, January 28, 2012 - 02:10 PM UTC
Due to the quality of the photo, I would say it is time to flex your creative muscle.
SGTJKJ
#041
Visit this Community
Kobenhavn, Denmark
Joined: July 20, 2006
KitMaker: 10,069 posts
Armorama: 4,677 posts
Posted: Saturday, January 28, 2012 - 03:15 PM UTC
Great build with some really cool details.

Looking forward to see more.
BBD468
Visit this Community
Texas, United States
Joined: March 08, 2010
KitMaker: 2,465 posts
Armorama: 2,383 posts
Posted: Sunday, January 29, 2012 - 03:03 AM UTC
Hi Jonathan,

Well, my thought is.... your kit looks awsome! great job.

The pic, well....i cant see a darn thing!

Gary
Babcat
Visit this Community
Michigan, United States
Joined: March 21, 2006
KitMaker: 269 posts
Armorama: 259 posts
Posted: Sunday, January 29, 2012 - 05:13 AM UTC
Yeah, that version of the picture lost something in the translation to jpg. The good thing is that the series of photos in the book is much better. Sadly I can't show them to everyone.

Right now I am working on the finishing the interior of the truck, then I need to get started on the wheels and rims.

If you get a chance to to look through the book I think you will enjoy it.
Matt, Jesper, and Gary thanks for the comments!

Jonathan

Babcat
Visit this Community
Michigan, United States
Joined: March 21, 2006
KitMaker: 269 posts
Armorama: 259 posts
Posted: Tuesday, January 31, 2012 - 12:11 PM UTC
First off guys, I found a better copy of the picture I'm working from. I was going to just replace the one that was there, but then that would make the following posts seem kinda crazy... so I didn't.

I did do some more PE work, including this work on the rear doors...


But I needed a break from the teeny tiny for a while. So I went ahead and started working on the rims.
Here are the ones that I want to build for this truck...

I couldn't find any after market so I decided to build them. I took a rim from an Opel blitz and cut it down to use as a pattern...

Transfered the cutouts onto the stock rim...


Then carefully dremeled it out...

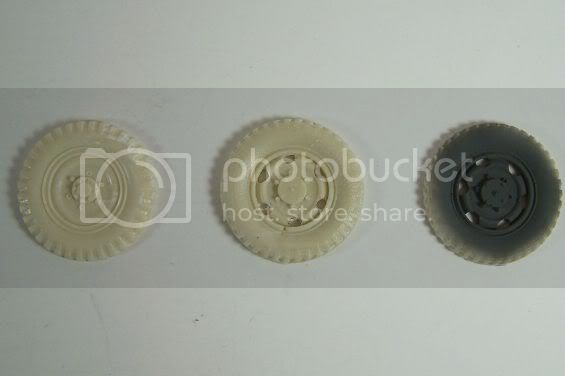
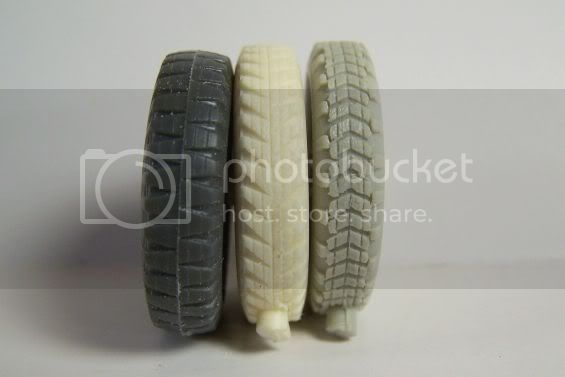
I think I have the rim where I want it, but now I have to select a tread pattern to use. These are the three I have to choose from, I'm kinda partial to the one on the right...

I might use one of the other patterns for the spare, whatta ya think?