Sorry for my poor english...
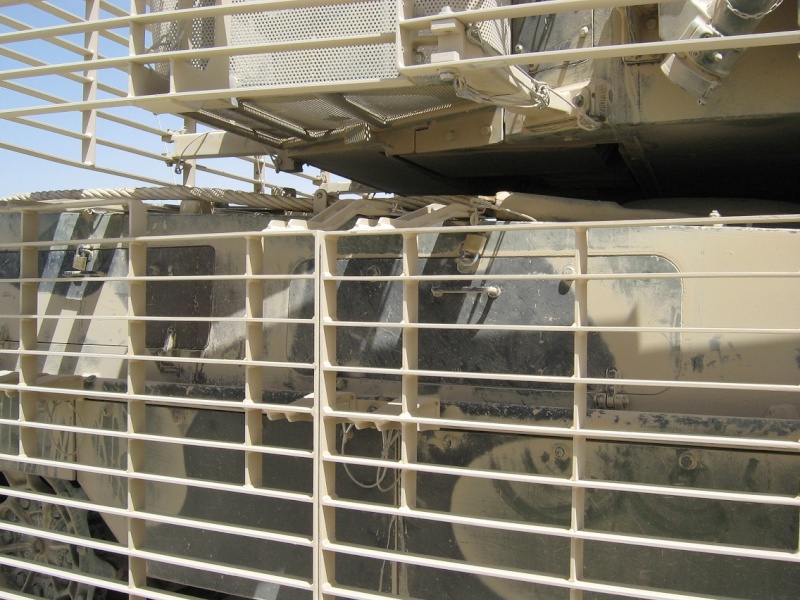
few weeks ago, I've bought second hand kit from Tamiya and the PE kit from Voyager Model. I've want make the canadian version wich serve in Afghanistan. So, I've ordered the Real Model upgrade. I haven't see that many parts are common to both kits...
never mind!
here is the tamiya kit:
https://www.servimg.com/image_preview.php?i=148&u=15955349
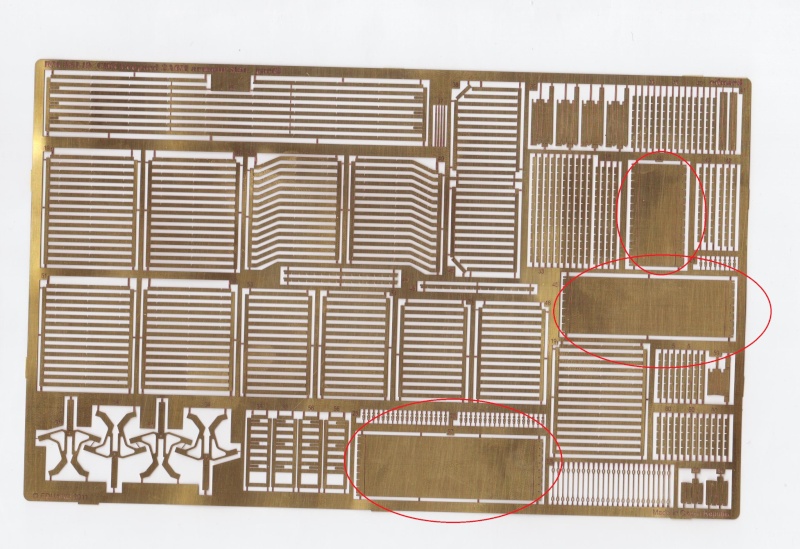
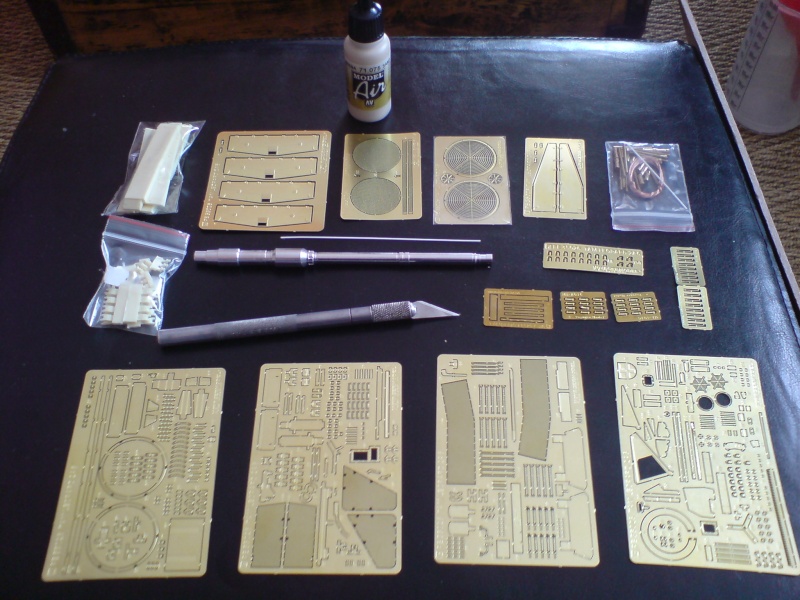
Now, the Voyager Model upgrade!
The parts are delivered in a classy and large box. The kit consists of 4 large sheets of PE, 4 medium and 5 small. They have not all the same thickness. There are two bags of resin parts. These include side mud guards, supports of smoke launchers... In addition to that, we have a cable in copper and other plastic profiles. There are also brass turned parts such as smoke launchers. Finally, there's a beautiful turned aluminium barrel.
Here is a picture of the contents with an X acto and a pot of Vallejo to get an idea of the scale.
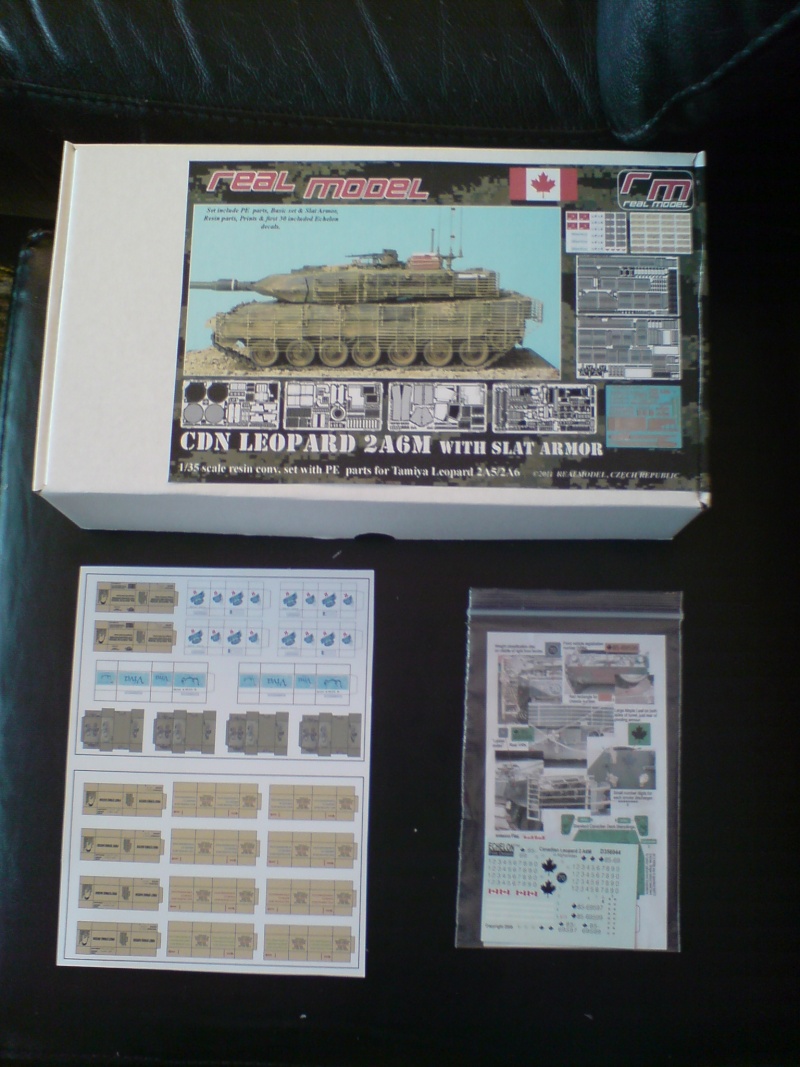
Finally, the kit from Real model
The box contains a decal sheet from Echelon, a sheet of food boxes, some resin parts and some PE sheets. The PE sheets are made by Eduard from Real Model.
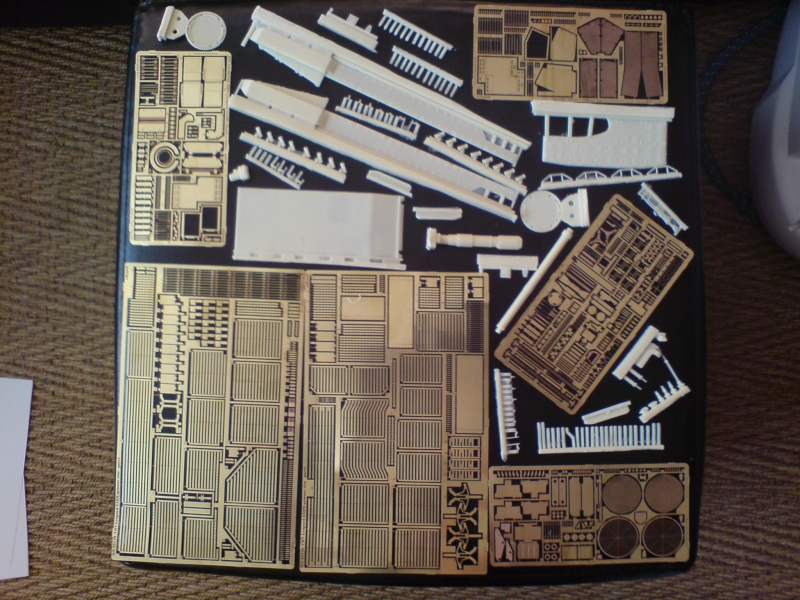
I have a lot of duplicate parts, but I choose the best of the 2 kits. For example, I would take the barrel from the kit from Voyager Model rather the Real model one.
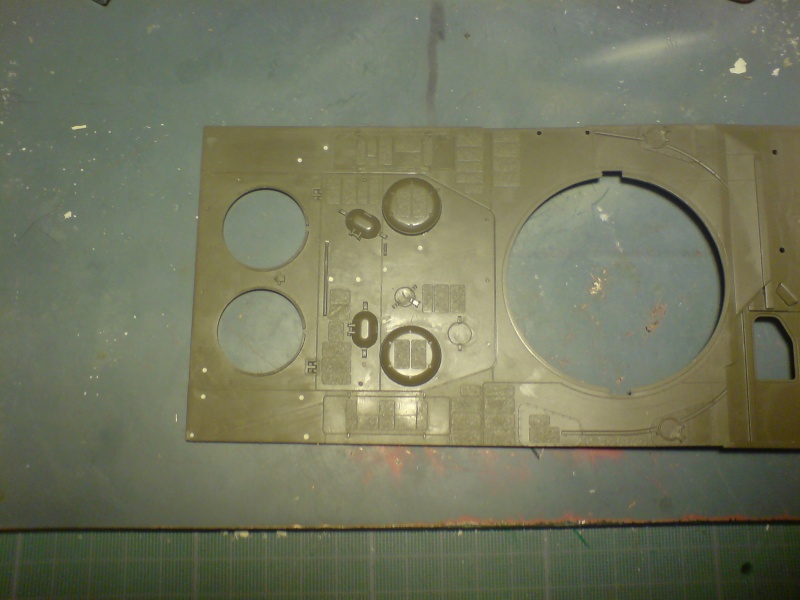
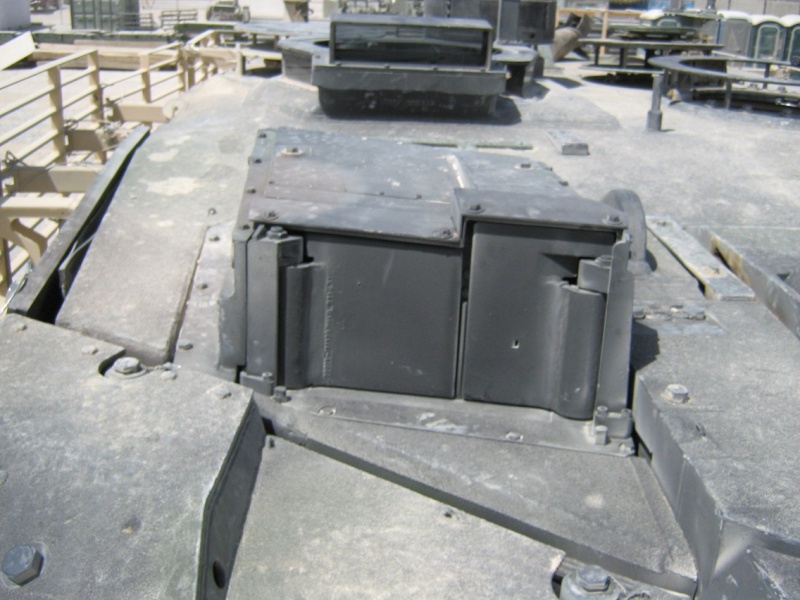
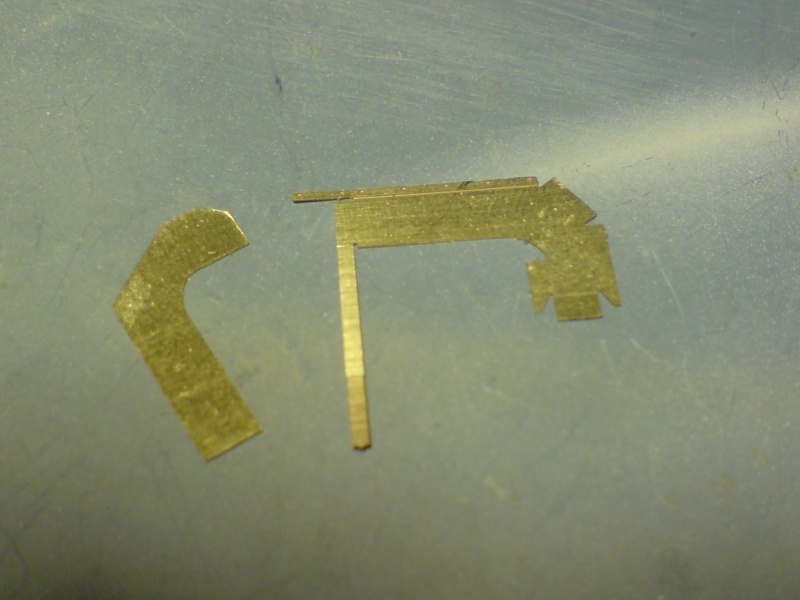
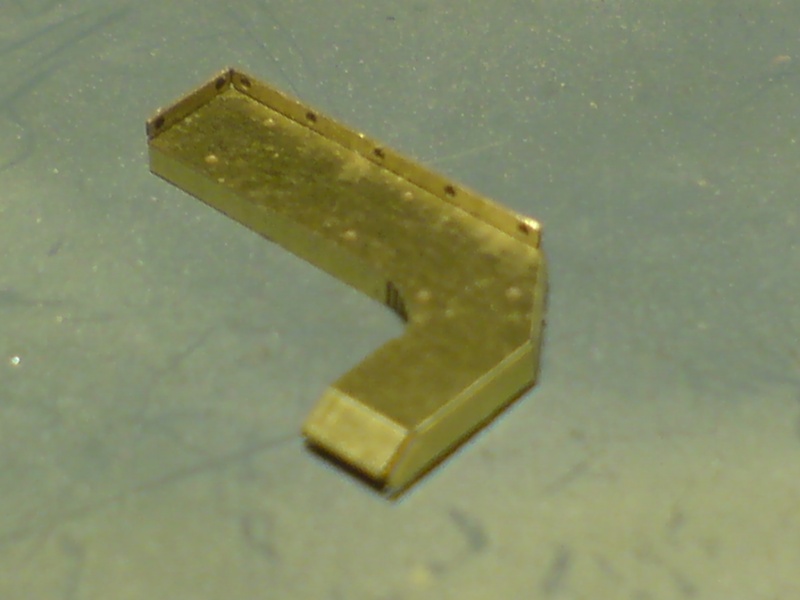
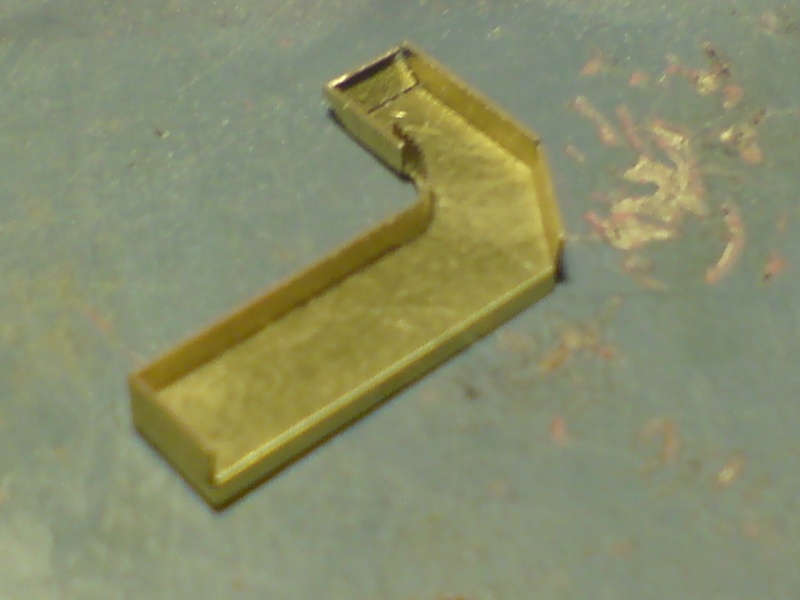
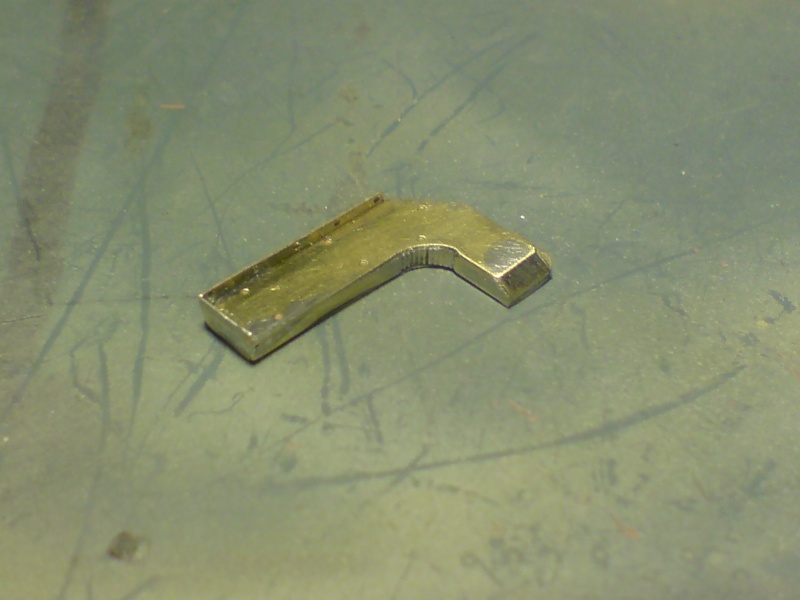
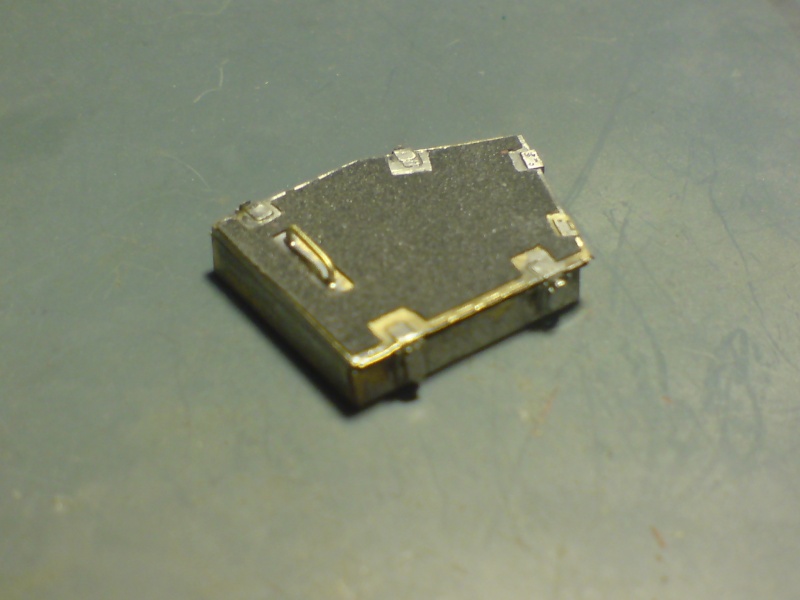
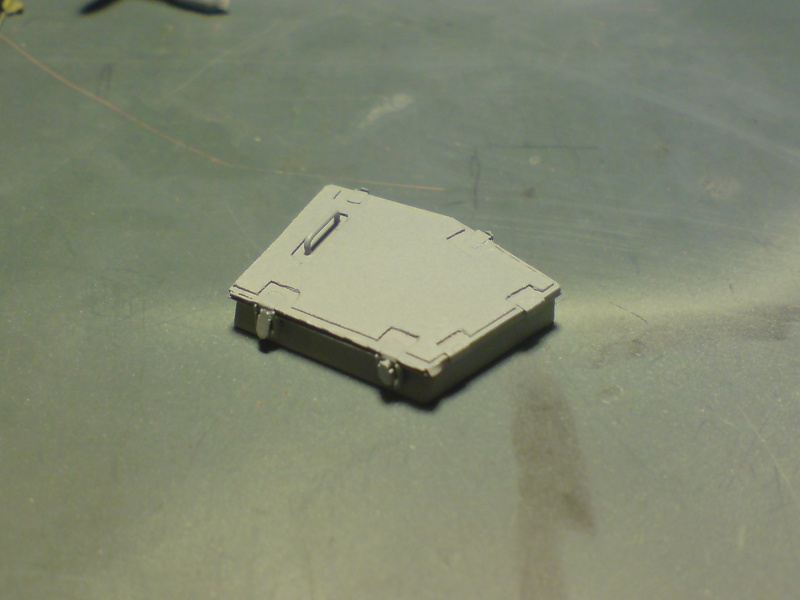
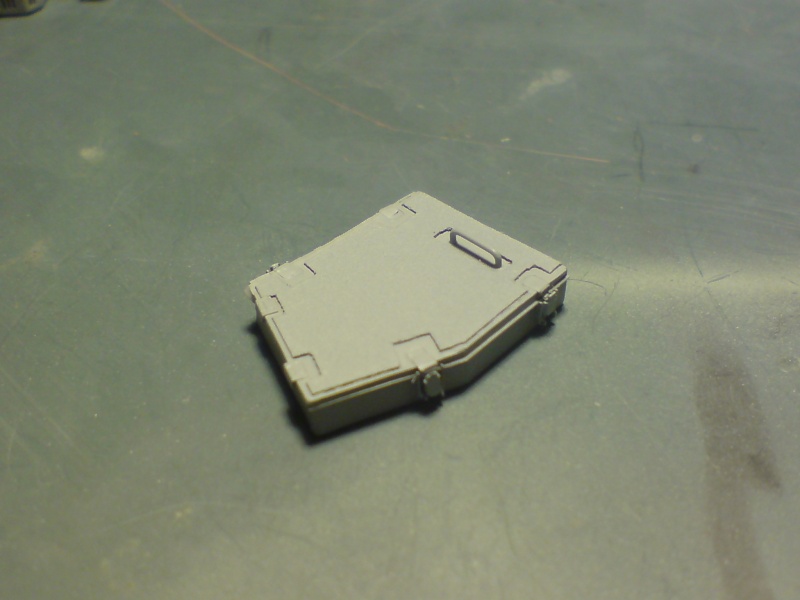
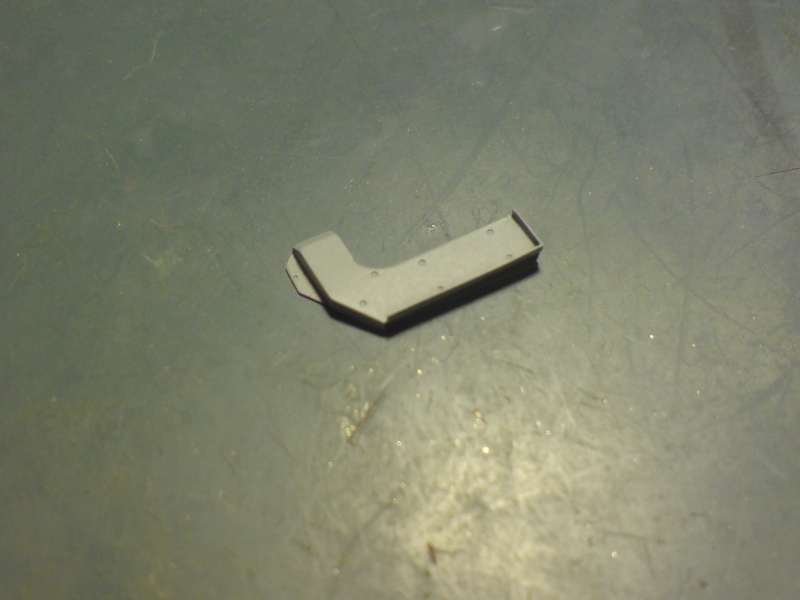
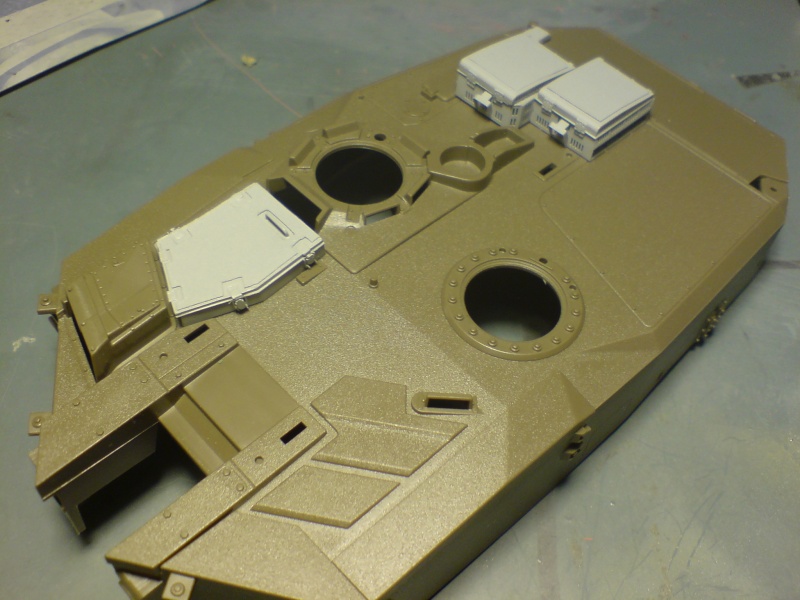
For now, I'll just mount the turret boxes specific to the Canadian version.
I've used these tools and a solder station.
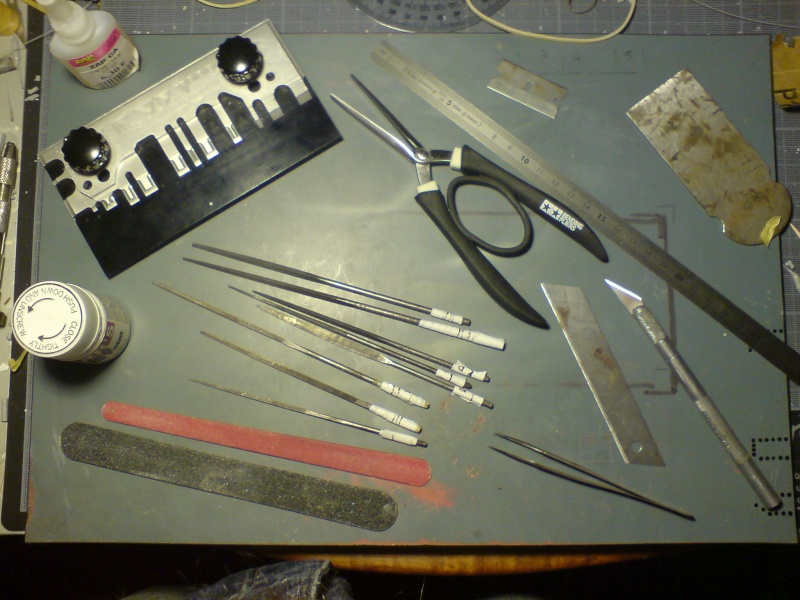

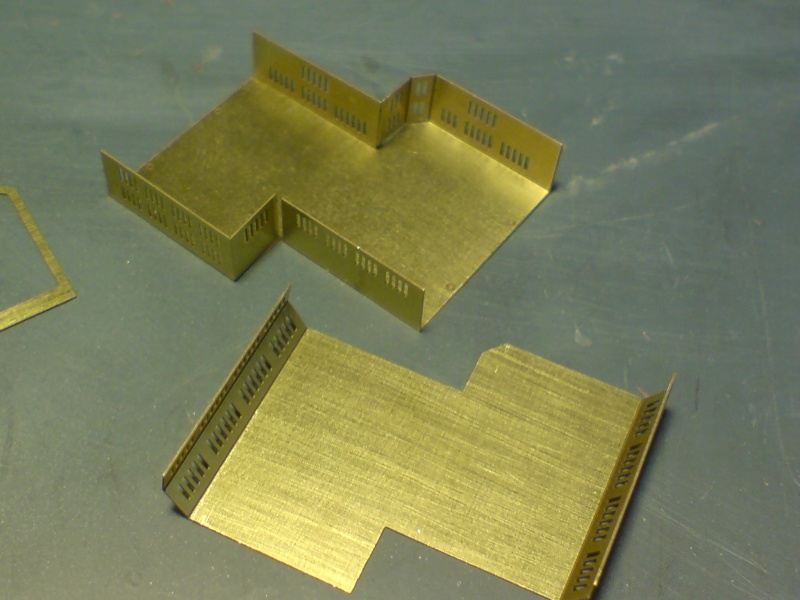
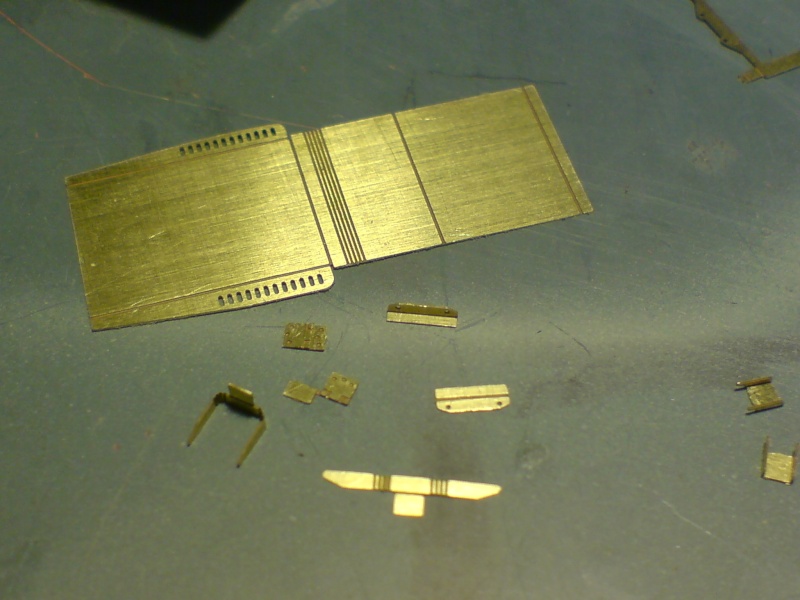
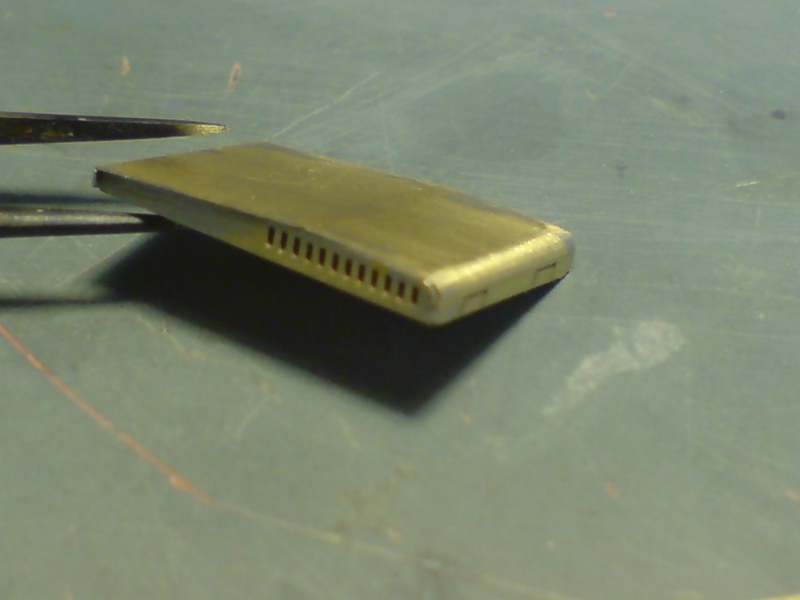
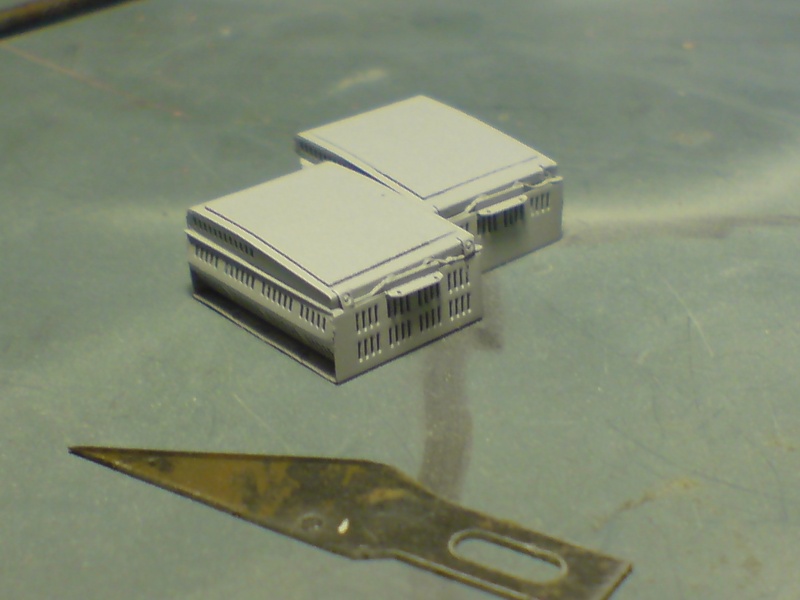
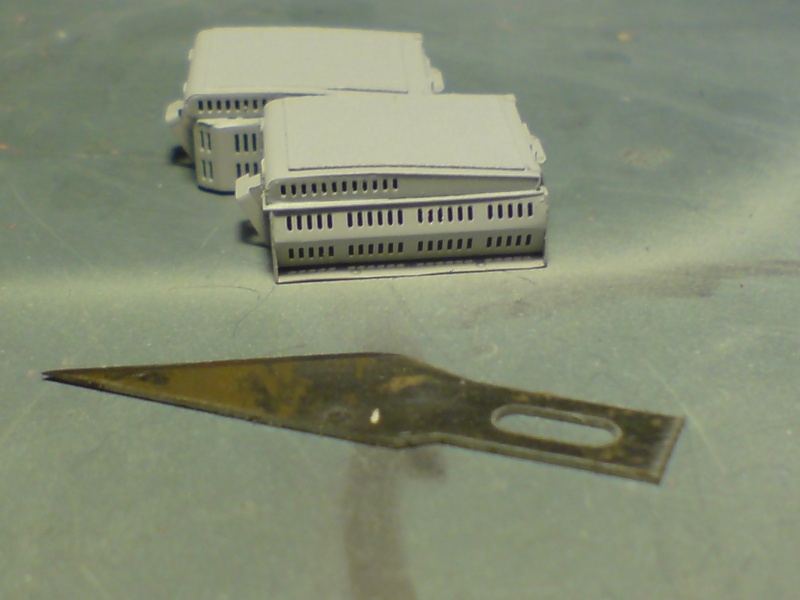
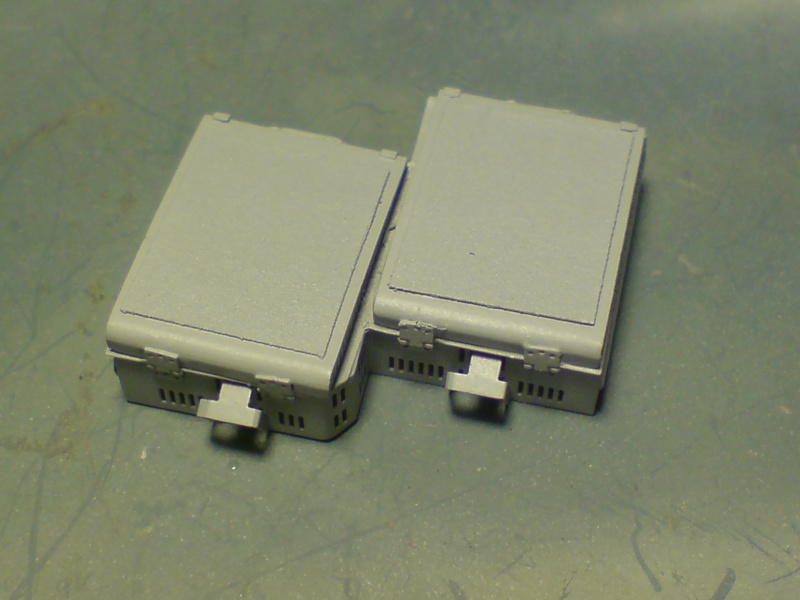
I used sand paper to make the antislip coating.

Give me your reaction!
Now, I'll return to the mounting of my panther F alternatif!