I recently reviewed this kit here on Armorama and as I had mentioned in the review I would be building it to see how this little guy will go together. The kit itself is well enough detailed that anyone could easily forgo the little fixes and extras that Ive added on this first posting and still have an impressive vehicle when finished. There are not a lot of parts involved in getting the chassis together but I get a lot of enjoyment from correcting and adding details to my builds, thats just me!

Ive gone ahead and listed what I did for those interested in dumping tons of time hunched over on their workbench adding minuet details that can only be seen under a high power microscope. So, lets get on with this 'itty-bitty' little half-breed tank.

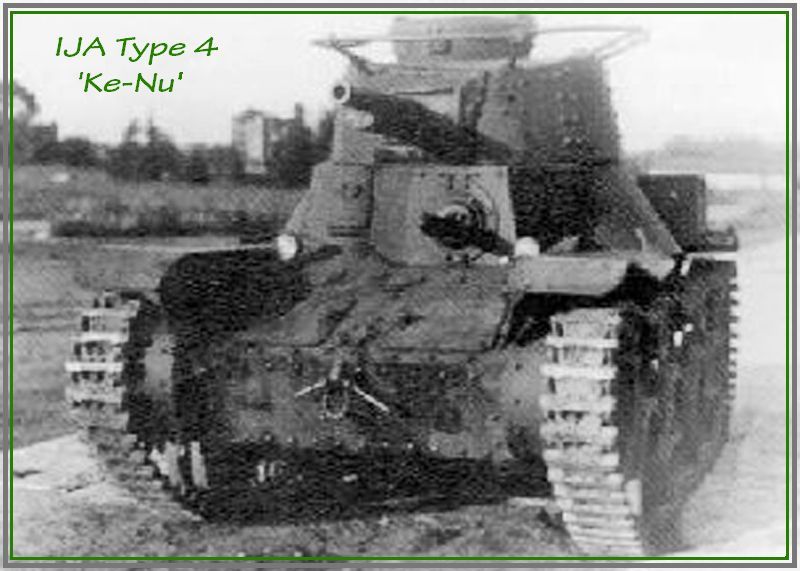
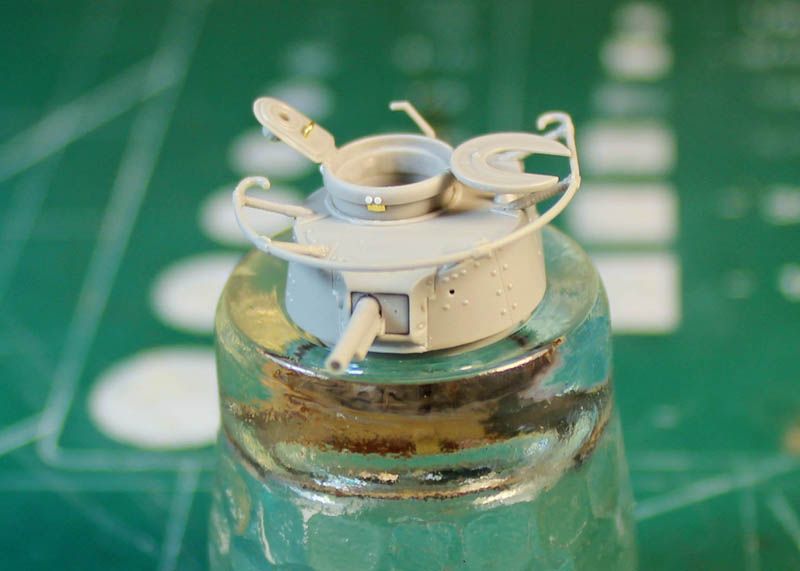
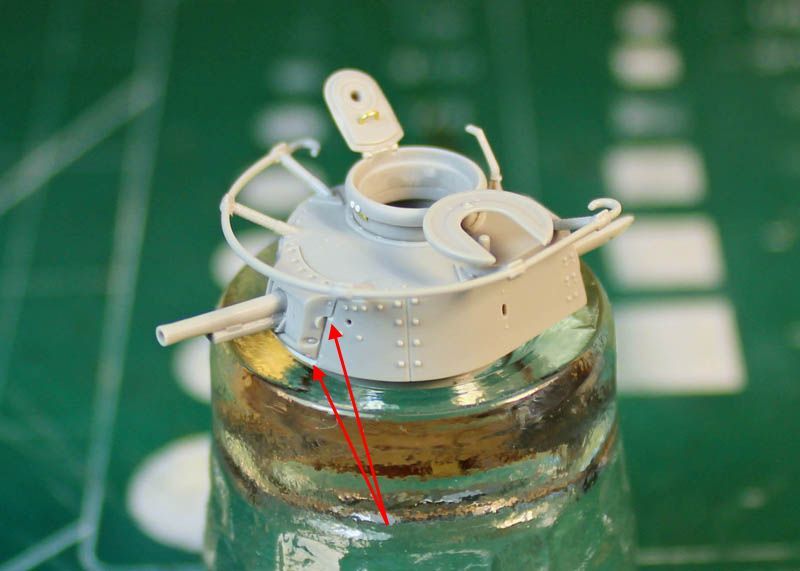
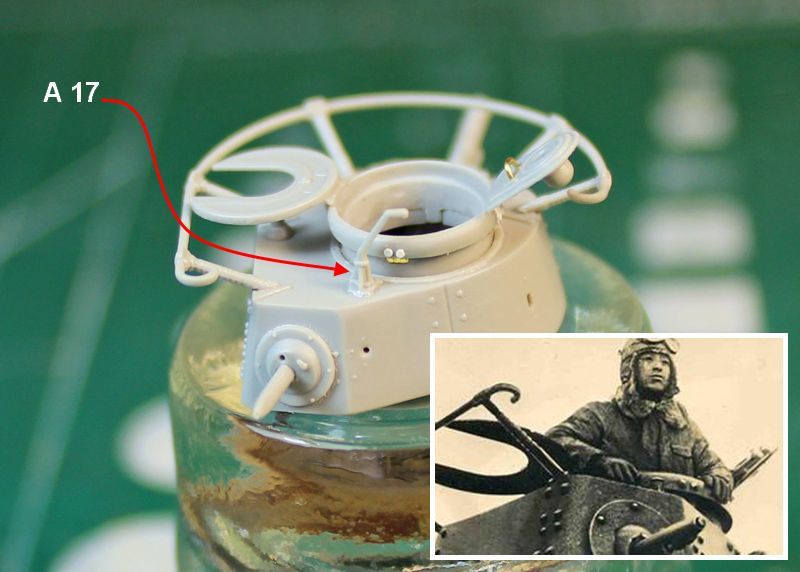
There are but a few surviving photographs of the Imperial Japanese Armys Type 4 Ke-Nu light tank in existence, that I am aware of, and those are not of very good quality. I found this black and white copy on the Internet, used here for reference and discussion purposes. This particular vehicle is sporting the hollow copper tube aerial antenna suspended 2/3rds of the way around the turrets circumference via support rods.
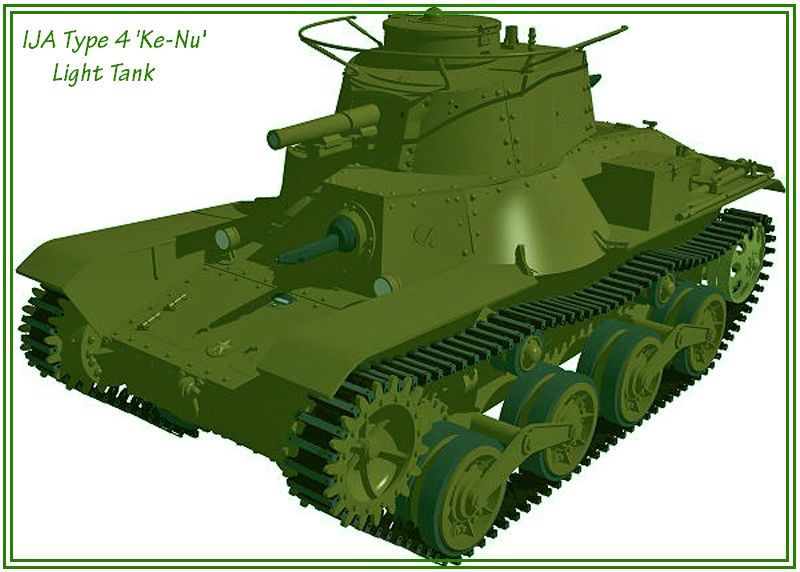
I also found this 3D CAD drawing depicting the Type 4 Ke-Nu wearing a single color willow green paint scheme?
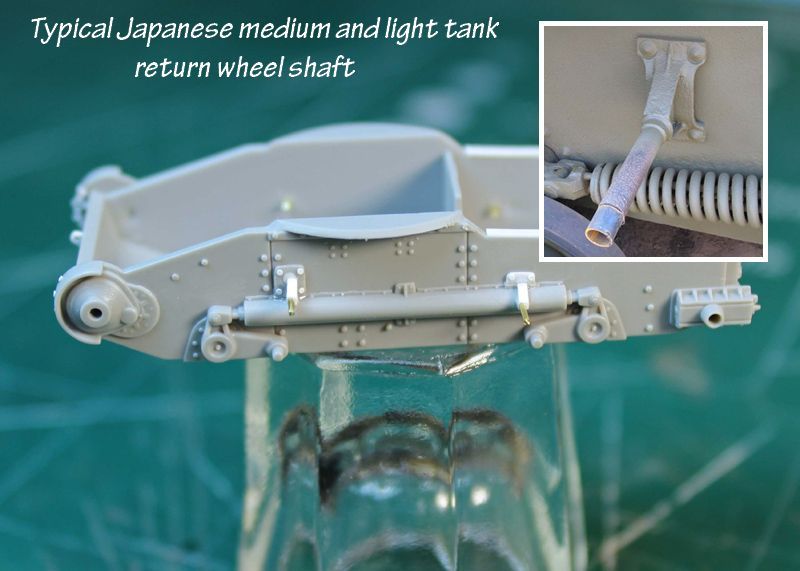
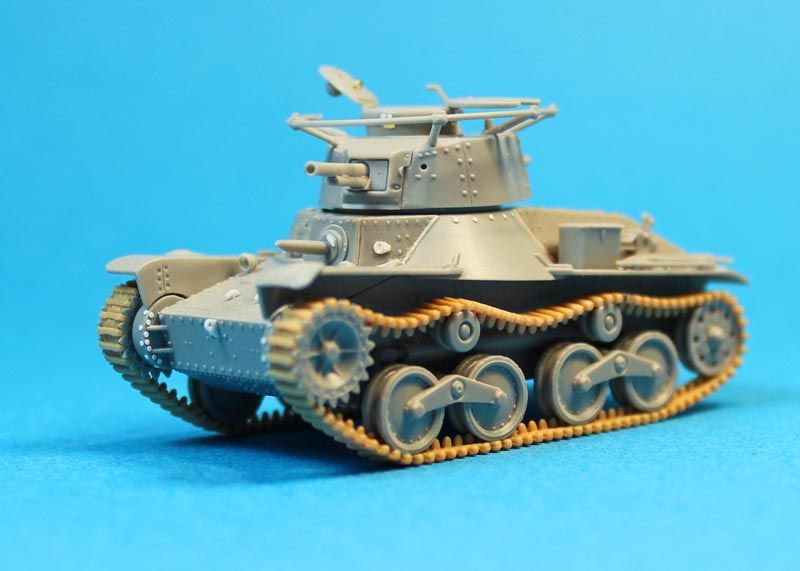
Here Ive gone and replaced the incorrect kits cone shaped track return wheel shafts with.020 (0.508 mm) diameter brass rod and .030 (0.762 mm) thick styrene strip shaped to represent the actual parts as used on these tanks. The brass rods have yet to be trimmed to length and will serve as guide pins for the track return wheels. I also lowered the position of both rear track return wheel shaft stations to match reference photographs of the Type 95 Ha-Go, as these shaft locations would also have remained unchanged on the Type 4 Ke-Nu.
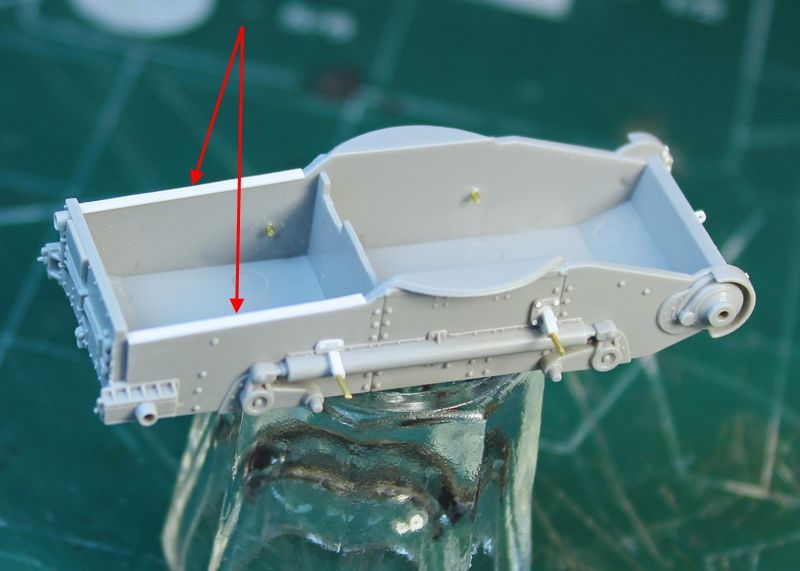
.010 (0.254 mm) thick styrene strips were added where indicated on the photograph to fill in the gaps between the upper and lower hull parts found on my kit example during test fitting.
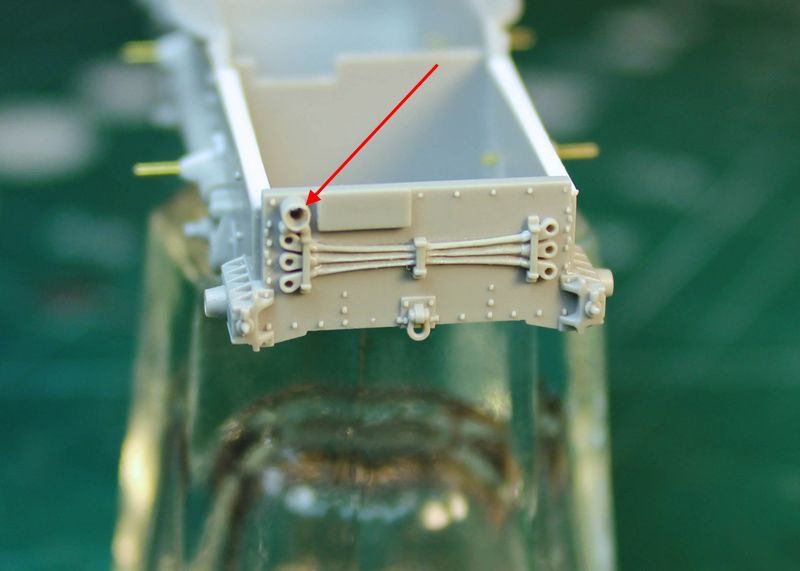
The rear taillight was drilled out with a #55 drill [.052 (1.3208 mm)] to make room for a MV Products LS 301 red lenses. The holes on the towing cable ends were also slightly enlarged and a scribing tool was used to removed material between the cables and the rear hulls armor plate.
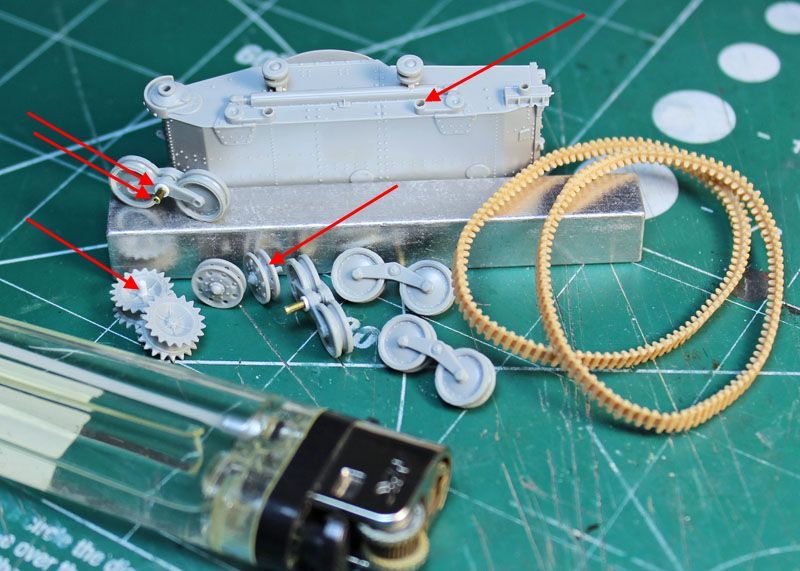
** The upper and lower hulls are fitted together on the following photographs and are yet to be cemented **
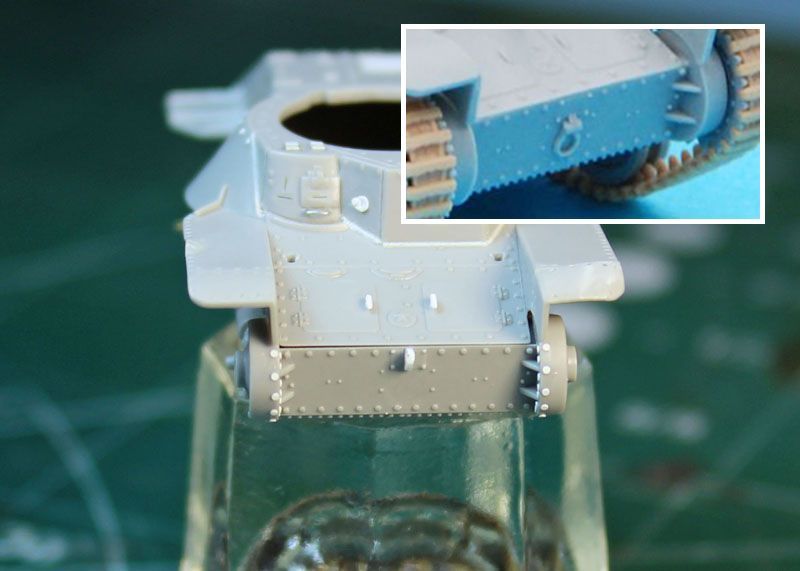
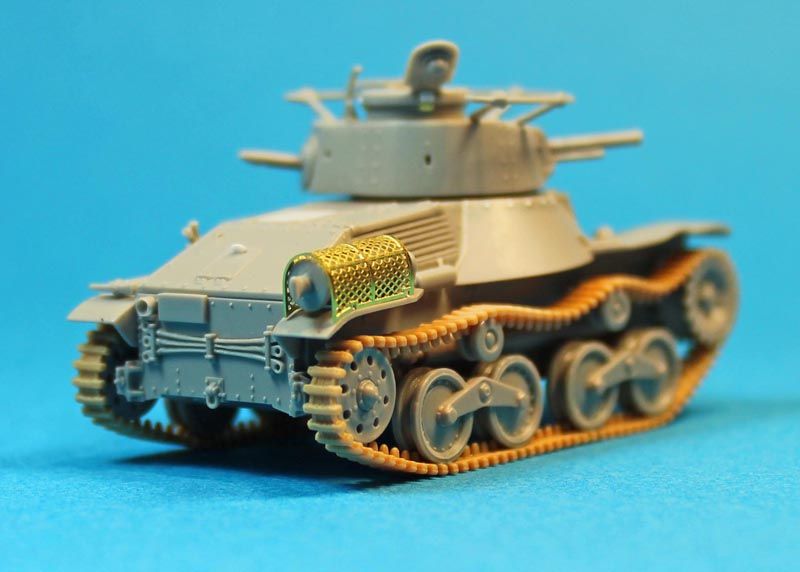
Using my punch and die set .018 (0.4572 mm) diameter X .005 (0.127 mm) thick styrene disks were added to replicate the missing conical bolts on the transmission drive housing armor guards. The front towing shackle and hook was removed from its incorrect lower position and a new shackle fabricated from .015 (0.381 mm) thick styrene strip was placed in its correct location.
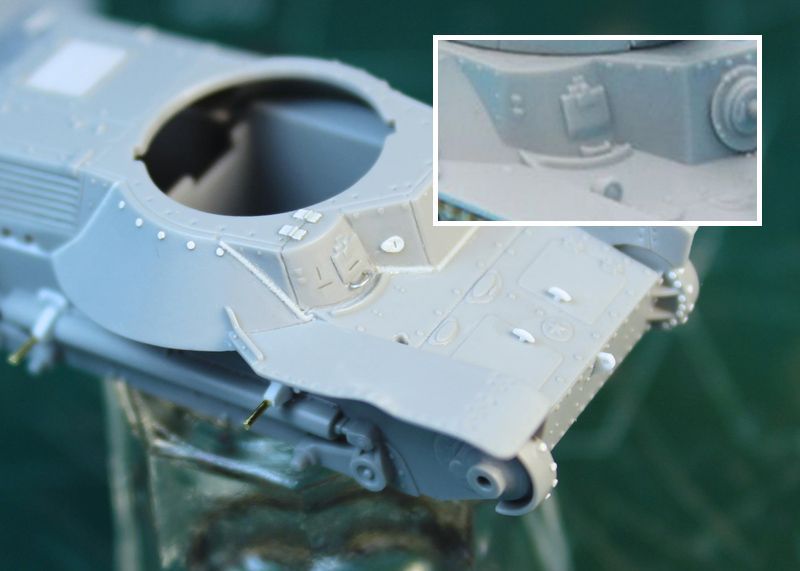
The molded on handle on the drivers hinged armor escape hatch was replaced with a .015 (0.381 mm) diameter soft metal wire. Weld seams, hatch hinges, view slits on the escape hatch, viewing port guards, conical bolts and transmission hatch handles were added or replaced with styrene to enhance the already well detailed kits upper hull.
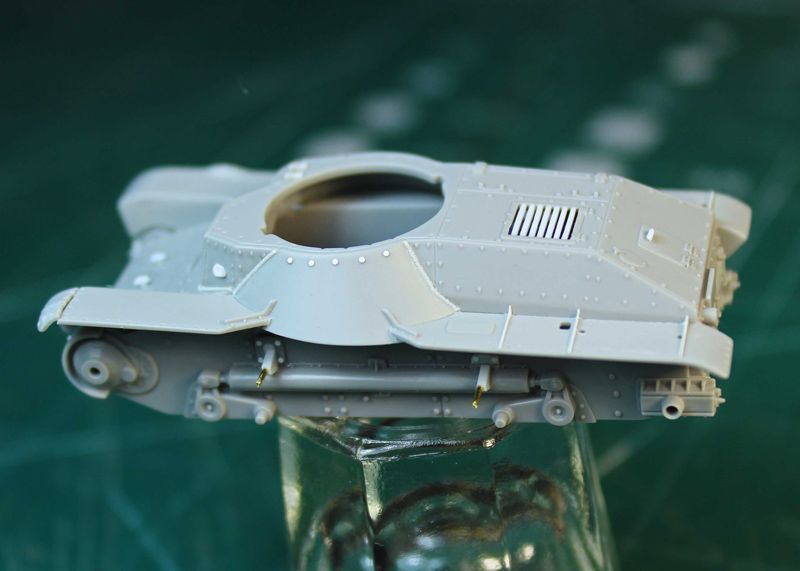
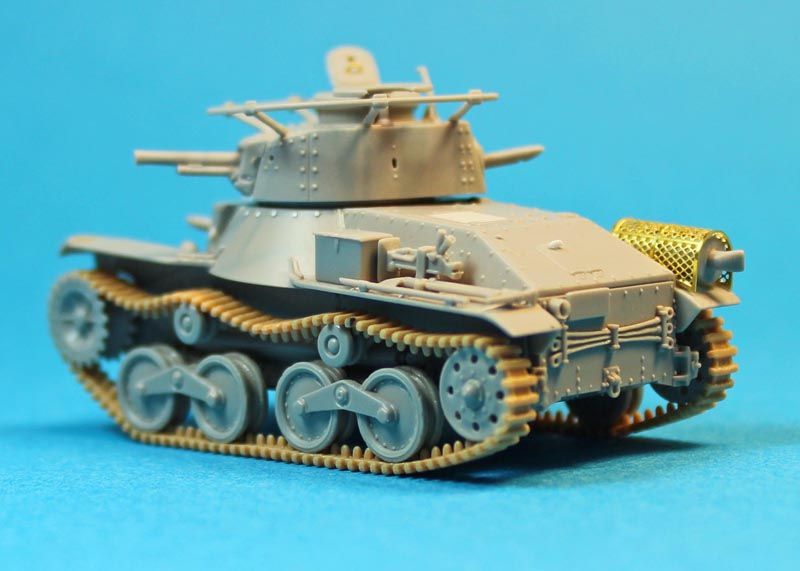
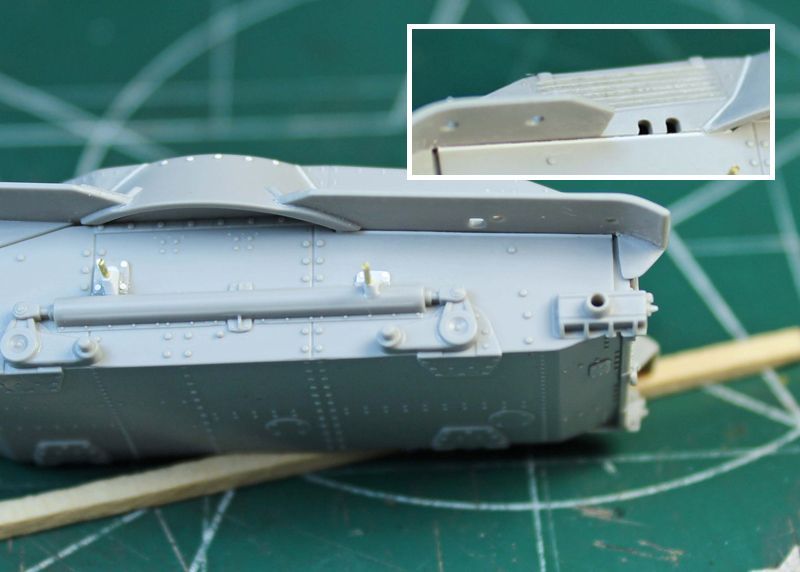
This left side view of the kits chassis shows the rebuilt styrene grating on the upper rear hulls deck engine hatch I made to replace the kits solid non-perforated molding.
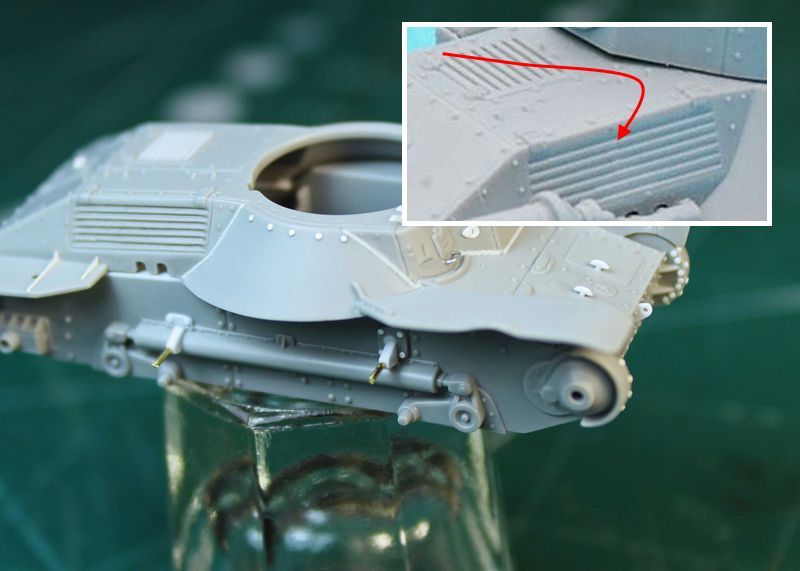
Using a scribing tool I carefully reworked the incorrectly molded side engine hatch louvers as they are pointing upwards and they should be facing downwards. The outline of the hatch frame was also added as this is missing on the kit molding.
Although you could still see a slight gap, between the upper and lower hulls engine compartment, it was quit pronounced on my kit example before adding pieces of styrene strip, these gaps will disappear once the hull halfs are cemented together.
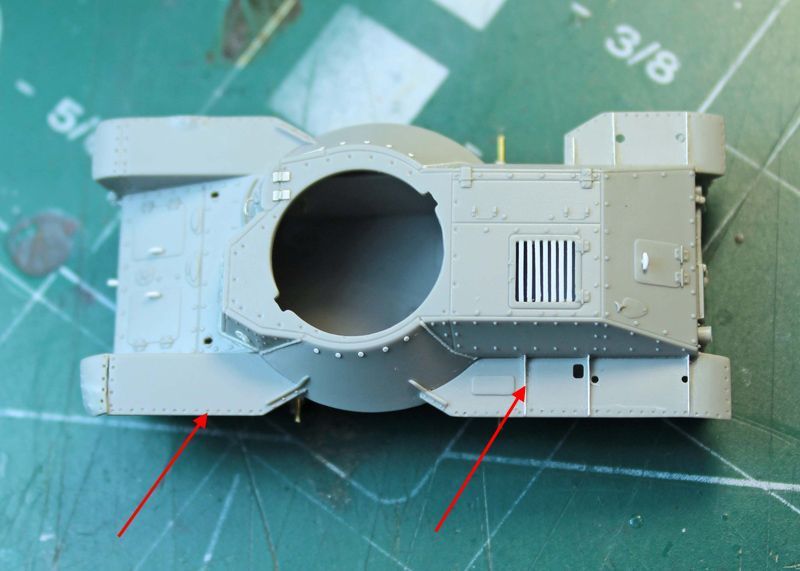
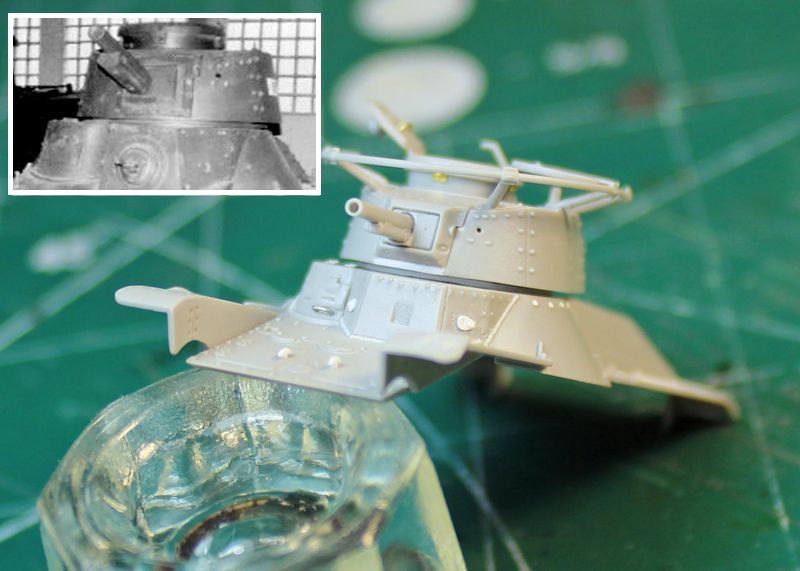
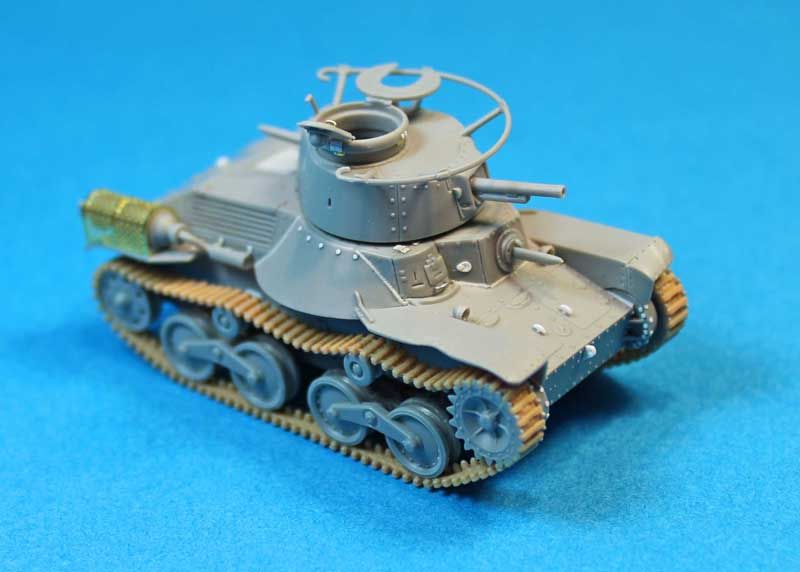
An apartment cockroach overhead view of the upper hull, NOT, but Im just saying! Here you can see that I have added the rivets on the edges that attach the sheet metal fenders to their respective frames. I also replaced the molded on rod shaped fender supports with more to scale .005 (0.127 mm) thick styrene strips. Oh, and I added a bit of fender damage, what would a tank be without this feature?
Thanks for stopping by to have a look, more on the way.
As always any and all comments are welcome.
~ Eddy