


A short while ago I was lucky enough to have a look at this kit for a review which appears here on Armorama: https://armorama.kitmaker.net/review/8404
Of course you can't let a kit like this sit idle for too long. After talking with a very good friend, call sign Scratchmod, we came up with a cool idea of building the L/70(A) as a "Duel" of sorts....hence the name Duel.
I will be showing my progress here on Armorama of this great kit! If you are interested in checking out Rob and my progress on our Duel you can see it here http://modelerssocialclub.proboards.com/index.cgi?board=armor&action=display&thread=2741 on Modelers Social Club Forum. Of course Rob is always welcome to share his progress here too if he wishes!!
Here is the kit:
As seen in the review, this kit is loaded!!! There is always a starting point. This time I actually start with the wheel, similar to the instructions. There are a lot on this Pz. IV platform and it is best to get them out of the way when you are fresh!!! (pics to follow later). This morning I attacked the lower end...the Hull.
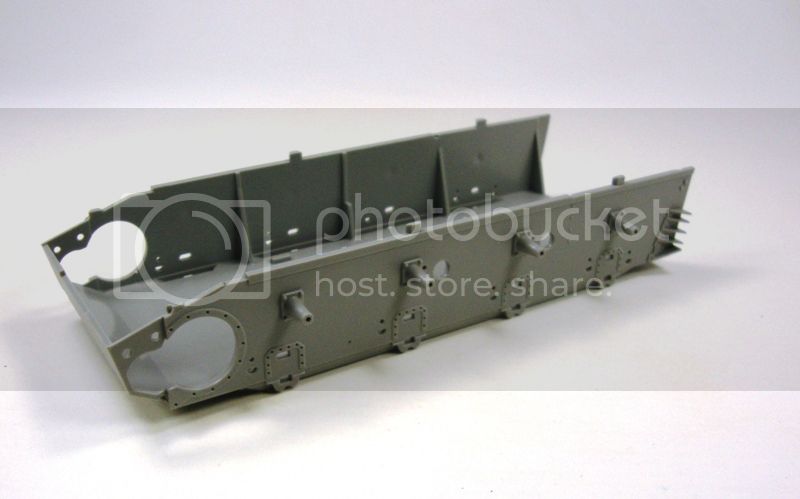
Only ran into one little side step upon lower construction. This was not covered in the review as it can only be discovered by building the kit. The cover plate for the drive sprocket gears, There is a small plate that needs to be added to the front section of the hull before the cover plate is installed. You will need to take this hull part labeled B10 & B11 seen in the lower half of the instructions below...

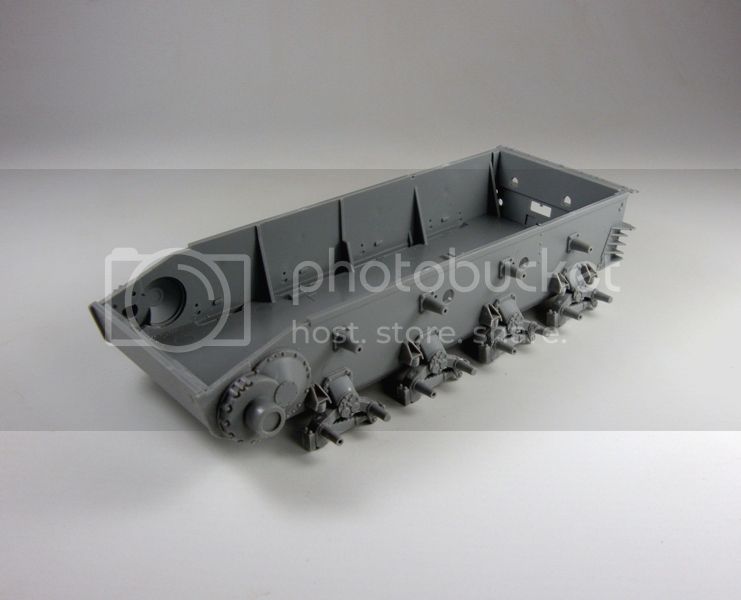
Parts B10 and B11...you will need to remove the molded mounting pins from the rear of the plate and then sand the pieces down on some sandpaper on a hard flat surface. Sand a little and then dry fit until it is flush!
This is the section I am referring too. The tiny white line above the plate is the joint of the part B-11 (lol the part numbers are reversed on the directions....go figure) Before sanding this piece was a good .5 mm thicker than it's adjoining part.

I spent time this morning on the suspension as this will be needed for all those wheel!!
You have to love DML's approach to the Pz. IV suspension...48 parts that probably could be molded in 26...just the way it is!!!
This rear plate is not fixed yet, just for the picture....I covered this in my review on Armorama, this is the only Pz. IV rear plate supplied in this kit. It is not the right one. I will have to add some triangular support plates to a future part...the tow hooks. Should be an easy fix though.

And that is where I stand at the moment! Like a dummy I made up 1 set too many of the rubber road wheels and obviously one less of the steel. Off to fix this now!!! I might get to play some more on this today, but it's moving right along!!
Thank for playing along!!!


