Hi Mike,
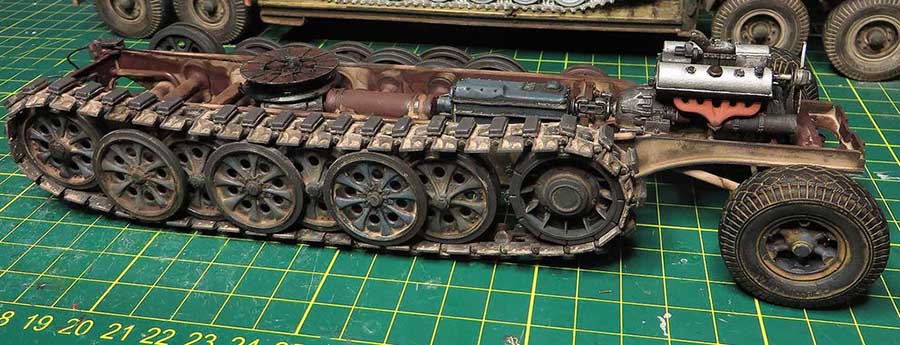
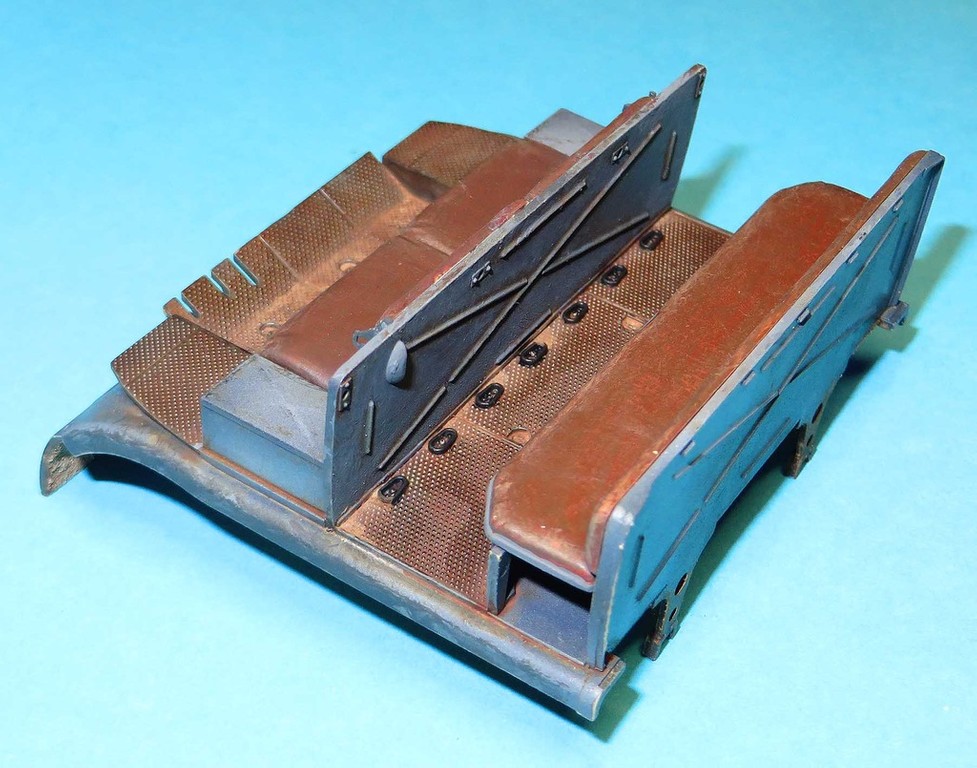
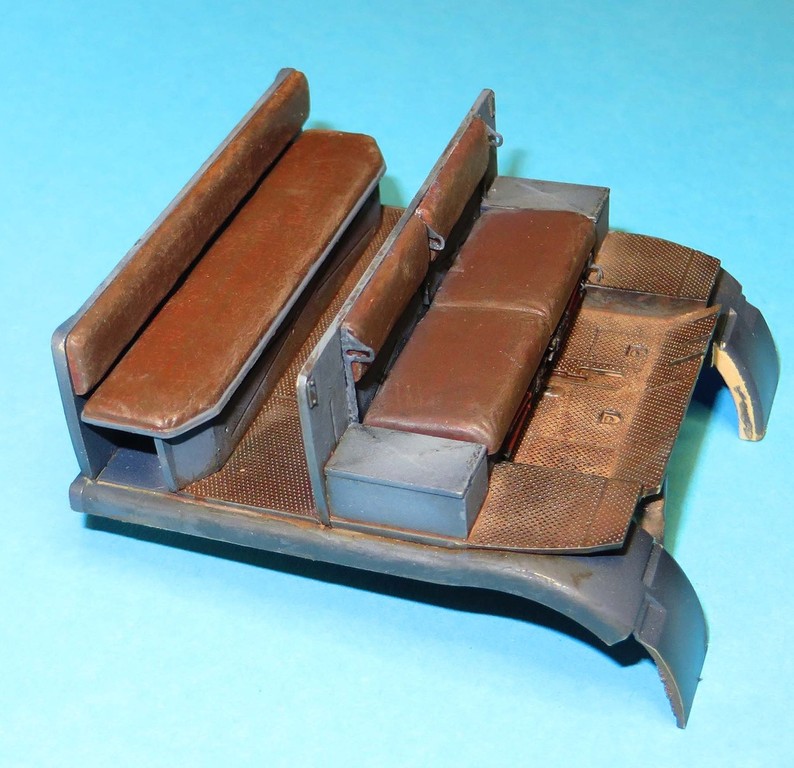
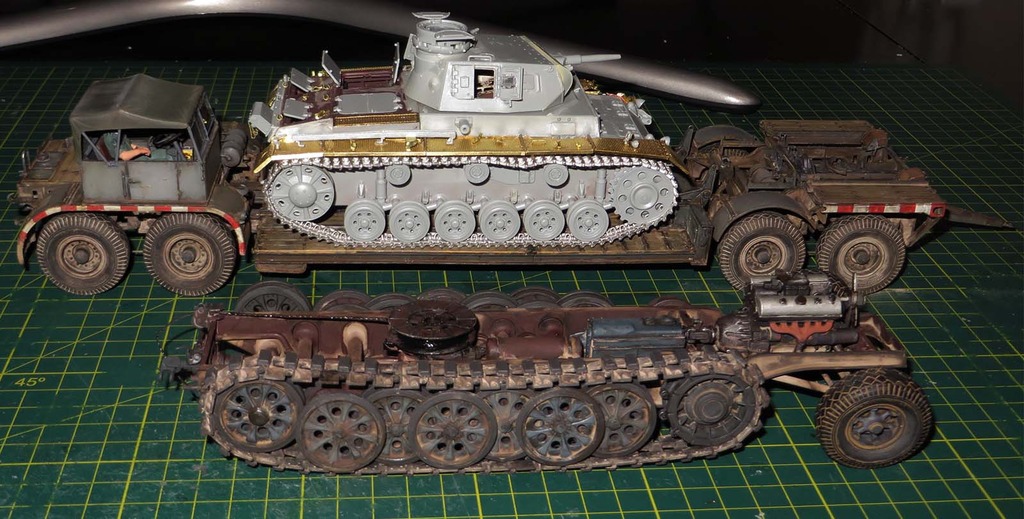
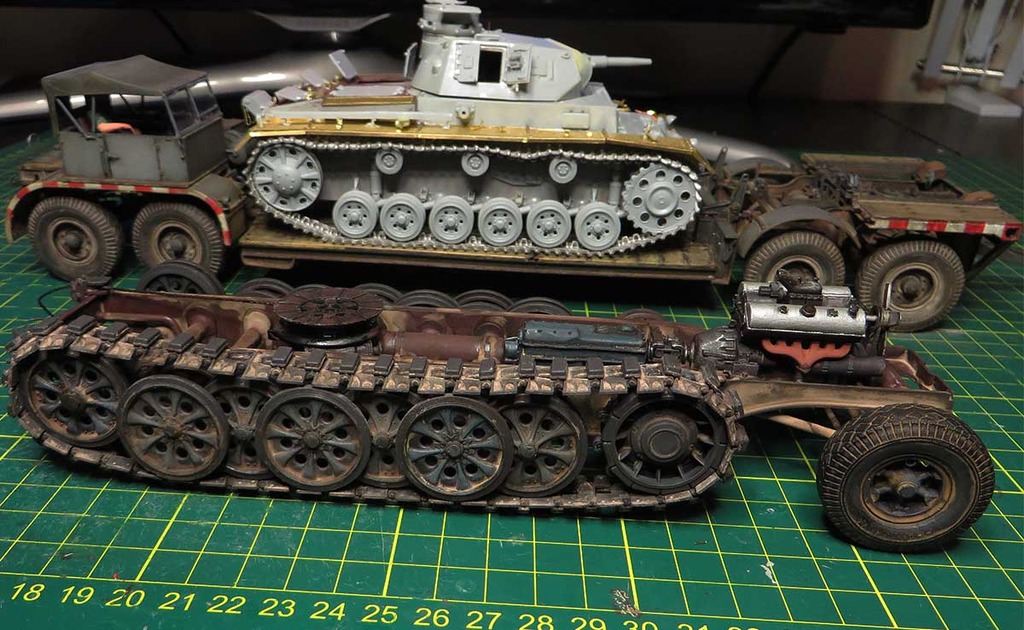
Have you given any thought about using rare earth magnets to hold the rear compartment in place. Shame to hide all work you put into the undercarriage. The 4mm x 1mm examples are inexpensive, fit the width of the frame rails and hold very well. The War Store among others have them.
Tony
Armor/AFV
For discussions on tanks, artillery, jeeps, etc.
For discussions on tanks, artillery, jeeps, etc.
Hosted by Darren Baker, Mario Matijasic
Tamiya Famo Sd Ah 116 trailer and DML Panzer
tcomca

Joined: October 22, 2013
KitMaker: 56 posts
Armorama: 38 posts

Posted: Wednesday, May 20, 2015 - 10:43 AM UTC
Posted: Wednesday, May 20, 2015 - 07:57 PM UTC
Buddy of mine builds antique carriages to Breyer-Horse scale and uses small cut out pieces of flexible magnet sheet like that used to turn a business card into a refrigerator magnet.
He uses them for door locks, hold-downs and to hold a roof on to make it removable to view interior details.
It works like a charm!
He uses them for door locks, hold-downs and to hold a roof on to make it removable to view interior details.
It works like a charm!
Ibuild148

Joined: May 25, 2009
KitMaker: 177 posts
Armorama: 153 posts

Posted: Thursday, May 21, 2015 - 08:52 AM UTC
Stellar Michael!
I have been watching your posts as inspiration as I build mine.
I have been watching your posts as inspiration as I build mine.

airborne1

Joined: April 15, 2006
KitMaker: 915 posts
Armorama: 797 posts

Posted: Thursday, May 21, 2015 - 04:26 PM UTC
Guys , thanks for the kind words .
I like the idea of the magnets although if I'm going to travel with this baby I do not want anything moving in transit , ie, I cannot afford the chance of the decking or the cab moving whilst travelling within Australia and if I can afford it , out of Australia .Once built this baby is on the timber board by way of 1mm pins in the wheels with a combination of white glue and super glue used on the famo tracks.
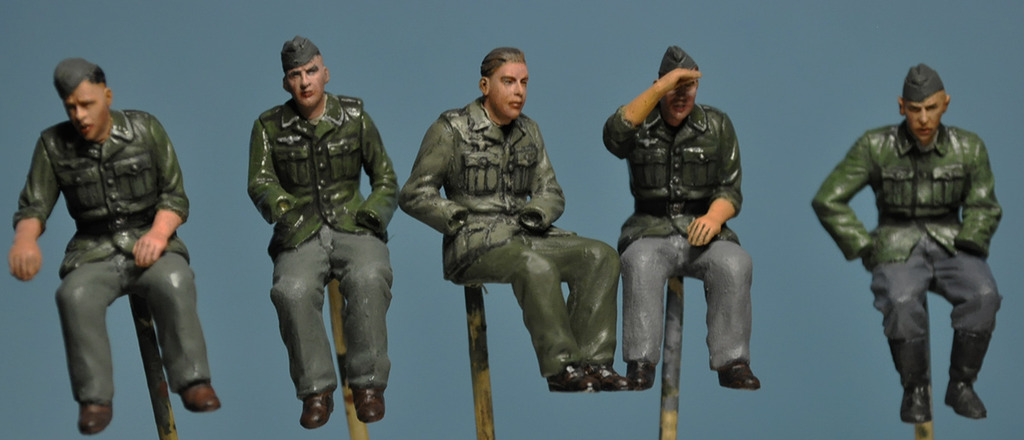
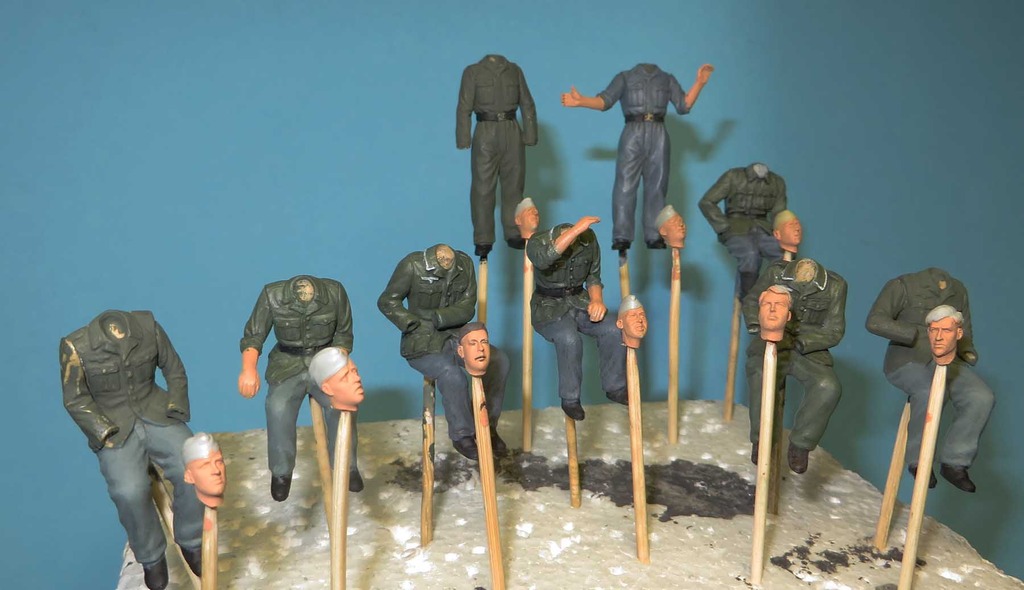
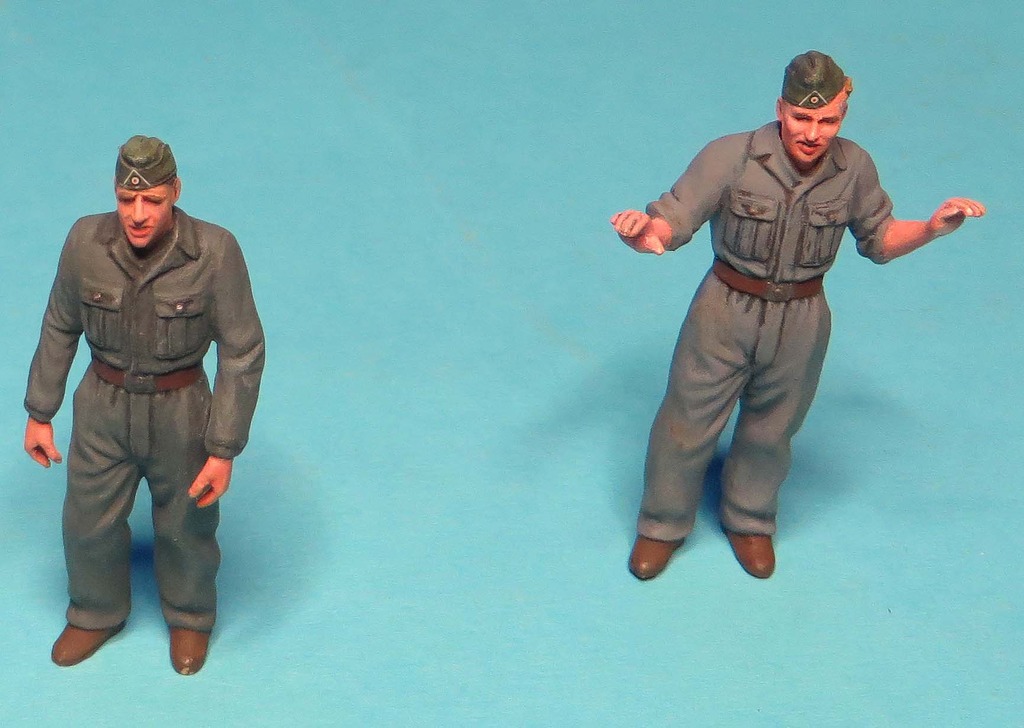
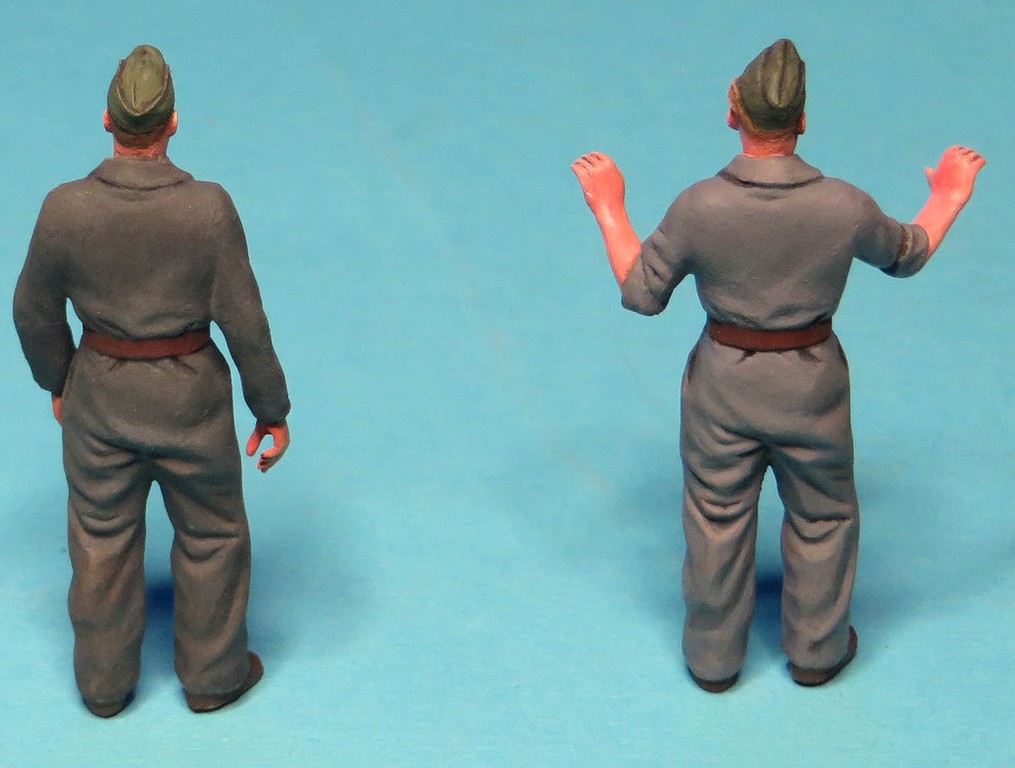
Here is a progress shot of where I'm at
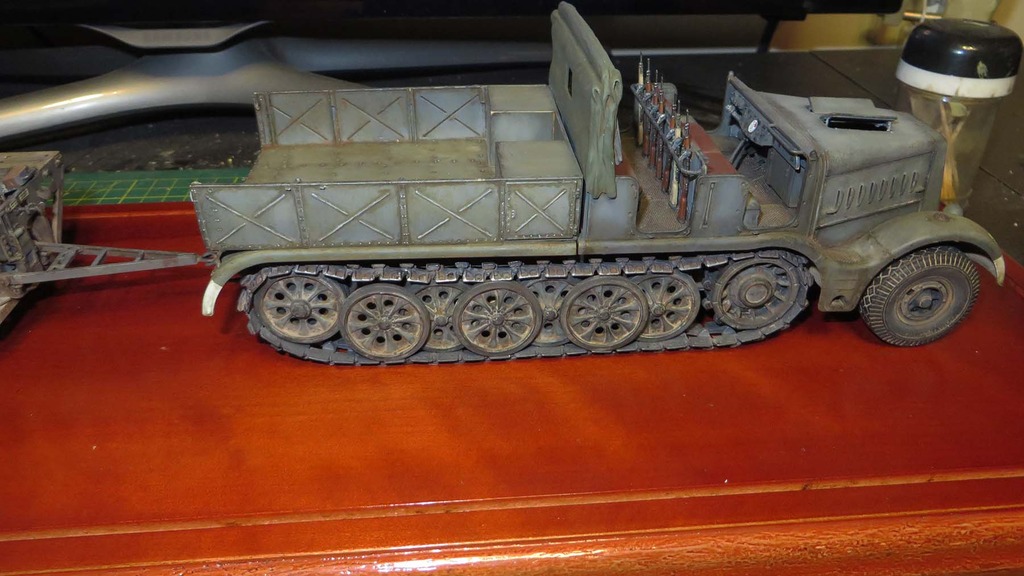

First time for me using acrylics on 1/35th figures as I have mainly used Humbrol enamels .Brush painted Humbrol flesh on the heads and arms and the rest is all Vallejo .The humbrol flesh is an excellent base coat for the skin tones before commencing with the oil paints.
There is a ton of work needed on the figures to make them acceptable to fit into the Famo.
Again, more to follow
Michael

I like the idea of the magnets although if I'm going to travel with this baby I do not want anything moving in transit , ie, I cannot afford the chance of the decking or the cab moving whilst travelling within Australia and if I can afford it , out of Australia
 .Once built this baby is on the timber board by way of 1mm pins in the wheels with a combination of white glue and super glue used on the famo tracks.
Here is a progress shot of where I'm at


First time for me using acrylics on 1/35th figures as I have mainly used Humbrol enamels .Brush painted Humbrol flesh on the heads and arms and the rest is all Vallejo .The humbrol flesh is an excellent base coat for the skin tones before commencing with the oil paints.
There is a ton of work needed on the figures to make them acceptable to fit into the Famo.
Again, more to follow

Michael


airborne1

Joined: April 15, 2006
KitMaker: 915 posts
Armorama: 797 posts

Posted: Saturday, May 30, 2015 - 04:30 PM UTC

airborne1

Joined: April 15, 2006
KitMaker: 915 posts
Armorama: 797 posts

Posted: Friday, June 19, 2015 - 04:56 PM UTC

airborne1

Joined: April 15, 2006
KitMaker: 915 posts
Armorama: 797 posts

Posted: Saturday, June 20, 2015 - 07:16 AM UTC

justsendit

Joined: February 24, 2014
KitMaker: 3,033 posts
Armorama: 2,492 posts

Posted: Saturday, June 20, 2015 - 09:14 AM UTC
Quoted Text
I may need an optisor to get the fine work done.
Hi Michael,
I use an OptiVisor over cheater glasses and sometimes combine those with a Helping Hands magnifier and I still can't paint as well as you.
Your updates look great. Keep up the great work!
—mike
Enigma1

Joined: February 22, 2010
KitMaker: 53 posts
Armorama: 40 posts

Posted: Monday, June 22, 2015 - 09:03 PM UTC
Great Work! I miss military armor and the lot 


airborne1

Joined: April 15, 2006
KitMaker: 915 posts
Armorama: 797 posts

Posted: Thursday, July 02, 2015 - 05:35 PM UTC
Thanks guys ,
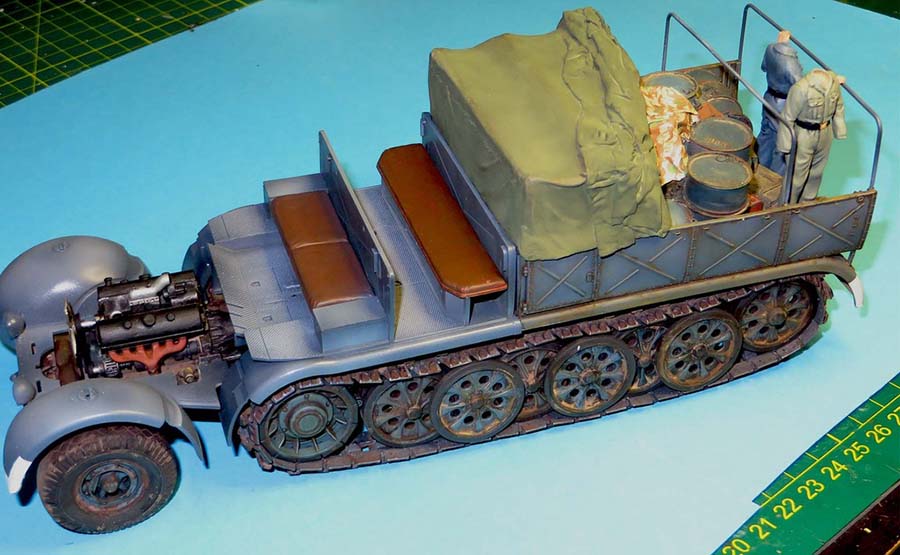
here we are with the next installment of images.
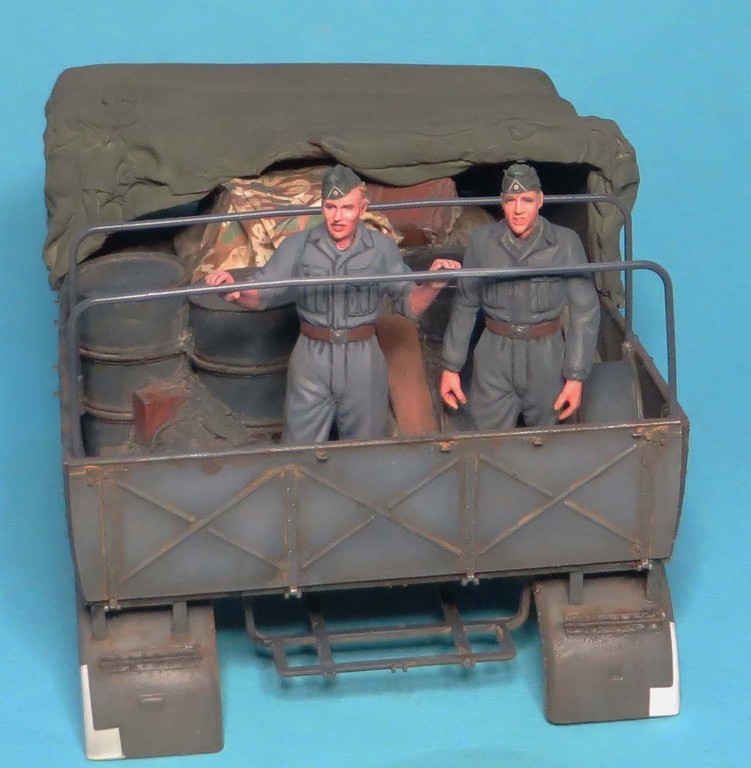
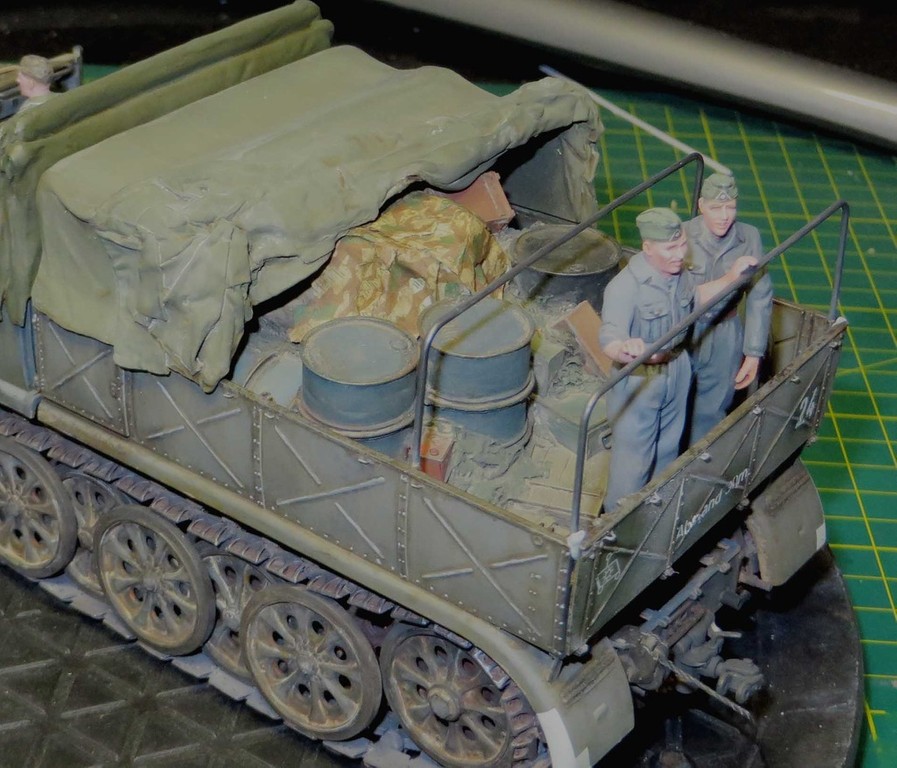
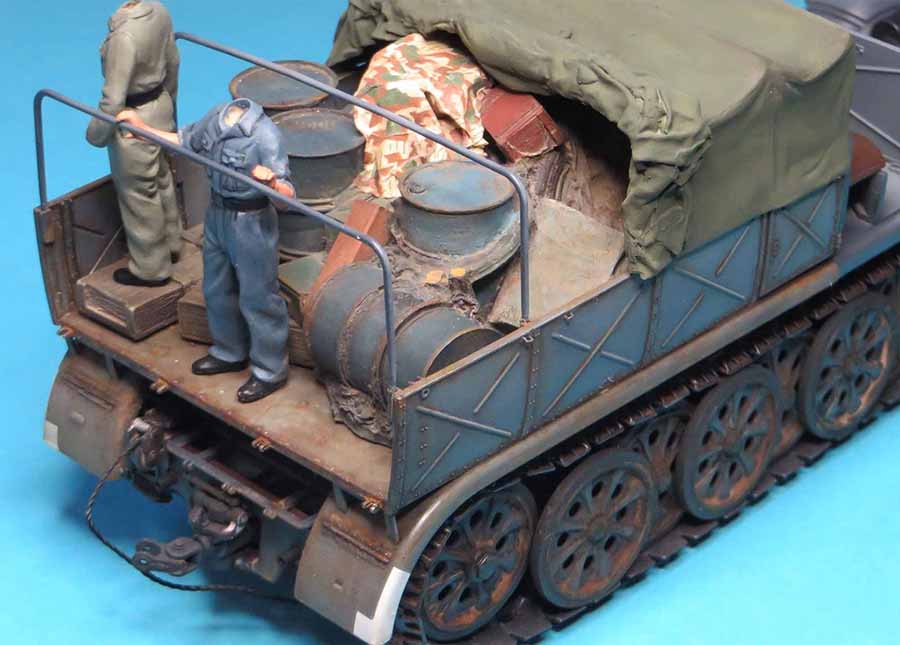
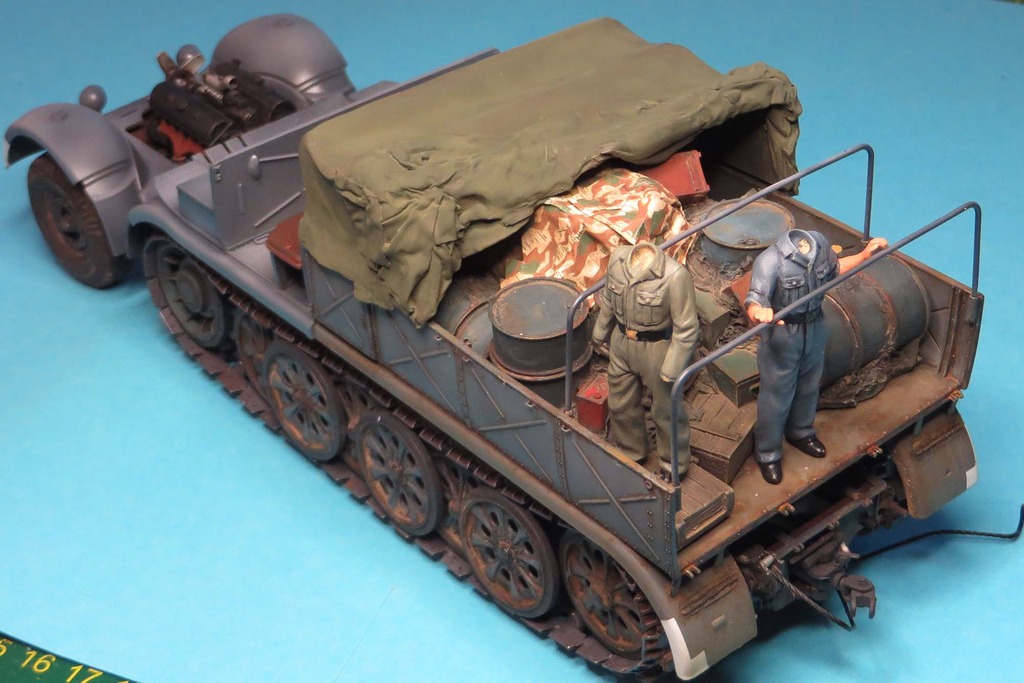
I have been working on the photo etch to dress the tray and rear end up , this is a test fit with smaller accesories placed around the main load to break it up along with a figure in the rear deck .
Optivisors to arrive this week so back into the figure painting .
Michael
here we are with the next installment of images.
I have been working on the photo etch to dress the tray and rear end up , this is a test fit with smaller accesories placed around the main load to break it up along with a figure in the rear deck .


Optivisors to arrive this week so back into the figure painting .
Michael

airborne1

Joined: April 15, 2006
KitMaker: 915 posts
Armorama: 797 posts

Posted: Saturday, July 18, 2015 - 05:56 AM UTC
Hello again , ok so here we are with the next installment
Much more work to do before glueing into position with chipping ,wear and tear.
Michael
Much more work to do before glueing into position with chipping ,wear and tear.
Michael
jrutman

Joined: April 10, 2011
KitMaker: 7,941 posts
Armorama: 7,934 posts

Posted: Monday, July 20, 2015 - 06:22 PM UTC
I haven't checked in for a while so I have to say how much I like the new work! Lookin good! I would also say buying the optivisor is a very very wise choice as it has helped me a lot!!
J
J

airborne1

Joined: April 15, 2006
KitMaker: 915 posts
Armorama: 797 posts

Posted: Saturday, August 01, 2015 - 07:45 AM UTC
Nagmakava

Joined: October 18, 2012
KitMaker: 116 posts
Armorama: 110 posts

Posted: Saturday, August 01, 2015 - 10:28 AM UTC
I've only just noticed this build and can only repeat what others have said - this is excellent work!
The Famo was one of my first 'real' kits (I remember the excitement at the size of the box) so I admit I have a real liking for it.
The painting, weathering etc you've done is brilliant and I love that wooden deck on the trailer.
The Famo was one of my first 'real' kits (I remember the excitement at the size of the box) so I admit I have a real liking for it.
The painting, weathering etc you've done is brilliant and I love that wooden deck on the trailer.

airborne1

Joined: April 15, 2006
KitMaker: 915 posts
Armorama: 797 posts

Posted: Sunday, August 02, 2015 - 03:15 PM UTC
Thanks Jim .
The box is quite intimidating if you build standard AFV's Once the lid comes off and there are so many sprues it can be quite a daunting task .
The trick is small sections at a time and you achieve the results.
It's like the 1/35th pt boats , same thing ,big projects but built in sections the results come together .
I love a challenge and this beast is it

Michael
The box is quite intimidating if you build standard AFV's Once the lid comes off and there are so many sprues it can be quite a daunting task .
The trick is small sections at a time and you achieve the results.
It's like the 1/35th pt boats , same thing ,big projects but built in sections the results come together .
I love a challenge and this beast is it


Michael

airborne1

Joined: April 15, 2006
KitMaker: 915 posts
Armorama: 797 posts

Posted: Friday, August 07, 2015 - 09:56 AM UTC
jrutman

Joined: April 10, 2011
KitMaker: 7,941 posts
Armorama: 7,934 posts

Posted: Friday, August 07, 2015 - 07:11 PM UTC
That is certainly a sizable build! And very well done. You may need an addition to your house though
J
J

airborne1

Joined: April 15, 2006
KitMaker: 915 posts
Armorama: 797 posts

Posted: Saturday, August 08, 2015 - 04:03 AM UTC
Quoted Text
That is certainly a sizable build! And very well done. You may need an addition to your house though
J
Ha ha ,thanks Jerry
Getting transport box built for Famo now and will be able to place somewhere in one of the crowded corners of hobby room dust free.
Shall post some photo's of transport box when completed
Michael

airborne1

Joined: April 15, 2006
KitMaker: 915 posts
Armorama: 797 posts

Posted: Friday, August 14, 2015 - 04:05 AM UTC
small update so to speak
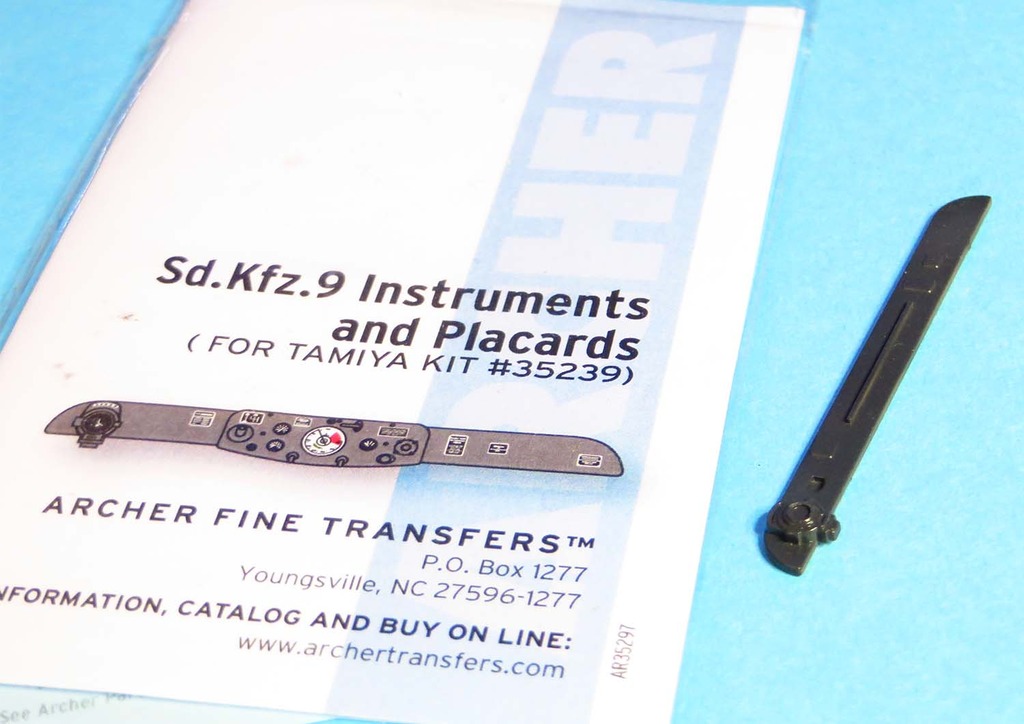
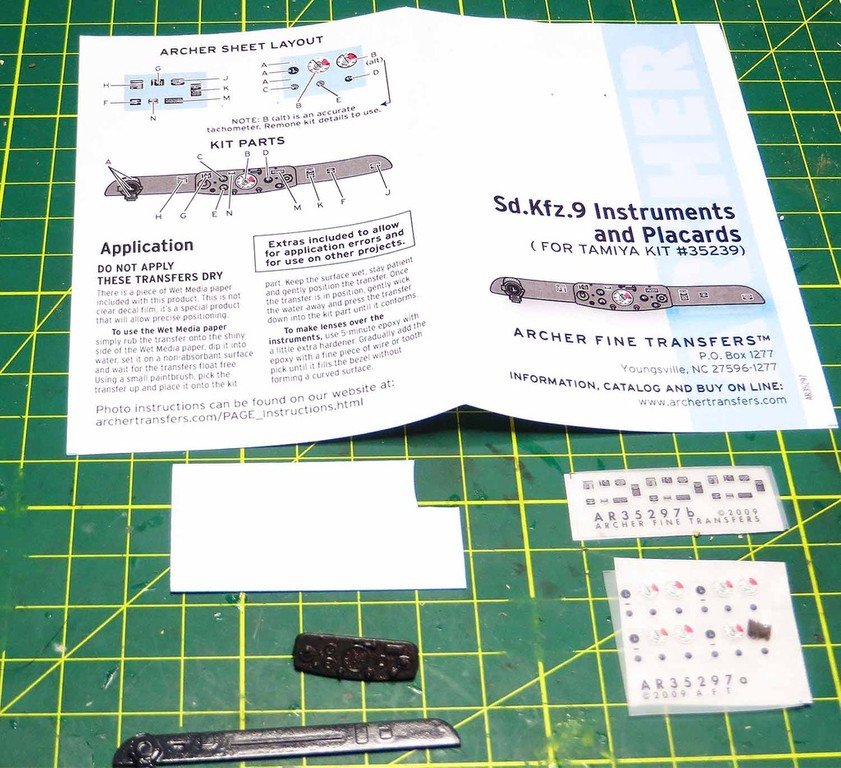
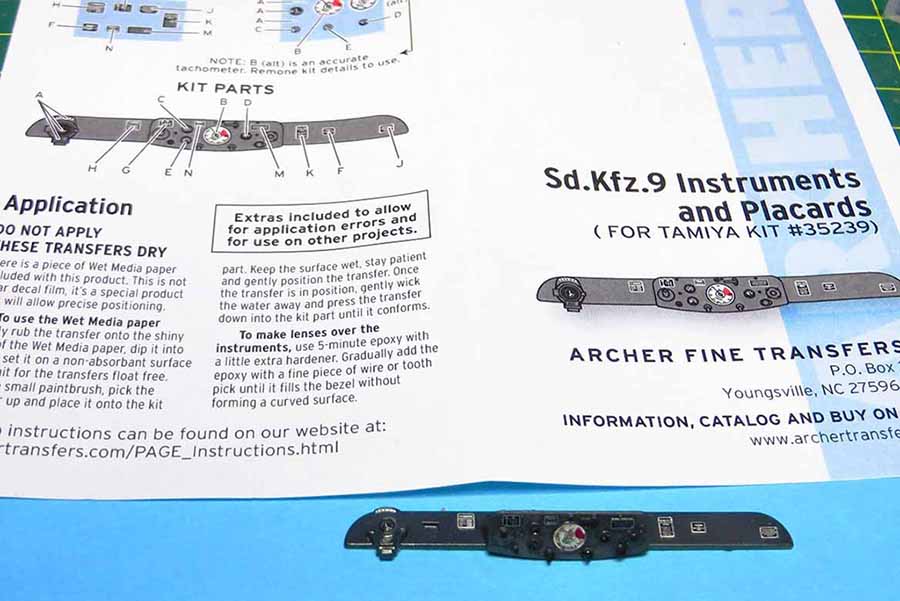
Instrument panel painted in Ammo paints and a coat of gloss clear sprayed over the top .
Once the decals are applied a coat of Testers Dullcote will be sprayed over the top to seal the decal .
Then a dob of gloss will be applied on to the speed dials and anywhere where there may be glass covers.
A nice job for the weekend

Michael
Instrument panel painted in Ammo paints and a coat of gloss clear sprayed over the top .
Once the decals are applied a coat of Testers Dullcote will be sprayed over the top to seal the decal .
Then a dob of gloss will be applied on to the speed dials and anywhere where there may be glass covers.
A nice job for the weekend


Michael

airborne1

Joined: April 15, 2006
KitMaker: 915 posts
Armorama: 797 posts

Posted: Sunday, August 23, 2015 - 10:04 AM UTC
Posted: Sunday, August 23, 2015 - 01:45 PM UTC
Hi Michael
What a fantastic build! It just keep getting better and better. Keep up the excellent work.
Jacob
What a fantastic build! It just keep getting better and better. Keep up the excellent work.
Jacob


airborne1

Joined: April 15, 2006
KitMaker: 915 posts
Armorama: 797 posts

Posted: Monday, August 24, 2015 - 05:08 AM UTC
Thanks Jacob
We're getting there....slowly
Michael
We're getting there....slowly

Michael
alewar

Joined: December 27, 2006
KitMaker: 773 posts
Armorama: 765 posts

Posted: Monday, August 24, 2015 - 07:42 AM UTC
Wow really it's necesary this level of details? .....
Great work! !!
Regards from the south
Alvaro
Great work! !!
Regards from the south
Alvaro

airborne1

Joined: April 15, 2006
KitMaker: 915 posts
Armorama: 797 posts

Posted: Monday, August 24, 2015 - 05:53 PM UTC
Thanks Alvaro
Being an open cab to look into it gives the viewer more to look at and take in. The aim is to compliment the figures in the cab with the details on the dash.
Michael
Being an open cab to look into it gives the viewer more to look at and take in. The aim is to compliment the figures in the cab with the details on the dash.
Michael

airborne1

Joined: April 15, 2006
KitMaker: 915 posts
Armorama: 797 posts

Posted: Monday, September 07, 2015 - 06:26 PM UTC
 |


