Campaigns
Where Armorama group builds can be discussed, organized, and updates posted.
Where Armorama group builds can be discussed, organized, and updates posted.
Hosted by Darren Baker, Richard S.
What the Flak? Official Campaign
Posted: Tuesday, September 09, 2014 - 12:13 PM UTC
Very impressive paintwork, Rob! Looks great!


2ndWorcesters

Joined: March 15, 2014
KitMaker: 80 posts
Armorama: 80 posts

Posted: Wednesday, September 10, 2014 - 02:30 AM UTC
Stunning work Wedgetail.
2ndWorcesters

Joined: March 15, 2014
KitMaker: 80 posts
Armorama: 80 posts

Posted: Wednesday, September 10, 2014 - 02:31 AM UTC
2ndWorcesters

Joined: March 15, 2014
KitMaker: 80 posts
Armorama: 80 posts

Posted: Saturday, September 13, 2014 - 08:54 AM UTC

Blespooky

Joined: June 03, 2014
KitMaker: 277 posts
Armorama: 66 posts

Posted: Saturday, September 13, 2014 - 11:19 PM UTC
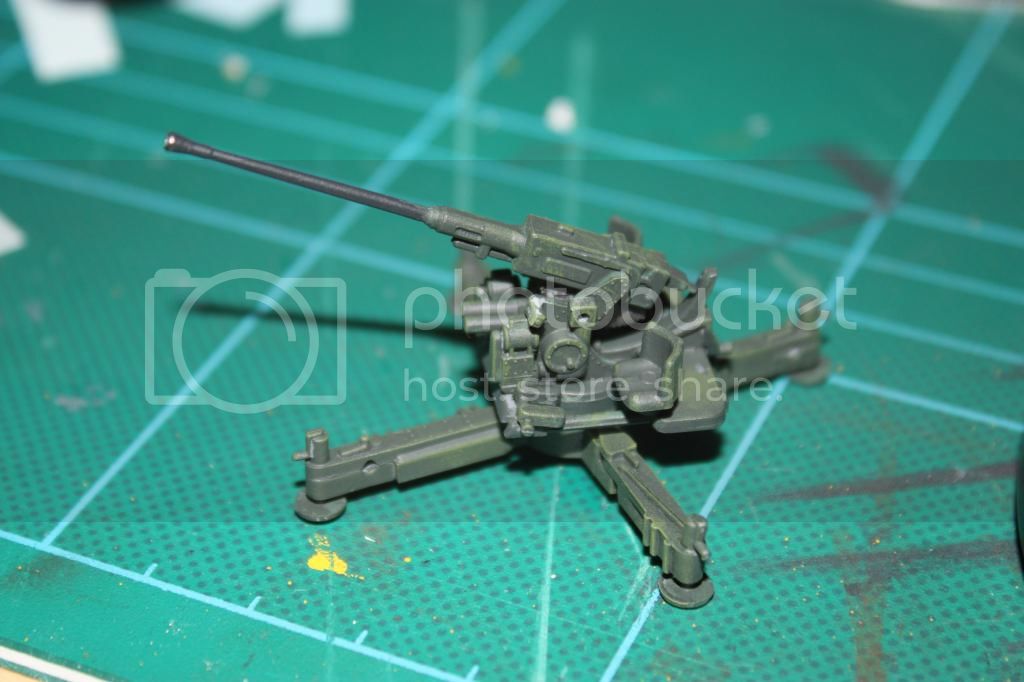
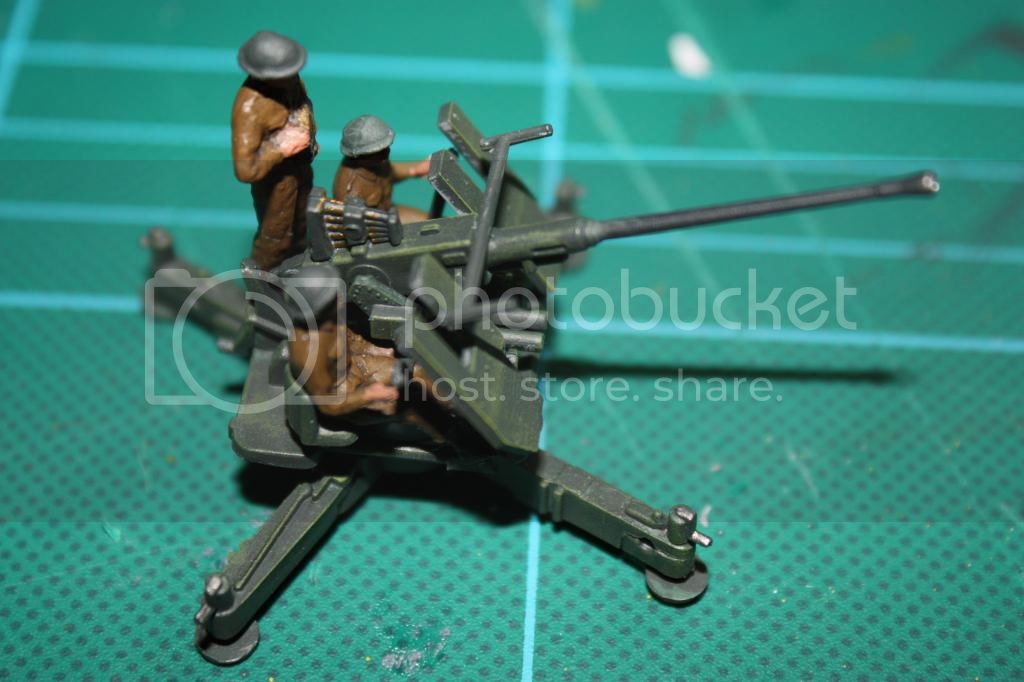
Alan, the 40mm looks great
Im nearly finished with the GAZ and have finished building the Quad Maxim. The prior experience of convoluted instructions and bad fit provided by UM was multiplied in this portion of the build. After much planning, I basically prepped all of the pieces and glued the whole sub construction together at once as it was the only way I could think to line it up. I think it looks okay.
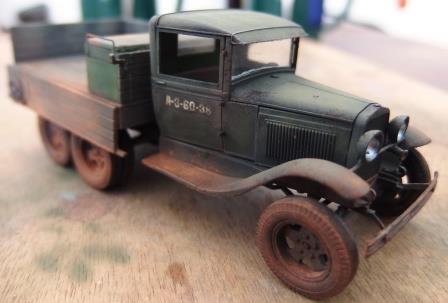
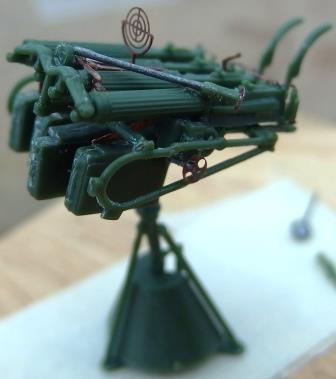
Any suggestions are welcome, especially because everything is still in construction.
Bryan
Im nearly finished with the GAZ and have finished building the Quad Maxim. The prior experience of convoluted instructions and bad fit provided by UM was multiplied in this portion of the build. After much planning, I basically prepped all of the pieces and glued the whole sub construction together at once as it was the only way I could think to line it up. I think it looks okay.


Any suggestions are welcome, especially because everything is still in construction.
Bryan
wedgetail53

Joined: October 02, 2008
KitMaker: 658 posts
Armorama: 629 posts

Posted: Sunday, September 14, 2014 - 10:27 AM UTC
Alan
Looking good, albeit a bit glossy, but that could just be the lighting.
I don't know what your camera setup is, but you need to use a smaller f-stop to improve the depth of field. That way more of the pictures will be in focus.
If shutter speed gets impossibly slow, suggest you increase the ISO to about 800 or so.
Regards
Rob
2ndWorcesters

Joined: March 15, 2014
KitMaker: 80 posts
Armorama: 80 posts

Posted: Monday, September 15, 2014 - 12:05 AM UTC
Quoted Text
Alan
Looking good, albeit a bit glossy, but that could just be the lighting.
I don't know what your camera setup is, but you need to use a smaller f-stop to improve the depth of field. That way more of the pictures will be in focus.
If shutter speed gets impossibly slow, suggest you increase the ISO to about 800 or so.
Regards
Rob
Thanks for the advice mate.
I think I took the photo before I put the matt varnish on.
:(
I'll have to mess around with the camera settings. I'm an OK modeller, but a lousy photographer!
2ndWorcesters

Joined: March 15, 2014
KitMaker: 80 posts
Armorama: 80 posts

Posted: Monday, September 15, 2014 - 12:06 AM UTC
Bryan, I really like the finish on the Gaz mate.
rcnpthfndr

Joined: February 15, 2006
KitMaker: 284 posts
Armorama: 264 posts

Posted: Monday, September 15, 2014 - 12:11 AM UTC
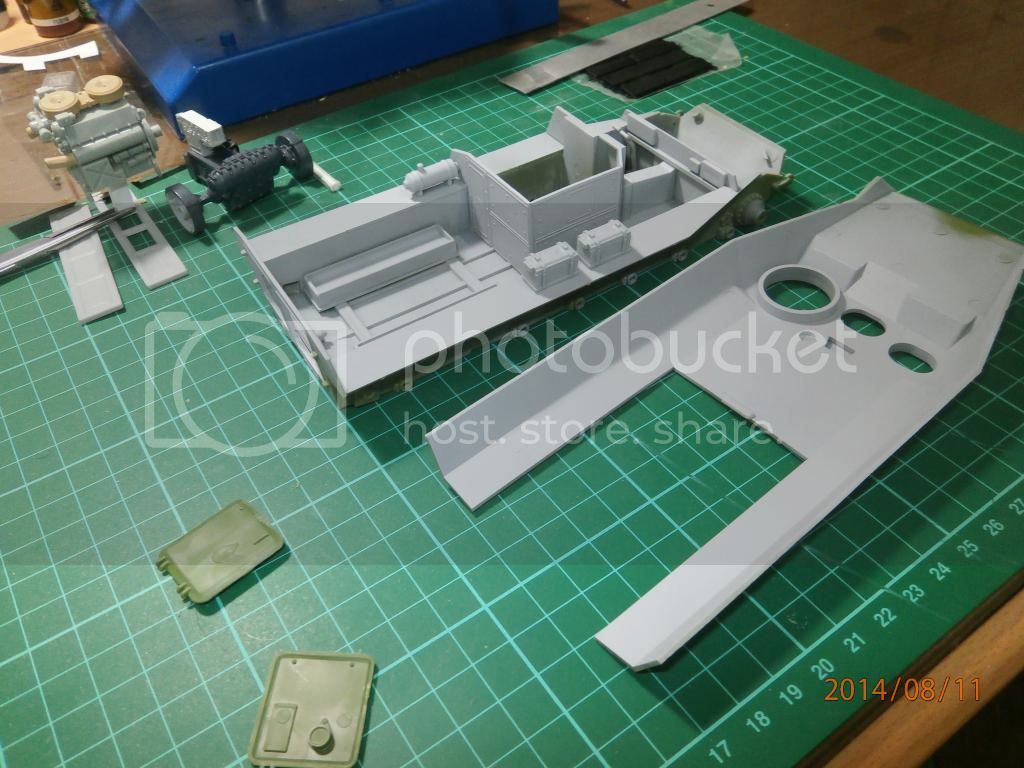
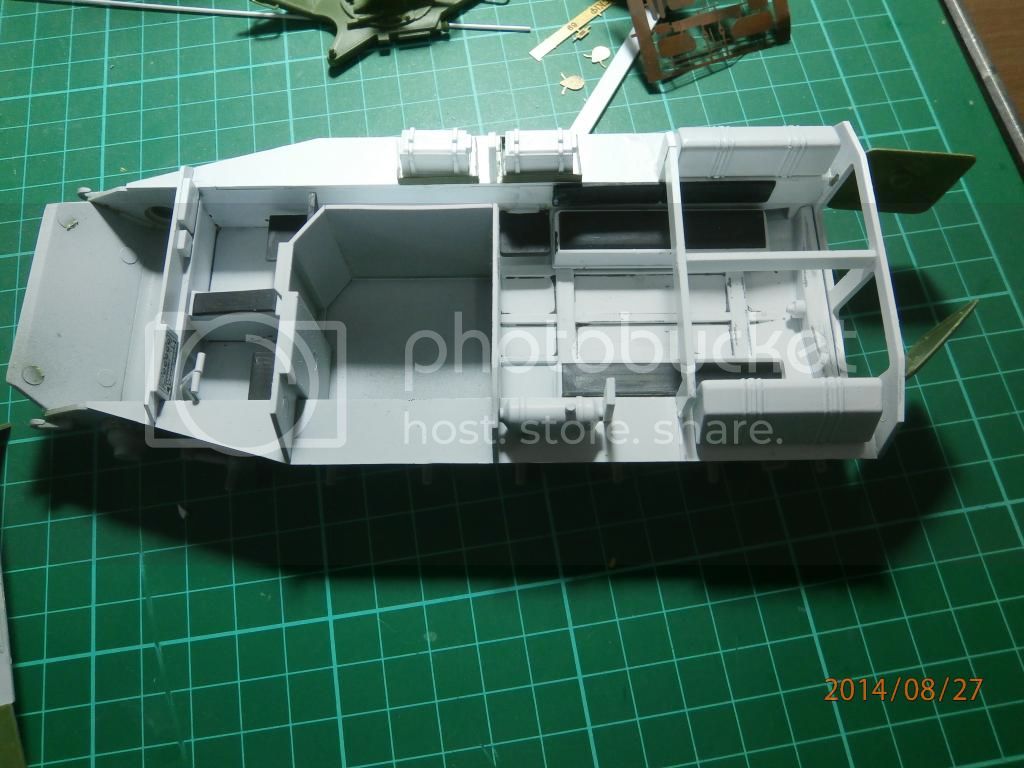
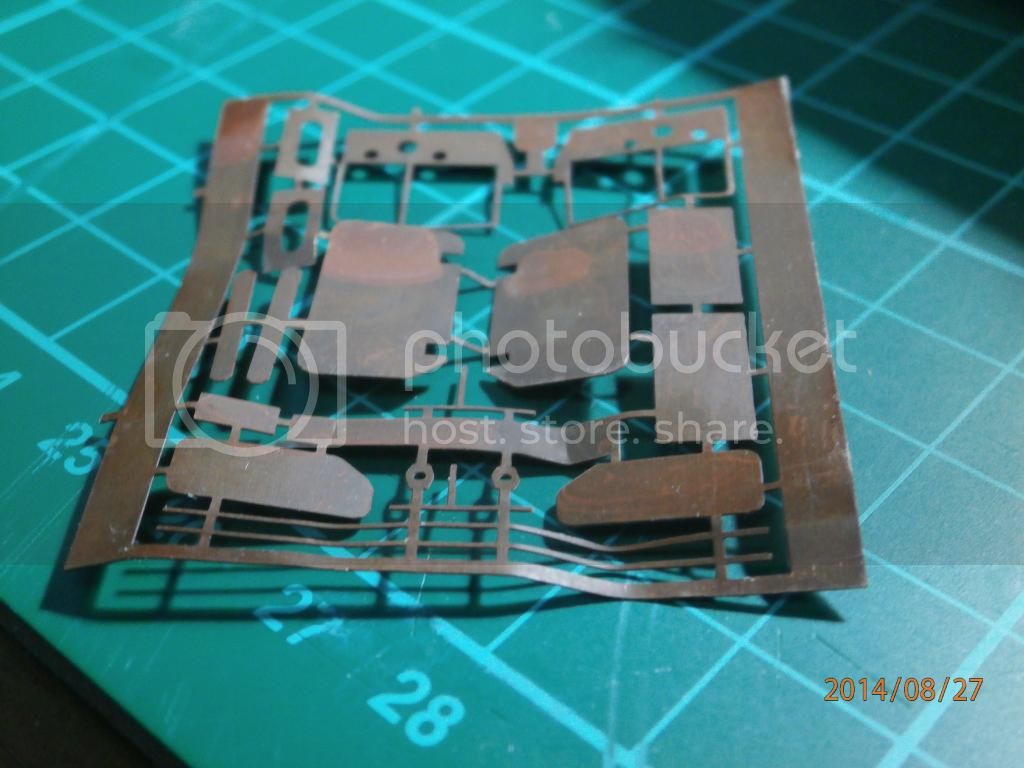
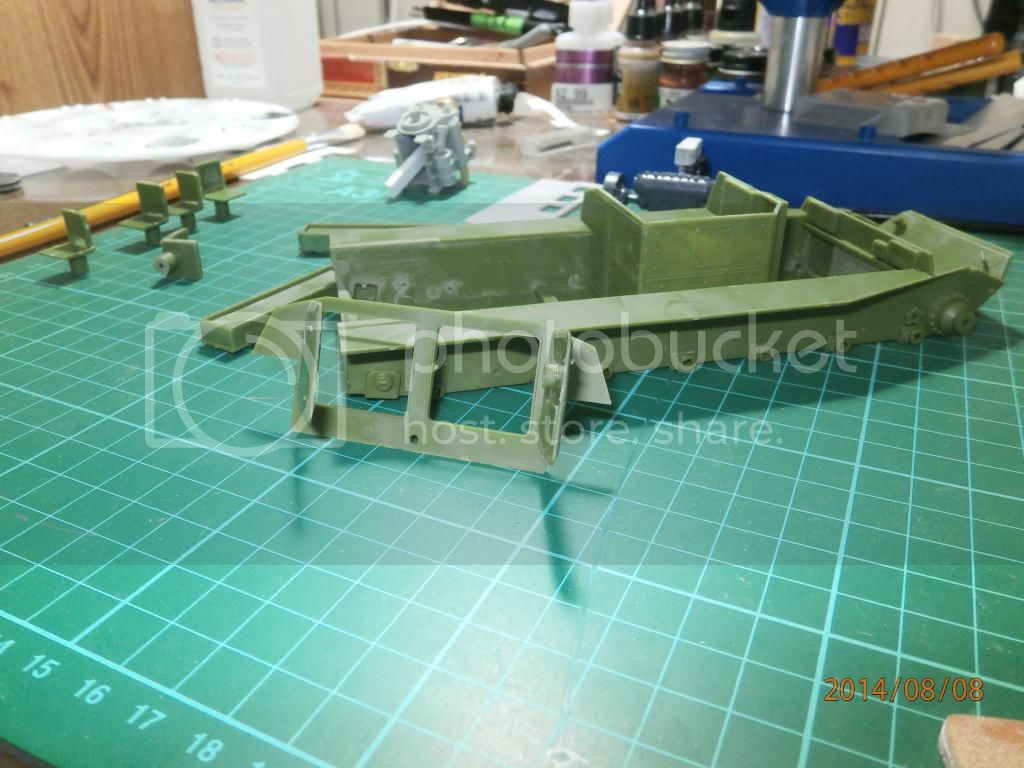
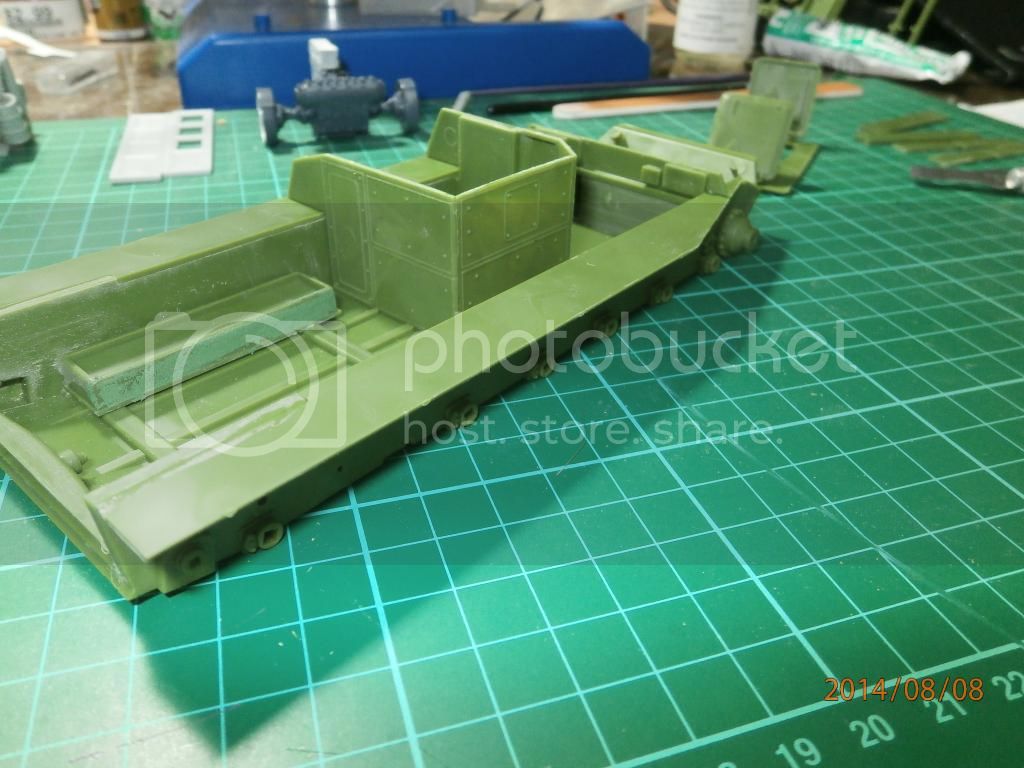
Ugggh Skif. That should have made me stop and at least said “Huh”. From corroded photo-etch, warped upper body, to really soft plastic made for some long hours. Here are some progress shots for the campaign. Maybe not the best kit to get back into the hobby after so many decades.
Quality photo etch
Hull starting
Quality photo etch

Hull starting


rcnpthfndr

Joined: February 15, 2006
KitMaker: 284 posts
Armorama: 264 posts

Posted: Monday, September 15, 2014 - 12:11 AM UTC
Removed by original poster on 09/15/14 - 12:56:02 (GMT).
wedgetail53

Joined: October 02, 2008
KitMaker: 658 posts
Armorama: 629 posts

Posted: Monday, September 15, 2014 - 09:19 AM UTC
Your dedication does you credit!
2ndWorcesters

Joined: March 15, 2014
KitMaker: 80 posts
Armorama: 80 posts

Posted: Thursday, September 18, 2014 - 09:00 AM UTC
This is looking ace mate.
2ndWorcesters

Joined: March 15, 2014
KitMaker: 80 posts
Armorama: 80 posts

Posted: Thursday, September 18, 2014 - 09:03 AM UTC

Bluestab

Joined: December 03, 2009
KitMaker: 2,160 posts
Armorama: 1,906 posts

Posted: Thursday, September 18, 2014 - 04:58 PM UTC
Way overdue update. I've had this one finished for a few weeks. I've been trying to get some usable pictures. Given the size and color that hasn't been easy.
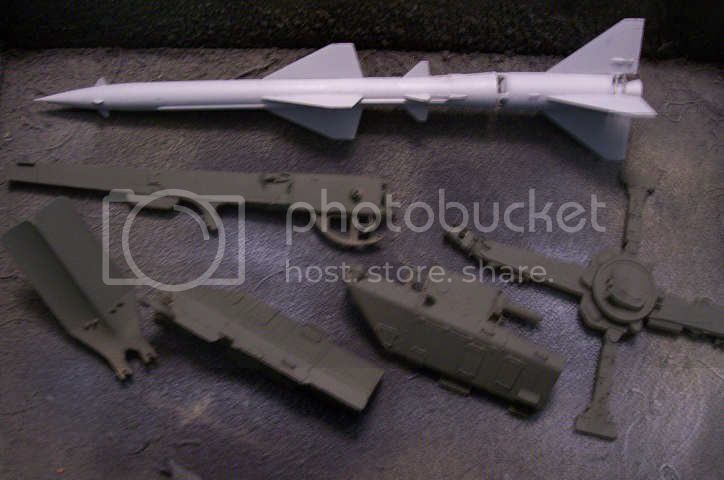
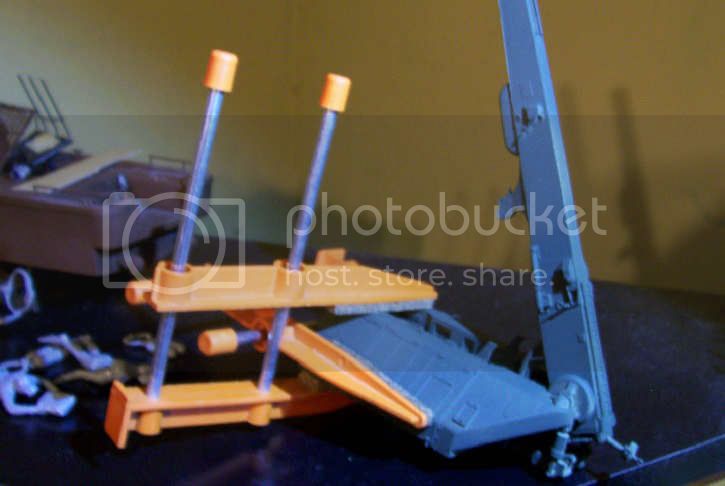
Both the missile and launcher out of paint.
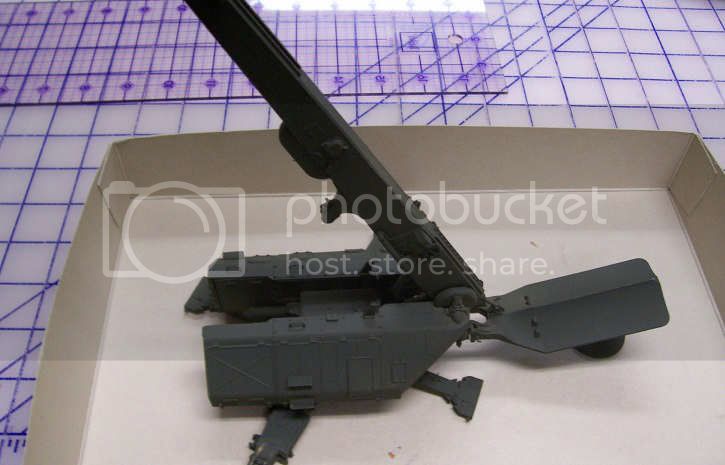
Final assembly of the launcher. The launcher is fixed in a raised position. The launcher wouldn't go together without modifications.
The kit has a sizable decal sheet, all of which go on the missile. Decal quality is not great. They tend to roll up at the oddest moment and some of the larger decals really didn't help with that.
Drybrushed the missile and launcher. I didn't give the missile a lot of weathering or washes. Drybrushing on the missile was really light.
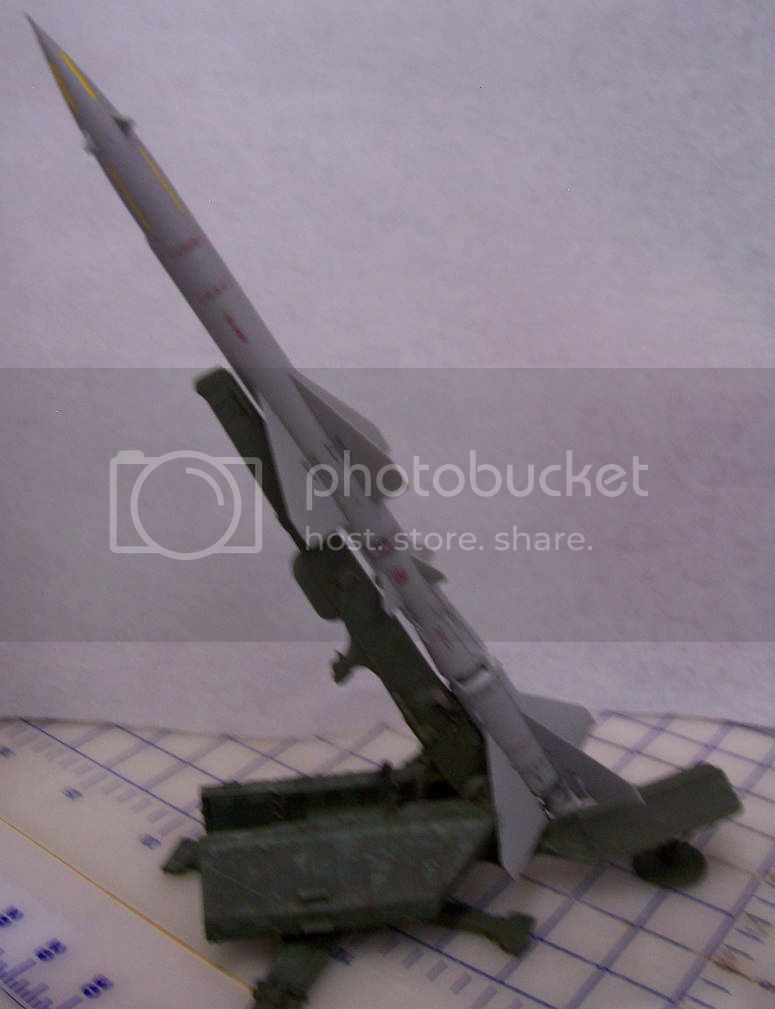
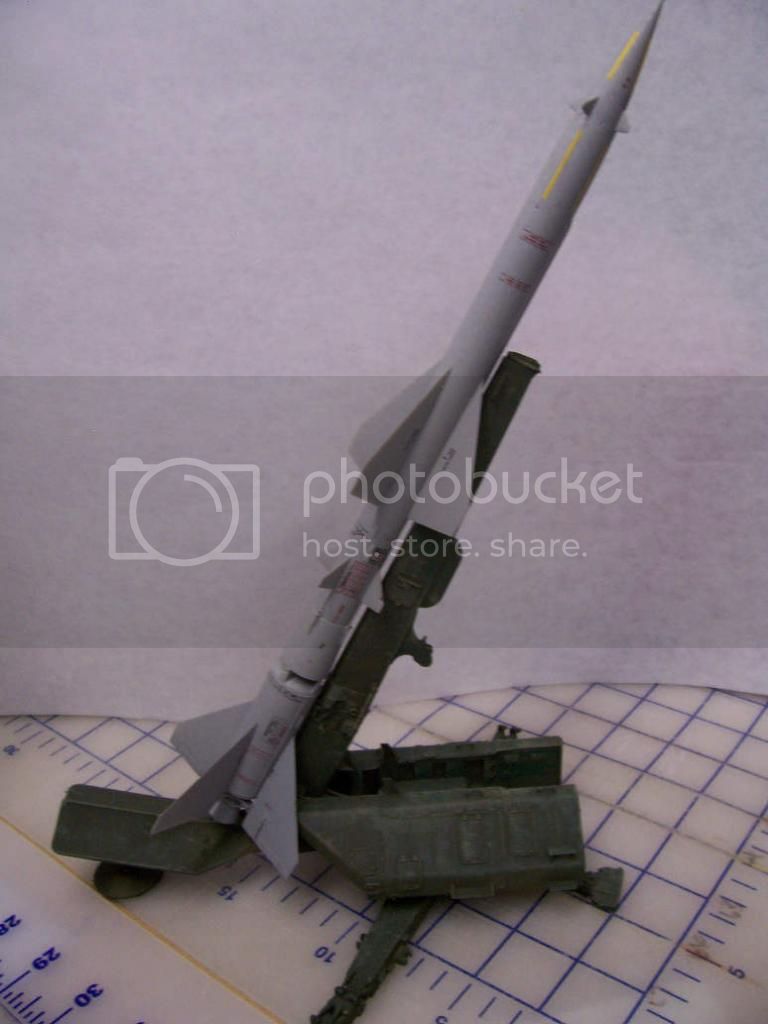
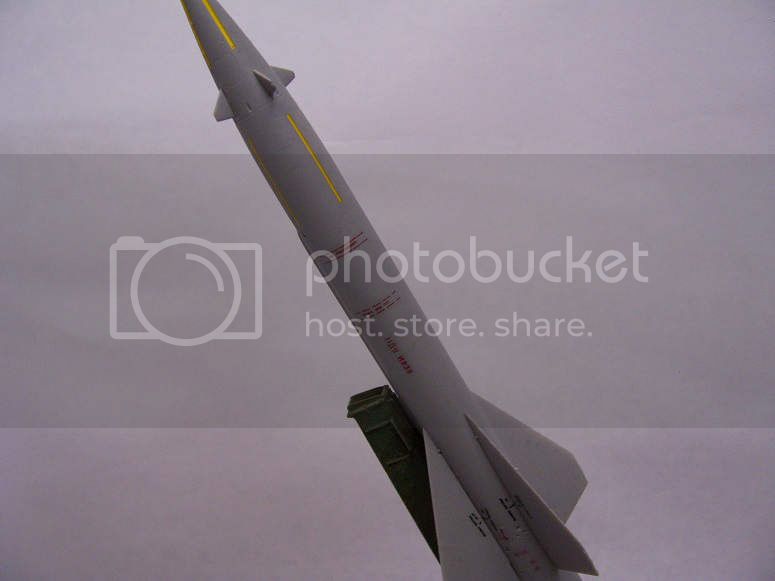
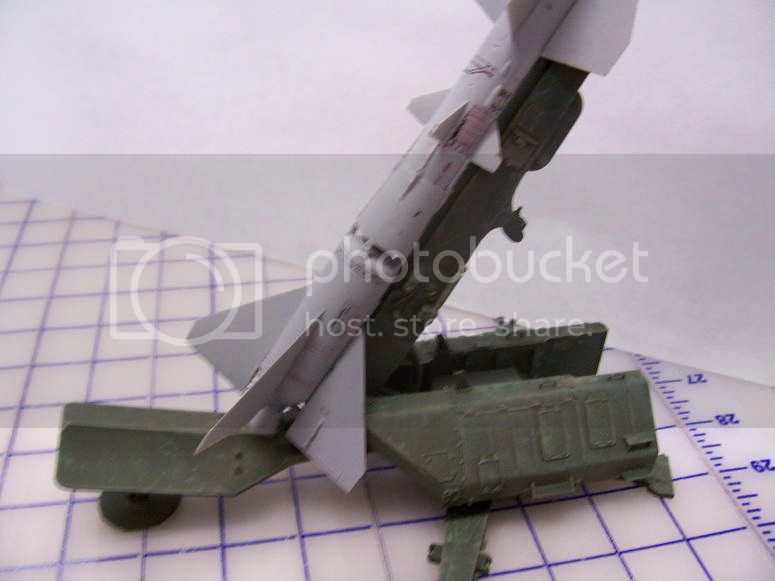
Missile with a GAZ and Soviet soldier next to it for size comparison.
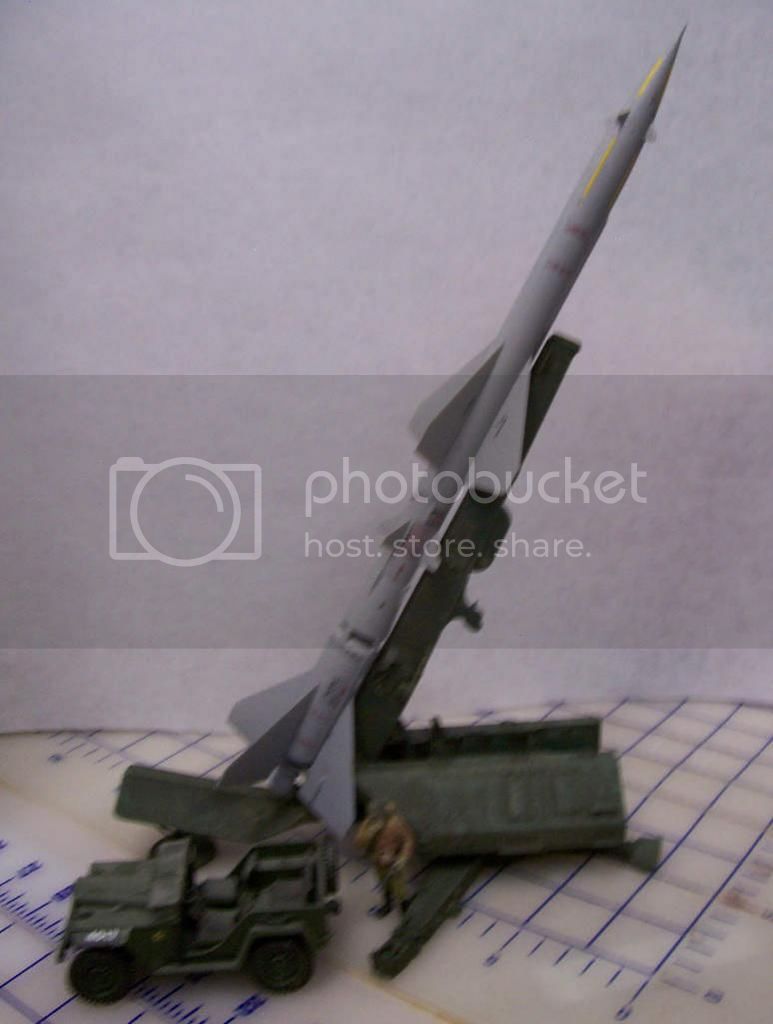
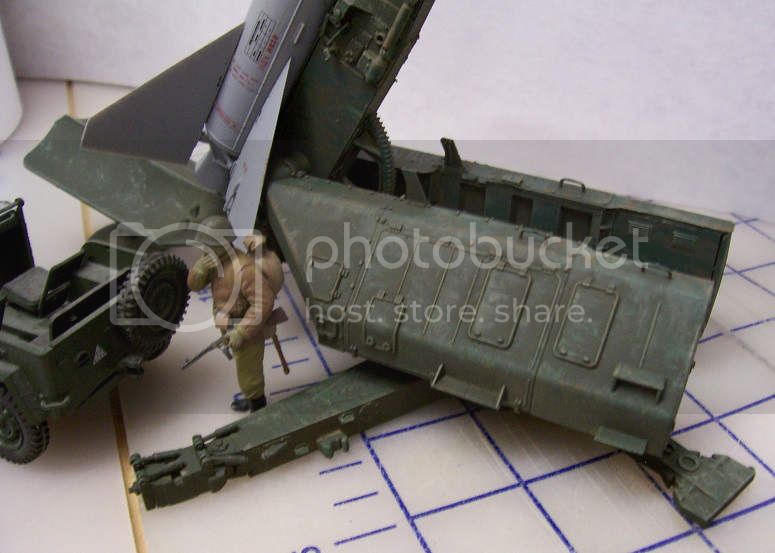
She's done. It's a neat kit but has some fit issues from wear on the molds. Decal are bothersome and have issues. I'll have to play with the images a bit to get a couple for the gallery.
Both the missile and launcher out of paint.

Final assembly of the launcher. The launcher is fixed in a raised position. The launcher wouldn't go together without modifications.


The kit has a sizable decal sheet, all of which go on the missile. Decal quality is not great. They tend to roll up at the oddest moment and some of the larger decals really didn't help with that.
Drybrushed the missile and launcher. I didn't give the missile a lot of weathering or washes. Drybrushing on the missile was really light.


Missile with a GAZ and Soviet soldier next to it for size comparison.


She's done. It's a neat kit but has some fit issues from wear on the molds. Decal are bothersome and have issues. I'll have to play with the images a bit to get a couple for the gallery.
Posted: Sunday, September 21, 2014 - 10:40 AM UTC
Great looking work, everyone. Been off on business travel, and still don't know when I'll get a chance to sit down at the bench....


2ndWorcesters

Joined: March 15, 2014
KitMaker: 80 posts
Armorama: 80 posts

Posted: Wednesday, October 01, 2014 - 06:43 AM UTC
Sorry guys.
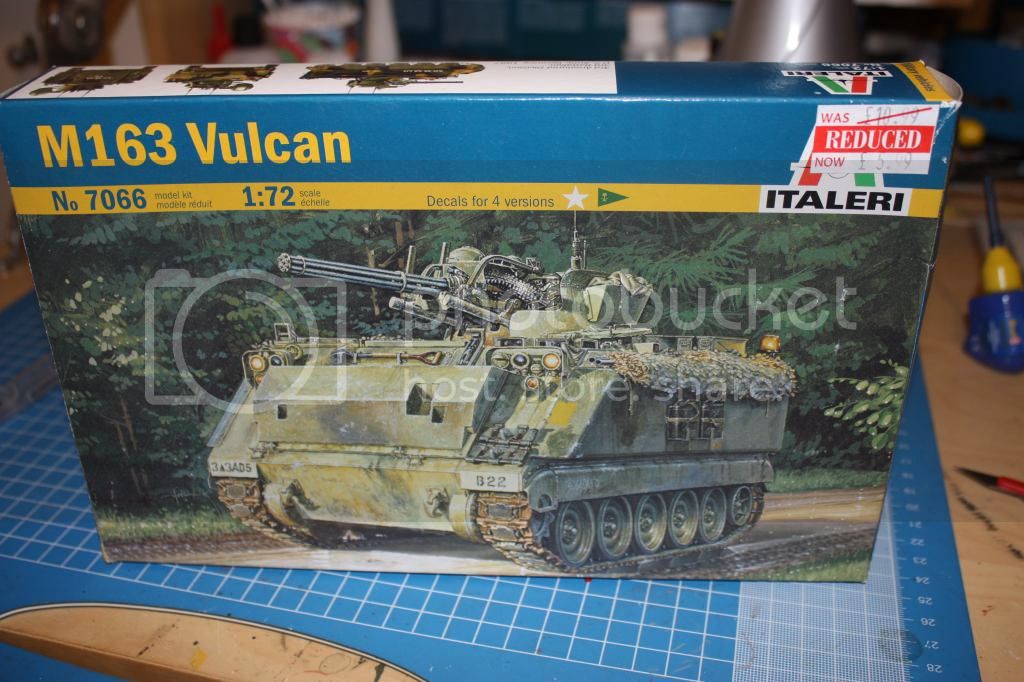
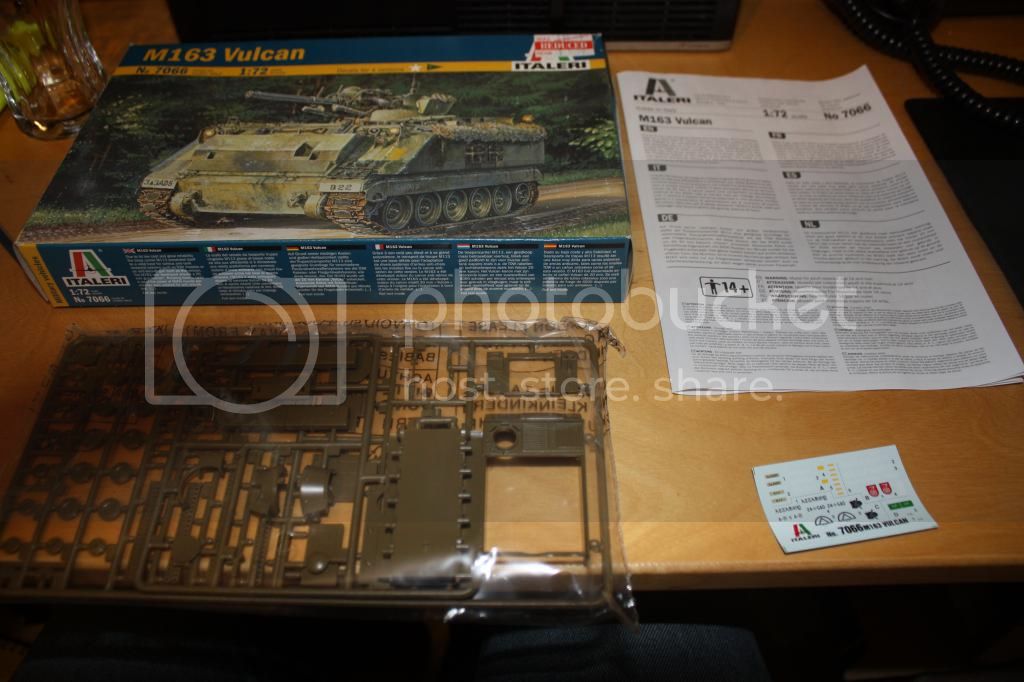
I've been building my M163 Vulcan and the turret on the Italeri kit bears no real resemblance to the real thing.
So I'm going to look for another build to do.
I've been building my M163 Vulcan and the turret on the Italeri kit bears no real resemblance to the real thing.
So I'm going to look for another build to do.
wedgetail53

Joined: October 02, 2008
KitMaker: 658 posts
Armorama: 629 posts

Posted: Wednesday, October 01, 2014 - 09:44 AM UTC
Alan
Yeah, you get that. Not the first time I have heard similar comments about Italeri either - the example of the steering wheel on the Bergepanther (all Panthers had steering levers!) springs immediately to mind.
My sympathies mate.
Regards
Rob
Yeah, you get that. Not the first time I have heard similar comments about Italeri either - the example of the steering wheel on the Bergepanther (all Panthers had steering levers!) springs immediately to mind.
My sympathies mate.
Regards
Rob
Posted: Wednesday, October 01, 2014 - 10:08 AM UTC
Never been a big fan of Italeri. Back when I was a kid growing up in Maine and the only models available were what could be found at the local general store, one or two Italeri and ESCI/Ertl were often all that was available. Man, those kits sucked! Probably suitable to my modeling skills at the time... 


35th-scale

Joined: November 21, 2007
KitMaker: 3,212 posts
Armorama: 2,807 posts

Posted: Wednesday, October 01, 2014 - 11:31 PM UTC
Picked up the Trumpeter SAM-2 on launcher last week and hope to commence building any day.... So Alex,woul dyou like to elaborate on "The launcher wouldn't go together without modifications"

Bluestab

Joined: December 03, 2009
KitMaker: 2,160 posts
Armorama: 1,906 posts

Posted: Thursday, October 02, 2014 - 05:20 PM UTC
Sean,
My launcher control unit halves didn't line up well. Mine had a sizable gap on the inside of one of the launcher halfs (P19)and the sprocket wheel (P16) for elevation is off. For mine, I had to sand down the sprocket wheel and elevation gear so it all go together when you add the launcher arm.
The decals are the devil. Trumpy jumbled a couple of large sections together as a single decal...a pain to work with. I learned my lesson on the first and cut up the second one. They also like to curl up.
It builds up to be a neat display piece. The issues are workable. I'm planning to pick up another one at some point.
easyco69

Joined: November 03, 2012
KitMaker: 2,275 posts
Armorama: 2,233 posts

Posted: Thursday, October 02, 2014 - 09:58 PM UTC
This will be my entry.


Giovanni1508

Joined: April 17, 2014
KitMaker: 652 posts
Armorama: 600 posts

Posted: Monday, October 06, 2014 - 08:38 PM UTC
wedgetail53

Joined: October 02, 2008
KitMaker: 658 posts
Armorama: 629 posts

Posted: Wednesday, October 08, 2014 - 09:51 AM UTC
G'day guys
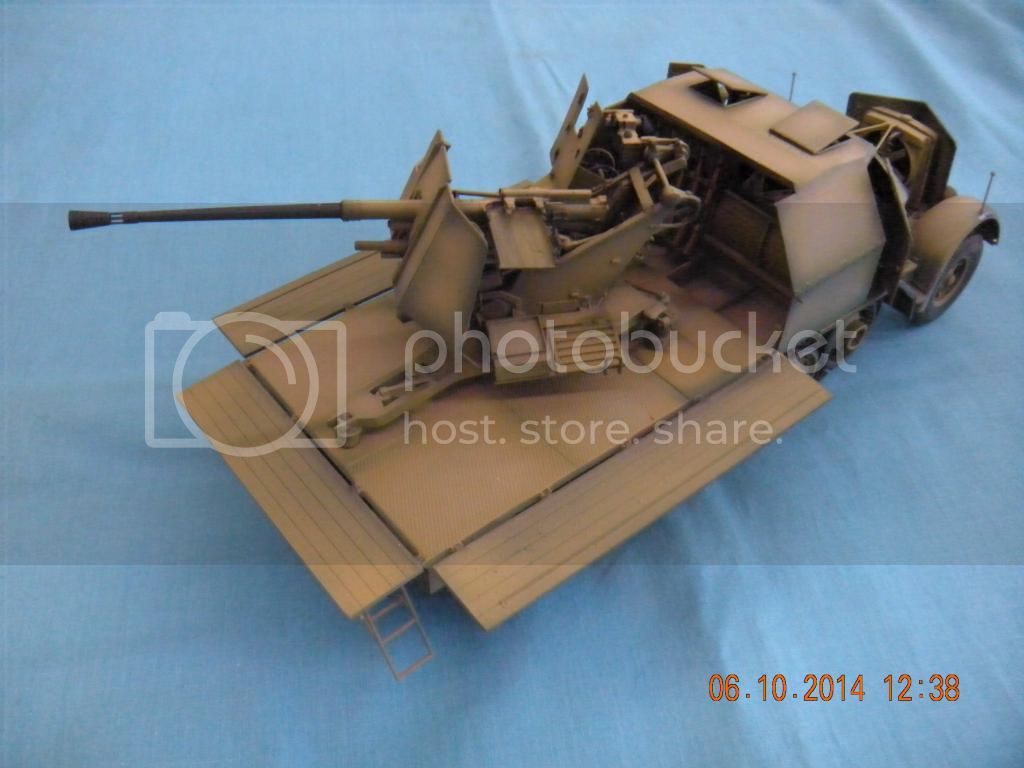
OK, a few update pics:
Vehicle with gun now fitted.
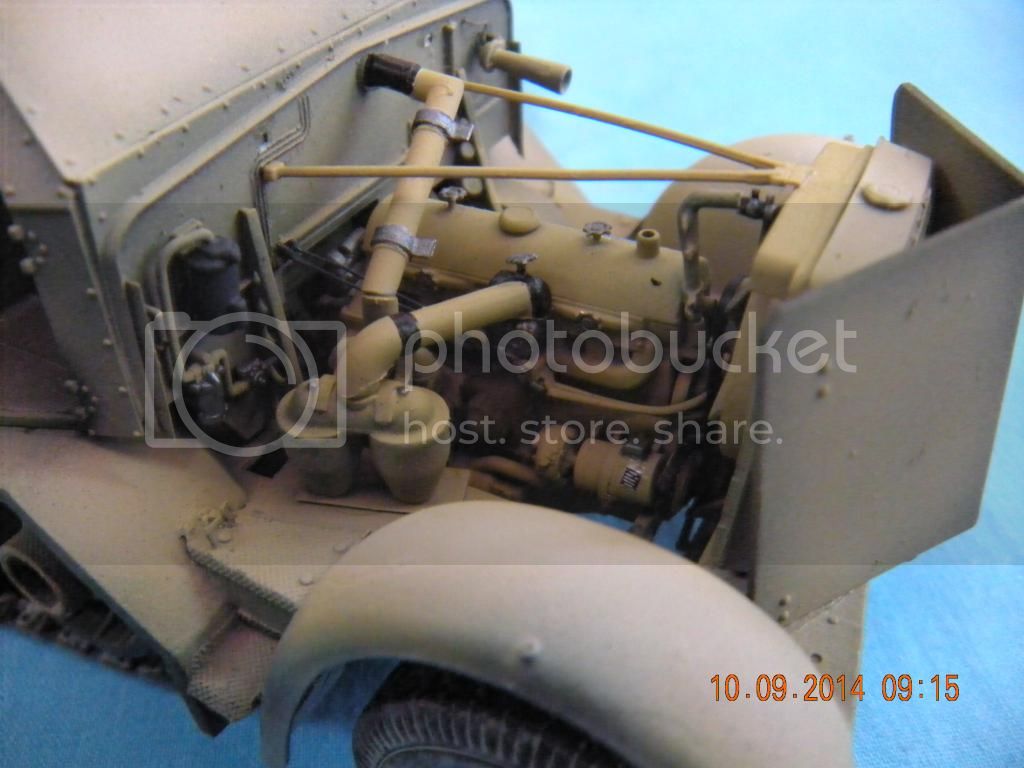
Engine detail:
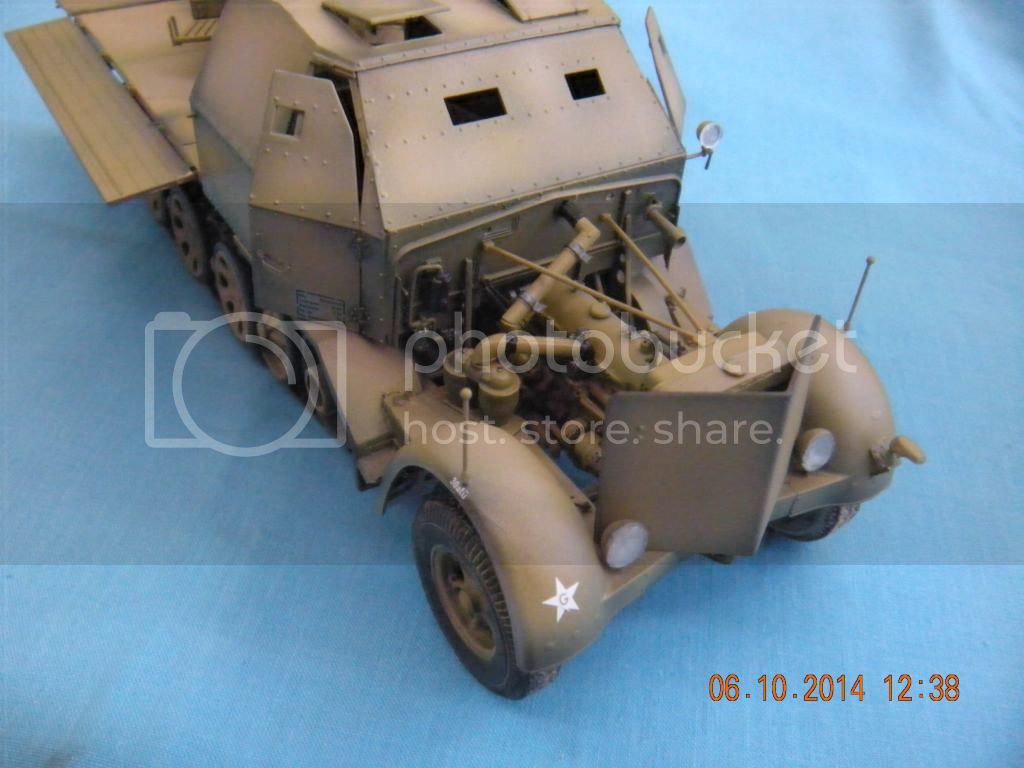
Front end (gloss coat has been applied prior to decallling):
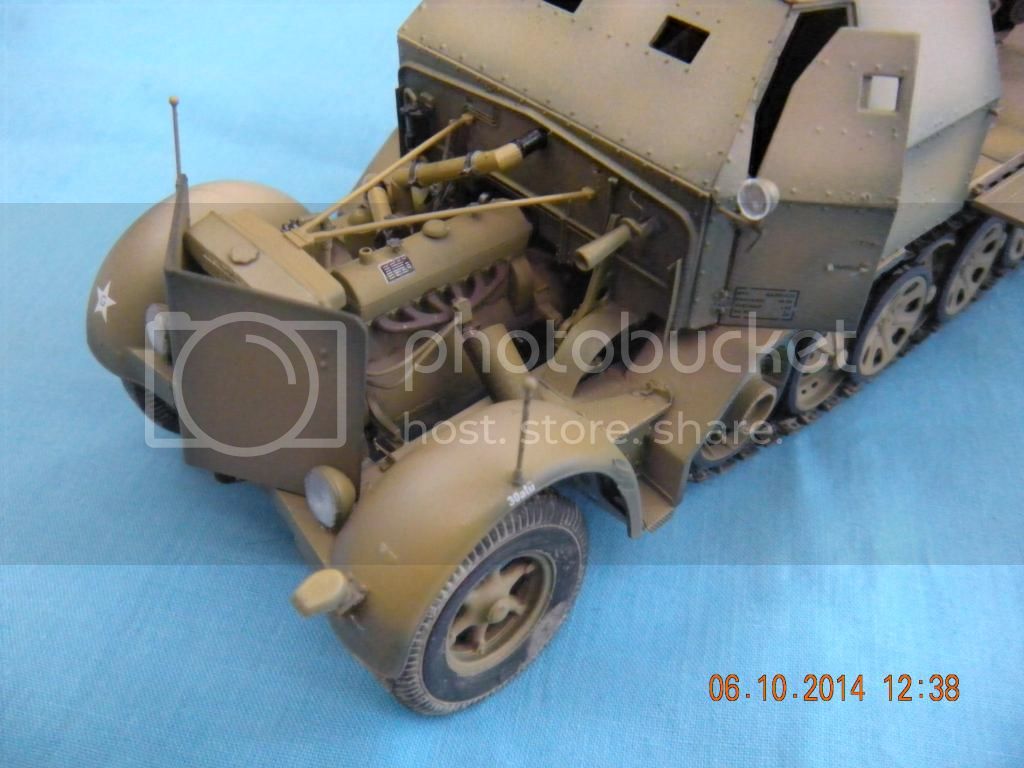
Front end from the other side:
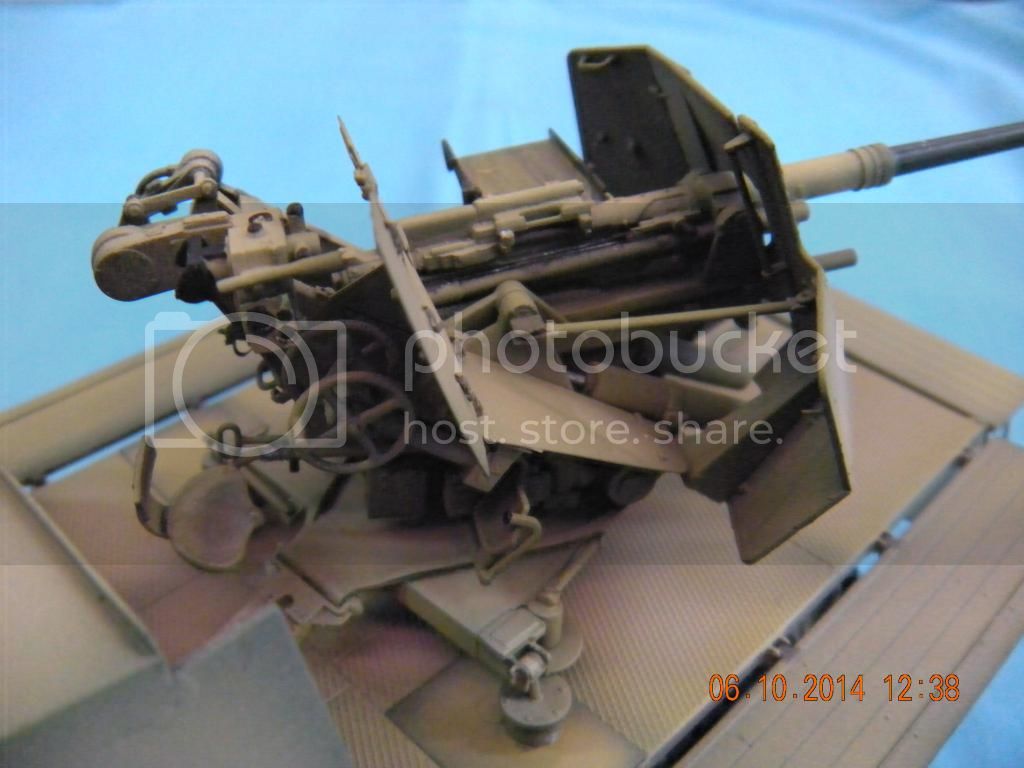
Gun detail. I don't know how many times I broke that *%$*%*!!! gunner's seat off:
Currently just waiting for the arrival of some scenic materials so that I can mount it on a base and weather everything together.
Regards
Rob
OK, a few update pics:
Vehicle with gun now fitted.

Engine detail:

Front end (gloss coat has been applied prior to decallling):

Front end from the other side:

Gun detail. I don't know how many times I broke that *%$*%*!!! gunner's seat off:

Currently just waiting for the arrival of some scenic materials so that I can mount it on a base and weather everything together.
Regards
Rob

justsendit

Joined: February 24, 2014
KitMaker: 3,033 posts
Armorama: 2,492 posts

Posted: Wednesday, October 08, 2014 - 11:12 AM UTC
Nice Rob! 

 |


