Quoted Text
Quoted Text
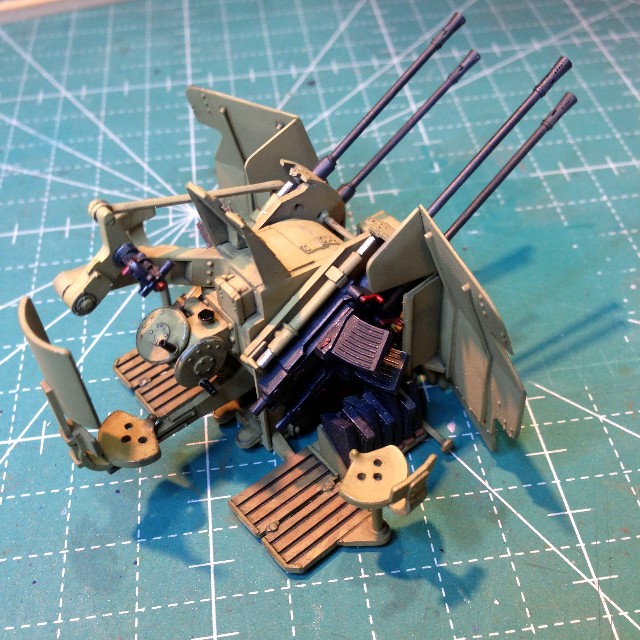
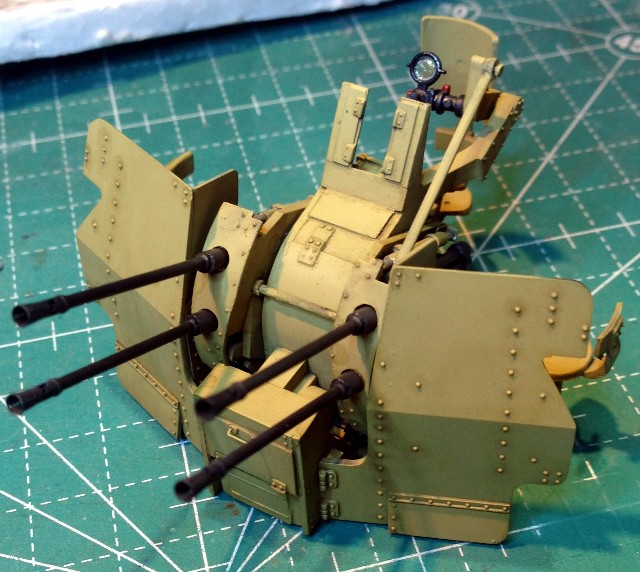
Good-lookin' Quad, Mark! 
Couple little things which may boost it a bit more:
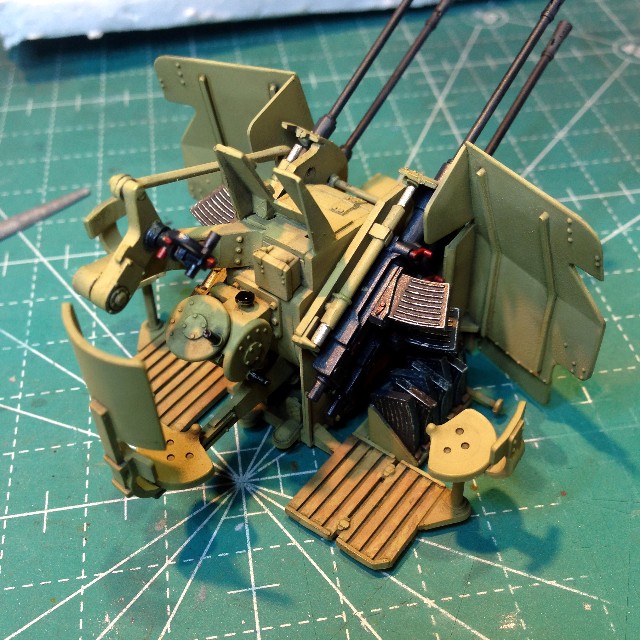
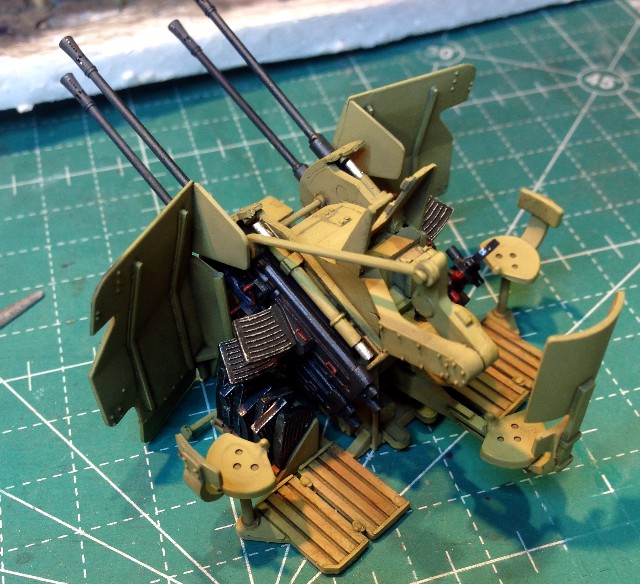
Maybe drill through those 3 "holes" in each seat? - these seat-pans were sheet-metal stampings and those holes were drains, I think, to avoid water-pooling, like on metal tractor-seats.
Your duck-boards look good - maybe add some very thinned black in between the raised wood slats to gain more shadow? The slats were set into a raised frame over a metal pan... there may have been some drain-holes in t hat pan, albeit you probably would not see them when the boards are down, as you have them.
Maybe "de-wear" your mags a little! These mags came in several colors, and there were "zillions" of them made, so probably the prototype did not need to see any really worn field relics!
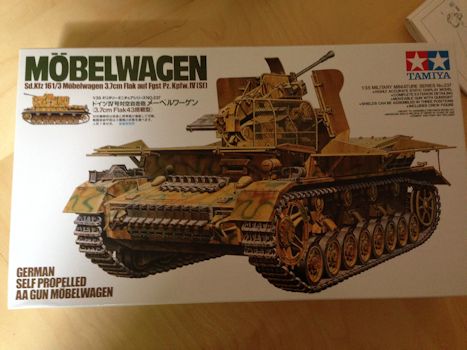
Whenever you get to your hull... there are a very few images around of that prototype - looks to me like the hull was fully painted in "new dunkelgelb" for the trials and presentation - as was the gun-mount (which I bet was actually simply an available used flakvierling and not a new-production piece!) - it all looks pretty fresh and clean in the pics!
Way to GO (Geaux), Mark!
Bob 
Bob,
I like the suggestion about the seats--definately going to do that. I actually did dump a BUNCH of wash in between the slats, but it's still pretty light. Had given thought early-on to thinning out the underside and opening up the gaps between the slats, but wrote that off as too much trouble. I may yet go back and do that as I'm not completely happy with the way the slats turned out anyway.
May also try toning down the mags some, but I really needed something to weather on this build! 
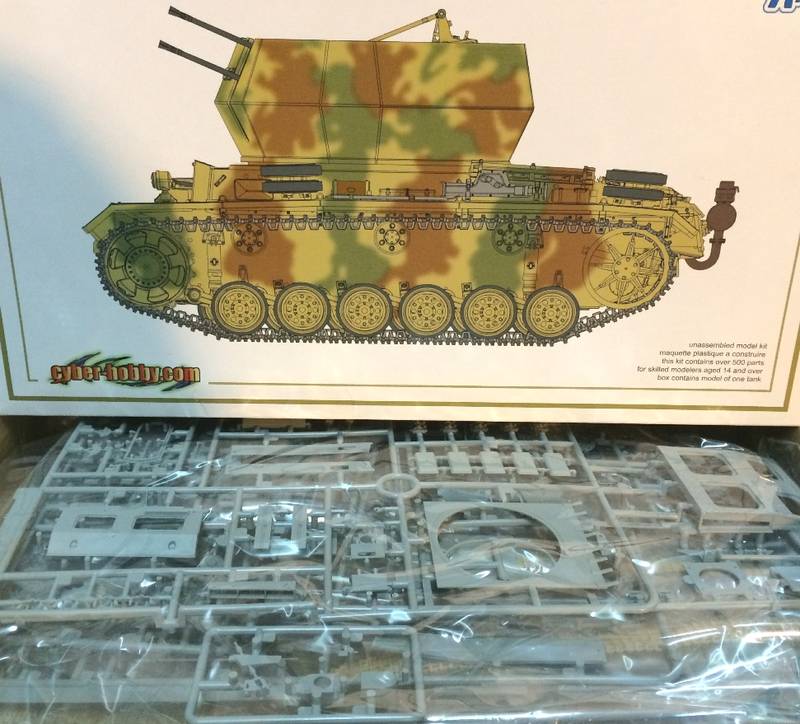
Completely agree on the colors of the hull. I've seen the photos, and the whole thing appears to be a pretty uniform shade of dark yellow with no camo. I do intend for the hull to be an ever-so-so-subtley-different shade than the gun mount, but close enough that the difference would be indistinguishable in a B&W photo.
Thanks, everyone, for the kind words!
Mark;
I could see some wash in there - maybe it's just a bit too light a shade... doing a black or very dark brown wash will get a better shadow effect?
I suggest NOT opening up that tray under those duck-boards - far as I can find from several good pics of relic units, it was indeed a metal tray, and NOT open such that one could look down between the slats and see the ground below.
About those mags: do tone them down a bit! When they "weathered" or wore, they actually just lost a little of the enamel paint (black, dark gray, dark green were all issue colors) which was worn away by rubbing, and the revealed bare metal would be a darker steel color. Some of these mags were "phosphate gray" and some were actually "blued" or similar metal-salts staining, and they would take on the look of a worn phosphate-finish gun-part (i.e., somewhat greater sheen and some darkening). Again, I think that the mags would have been pretty recent stuff and not battered field relics - these things were NOT generally shipped back from the front for refills, but rather refilled by crews on-site, so a rear-area trials vehicle probably got fresh stuff versus well-used.
IF you are considering wear to reflect a nearly-new prototype, I think you are pretty close as it goes right now. The places I would think of adding "more wear" would be doing some light black / dark steel wash rubbed around the hand-wheels (more dirt-stains than actual wear-to-metal)and foot rests and pedal, etc., and maybe doing some fine dry-brushing on exposed metal corners and edges (but keep this light, without any of those big chips and dings folks seem to (in MHO, way overdo) add to tank corners, etc.).
This becomes pretty detailed and "finely-tuned" as a weathering exercise, as you are trying to hi-lite tiny wear-areas where just a few boots have rested and a few hands have worked, as versus a "long history" of active use. The same will go for your hull... finely-tuned, focused tiny wear will really "pop" a nearly-new prototype in field trials, versus a used tank.
Bob


 Apart from those, if you see anything I've overlooked that needs fixing let me know!