Mike,
The only pic I could find of it was off Missing-lynx
http://www.network54.com/Forum/47208/thread/1304490723/M4A3E8+%26quot%3BPaper+Doll%26quot%3B
Steve
Hosted by Darren Baker
Tamiya M4A3E8 Sherman - The new one
sdk10159

Joined: December 08, 2005
KitMaker: 556 posts
Armorama: 433 posts

Posted: Sunday, September 14, 2014 - 11:23 PM UTC
MikeyBugs95

Joined: May 27, 2013
KitMaker: 2,210 posts
Armorama: 1,712 posts

Posted: Monday, September 15, 2014 - 01:05 AM UTC
Ok thanks. I've already seen it but thanks anyway.
Also, this is where I am with the build:


I ordered a new barrel and Bison Decal sheets. They should be here by the end of the week.

Also, this is where I am with the build:


I ordered a new barrel and Bison Decal sheets. They should be here by the end of the week.

easyco69

Joined: November 03, 2012
KitMaker: 2,275 posts
Armorama: 2,233 posts

Posted: Monday, September 15, 2014 - 01:27 AM UTC
Quoted Text
What? "trusty three blade hobby knife" In many countries that's considered a concealed weapon!
I use the trusty X-Acto knife... but very rarely. My Xuron cutter does ALL my sprue work.
I'll be watching this with great interest as I need to add another Sherman to the mix here!
Jeff
You'd like this kit Jeff, it's a Tasca. I just got it along with the Firefly. I'll be following this build. It's one of those kits that you wanna take your time with...for me anyway. As for the hobby knife, I also almost sliced part of my thumb off , twice ..lol...you have to be careful with hobby knives .
Coming along nicely Mike!

MikeyBugs95

Joined: May 27, 2013
KitMaker: 2,210 posts
Armorama: 1,712 posts

Posted: Monday, September 15, 2014 - 01:34 AM UTC
I hear you on almost slicing indexes off... I almost cut part of my index finger off above the 3rg knuckle when a similar version of this knife closed on my finger. When cutting some plastic, as I cut into myself usually, I usually come out with a few small cuts and scratches.
ericadeane

Joined: October 28, 2002
KitMaker: 4,021 posts
Armorama: 3,947 posts

Posted: Monday, September 15, 2014 - 06:02 AM UTC
Looking good Mike. One thing you might want to alter is those two .30cal ammo boxes with handles. Cut off the handles -- google images of the ammo boxes and you'll see the handles collapsed nicely. Also when crews mounted ammo on the HVSS extended fenders, they had to be wired in to prevent them from falling off.

MikeyBugs95

Joined: May 27, 2013
KitMaker: 2,210 posts
Armorama: 1,712 posts

Posted: Monday, September 15, 2014 - 08:13 AM UTC
Ok thanks for the info on the boxes. I'll be sure to do that when I get home. And I did add a "strap" to the fuel and water containers. I'll use a small wire for the ammo boxes.

MikeyBugs95

Joined: May 27, 2013
KitMaker: 2,210 posts
Armorama: 1,712 posts

Posted: Thursday, September 18, 2014 - 09:03 AM UTC
Well I finally got the replacement barrel in. But it didn't come with any instructions so now I have to source them online. But finally after a few hours I'll be able to prime it.
I've also been painting the kits figures in the meantime. This has been helped by the fact that I got a set of actual detail brushes and I've been painting the tiny details. Unfortunately the paint on some of the coats hasn't fully dried yet. I mixed some Humbrol Khaki and Humbrol Yellow to get the color.
I've also been painting the kits figures in the meantime. This has been helped by the fact that I got a set of actual detail brushes and I've been painting the tiny details. Unfortunately the paint on some of the coats hasn't fully dried yet. I mixed some Humbrol Khaki and Humbrol Yellow to get the color.
nick_pal

Joined: July 09, 2014
KitMaker: 327 posts
Armorama: 283 posts

Posted: Thursday, September 18, 2014 - 09:14 AM UTC
Hi Mike, I built the original Tasca M4A3E8, great kit hey?! I modelled mine as "Fury" from Brad Pitts upcoming movie. Here's a link
https://armorama.kitmaker.net/forums/224599&ord=&page=2
https://armorama.kitmaker.net/forums/224599&ord=&page=2

Tojo72

Joined: June 06, 2006
KitMaker: 4,691 posts
Armorama: 3,509 posts

Posted: Thursday, September 18, 2014 - 09:34 AM UTC
Moving along real nicely.Got to add one these to my stash

MikeyBugs95

Joined: May 27, 2013
KitMaker: 2,210 posts
Armorama: 1,712 posts

Posted: Thursday, September 18, 2014 - 09:50 AM UTC
Nice build there Nick.
Anthony, you should. It's worth every penny you spend.
Also, has anyone use the RB Models 76.2mm M1A2 barrel? I can seem to figure out how to assemble it.
Anthony, you should. It's worth every penny you spend.
Also, has anyone use the RB Models 76.2mm M1A2 barrel? I can seem to figure out how to assemble it.

MikeyBugs95

Joined: May 27, 2013
KitMaker: 2,210 posts
Armorama: 1,712 posts

Posted: Thursday, September 18, 2014 - 10:52 AM UTC
New progress pictures:
I took people's advice (and it was what I was planning in doing all along, at least with the jerry cans in the rear) and added some straps on. I will be adding them to ammo boxes on the fenders shortly.

And here is the new barrel. I found the Armorscale instructions so I used those.


Some pictures of the figures, although not completely up to date:
Technical problems resolved. Here are the pictures:


I took people's advice (and it was what I was planning in doing all along, at least with the jerry cans in the rear) and added some straps on. I will be adding them to ammo boxes on the fenders shortly.

And here is the new barrel. I found the Armorscale instructions so I used those.


Some pictures of the figures, although not completely up to date:
Technical problems resolved. Here are the pictures:


MikeyBugs95

Joined: May 27, 2013
KitMaker: 2,210 posts
Armorama: 1,712 posts

Posted: Friday, September 19, 2014 - 04:53 AM UTC
I added an antenna to the turret. Any other details I can add with metal wire?

In the right edge of that picture you can the makings of some figures.
Before I go any further with them, how are they?


I'd like to know if there are any improvements I can do to them. Other than adding a head and arms.

In the right edge of that picture you can the makings of some figures.
Before I go any further with them, how are they?


I'd like to know if there are any improvements I can do to them. Other than adding a head and arms.

MikeyBugs95

Joined: May 27, 2013
KitMaker: 2,210 posts
Armorama: 1,712 posts

Posted: Friday, September 19, 2014 - 06:35 AM UTC
Ok.. Paint is starting to go on. I got the wheels painted OD, and the turret is mostly painted gray primer.


MikeyBugs95

Joined: May 27, 2013
KitMaker: 2,210 posts
Armorama: 1,712 posts

Posted: Monday, September 22, 2014 - 07:31 AM UTC
I finished the figures and gloss coated them. I'm going to try to weather them a bit. Any suggestions so I know what I'm doing? I also did a bit if preshading on the turret.

MikeyBugs95

Joined: May 27, 2013
KitMaker: 2,210 posts
Armorama: 1,712 posts

Posted: Tuesday, September 23, 2014 - 05:19 PM UTC
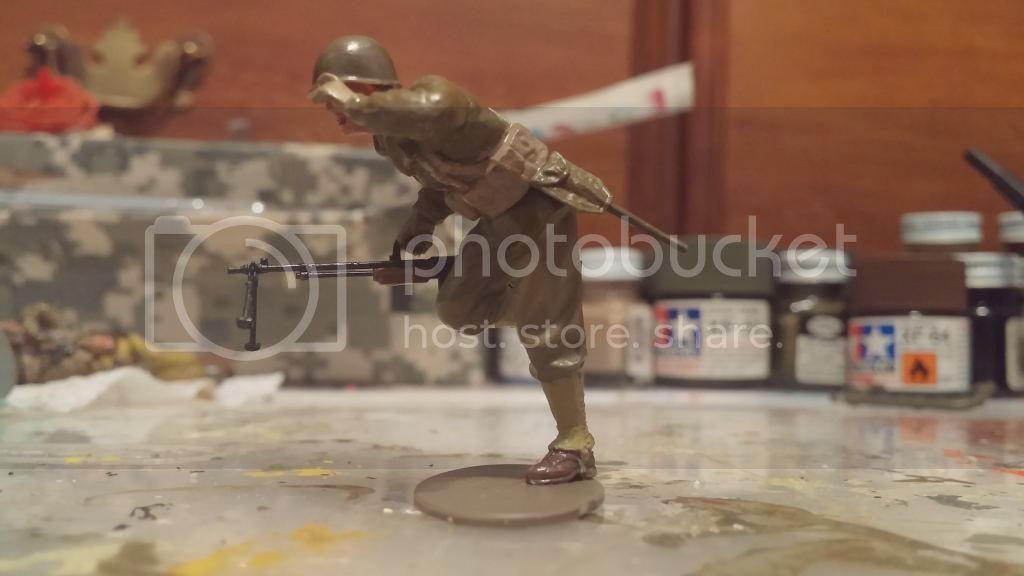
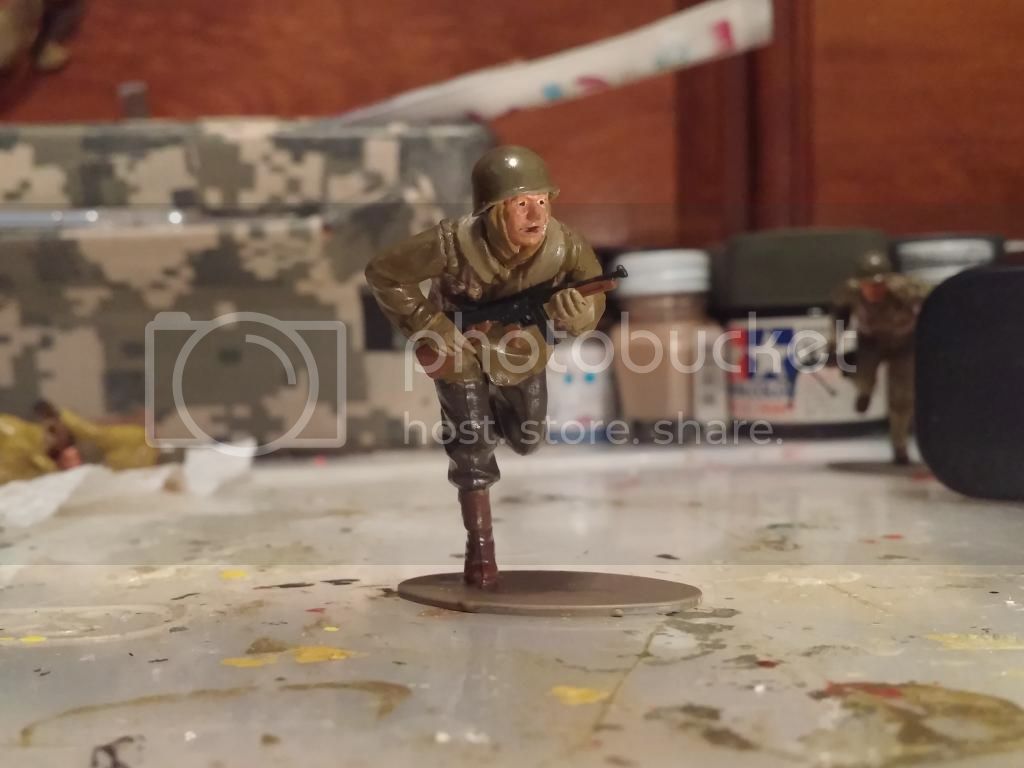
Here are the figures. I know, they're very glossy. I'll be dulling them down when I spray a matte clear over the tank in the end.


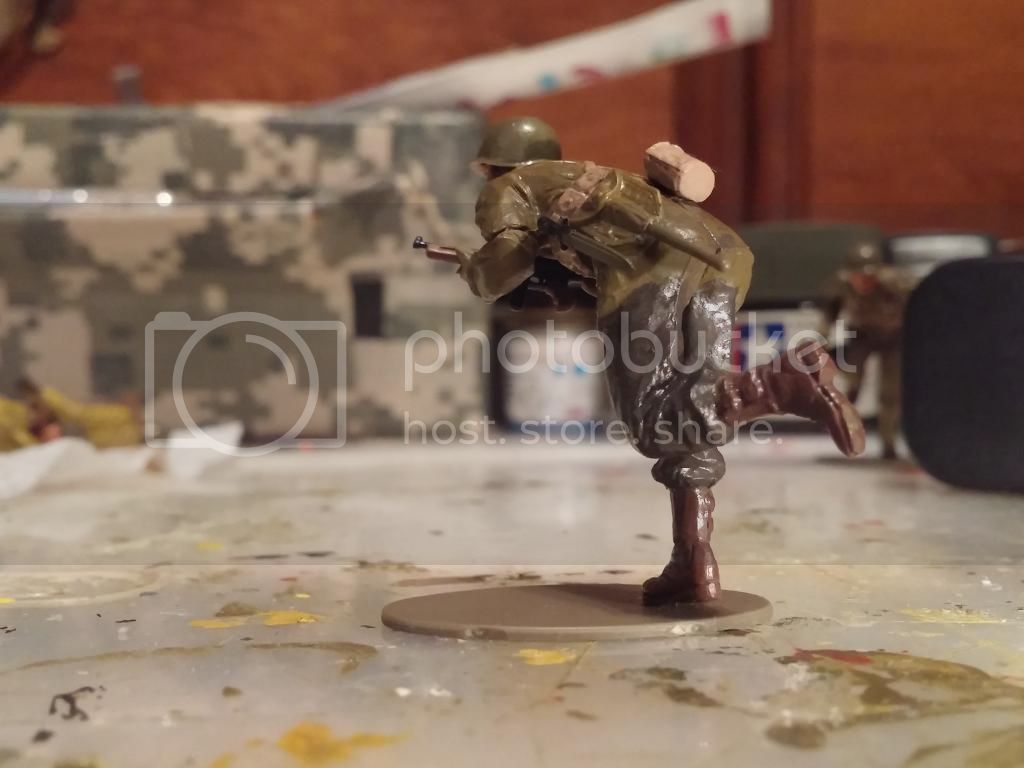

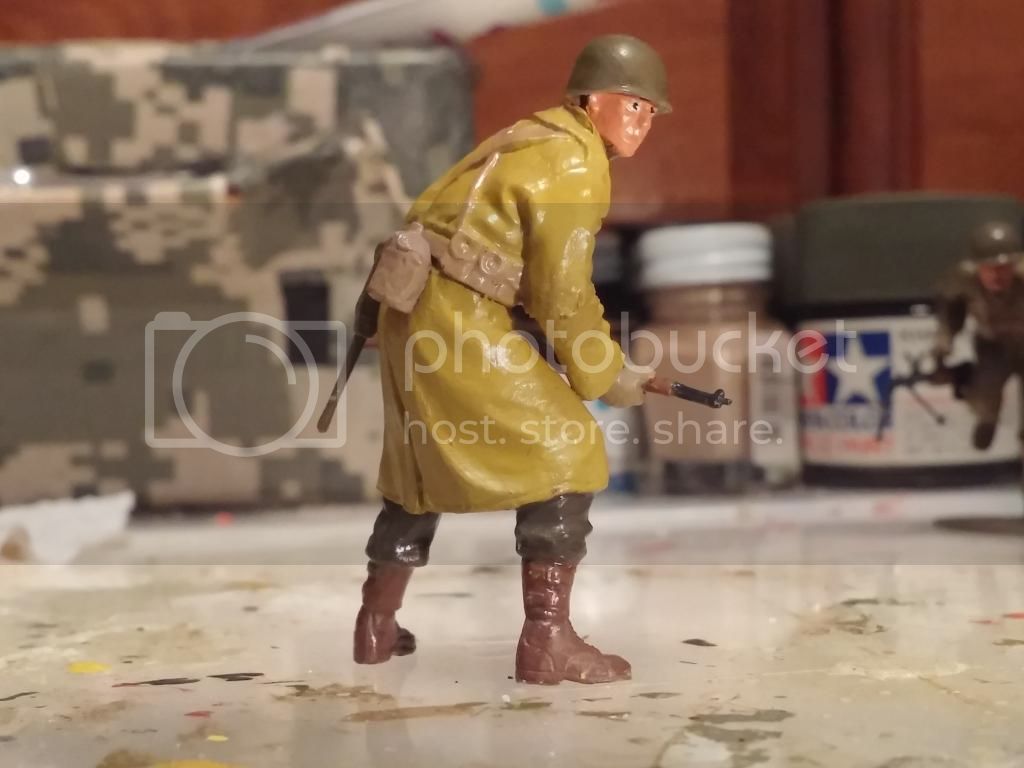
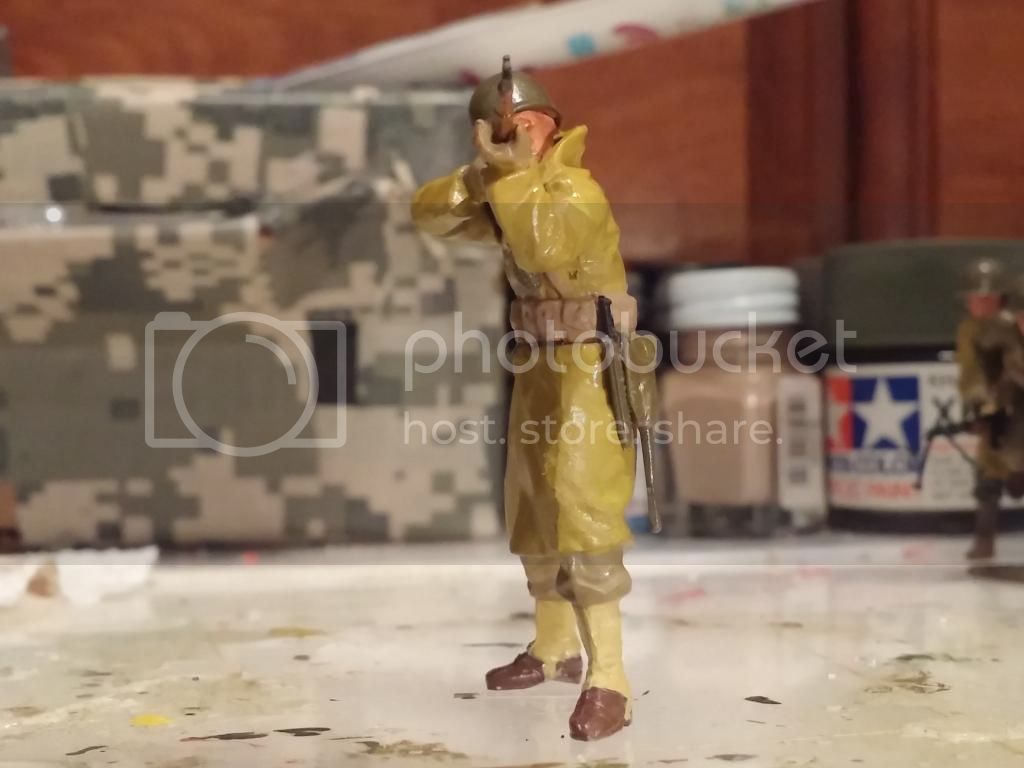

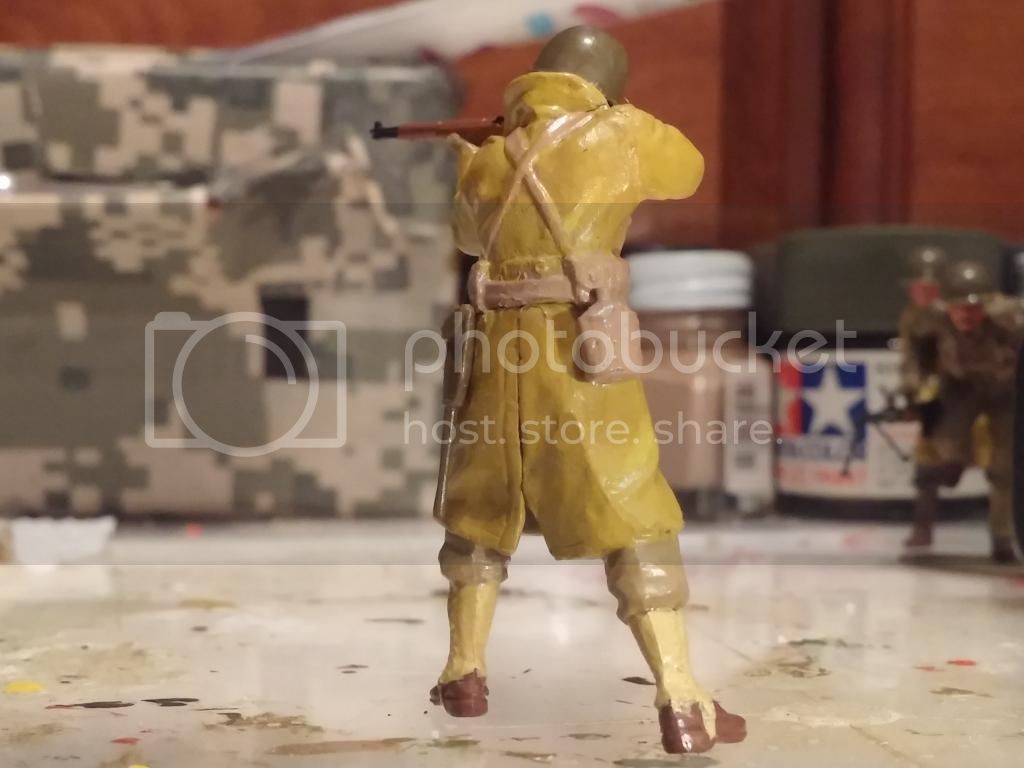


MikeyBugs95

Joined: May 27, 2013
KitMaker: 2,210 posts
Armorama: 1,712 posts

Posted: Saturday, October 04, 2014 - 08:31 PM UTC
The kits been primed, painted, glossed and now decaled. All that's left is to paint the back side of the idler wheels, attach the wheels and do some basic weathering. So now, some pictures: 


Also, is it possible that guns would be held on the tanks like this:

And would this be OK as well?

And, a bazooka and M3 Grease Gun from the Tamiya US weapons set. That set is horrendous. Silver plastic, poor details, and is just not up to today's standards. The Dragon kit of the Allied weapons set seems better. :

Would it be "proper" first tank to carry a bazooka on the rear?


Also, is it possible that guns would be held on the tanks like this:

And would this be OK as well?

And, a bazooka and M3 Grease Gun from the Tamiya US weapons set. That set is horrendous. Silver plastic, poor details, and is just not up to today's standards. The Dragon kit of the Allied weapons set seems better. :

Would it be "proper" first tank to carry a bazooka on the rear?
M4A3E8Easy8

Joined: February 04, 2006
KitMaker: 302 posts
Armorama: 300 posts

Posted: Saturday, October 04, 2014 - 11:44 PM UTC
Tank crews would not normally store a weapon where they could not reach it easily. The grease gun up top may be OK but the carbine on the side would probably not. As far as a bazooka I would see little need for one when you have a 76 mm to shoot I stead. In the end it is your choice, I am sure there are pics of a tank with weapons stored all over it some where out there. Build what you like.
ericadeane

Joined: October 28, 2002
KitMaker: 4,021 posts
Armorama: 3,947 posts

Posted: Sunday, October 05, 2014 - 12:46 AM UTC
MikeyBugs: Before you start weathering look back at all your photos. They show several of your decals with some very noticeable silvering. Did you use decal setting solution? Go back and pin-prick those decals and add some diluted Future to them. Look at the decals of the words on your left hull side. On the RH hull, "Paper Doll" and the shipping data decals need some touch up.
An alternative is to carefully slice away some of the clear film (such as the strip adjacent to the turret star)
Like Easy8 said, crew weapons would be stowed in places where they KNEW they could access them (in their prescribed clamps) -- even in complete darkness. They were uniform among vehicles so crews substituting in other crews knew what and where to grab things in an emergency bail out. Plus, your M1 carbine would easily fall off, needlessly get dirty or be stolen -- 3 bad things to have happen to govt-issued equipment.
Hope this makes sense and that my suggestions help. Look fwd to your next batch of progress pics!

MikeyBugs95

Joined: May 27, 2013
KitMaker: 2,210 posts
Armorama: 1,712 posts

Posted: Sunday, October 05, 2014 - 05:34 AM UTC
Quoted Text
MikeyBugs: Before you start weathering look back at all your photos. They show several of your decals with some very noticeable silvering. Did you use decal setting solution? Go back and pin-prick those decals and add some diluted Future to them. Look at the decals of the words on your left hull side. On the RH hull, "Paper Doll" and the shipping data decals need some touch up.
An alternative is to carefully slice away some of the clear film (such as the strip adjacent to the turret star)
Like Easy8 said, crew weapons would be stowed in places where they KNEW they could access them (in their prescribed clamps) -- even in complete darkness. They were uniform among vehicles so crews substituting in other crews knew what and where to grab things in an emergency bail out. Plus, your M1 carbine would easily fall off, needlessly get dirty or be stolen -- 3 bad things to have happen to govt-issued equipment.
Hope this makes sense and that my suggestions help. Look fwd to your next batch of progress pics!
Thanks for the tip. I noticed some silver img but I hoped it would dissipate when I applied Future to it. I don't have any setting solution like microsol or microset. I used the Testors Decal Set. Now explain to me what you you mean by "pin prick." To take a pin and poke a hole around the decal essentially? And what would I dilute Future with?
ericadeane

Joined: October 28, 2002
KitMaker: 4,021 posts
Armorama: 3,947 posts

Posted: Sunday, October 05, 2014 - 08:54 AM UTC
Yes, I mean actually prick around the silvered clear portions to allow the diluted Future (use tap water) to get in underneath. Testors decal set is no good IMHO. It's doing you a big disservice -- marring your work after so much effort. If you need to even pick up the edge of a decal or two and then put the future donw, do so. The silvering will always be with you unless you deal with it from below. Anything you put on top won't hide the silvering. Good luck

MikeyBugs95

Joined: May 27, 2013
KitMaker: 2,210 posts
Armorama: 1,712 posts

Posted: Sunday, October 05, 2014 - 09:22 AM UTC
Ok. I understand now. I did try to fix it and I think it made a bit of a difference but I still have some ways to go. I had cut around a few decals and that did help. I'm the bits that need it I'll do that pricking and lifting. I think I'll go pick up some Microsol and Set tomorrow or Tuesday. Any tips on how to use it? Obviously it is nothing like I've ever used before. And what is the Testors/ModelMaster Decal Set supposed to do that it evidently doesn't?

MikeyBugs95

Joined: May 27, 2013
KitMaker: 2,210 posts
Armorama: 1,712 posts

Posted: Friday, October 17, 2014 - 05:54 AM UTC
Ok, tracks are finished for the most part. S
What do you think of it? Are they ok or might they need a bit more work? Also some more weathering. I also added all of the pioneering tools.


What do you think of it? Are they ok or might they need a bit more work? Also some more weathering. I also added all of the pioneering tools.


PantherF

Joined: June 10, 2005
KitMaker: 6,188 posts
Armorama: 5,960 posts

Posted: Friday, October 17, 2014 - 08:46 AM UTC
Oh my, I do like this!
Reminds me of the Tamiya Easy Eight I built back in the 70's. Love the decaling.
Really nice Michael.
Jeff
Reminds me of the Tamiya Easy Eight I built back in the 70's. Love the decaling.

Really nice Michael.
Jeff

MikeyBugs95

Joined: May 27, 2013
KitMaker: 2,210 posts
Armorama: 1,712 posts

Posted: Sunday, October 19, 2014 - 10:11 AM UTC
Thanks Jeff.
Tracks test-fitted. I dry brushed a little Polly scale flat earth on the inside raised edges today. So far only one length has it done. If it's not too good I'll just go over that one side with some Gunmetal.


The picture was taken with flash on so that might affect how it's viewed.

Tracks test-fitted. I dry brushed a little Polly scale flat earth on the inside raised edges today. So far only one length has it done. If it's not too good I'll just go over that one side with some Gunmetal.


The picture was taken with flash on so that might affect how it's viewed.


MikeyBugs95

Joined: May 27, 2013
KitMaker: 2,210 posts
Armorama: 1,712 posts

Posted: Thursday, October 23, 2014 - 10:11 AM UTC
Ok. I'd like to get some opinions on the tracks. U applied the earth dry brush to the other set of tracks. I'd like to know if this is OK or not before I attach the finial piece that holds the tracks together.
 |


