Time to get cracking on this one.
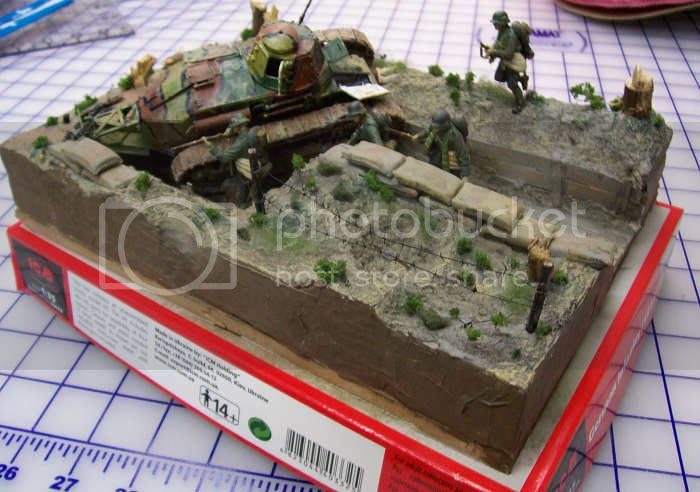
First off some of the ideas on renovating the old base.
"A" I'll probably cut a trench section there. "B" I'll probably backfill the firing step. "C" will become an enclosed bunker or firing position for a pak or mortar. "D" redo the trench wall and make it more vertical. "E" remove sandbags and barbed wire. I'll probably go with a winter scene. But that's for later if I have time.
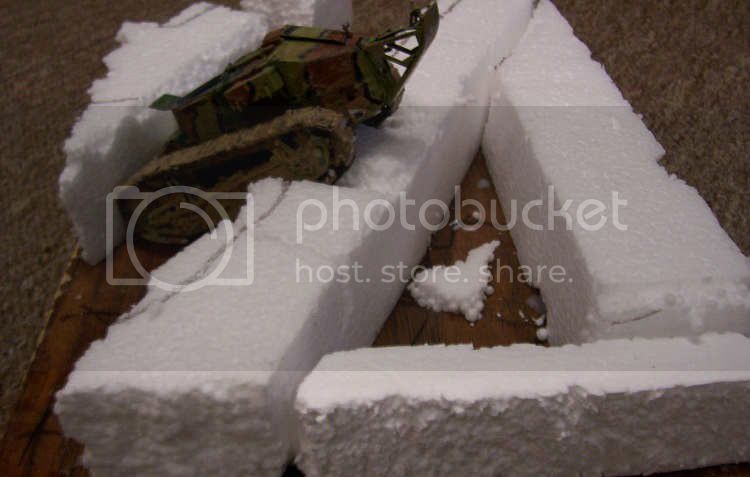
Time to start on the new WW1 Trench Scene. I used two sections of laminate flooring to make a base measuring about 22 x 34 cm. The flooring is light-weight and handles moisture really well without warping. I used styrofoam to beginning the trench layout. There's a lot of trial and error, fitting and refitting. Once I got it sort of how I liked it, I locked it down with glue. The figure is for trying to get those dimensions down right.

Took the FT17 and worked to get it placed. I decided to model it stuck in the trench. In its effort to back out it dug its self in deeper. Early on I decided to use roughed up outer edges. I'll coat these with white glue and tissue to keep it from shedding styrofoam bits.

Quack-quack...duckwalk time. I used real wood for these...as well as the sides of the trench. I was planning to use wooden coffee stirrers. You can get these in bulk for a few dollars. My stash was a bit sparse and I wanted to get started so I dipped into my stash of popsicle sticks. I split the sticks to make lengths about 1mm in height. I rough then split a stick and rough cut them around 3cms in length for the walkway planks. I found using a chisel make quick work of cutting the pieces.

I wanted a dug-out bunker. I left the opening larger than needed. I cut inserts to make the entrance narrower. The reason was so adding the side planks would be easier. I could add the to the inserts and then place the pieces in the now tight space. The purplish lines are where I'll be adding the vertical wood posts.


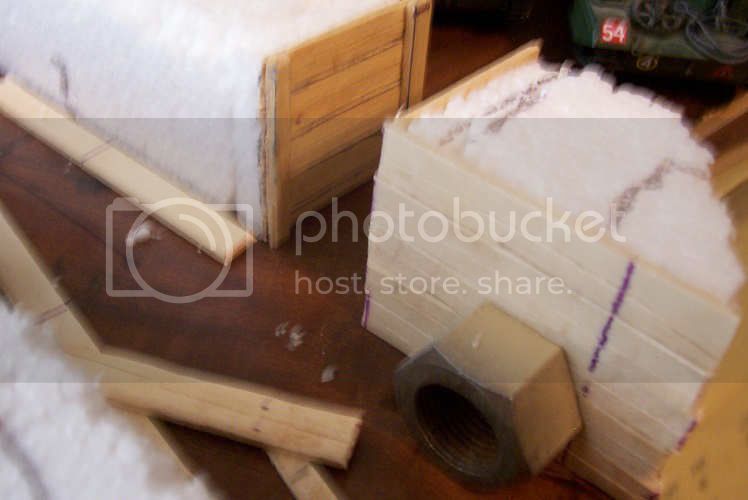
Another shot of the bunker entrance. I started adding planking to the trench walls. Basically the same procedure as the entrance.

More planking. I left off the planking where the FT17 was to be placed. I figure that when it fell in to the trench it would have pushed down and tore up the planks with its tracks. I'll address damaged planks later.

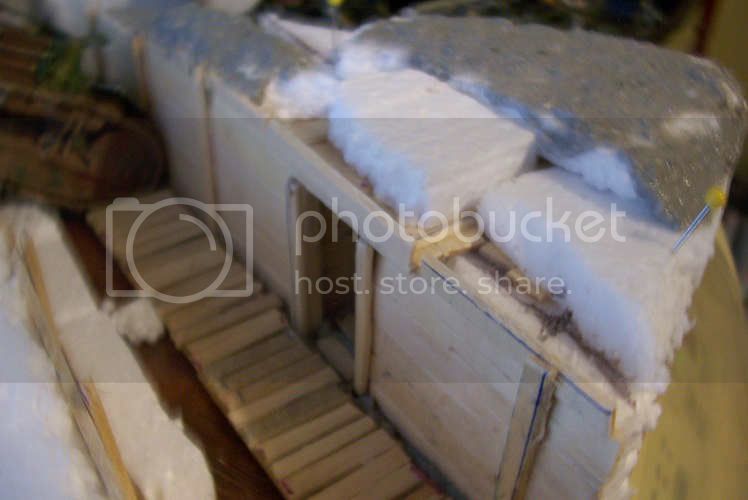
Not a good shot...but I made a planked roof for the bunker and glued it to a sheet of styrofoam I screwed up and had to cut in to the section above the entrance. I put it in upside down.

I went ahead and used Celluclay for the bunker floor. I went back and forth on giving it a wooden floor. In the end I went dirt because that dirt and muck is one of the things I think about when I think of WW1 trench warfare. I also added more styrofoam to thicken up the layer of dirt above the bunker.

Started adding Celluclay on top of the bunker. Also you see some of the duckboards loose-fitted to check the look. The pins were used to keep the bunker roof section in place while the glue dried.
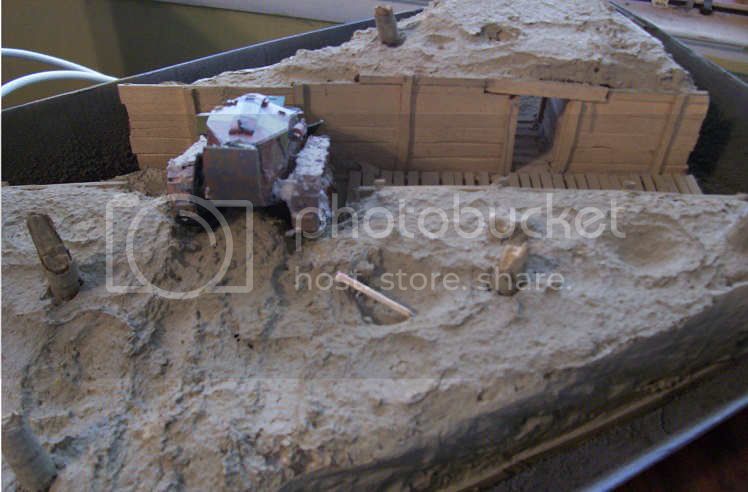
Celluclay layered on. Tank added to work its track impressions. Craters added using m custom crater making tool...my finger. Smashed tree trunks came from bits of limbs from out in the yard. Added celluclay splatter to the tank to muddy it up a bit more.

Celluclay dried and added a base coat of dark tan. I used a rattle can paint and you have to be careful because Rustoleum spraypaint will eat the styrofoam. Not shown, I covered the edges with tissue paper and white glue. They are painted dark tan but I'll probably repaint them another color to really set off that border.
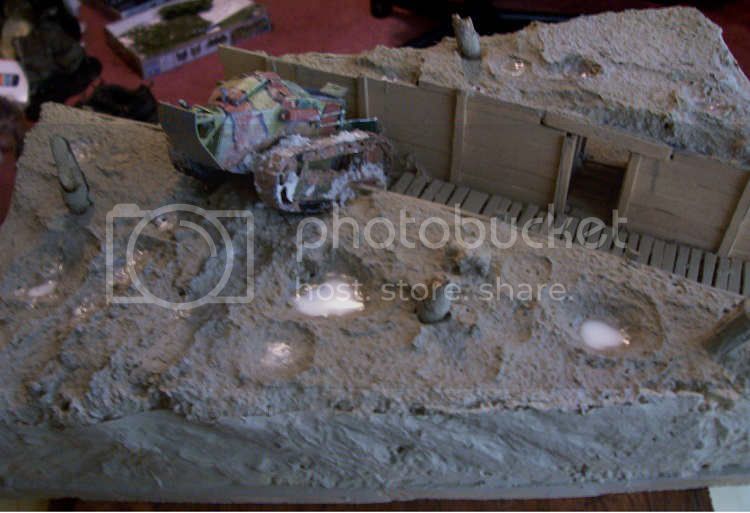
Attempted to add water to the craters.
An assortment of bits I might use for the bunker and for the trench. Scratched two ladders from styrene strips. Scratchbuilt a wood/coal stove. Cut down a table from an old Esci set. Buckets, crates, lantern, and chairs. The machinegun is the MG08/15. The rifle is a Tankegwehhr M1918 antitank rifle. The shovel is a shovel. All three came from the German equipment set that ICm sends with its German Infantry 1914 Set (#35679). As an aside, the other German Infantry set does not come with the equipment set. Anyway, I'm not sure what all of this I will actually use.

That's where I am at right now. Actually that's a lie. I worked on the firing steps earlier tonight and those will be in the next update.
I'm really enjoying this build and I'm learning some stuff. I plan on redoing and modding some of the figures from the old diorama and I'll start on the new figures as well. I'm thinking of trying to mod some additional figures to man the trench defenses, including the MG08/15.


