AND...
...complete
I didn't complete all weathering steps as provided by Adam Wilder on his Youtube channel as he gets pretty heavy and my personal preference is to include a base as a frame of reference with heavily weathered models, otherwise in my opinion it looks like the proverbial fish out of water.
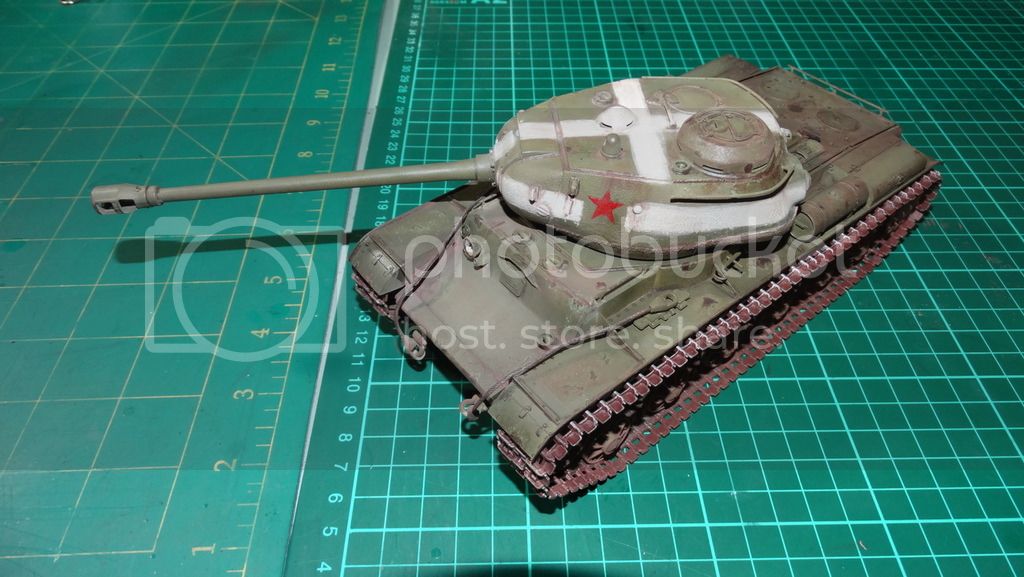
Last stage was the pin wash with the remaining stages that I completed 3 levels of chipping (undercoat, steel hull and rusting). I skipped the next phase which was speckling (flicking fine paint droplets onto the subject), weathering the exhausts, rust streaking, vehicle lights and equipment and I finished off with a light dusting of pigments (though I may end up removing them off the upper hull and turret.
To the pics...
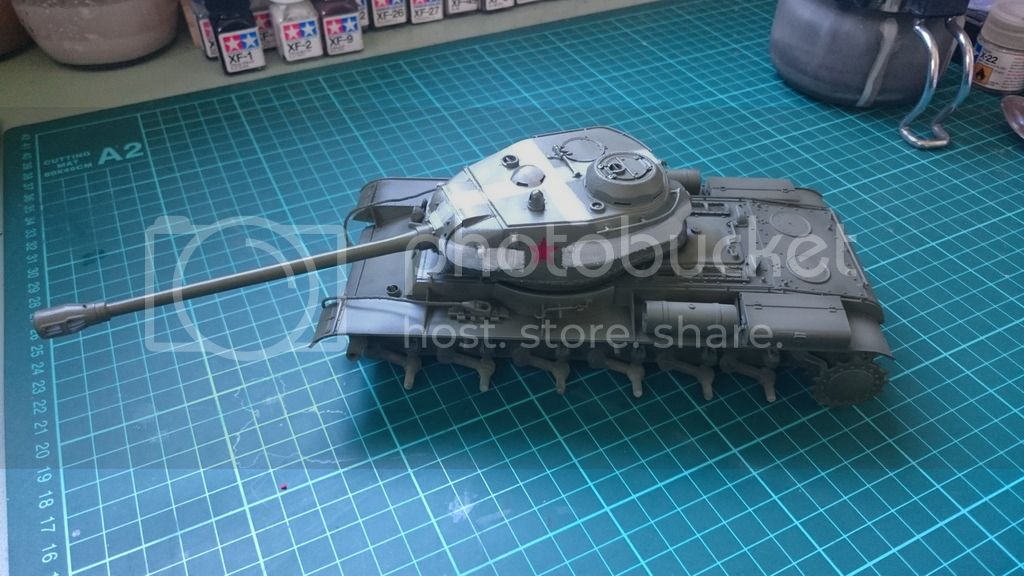
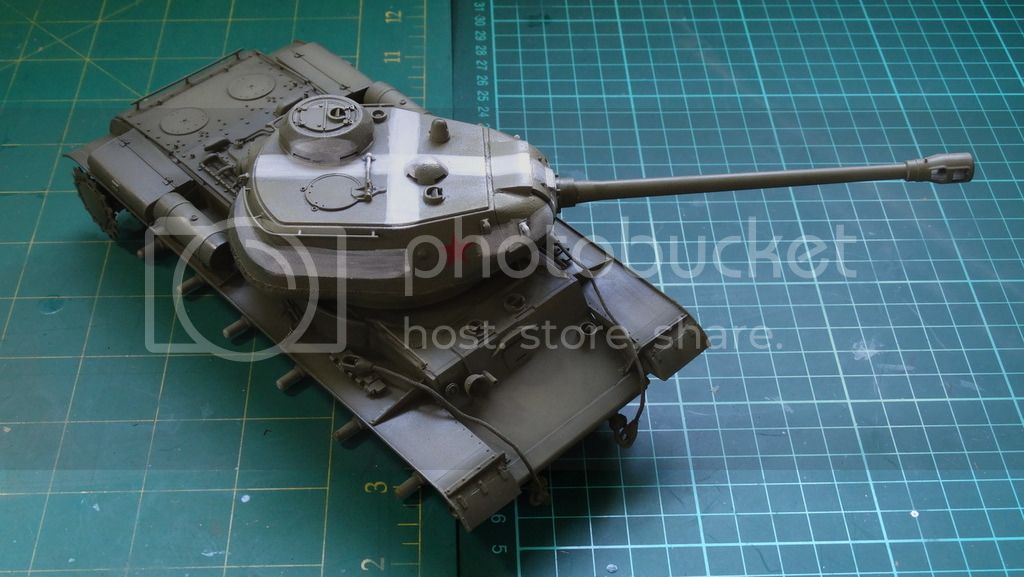
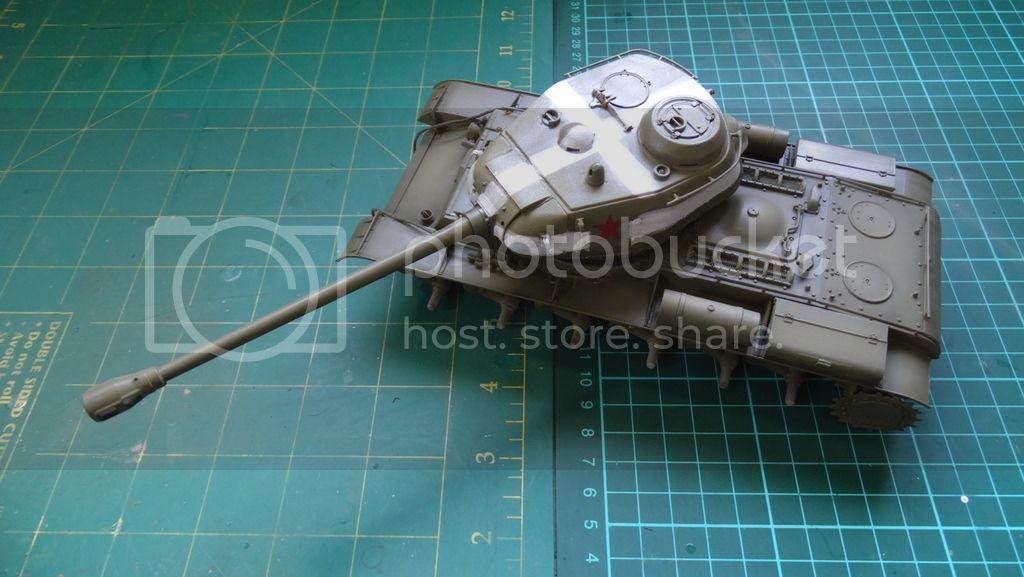
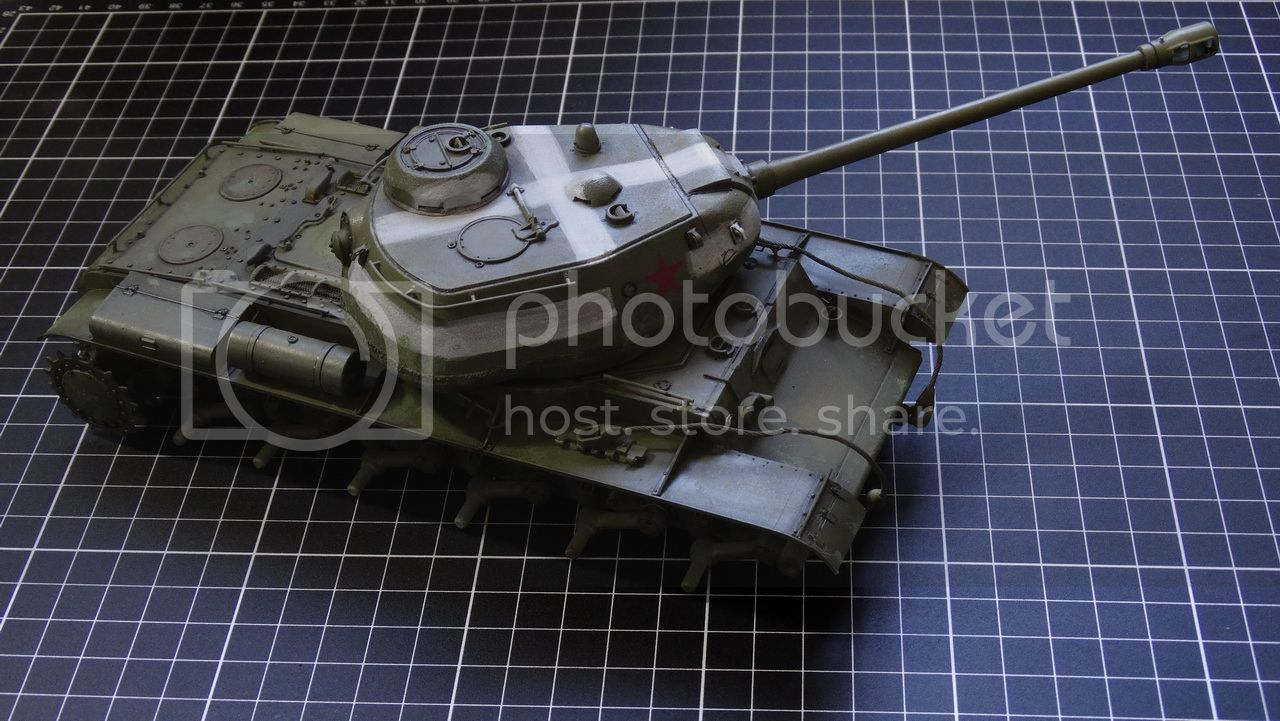
First two after the first layer of chipping, showing an undercoat (while the Russians generally used 4BO as both under and top coat I used a slightly lighter shade of green here as the undercoat.
{IMG}http://s3.photobucket.com/user/katchan13/media/DSC05134_resize_zpss0l3ous6.jpg.html{/IMG}
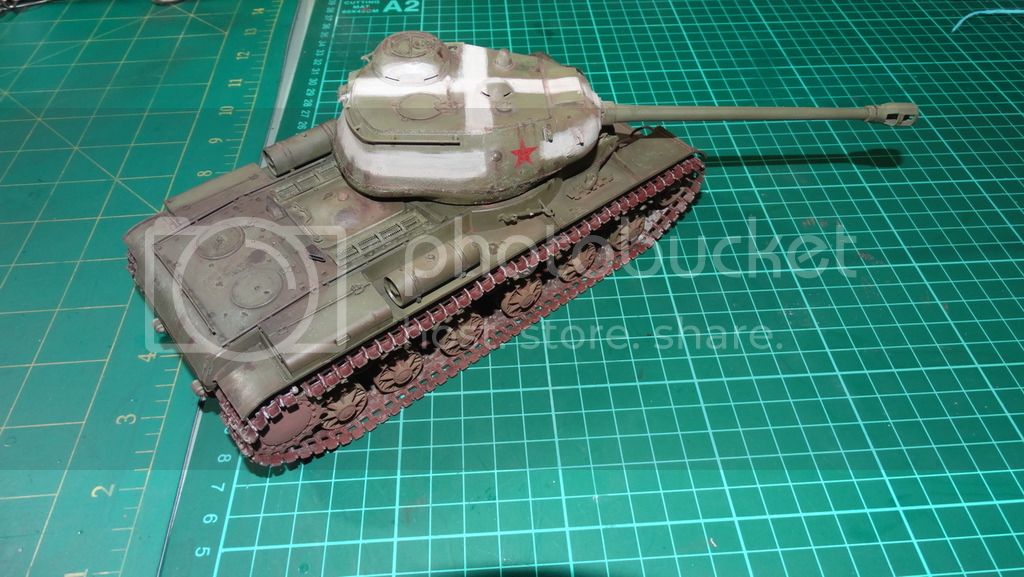
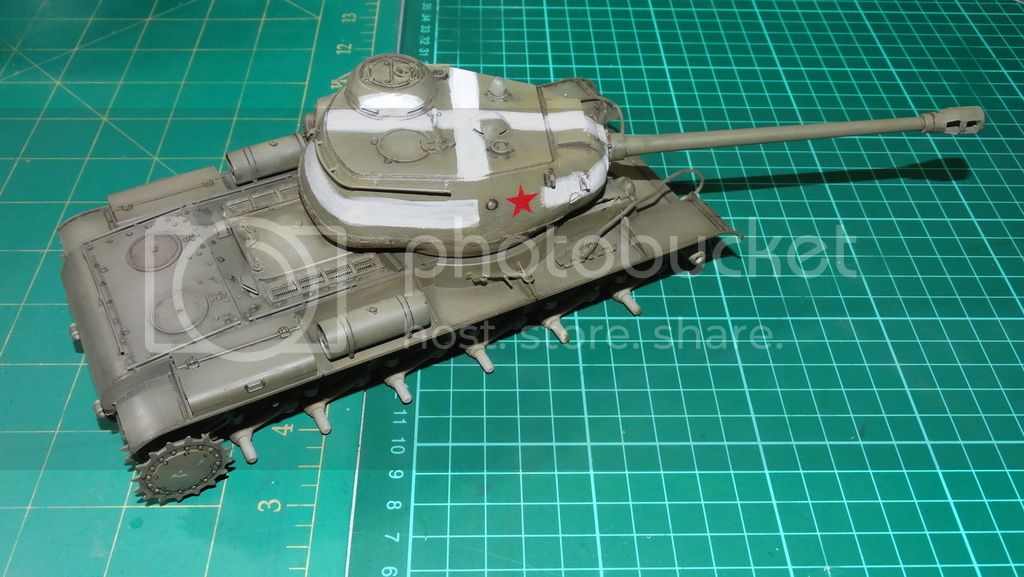
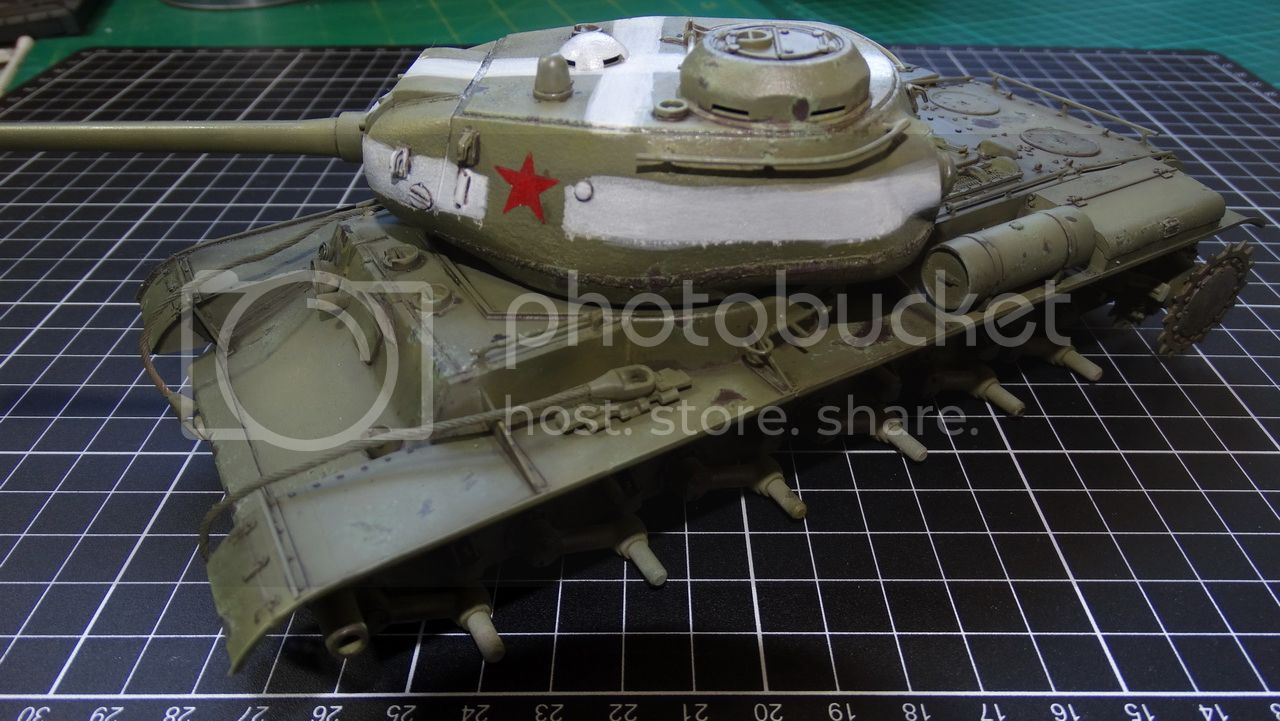
Chipping with hull showing through. I kept most of the paint wear to the engine deck and rear areas of the tank as to show scuffing from tank riders not caring our how they treat their rides cosmetics.


Third level of chipping isn't really anymore chipping but adding a layer rust with the bare steel and to help blend all three layers together.

And the completed state showing a little rust streaking, exhaust weathering and layer of pigment.