England - East Midlands, United Kingdom
Joined: January 17, 2006
KitMaker: 1,694 posts
Armorama: 1,584 posts
Posted: Saturday, February 04, 2017 - 09:50 PM UTC
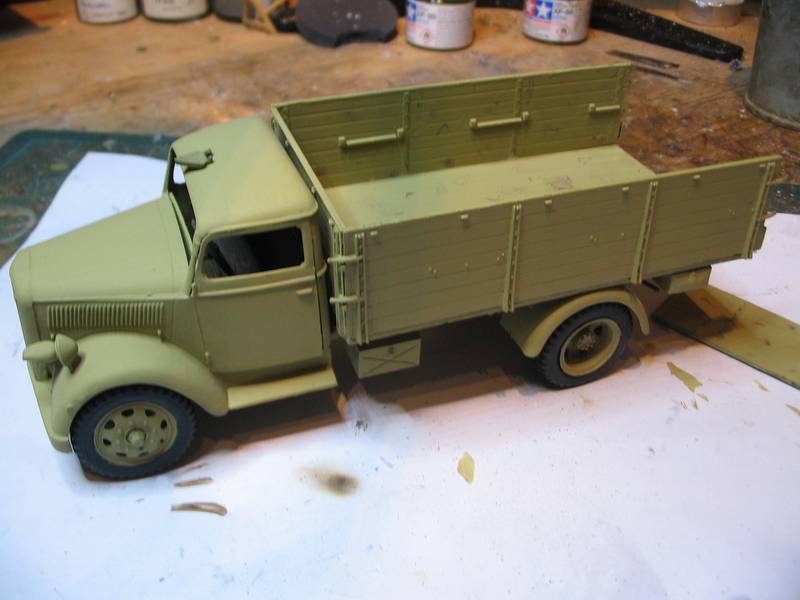
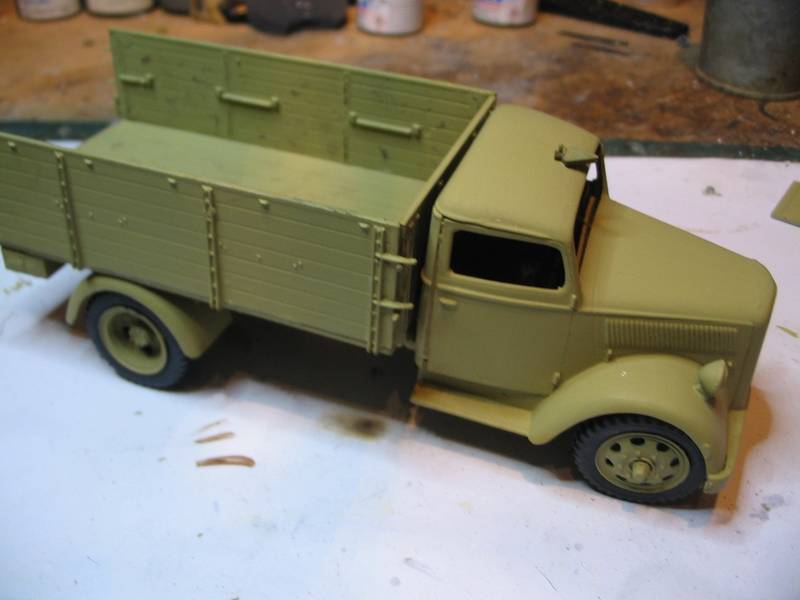
made some decent progress over the weekend. Wheels are back on and have given it an overally dark yellow paint job. I've done a bit of weathering in the cargo box but left the outside for now as there's no point in doing it till I've airbushed it. I'm building one for the 150- Campaign so it makes sense to do both at the same time as they're both going in the same dio from the same unit so I want continuity in colours and style. Plus it makes it easier airbrushing a couple of things at the same time.
Nothing is so exhilarating in life as to be shot at with no result.
- Winston Churchill
England - East Midlands, United Kingdom
Joined: January 17, 2006
KitMaker: 1,694 posts
Armorama: 1,584 posts
Posted: Saturday, February 04, 2017 - 09:55 PM UTC
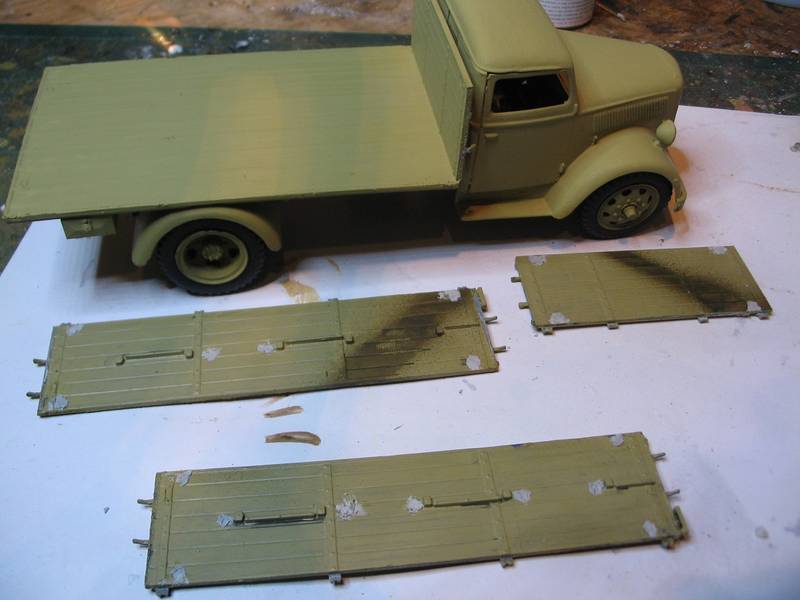
I forgot to post this one. This is how many sinkholes there were inside the cargo bed sides... All sanded back and painted now as seen above. They shuldn't be visible when the cargoes in but didn't want to chance it.
Nothing is so exhilarating in life as to be shot at with no result.
- Winston Churchill
Vermont, United States
Joined: July 21, 2002
KitMaker: 3,569 posts
Armorama: 2,070 posts
Posted: Sunday, February 05, 2017 - 02:28 AM UTC
If you can keep your head when all about you are losing theirs,
perhaps you've misunderstood the situation.

#323
Arizona, United States
Joined: February 13, 2013
KitMaker: 791 posts
Armorama: 344 posts
Posted: Sunday, February 05, 2017 - 02:42 AM UTC
Quoted Text
Robbie, what scales the T34?
1/35 - The old Italeri/Zvezda kit
Cheers


Robbie: "Would 60 Gallons be sufficient ?"
Forbidden Planet - 1956
Buskerud, Norway
Joined: July 31, 2005
KitMaker: 1,871 posts
Armorama: 1,423 posts
Posted: Sunday, February 05, 2017 - 03:37 AM UTC
I'm in with this Leopard 1A5NO2. It has been a shelf queen for nearly eight years no so I guess it is time to finish it.

Regards
Erik
Removed by original poster on 02/09/17 - 10:59:29 (GMT).
Nordrhein-Westfalen, Germany
Joined: March 18, 2003
KitMaker: 263 posts
Armorama: 228 posts
Posted: Wednesday, February 08, 2017 - 04:01 PM UTC
That's looking pretty good. How did you the chipped paint effect?
Vermont, United States
Joined: July 21, 2002
KitMaker: 3,569 posts
Armorama: 2,070 posts
Posted: Wednesday, February 08, 2017 - 05:51 PM UTC
Quoted Text
That's looking pretty good. How did you the chipped paint effect?
Thanks, it is quite a mush mash of effects at this point. Some wheels have filters, Mig Brown for Dk yellow, some have a Mig/Ammo wash I forget which, but a darker brown/grey, and some have light earth pigments..
Modeling attention issues, I've got them!
the chips though are all the same. Vallejo Iraqi sand stippled on with a bit of sponge or green scrubbing pad and then SS Cammo black brown added over and around them with a green scrub pad and fine brush.
If you can keep your head when all about you are losing theirs,
perhaps you've misunderstood the situation.
Dordogne, France
Joined: March 11, 2006
KitMaker: 87 posts
Armorama: 80 posts
Posted: Saturday, February 11, 2017 - 12:26 AM UTC
Here is my Tamiya M4A1 Sherman, started while I was at the US Embassy Baghdad in 2012/13. I have used the latest copy of Steel Masters as proof of "life". I got the issue today 11 Feb 2017
Looking forward to finishing it.
I am having problems posting photos, any help out there?
Steve
http://village.photos/images/user/ea34b88d-9257-4692-bc72-cc686e02d27d/resized_a447fd82-7f68-452d-bece-11220443c2fe.jpgRemoved by original poster on 02/11/17 - 20:54:27 (GMT).
Removed by original poster on 02/11/17 - 20:56:09 (GMT).
California, United States
Joined: December 06, 2004
KitMaker: 3,694 posts
Armorama: 2,693 posts
Posted: Saturday, February 11, 2017 - 01:57 AM UTC
Just use the [img] button when creating your message, then paste the URL to replace the dummy URL.
Dordogne, France
Joined: March 11, 2006
KitMaker: 87 posts
Armorama: 80 posts
Posted: Saturday, February 11, 2017 - 02:26 AM UTC
Here is my Tamiya M4A1 Sherman, started while I was at the US Embassy Baghdad in 2012/13. I have used the latest copy of Steel Masters as proof of "life". I got the issue today 11 Feb 2017
Looking forward to finishing it.

Dordogne, France
Joined: March 11, 2006
KitMaker: 87 posts
Armorama: 80 posts
Posted: Saturday, February 11, 2017 - 02:29 AM UTC
Gary
That is the ticket, thank you
Steve
New York, United States
Joined: August 25, 2006
KitMaker: 2,539 posts
Armorama: 238 posts
Posted: Saturday, February 11, 2017 - 07:47 AM UTC
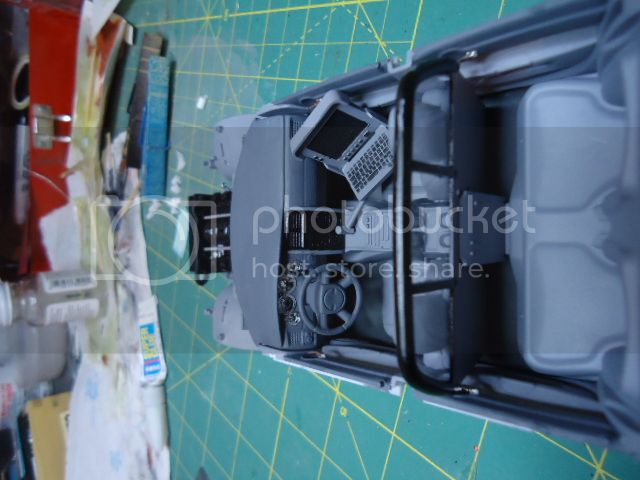
Just joined the Campaign! Maybe I can get the Charger finished this year.

Jim
"Socialism is a philosophy of failure, the creed of ignorance, and the gospel of envy, its inherent virtue is the equal sharing of misery." ---- Winston Churchill
Removed by original poster on 02/12/17 - 12:31:57 (GMT).
Nordrhein-Westfalen, Germany
Joined: March 18, 2003
KitMaker: 263 posts
Armorama: 228 posts
Posted: Saturday, February 11, 2017 - 06:36 PM UTC
Buskerud, Norway
Joined: July 31, 2005
KitMaker: 1,871 posts
Armorama: 1,423 posts
Posted: Sunday, February 12, 2017 - 02:59 AM UTC
California, United States
Joined: December 06, 2004
KitMaker: 3,694 posts
Armorama: 2,693 posts
Posted: Sunday, February 12, 2017 - 05:56 AM UTC
So far, 29 have enlisted.
2002hummer - F5 Freedom Fighter
69mudbone
Anmoga
bf443
Charlie-66
dukw - Centurion AVRE
erichvon - Opel Blitz
Erik67 - Leopard 1A5NO
GaryKato - Tamiya Merkava
iakarch
Jasonbee71
jimb - Dodge Charger (Florida Highway Patrol)
Kanguroo
Lakota
LikesTanks
LinusB
Martinvidas
MLD - DML Panther Ausf. A
Namabiiru - M3 Lee
Onkos1
Pave-Hawk
Robbd01
roteck
Savage
SGTJKJ
SKiernan - Tamiya M4A1
tatbaqui
Thirian24 - ODS M1A1 Abrams
turtle65
Vermont, United States
Joined: July 21, 2002
KitMaker: 3,569 posts
Armorama: 2,070 posts
Posted: Sunday, February 12, 2017 - 07:51 AM UTC
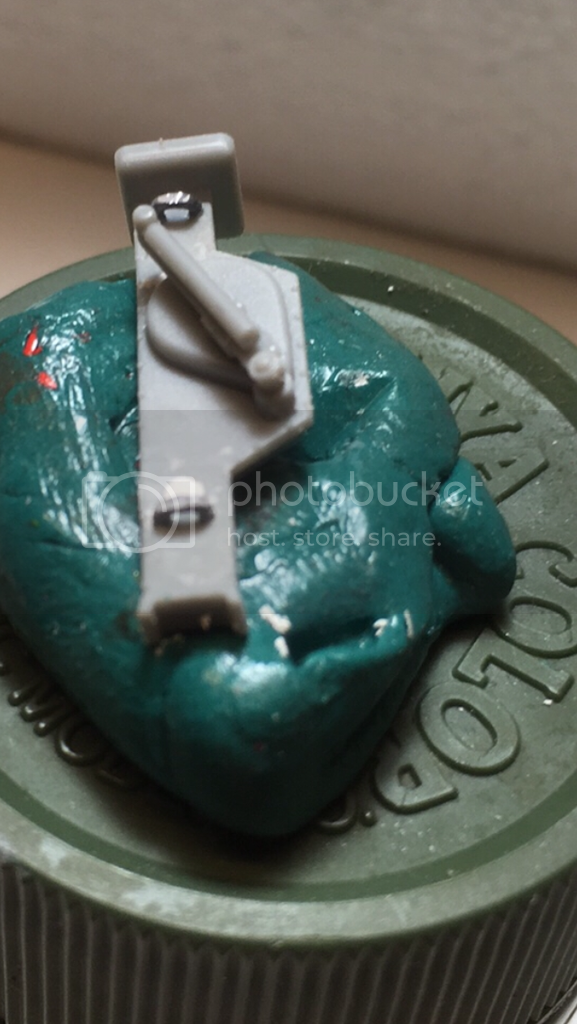
Tonight's progress
the roadwheel madness comes to an end..

I just cannot abide the molded on grab 'shelves' and what's up with the GIANT deep e-pin marks??
If you can keep your head when all about you are losing theirs,
perhaps you've misunderstood the situation.
Nordrhein-Westfalen, Germany
Joined: March 18, 2003
KitMaker: 263 posts
Armorama: 228 posts
Posted: Sunday, February 12, 2017 - 02:12 PM UTC
Nice subject and build so far. I like the late Leopard I.
Some day or in my next life i will build one too. Until then it is sitting im my shelf and waiting

.
What kit and aftermarket parts did you use? How did you the "Caraccuda" camo?
Buskerud, Norway
Joined: July 31, 2005
KitMaker: 1,871 posts
Armorama: 1,423 posts
Posted: Sunday, February 12, 2017 - 08:36 PM UTC
Quoted Text
What kit and aftermarket parts did you use? How did you the "Caraccuda" camo?
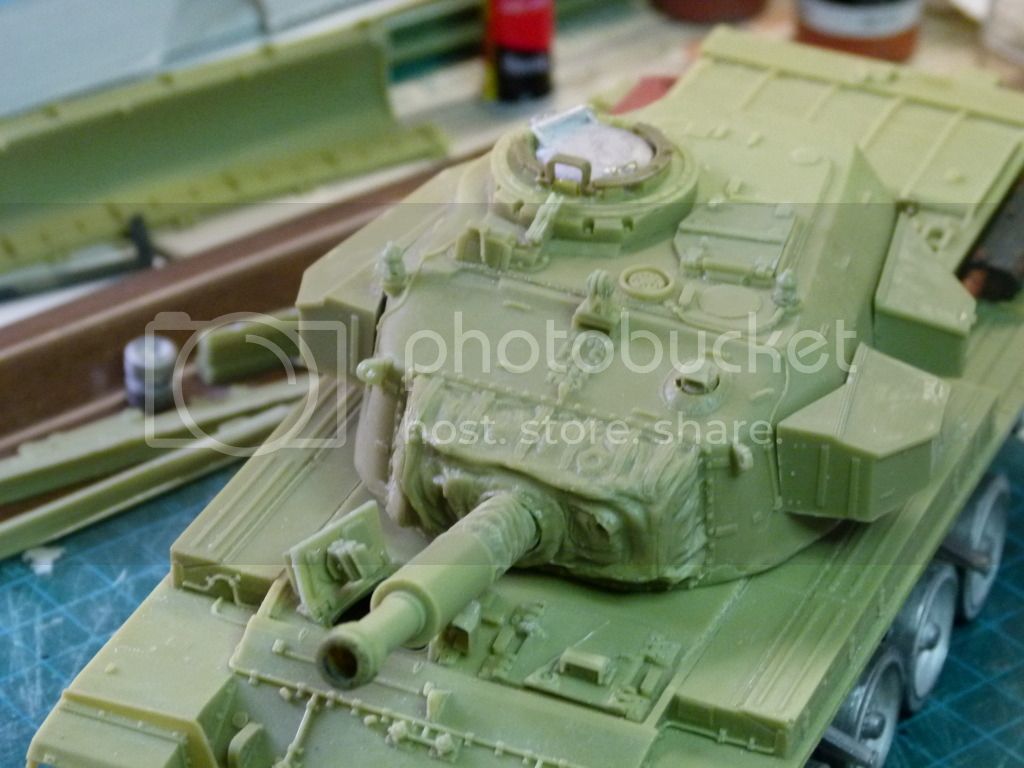
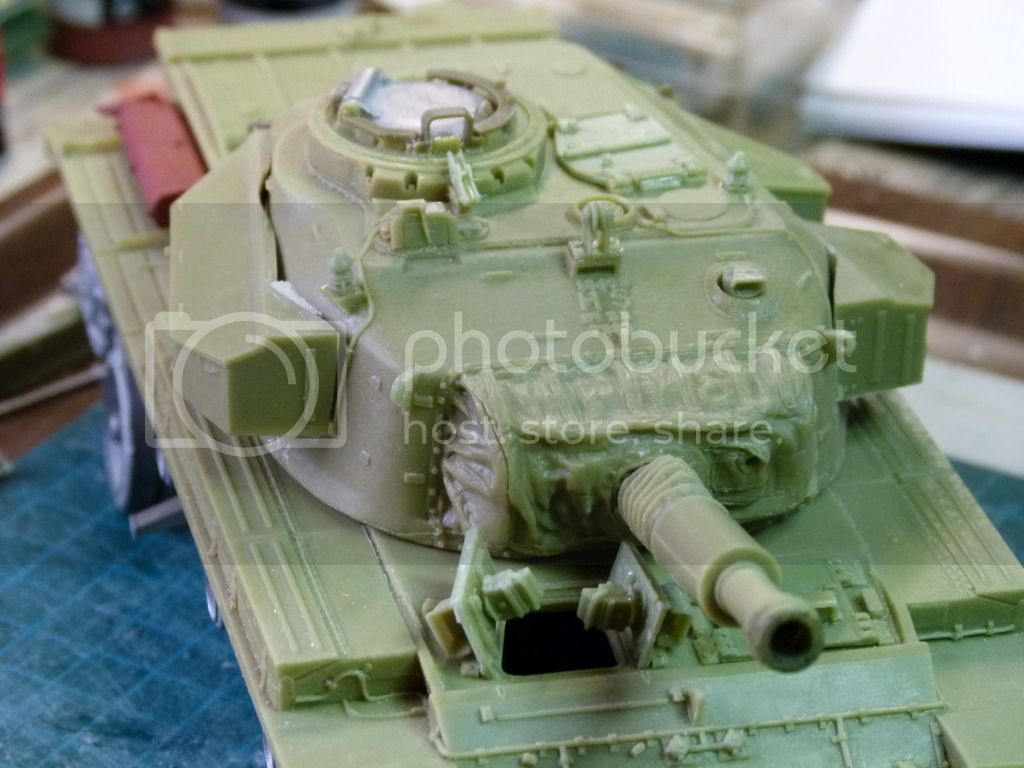
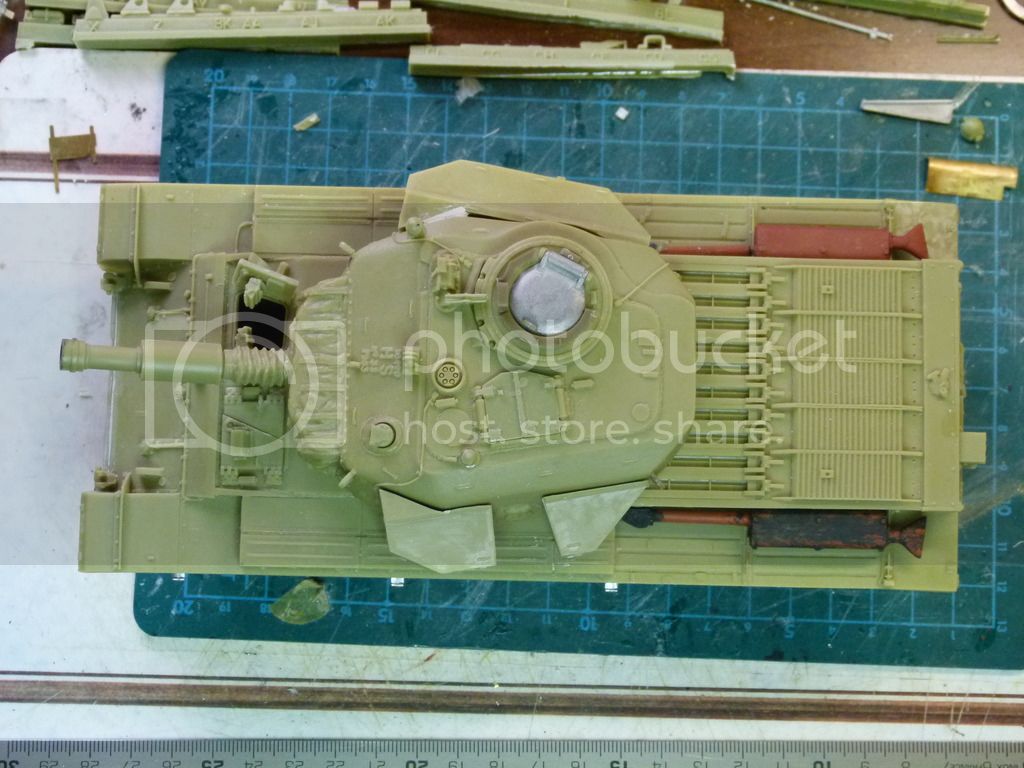
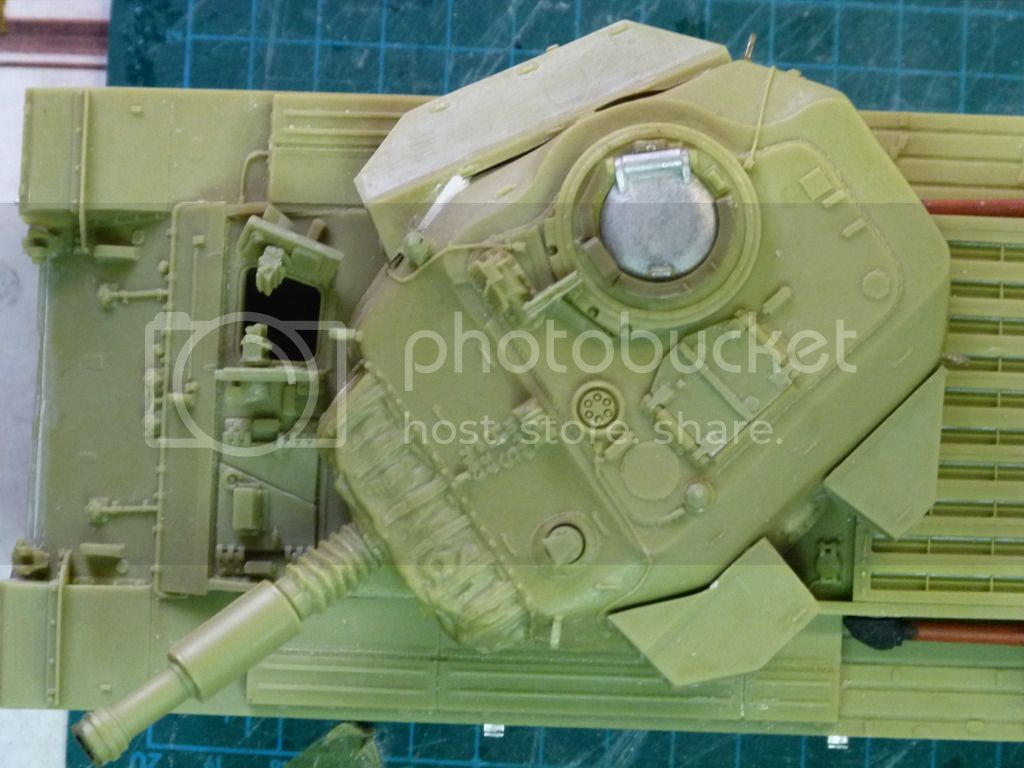
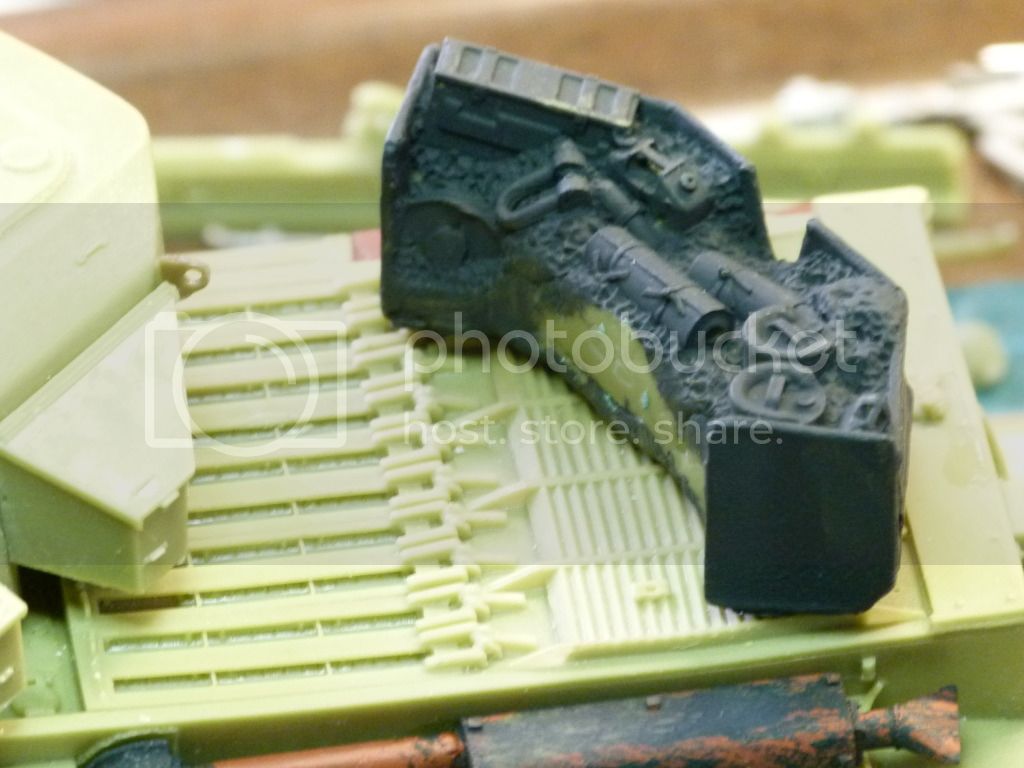
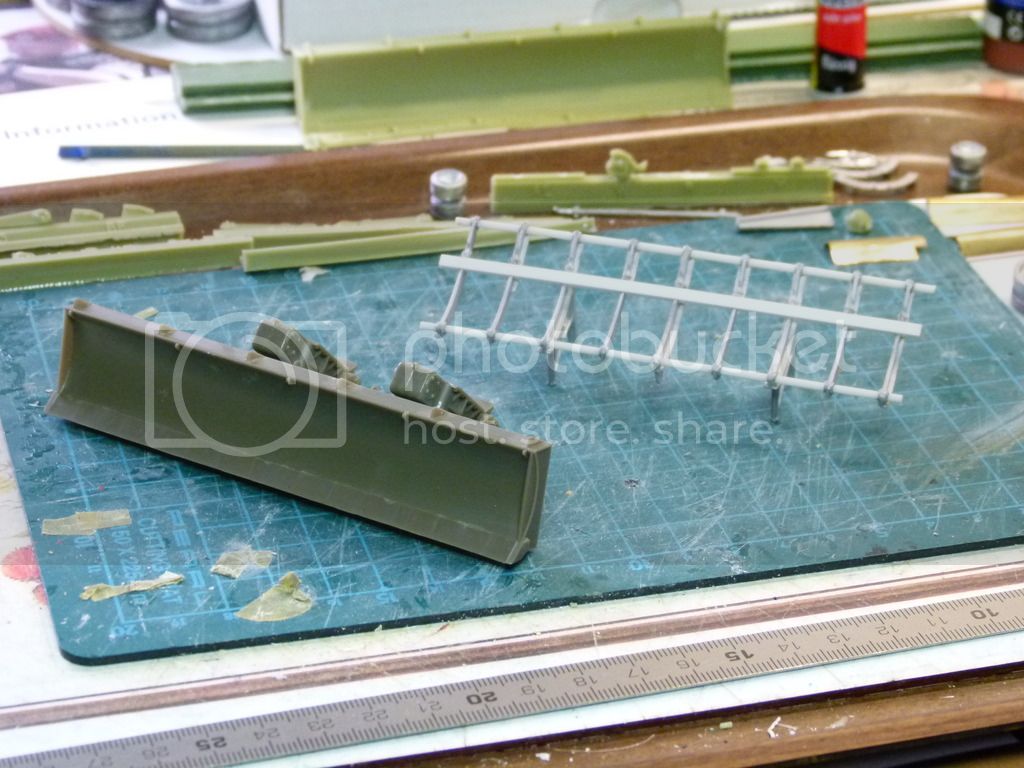
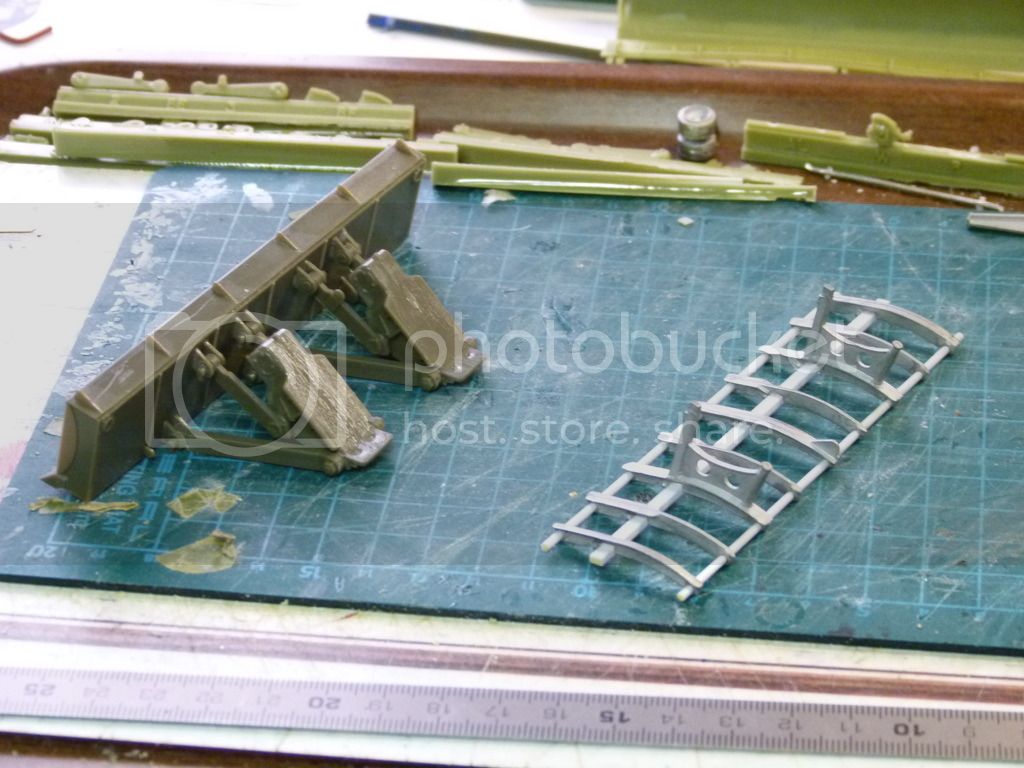
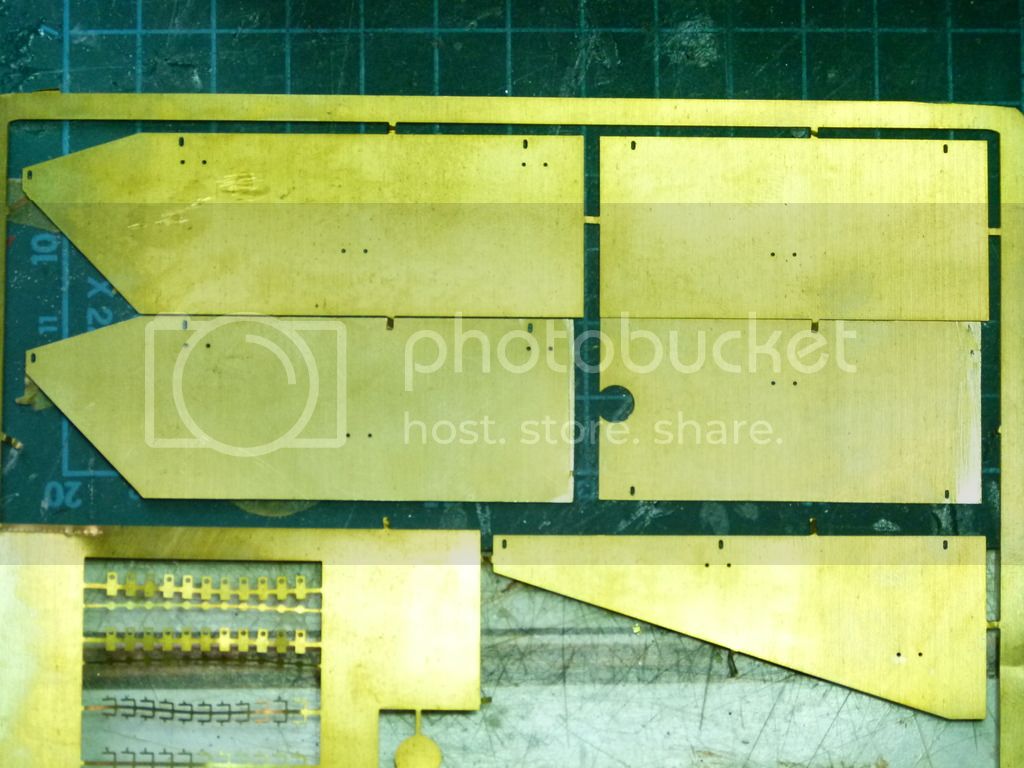
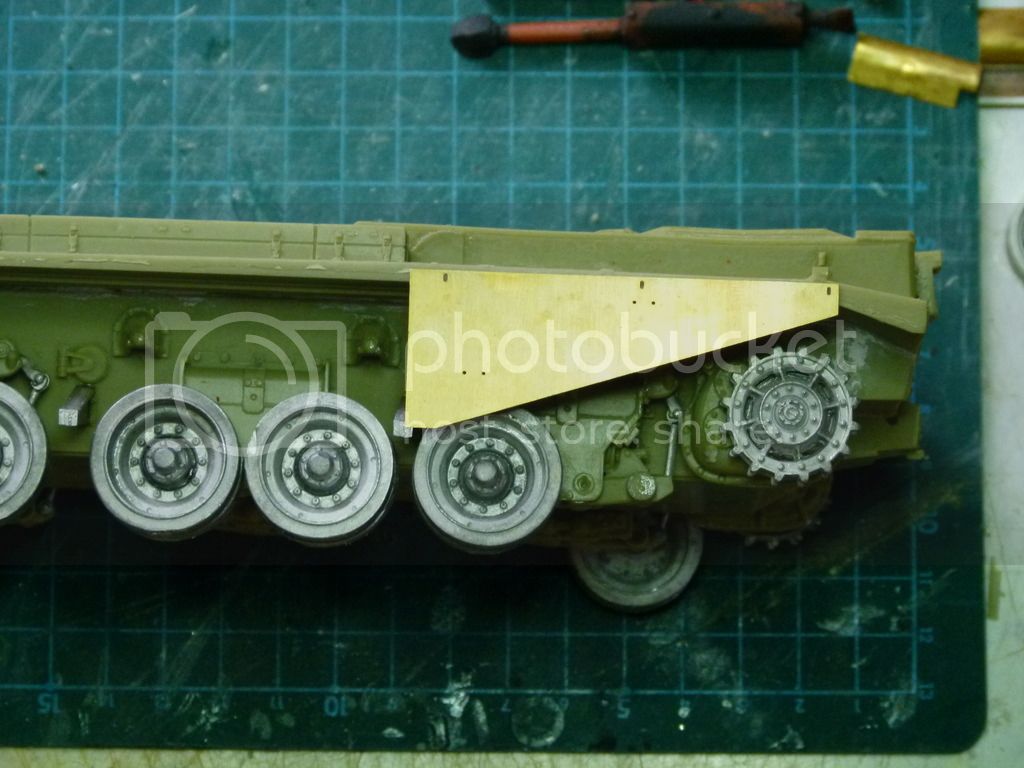
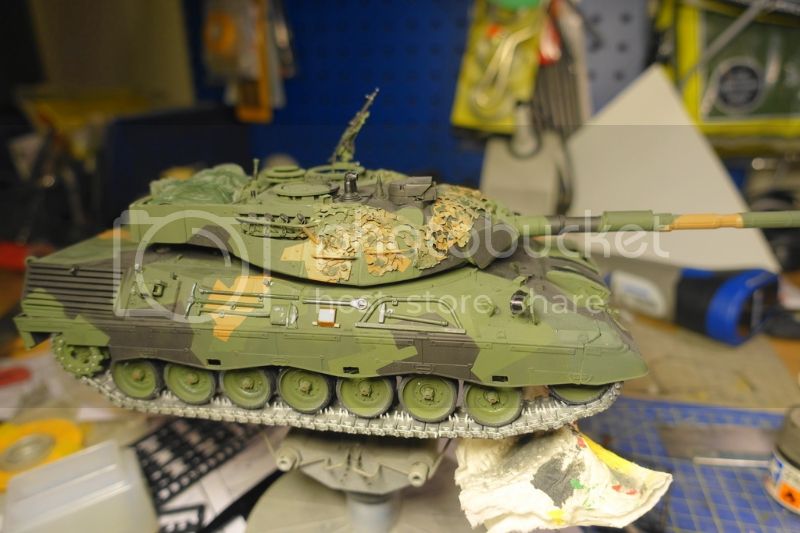
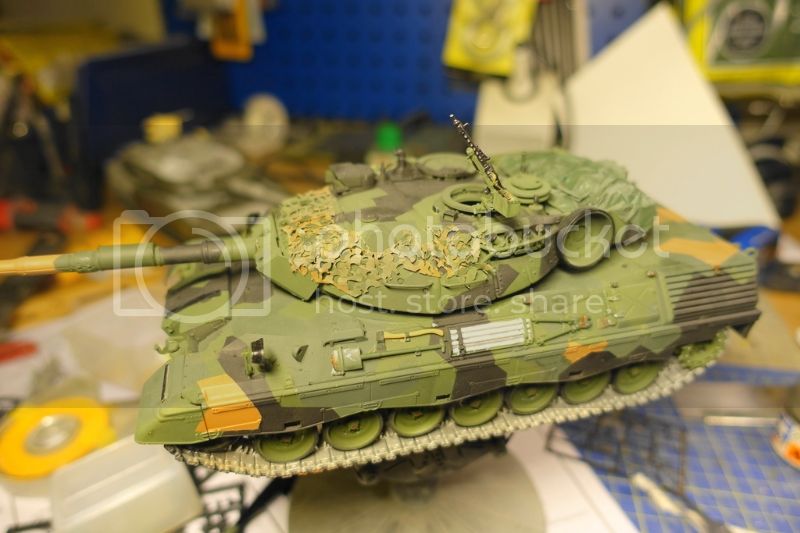
The kit is the old Revell Leo1 A5. I started this a long time ago so I used PE for a Leo 1A4. Scratchbuilt the extended bustle rack, machinegun mount, snow grouser box and a couple of other small details. I don't remember what brand the tracks are...The camo net is streched parafilm stippled with a "converted" woodworking tool. Here is some old pics from when I started this project.


Nordrhein-Westfalen, Germany
Joined: March 18, 2003
KitMaker: 263 posts
Armorama: 228 posts
Posted: Sunday, February 12, 2017 - 10:29 PM UTC
Hello Eric,
thanks for sharing this pics. And the tip regarding the wood working tool. I thing i know what you have used and i'll try it out.
Congratulation to your work. The MG mount and the bustle are looking realy good.
Happy modelling
Harald
Buskerud, Norway
Joined: July 31, 2005
KitMaker: 1,871 posts
Armorama: 1,423 posts
Posted: Wednesday, February 15, 2017 - 02:58 AM UTC
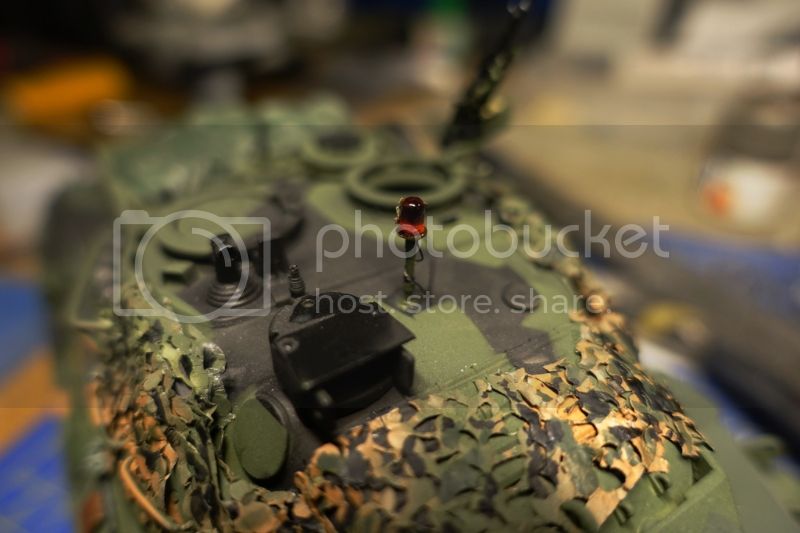
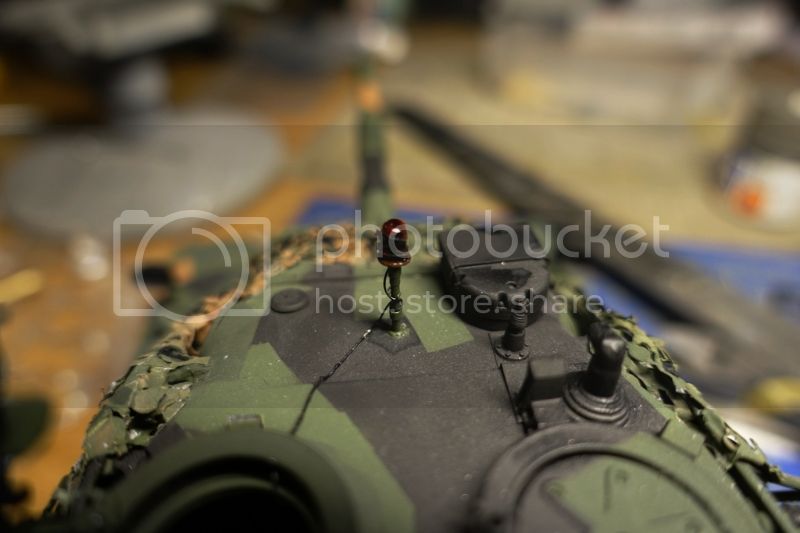
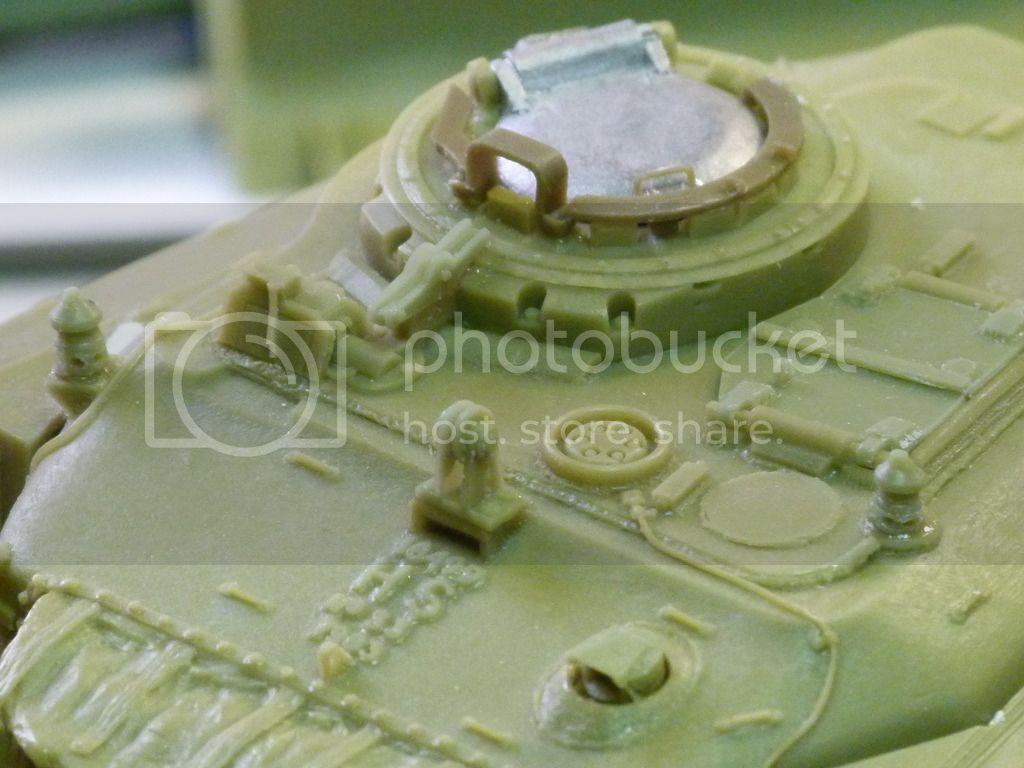
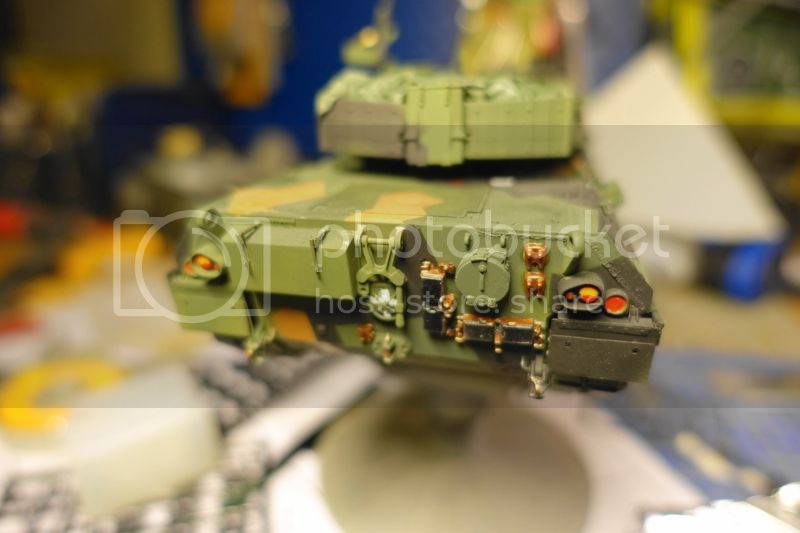
Modified the warning light. I cut off the original lamp and replaced it with a piece of clear sprue sanded into shape. The lamp was then covered in thick (old) Tamiya clear orange. I made some very thin strips of tape (painted black) to illude the gaffa tape the crew usually use to cover the rear side to prevent dazzling. I see the "gaffa tape" need a little mor TLC before I'm happy with it.
Dordogne, France
Joined: March 11, 2006
KitMaker: 87 posts
Armorama: 80 posts
Posted: Wednesday, February 15, 2017 - 11:37 PM UTC
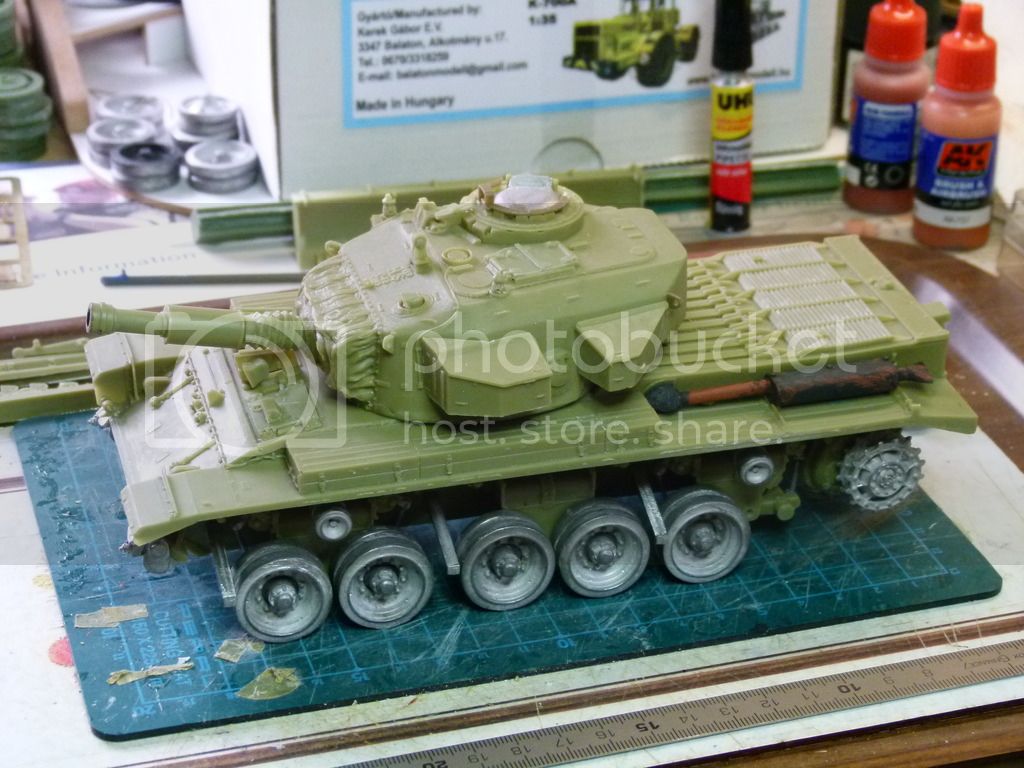
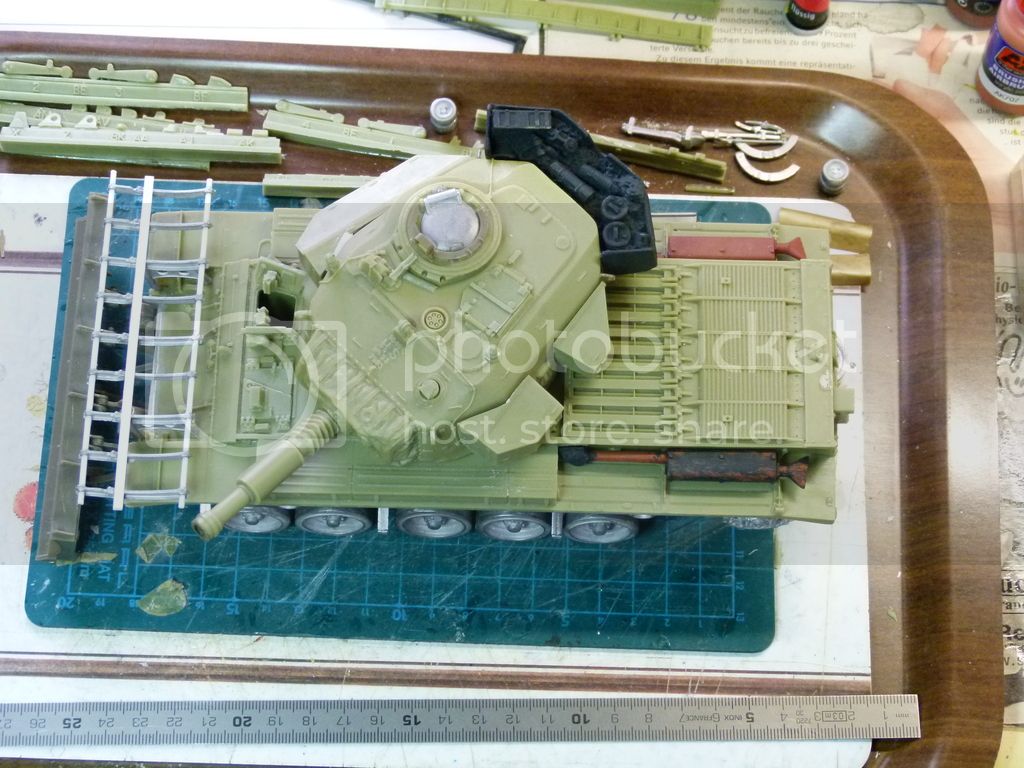
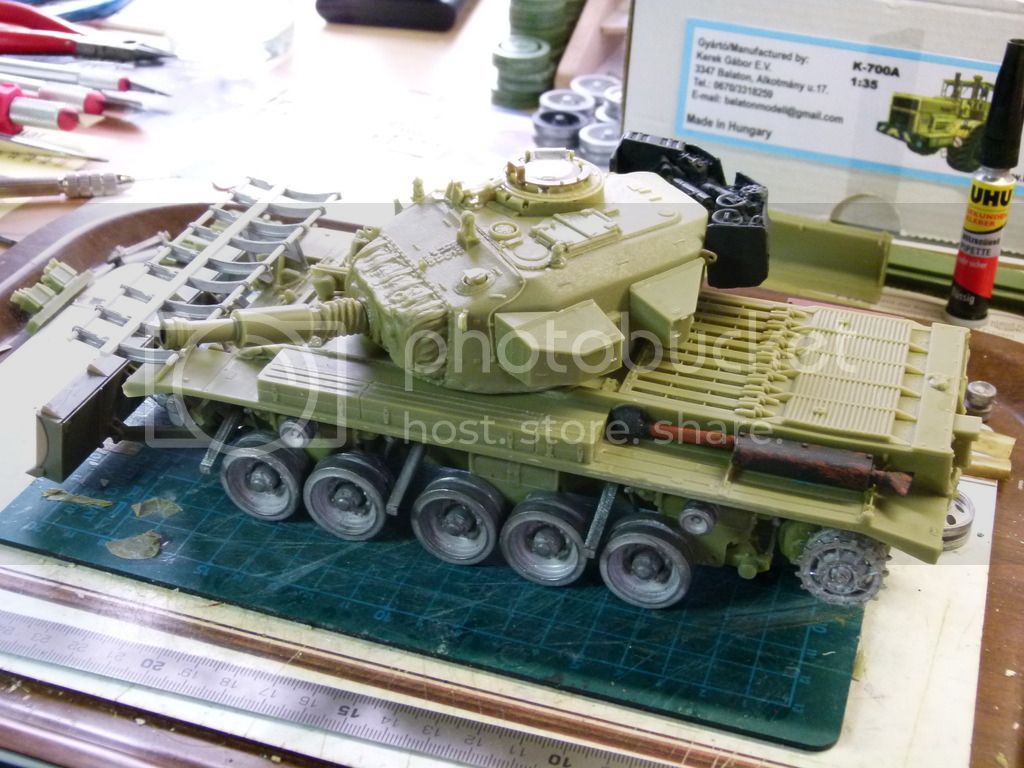
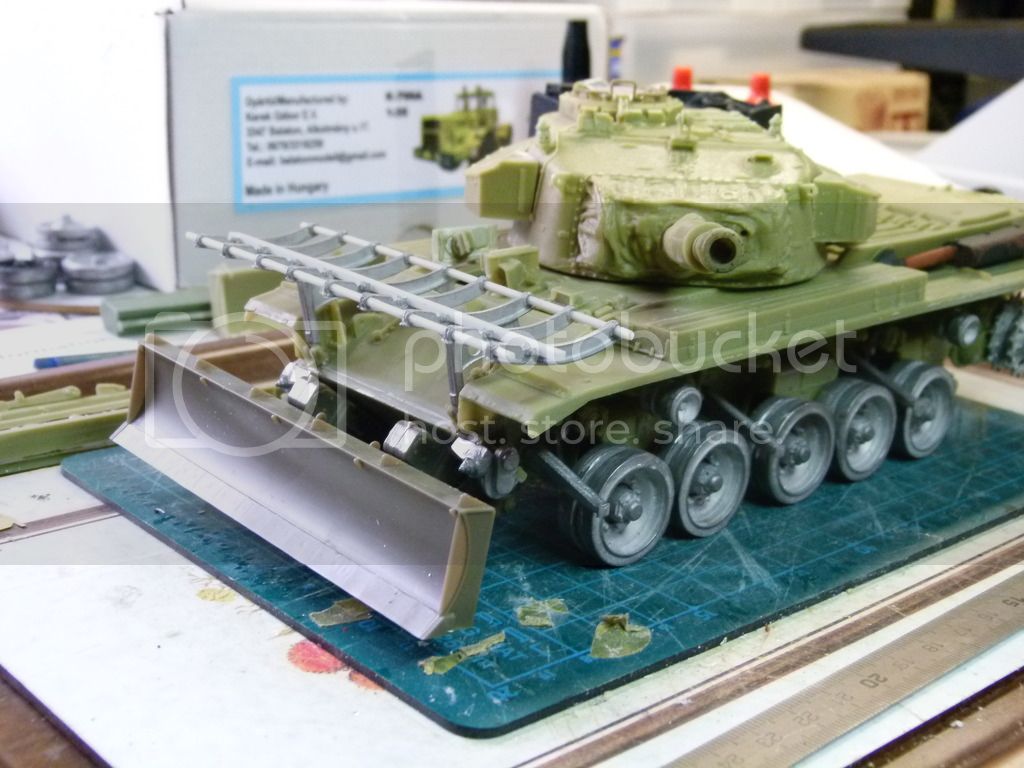
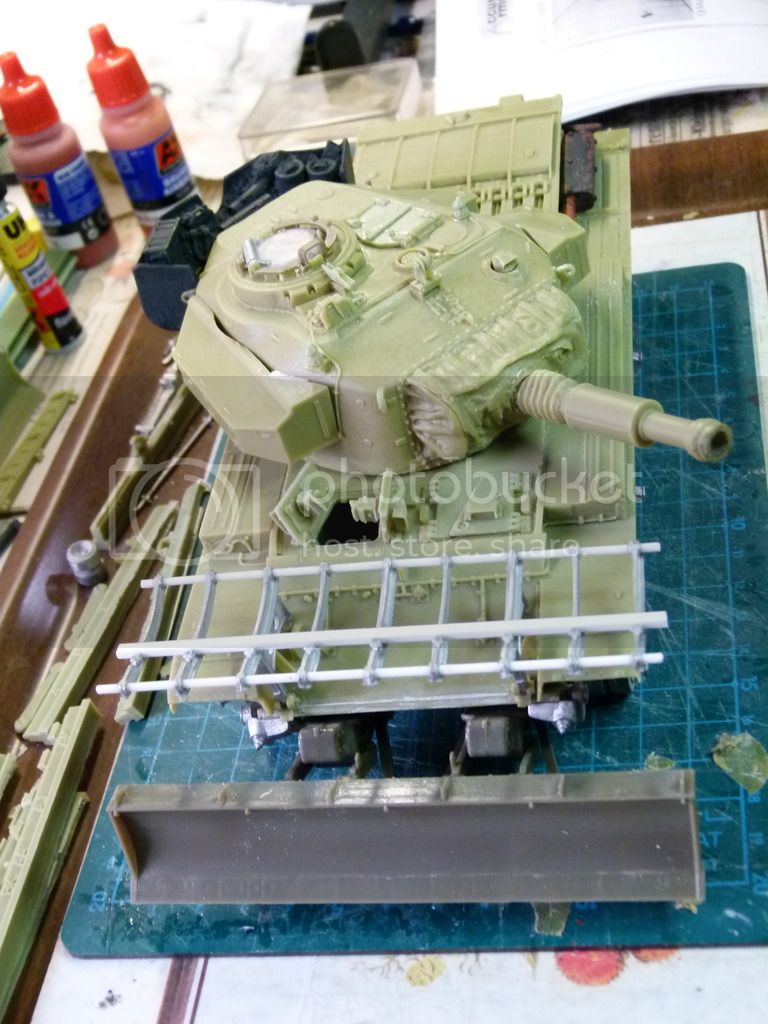
Tamiya's M4A1 primed in Tamiya Panzer Grey, now waiting for XF-62 to arrive.
Steve









 .
.


