Si,
Very nice PE work on those doorways. Really like the work on the open doorway.
I have this kit and really am interested on how she goes together. I am still having nightmares over the Dragon Scharnhorst kit I did last year.
Mark
Hosted by Richard S.
Dragon Campaign 2018
Posted: Sunday, January 21, 2018 - 07:03 AM UTC
Posted: Sunday, January 21, 2018 - 07:10 AM UTC
Here is a update on my IJA Type 4 tank. She is all assembled and ready for paint. Some items won't be attached until after painting. Here are a few progress photos.


Will update photos when she is painted.
Mark


Will update photos when she is painted.
Mark

newnikonian

Joined: July 28, 2005
KitMaker: 279 posts
Armorama: 233 posts

Posted: Sunday, January 21, 2018 - 07:19 AM UTC
Quoted Text
Yes, you have the right sequence. Just be aware different brands and amount applied can effect your results. I practiced on some extra plastic squares I had that I clear coated. Then tested different dry times with the hair spray before applying the paint.
your earlier pics came out fine also, just to touch on that.
look foward to your final outcome.
Thank you kelly.... I will test it out hopefully I will pull it off... Fingers crossed

RedDuster

Joined: March 01, 2010
KitMaker: 7,078 posts
Armorama: 248 posts

Posted: Sunday, January 21, 2018 - 11:27 PM UTC
Nice work on the Type IV Mark,
So far so good on Z39, no real issues with the fit, or the engineering, just the usual confusing Dragon instructions.
Yesterday's progress at LMEE.
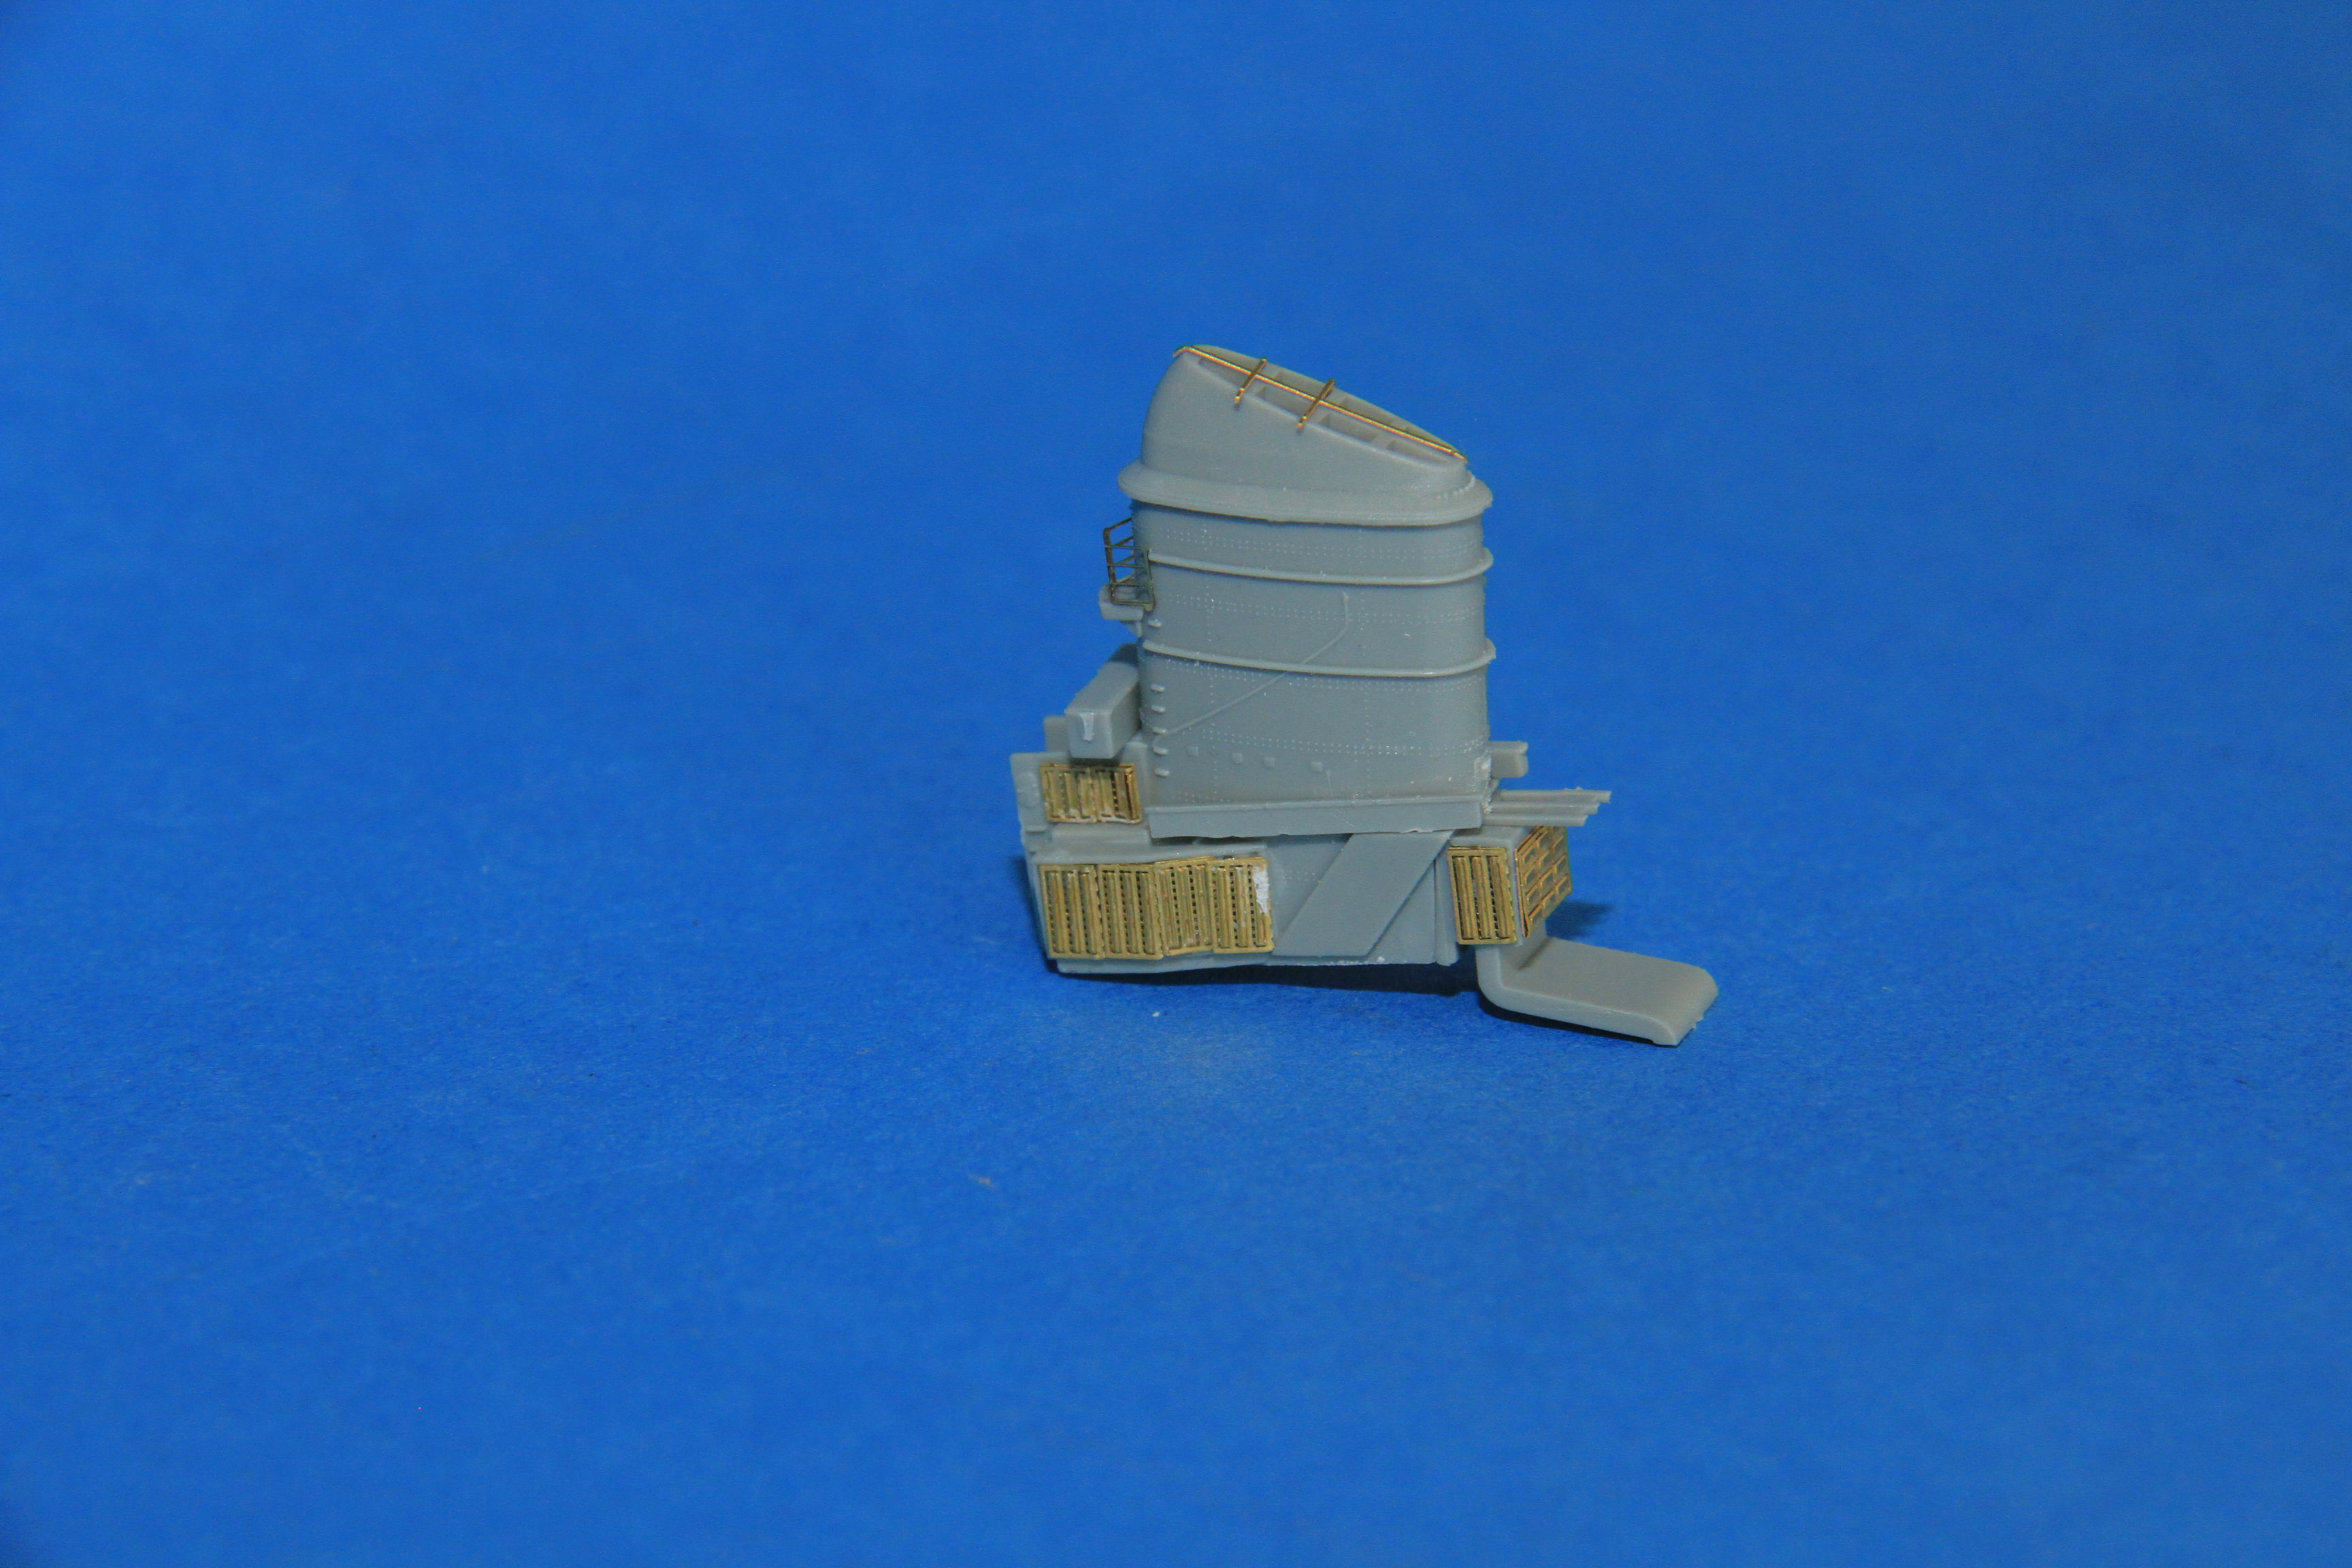
The etched vents on the fore funnel.
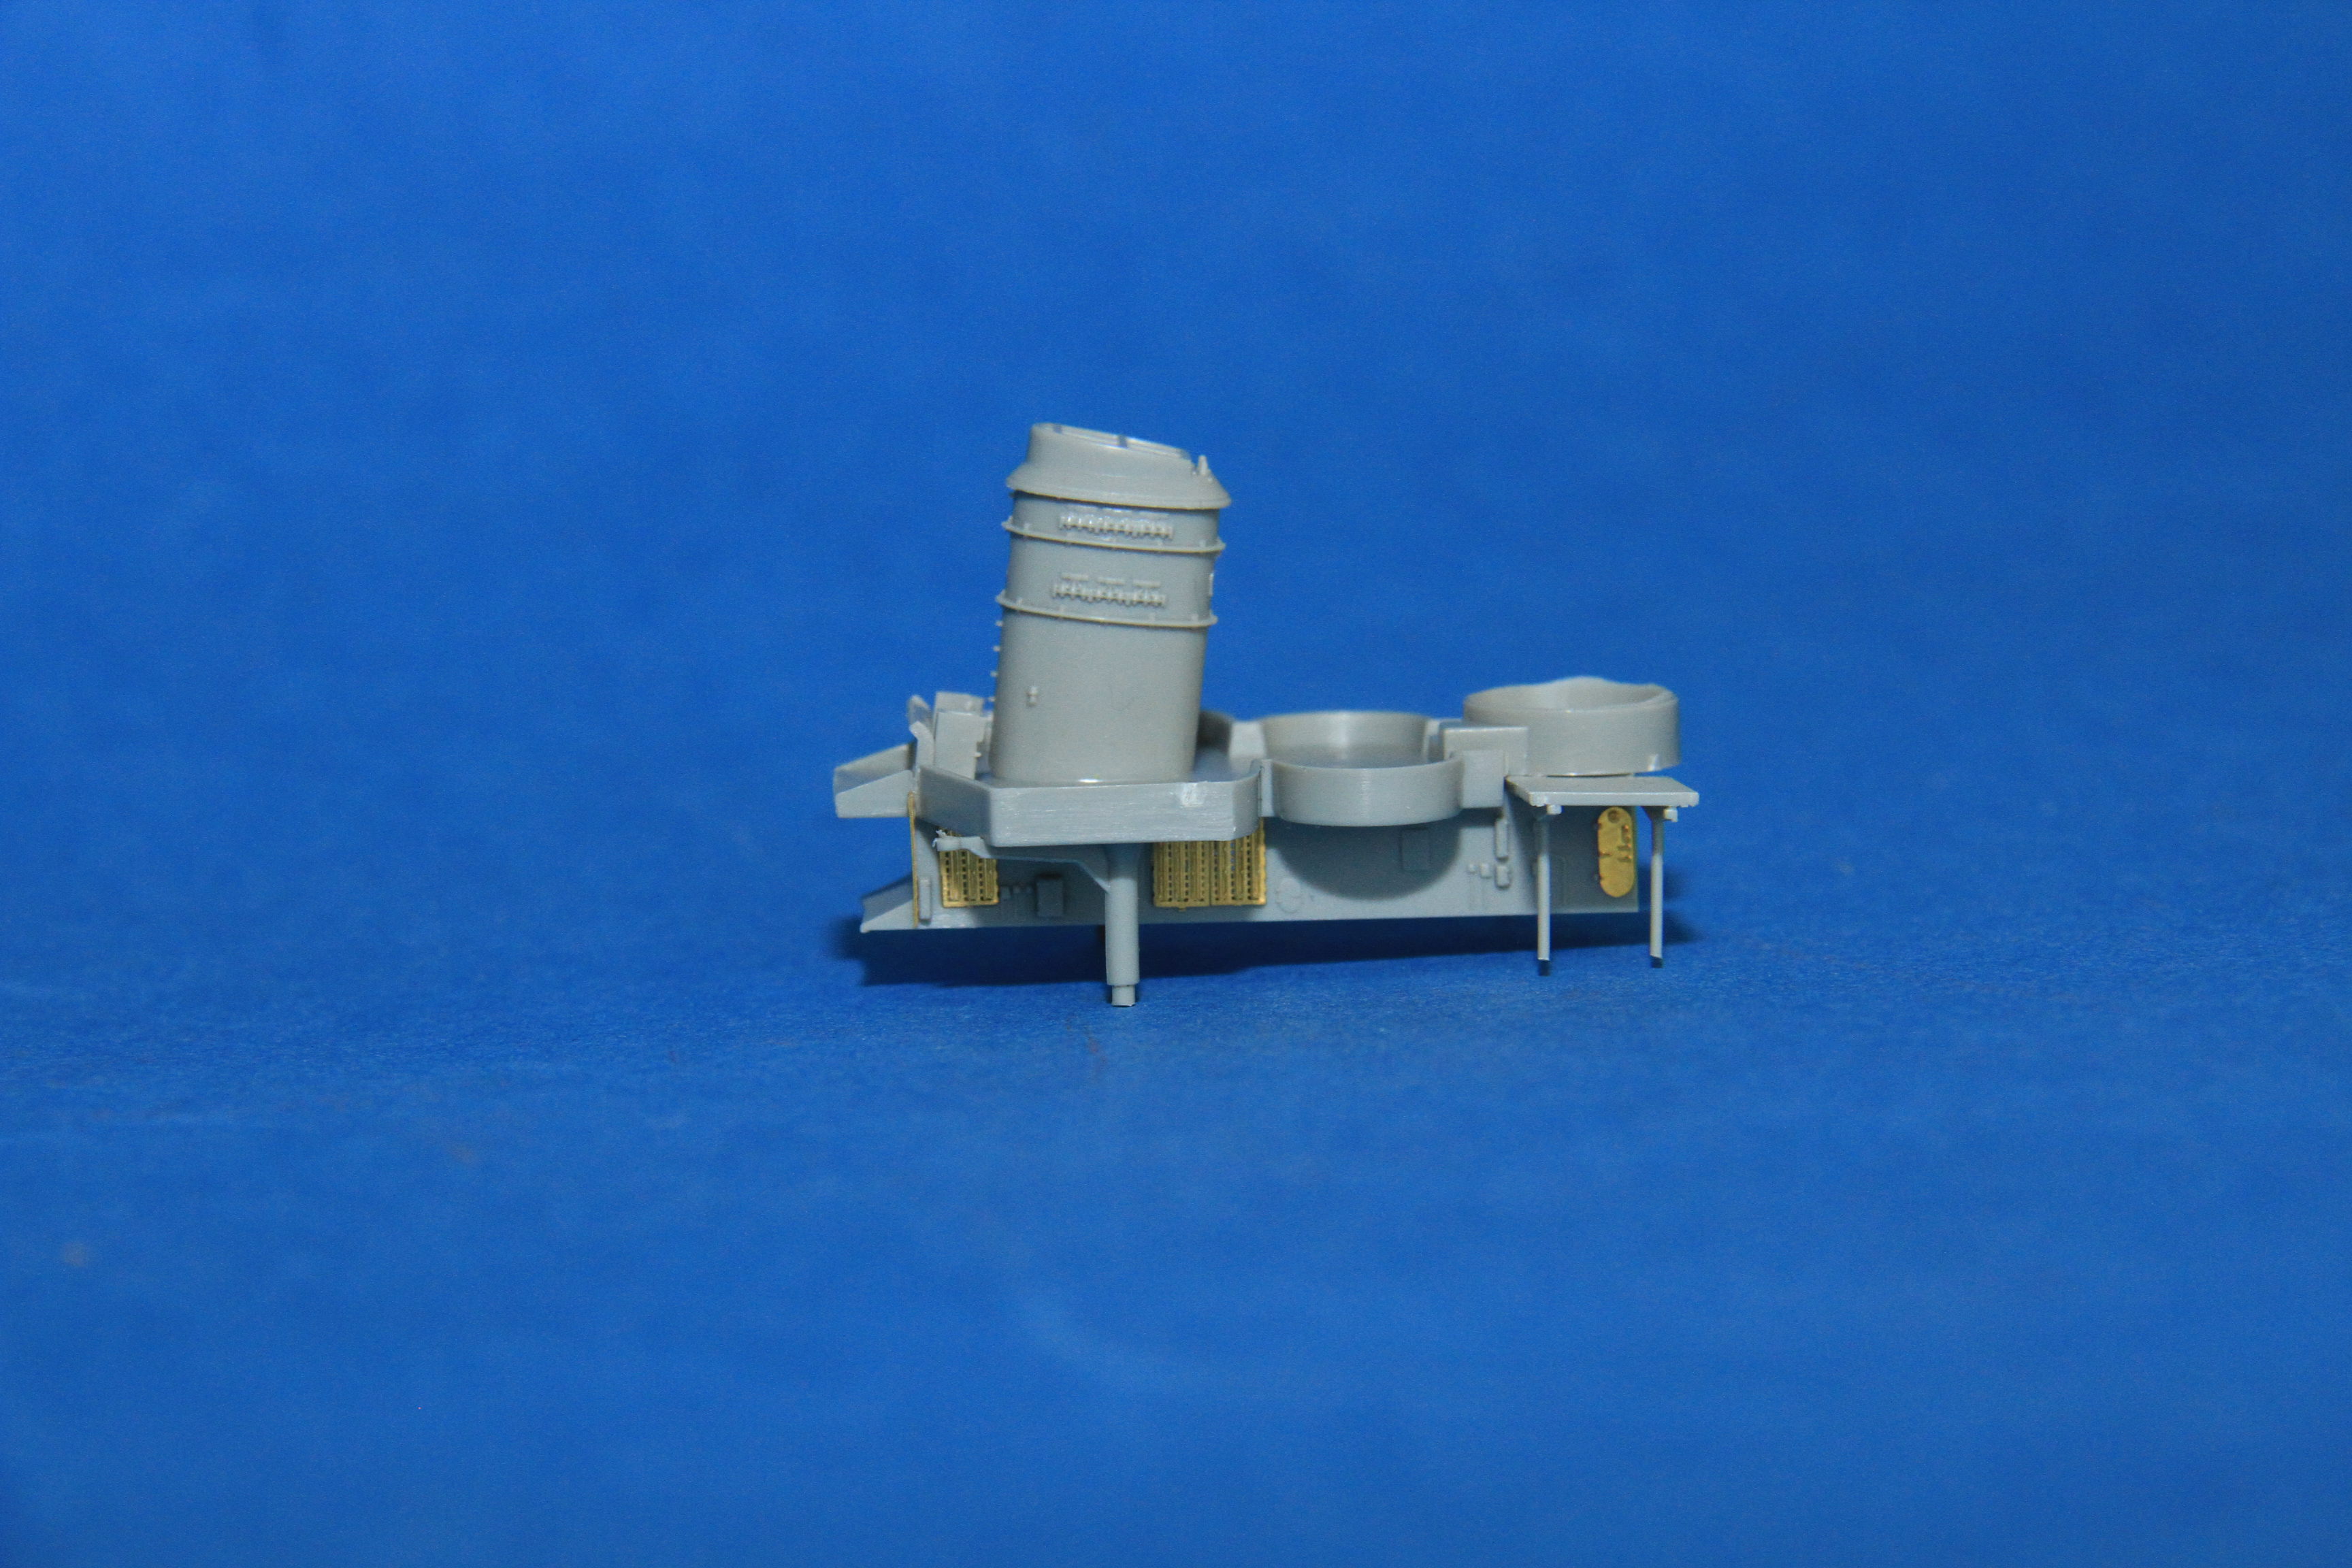
The midships deck house complete with after funnel and etched vents.
The after superstructure, along with the upper gun platform, that is just test fitted.
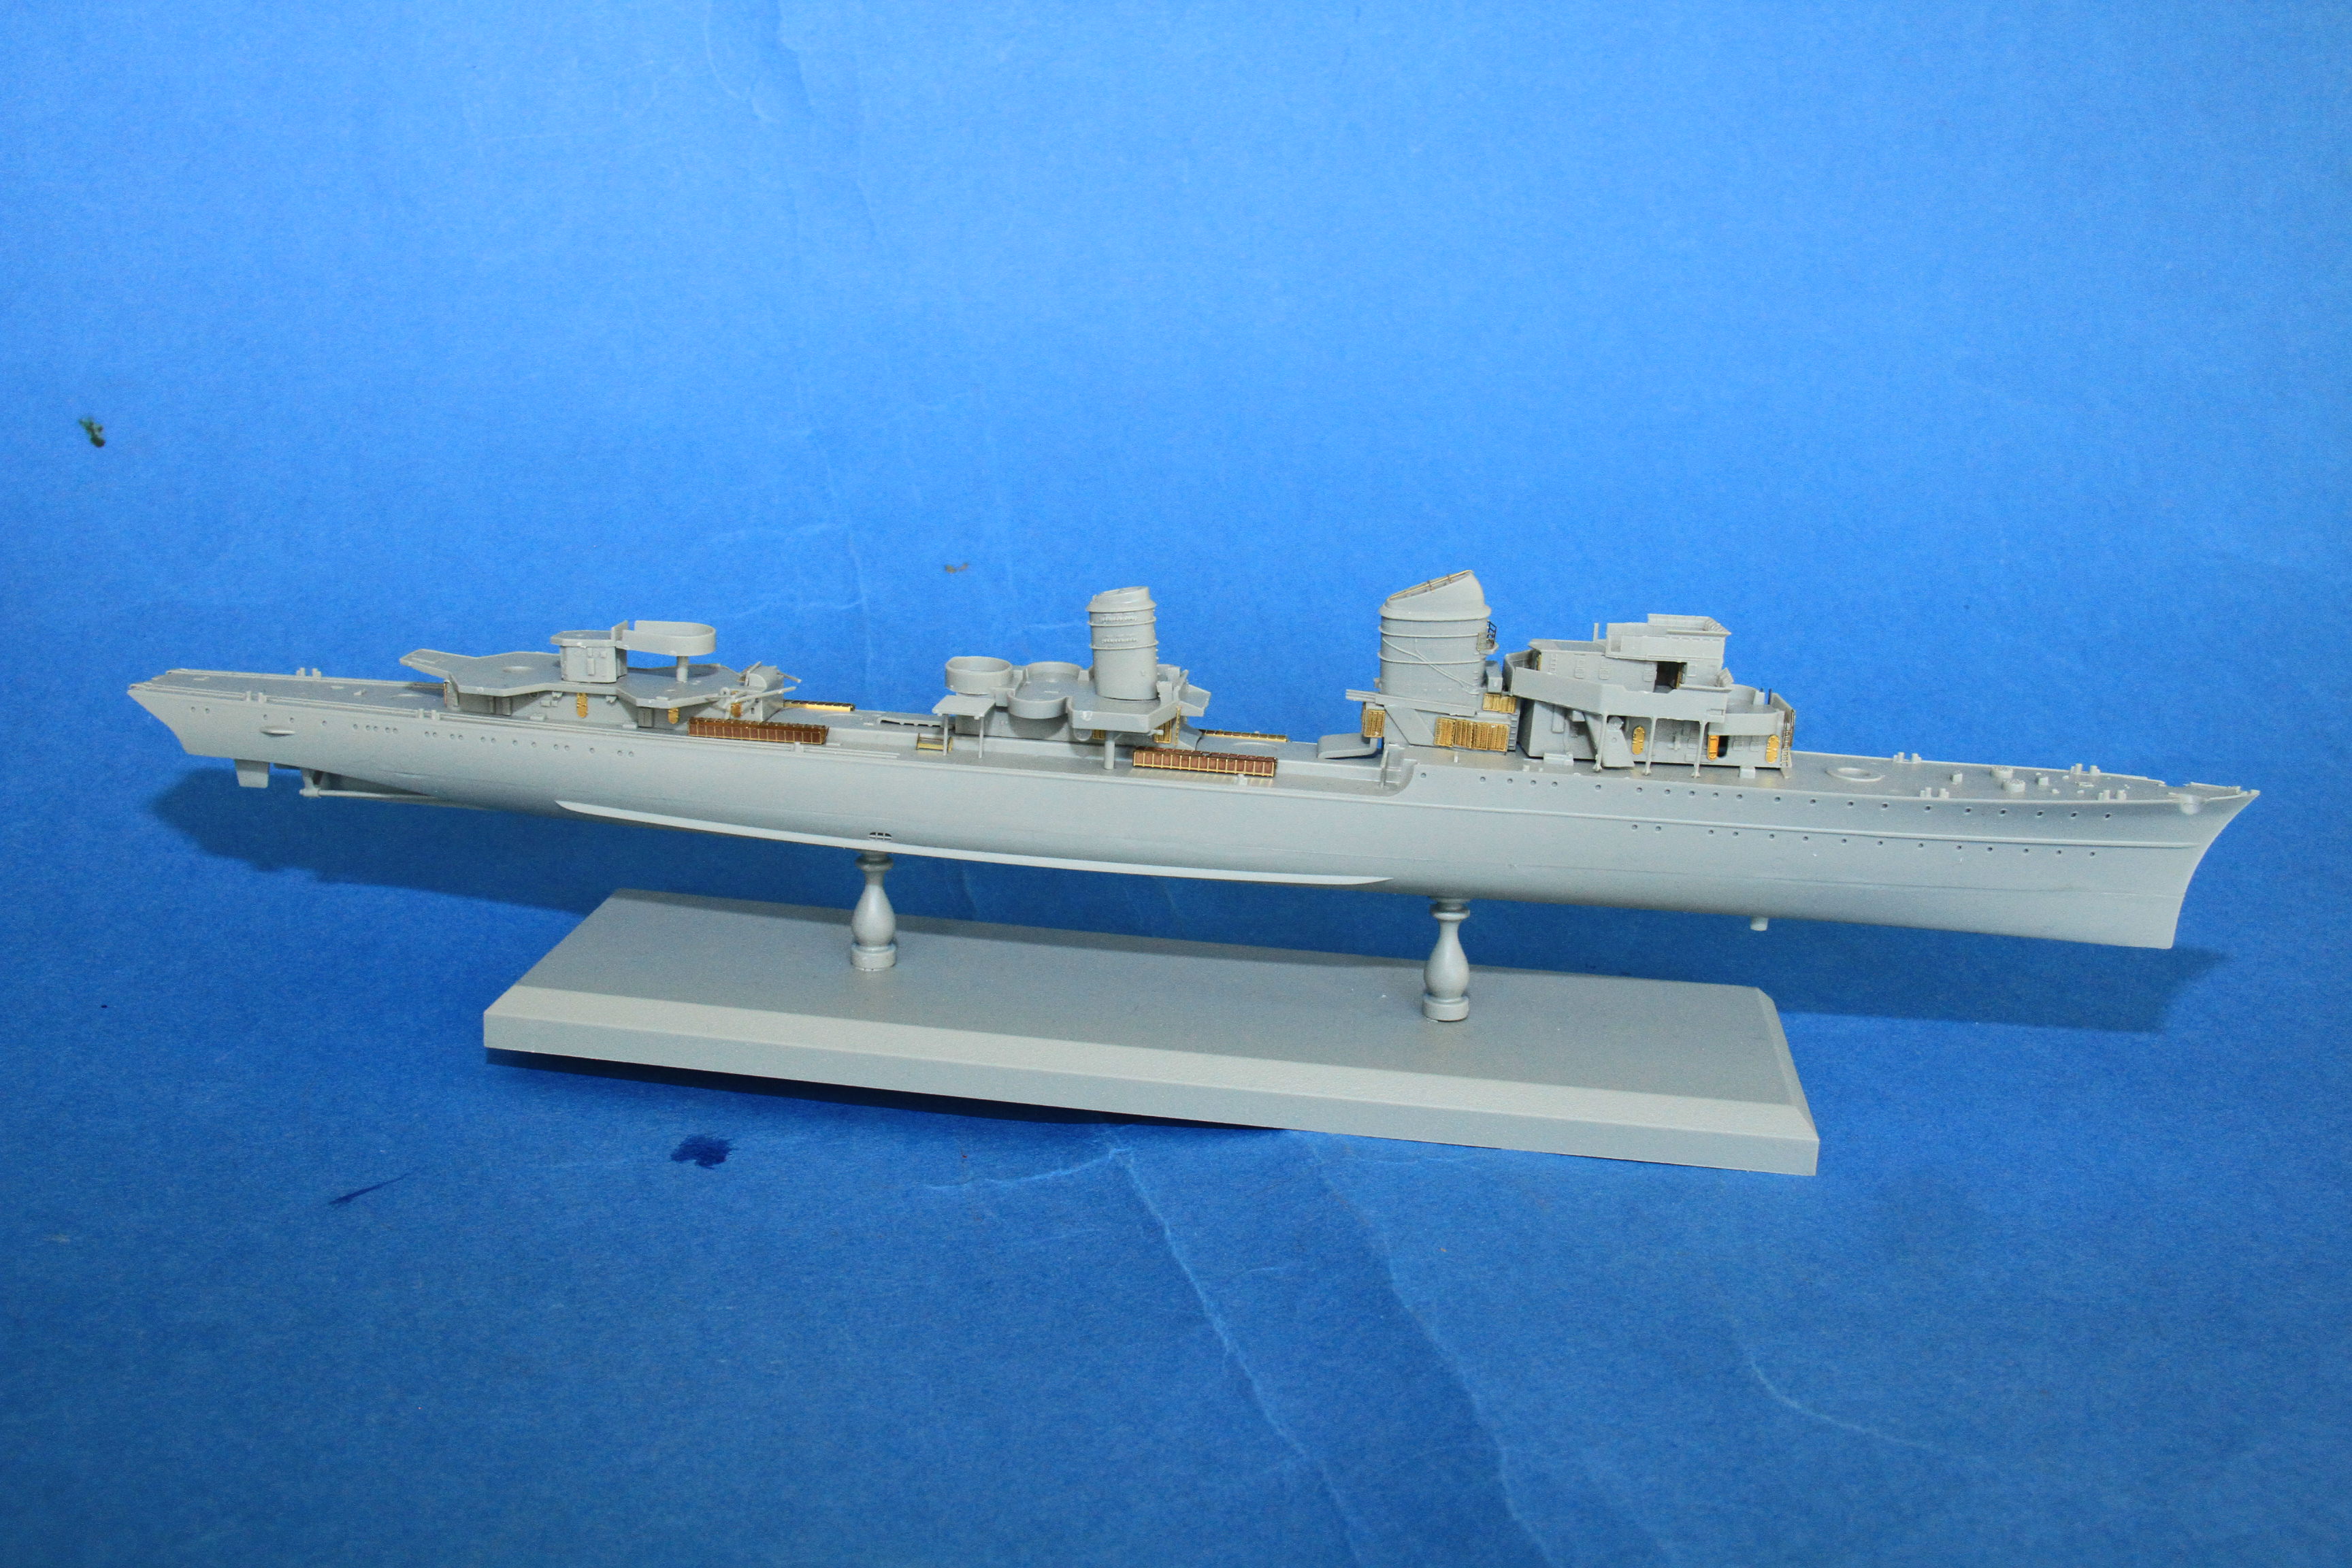
All sub assemblies in place, a couple of sections need a bit more work before spray time.
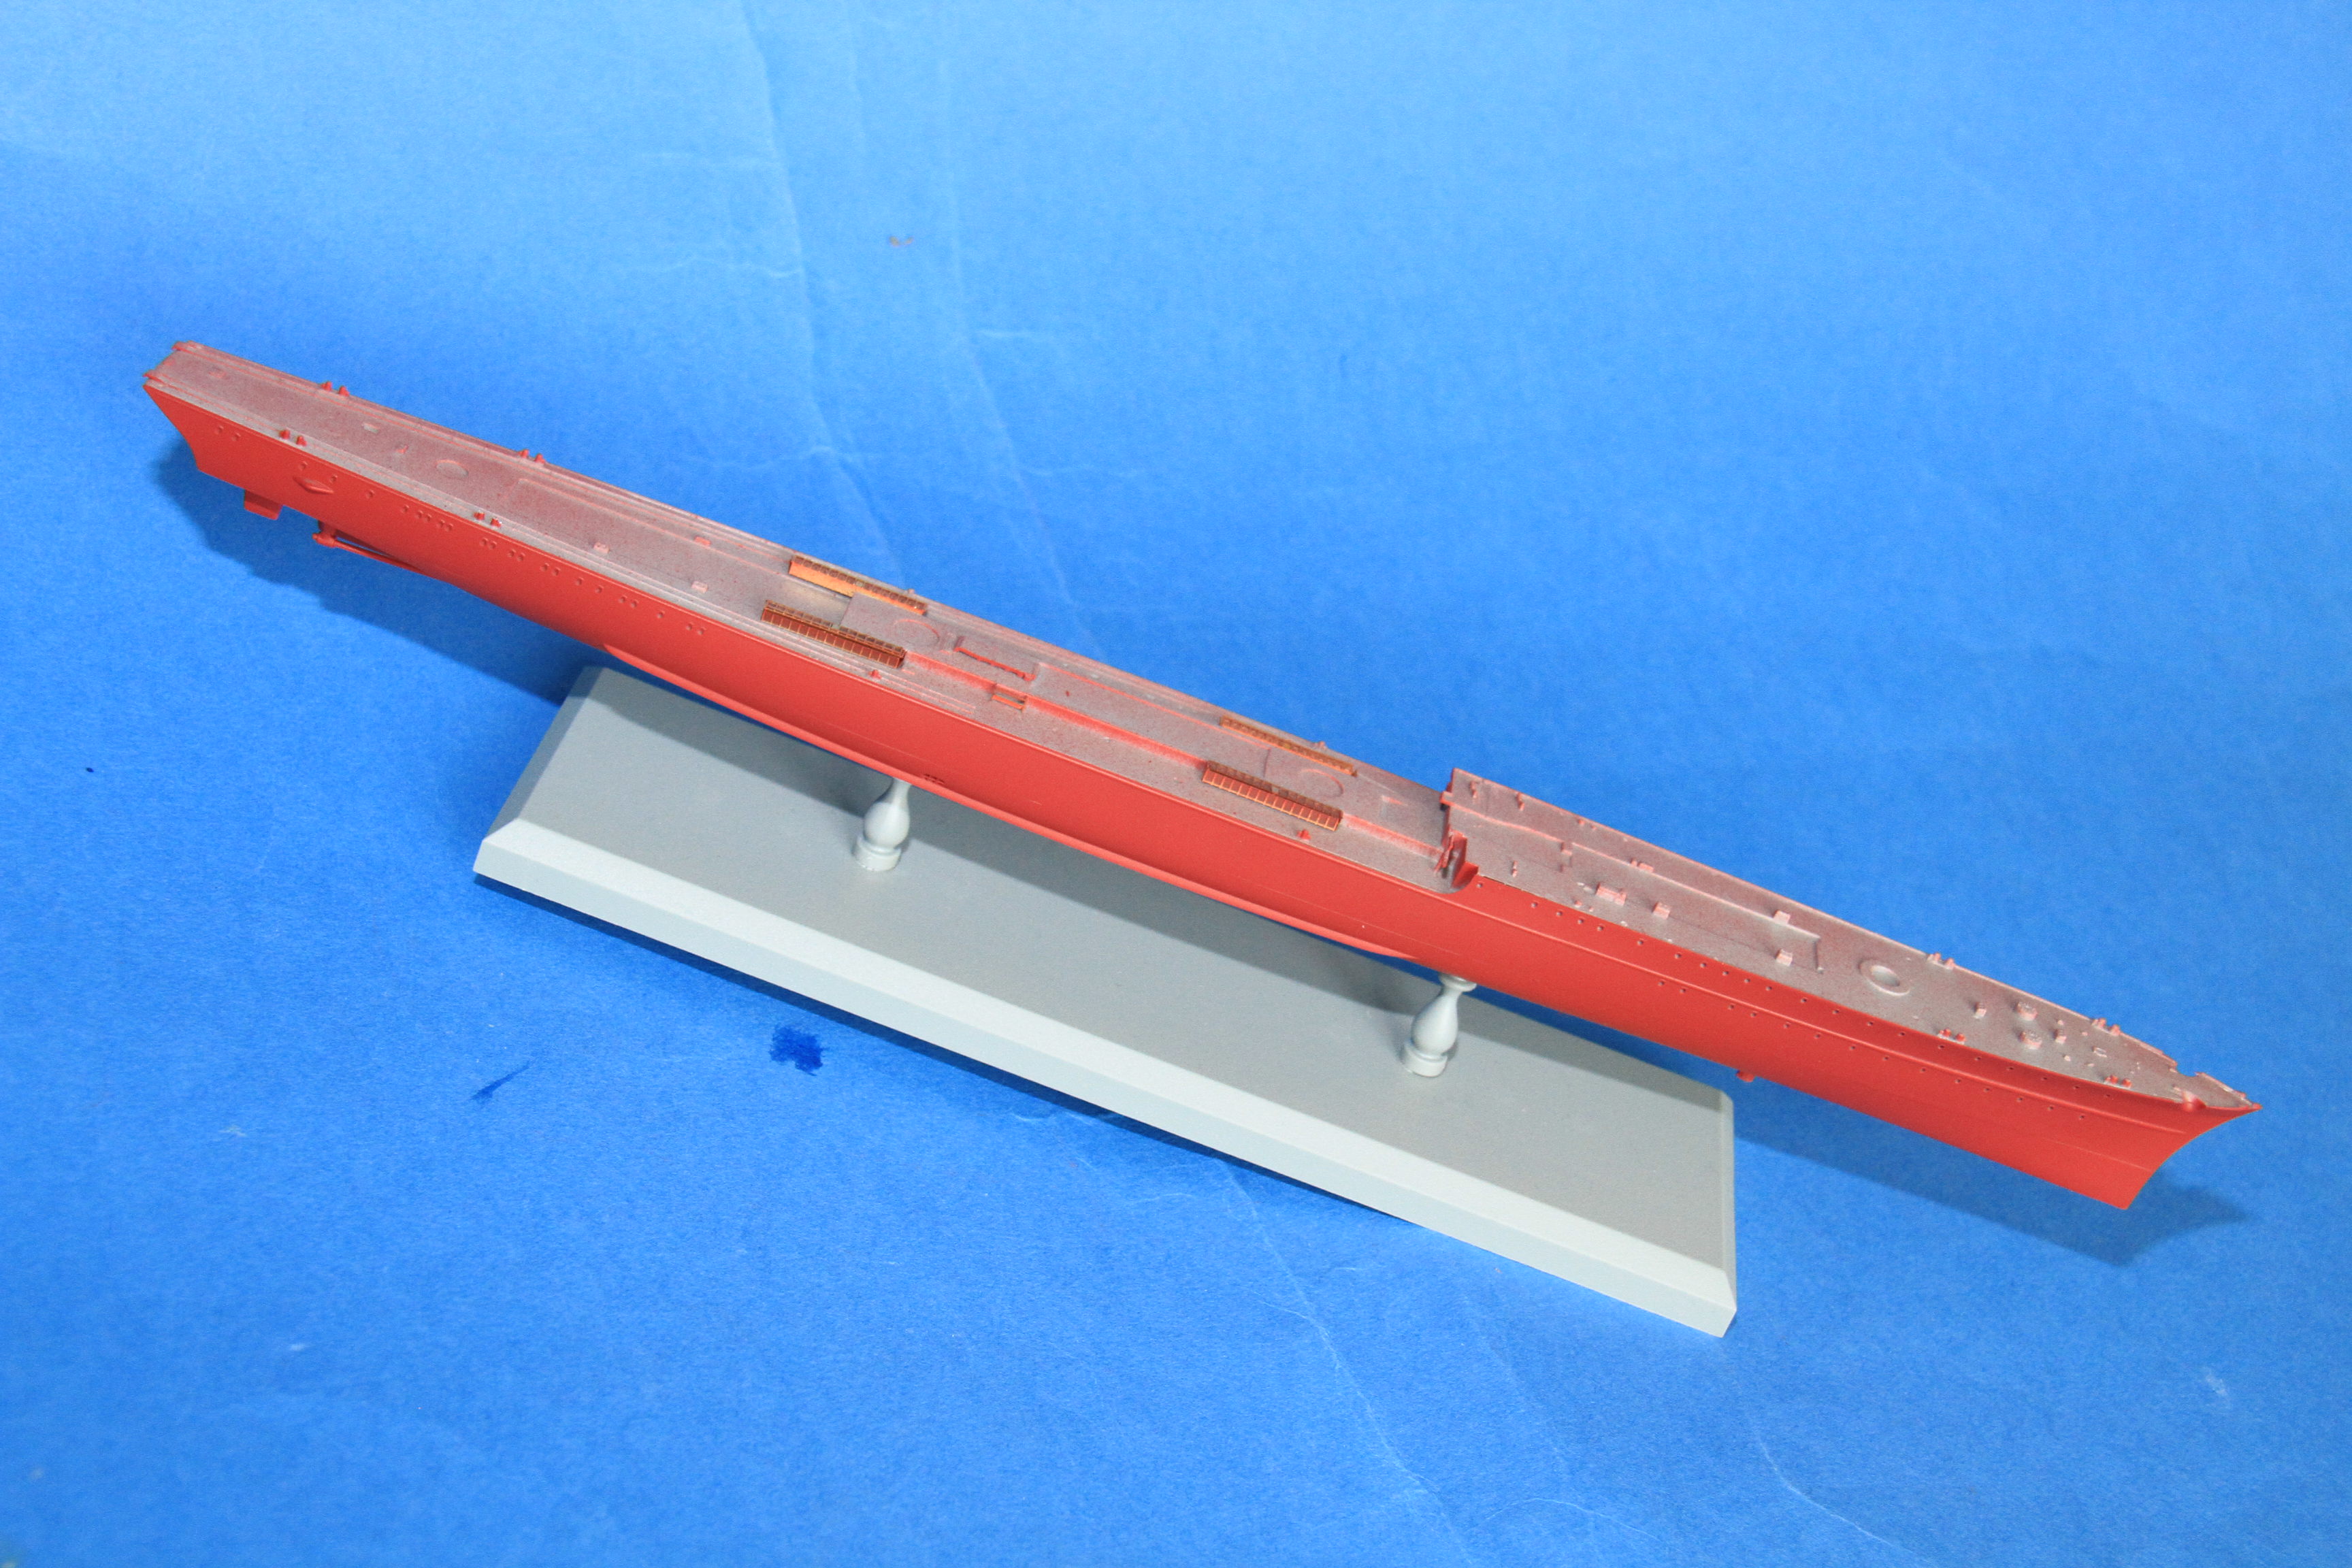
The hull on the other hand, gets a coat of anti fouling red.
More soon.
Cheers
Si
So far so good on Z39, no real issues with the fit, or the engineering, just the usual confusing Dragon instructions.
Yesterday's progress at LMEE.
The etched vents on the fore funnel.

The midships deck house complete with after funnel and etched vents.

The after superstructure, along with the upper gun platform, that is just test fitted.
All sub assemblies in place, a couple of sections need a bit more work before spray time.

The hull on the other hand, gets a coat of anti fouling red.

More soon.
Cheers
Si
Posted: Monday, January 22, 2018 - 05:17 PM UTC
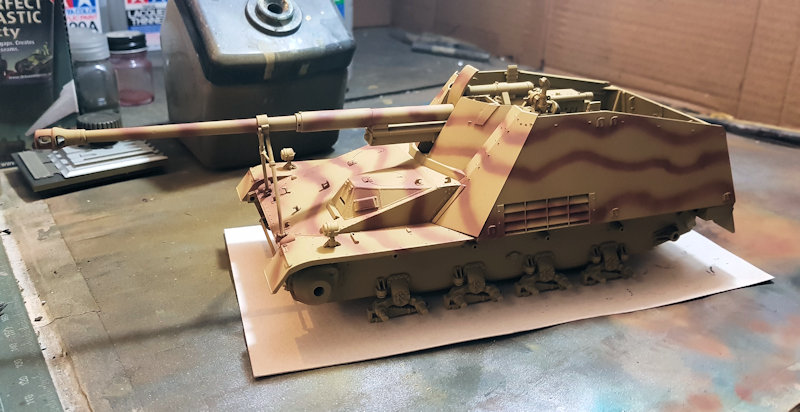
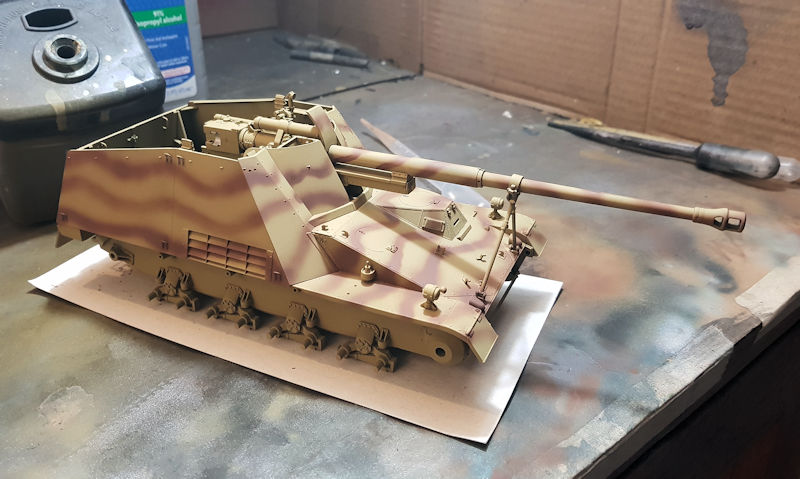
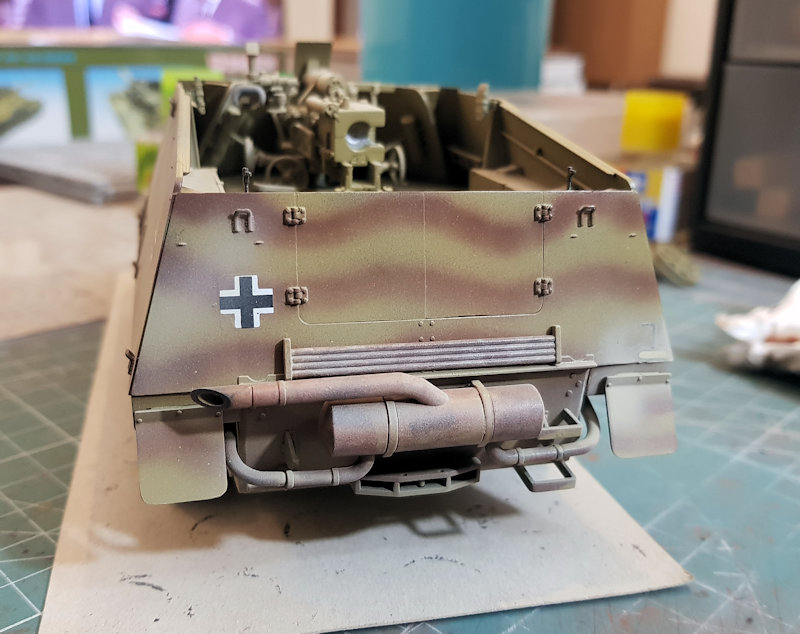
Decided to go with the Schwere Heeres Panzerjager, Abteilung 560 option. The wavy rotbrun patten has been applied.


Posted: Monday, January 22, 2018 - 05:45 PM UTC
Mark,
Nice paint job, did you apply the waves freehand?
Mark
Nice paint job, did you apply the waves freehand?
Mark
Posted: Monday, January 22, 2018 - 05:49 PM UTC
SI,
Really nice work with the PE and assembly, looks like you are making great progress. To bad about the instructions but it is a Dragon kit. I hope you don't end up with parts that need to be installed but the instructions left them out, like in the Scharnhorst kit.
Mark
Really nice work with the PE and assembly, looks like you are making great progress. To bad about the instructions but it is a Dragon kit. I hope you don't end up with parts that need to be installed but the instructions left them out, like in the Scharnhorst kit.
Mark
Posted: Monday, January 22, 2018 - 06:54 PM UTC
Quoted Text
Mark,
Nice paint job, did you apply the waves freehand?
Mark
Thanks Mark. Yes, I did apply freehand. I'm not a big fan of using masks. I prefer "artistic license" when spraying cammo patterns.
Posted: Tuesday, January 23, 2018 - 07:43 AM UTC
Quoted Text
Quoted TextMark,
Nice paint job, did you apply the waves freehand?
Mark
Thanks Mark. Yes, I did apply freehand. I'm not a big fan of using masks. I prefer "artistic license" when spraying cammo patterns.
I agree with you about the license. Very nice free hand work.

newnikonian

Joined: July 28, 2005
KitMaker: 279 posts
Armorama: 233 posts

Posted: Tuesday, January 23, 2018 - 09:14 AM UTC
Hi Mark
cammo looks Great. Excellent freehand work. Good progress

cammo looks Great. Excellent freehand work. Good progress

RedDuster

Joined: March 01, 2010
KitMaker: 7,078 posts
Armorama: 248 posts

Posted: Wednesday, January 24, 2018 - 02:21 AM UTC
Quoted Text
SI,
Really nice work with the PE and assembly, looks like you are making great progress. To bad about the instructions but it is a Dragon kit. I hope you don't end up with parts that need to be installed but the instructions left them out, like in the Scharnhorst kit.
Mark
Thanks Mark,
So far so good, the instructions are part of the "Charm" of Dragon, know what you mean about the Scharnhorst, that did test my knowledge of naughty words.
Cheers
Si
Posted: Wednesday, January 24, 2018 - 08:27 AM UTC
Quoted Text
Hi Mark
cammo looks Great. Excellent freehand work. Good progress

Thanks. Your Stug looks great. Looking forward to seeing it finished.

newnikonian

Joined: July 28, 2005
KitMaker: 279 posts
Armorama: 233 posts

Posted: Friday, January 26, 2018 - 01:48 AM UTC
Thanks Mark.
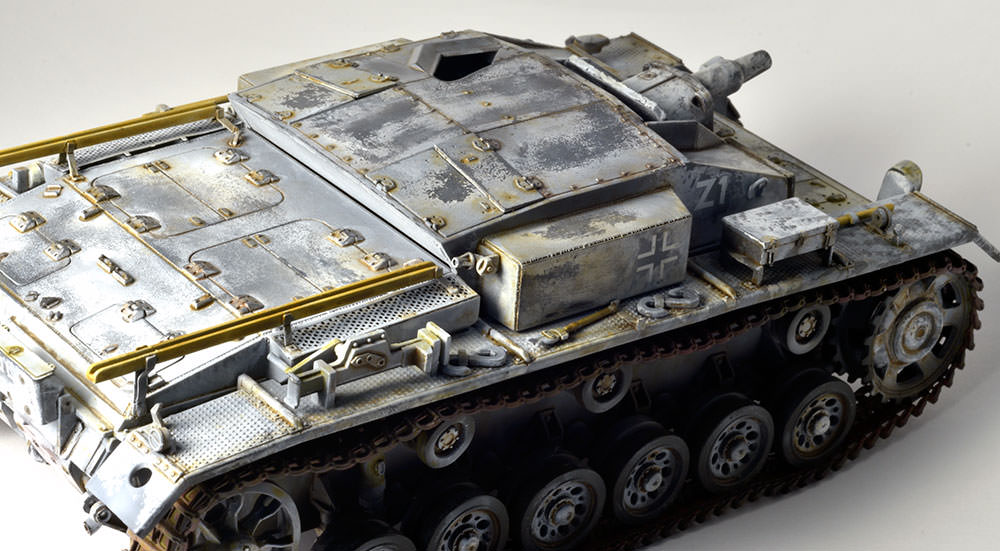
Small update.... White wash completed.
Next steps to be completed:
Detail Painting, Exhaust Rust, Chipping, 2 rounds of Wash/ Steaks / Pin wash cleanup. Wheels / turret door, pigments, seal coat ...
Looks like this now....
Have a wonderful week end

Small update.... White wash completed.
Next steps to be completed:
Detail Painting, Exhaust Rust, Chipping, 2 rounds of Wash/ Steaks / Pin wash cleanup. Wheels / turret door, pigments, seal coat ...
Looks like this now....

Have a wonderful week end


newnikonian

Joined: July 28, 2005
KitMaker: 279 posts
Armorama: 233 posts

Posted: Friday, January 26, 2018 - 01:59 AM UTC
Notice the missing handle.... Managed to save before carpet monster swallow it


RedDuster

Joined: March 01, 2010
KitMaker: 7,078 posts
Armorama: 248 posts

Posted: Saturday, January 27, 2018 - 11:53 PM UTC
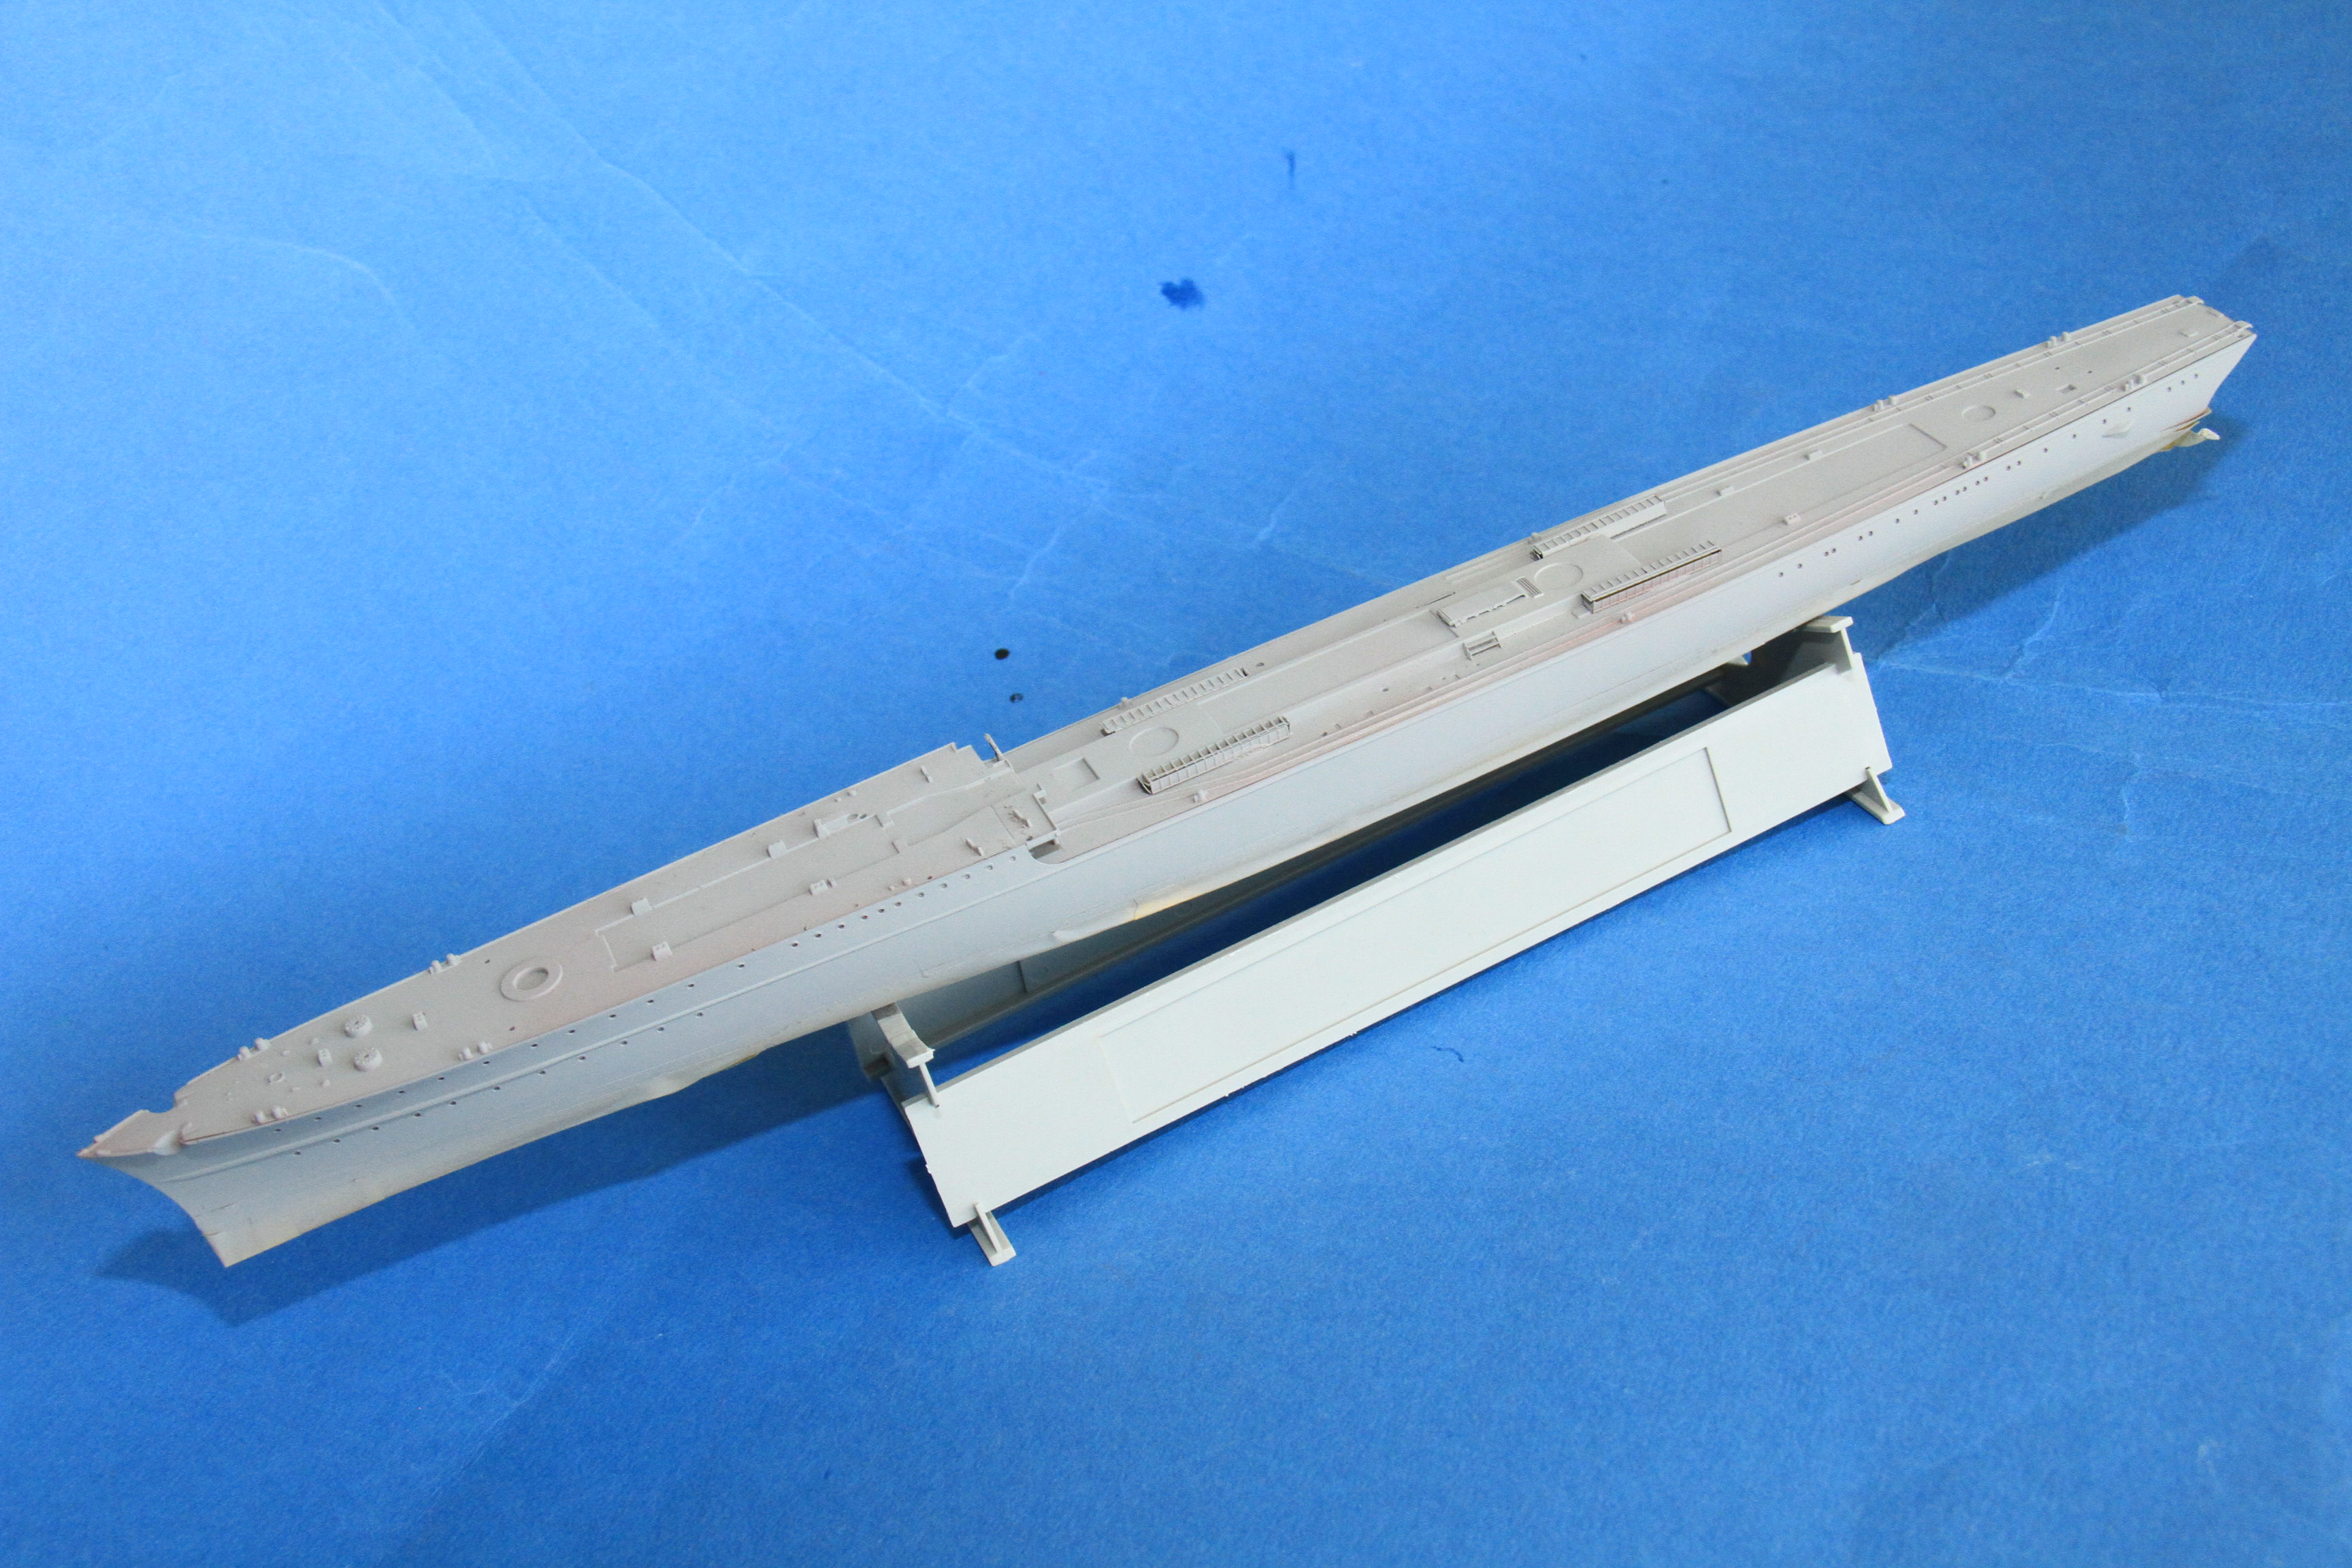
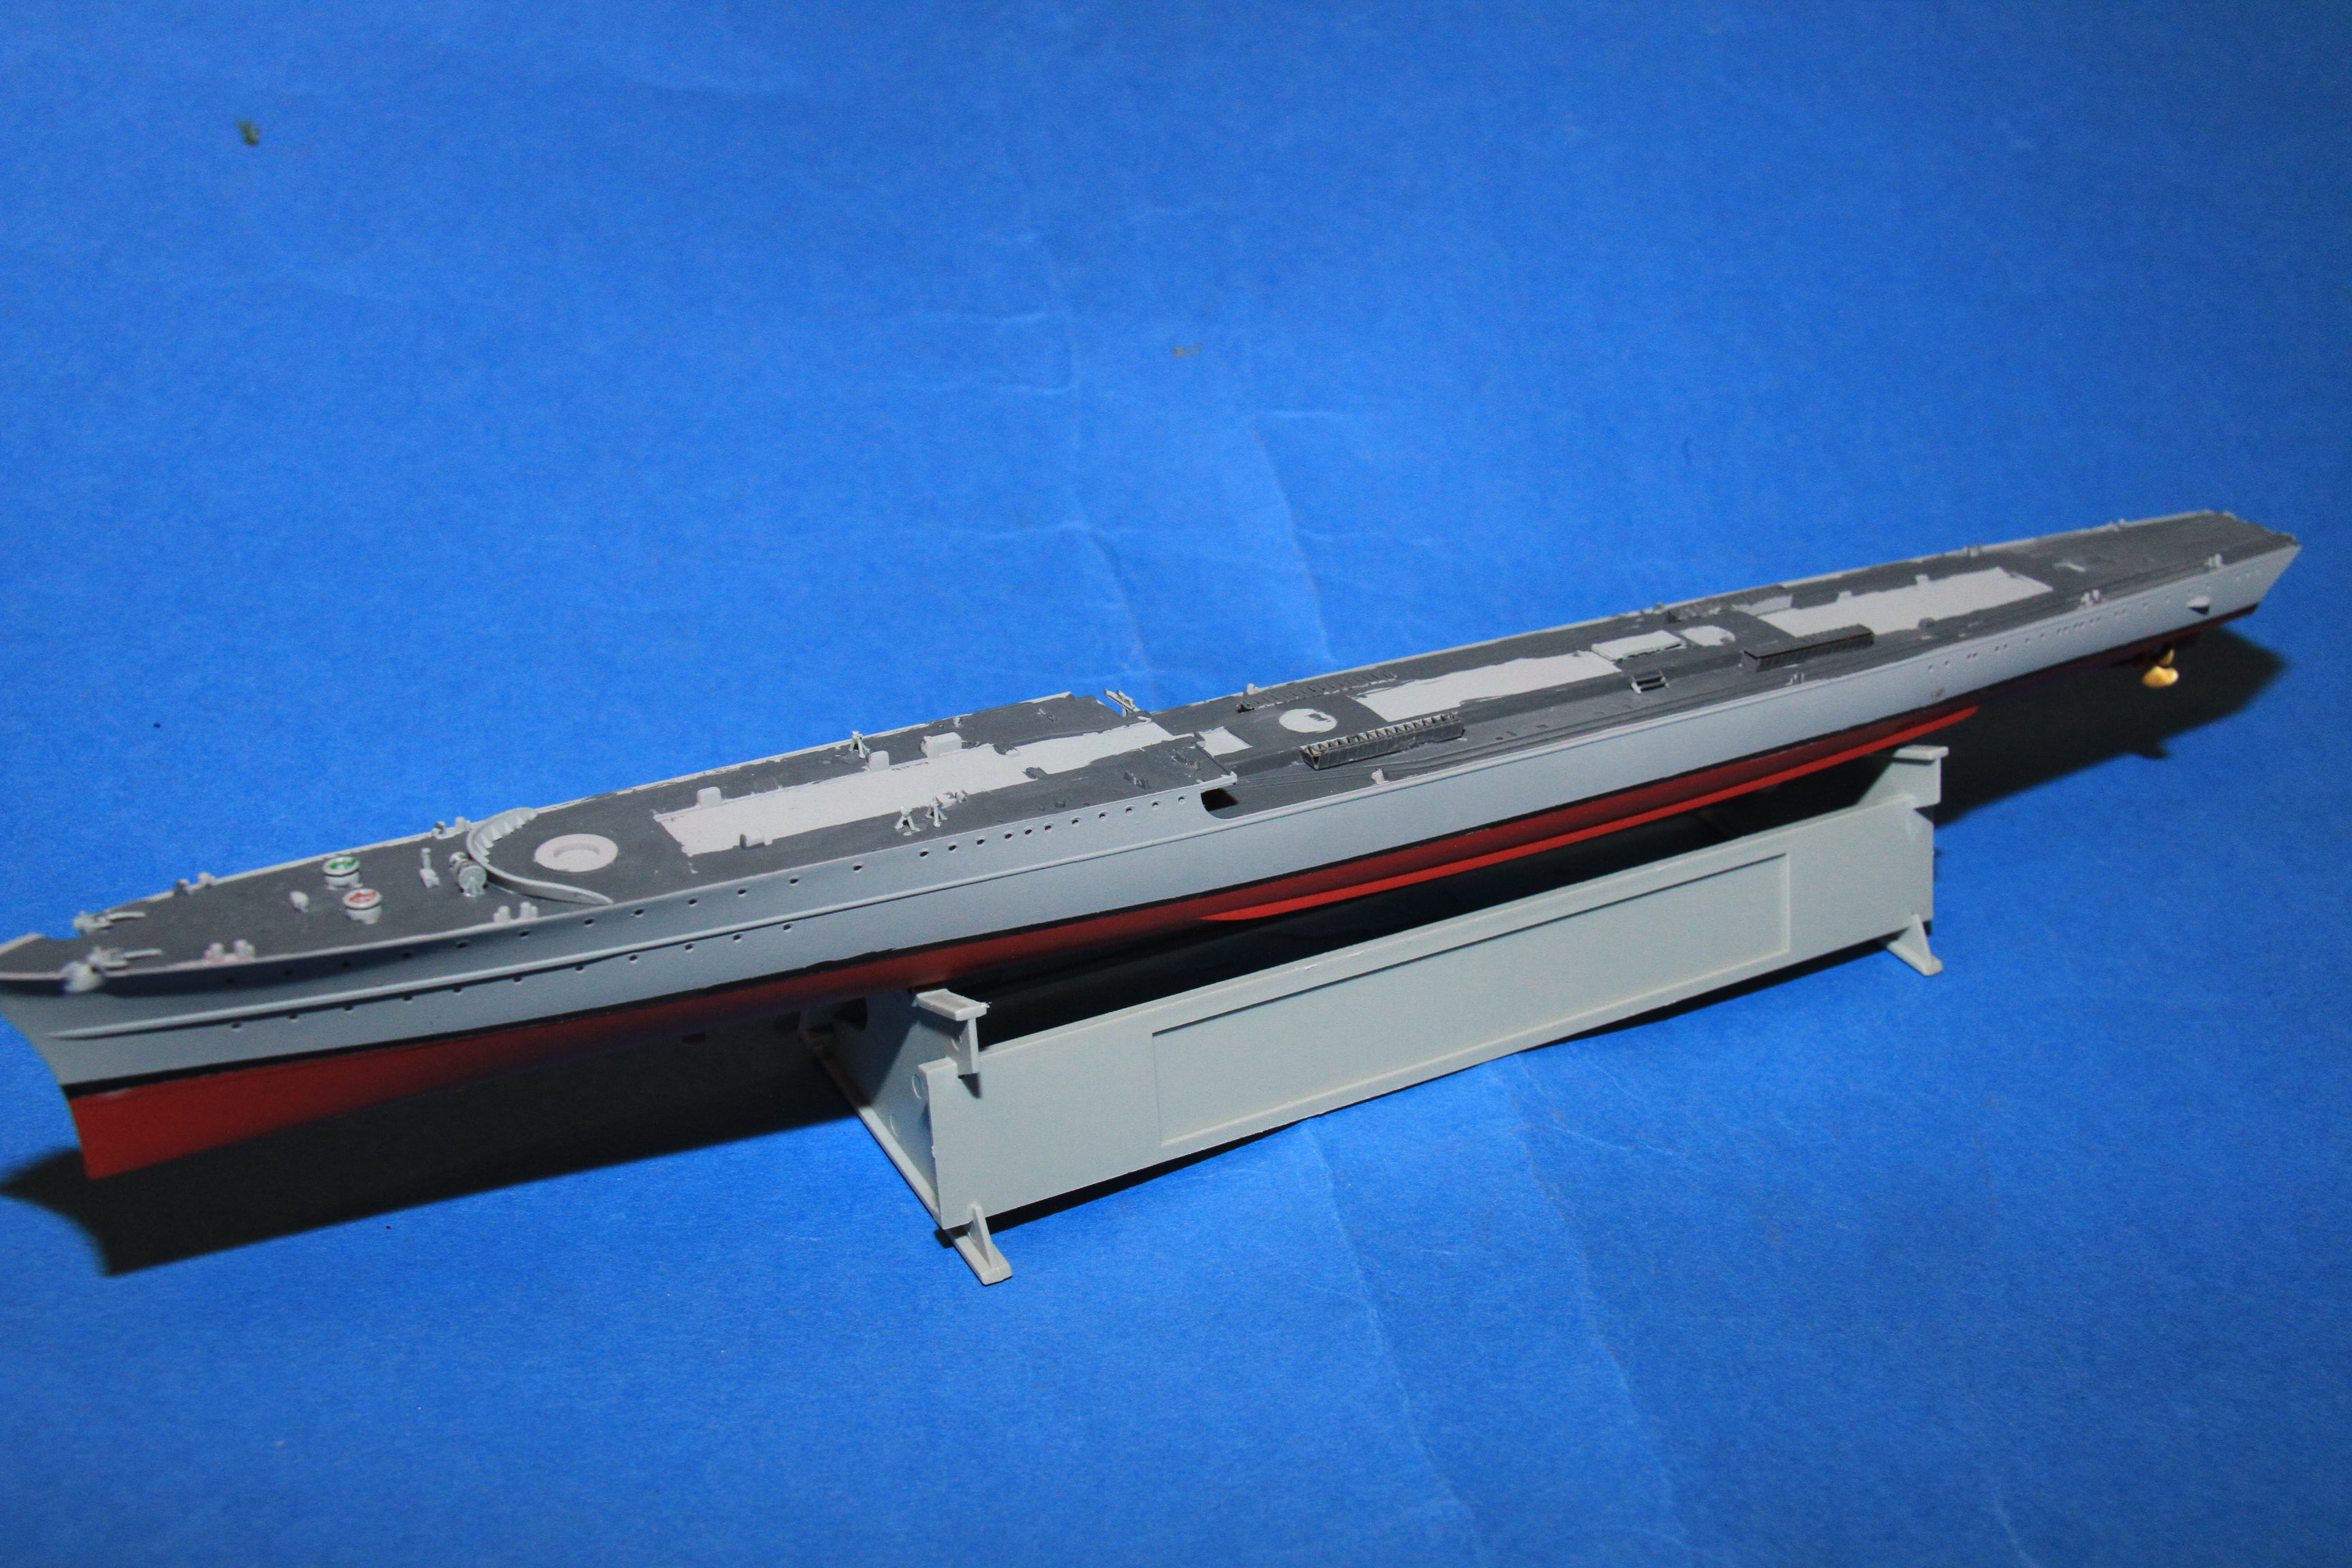
A bit more progress today,
The lower hull masked off.
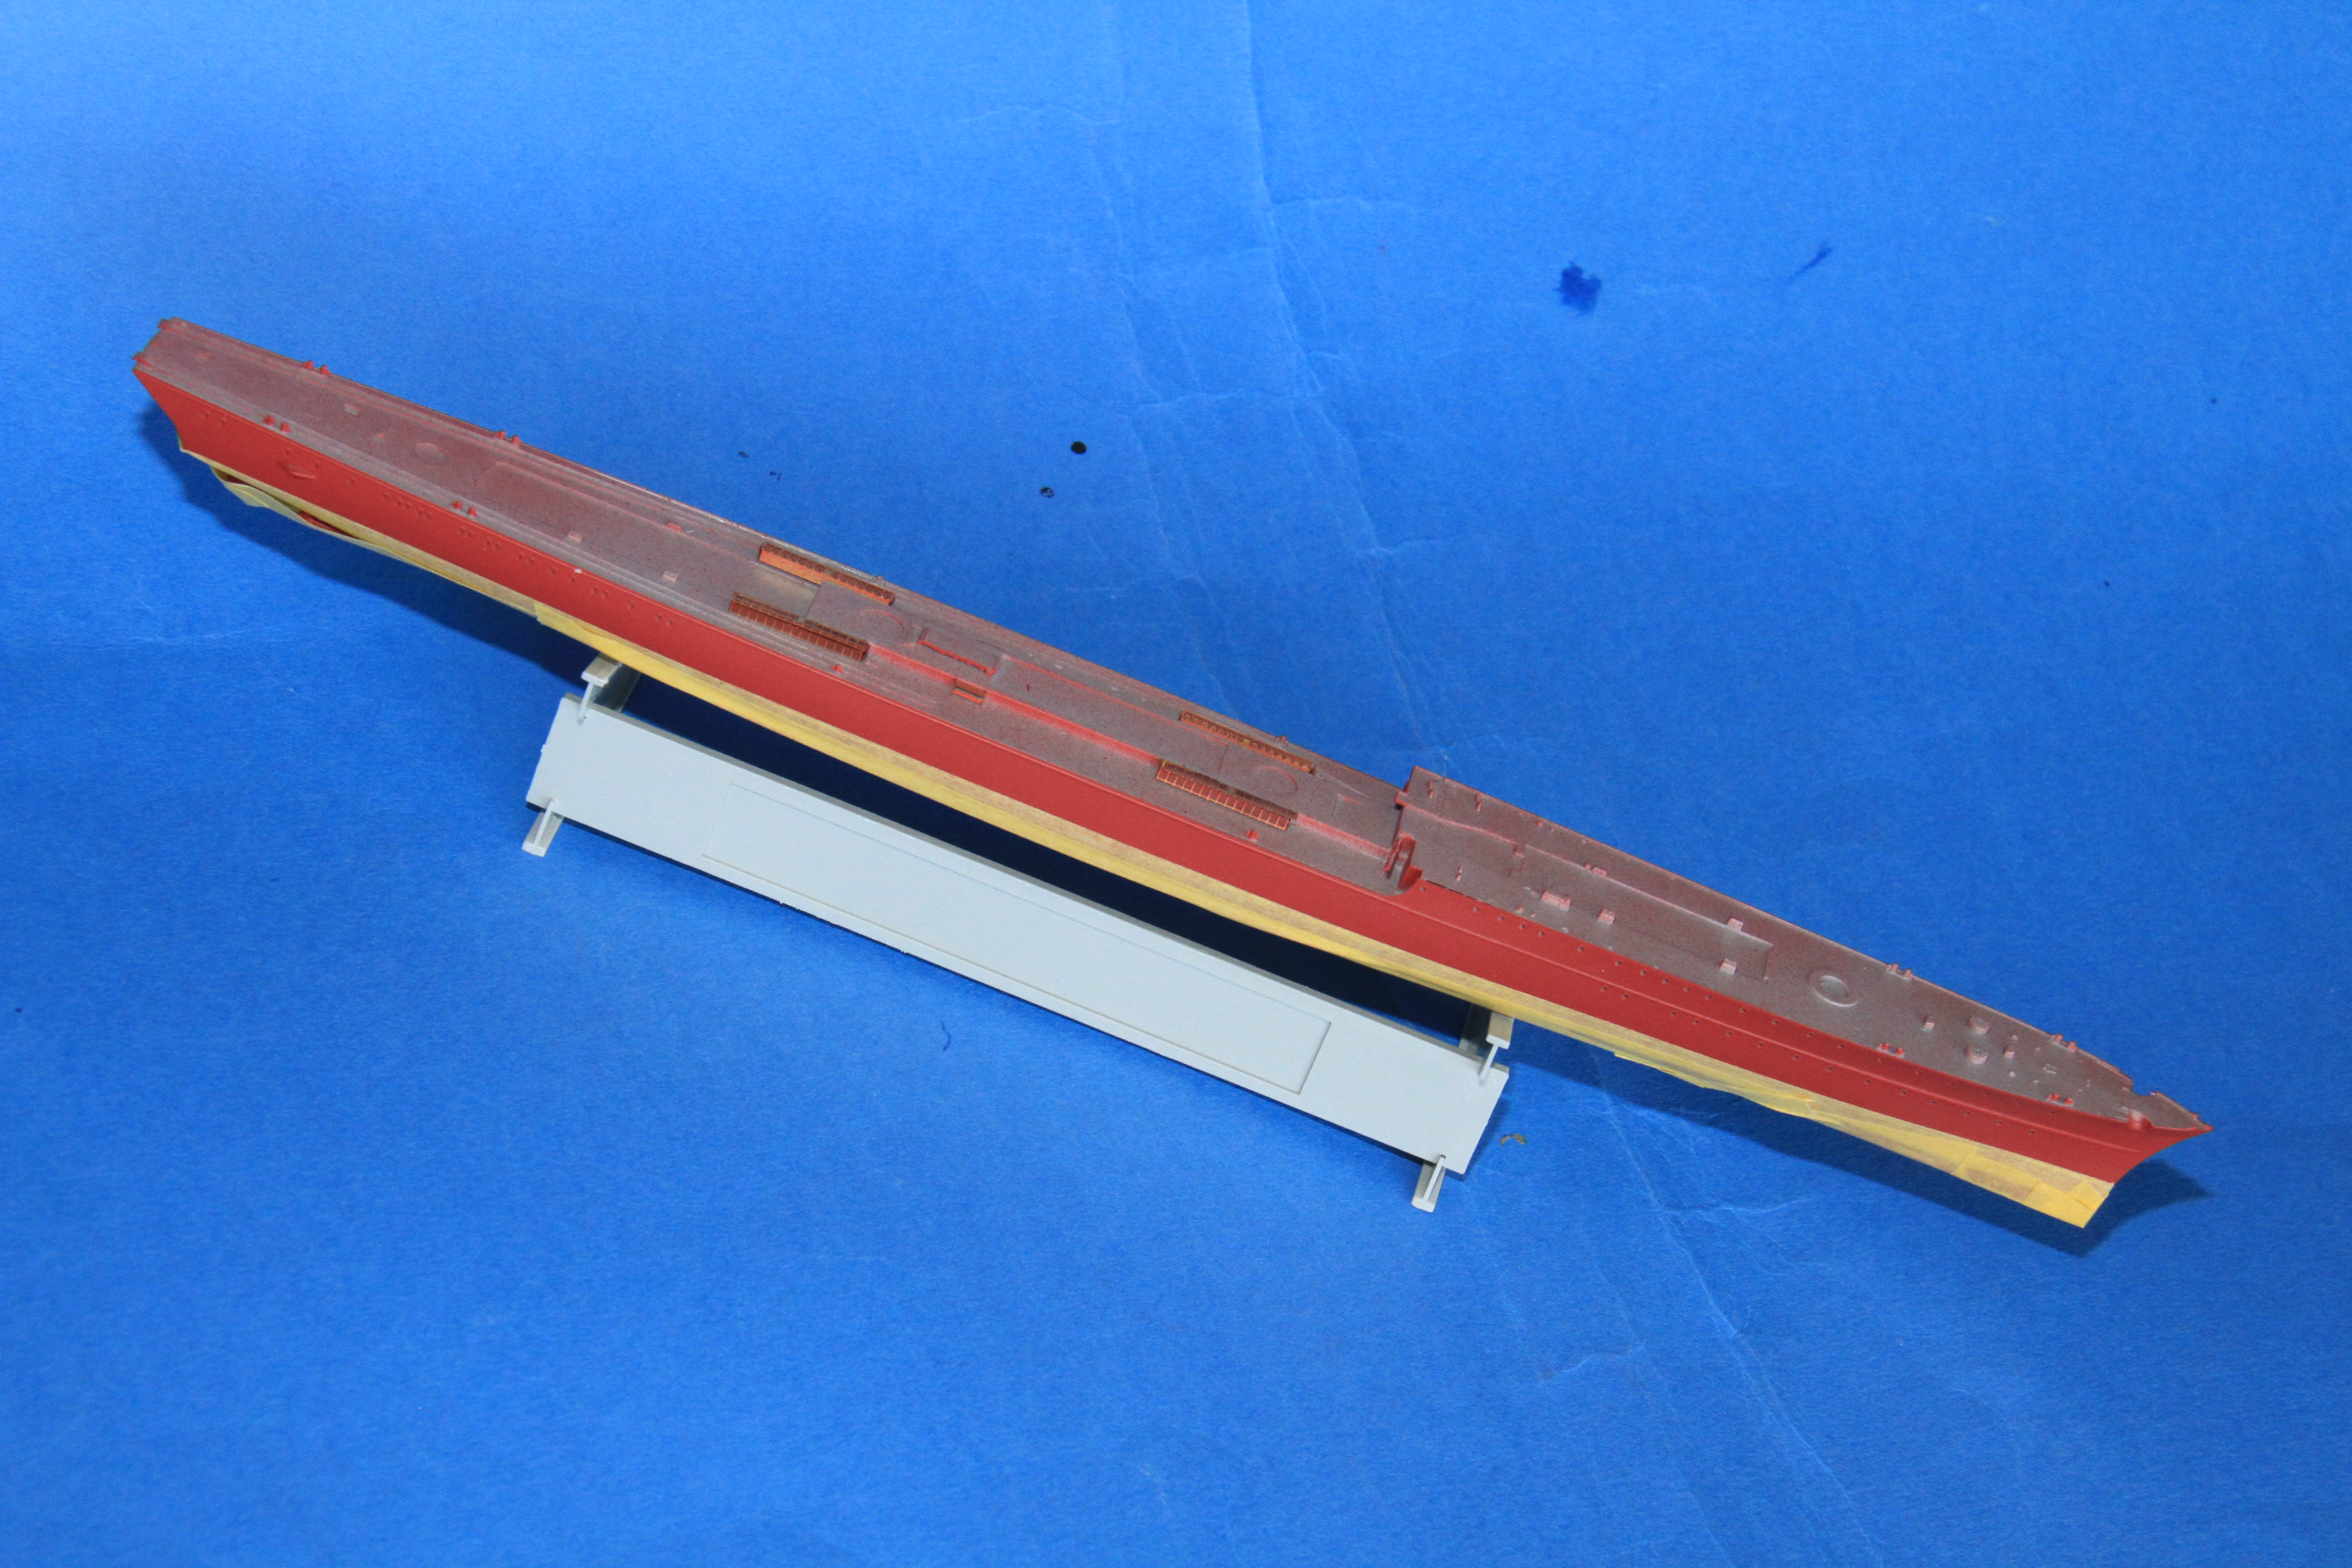
and the upper hull sprayed light grey.
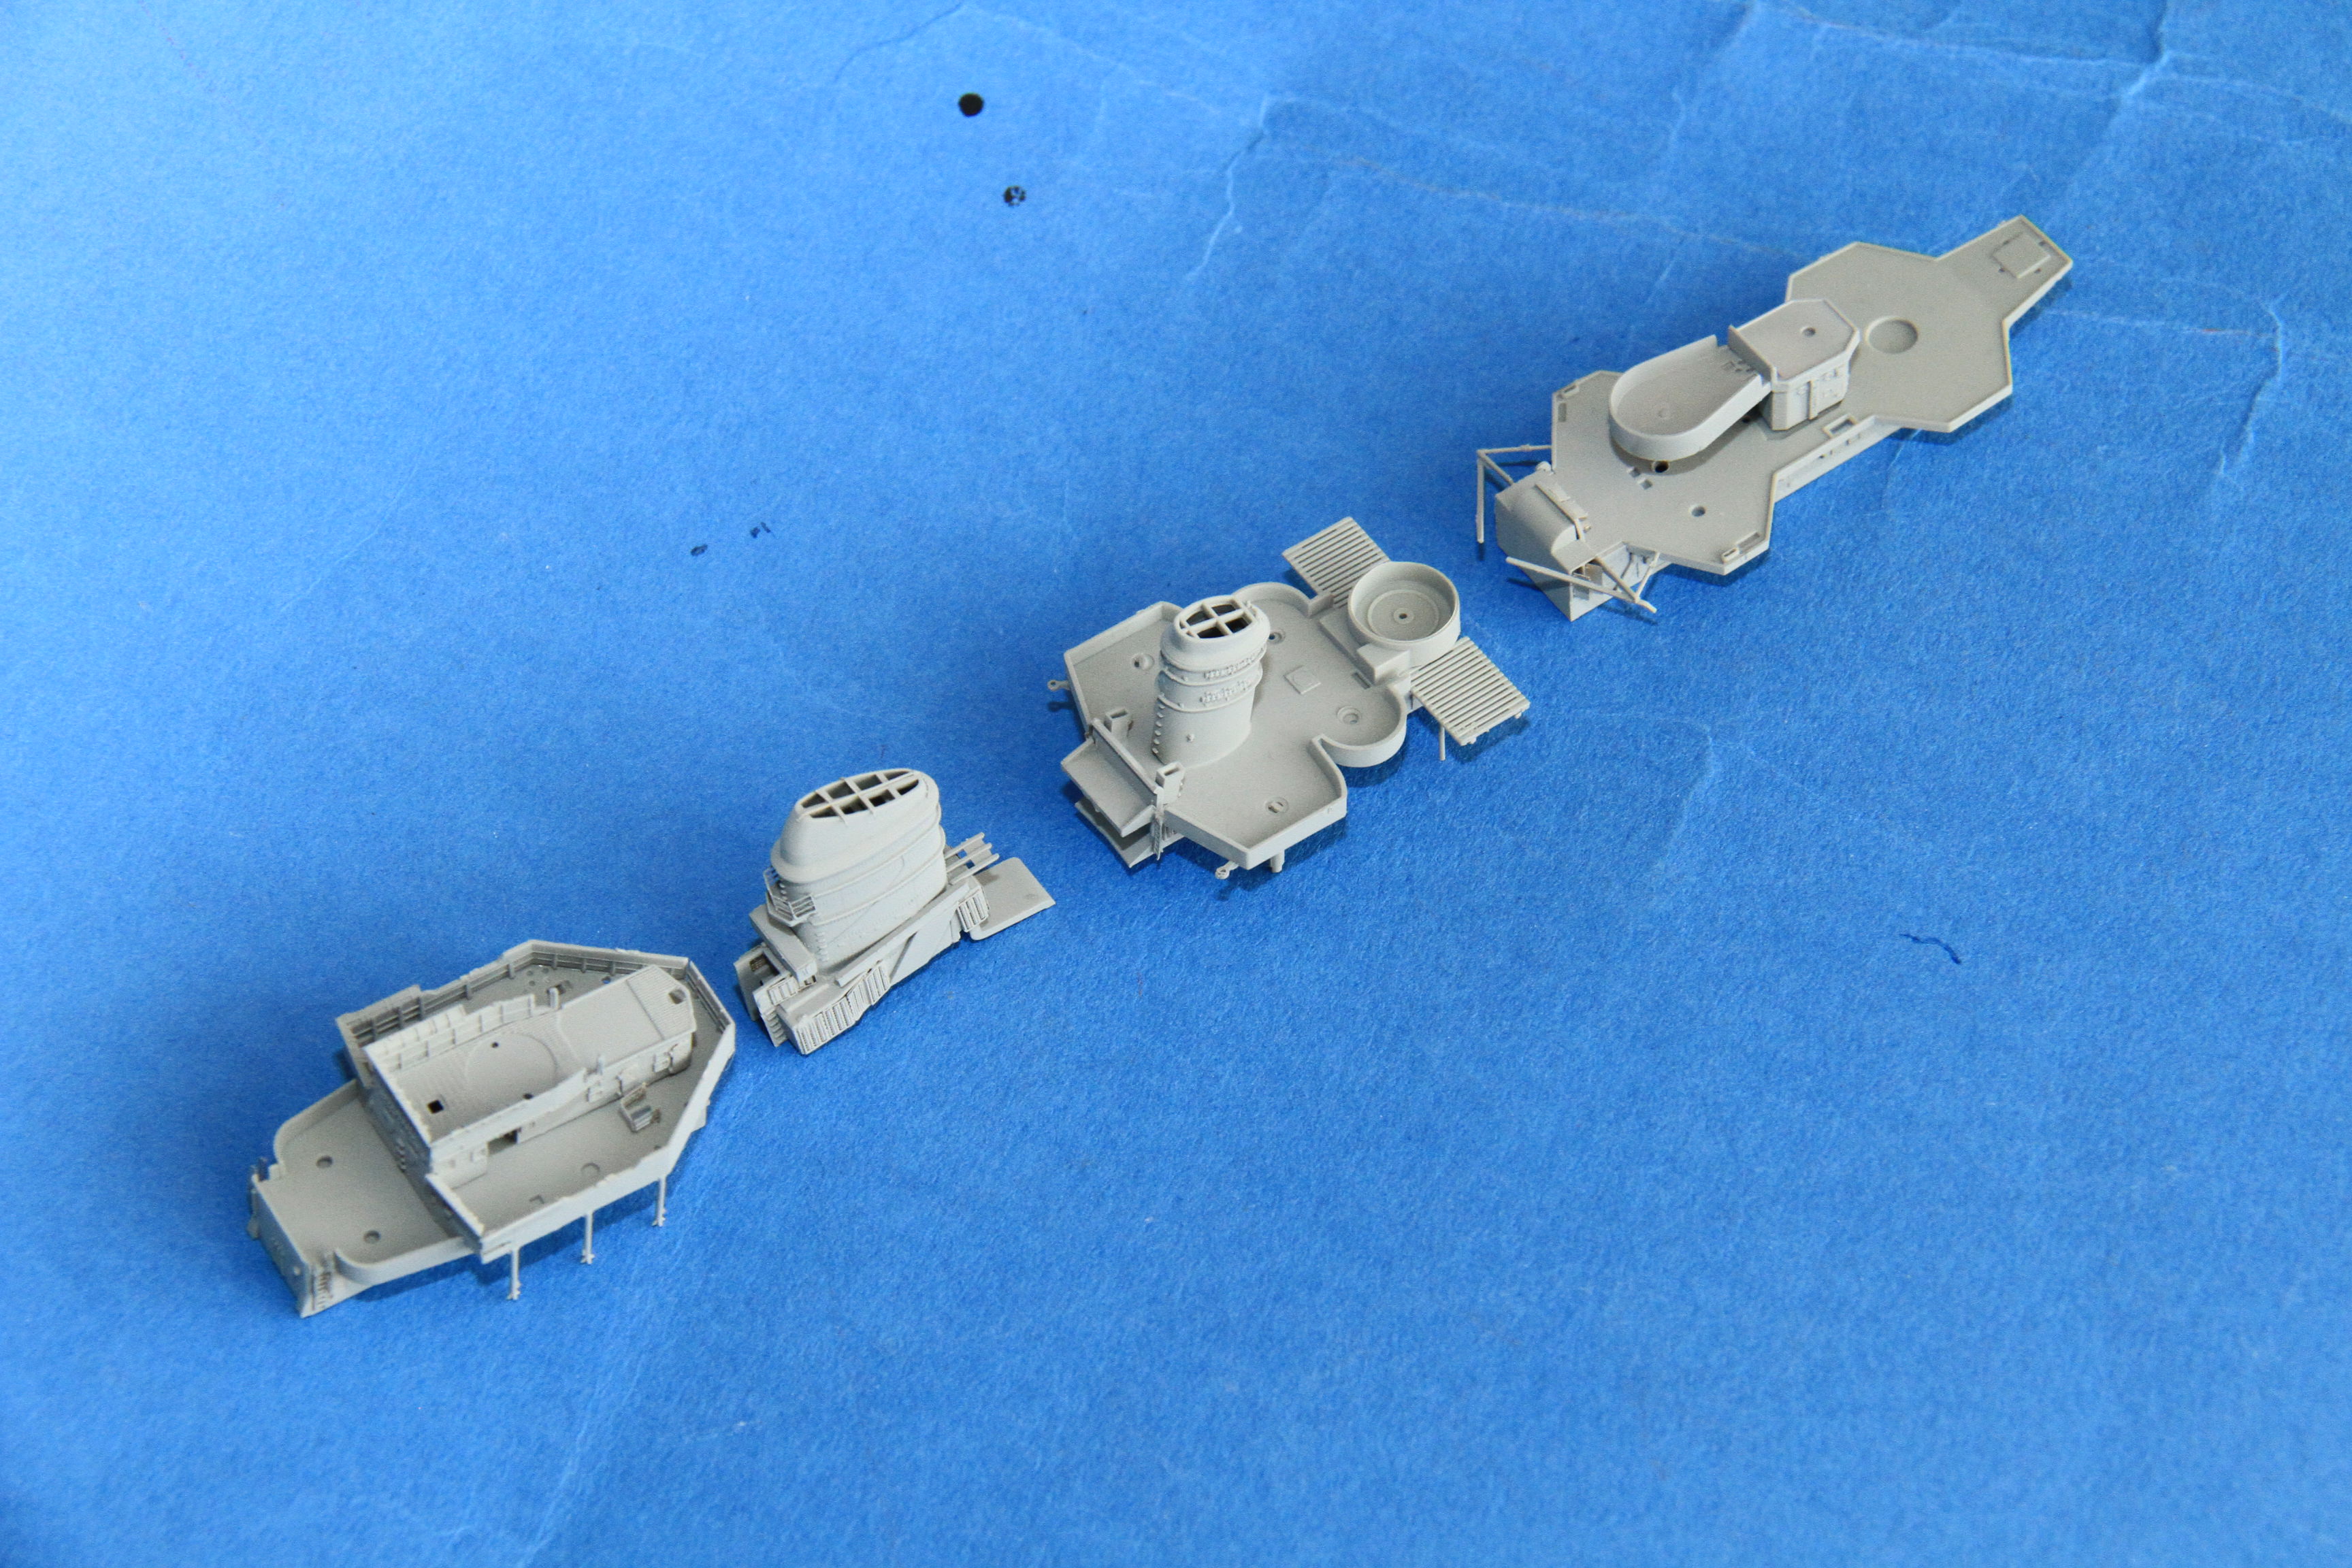
The superstructure units sprayed light grey.
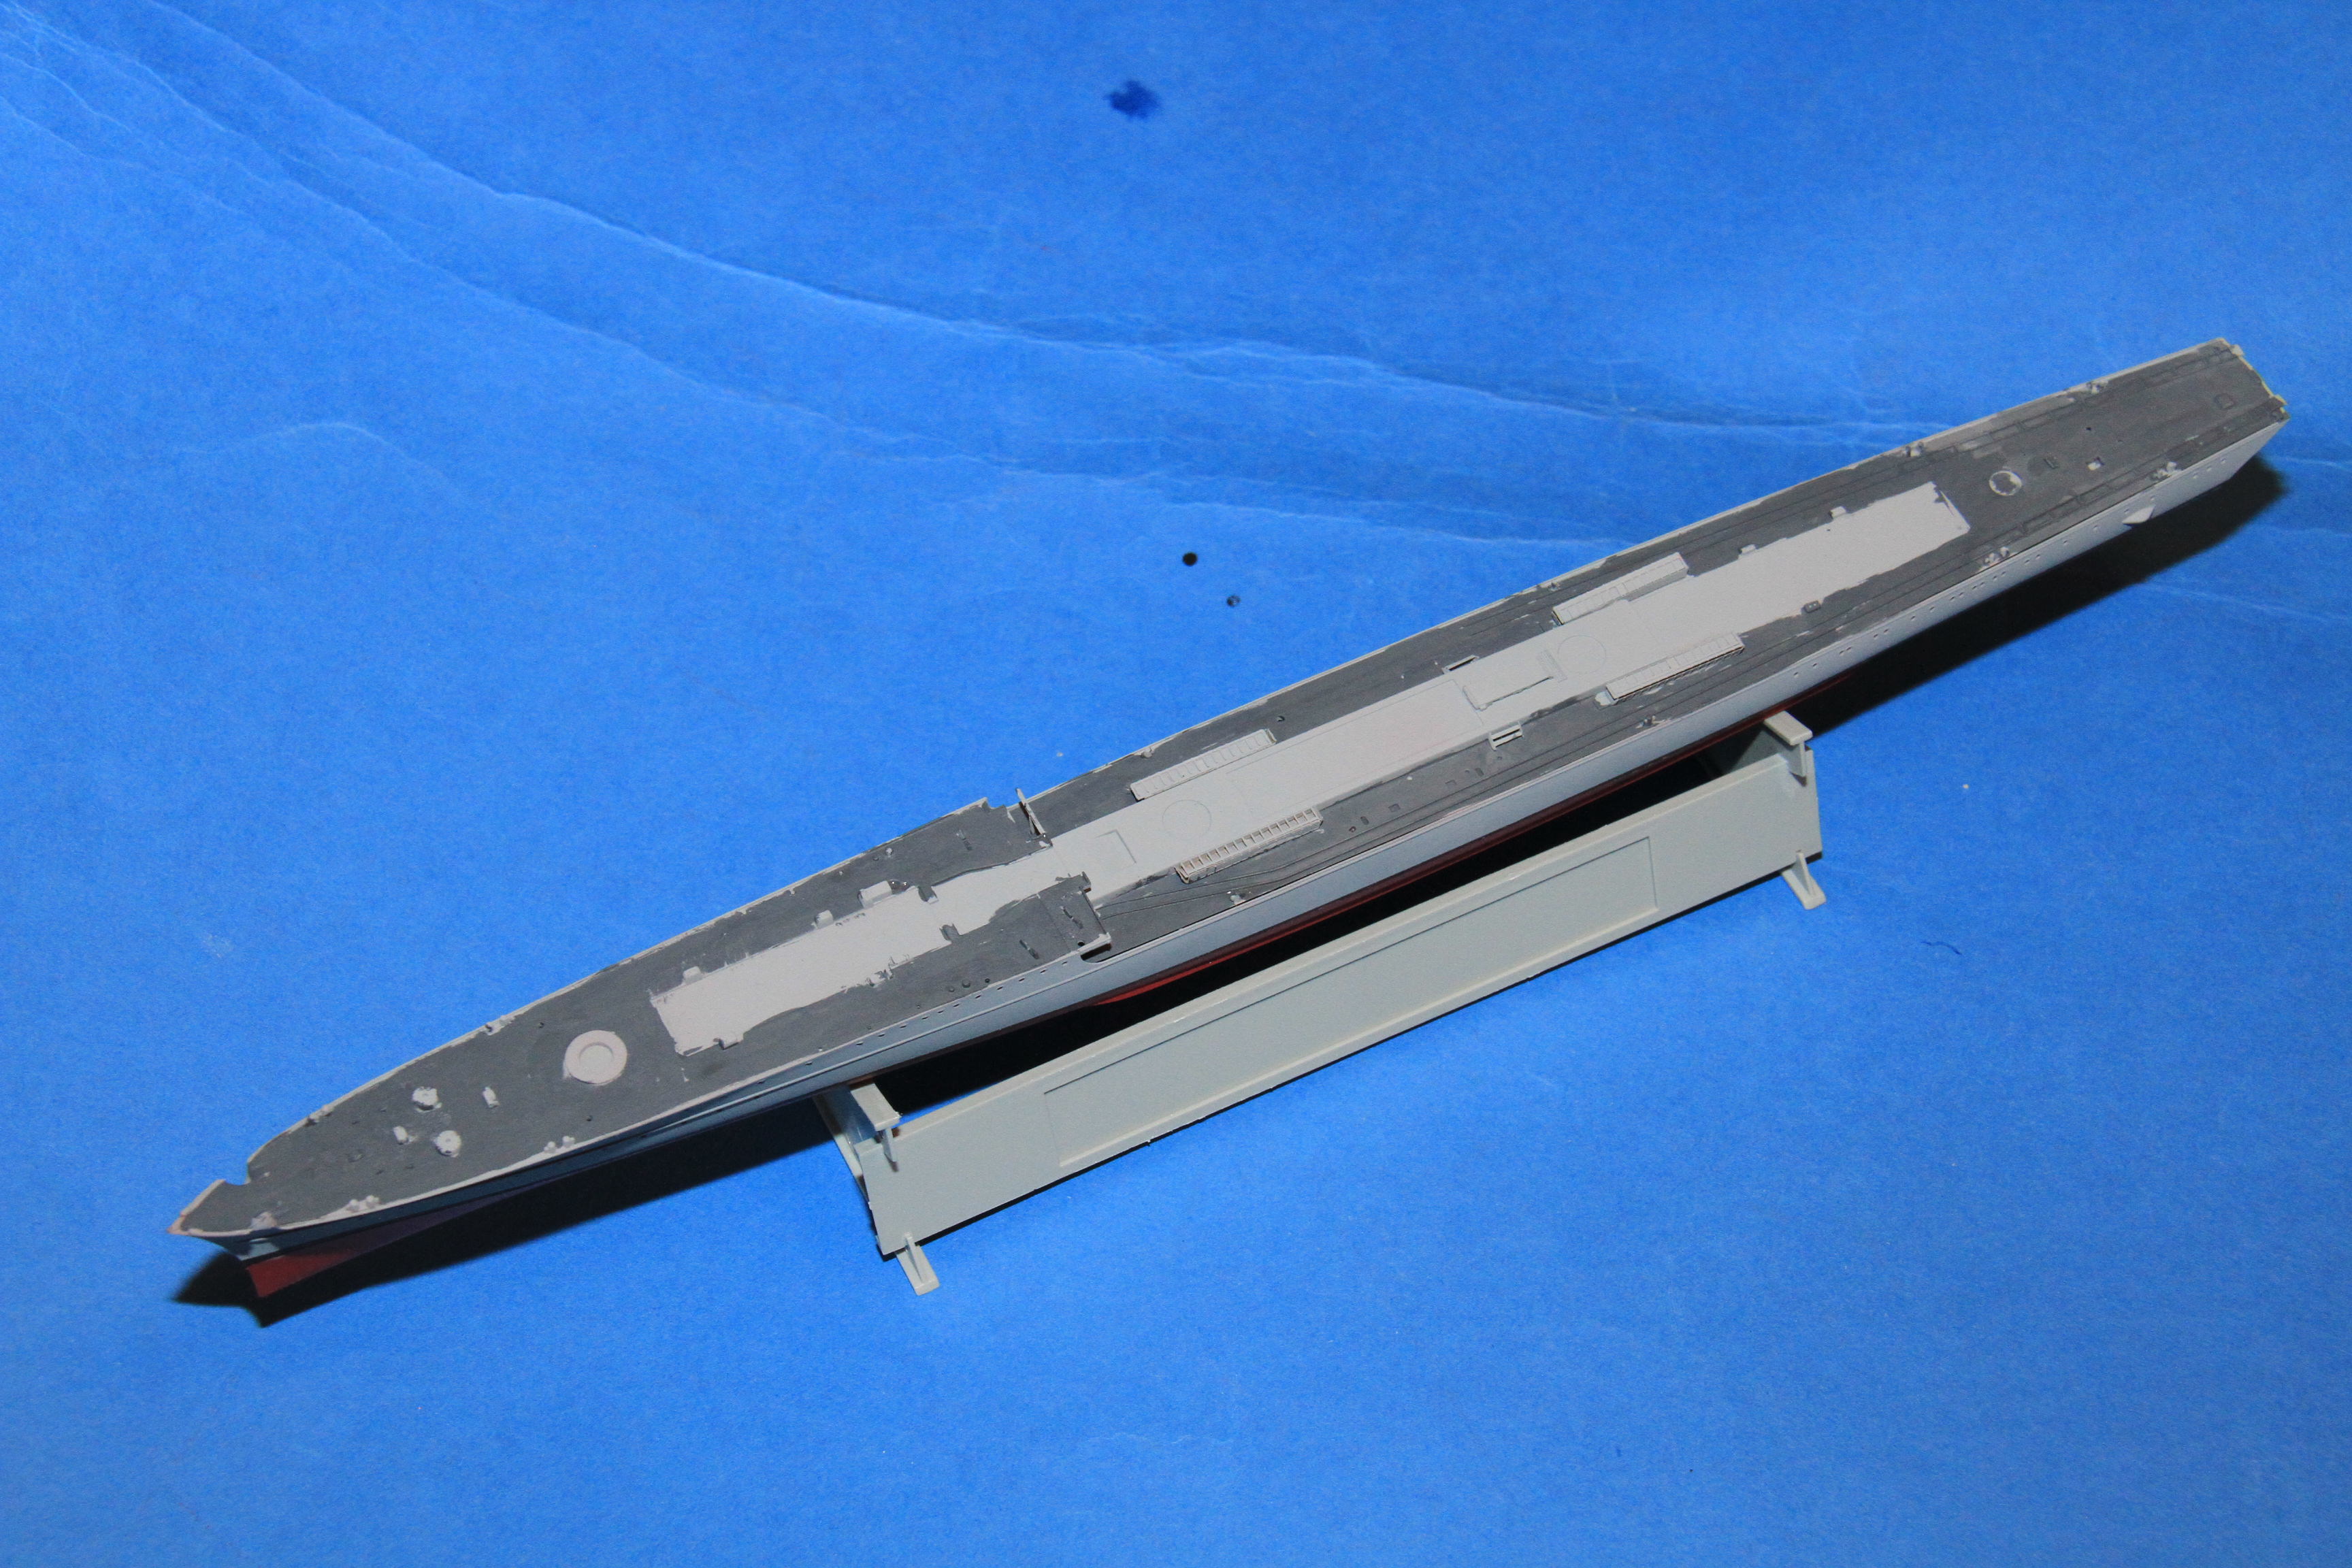
The boot topping and deck painted in and all the masking removed.
and the props painted and fitted.
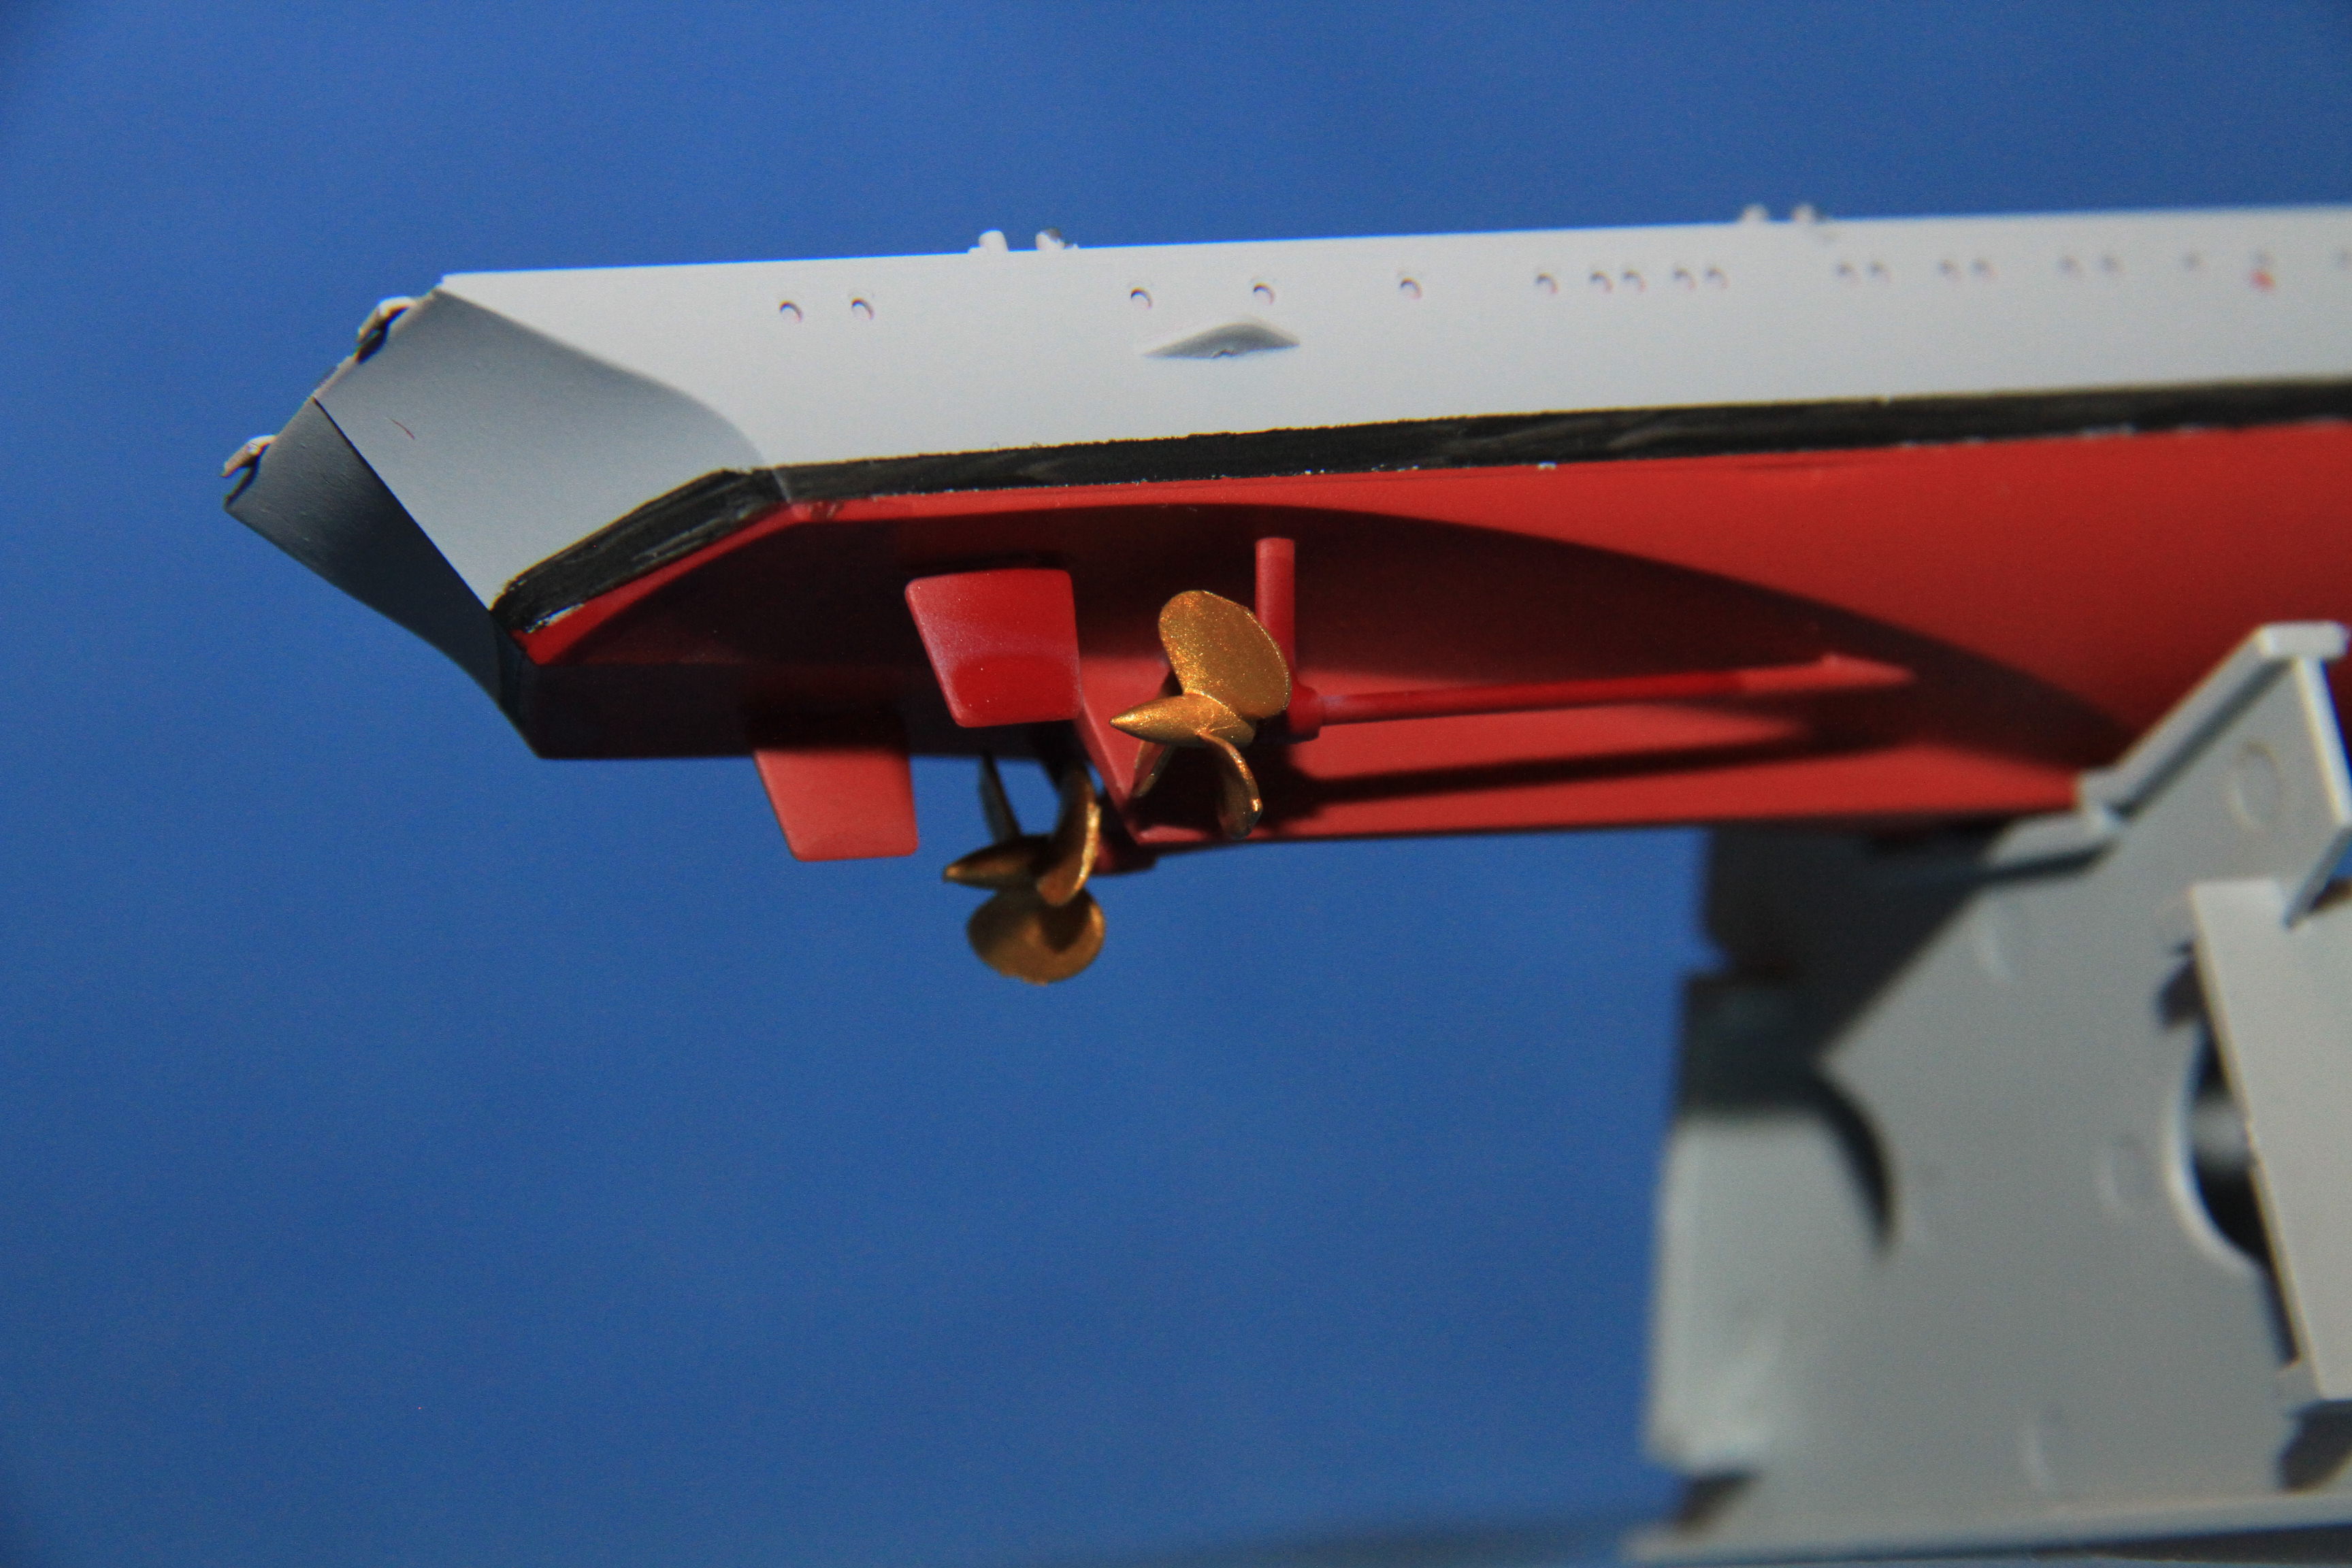
The boot topping needs a little work around the stern still, but that is a simple tidy up.
More soon.
Cheers


Si
The lower hull masked off.

and the upper hull sprayed light grey.

The superstructure units sprayed light grey.

The boot topping and deck painted in and all the masking removed.

and the props painted and fitted.

The boot topping needs a little work around the stern still, but that is a simple tidy up.
More soon.
Cheers


Si
Posted: Tuesday, January 30, 2018 - 01:21 AM UTC
Si,
Boot straps around the stern are always a pain to get right the first time. I find a round stern the worst to get right.
Nice progress.
Mark
Boot straps around the stern are always a pain to get right the first time. I find a round stern the worst to get right.
Nice progress.
Mark
Posted: Tuesday, January 30, 2018 - 07:01 PM UTC
Made a bit more progress. Decals have been applied. Quality of these Dragon decals is not very good.
I've got a bunch of Friulmodel tracks on order. Once I receive it, I'll be able to build the tracks.
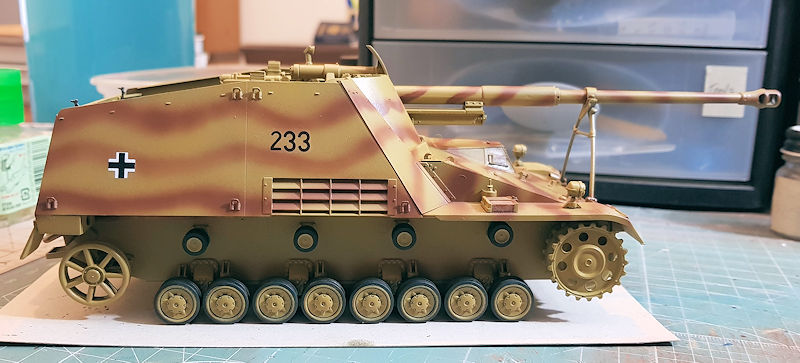
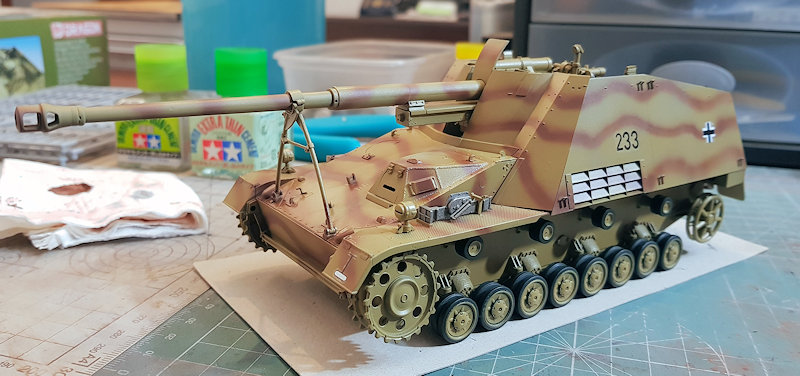
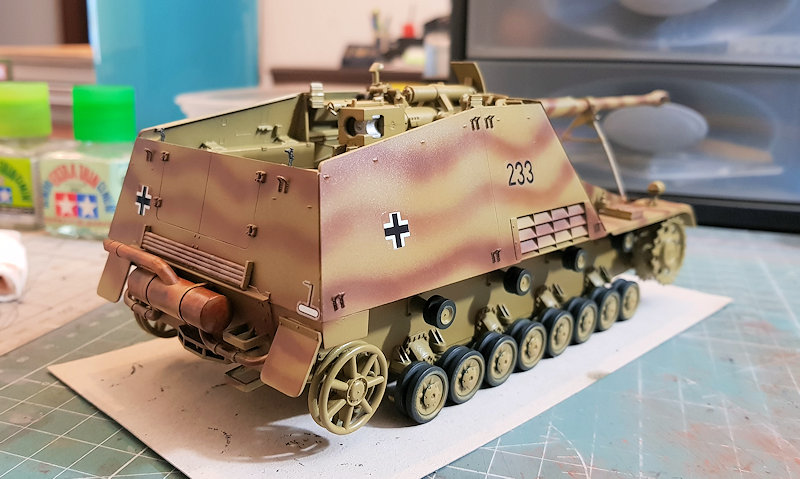
I've got a bunch of Friulmodel tracks on order. Once I receive it, I'll be able to build the tracks.


k_mero4

Joined: November 26, 2017
KitMaker: 393 posts
Armorama: 369 posts

Posted: Tuesday, January 30, 2018 - 07:27 PM UTC
Hi, Mark!
Congratulations. It gets very well. I will follow with interest the further progress. This is a machine I like and half a year ago I assembled it, except in winter camouflage. Good luck.
Kalin
Congratulations. It gets very well. I will follow with interest the further progress. This is a machine I like and half a year ago I assembled it, except in winter camouflage. Good luck.
Kalin

newnikonian

Joined: July 28, 2005
KitMaker: 279 posts
Armorama: 233 posts

Posted: Wednesday, January 31, 2018 - 06:39 AM UTC
Hi Mark
Looking Great. Nice clean build. What did you you use for sealer coat after decals? Keep up the good build. Following it closely....

Looking Great. Nice clean build. What did you you use for sealer coat after decals? Keep up the good build. Following it closely....

Posted: Wednesday, January 31, 2018 - 01:15 PM UTC
Quoted Text
Hi Mark
Looking Great. Nice clean build. What did you you use for sealer coat after decals? Keep up the good build. Following it closely....

Thanks everyone for the comments.
I sealed the paint with TS-79 (semi-gloss) as that is what I have available here. The decals were applied and left to dry overnight. Then I sprayed another coat of TS-79 to seal them.
I'll do some light weathering then seal everything again with AK ultra matte varnish.
RedDuster

Joined: March 01, 2010
KitMaker: 7,078 posts
Armorama: 248 posts

Posted: Thursday, February 01, 2018 - 12:27 AM UTC
Quoted Text
Si,
Boot straps around the stern are always a pain to get right the first time. I find a round stern the worst to get right.
Nice progress.
Mark
Thanks Mark,
I agree rounded sterns can be "real fun".
On with maindeck details next.
Cheers
Si
Posted: Friday, February 02, 2018 - 06:20 PM UTC
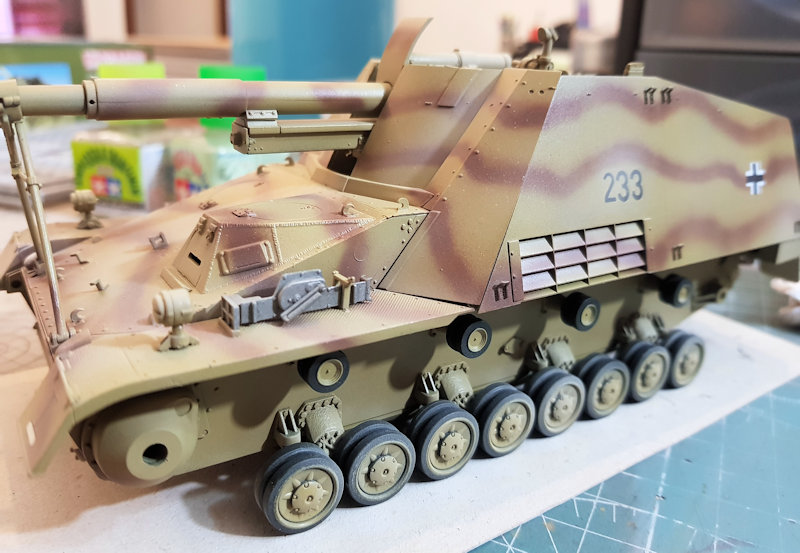
While waiting for my tracks to arrive, I decided to give the vehicle a light dusting with AK 4062 (Light Dust Deposit). I'll add just a little more weathering, but not a lot.


RedDuster

Joined: March 01, 2010
KitMaker: 7,078 posts
Armorama: 248 posts

Posted: Saturday, February 03, 2018 - 01:47 AM UTC
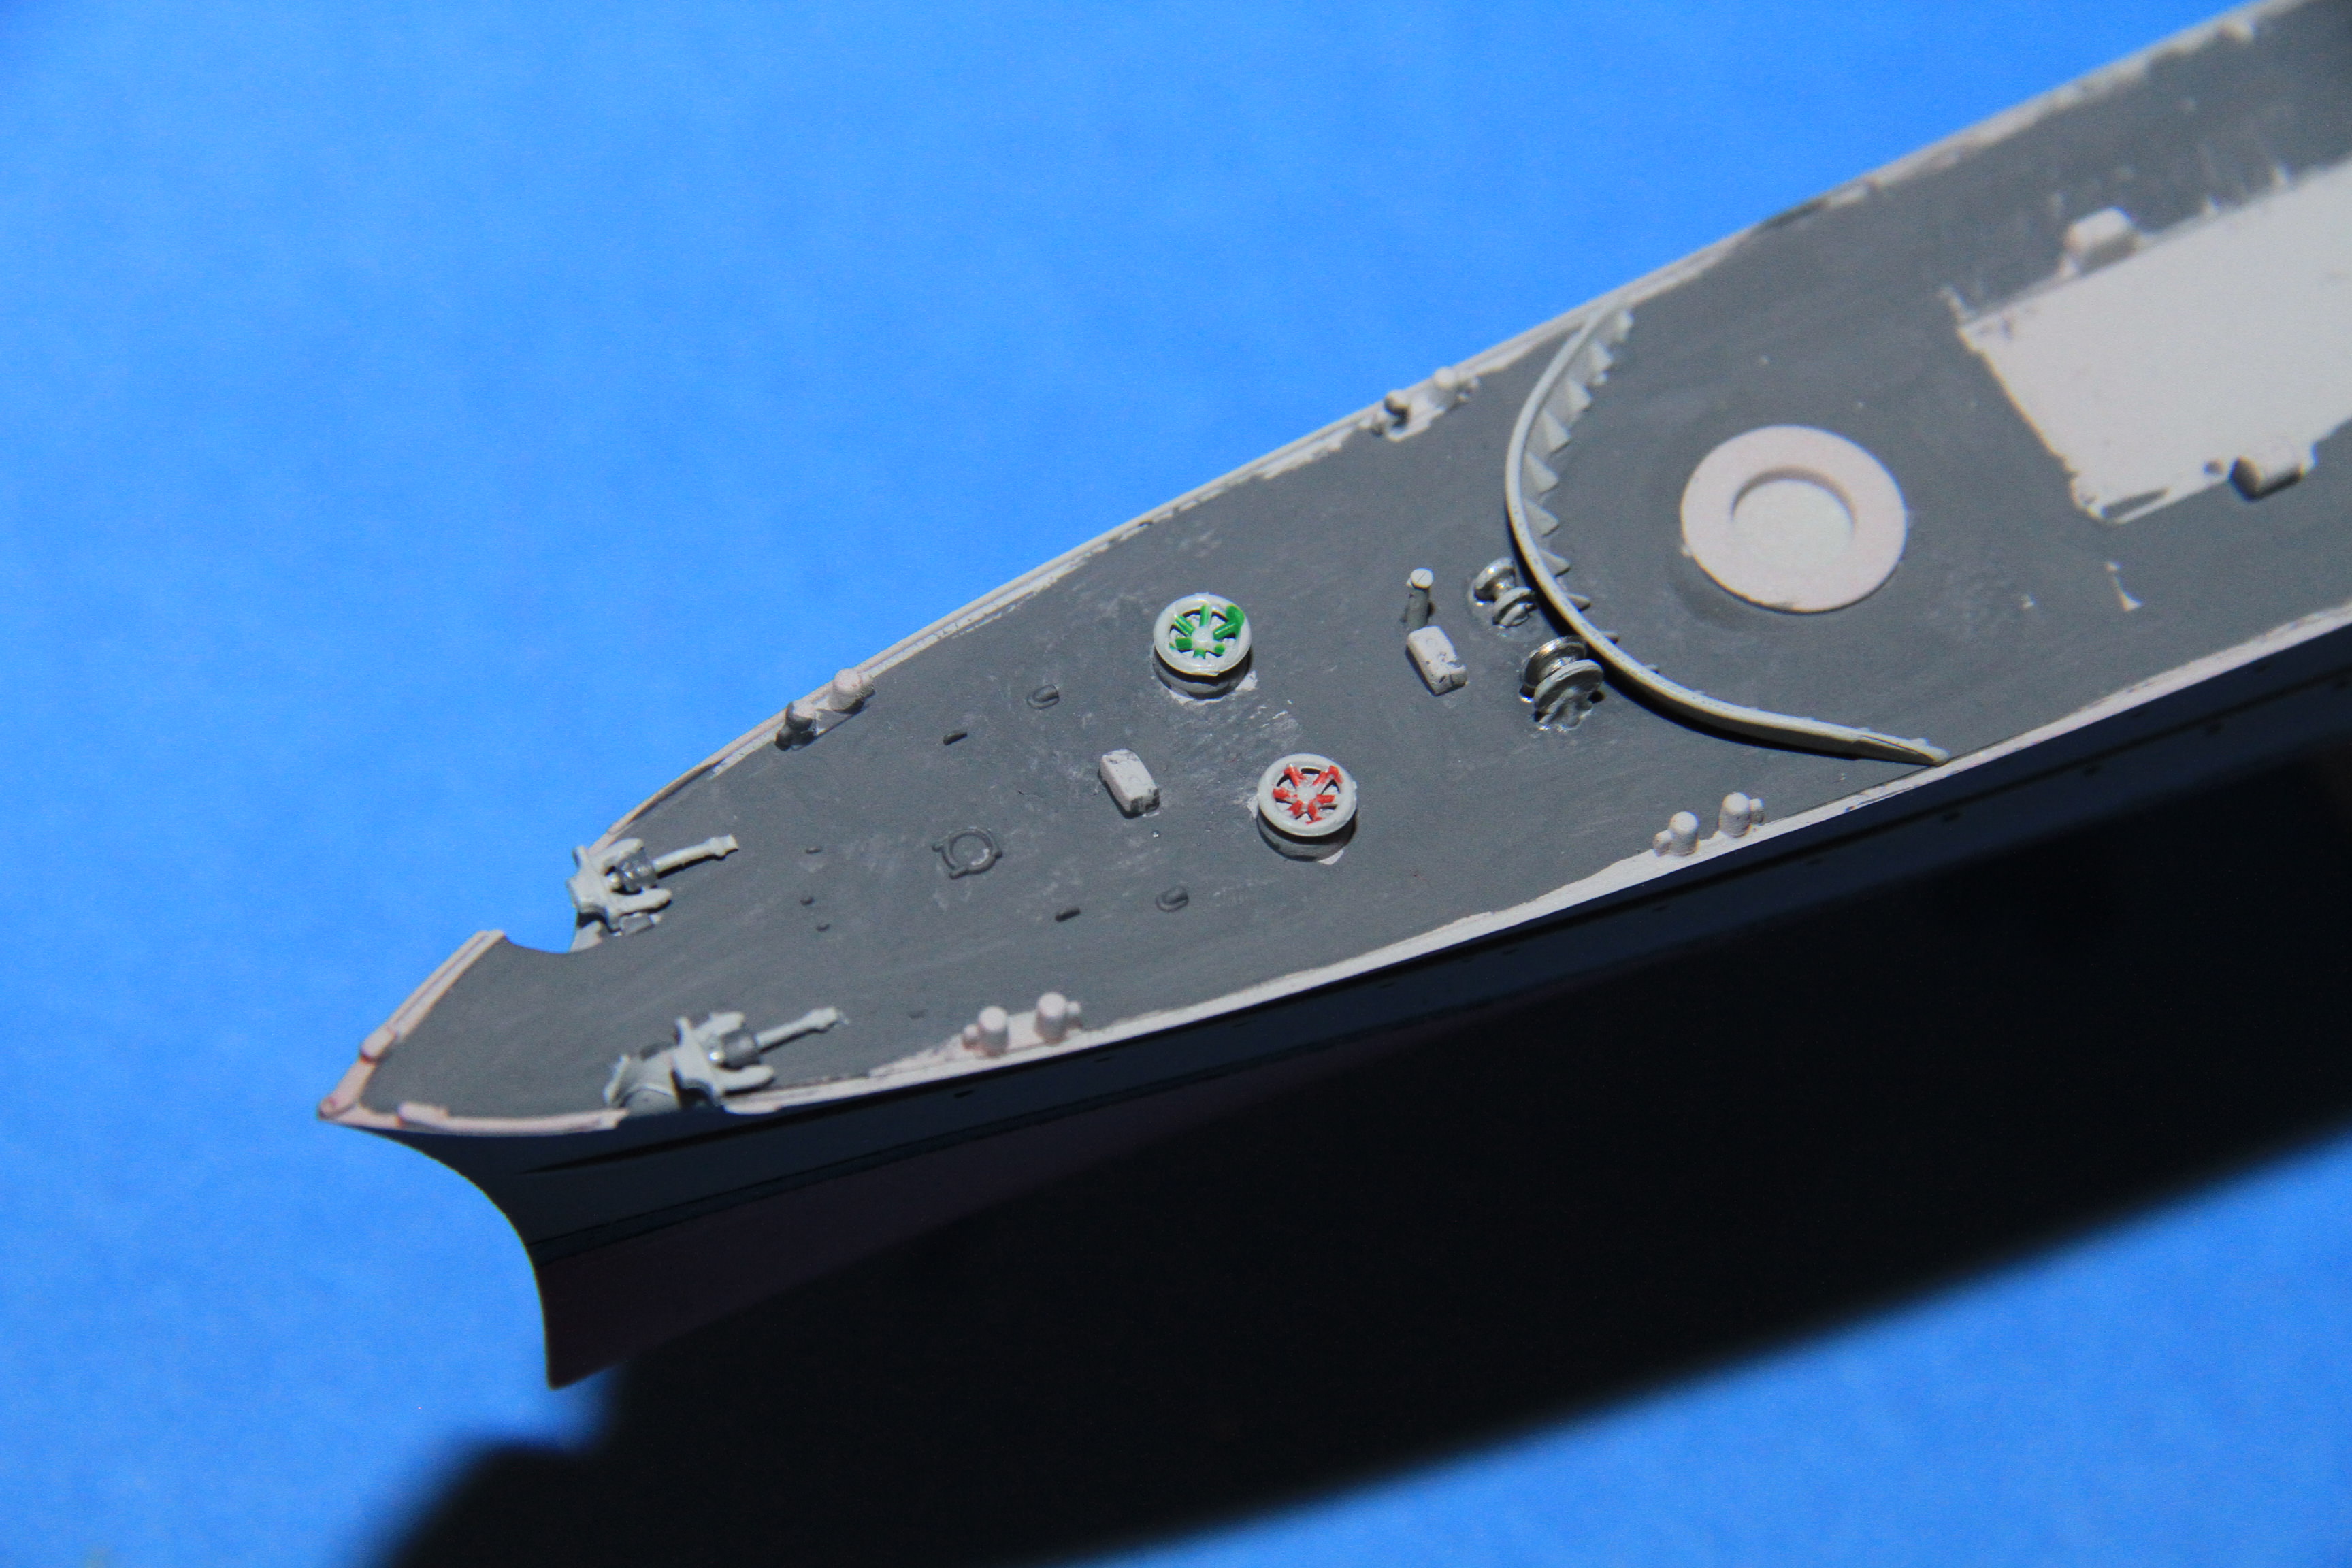
Small progress on Z39 today.
Detail parts going on the fo'c's'le. The kit only provides etched cable, I will dig some spare chain out from somewhere.
The sides of the maindeck superstructure base and the torpedo reload boxes painted dark grey, the tubes will be dark grey as well.
the decks of the bridge structure base coated, the planked upper bridge needs a wash or two yet.
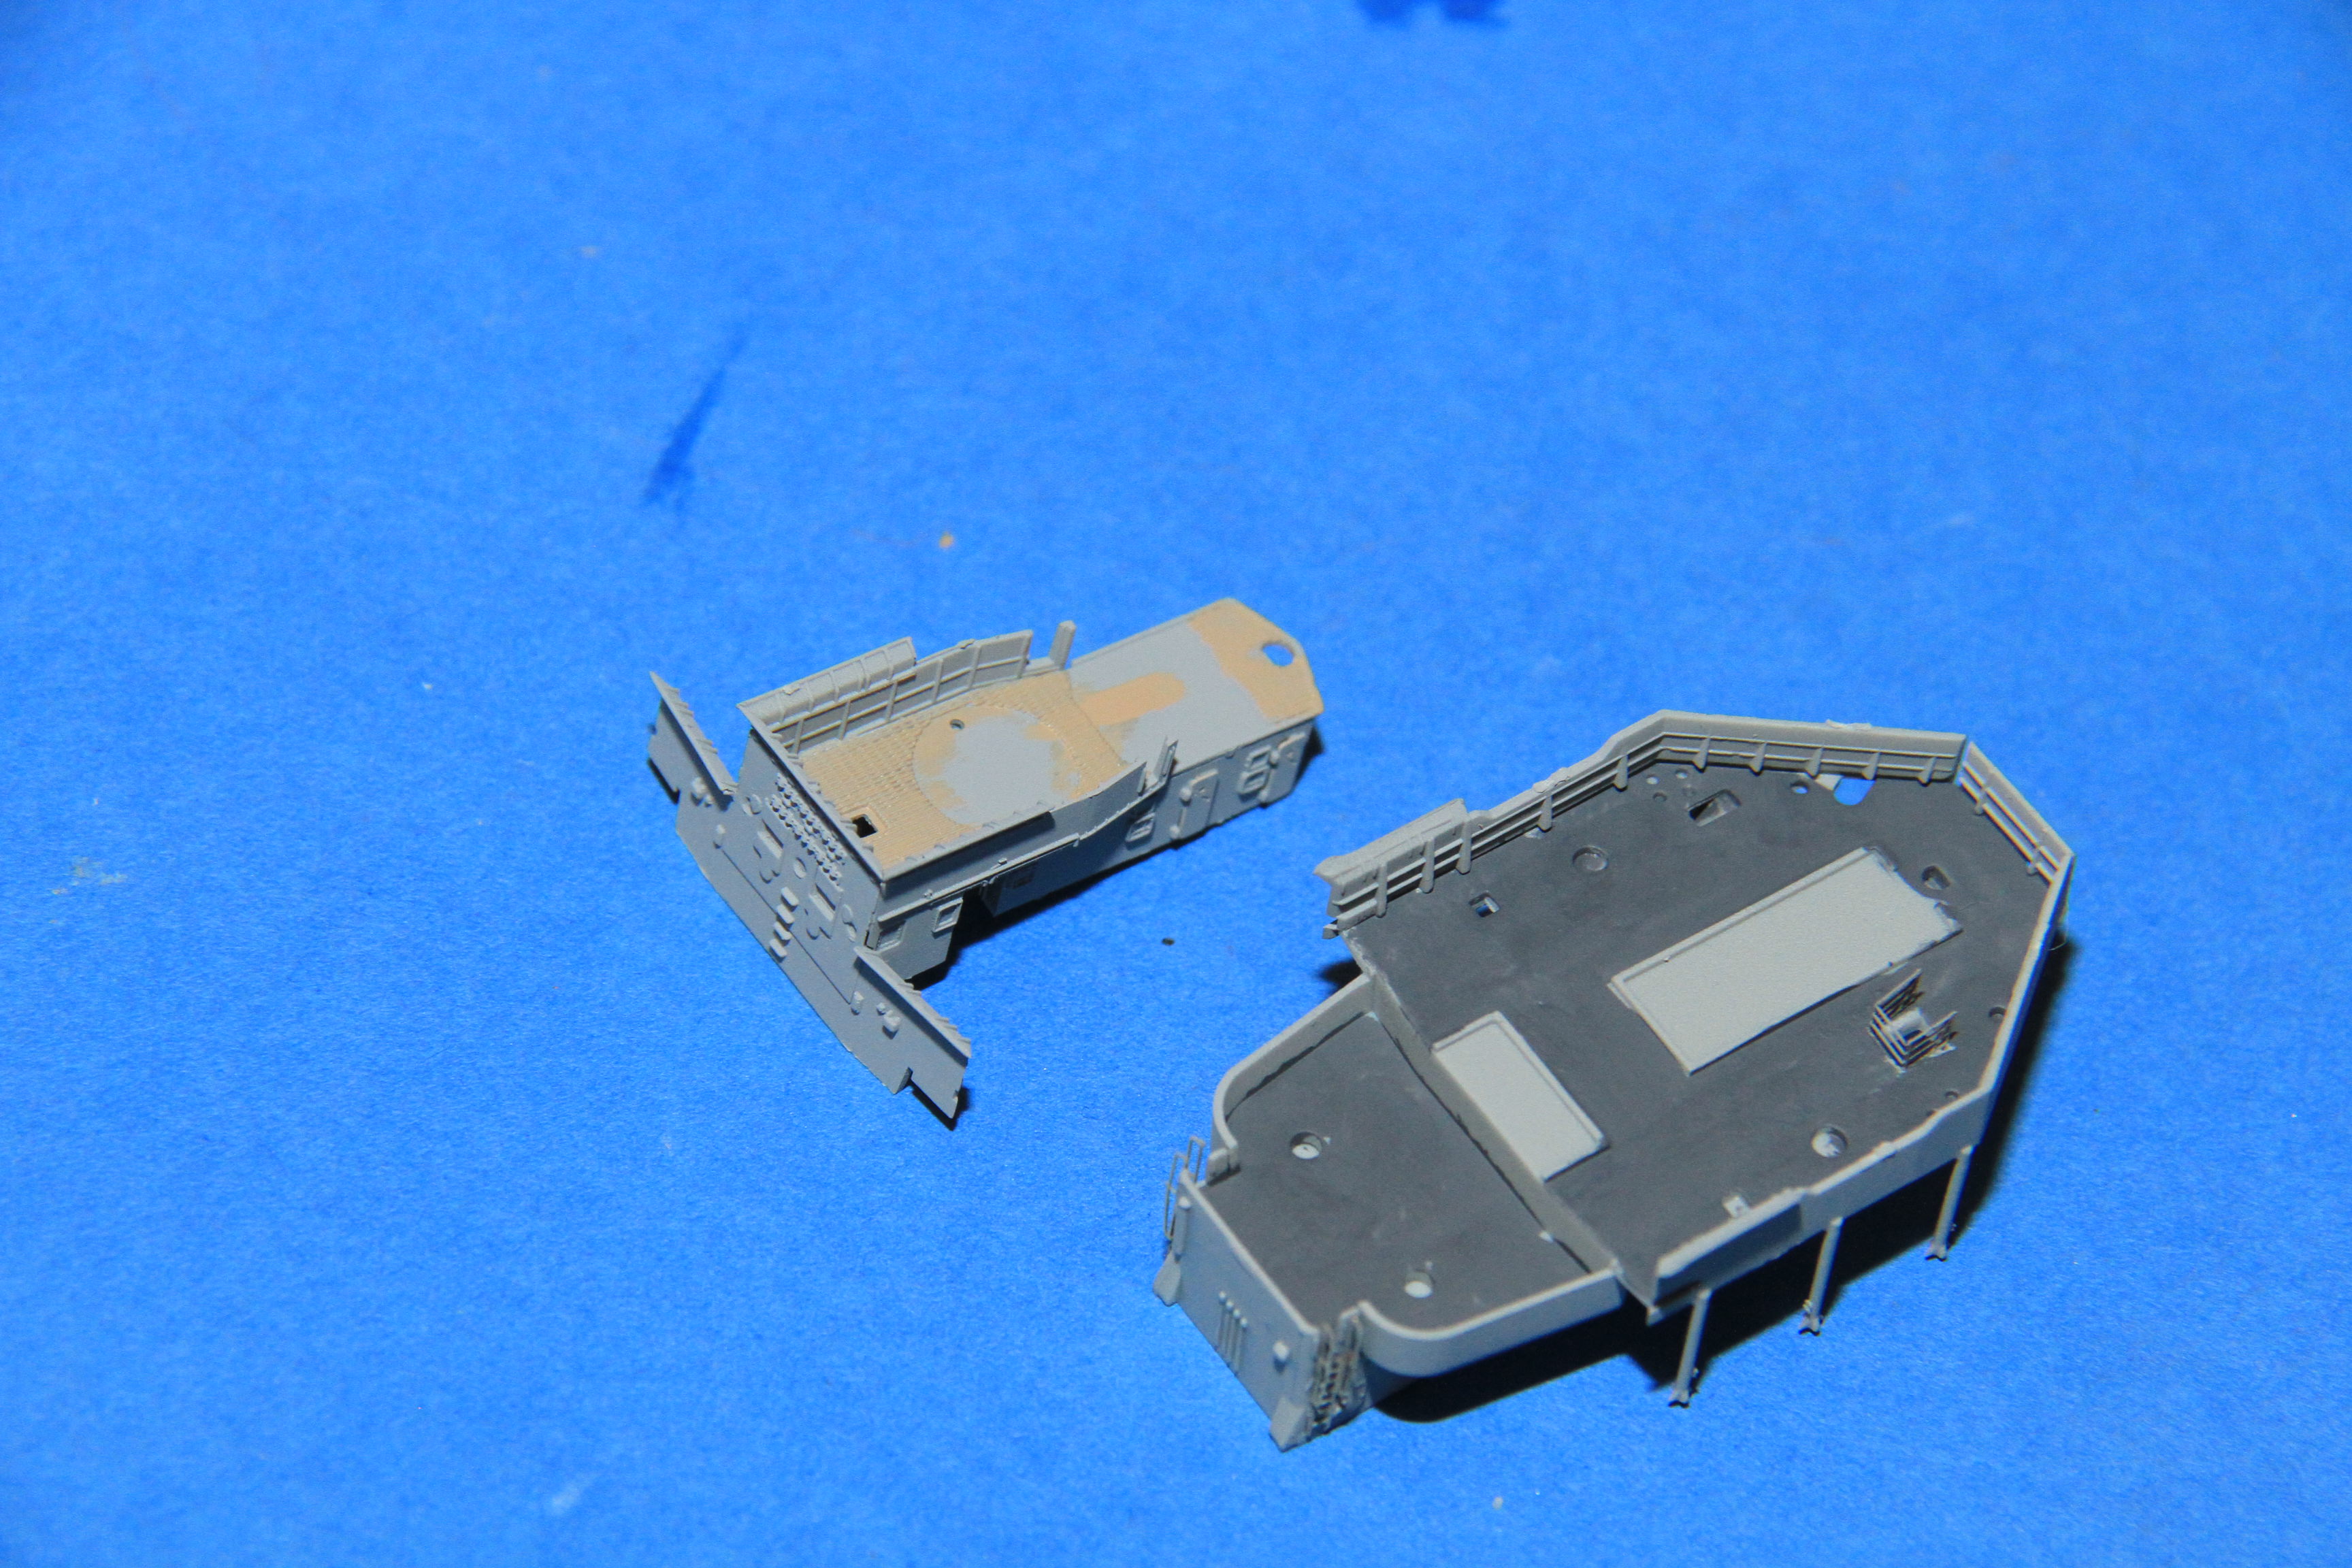
The forebridge and fore funnel test fittd in place, the funnel has it's rear section sides painted dark grey and the cap painted a steel colour and washed with black.
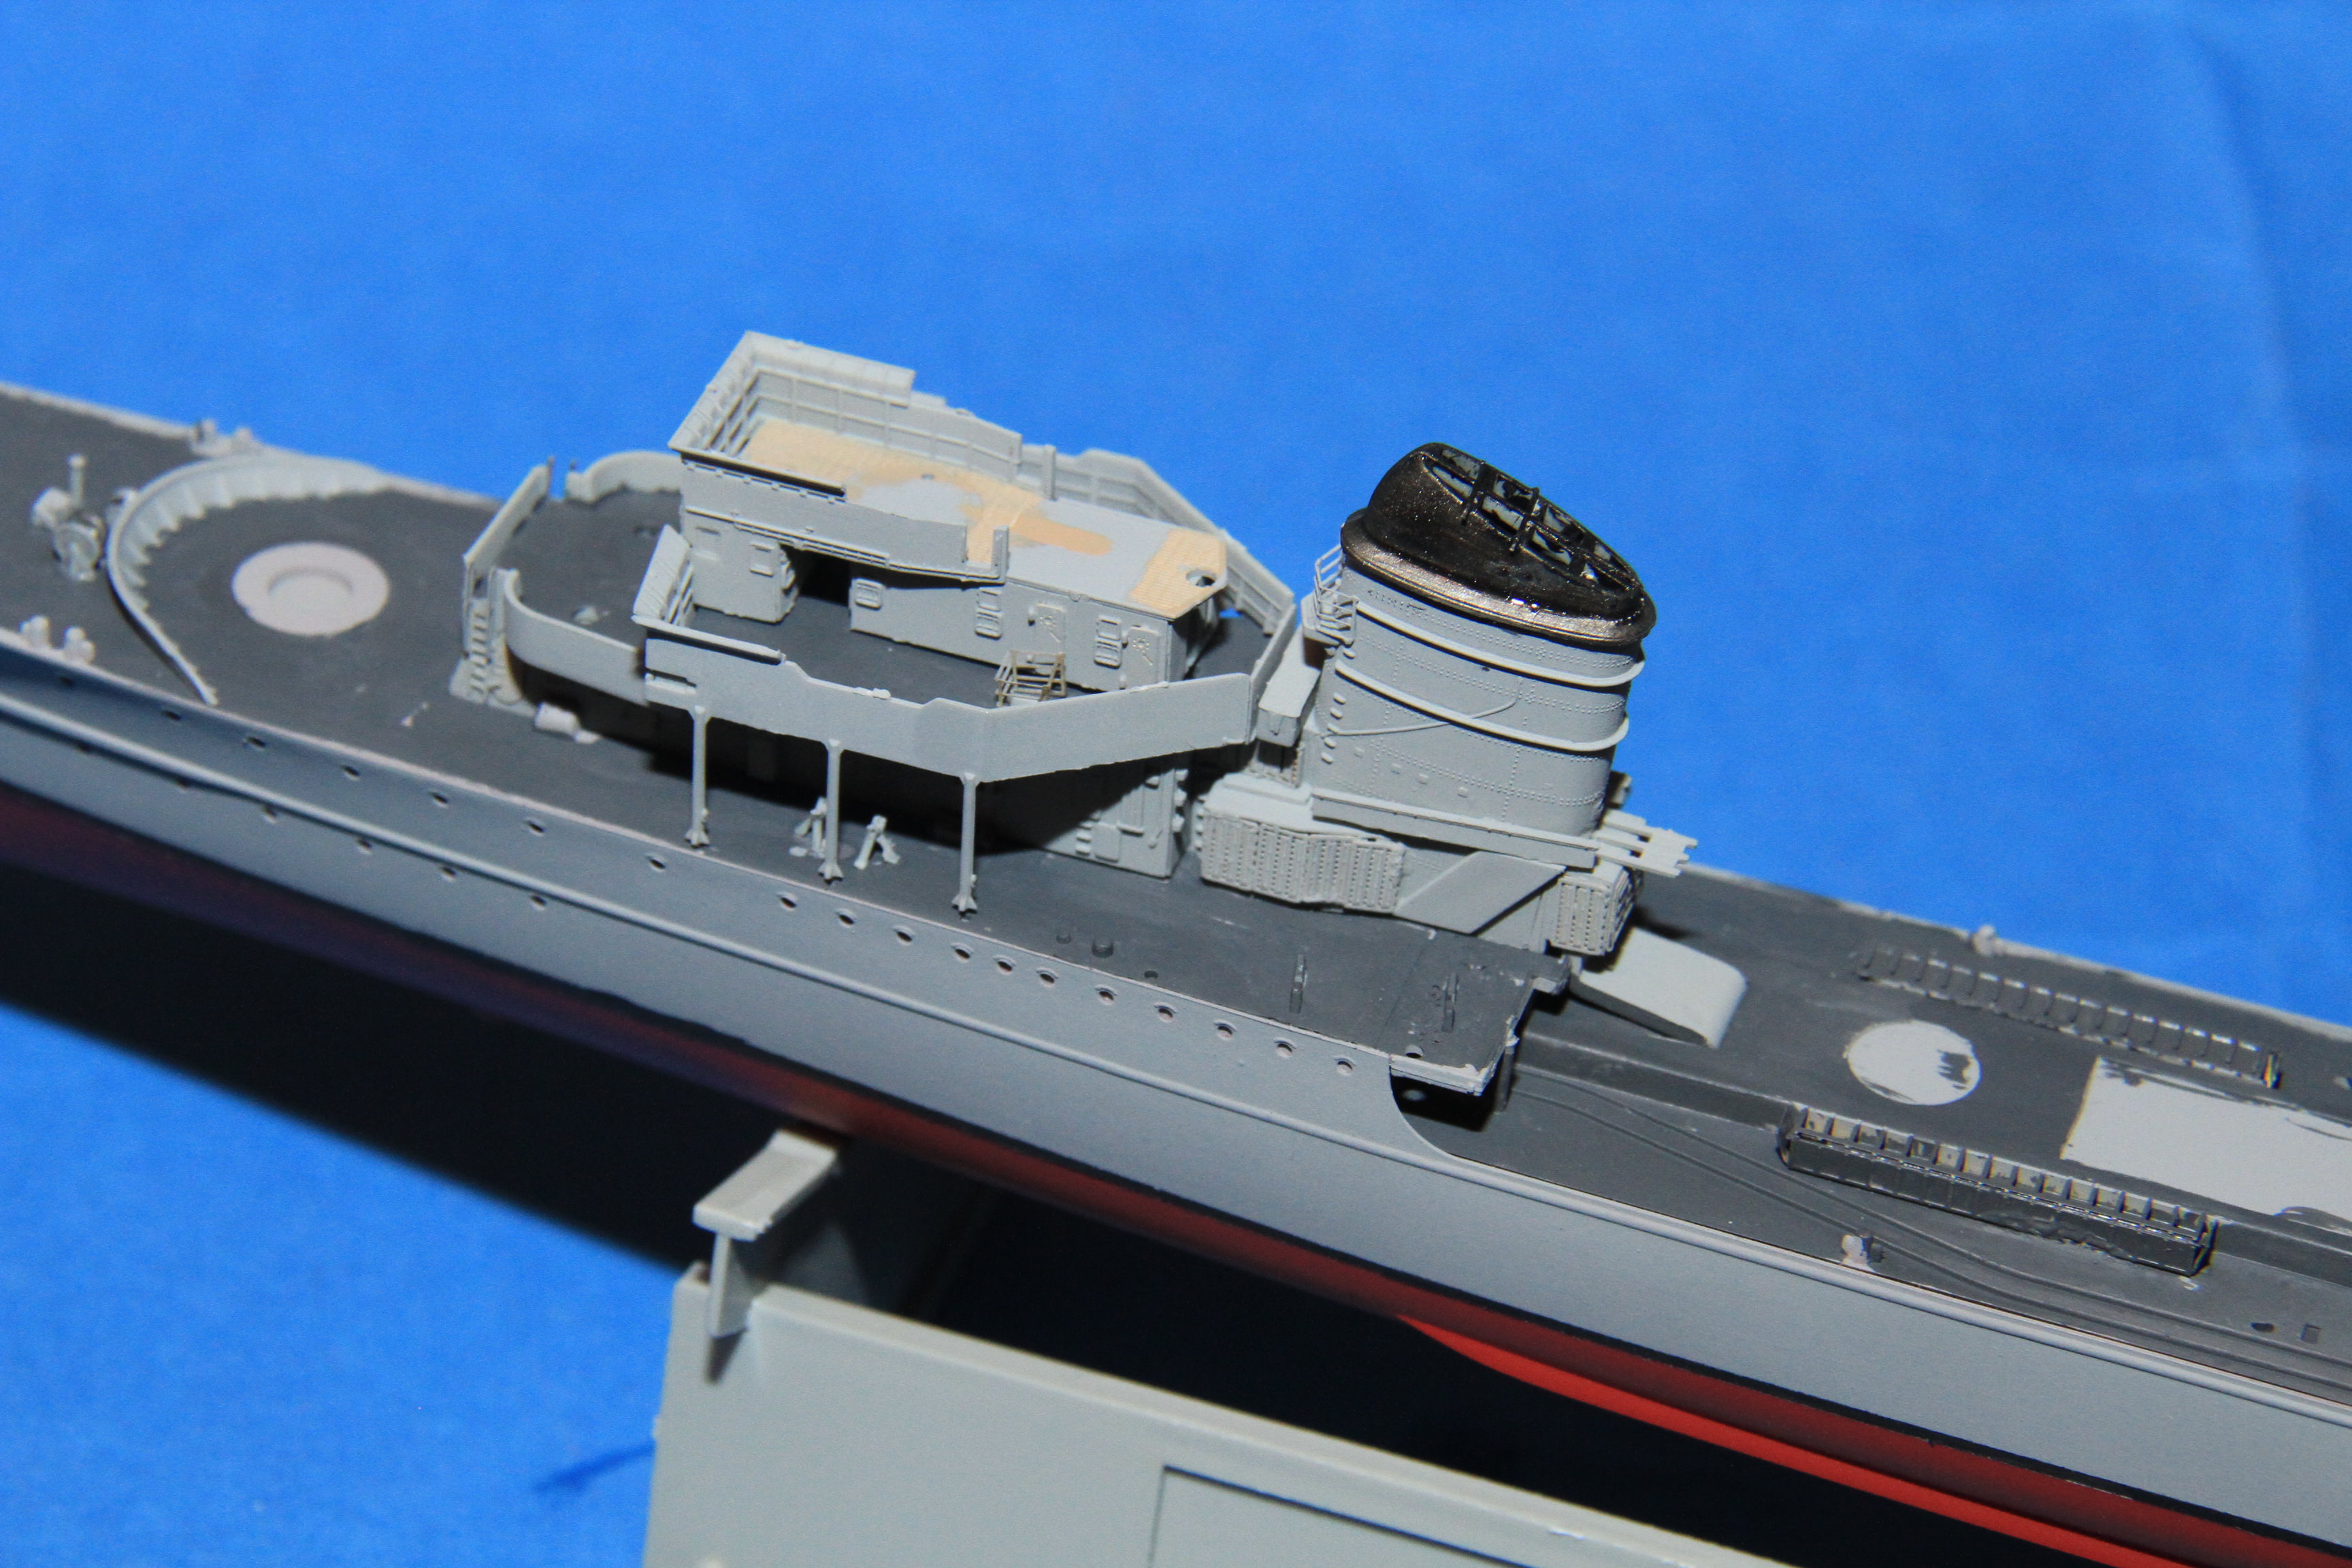
Might need a bit work yet, that funnel cap.
more soon
Si
Detail parts going on the fo'c's'le. The kit only provides etched cable, I will dig some spare chain out from somewhere.

The sides of the maindeck superstructure base and the torpedo reload boxes painted dark grey, the tubes will be dark grey as well.

the decks of the bridge structure base coated, the planked upper bridge needs a wash or two yet.

The forebridge and fore funnel test fittd in place, the funnel has it's rear section sides painted dark grey and the cap painted a steel colour and washed with black.

Might need a bit work yet, that funnel cap.
more soon
Si
Posted: Sunday, February 04, 2018 - 09:06 AM UTC
Si,
Nice progress. It always seems that with ships you can spent hours on an assembly and it looks like little was accomplished. Then one day it all come together and it will look very smart.
Mark
Nice progress. It always seems that with ships you can spent hours on an assembly and it looks like little was accomplished. Then one day it all come together and it will look very smart.
Mark
Posted: Sunday, February 04, 2018 - 09:09 AM UTC
Mark,
The dust did tone down the brightness of the base coat and camo. She will look awesome when those tracks are on.
Mark
The dust did tone down the brightness of the base coat and camo. She will look awesome when those tracks are on.
Mark
 |


