I might be joining you all soon myself.
Dan
Constructive Feedback
For in-progress or completed build photos. Give and get contructive feedback!
For in-progress or completed build photos. Give and get contructive feedback!
Hosted by Darren Baker, Dave O'Meara
Binge Build: Takom T-55s
panamadan

Joined: July 20, 2004
KitMaker: 1,513 posts
Armorama: 1,449 posts

Posted: Sunday, April 08, 2018 - 11:03 PM UTC
BravoTwoZero

Joined: June 11, 2009
KitMaker: 461 posts
Armorama: 370 posts

Posted: Monday, April 09, 2018 - 02:47 AM UTC
Quoted Text
I might be joining you all soon myself.
Dan
Welcome to the club! The more the merrier!
panamadan

Joined: July 20, 2004
KitMaker: 1,513 posts
Armorama: 1,449 posts

Posted: Monday, April 09, 2018 - 04:18 AM UTC
there are so many color options that I'm spinning in a circle.
Dan
Dan
panamadan

Joined: July 20, 2004
KitMaker: 1,513 posts
Armorama: 1,449 posts

Posted: Monday, April 09, 2018 - 04:23 AM UTC


Dan

BravoTwoZero

Joined: June 11, 2009
KitMaker: 461 posts
Armorama: 370 posts

Posted: Monday, April 09, 2018 - 11:38 PM UTC
Quoted Text
there are so many color options that I'm spinning in a circle.
Dan
The variety of color options is one of attractions for me.

BravoTwoZero

Joined: June 11, 2009
KitMaker: 461 posts
Armorama: 370 posts

Posted: Thursday, April 12, 2018 - 08:52 PM UTC
Here is my update for the week. I've made some more progress on my Type 69-II. The fenders are mostly done with the exception of the details for the fuels and the photo-etched guards for the lights. I have glued most of the fiddly bits on the turret and I am about to start working on the barrel. Here's how it looks so far.
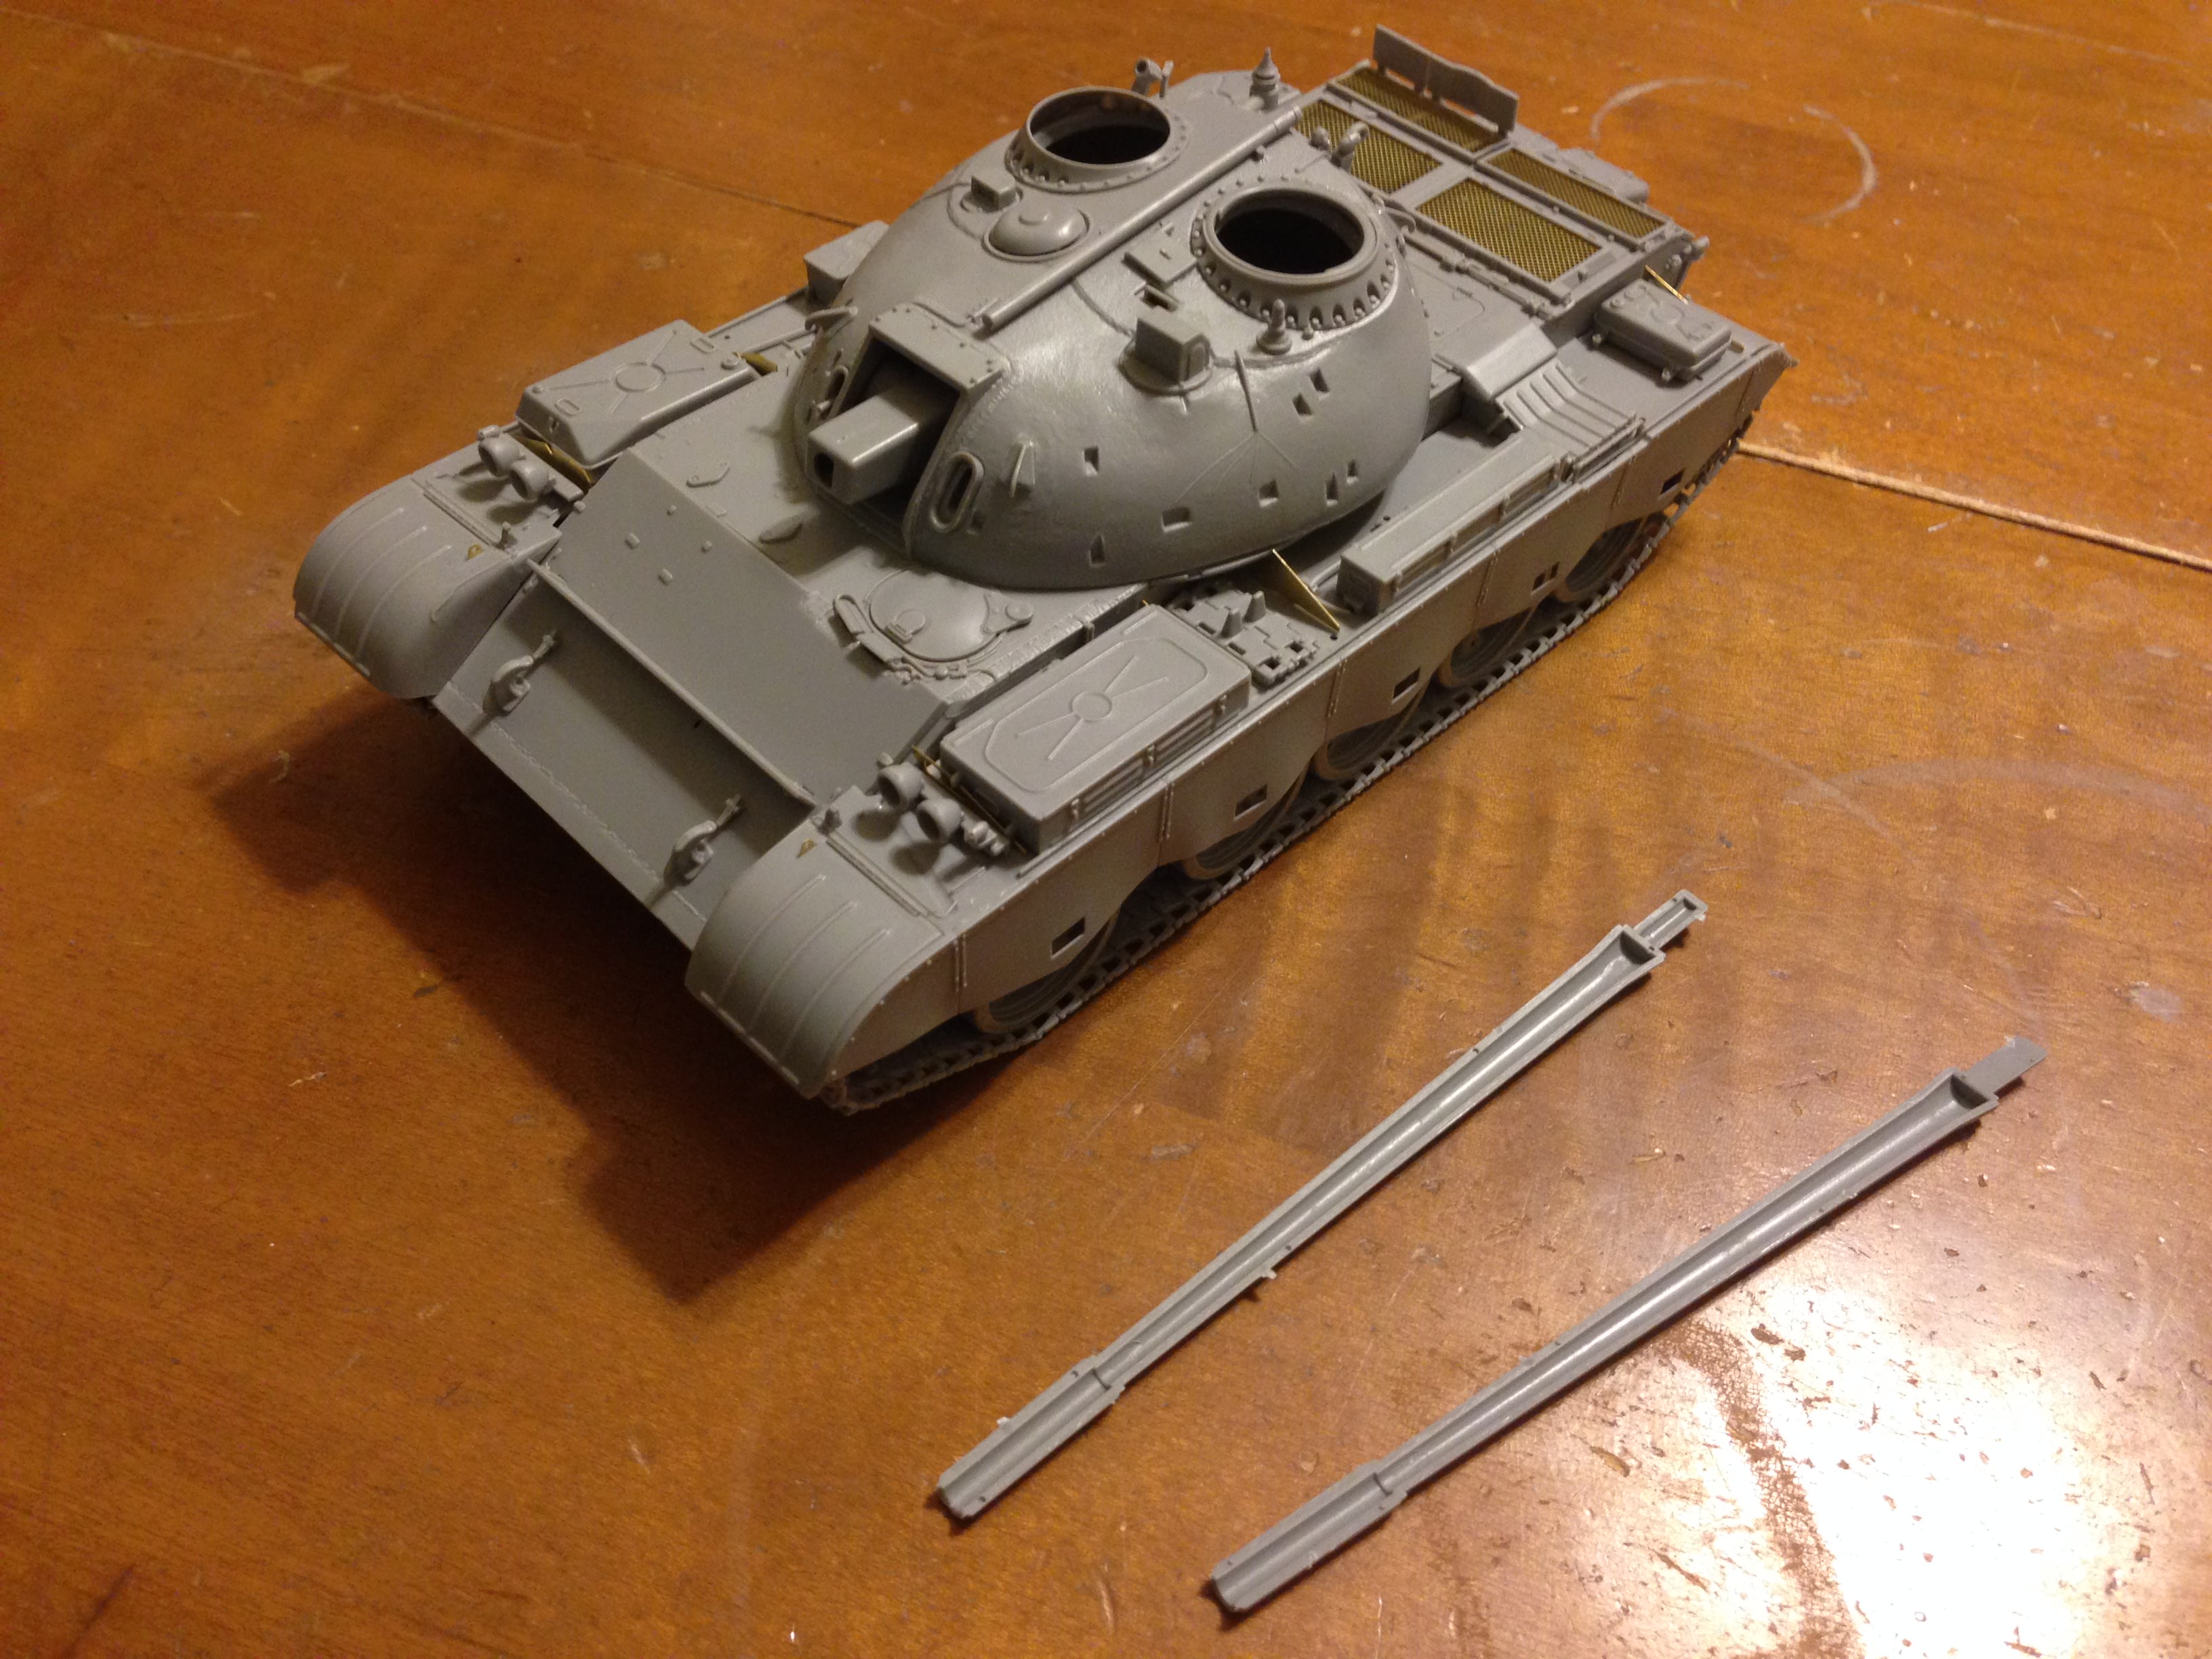
Here's a detail shot of the engine deck.
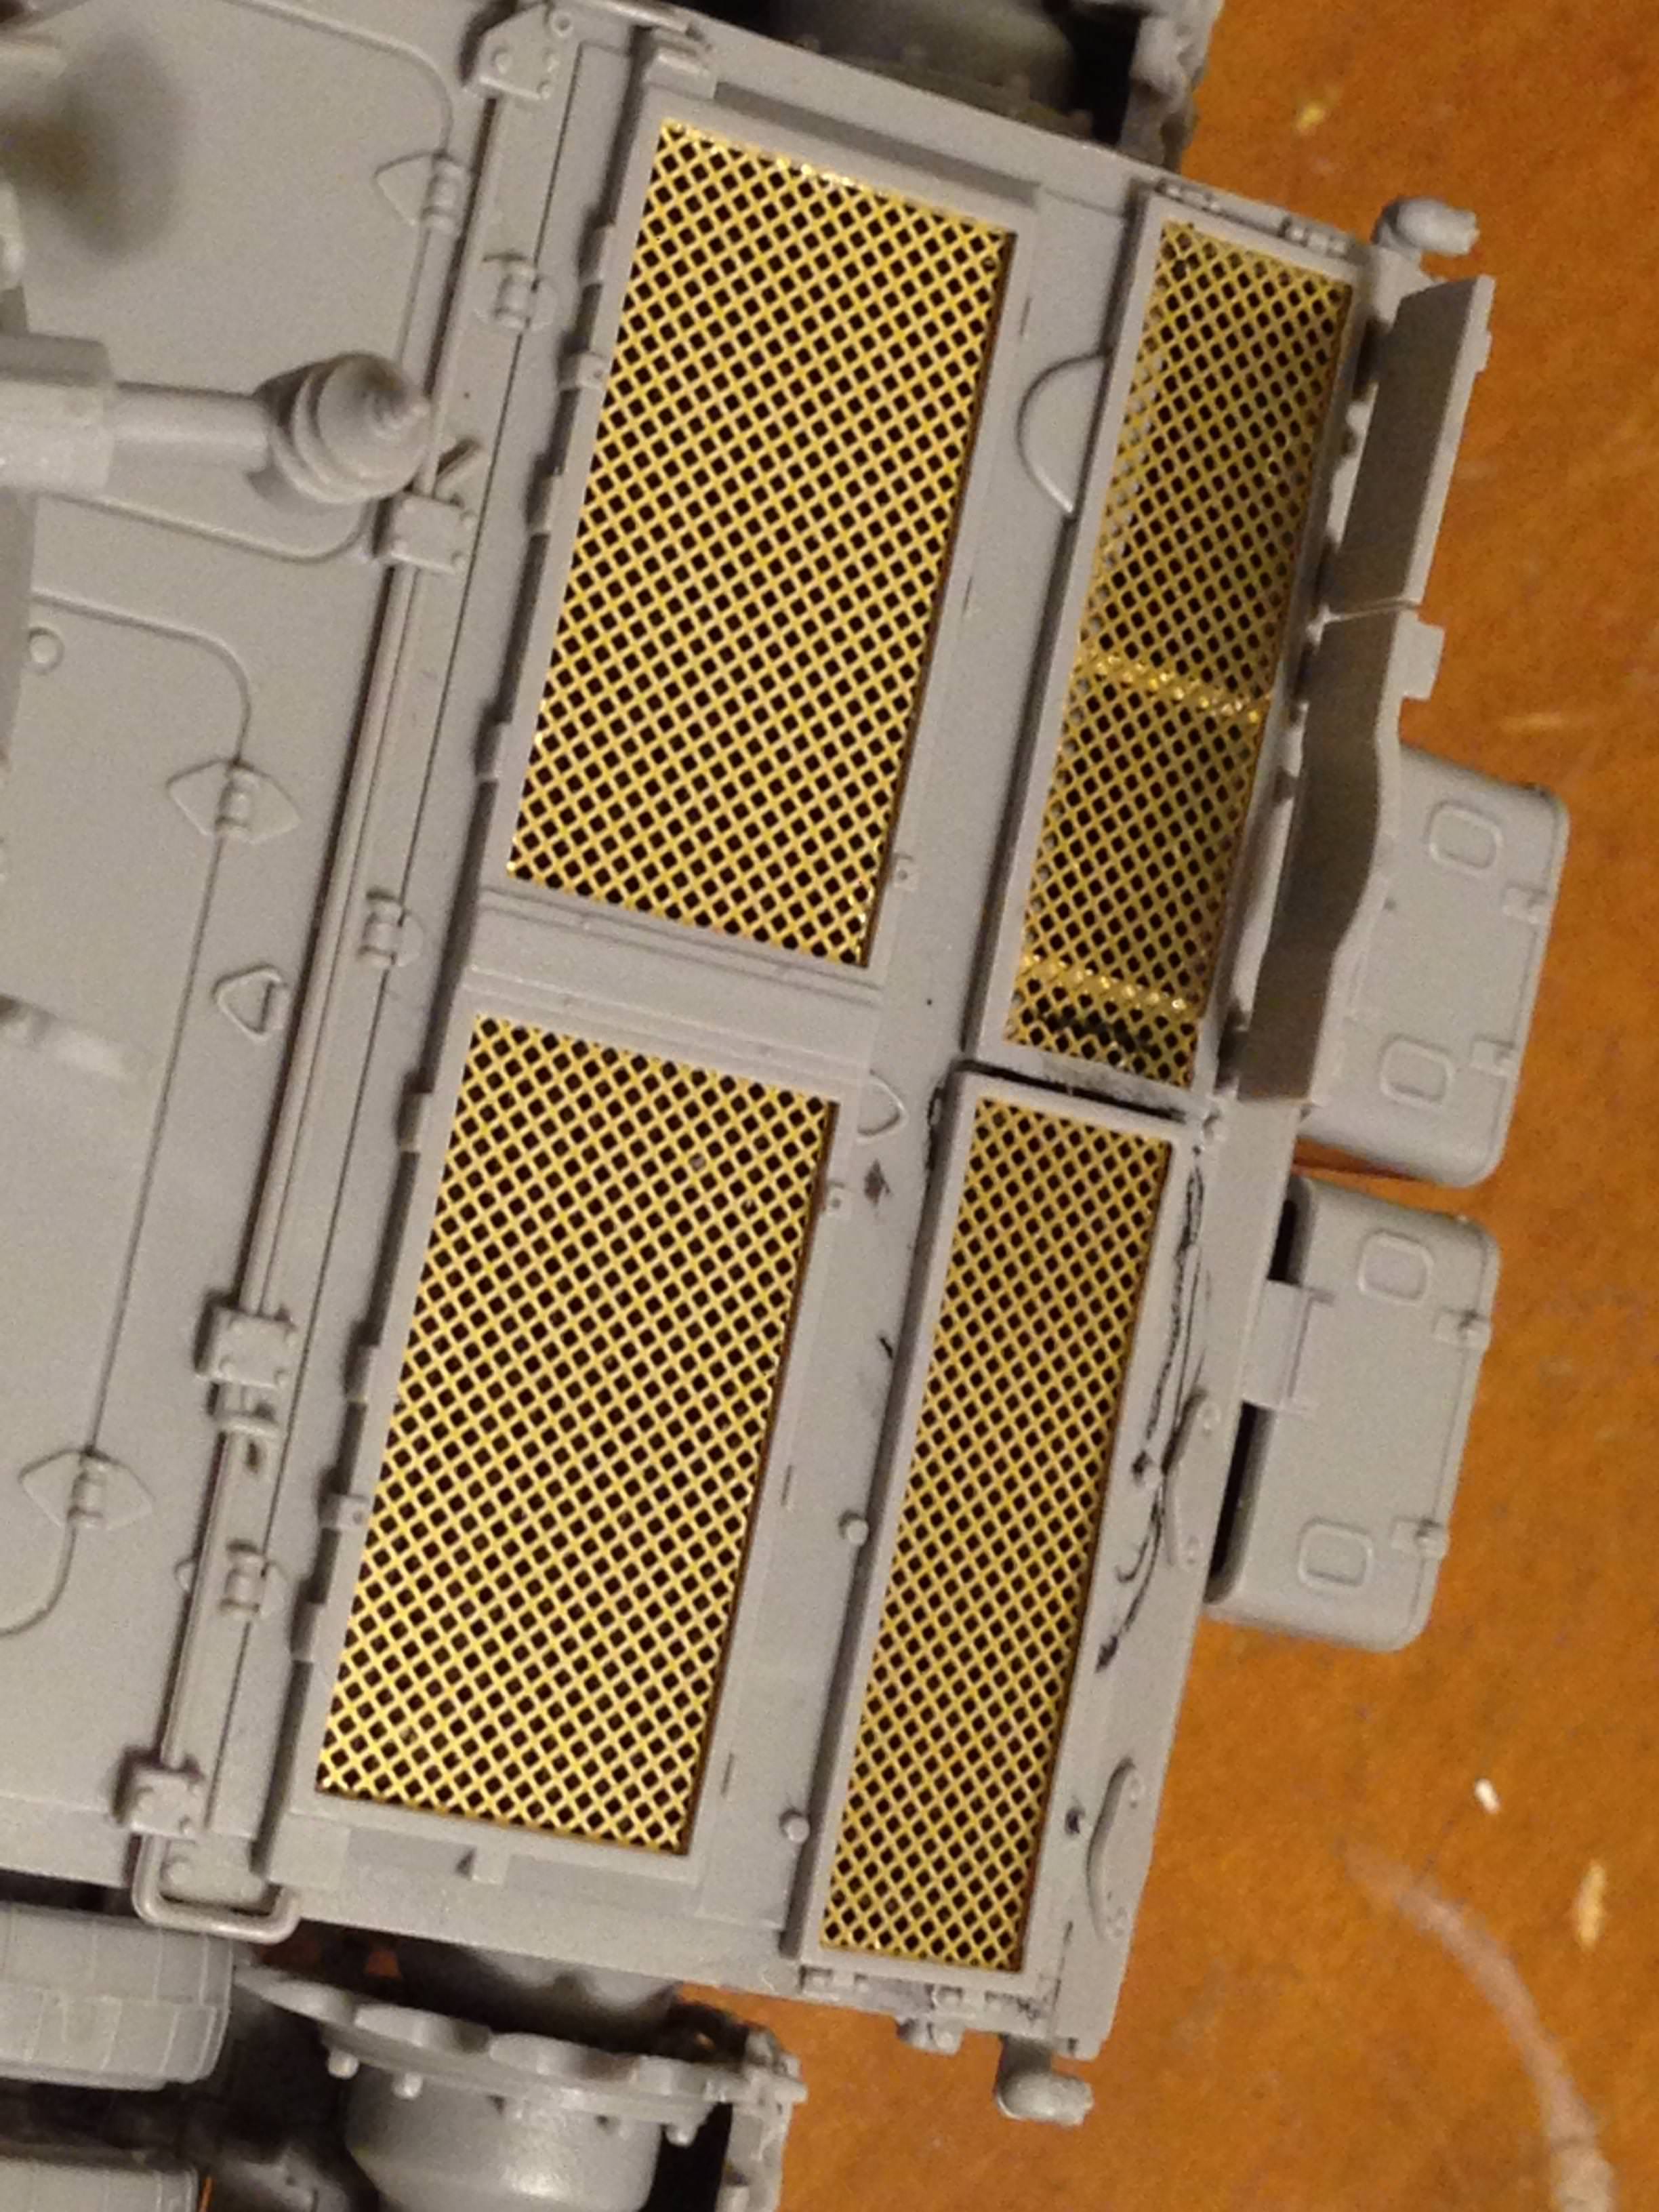
Here are views of the work done on the turret so far.
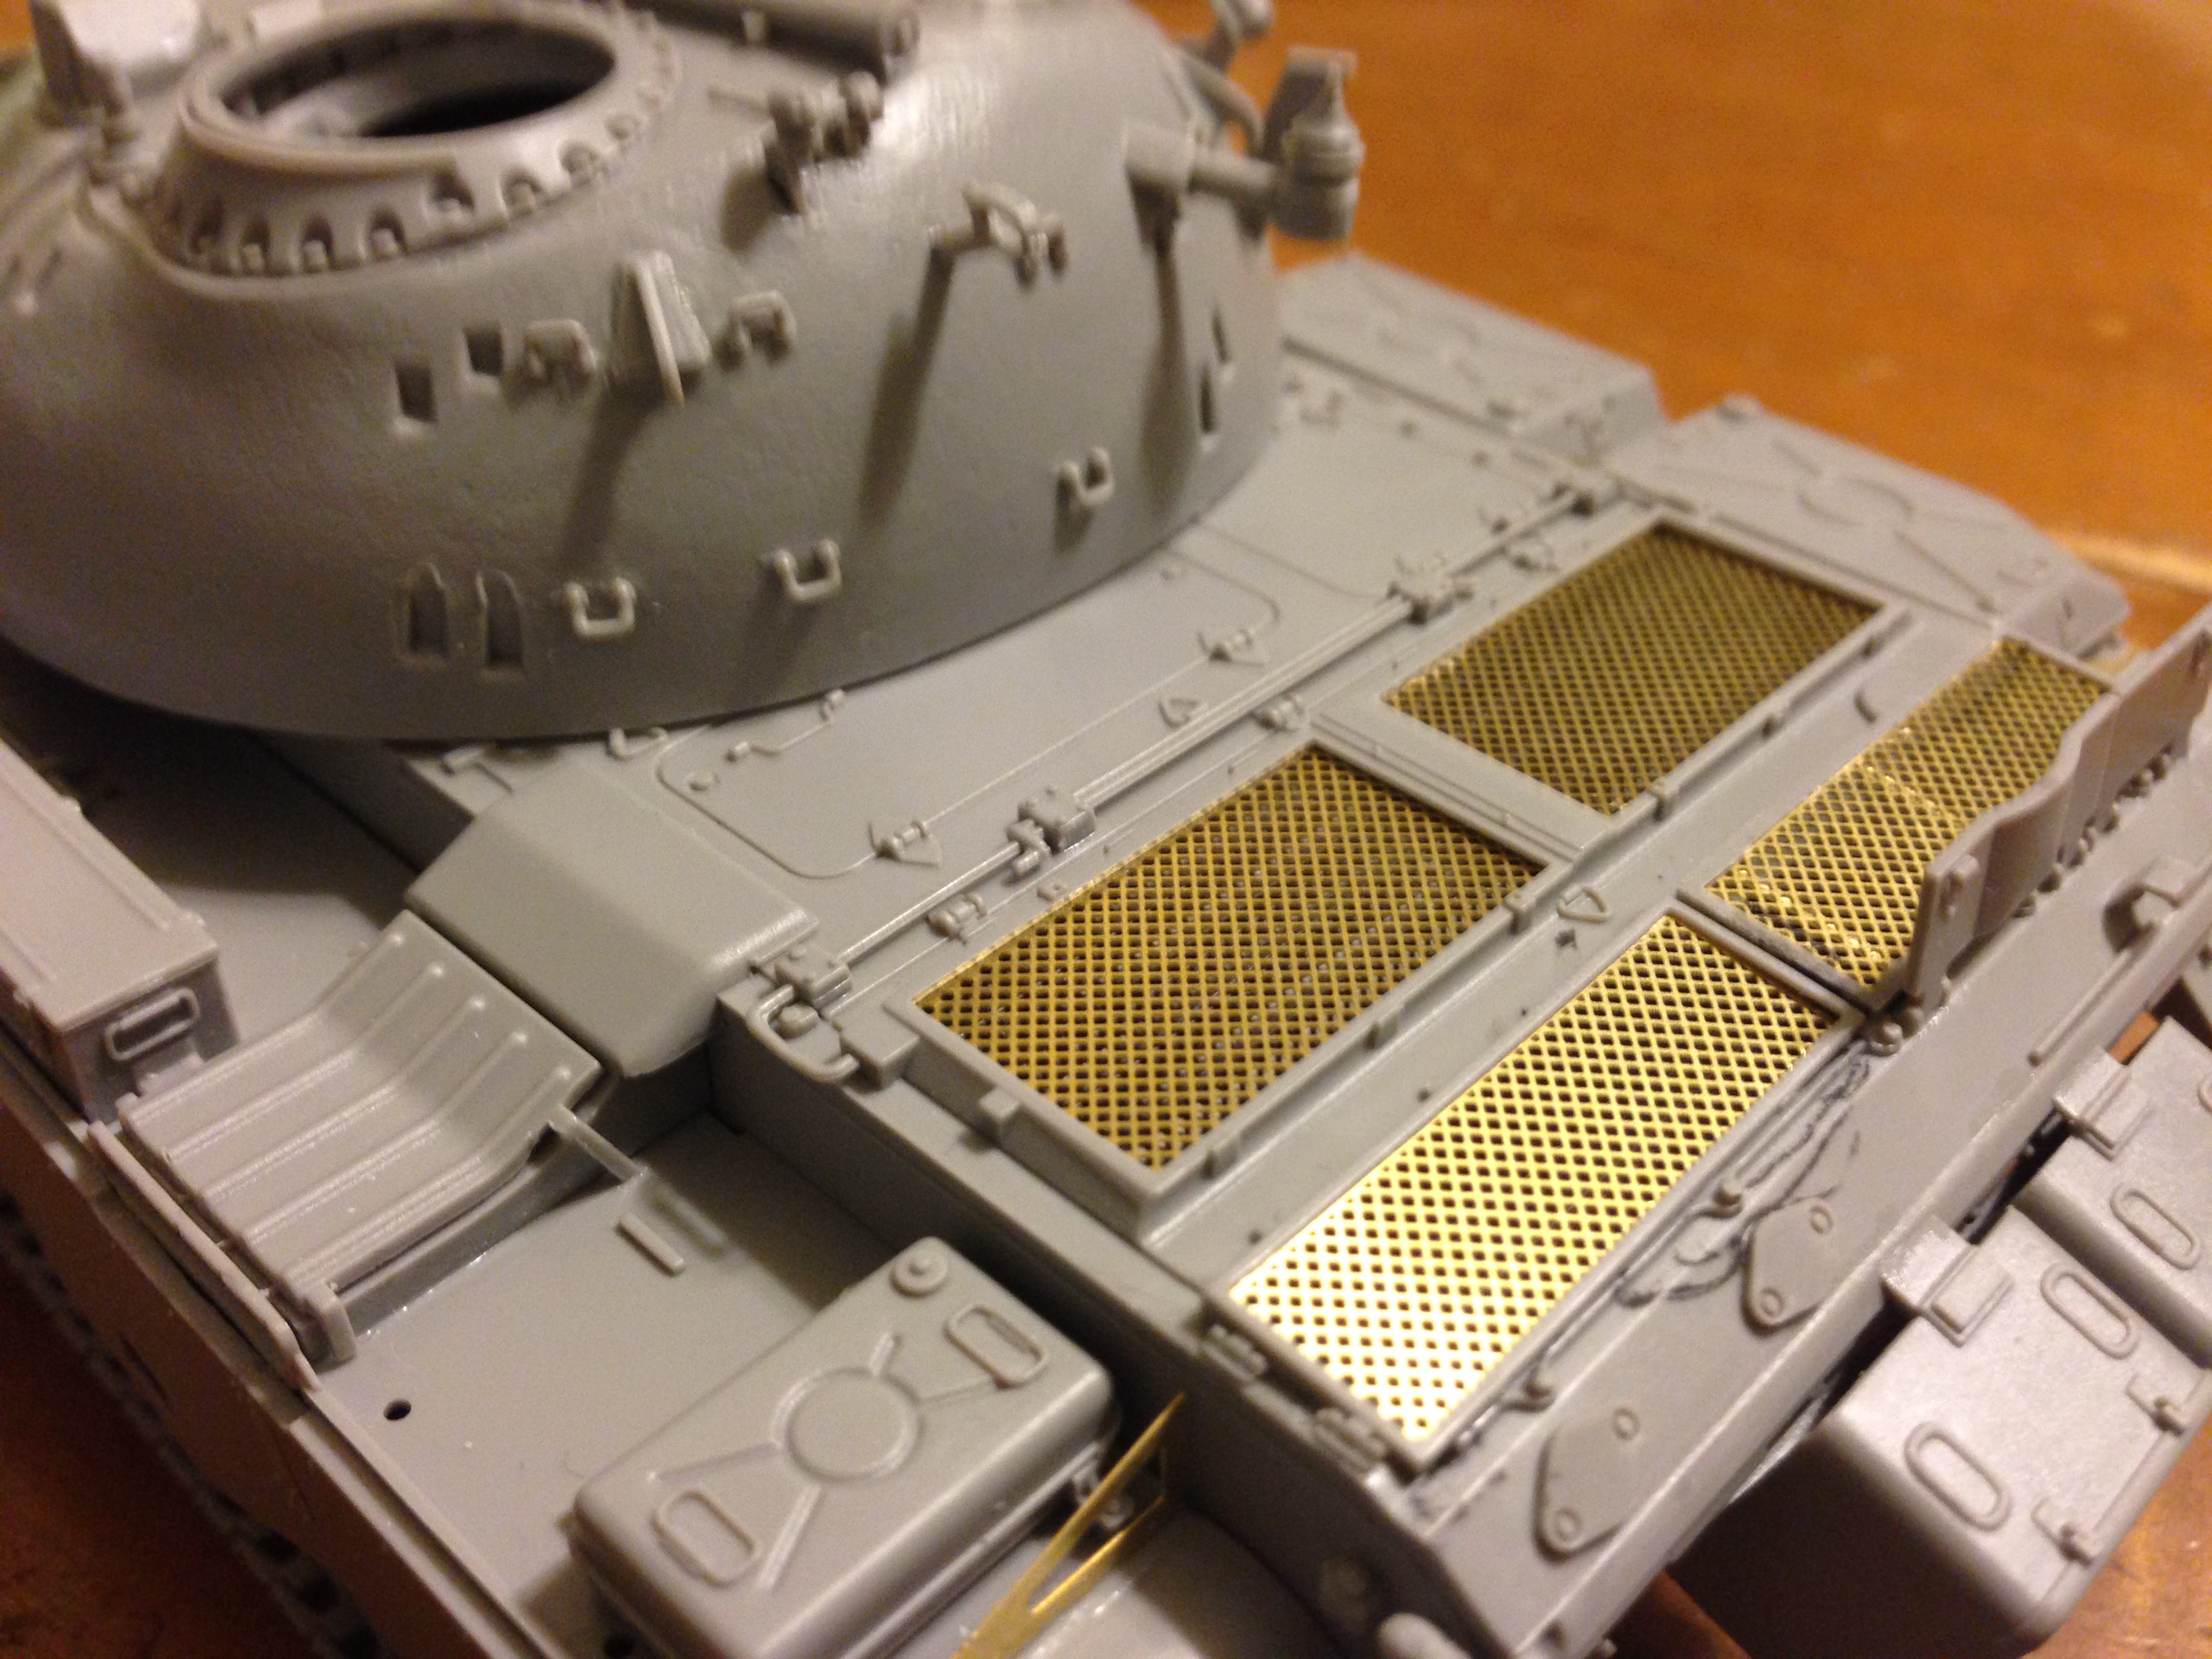
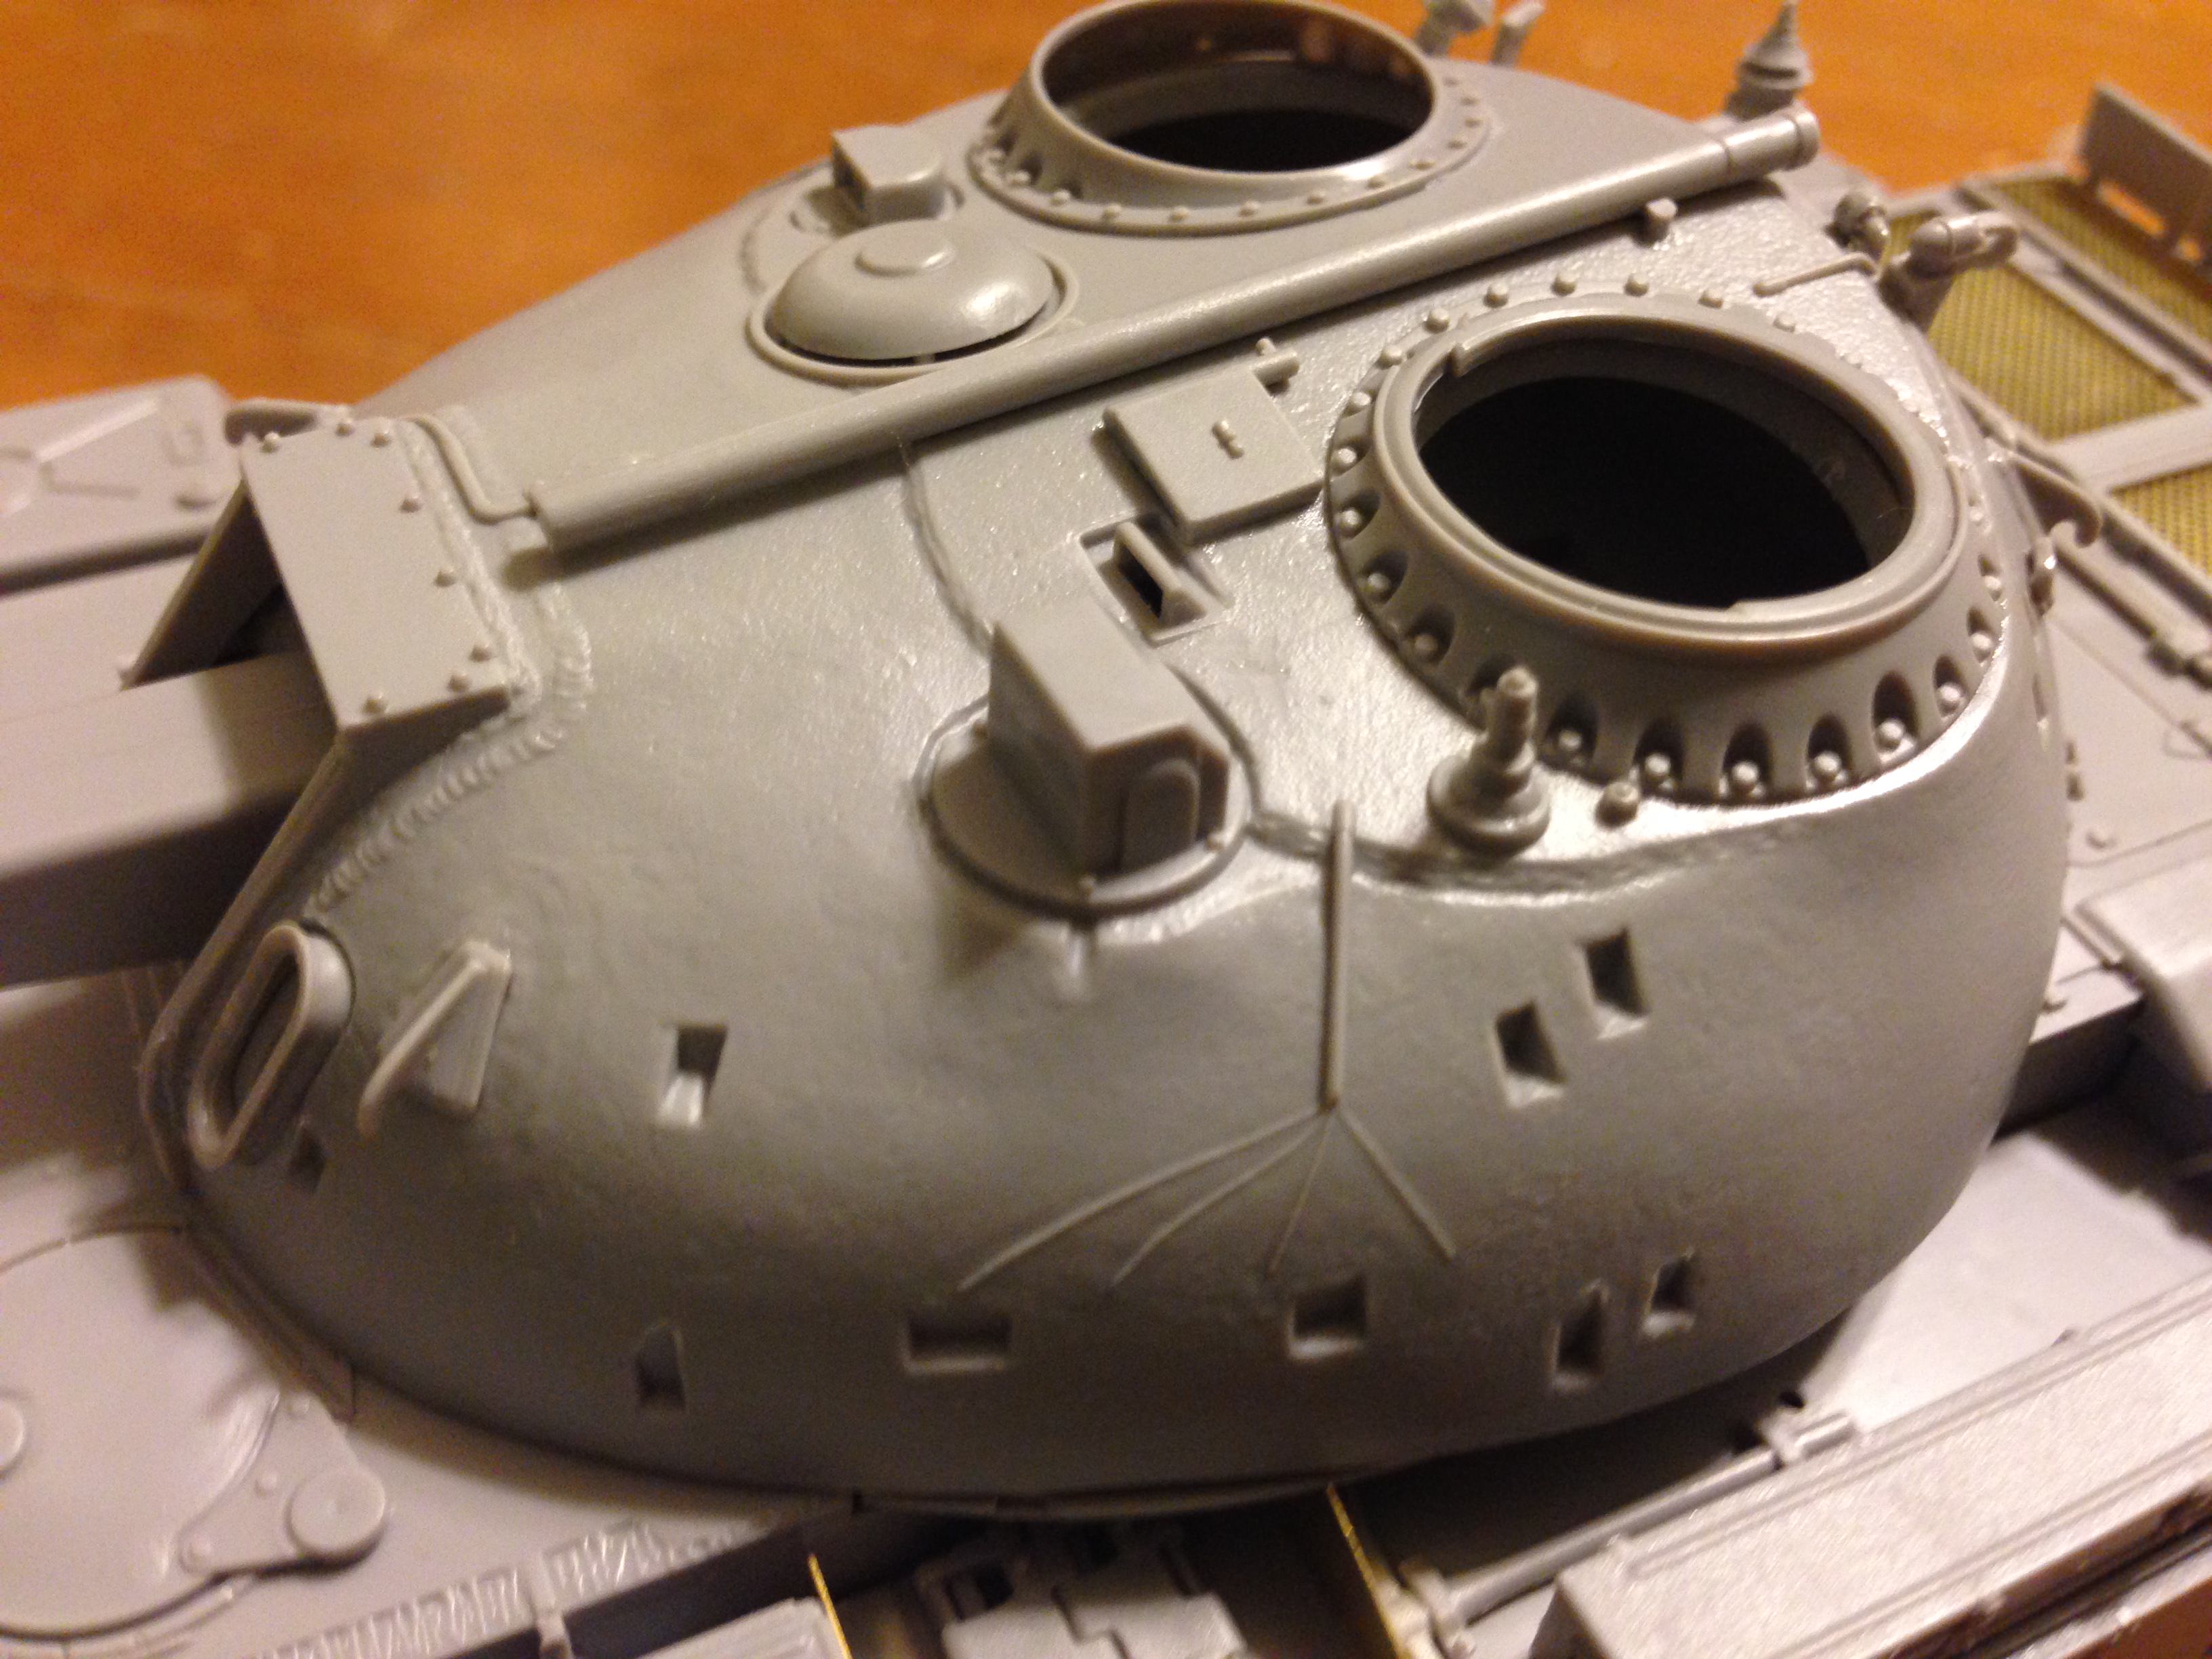
Plus some more all around views of the tank.
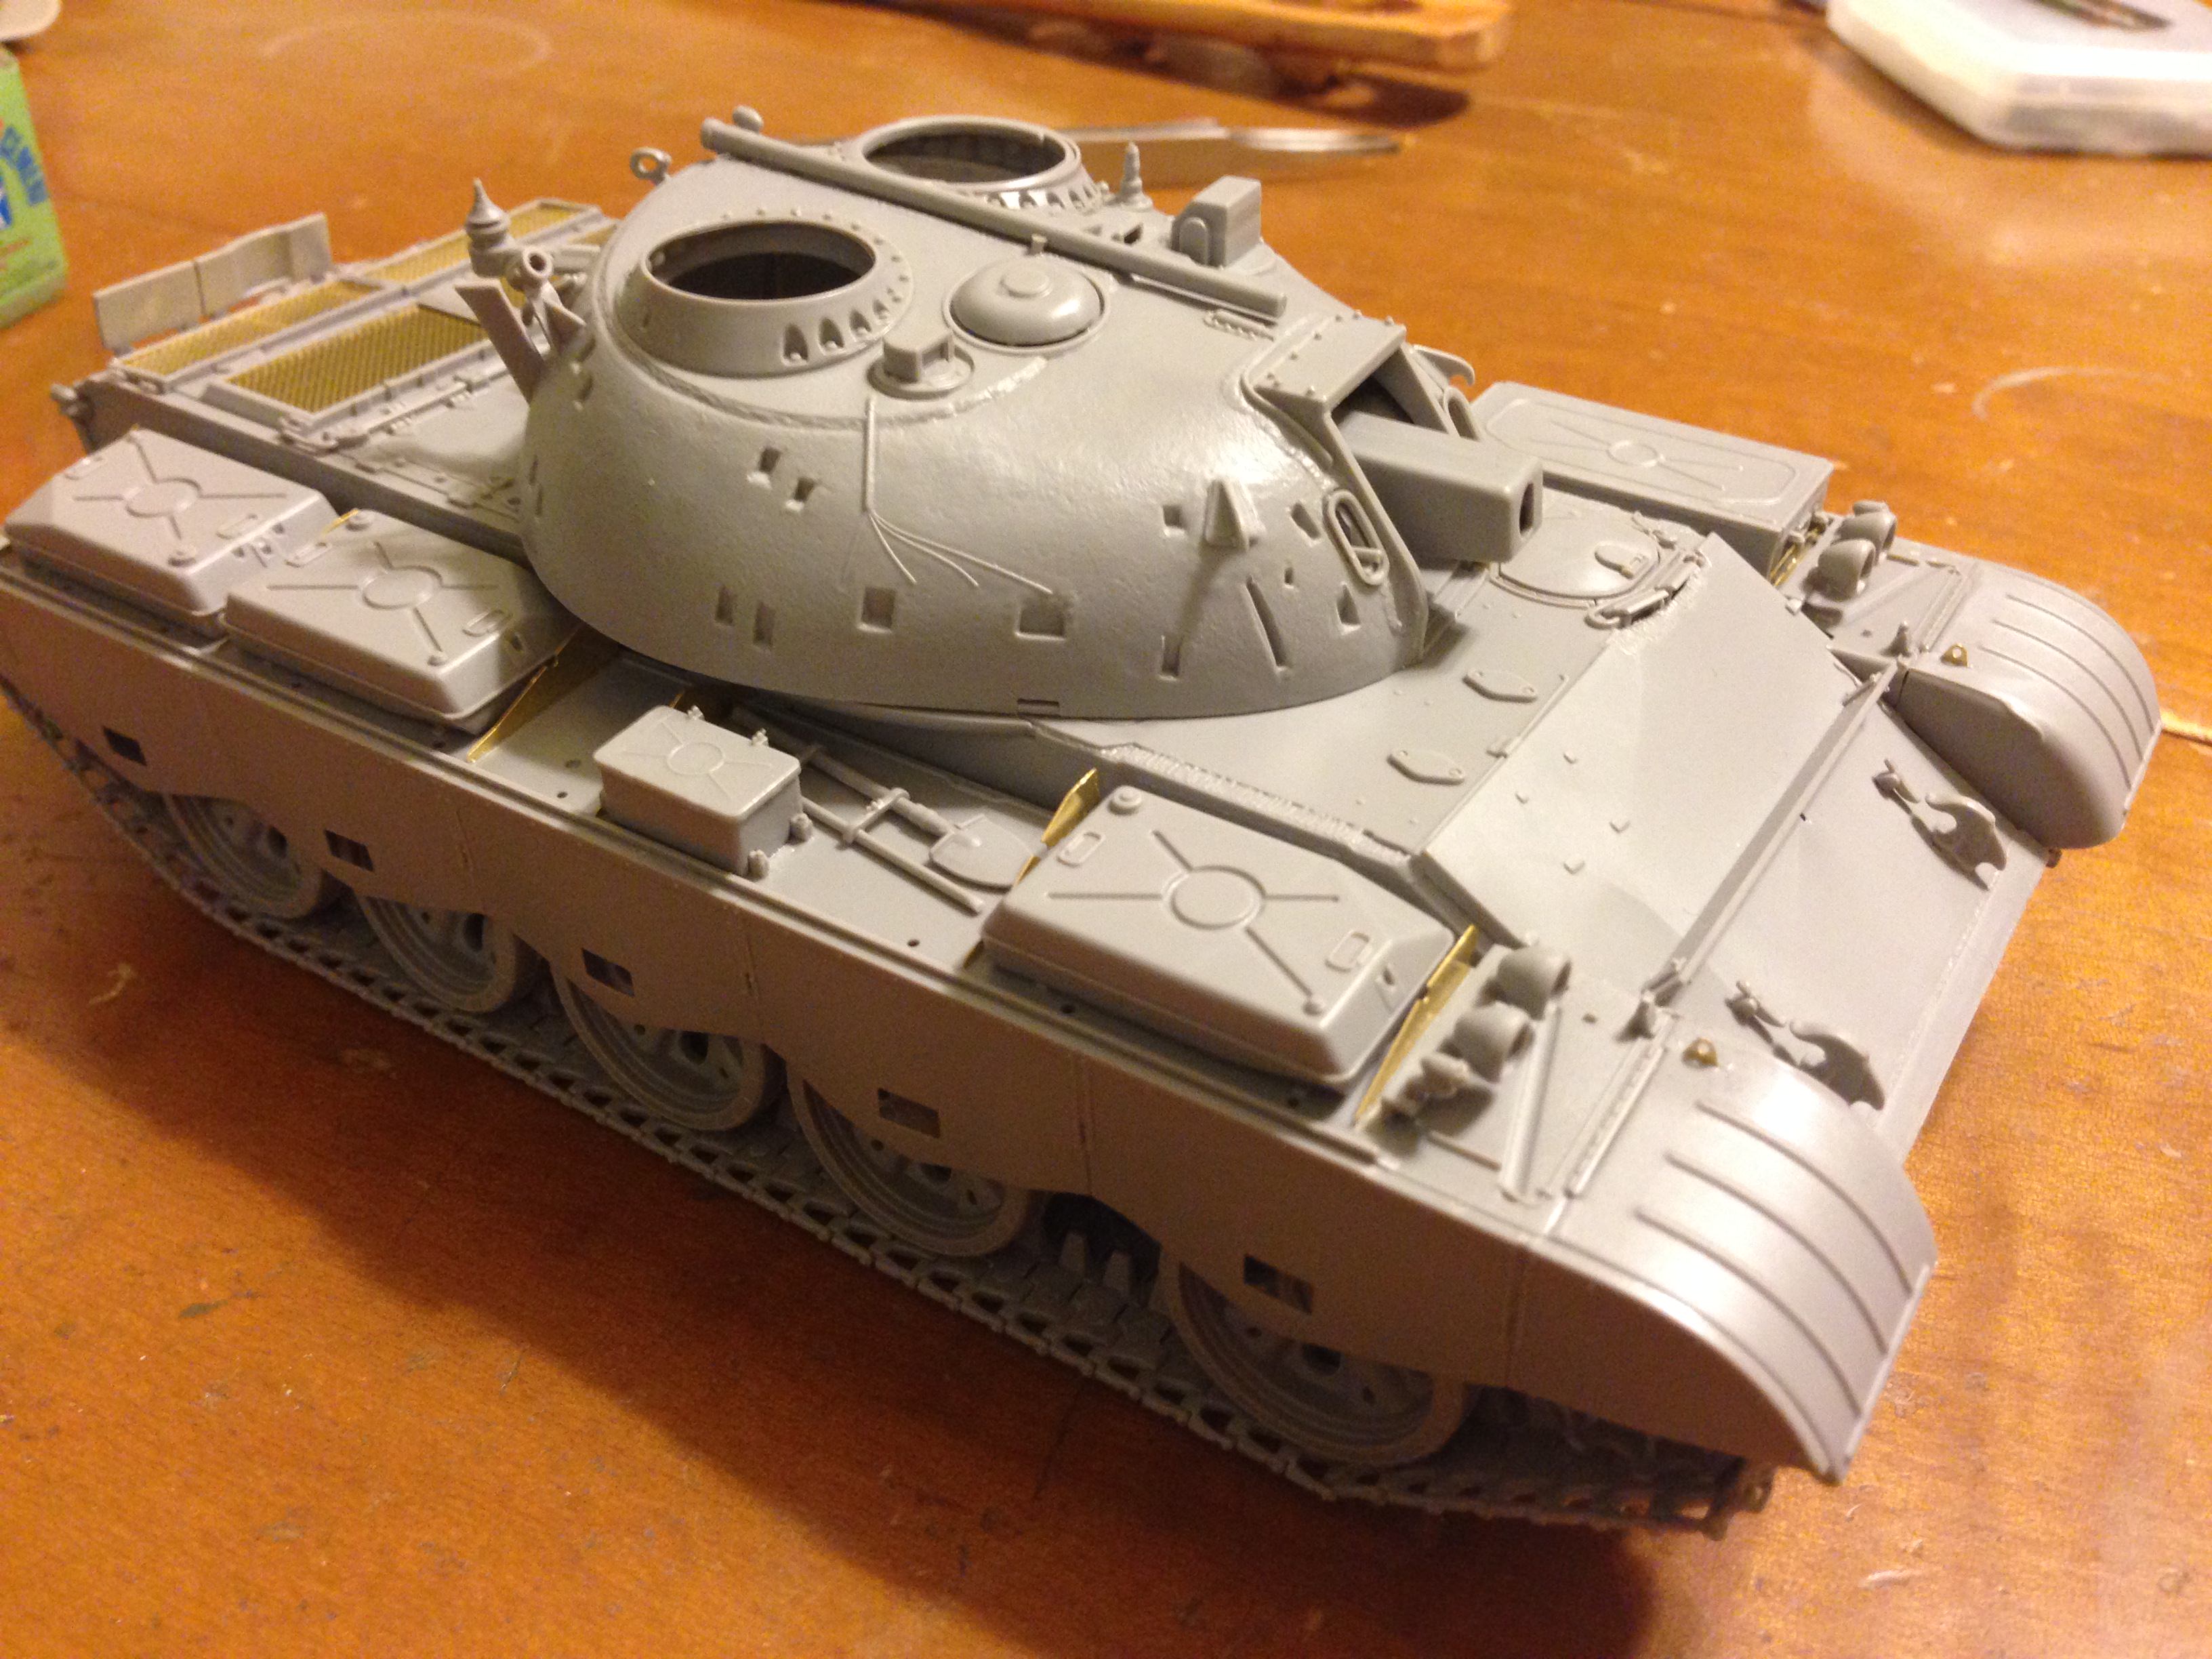
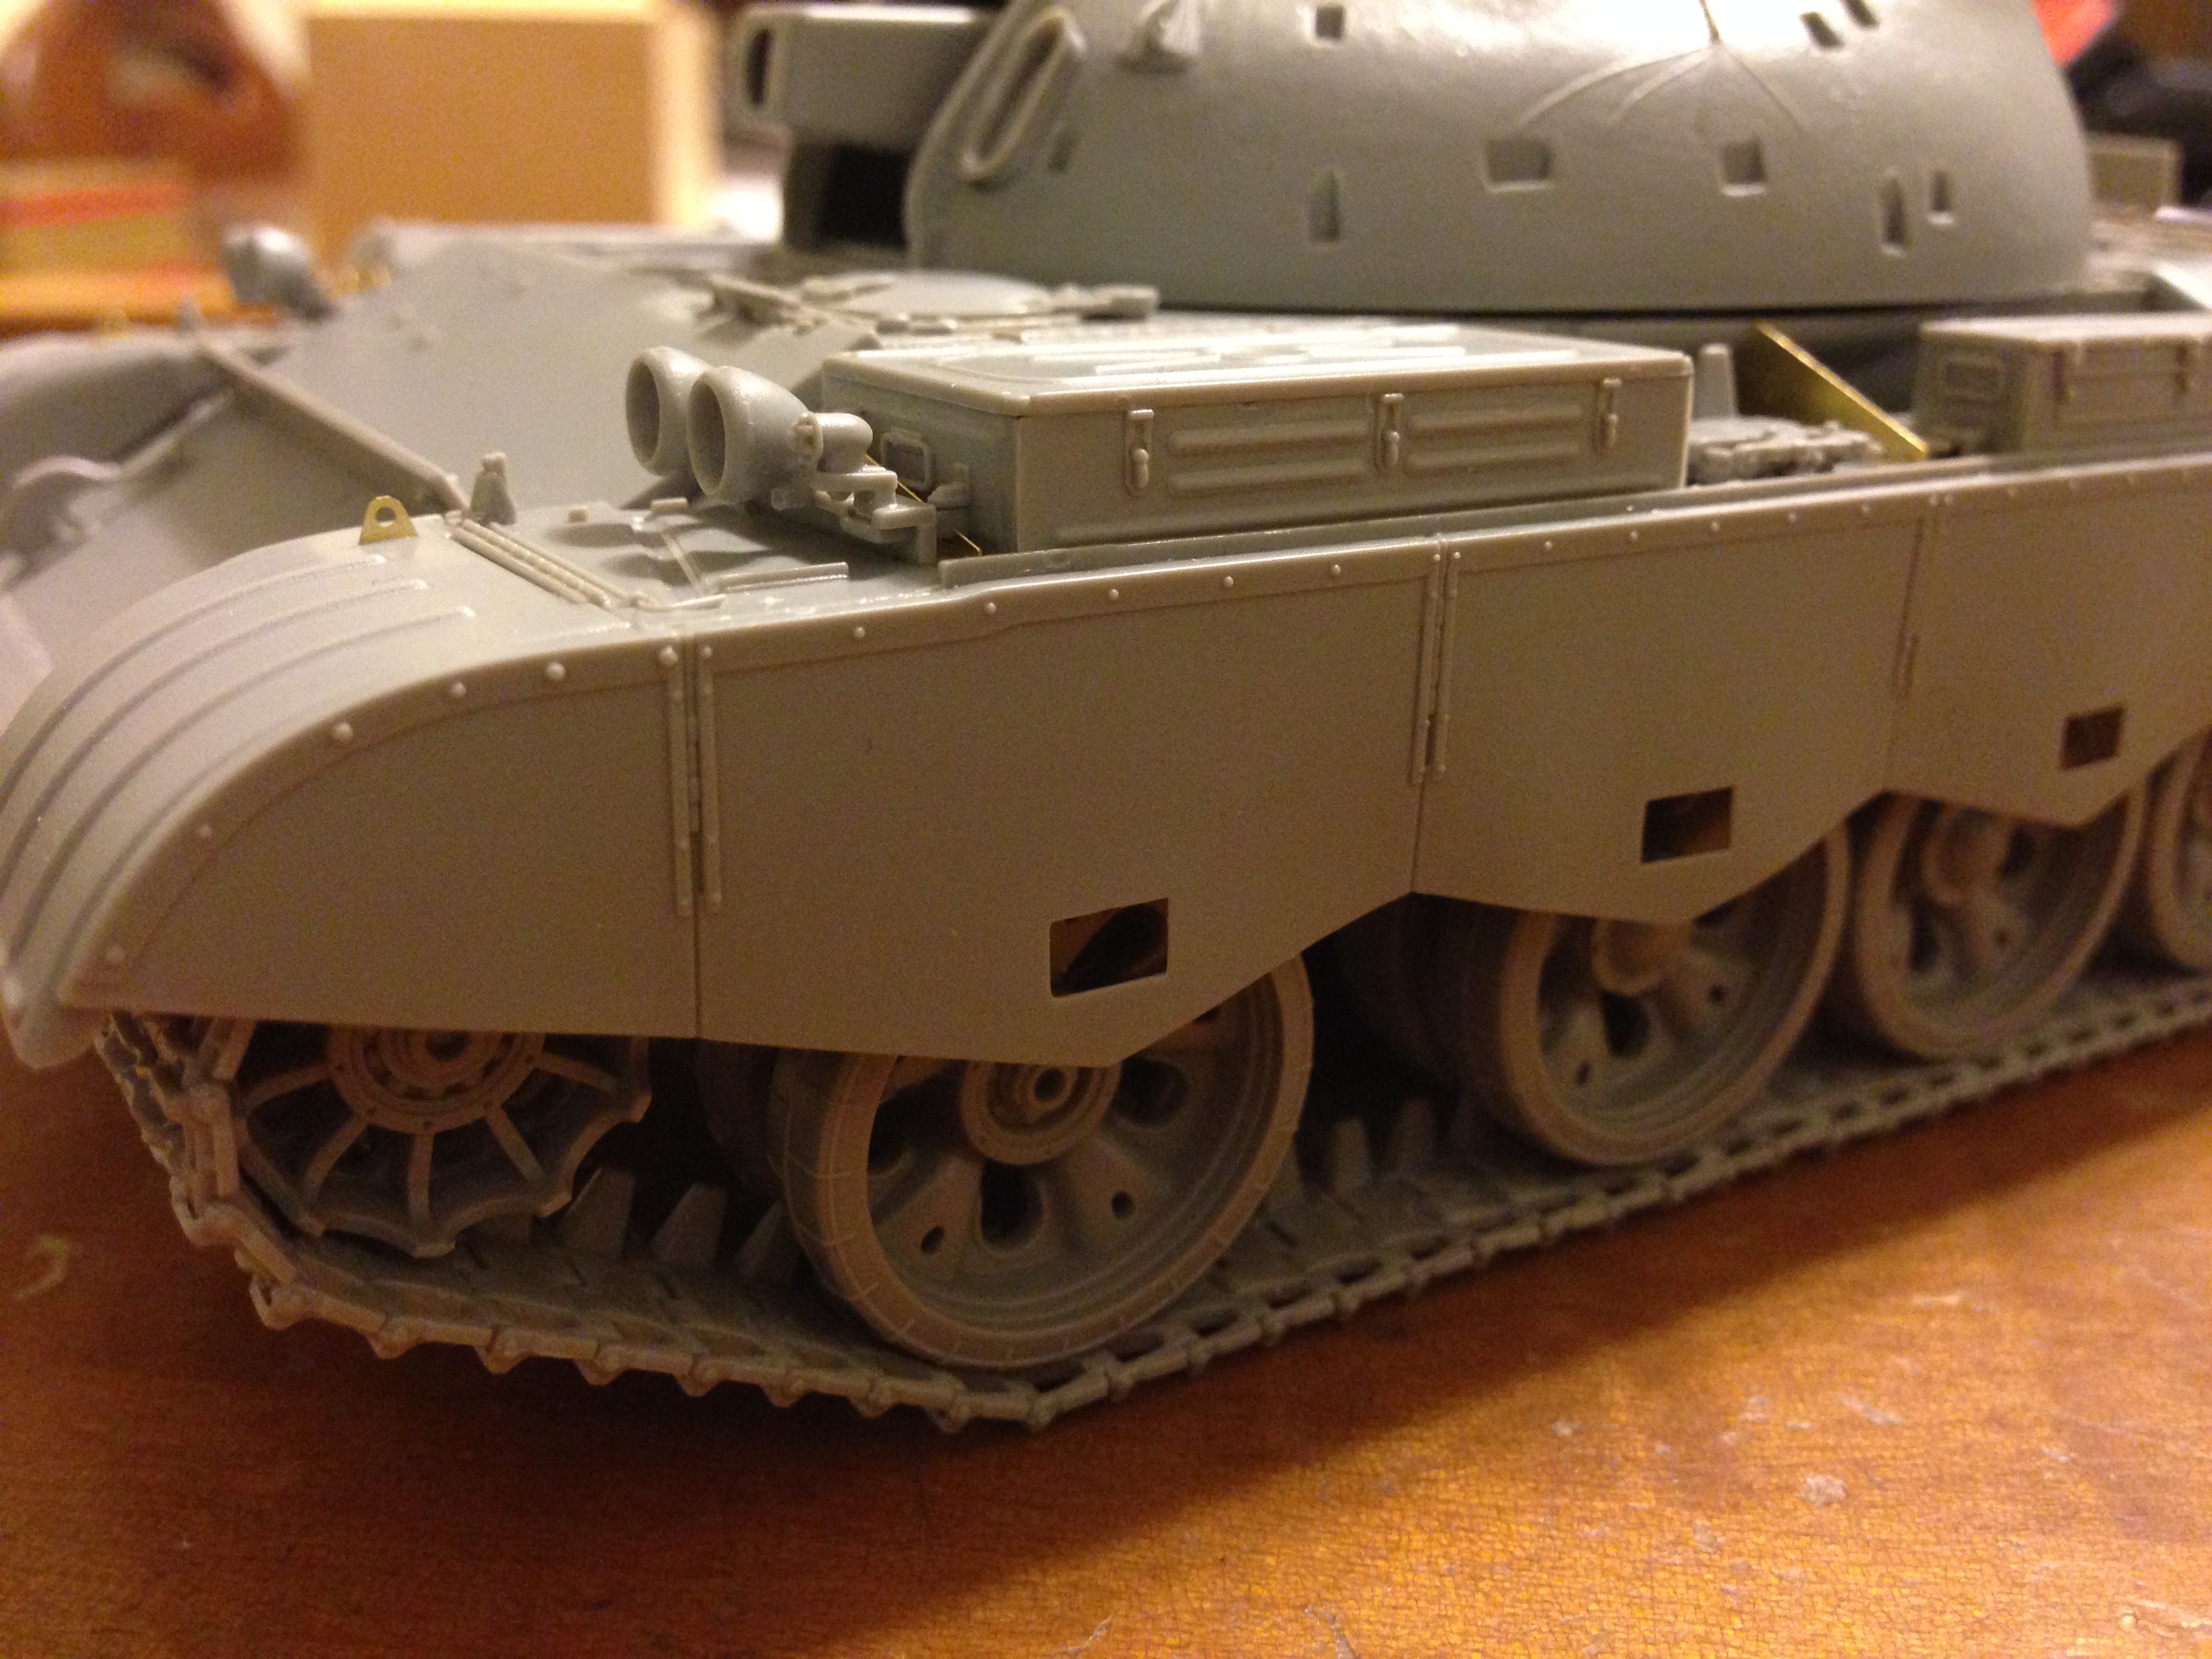
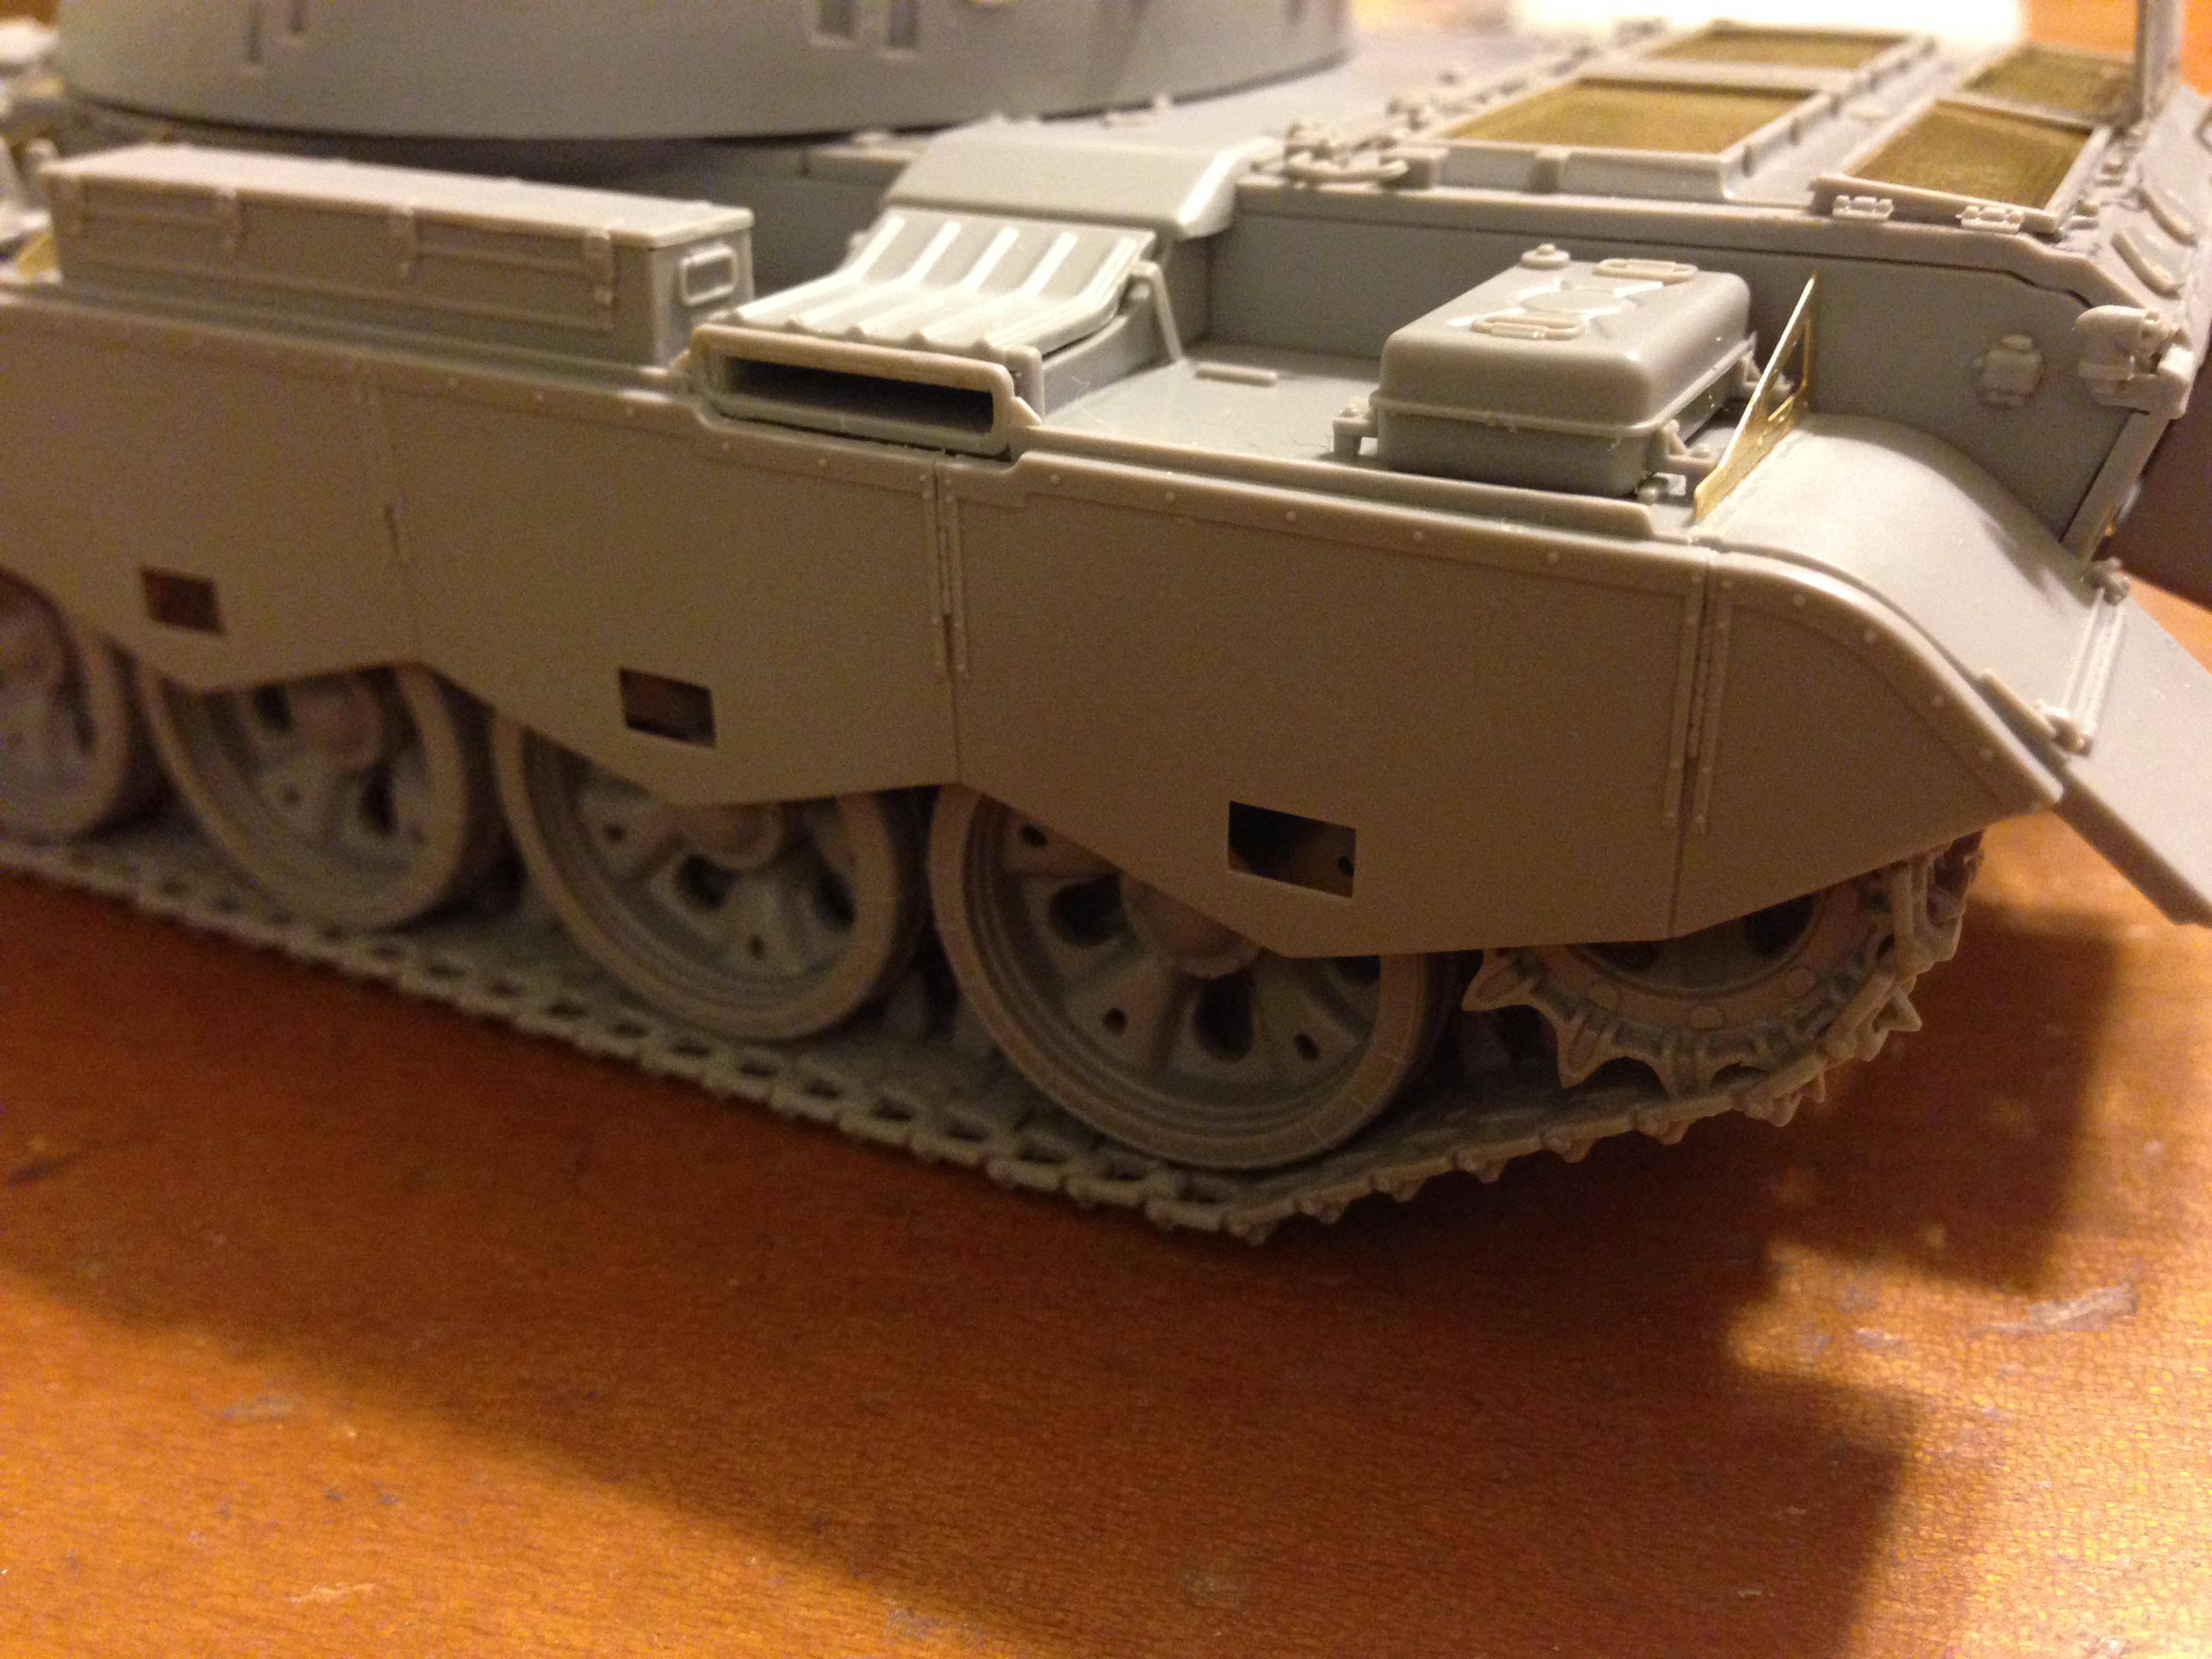
Thanks for viewing.

Here's a detail shot of the engine deck.

Here are views of the work done on the turret so far.


Plus some more all around views of the tank.


Thanks for viewing.
griffontech

Joined: November 21, 2007
KitMaker: 237 posts
Armorama: 231 posts

Posted: Thursday, April 12, 2018 - 09:36 PM UTC
Excellent work.
I never got the hang of completely building a model, then trying to paint it with road wheels and tracks on. How do people do it and get into all the nooks and crannies?
I never got the hang of completely building a model, then trying to paint it with road wheels and tracks on. How do people do it and get into all the nooks and crannies?

BravoTwoZero

Joined: June 11, 2009
KitMaker: 461 posts
Armorama: 370 posts

Posted: Thursday, April 12, 2018 - 10:03 PM UTC
Quoted Text
Excellent work.
I never got the hang of completely building a model, then trying to paint it with road wheels and tracks on. How do people do it and get into all the nooks and crannies?
Thanks Dave. I actually build models in sub-assemblies. The pictures show them dry-fitted.
Regarding the nooks and crannies, I just learned the technique of brush painting primer on these hard to reach places. See photos of my dry-fitted T-55 AMV. Especially the areas under the ERA bricks. That way I can avoid bare plastic even if I can't reach them with the airbrush. I'm about ready to apply primer on the T-55 AM2B, you'll see the tank broken down in sub-assemblies.
griffontech

Joined: November 21, 2007
KitMaker: 237 posts
Armorama: 231 posts

Posted: Friday, April 13, 2018 - 01:24 AM UTC
Ahhh... Got it. Quite few models under my belt and still learning.

BravoTwoZero

Joined: June 11, 2009
KitMaker: 461 posts
Armorama: 370 posts

Posted: Thursday, April 19, 2018 - 07:46 PM UTC
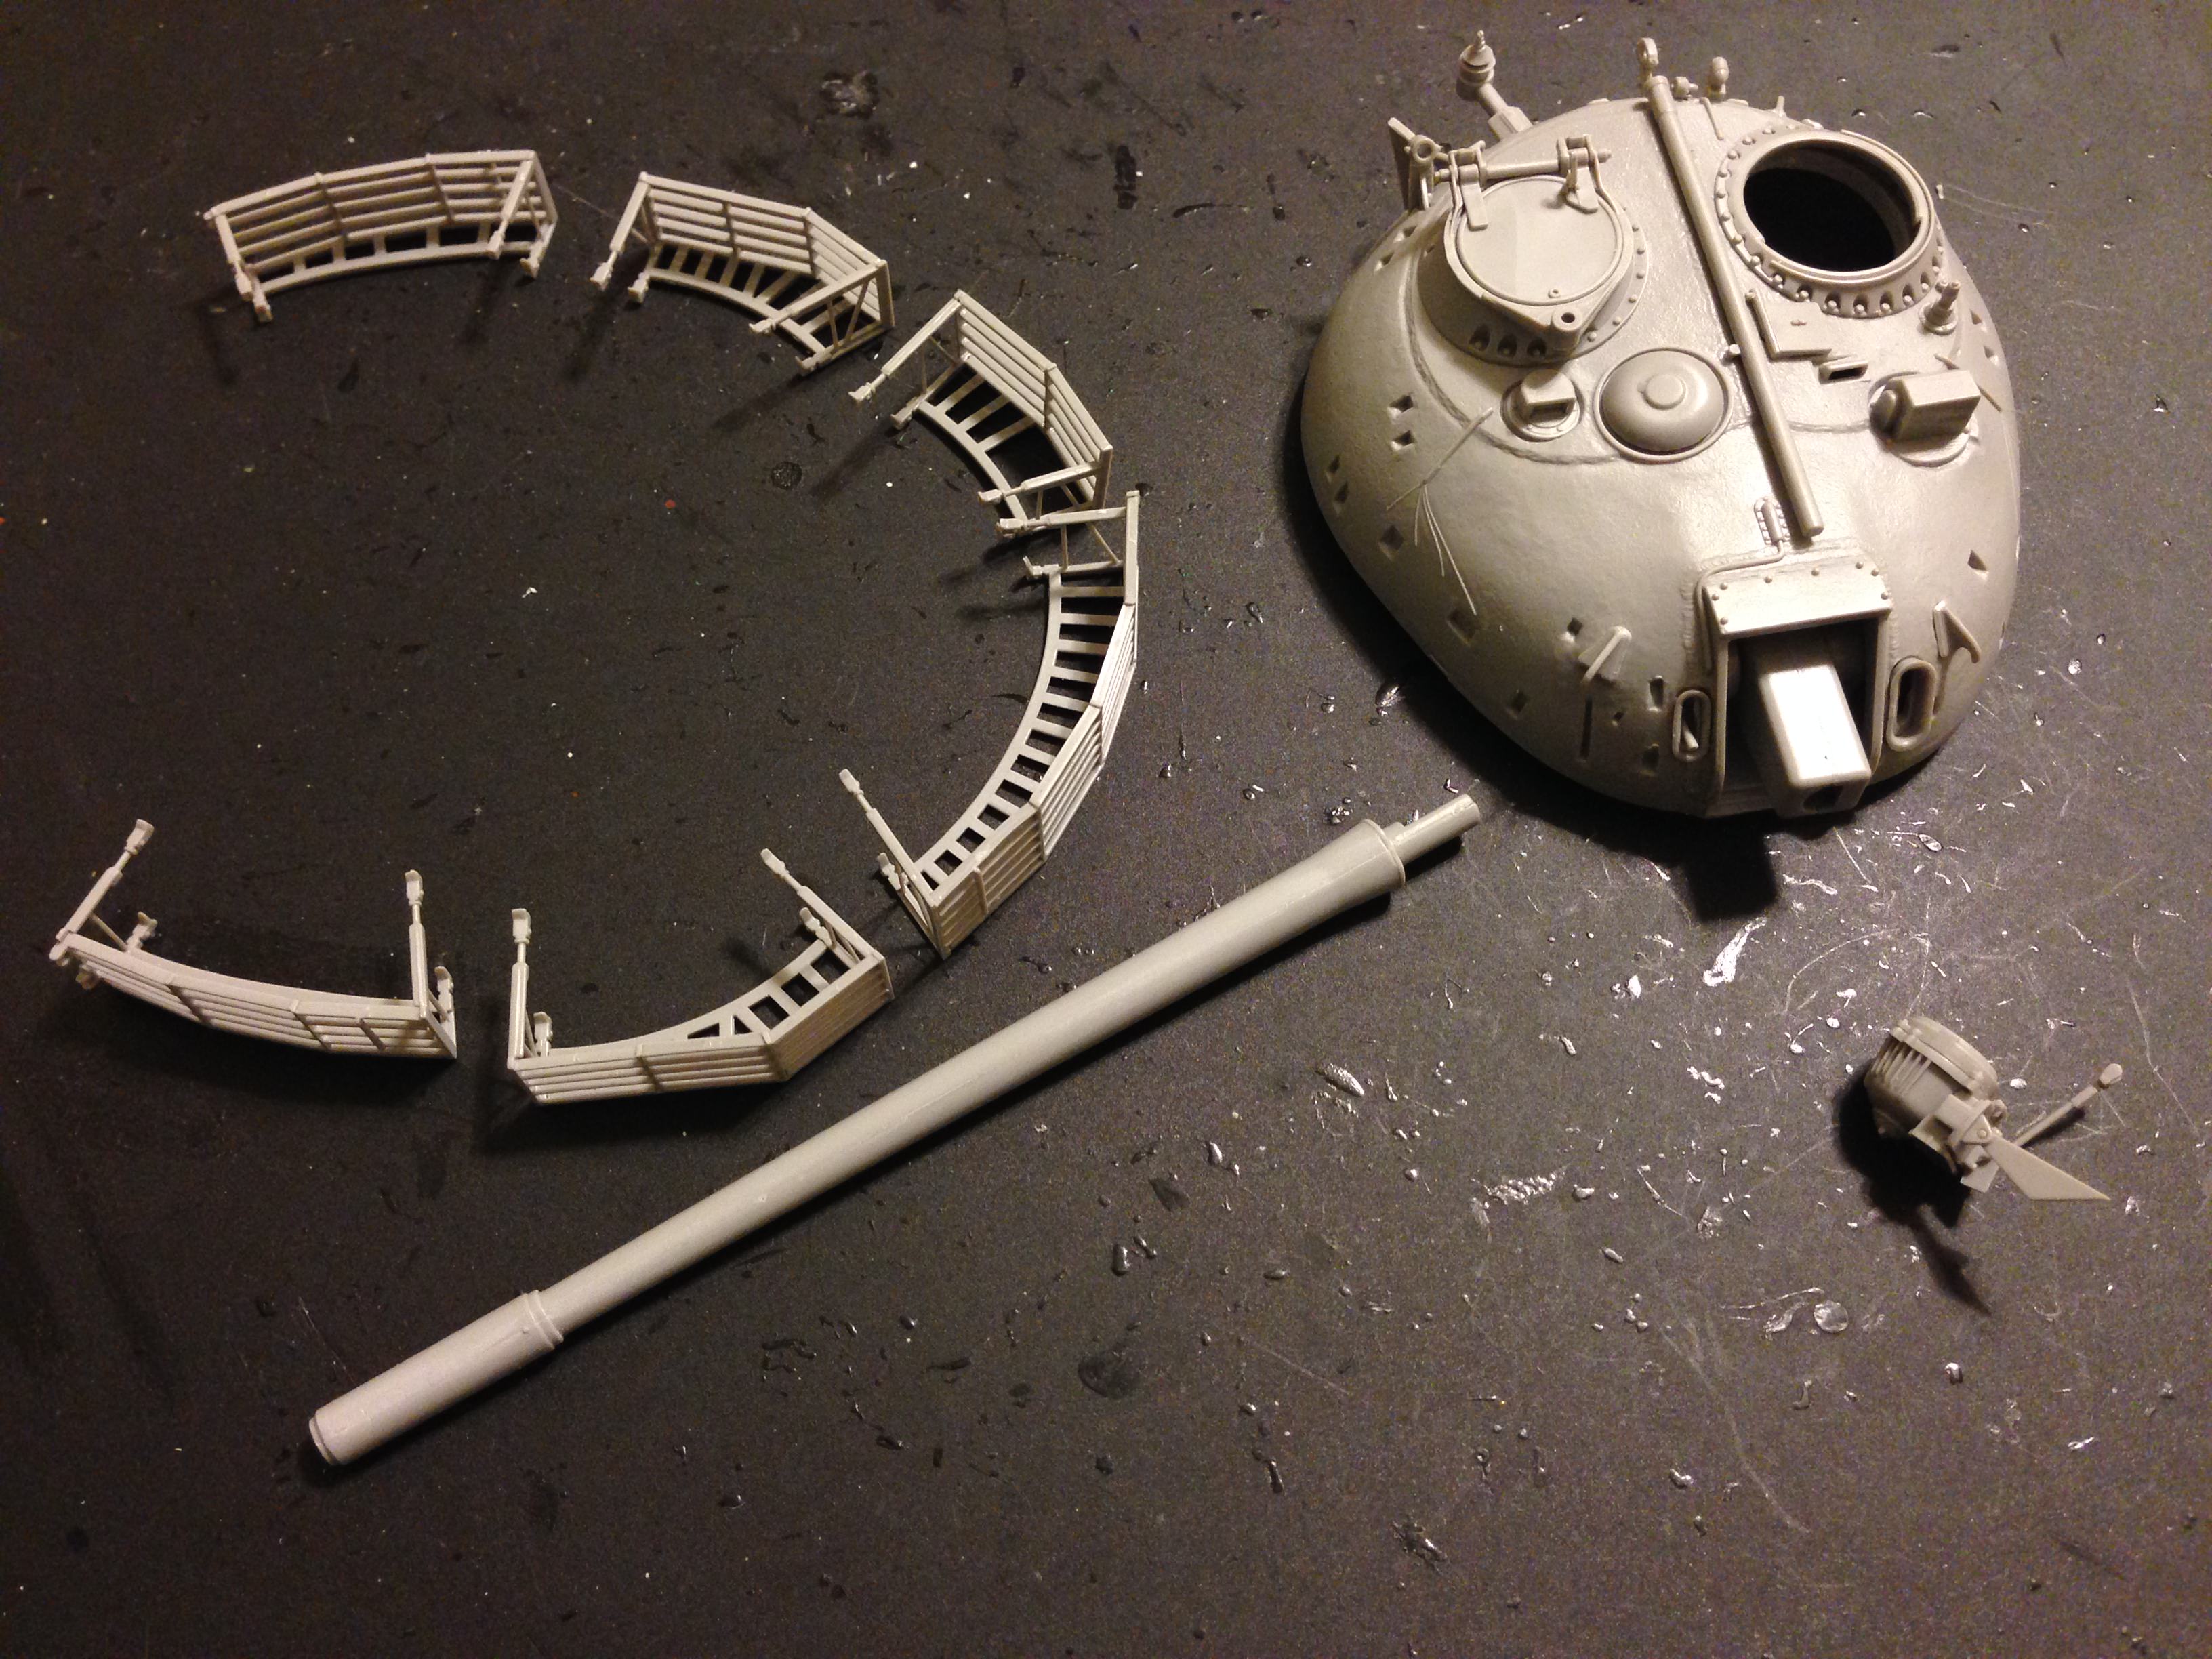
Slow progress on my Type 69-II but I am glad to get over these. The racks are very fiddly but I think it still turned out good. Almost getting to the finish line with the turret.


BravoTwoZero

Joined: June 11, 2009
KitMaker: 461 posts
Armorama: 370 posts

Posted: Wednesday, April 25, 2018 - 08:00 PM UTC
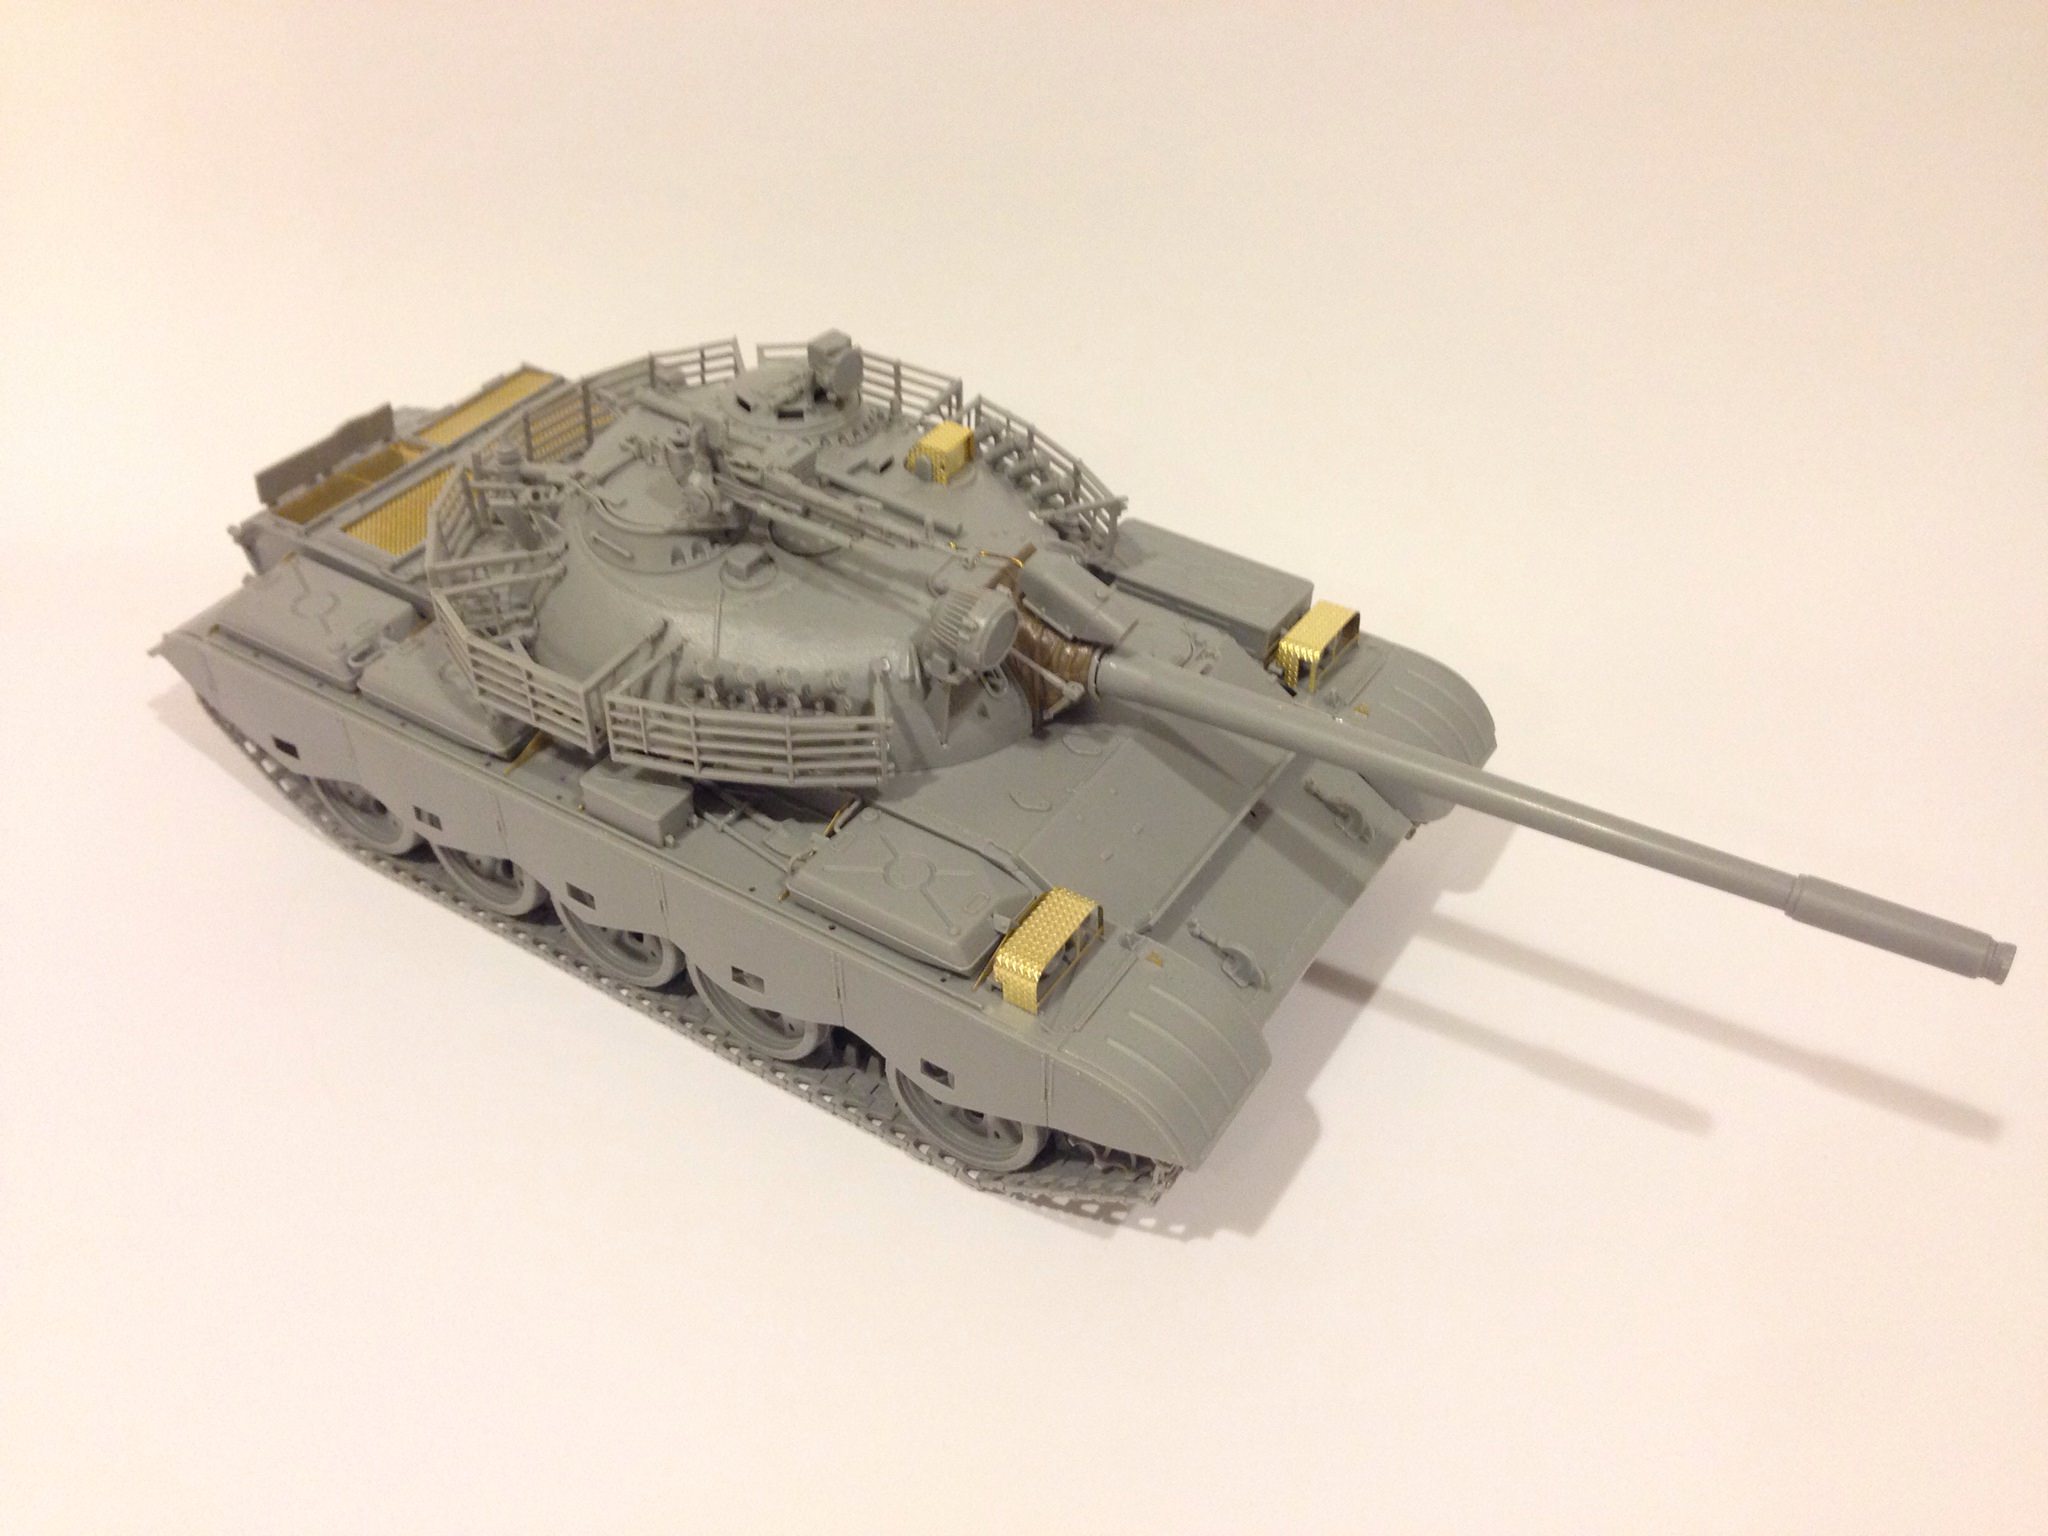
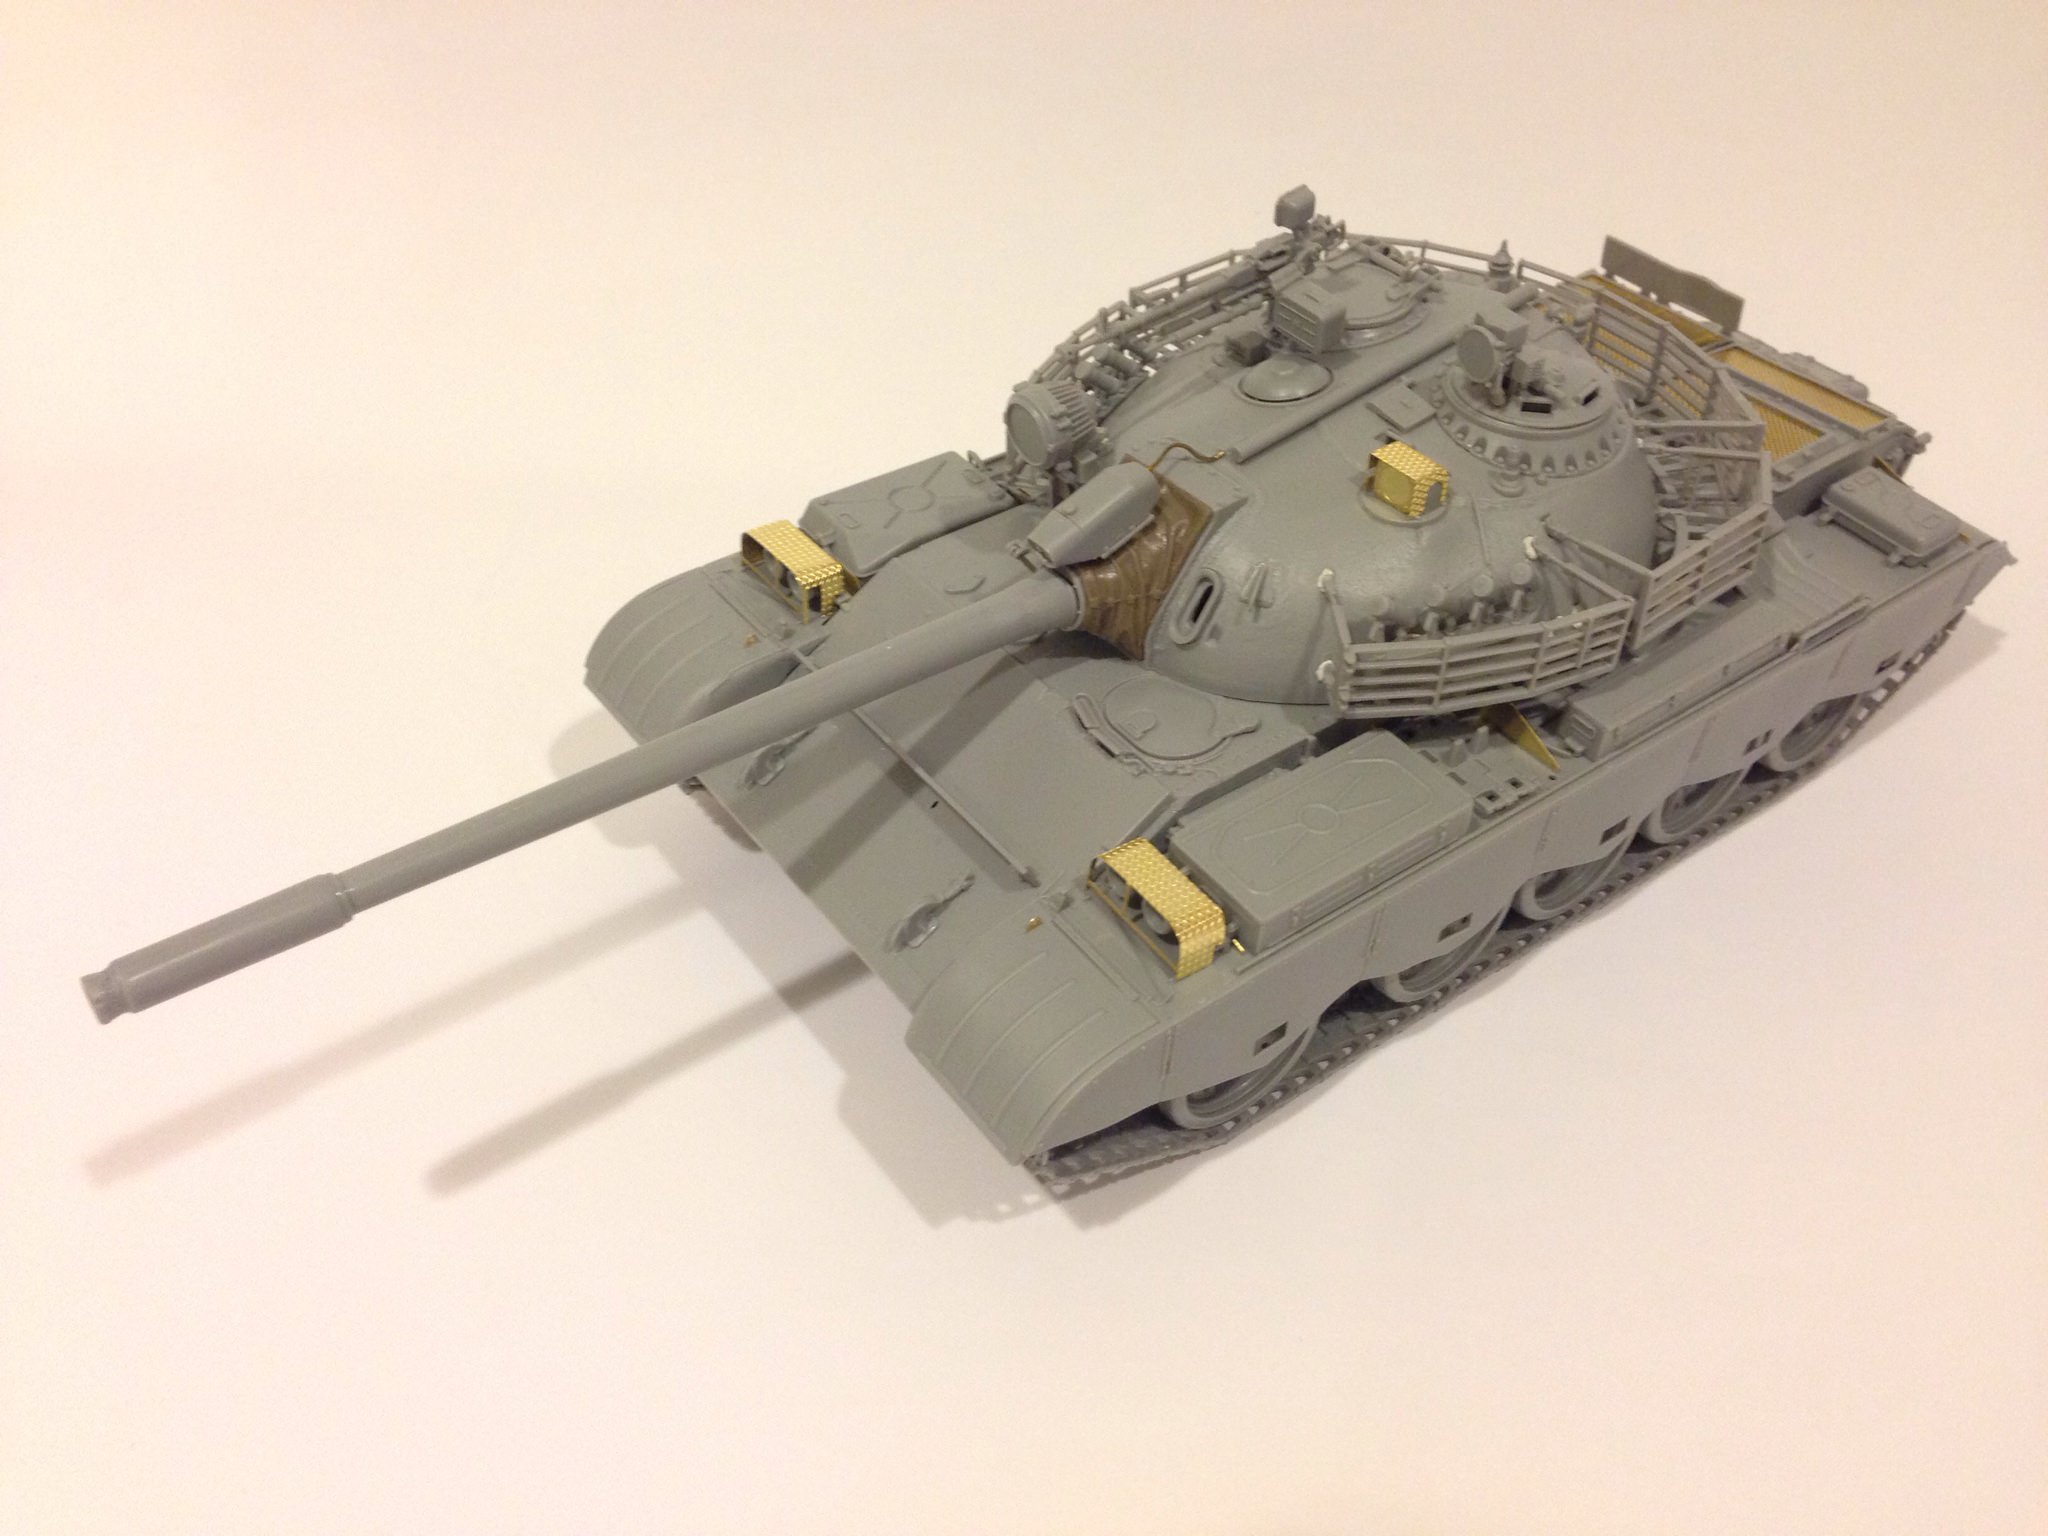
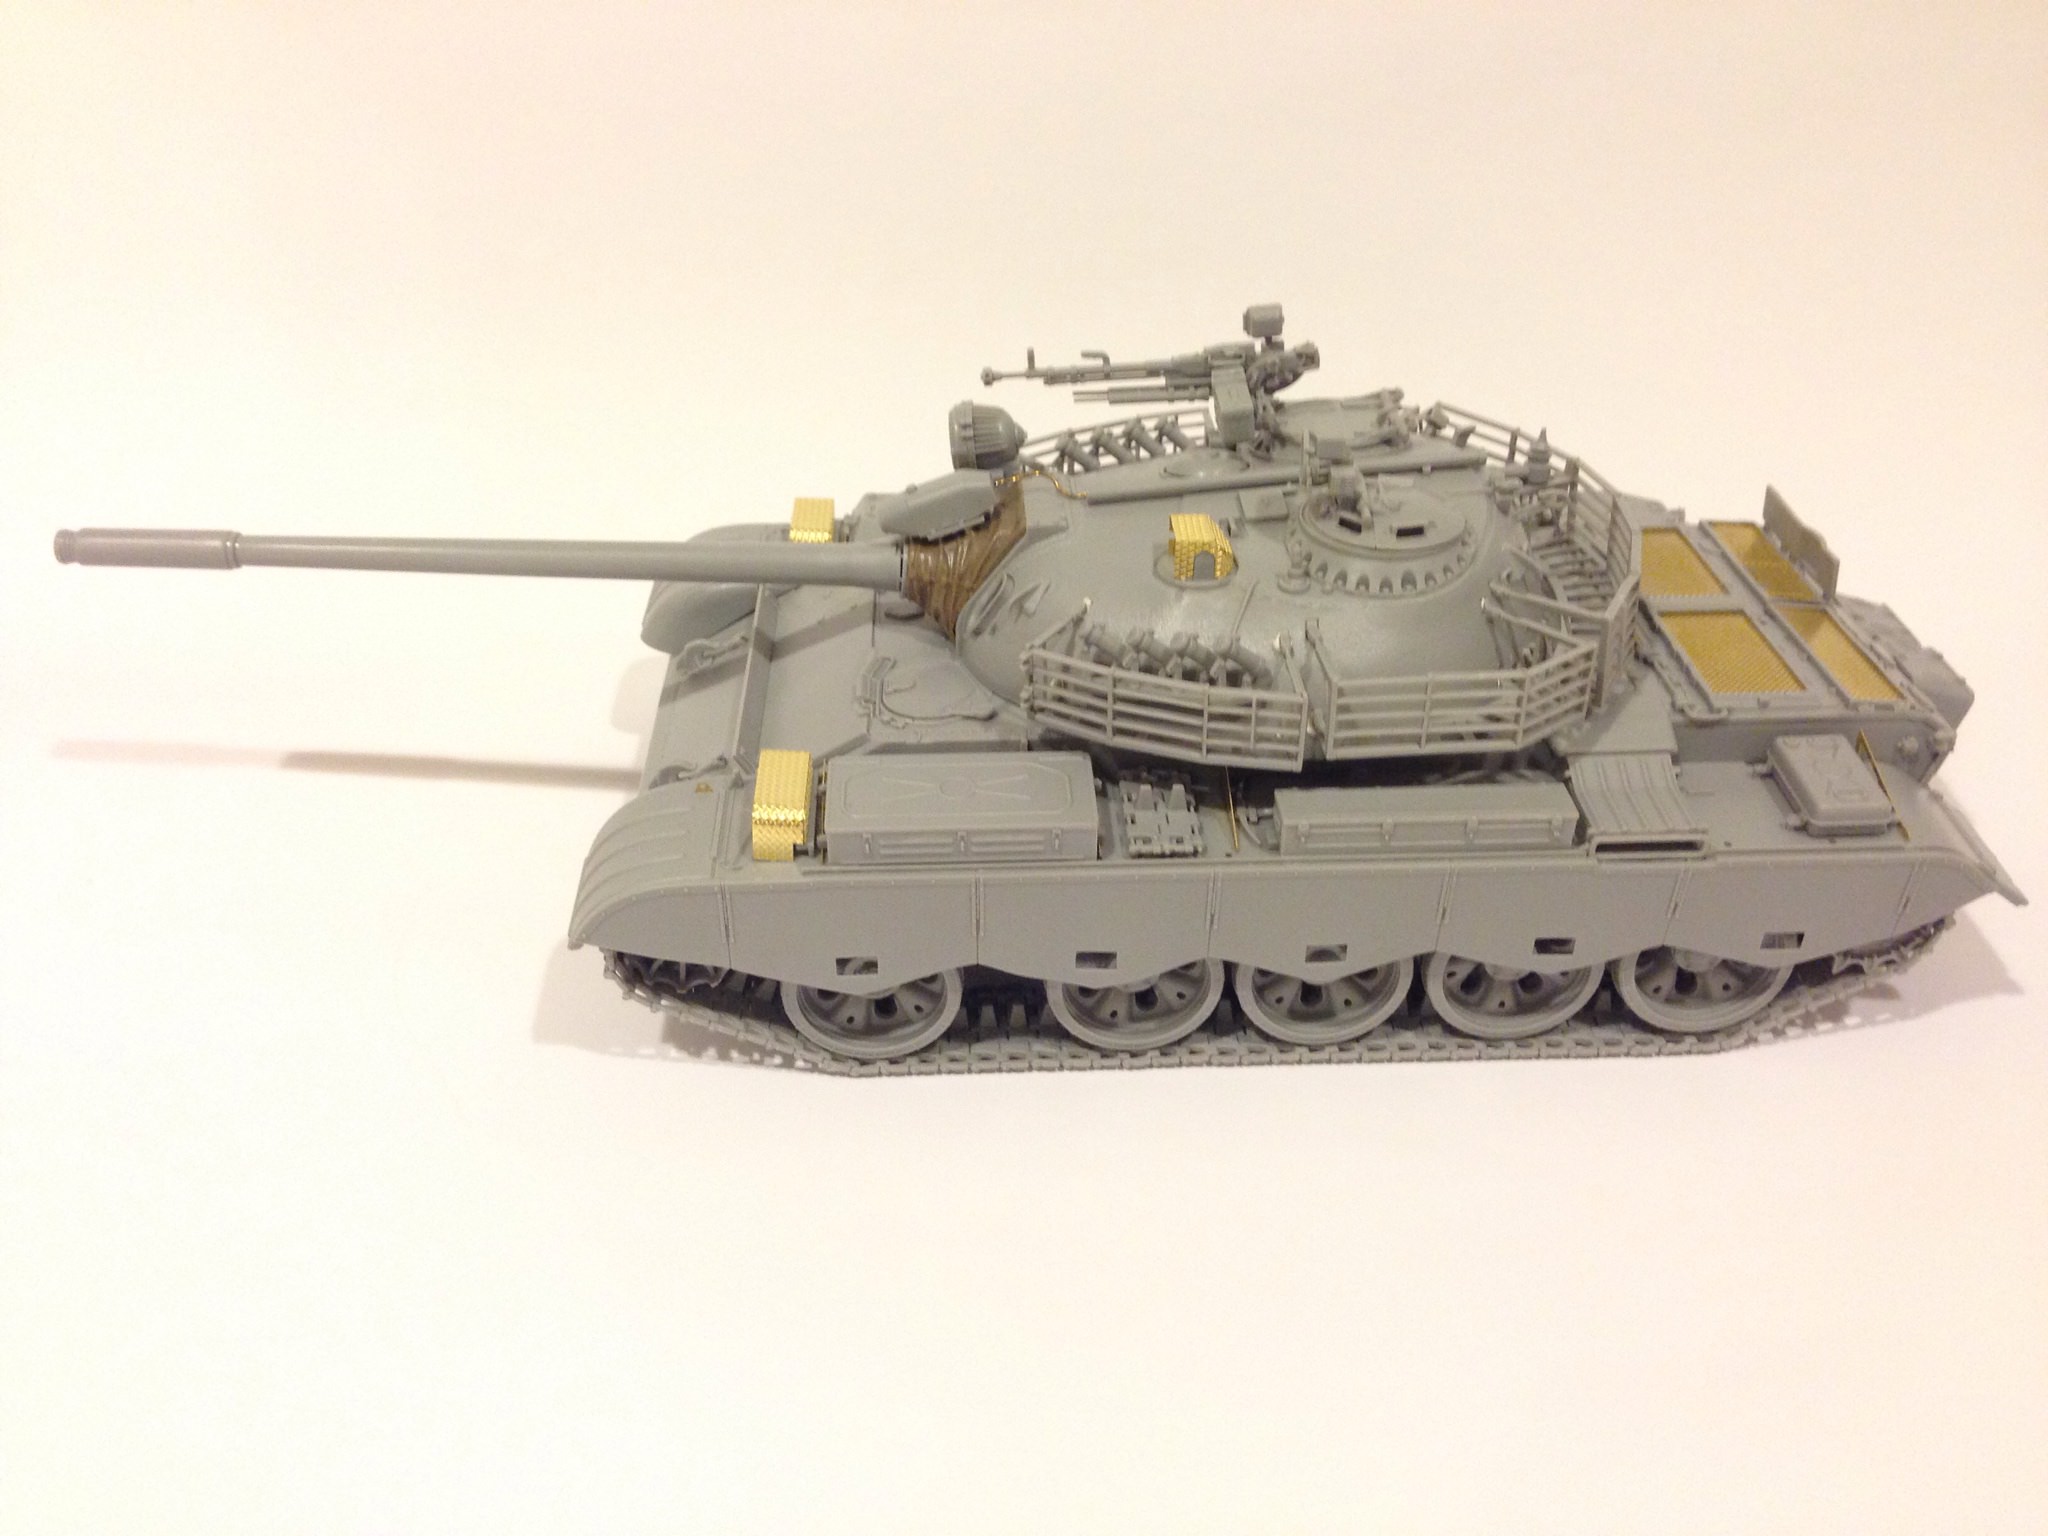
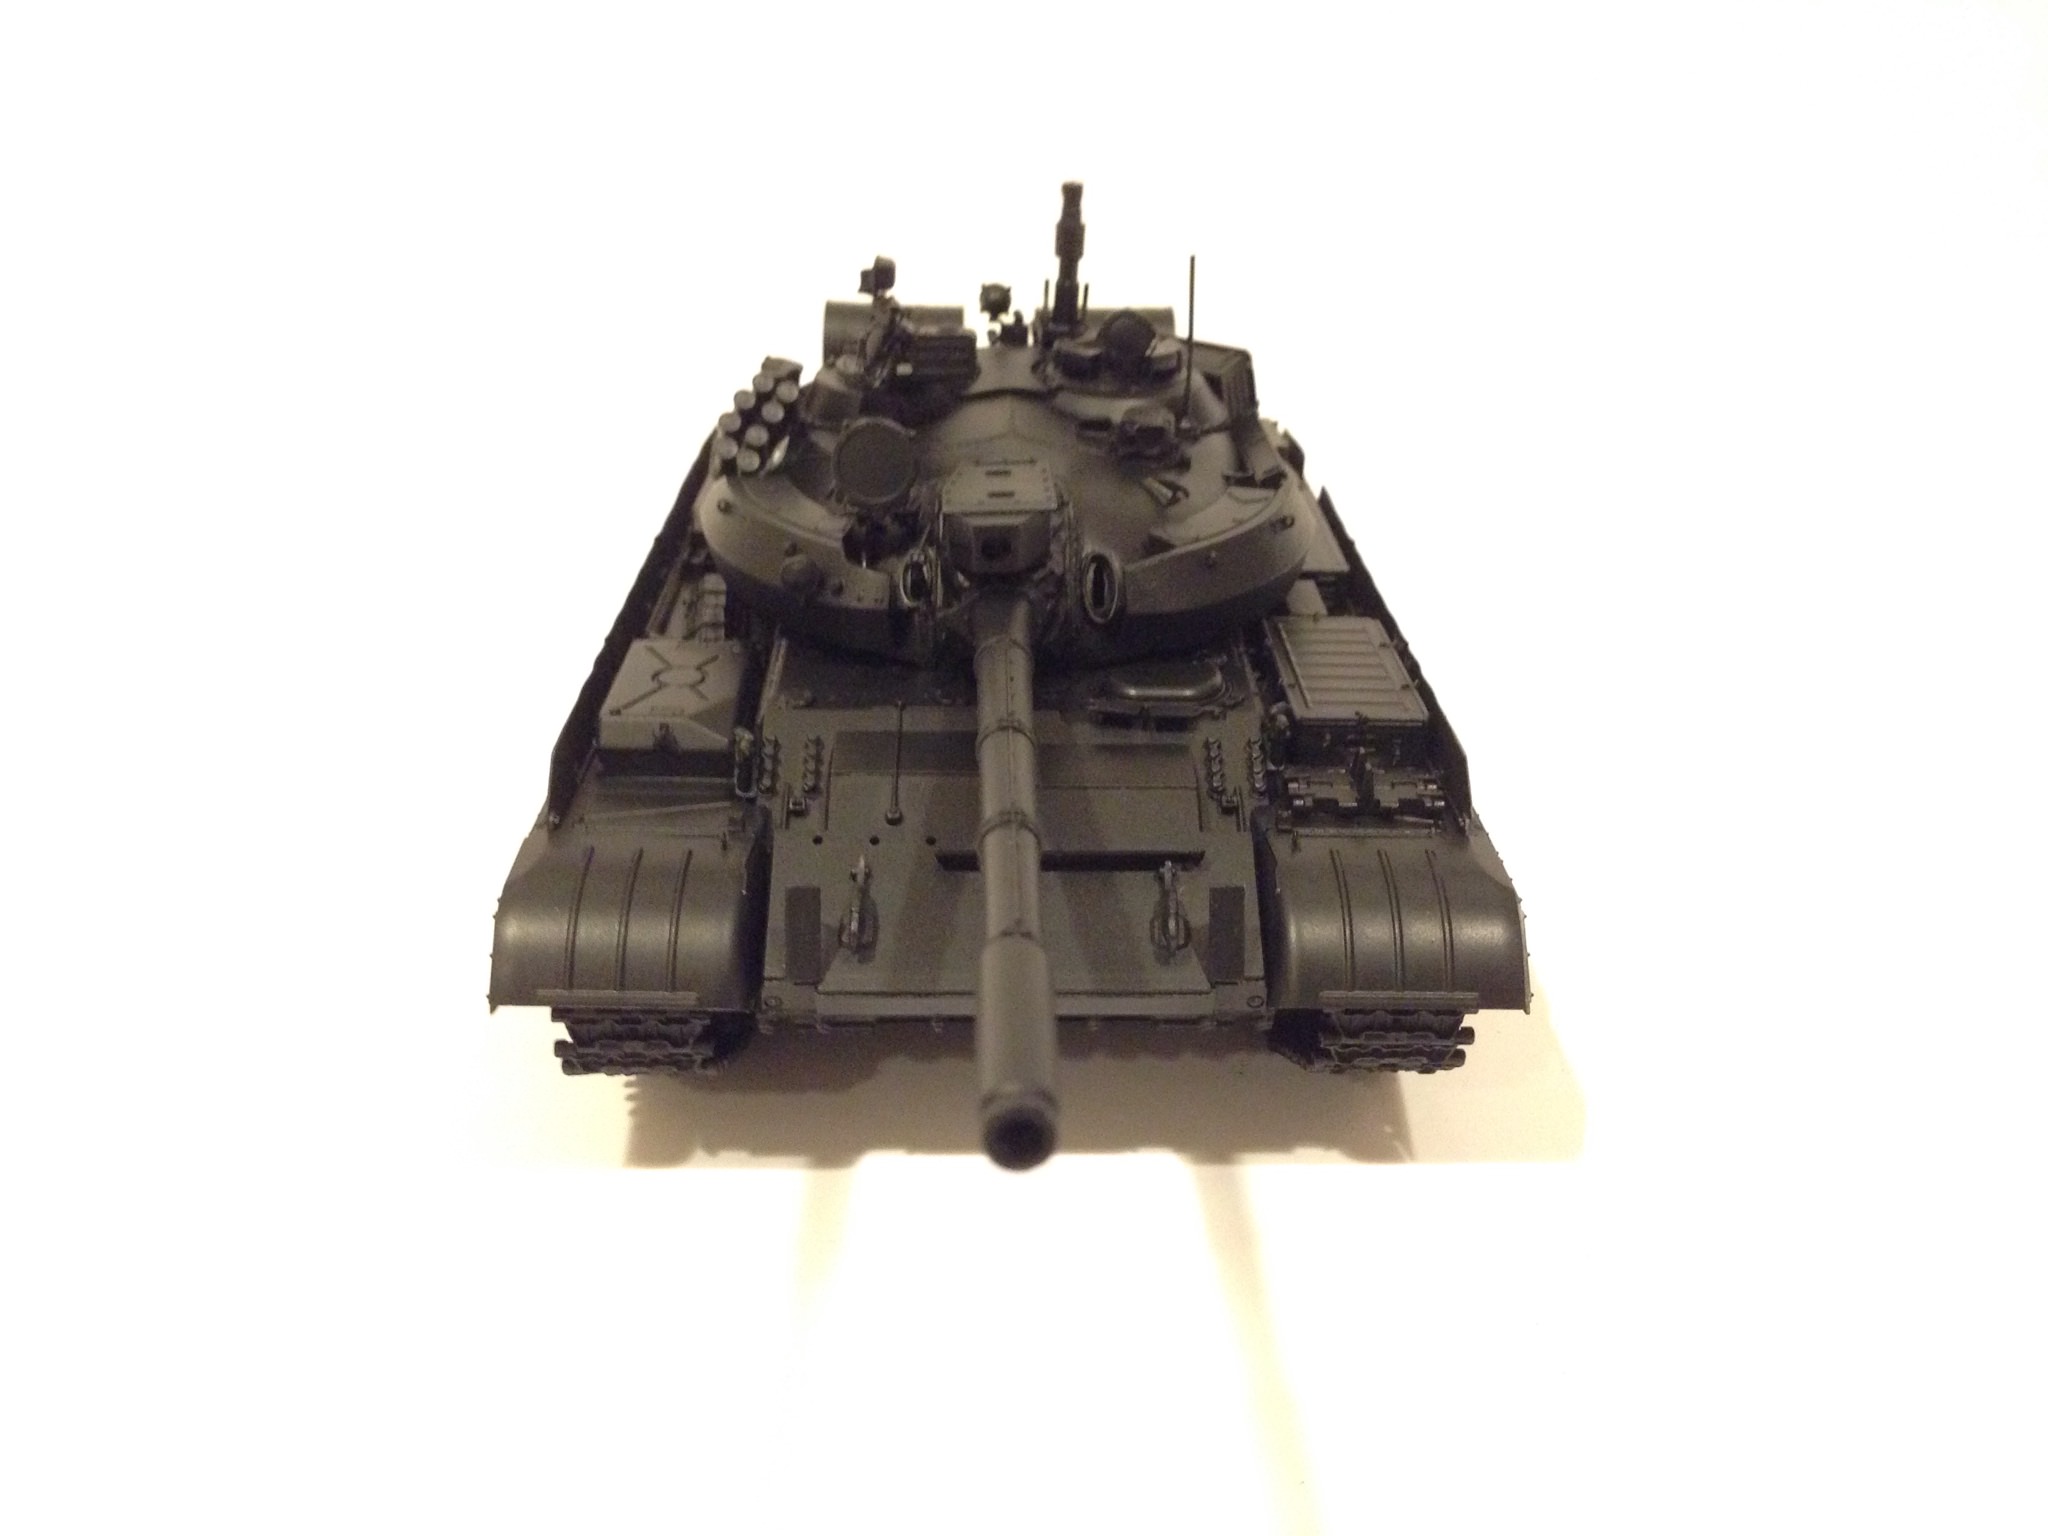
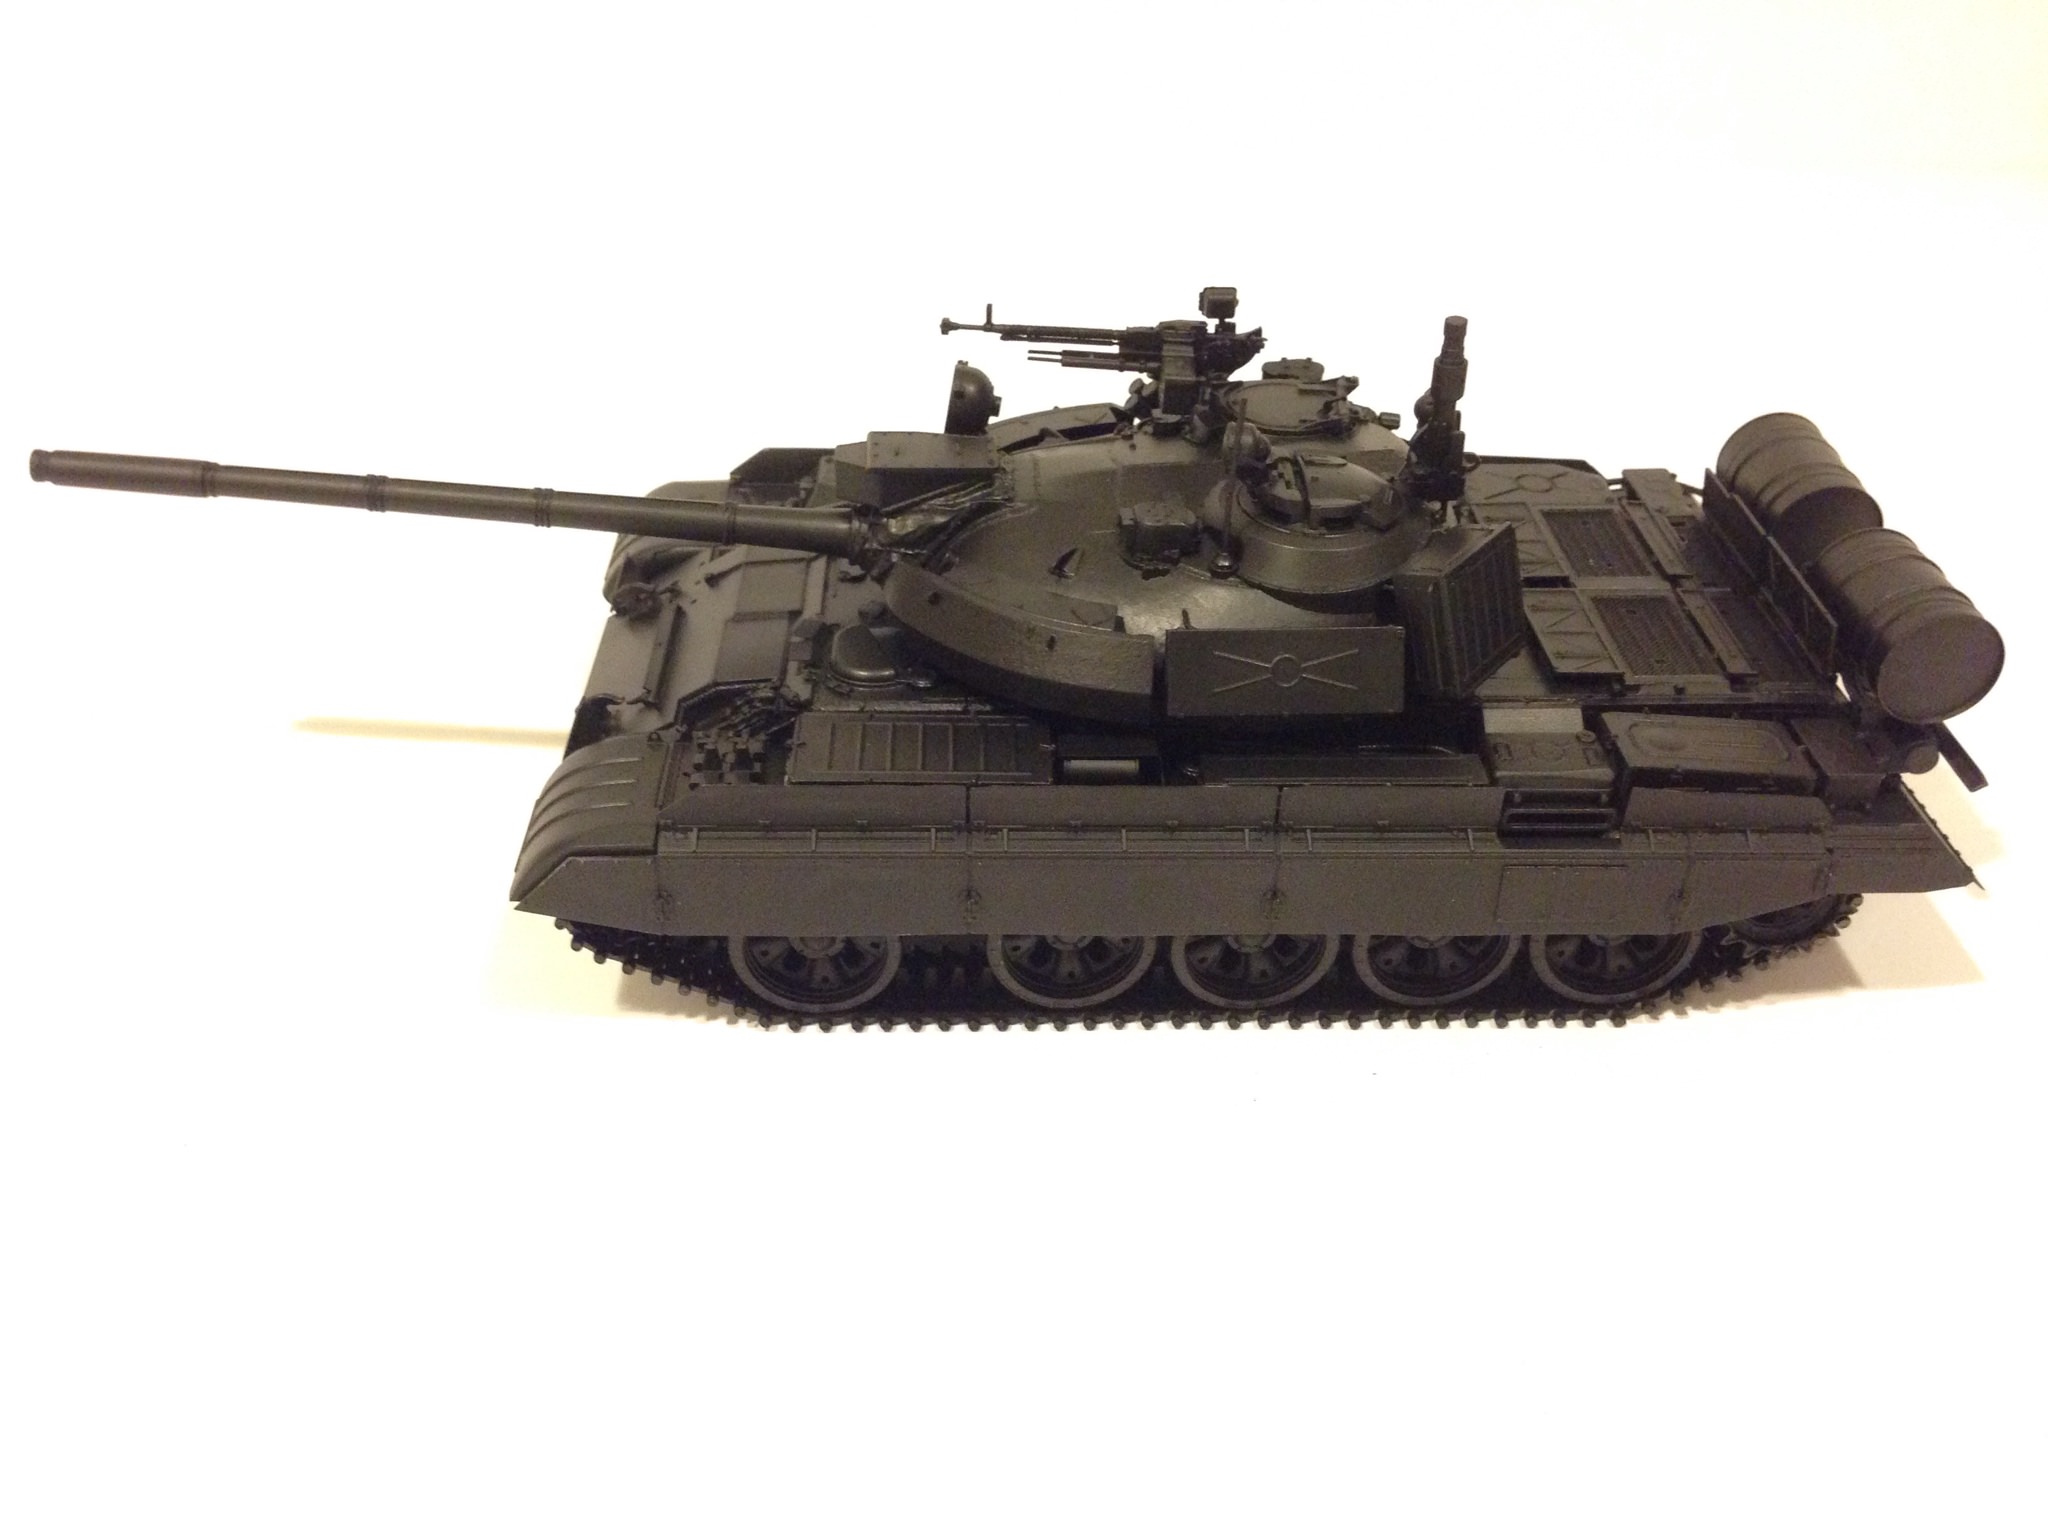
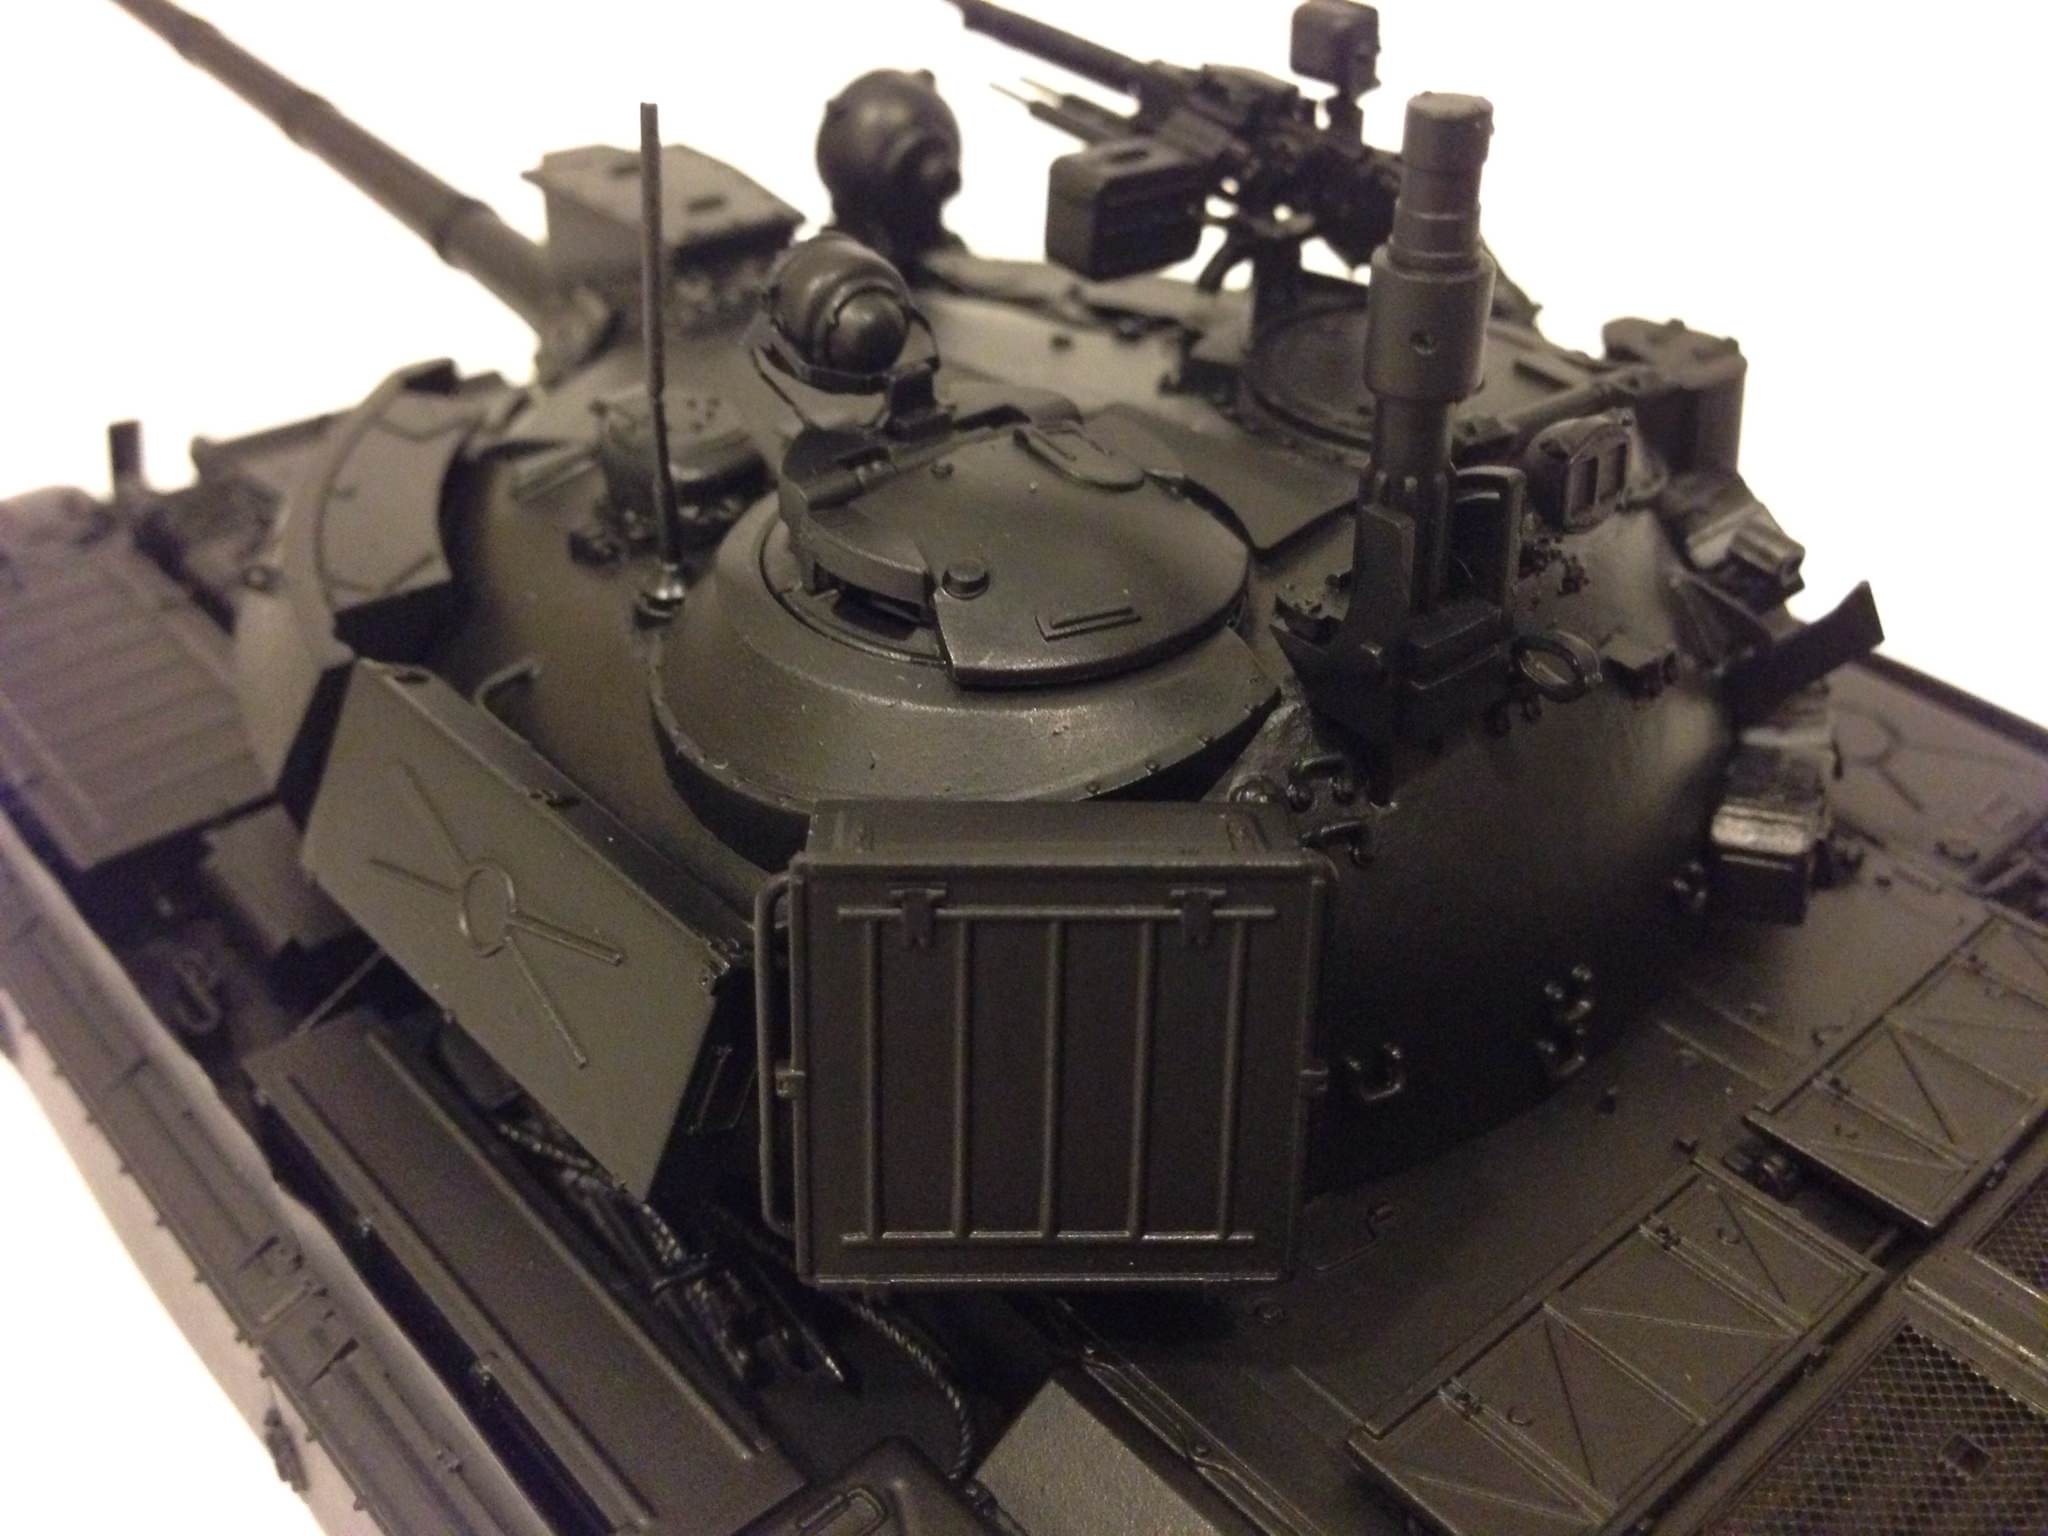
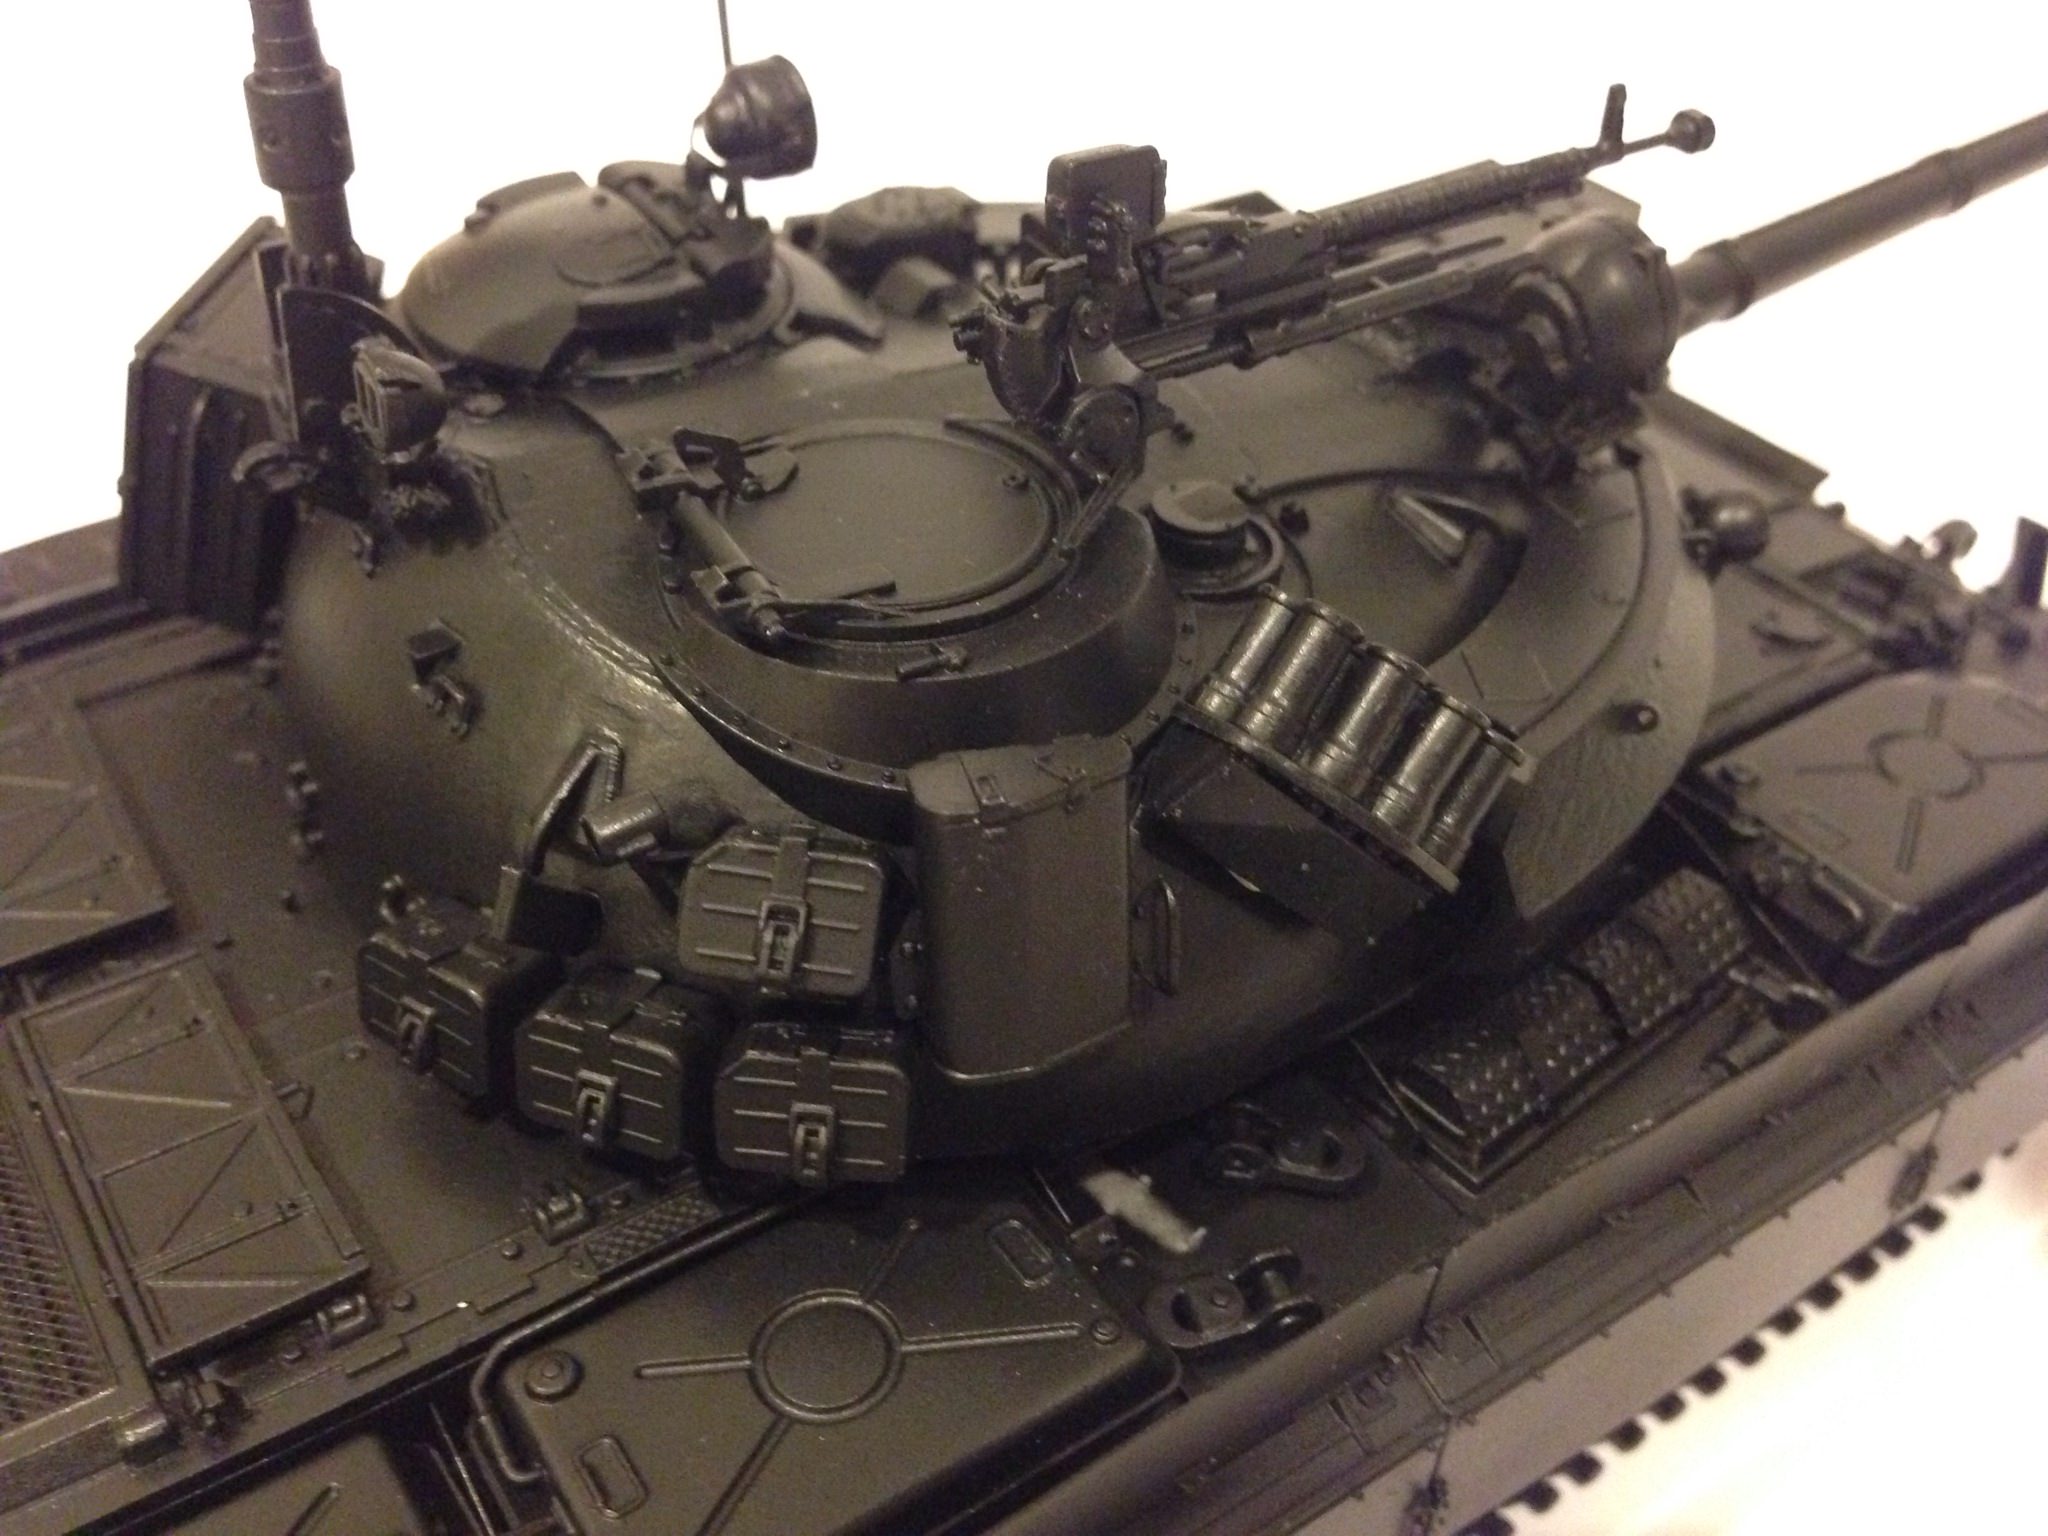
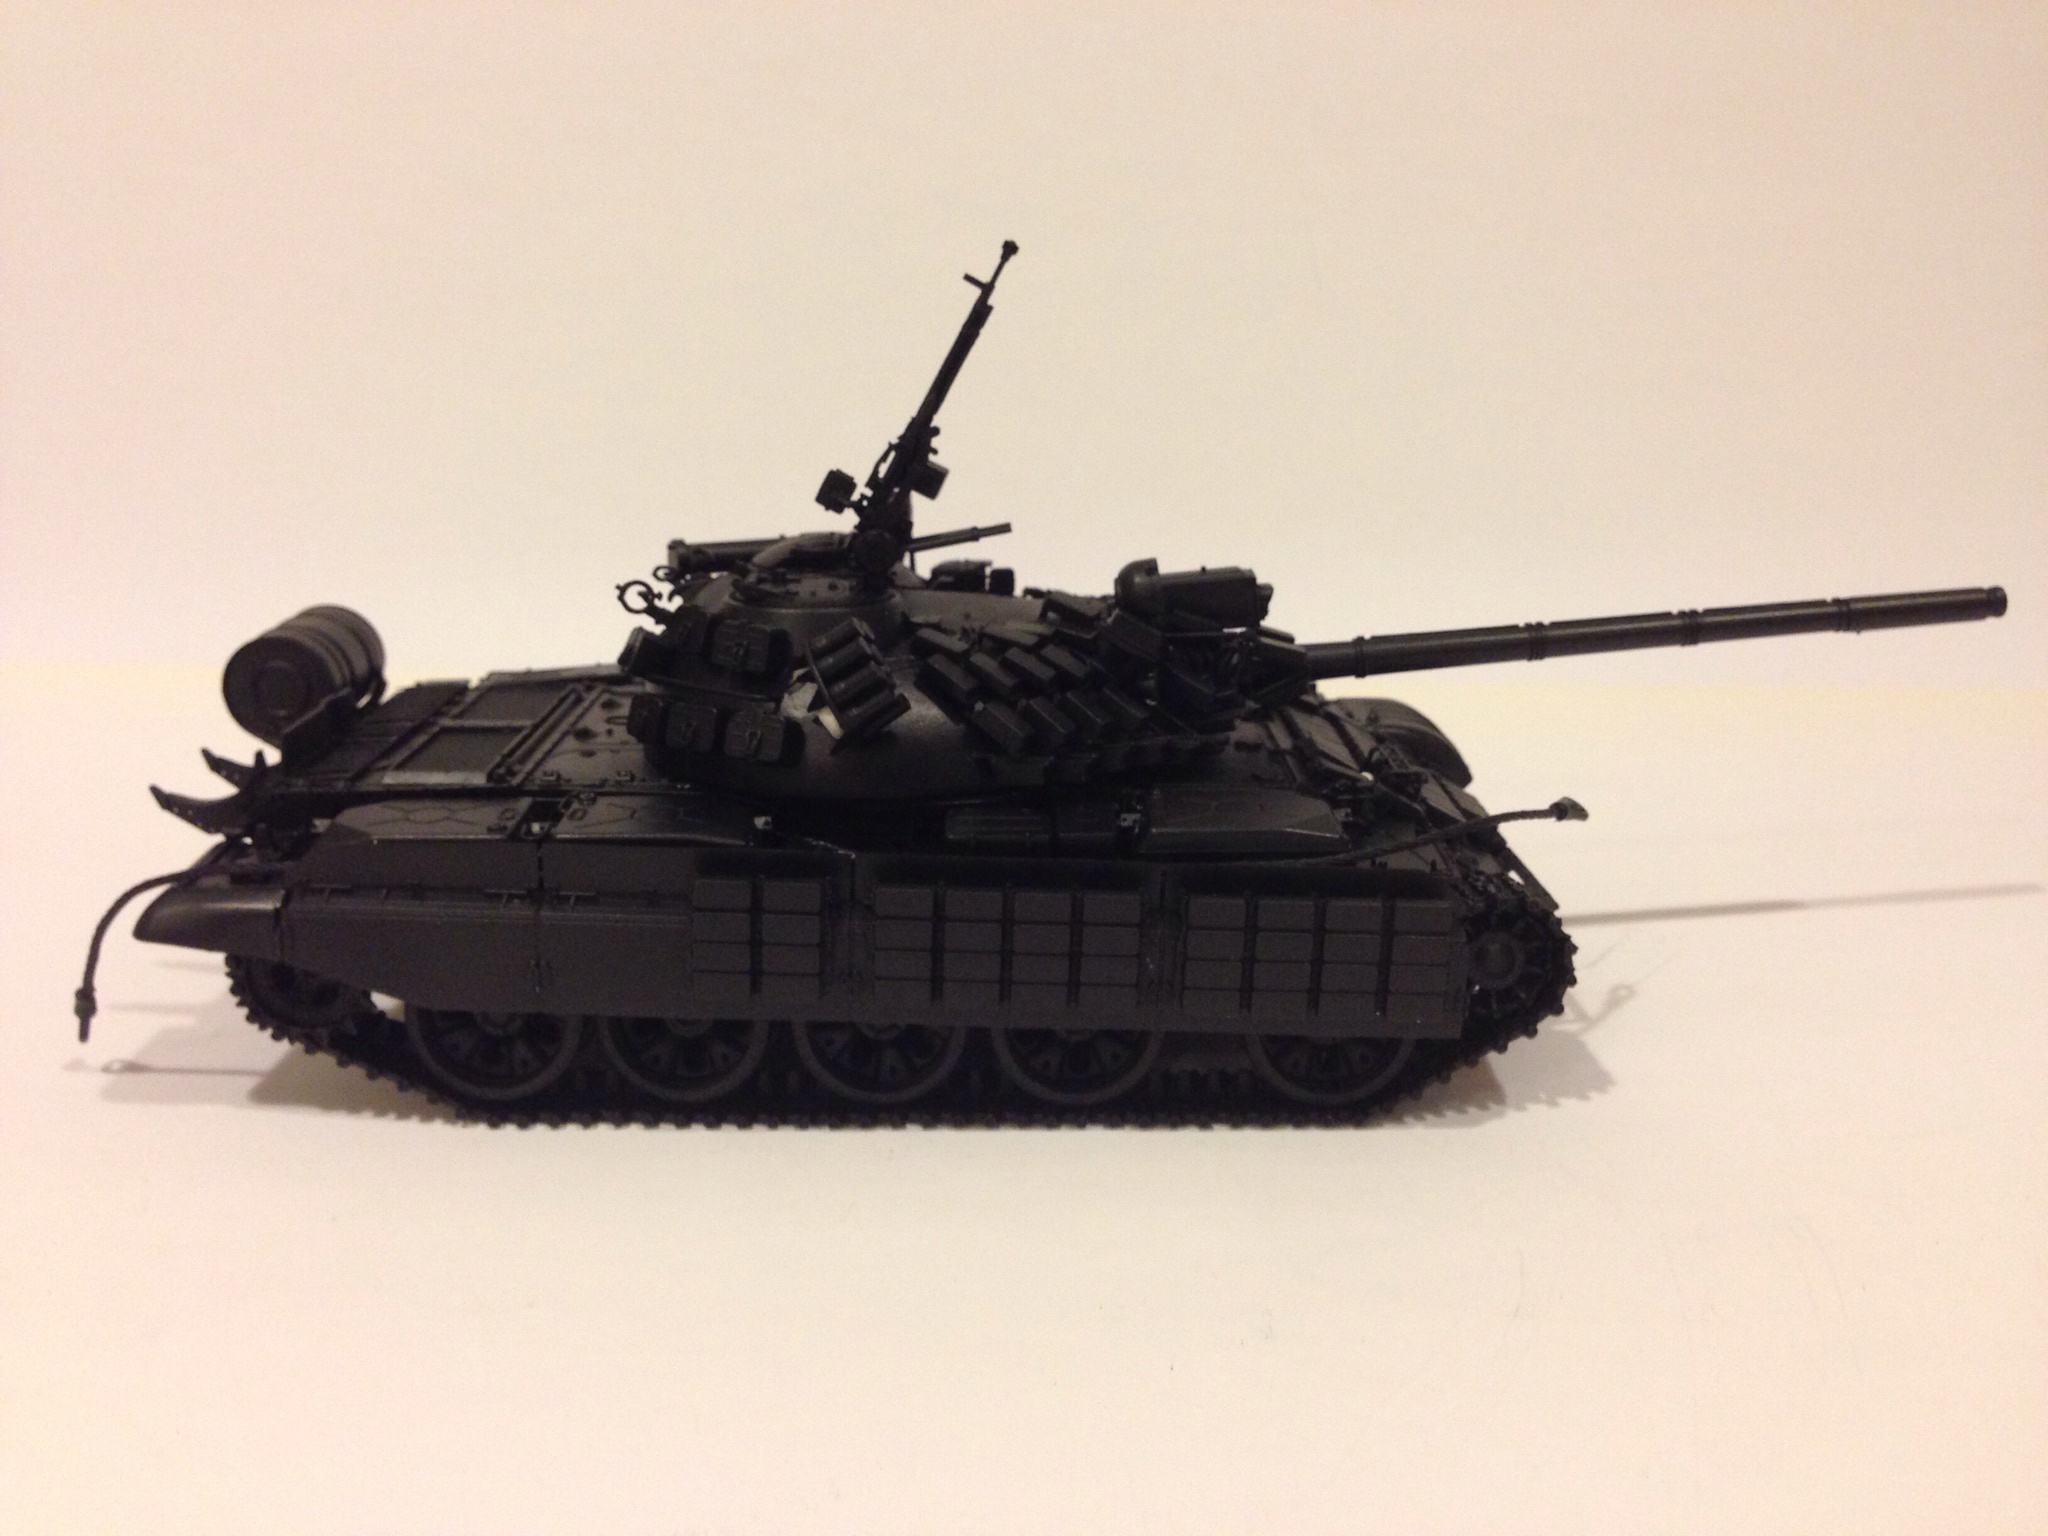
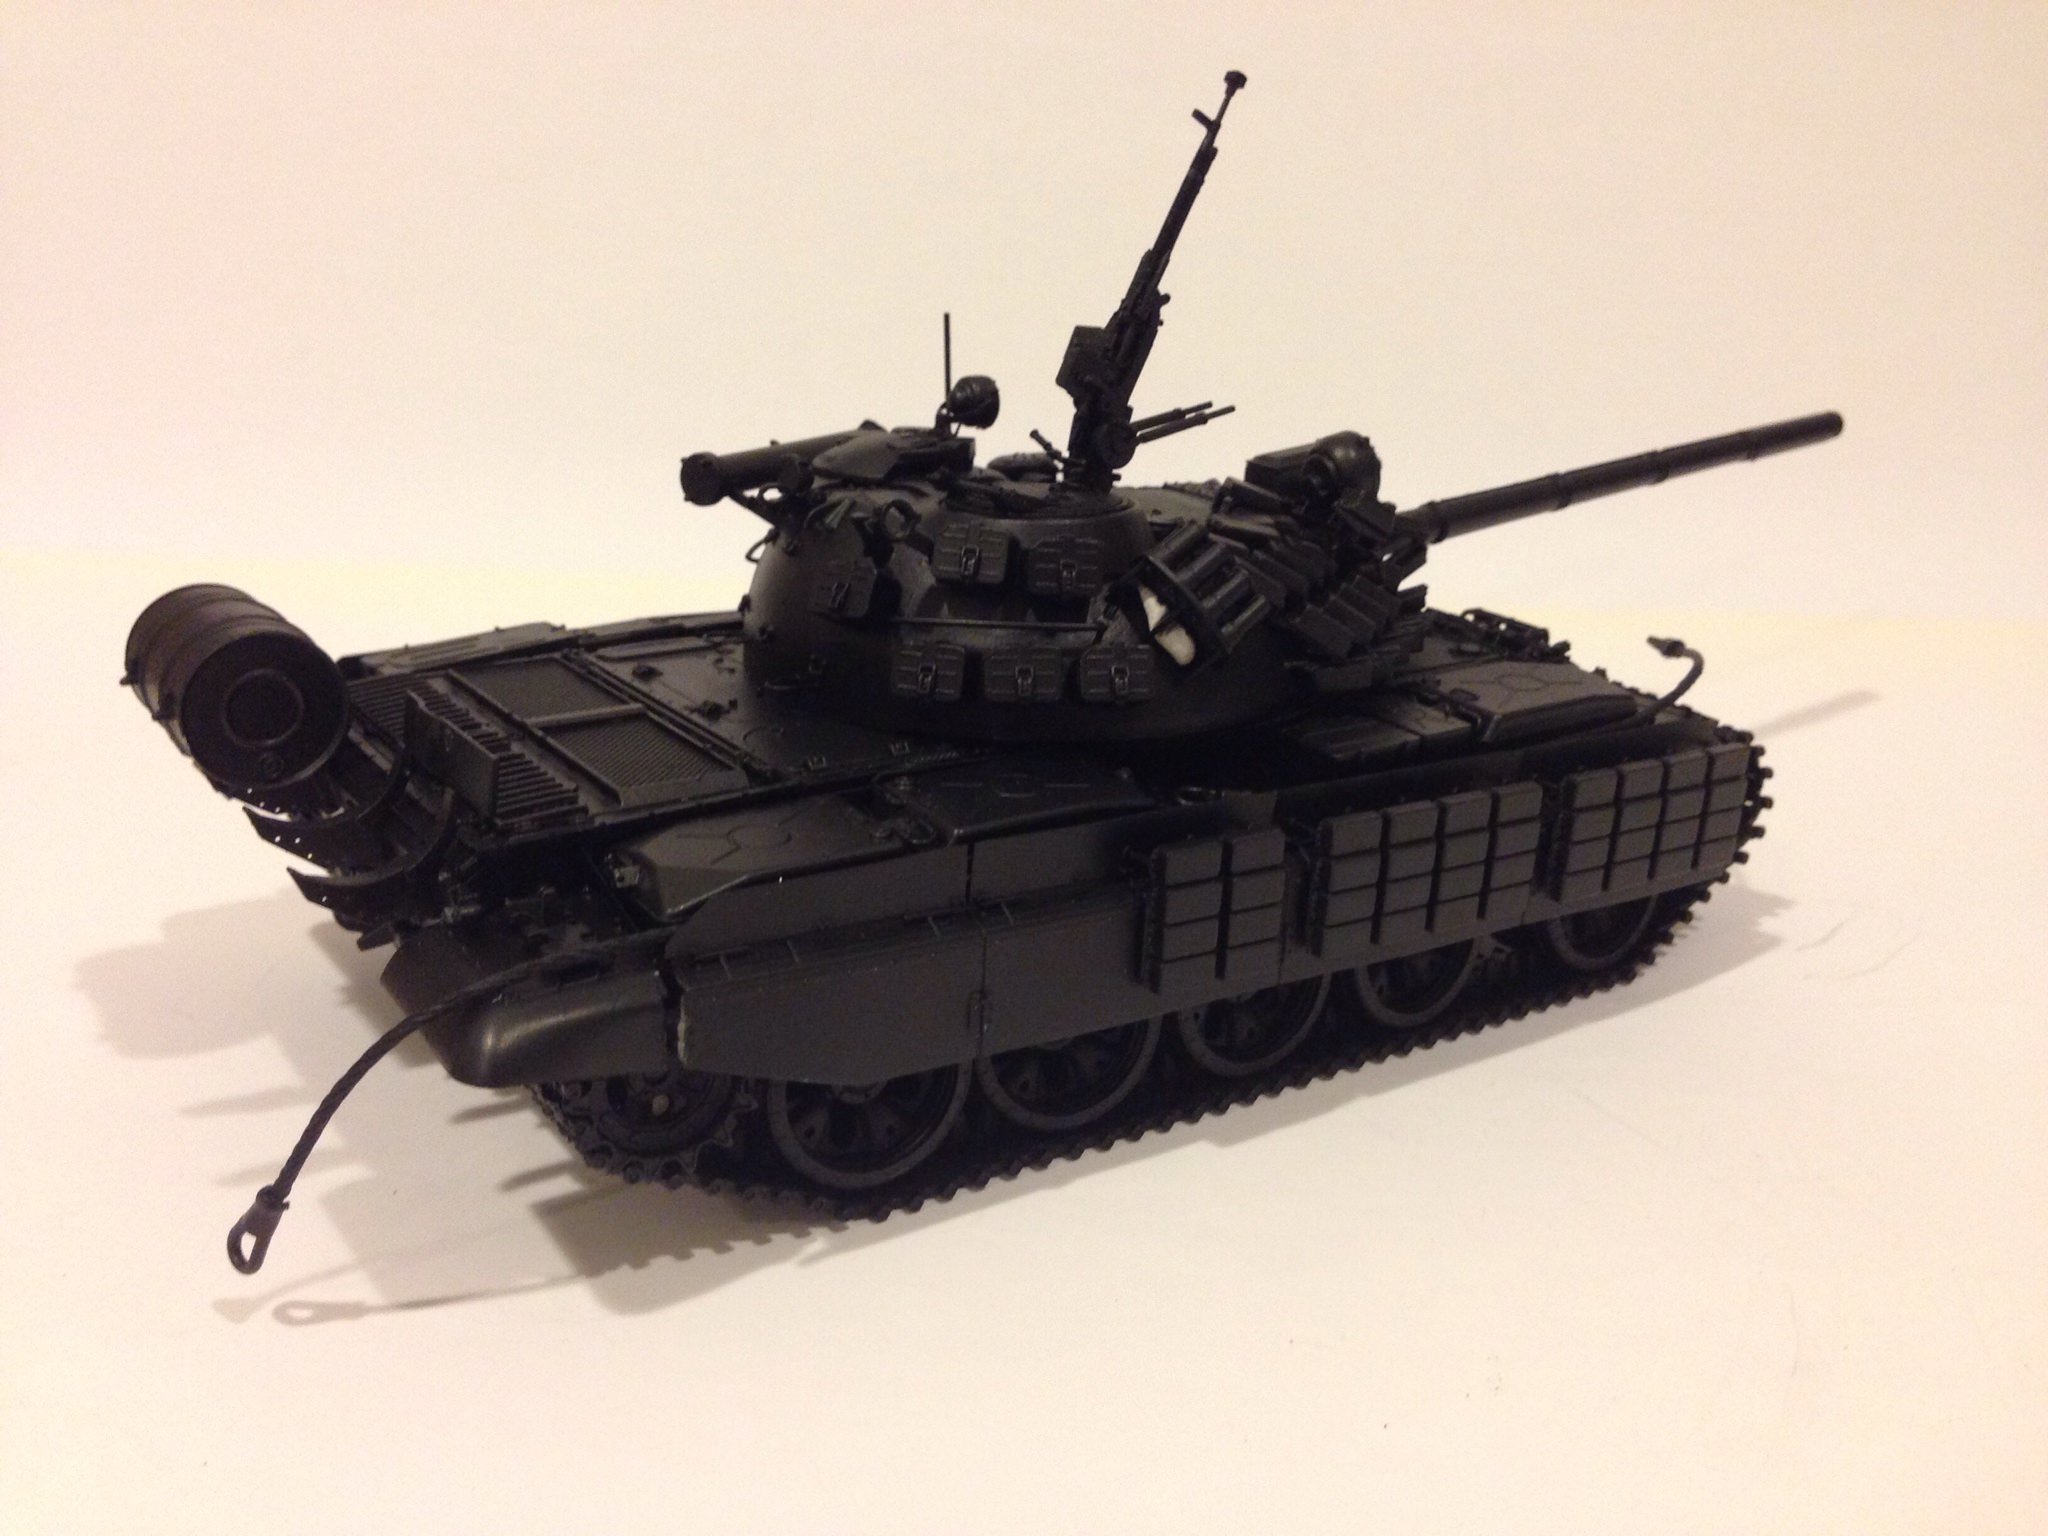
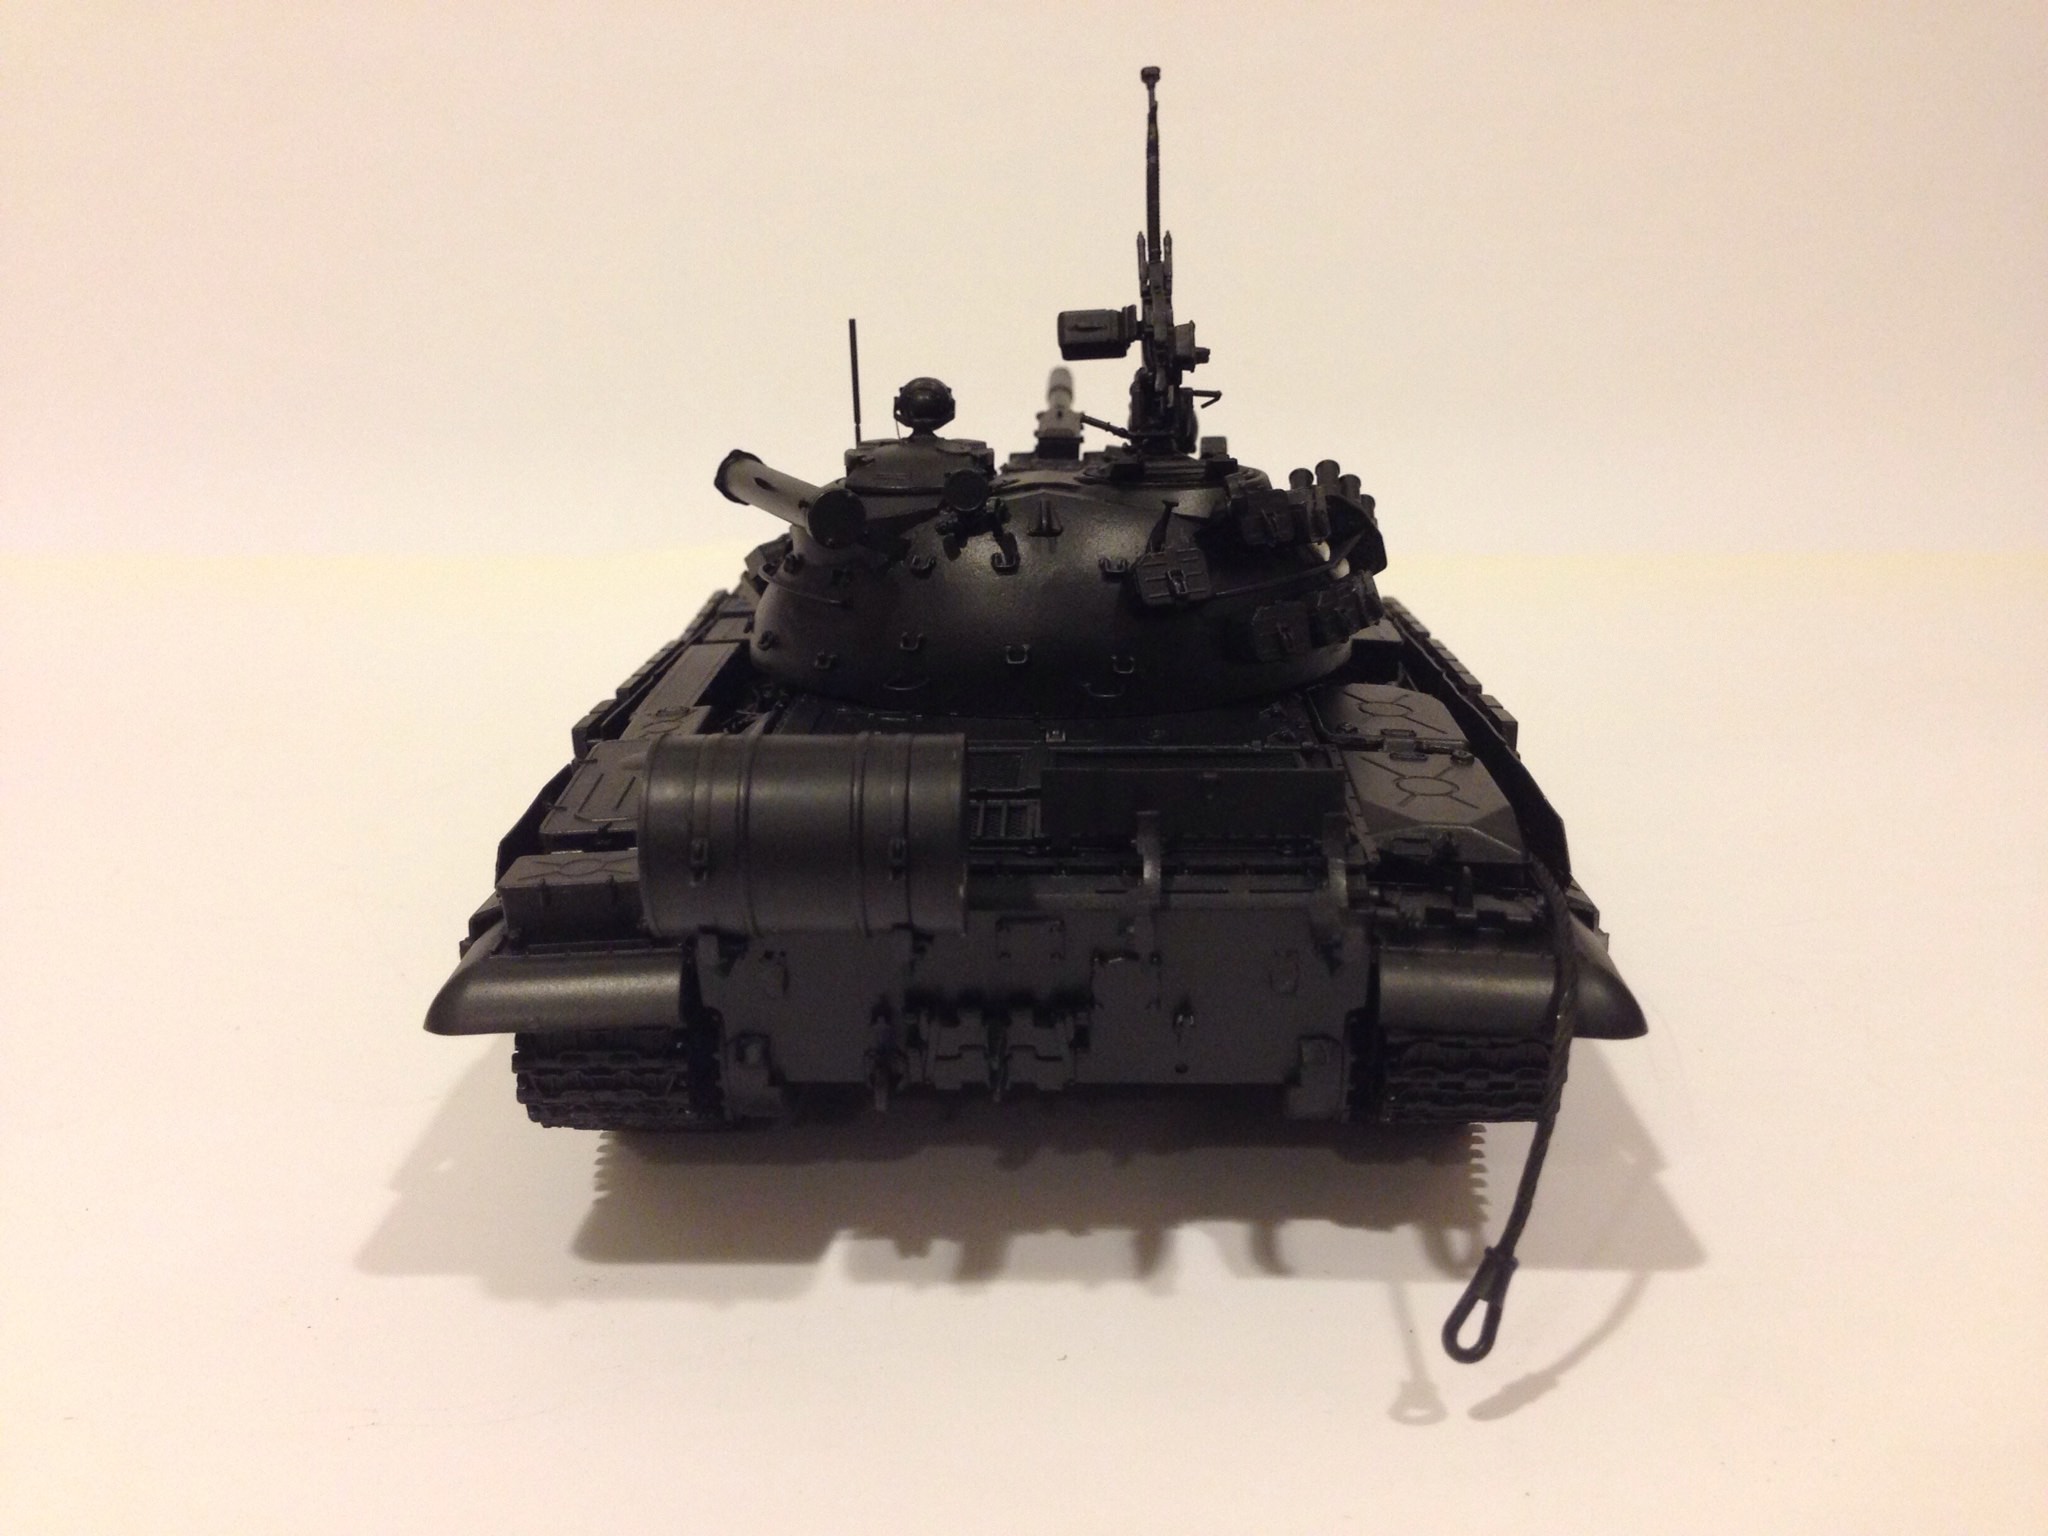
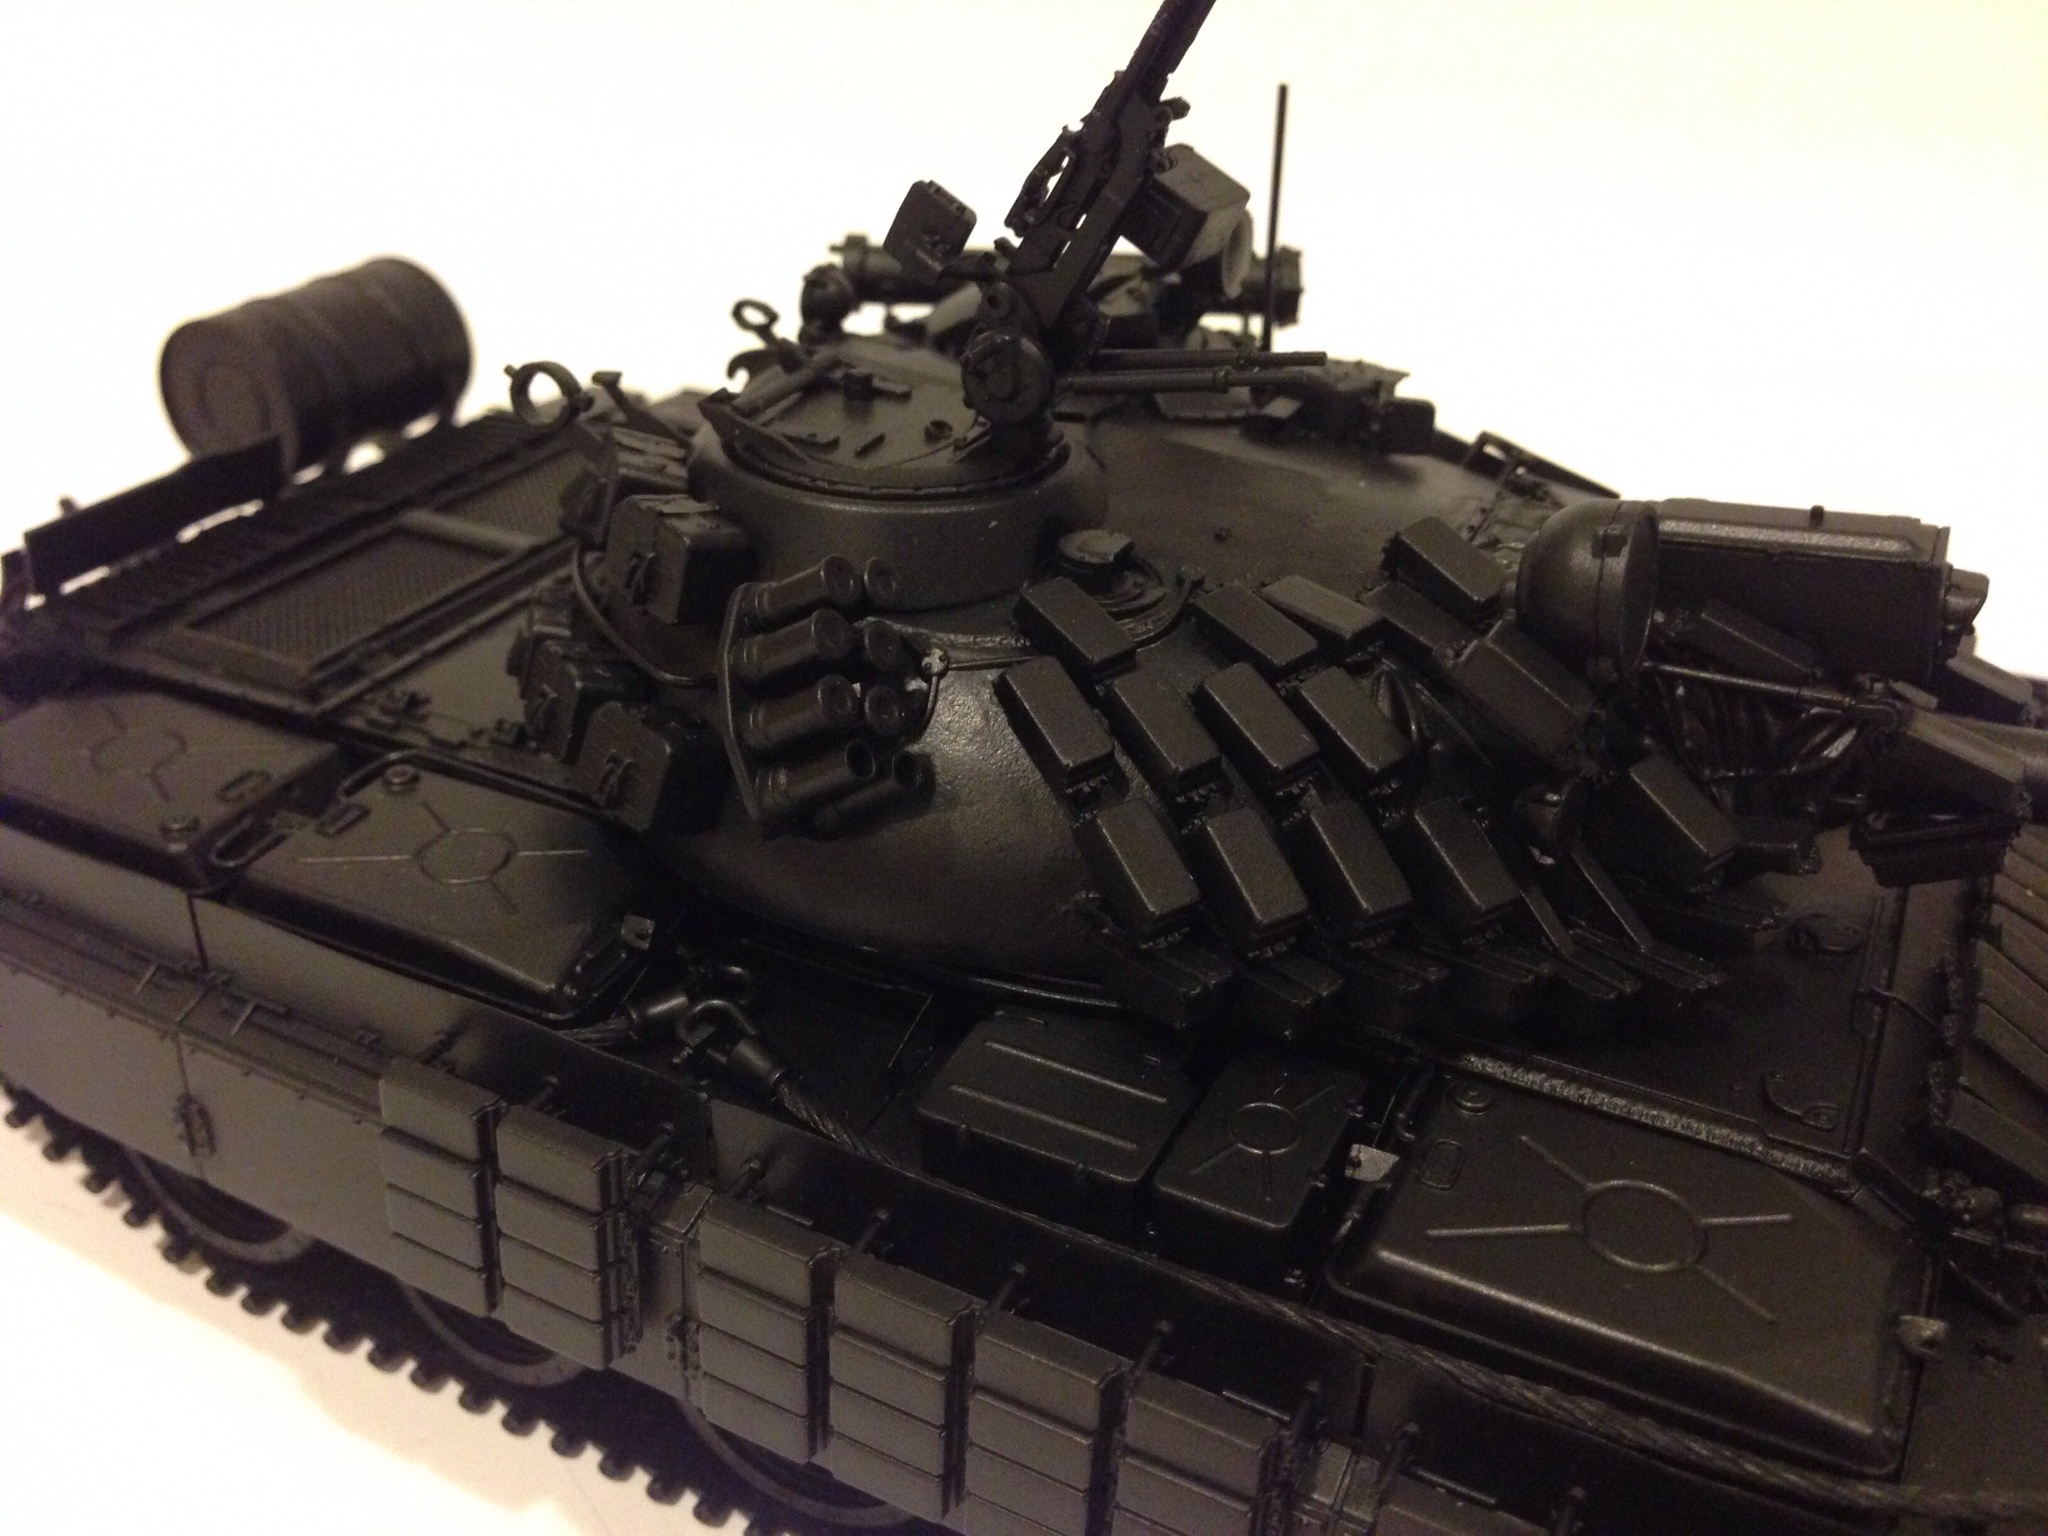
The build phase for the Type 69-II has completed. Since I started working on this at about 3/21 and completed yesterday, 4/25. It took me about 35 days of on and off building. Here are the pictures.

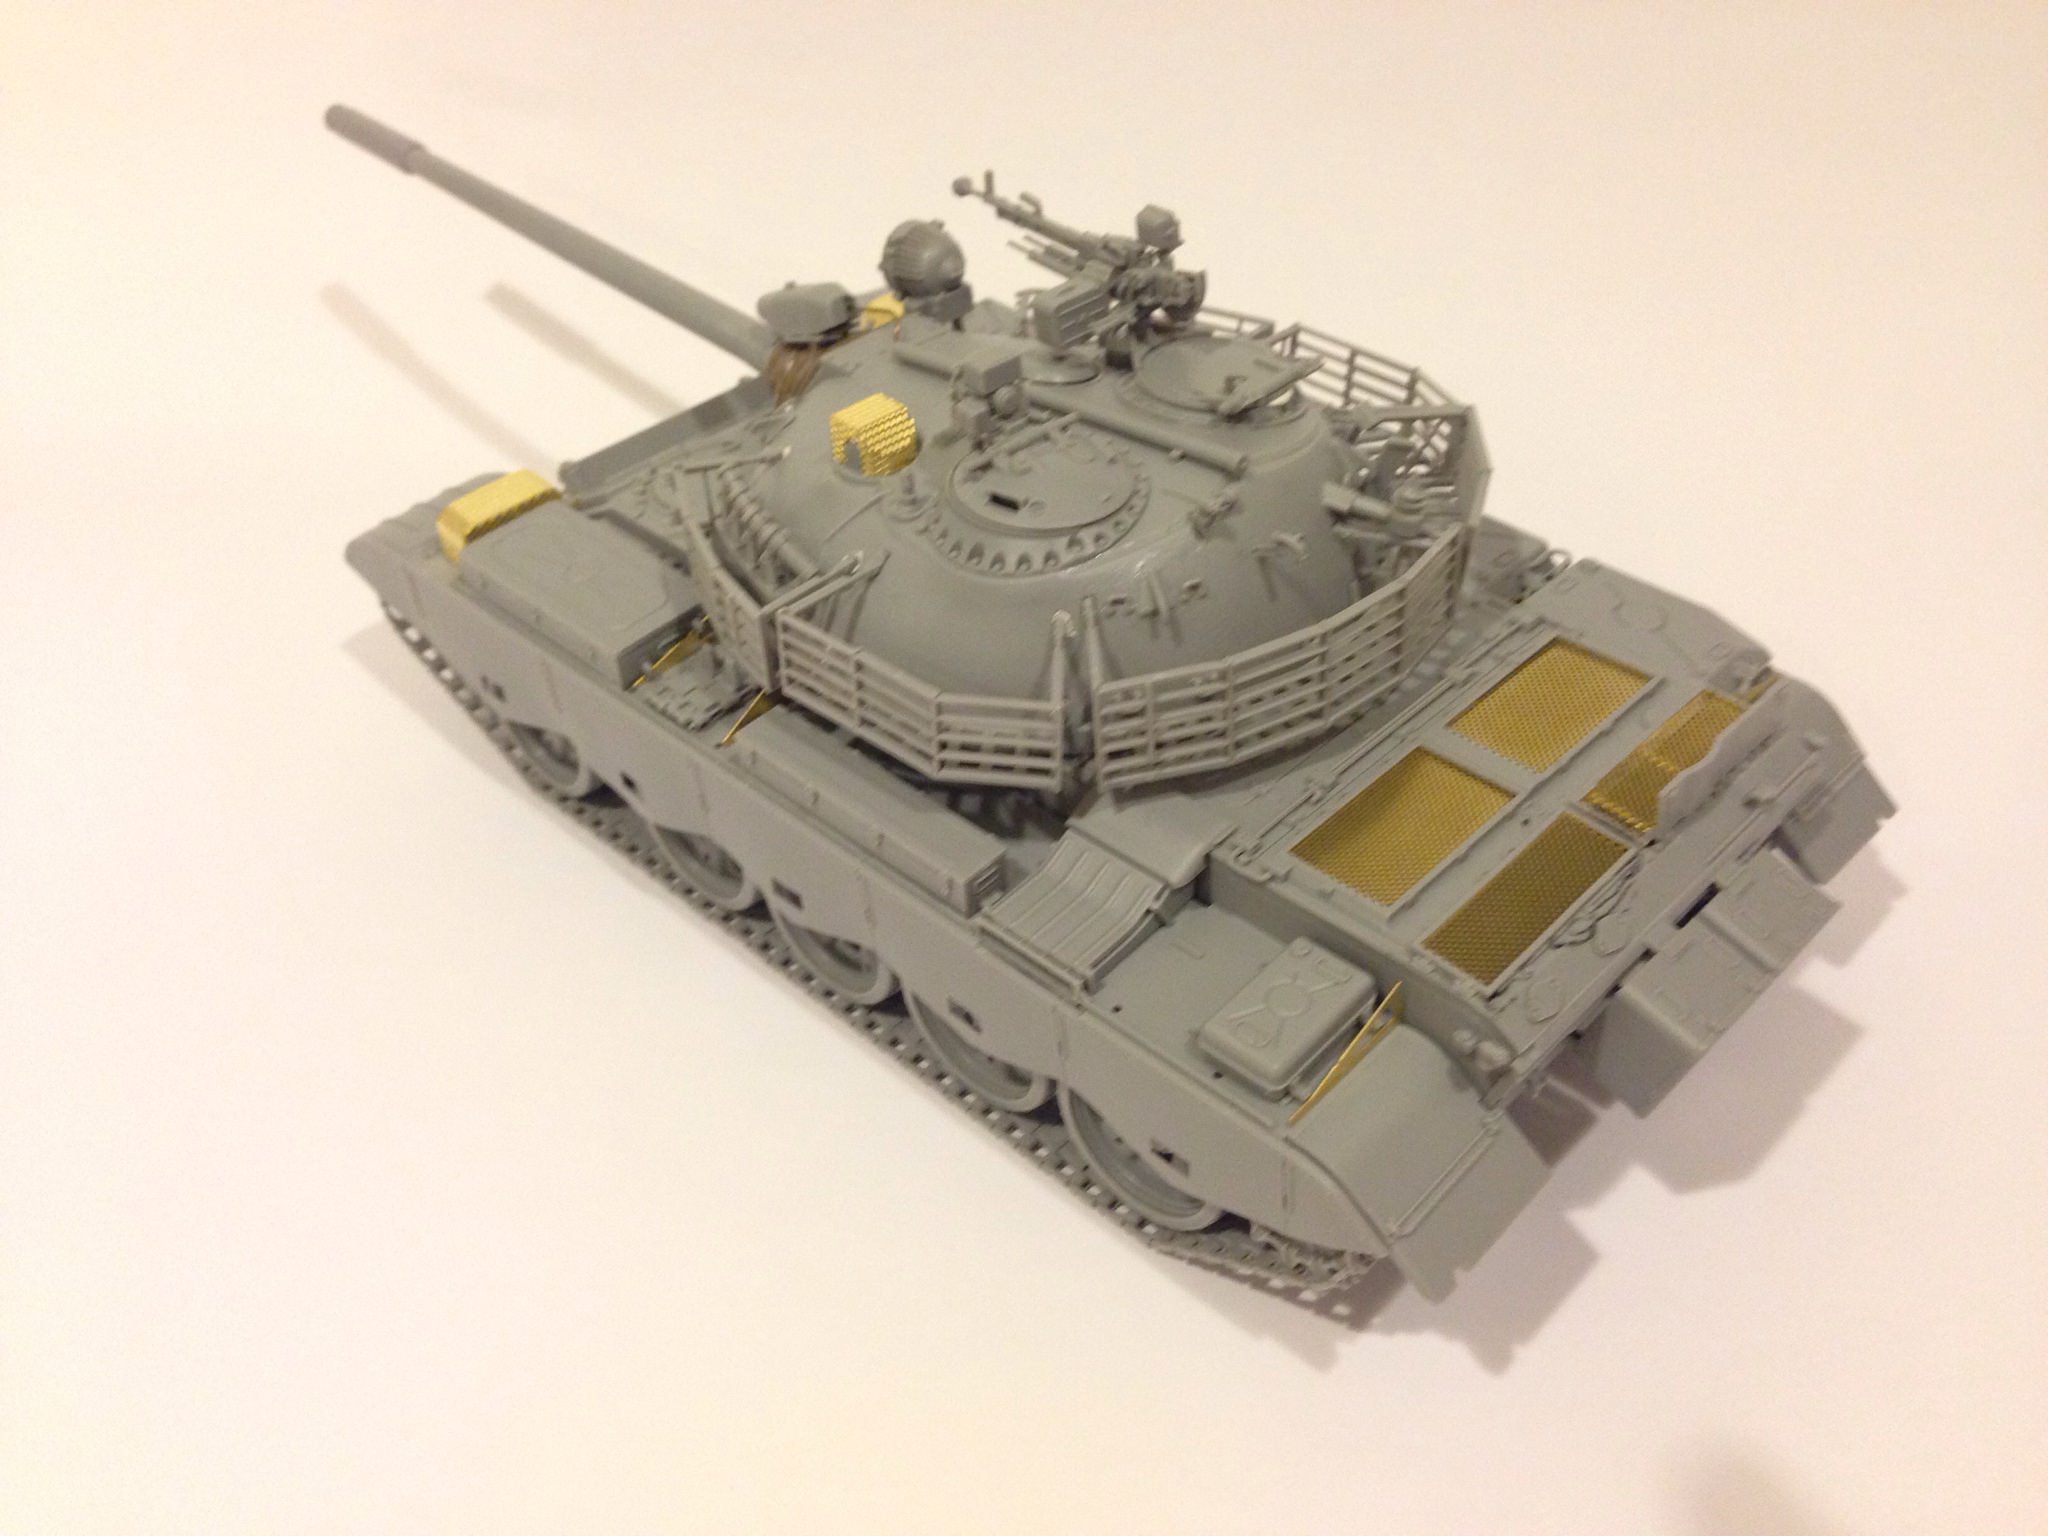
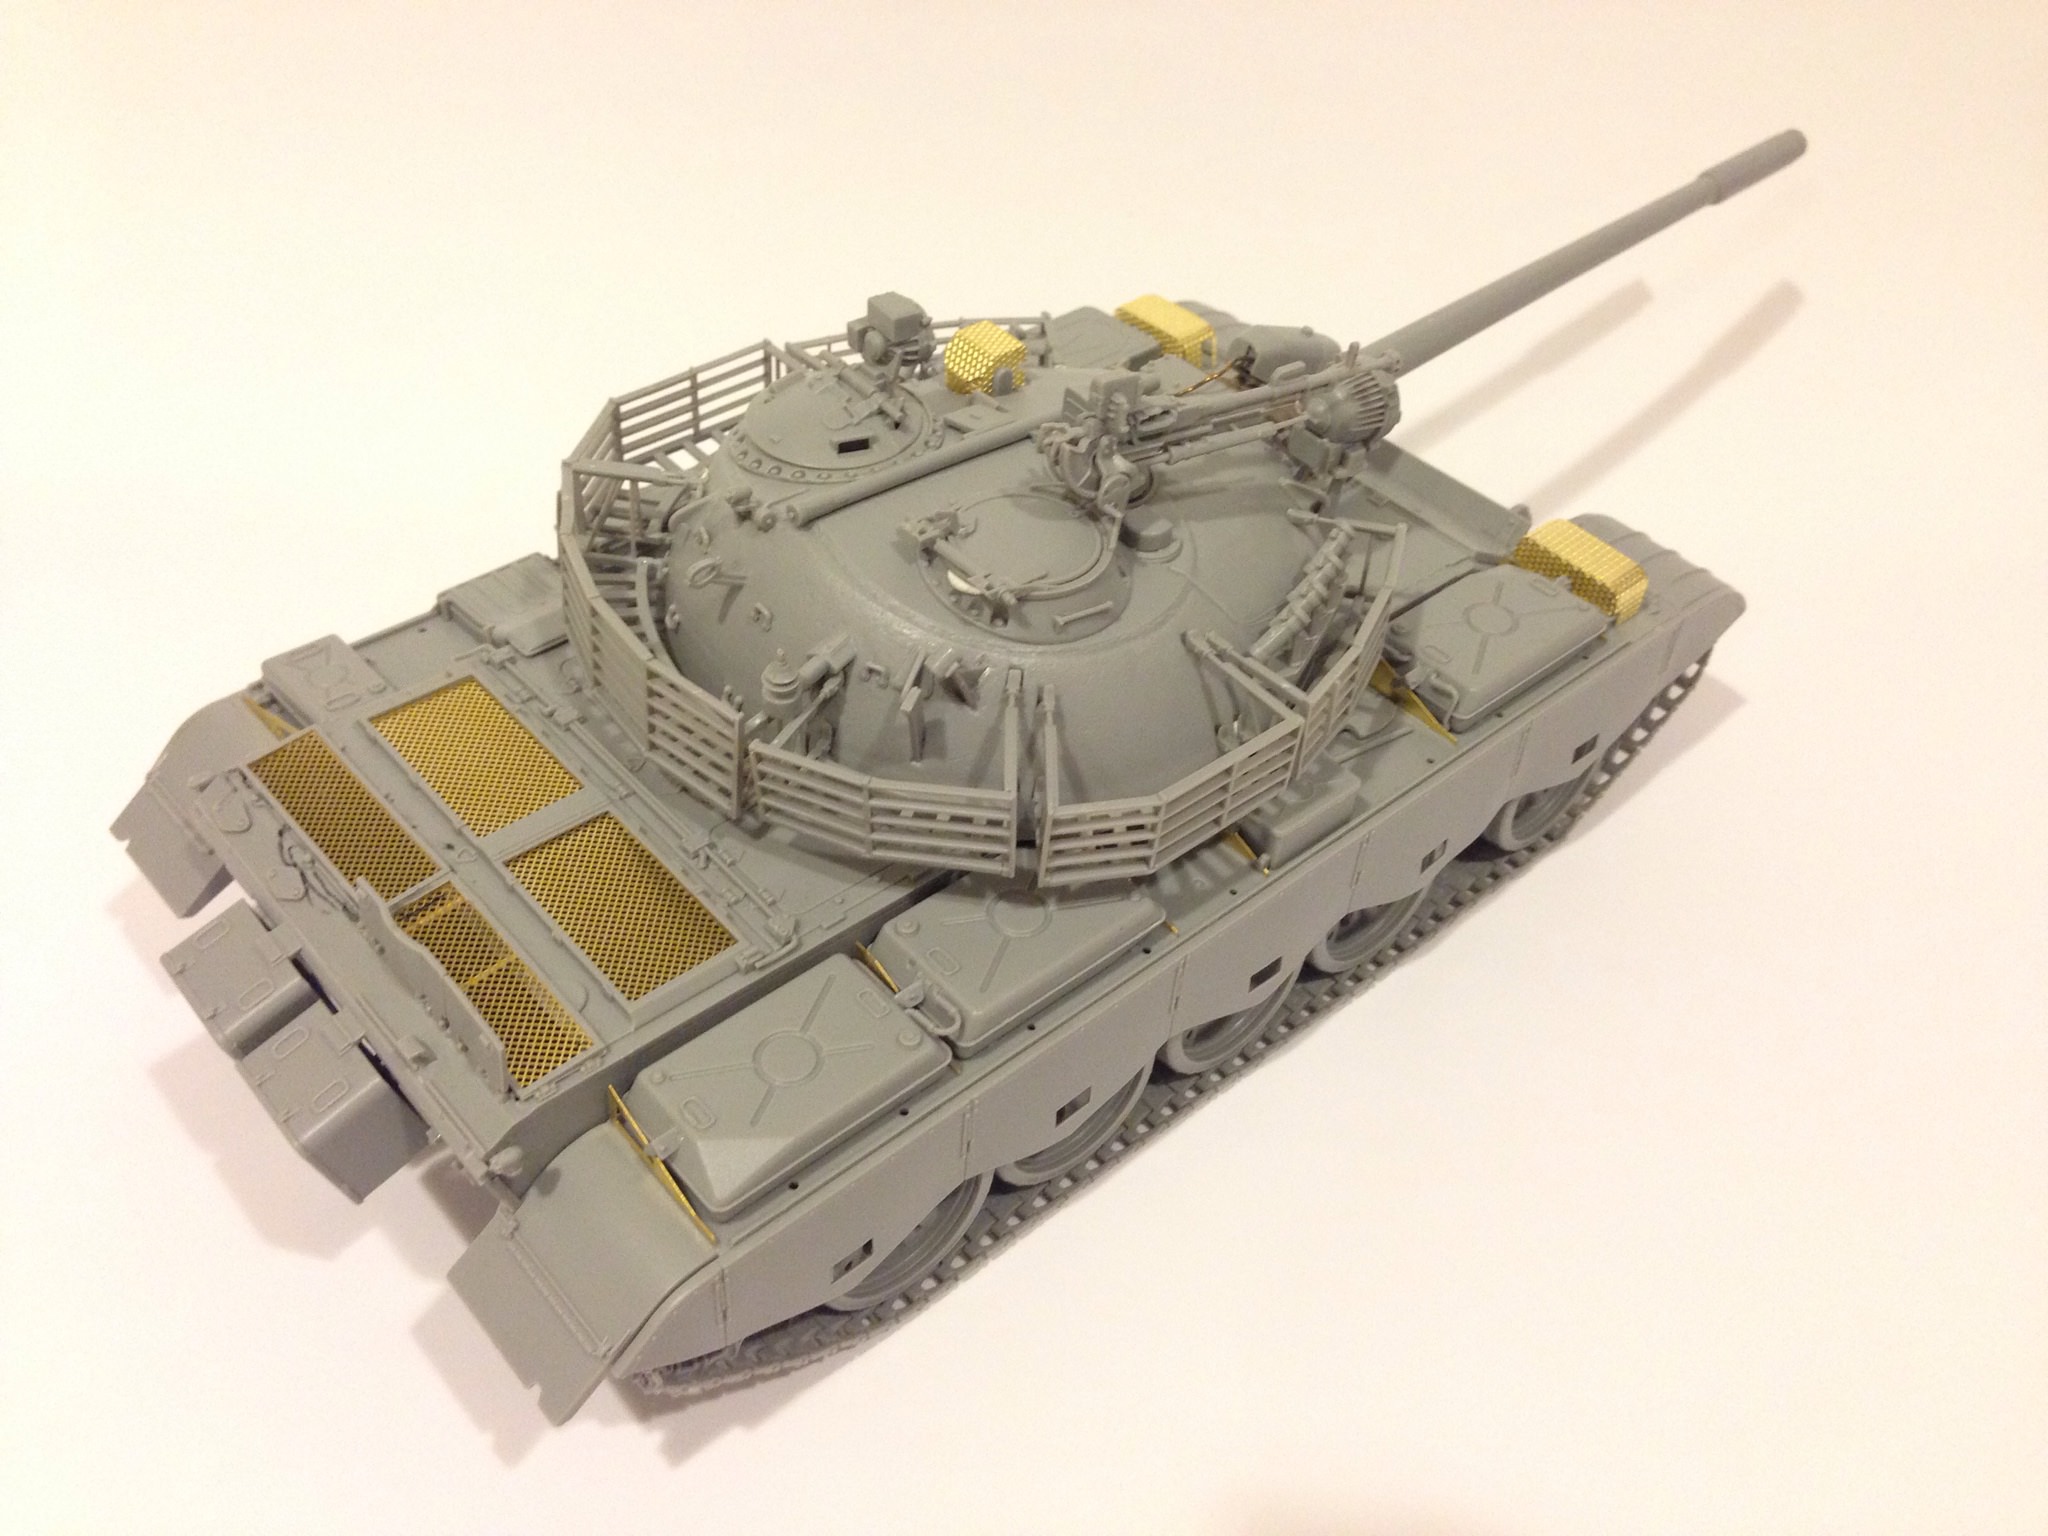
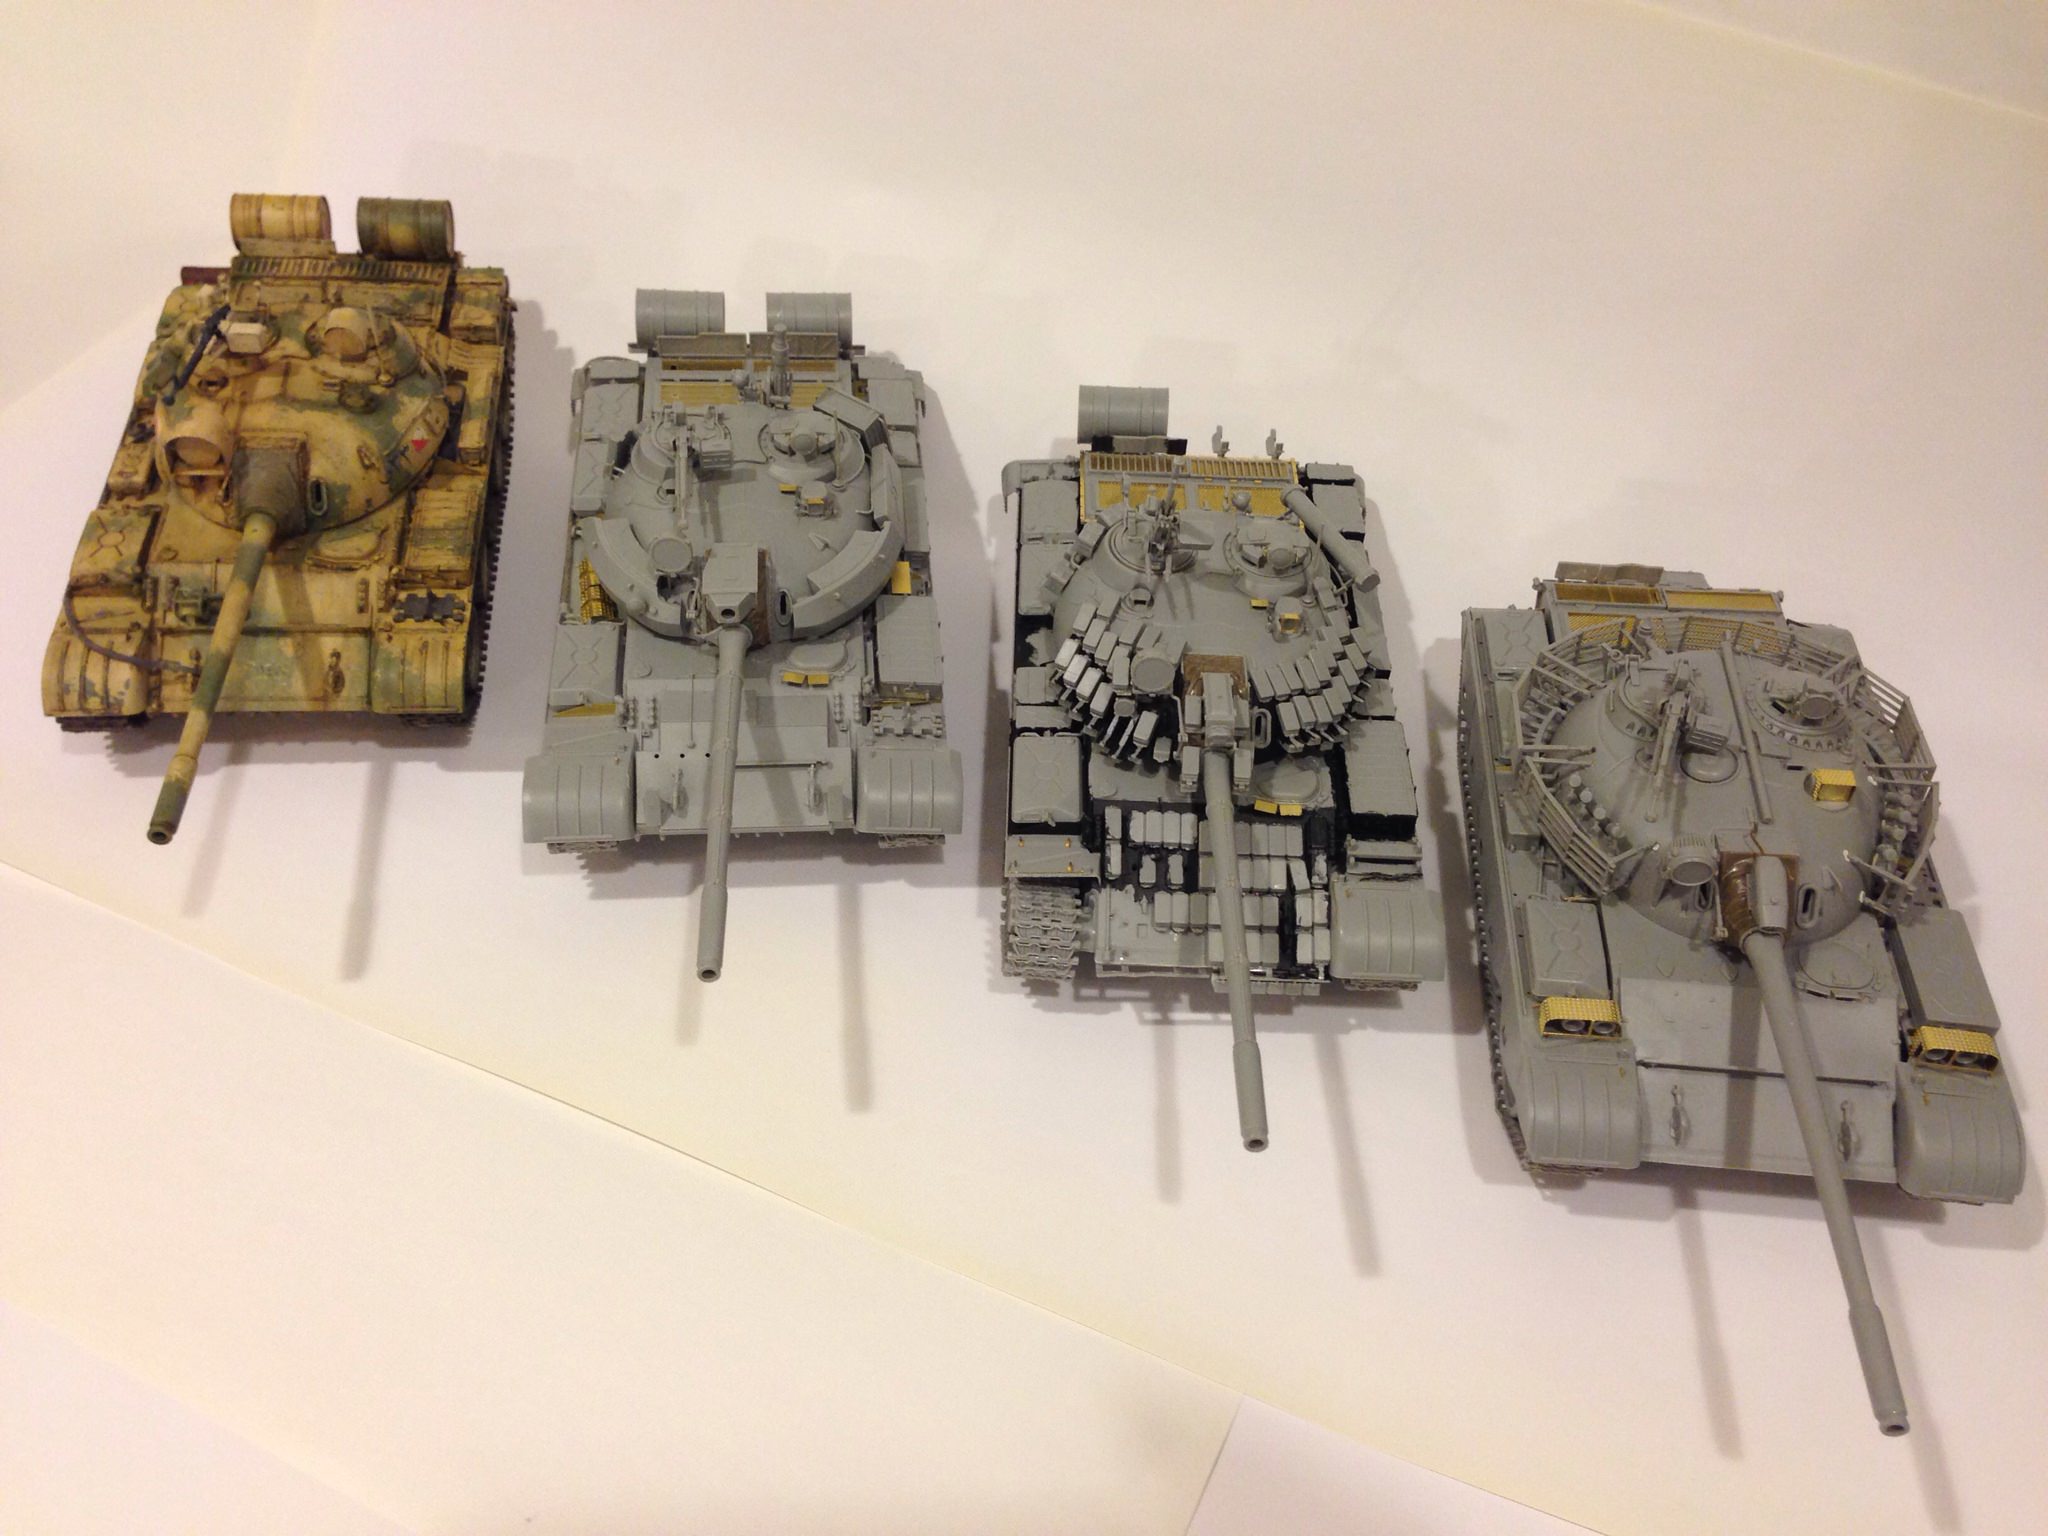
Here are four of my tanks from the T-55 family for this binge build.
Thanks!


Here are four of my tanks from the T-55 family for this binge build.

Thanks!
panamadan

Joined: July 20, 2004
KitMaker: 1,513 posts
Armorama: 1,449 posts

Posted: Wednesday, April 25, 2018 - 08:52 PM UTC
Fun to watch.
Dan
Dan

BravoTwoZero

Joined: June 11, 2009
KitMaker: 461 posts
Armorama: 370 posts

Posted: Thursday, May 03, 2018 - 08:06 PM UTC
Hello everyone, I've made some progress on my DDR T-55AM2B. I finally sprayed primer on it. As mentioned before, this is my first try at using both the Mission Models primer and my Tamiya airbrush with a pistol grip. Here are the resulting pictures.
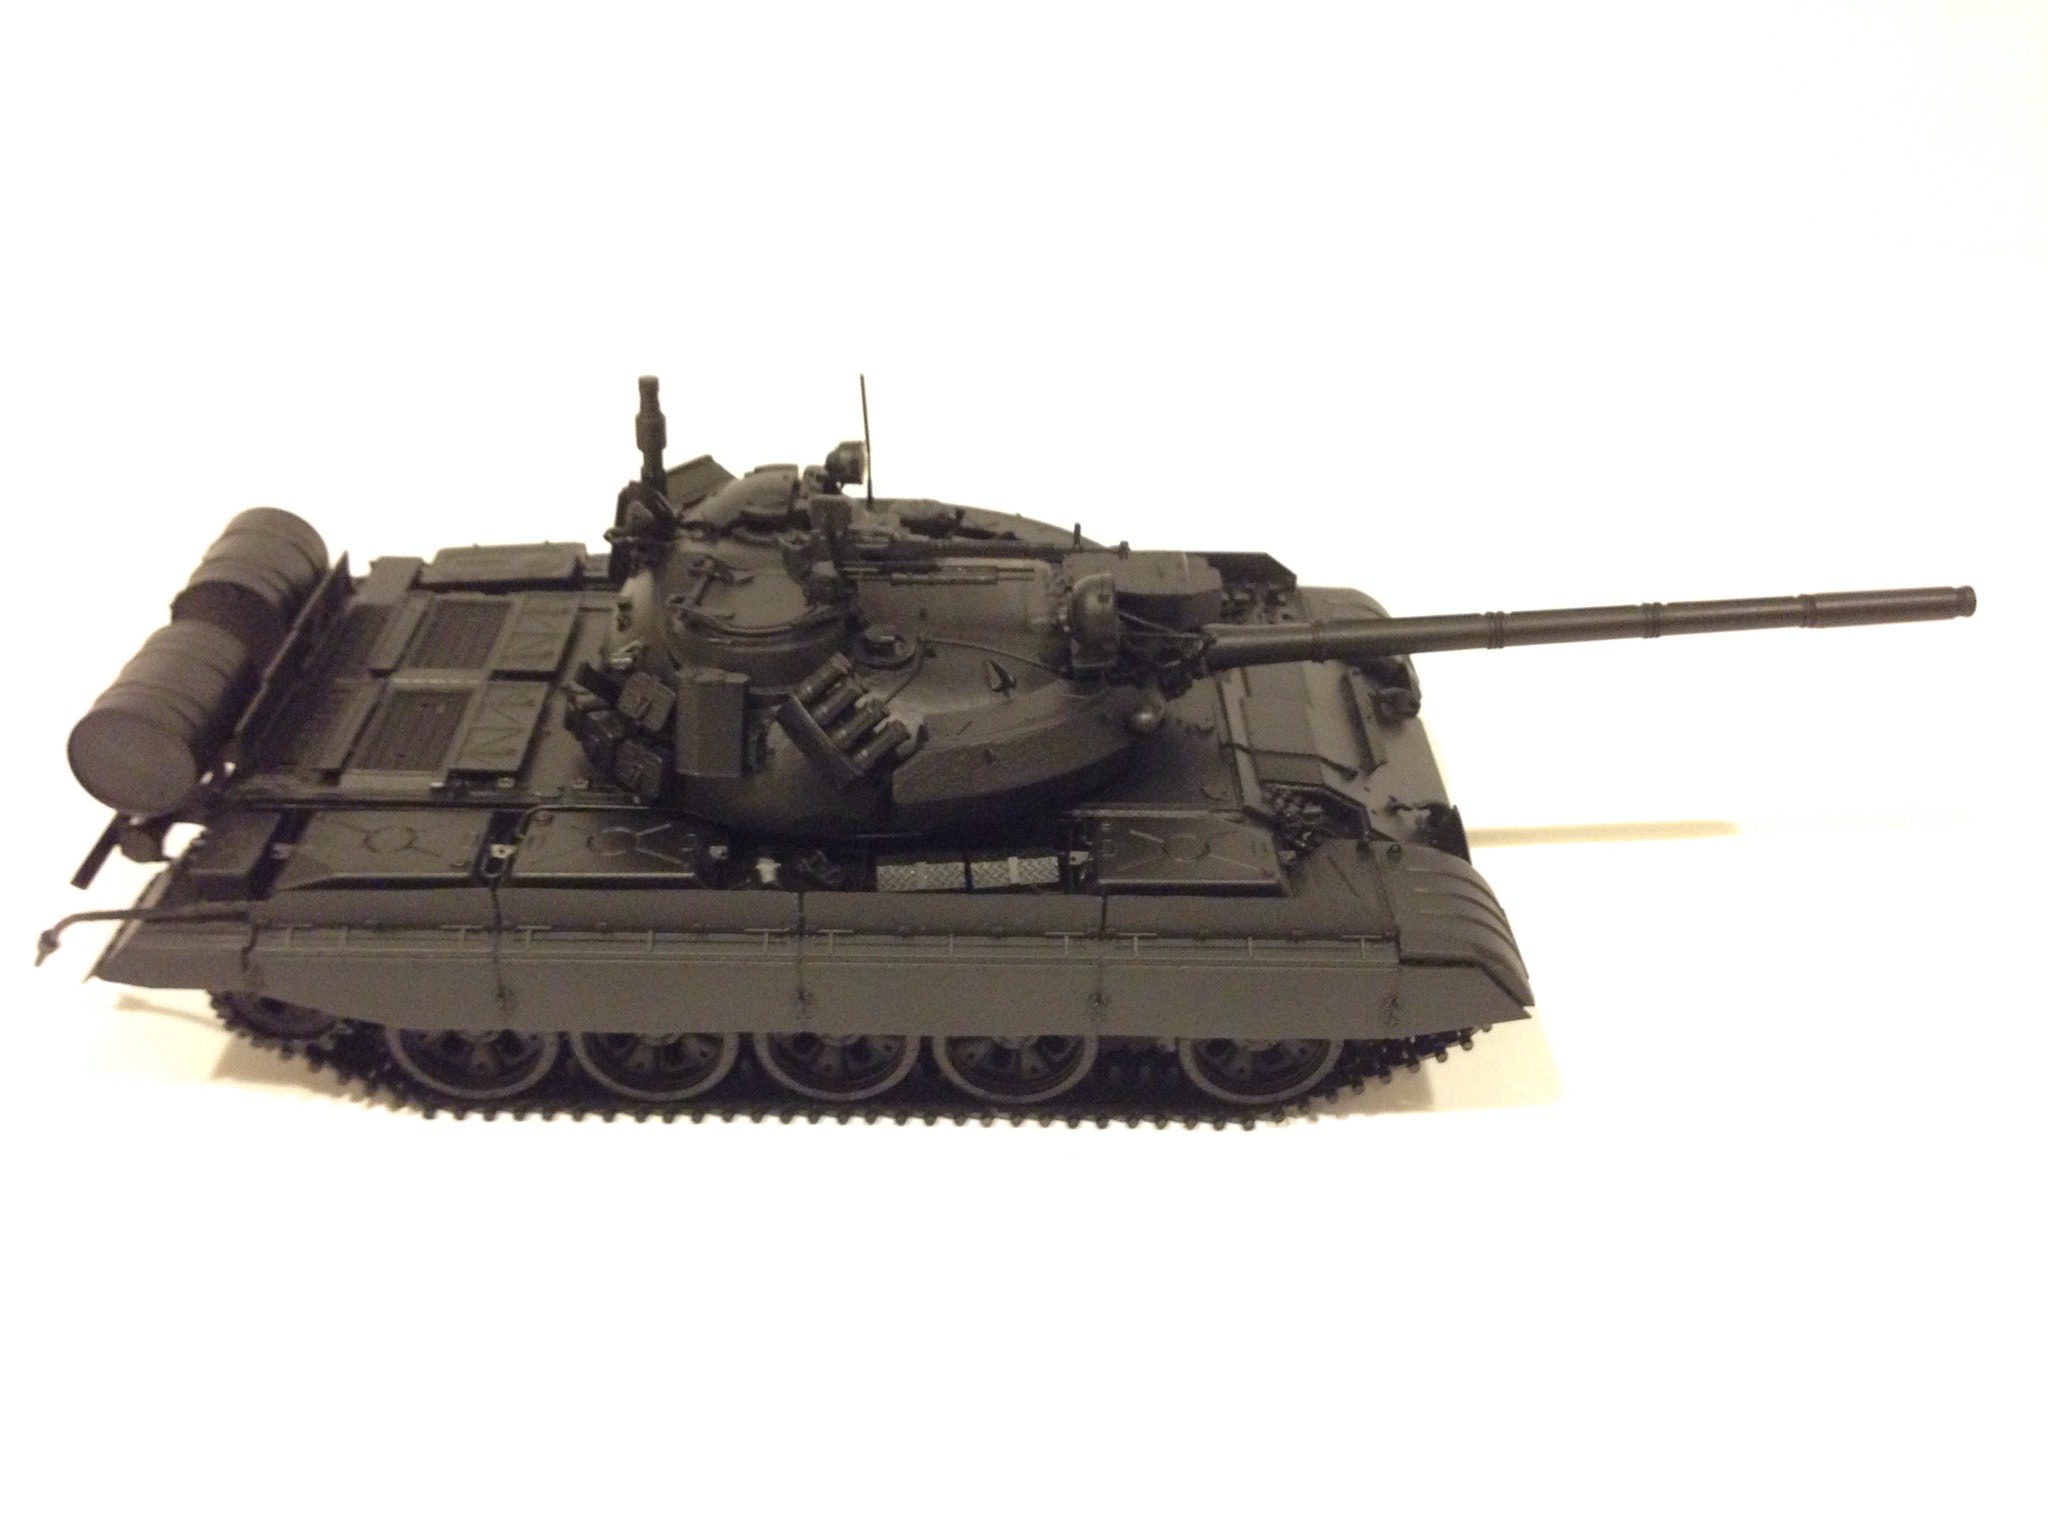



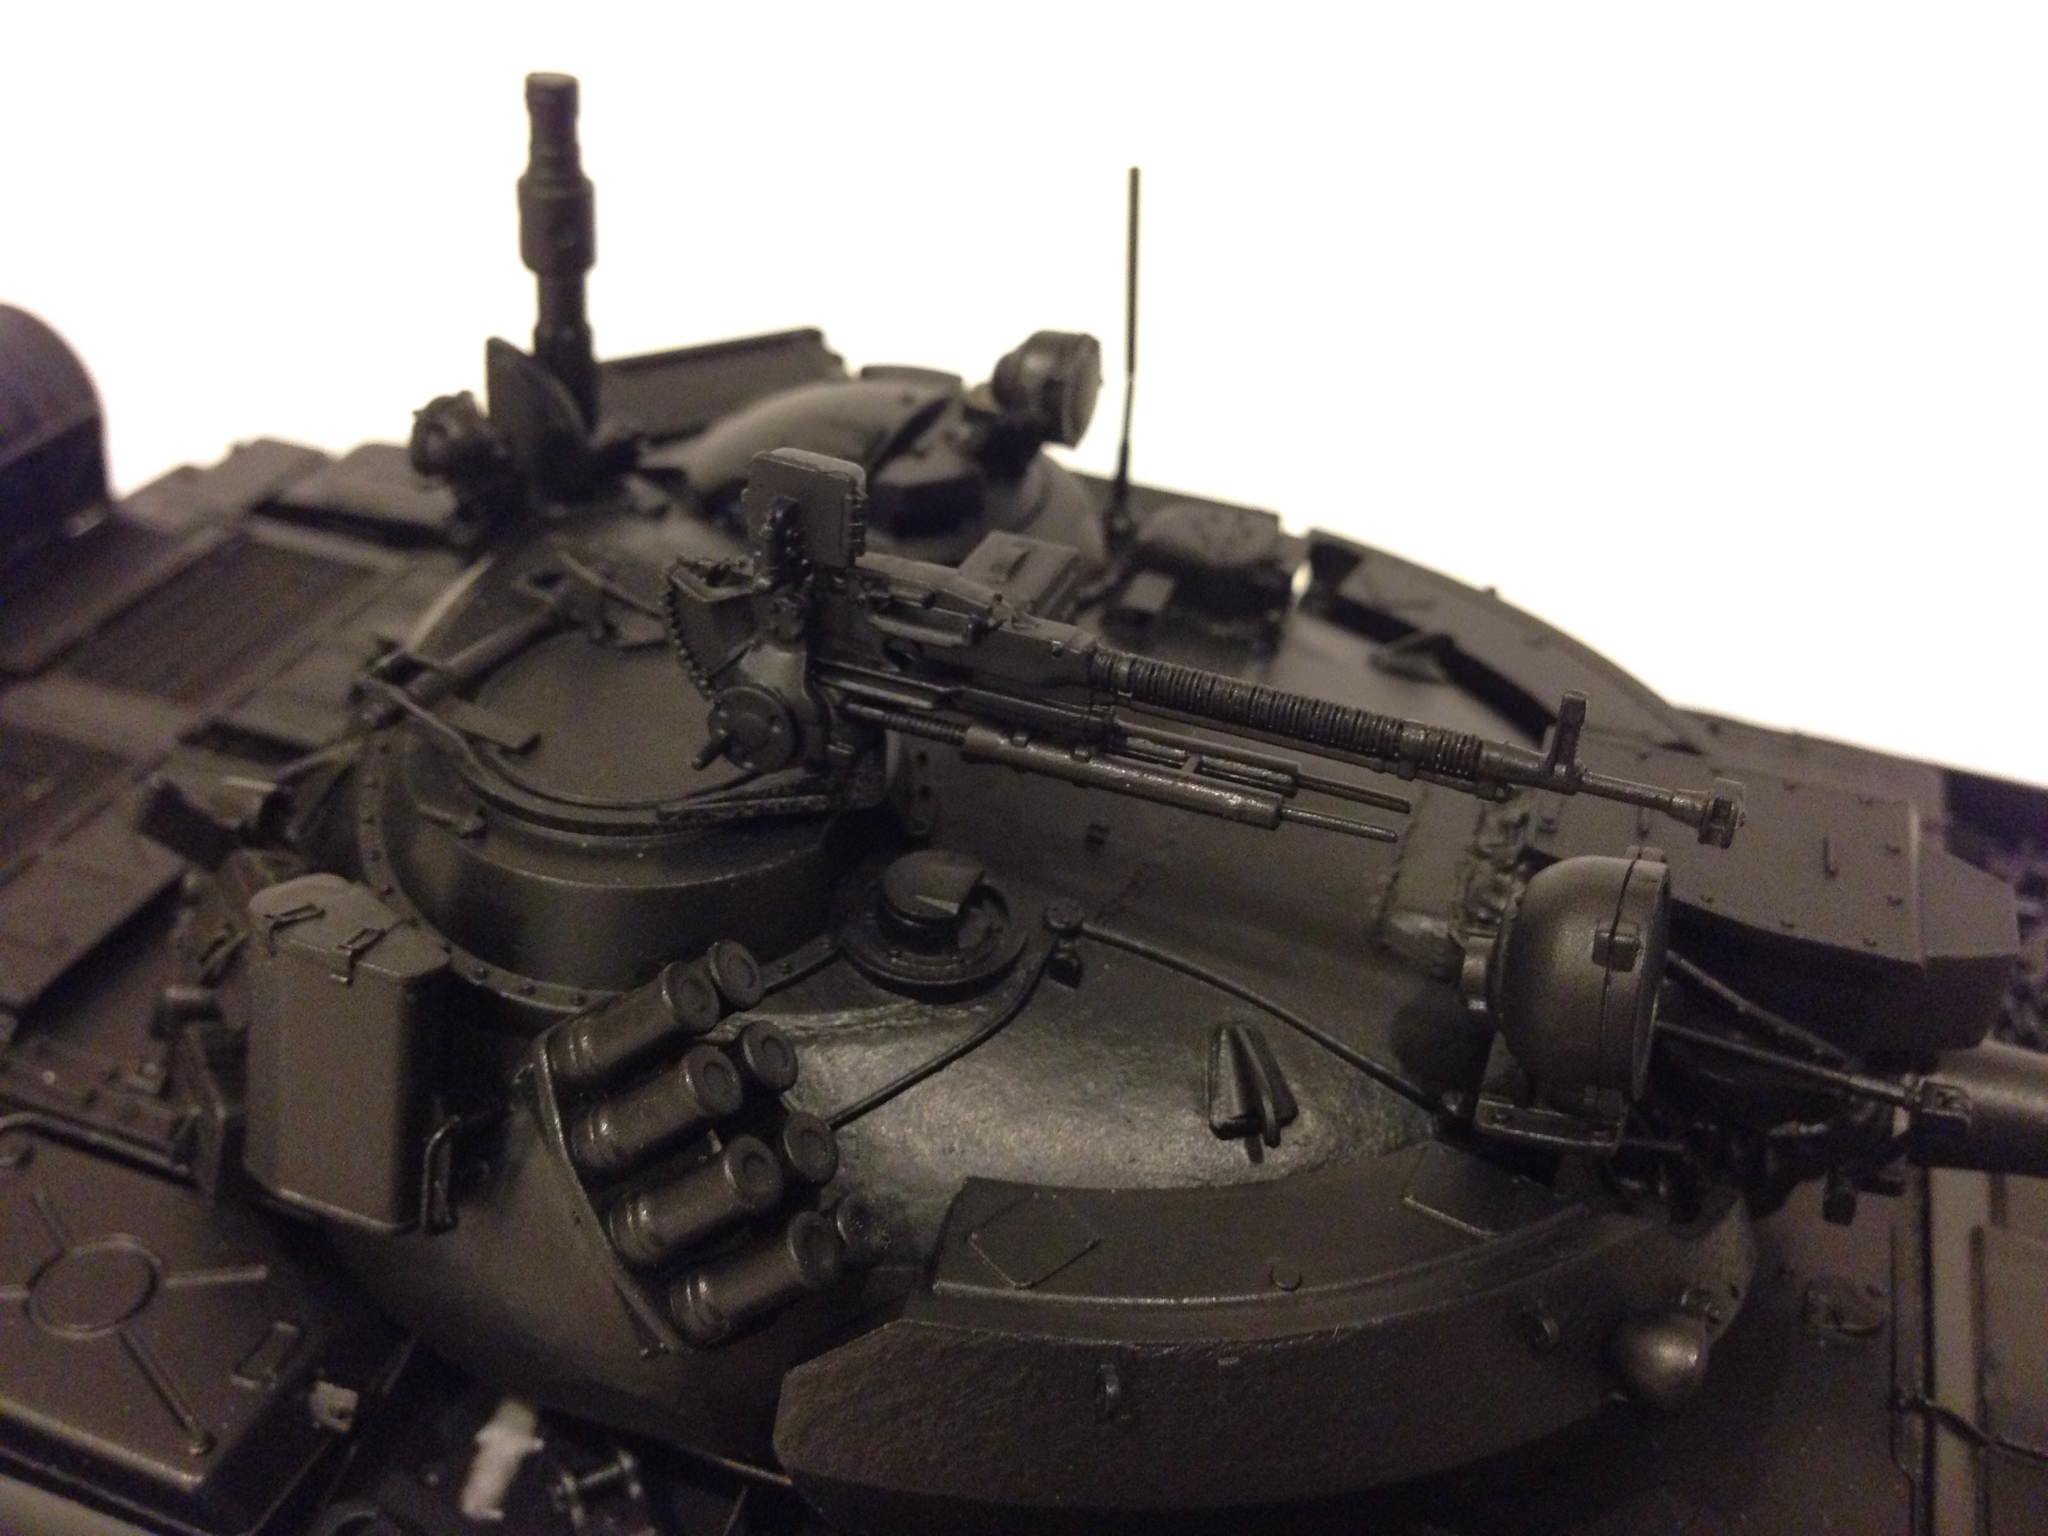
For good measure, here are some close up shots.
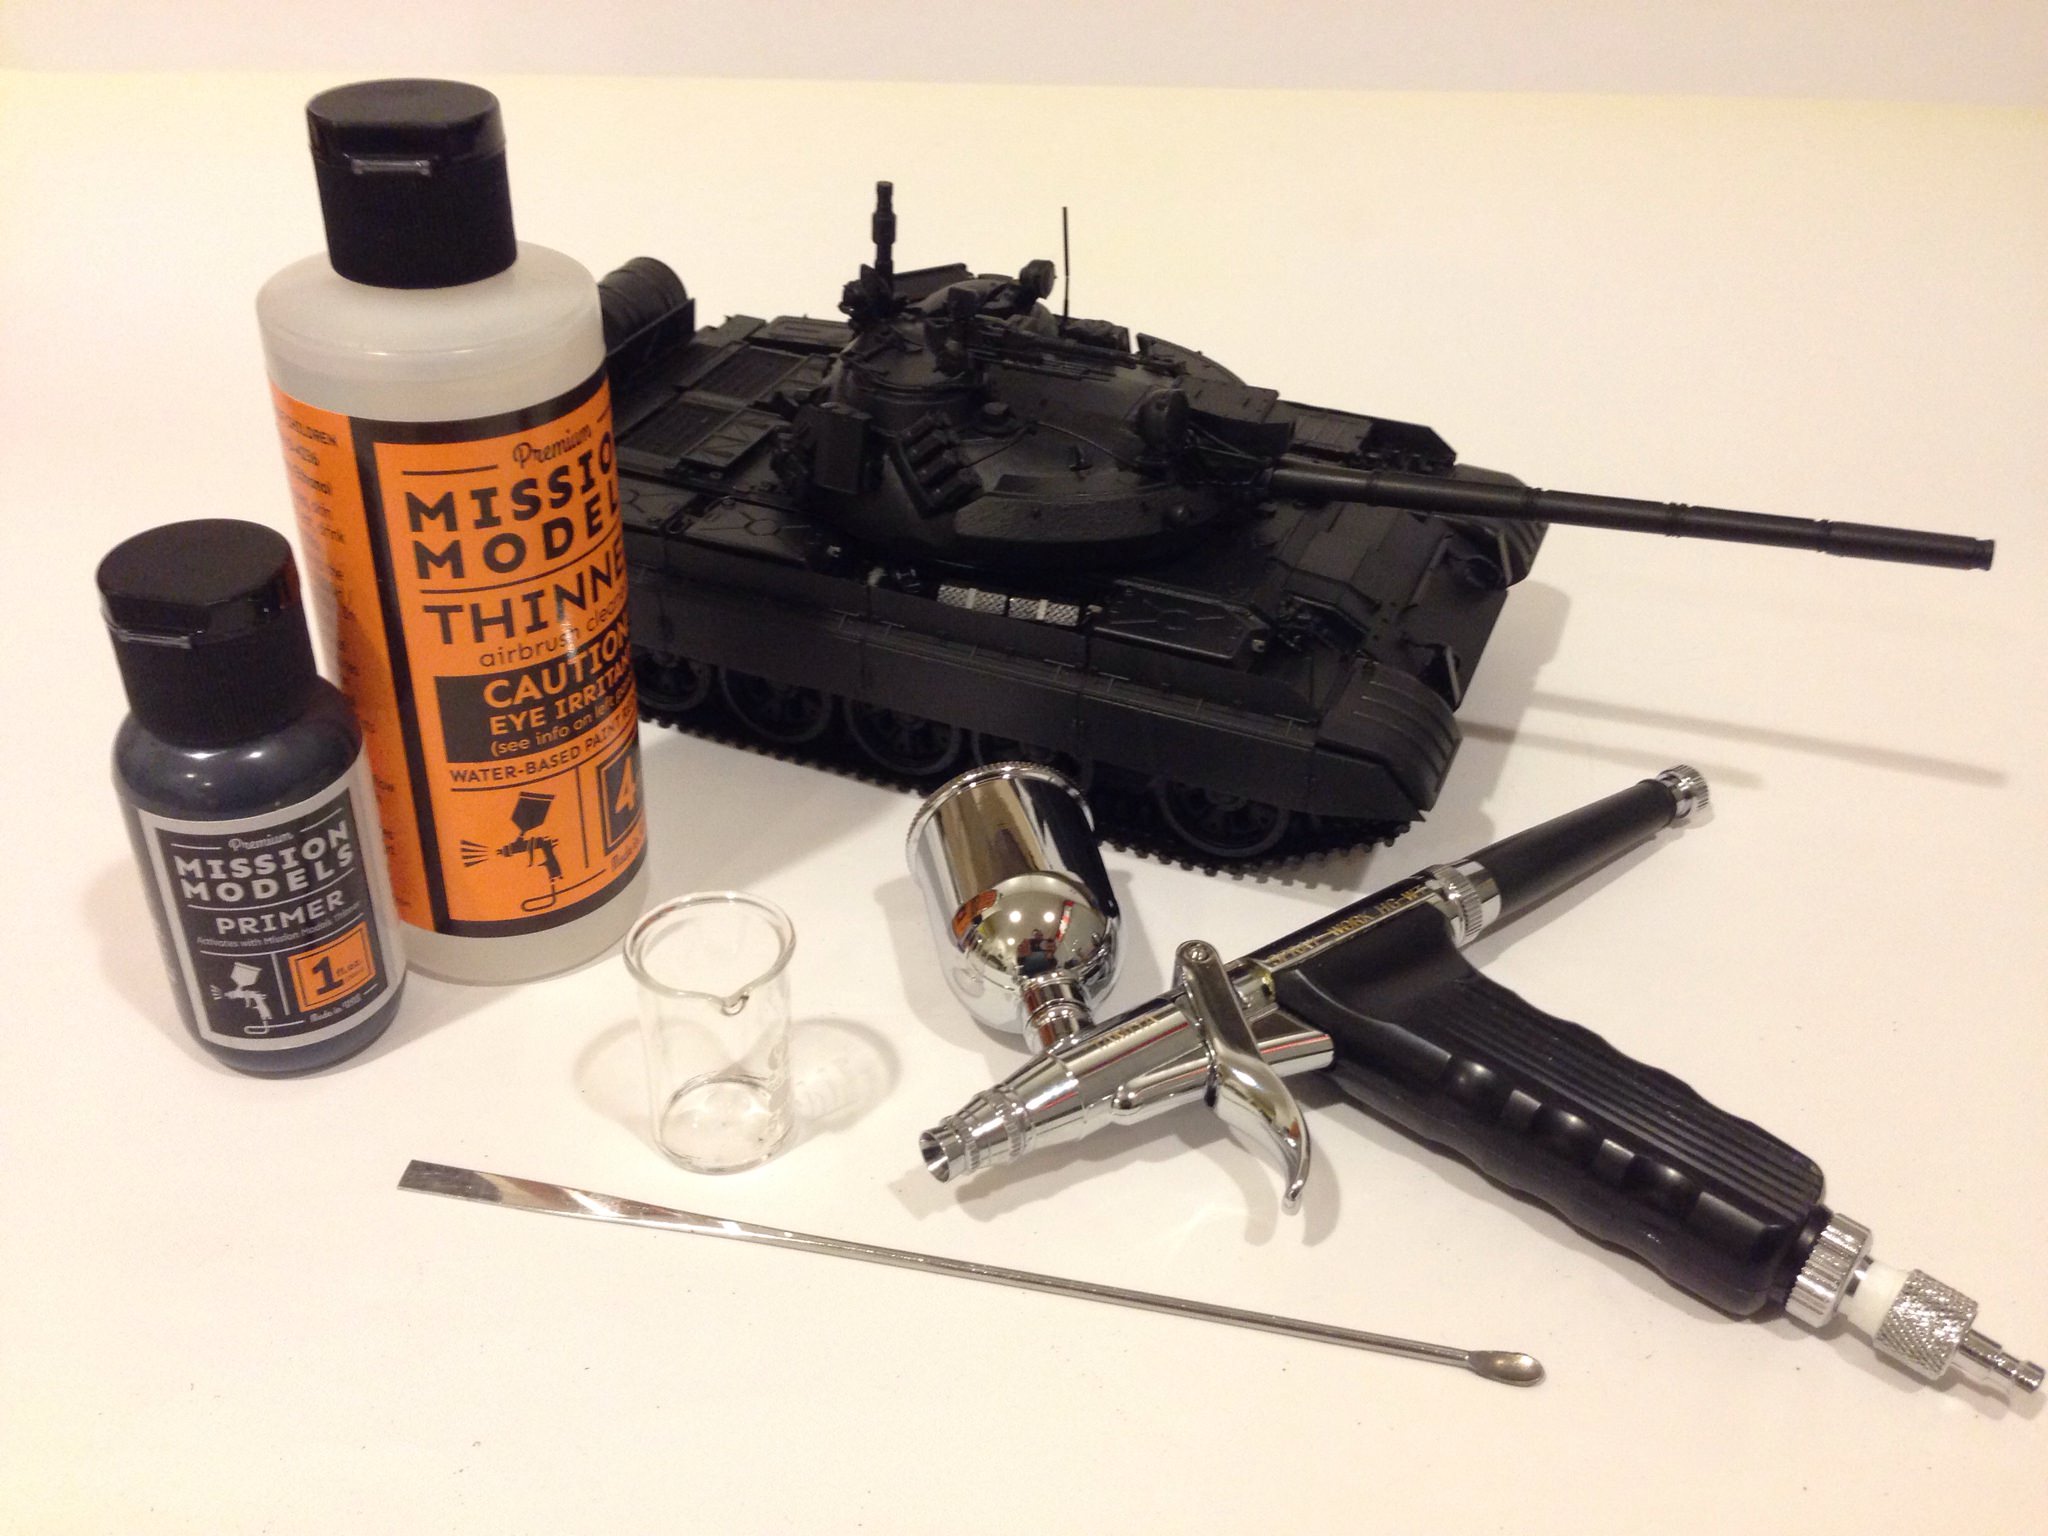
And finally, the product placement shot.
I plan to practice both the black and white and zenithal priming technique in this model. We shall see how this goes.
Include me now among those who are fans of the Mission Models primer. Prior to spraying, I watched a video from their Youtube channel about mixing ratios. It helped me a lot. Note in the picture that I have a 5ml glass beaker (easy to clean but breaks easily too). This is where I mixed the primer and thinner. And then I transfer it to the airbrush. I am very satisfied with the result. My compressor was set at around 12 bars and I had to refill the airbrush several times. Despite this, I had no clogging of any sort. Way better than my experience with the Vallejo primer.
As far as the airbrush is concerned. I am a fan of Tamiya airbrushes. I have two other ones that are my workhorses. They are basically Iwata airbrushes. Since this is a .5mm Wide airbrush, I used more primer than I probably needed. That's why I had to refill several times. At one point, in trying to reach deep areas, I saturated it a little. But then shows the beauty of this primer is that it is not evident afterwards. I'll probably use this airbrush when I work on the long hulls of my ship models. Definitely not for my 1/72 models. The next tank I will apply primer, I will use the regular airbrush.
As always, thanks for looking.
-Joseph


For good measure, here are some close up shots.


And finally, the product placement shot.

I plan to practice both the black and white and zenithal priming technique in this model. We shall see how this goes.
Include me now among those who are fans of the Mission Models primer. Prior to spraying, I watched a video from their Youtube channel about mixing ratios. It helped me a lot. Note in the picture that I have a 5ml glass beaker (easy to clean but breaks easily too). This is where I mixed the primer and thinner. And then I transfer it to the airbrush. I am very satisfied with the result. My compressor was set at around 12 bars and I had to refill the airbrush several times. Despite this, I had no clogging of any sort. Way better than my experience with the Vallejo primer.
As far as the airbrush is concerned. I am a fan of Tamiya airbrushes. I have two other ones that are my workhorses. They are basically Iwata airbrushes. Since this is a .5mm Wide airbrush, I used more primer than I probably needed. That's why I had to refill several times. At one point, in trying to reach deep areas, I saturated it a little. But then shows the beauty of this primer is that it is not evident afterwards. I'll probably use this airbrush when I work on the long hulls of my ship models. Definitely not for my 1/72 models. The next tank I will apply primer, I will use the regular airbrush.
As always, thanks for looking.
-Joseph

KoSprueOne

Joined: March 05, 2004
KitMaker: 4,011 posts
Armorama: 1,498 posts

Posted: Friday, May 04, 2018 - 05:49 AM UTC
Thanks for sharing the S-B-S of your "Binge" project and your tech on the track links. I've done a similar "T-55 binge" build as well but with three SKIF kits 


vito375

Joined: March 28, 2017
KitMaker: 8 posts
Armorama: 6 posts

Posted: Friday, May 04, 2018 - 11:25 AM UTC
Those are great builds.After I saw review on T-55 AMV on themodellingnews.com, I consider to get T-55 AMV. It is great build review. 


BravoTwoZero

Joined: June 11, 2009
KitMaker: 461 posts
Armorama: 370 posts

Posted: Tuesday, May 08, 2018 - 04:30 AM UTC
Quoted Text
Thanks for sharing the S-B-S of your "Binge" project and your tech on the track links. I've done a similar "T-55 binge" build as well but with three SKIF kits

You are very welcome and thanks for dropping in. I'd like to see your T-55s. Is there a way for you to post them?

BravoTwoZero

Joined: June 11, 2009
KitMaker: 461 posts
Armorama: 370 posts

Posted: Tuesday, May 08, 2018 - 04:31 AM UTC
Quoted Text
Those are great builds.After I saw review on T-55 AMV on themodellingnews.com, I consider to get T-55 AMV. It is great build review.
Thank you, sir. Yes, it was the review on themodellingnews.com about the T-55 AMV that did me in. That's why I am attempting to replicate it as much as I can.

BravoTwoZero

Joined: June 11, 2009
KitMaker: 461 posts
Armorama: 370 posts

Posted: Tuesday, May 08, 2018 - 04:37 AM UTC
I have applied primer on the T-55AMV AU. I used the Mission Models black primer and a 0.3mm Tamiya HG airbrush. It worked much better than the 0.5mm pistol gripped one. Here are pictures of the T-55AMV AU disassembled for ease in primer application.
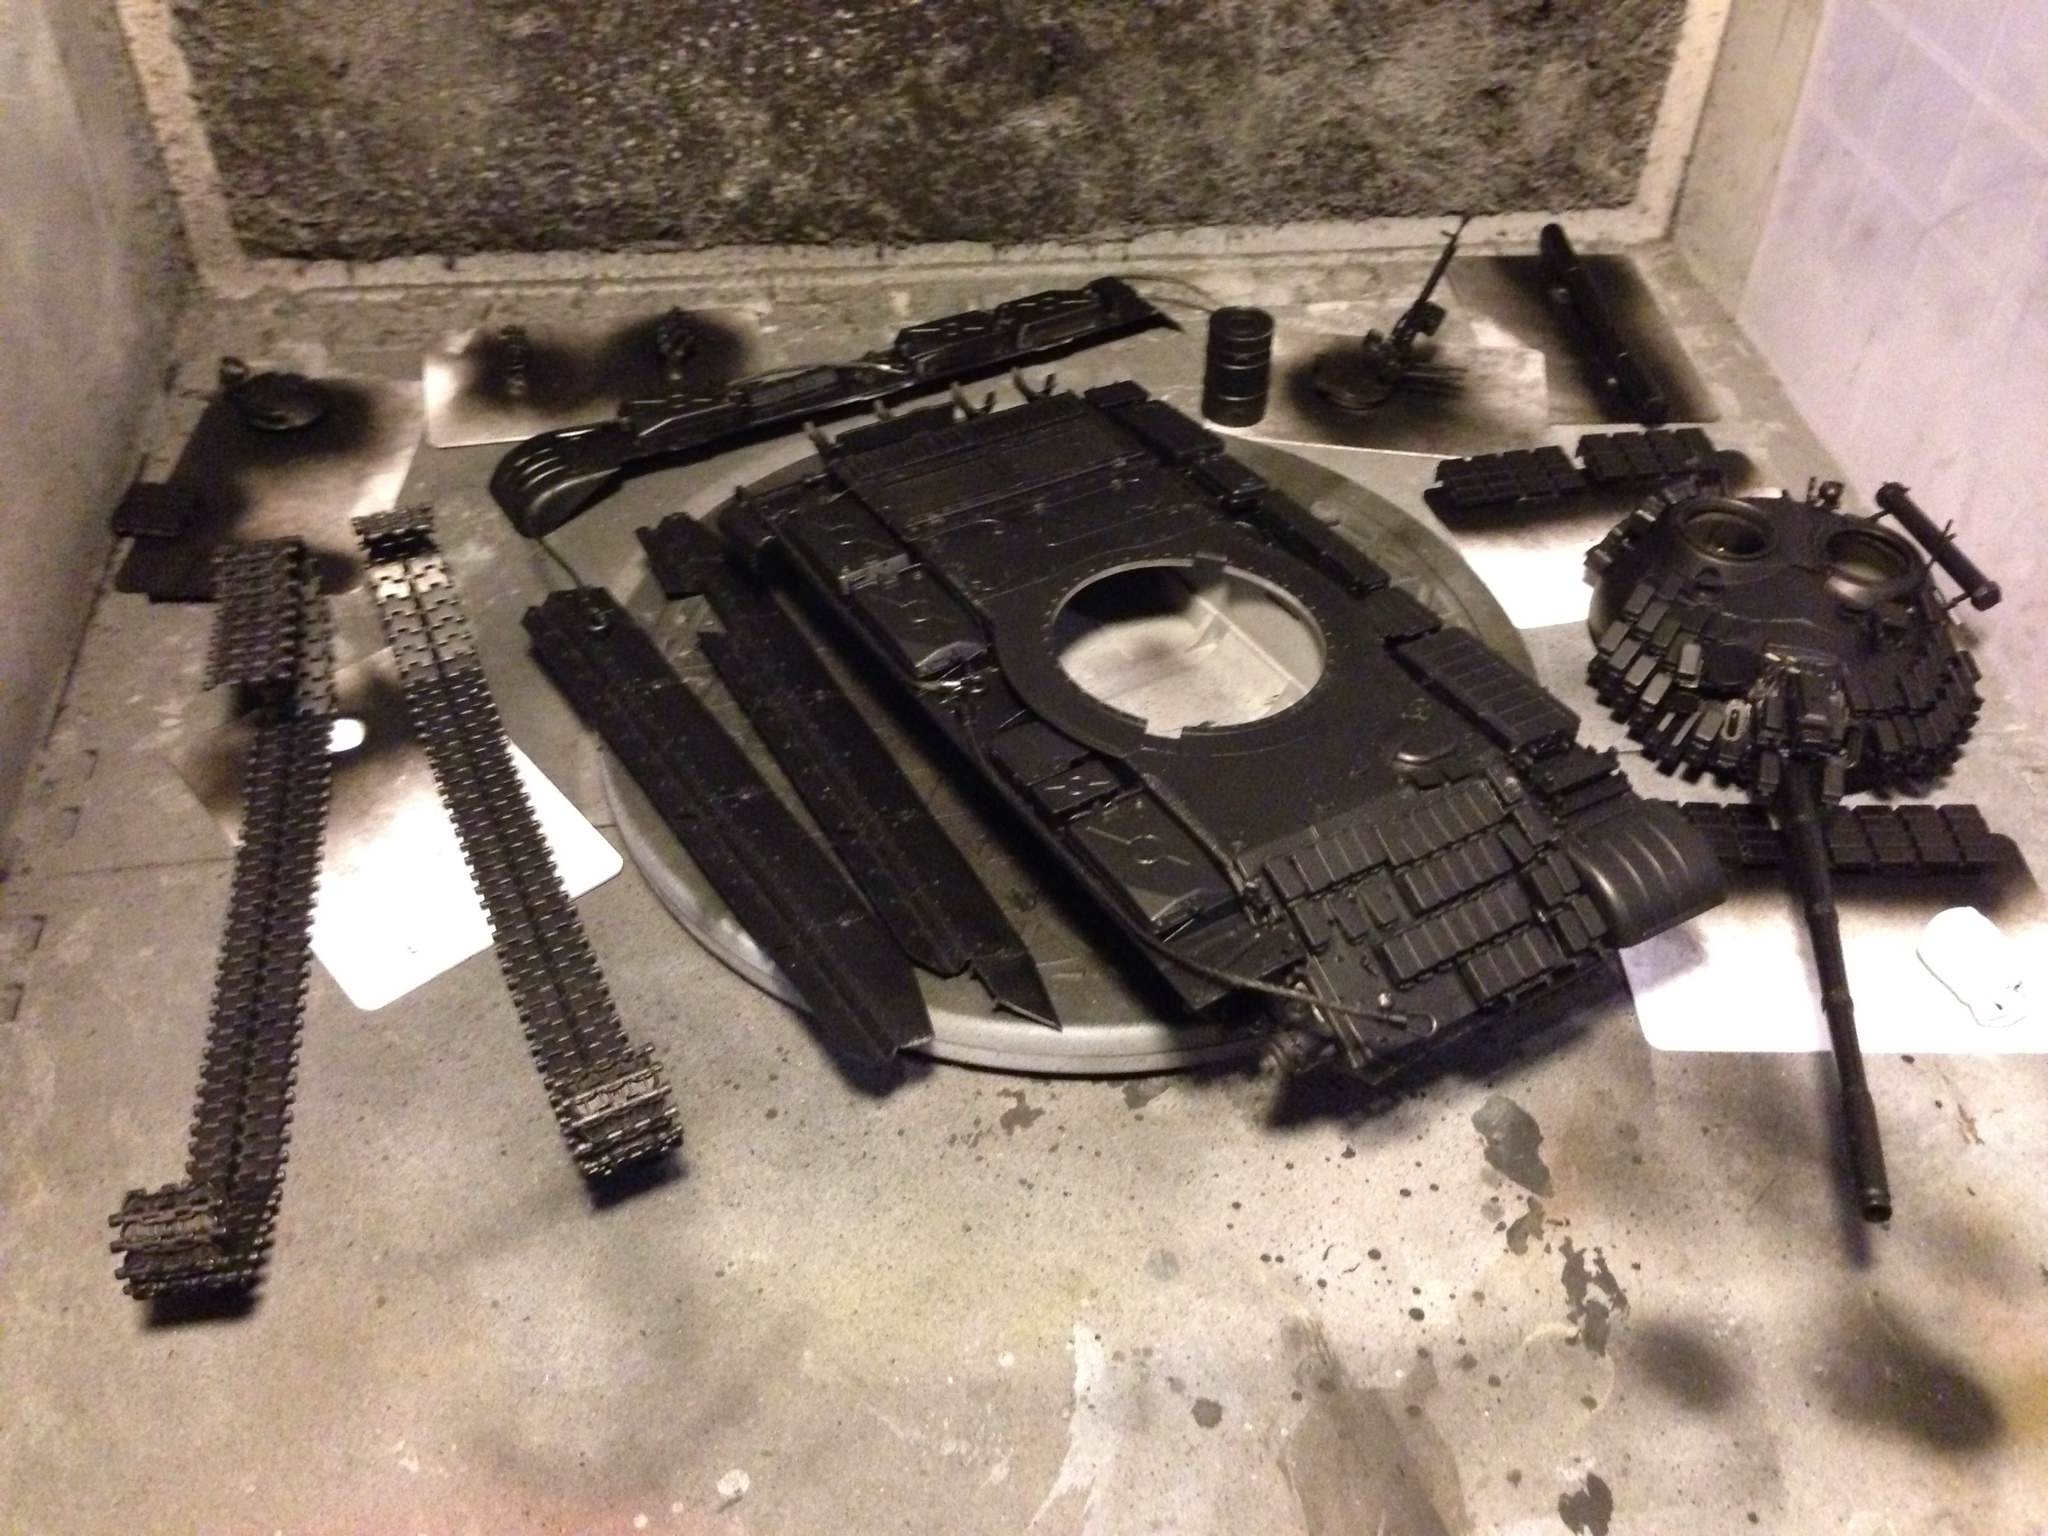
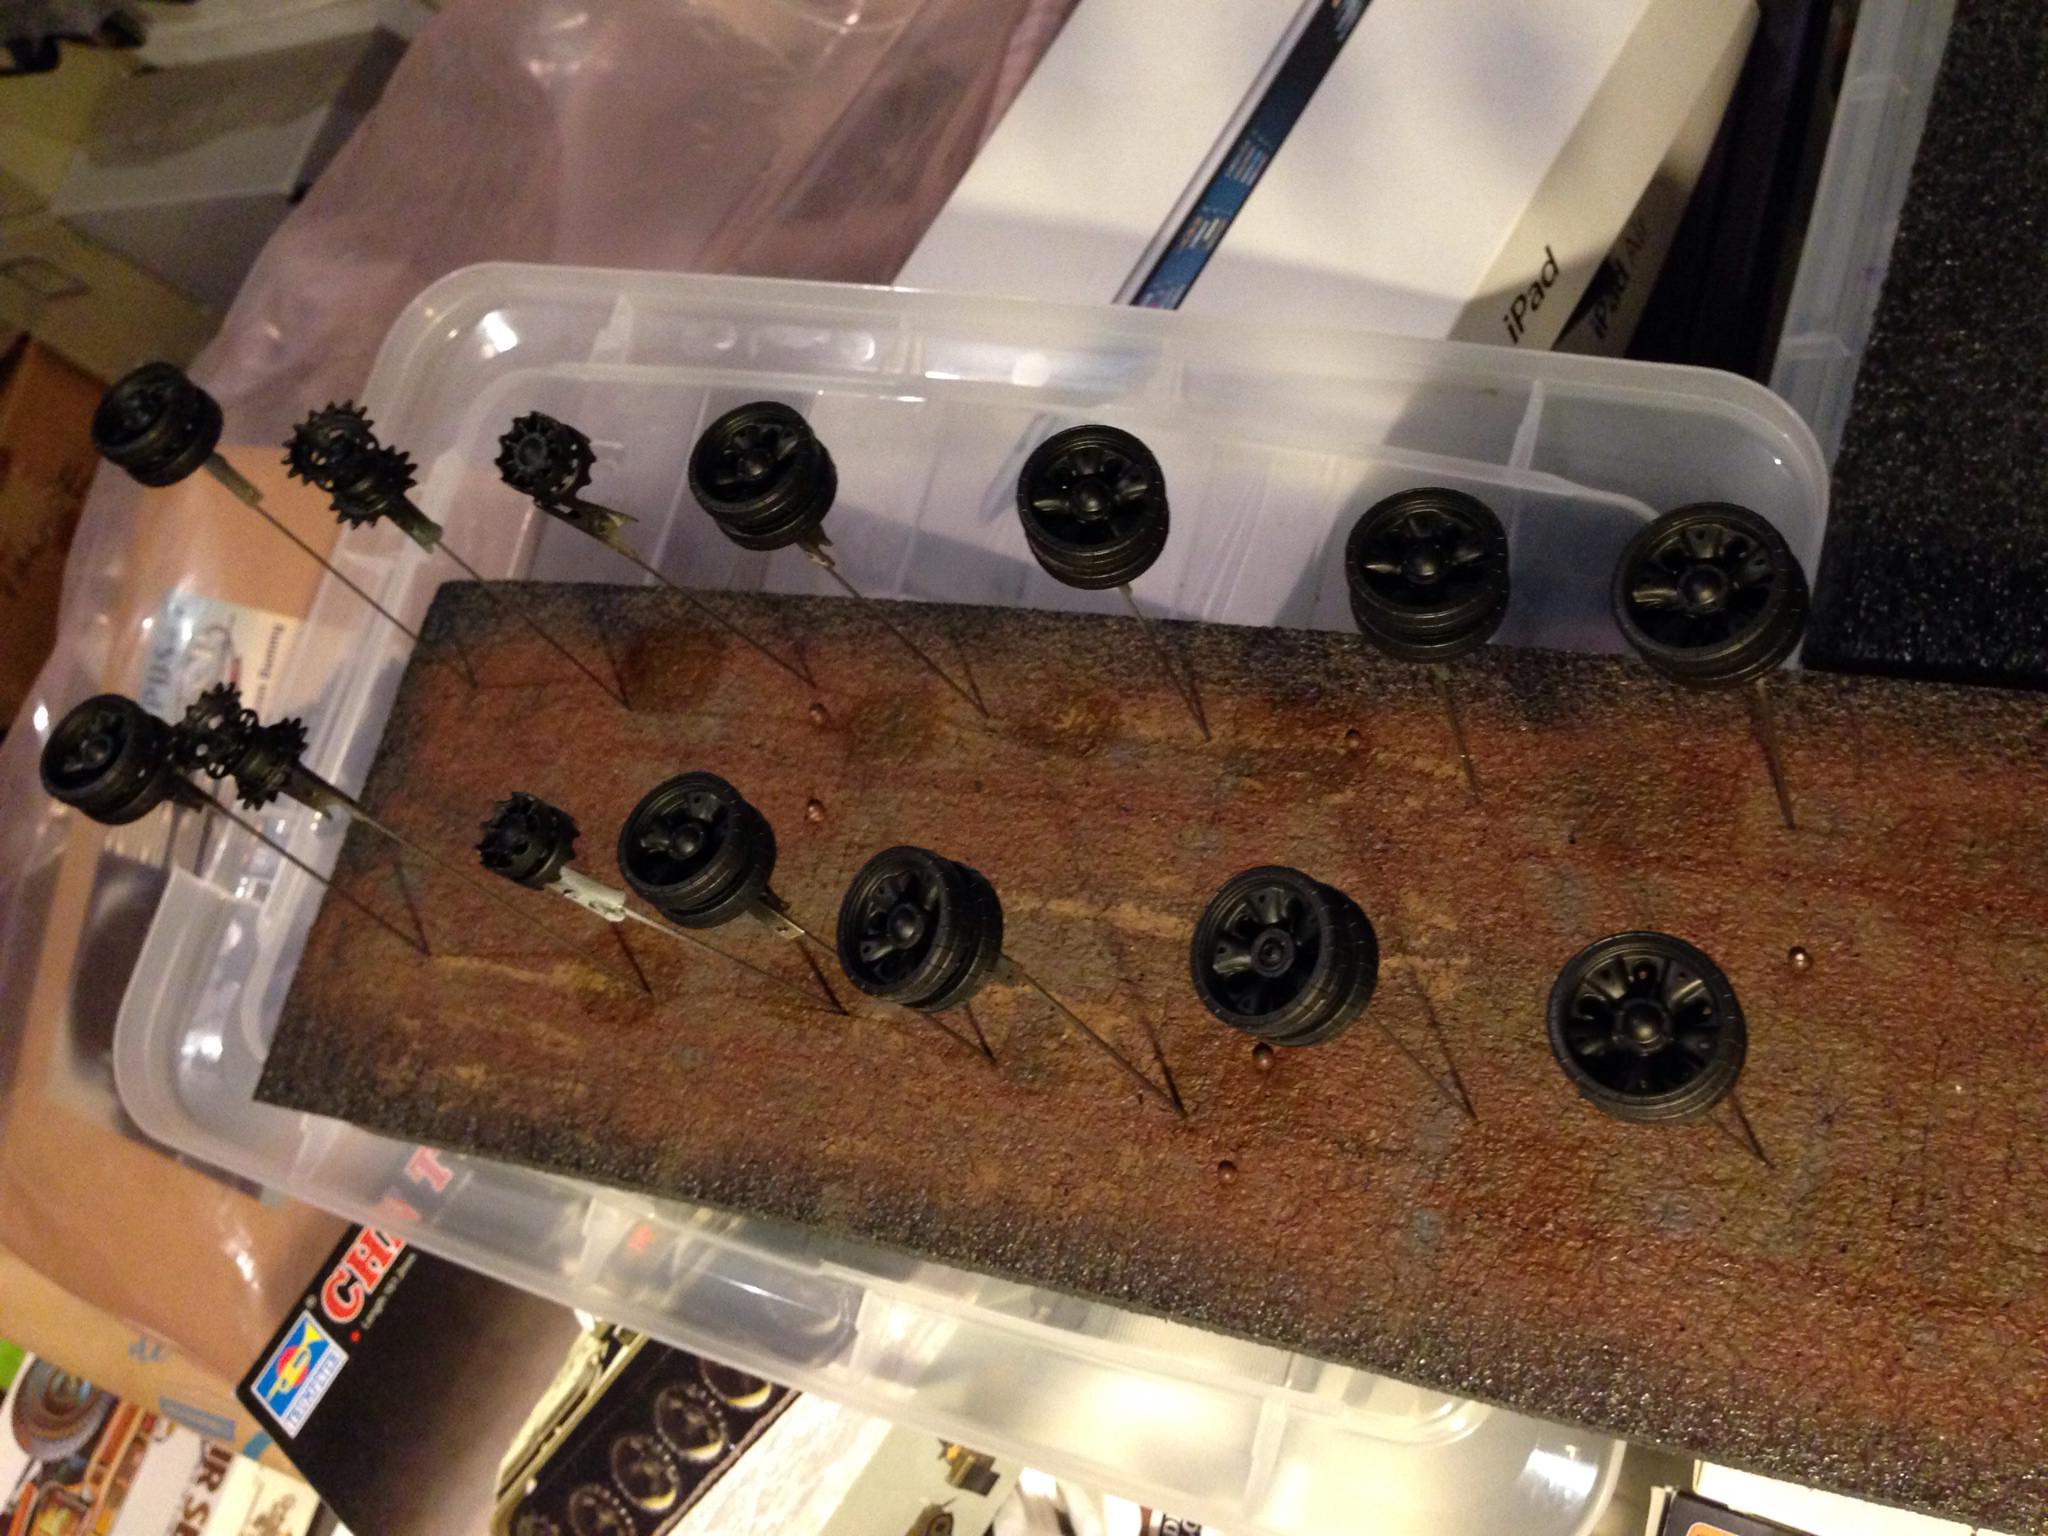
And here are photos of after it has been re-assembled.
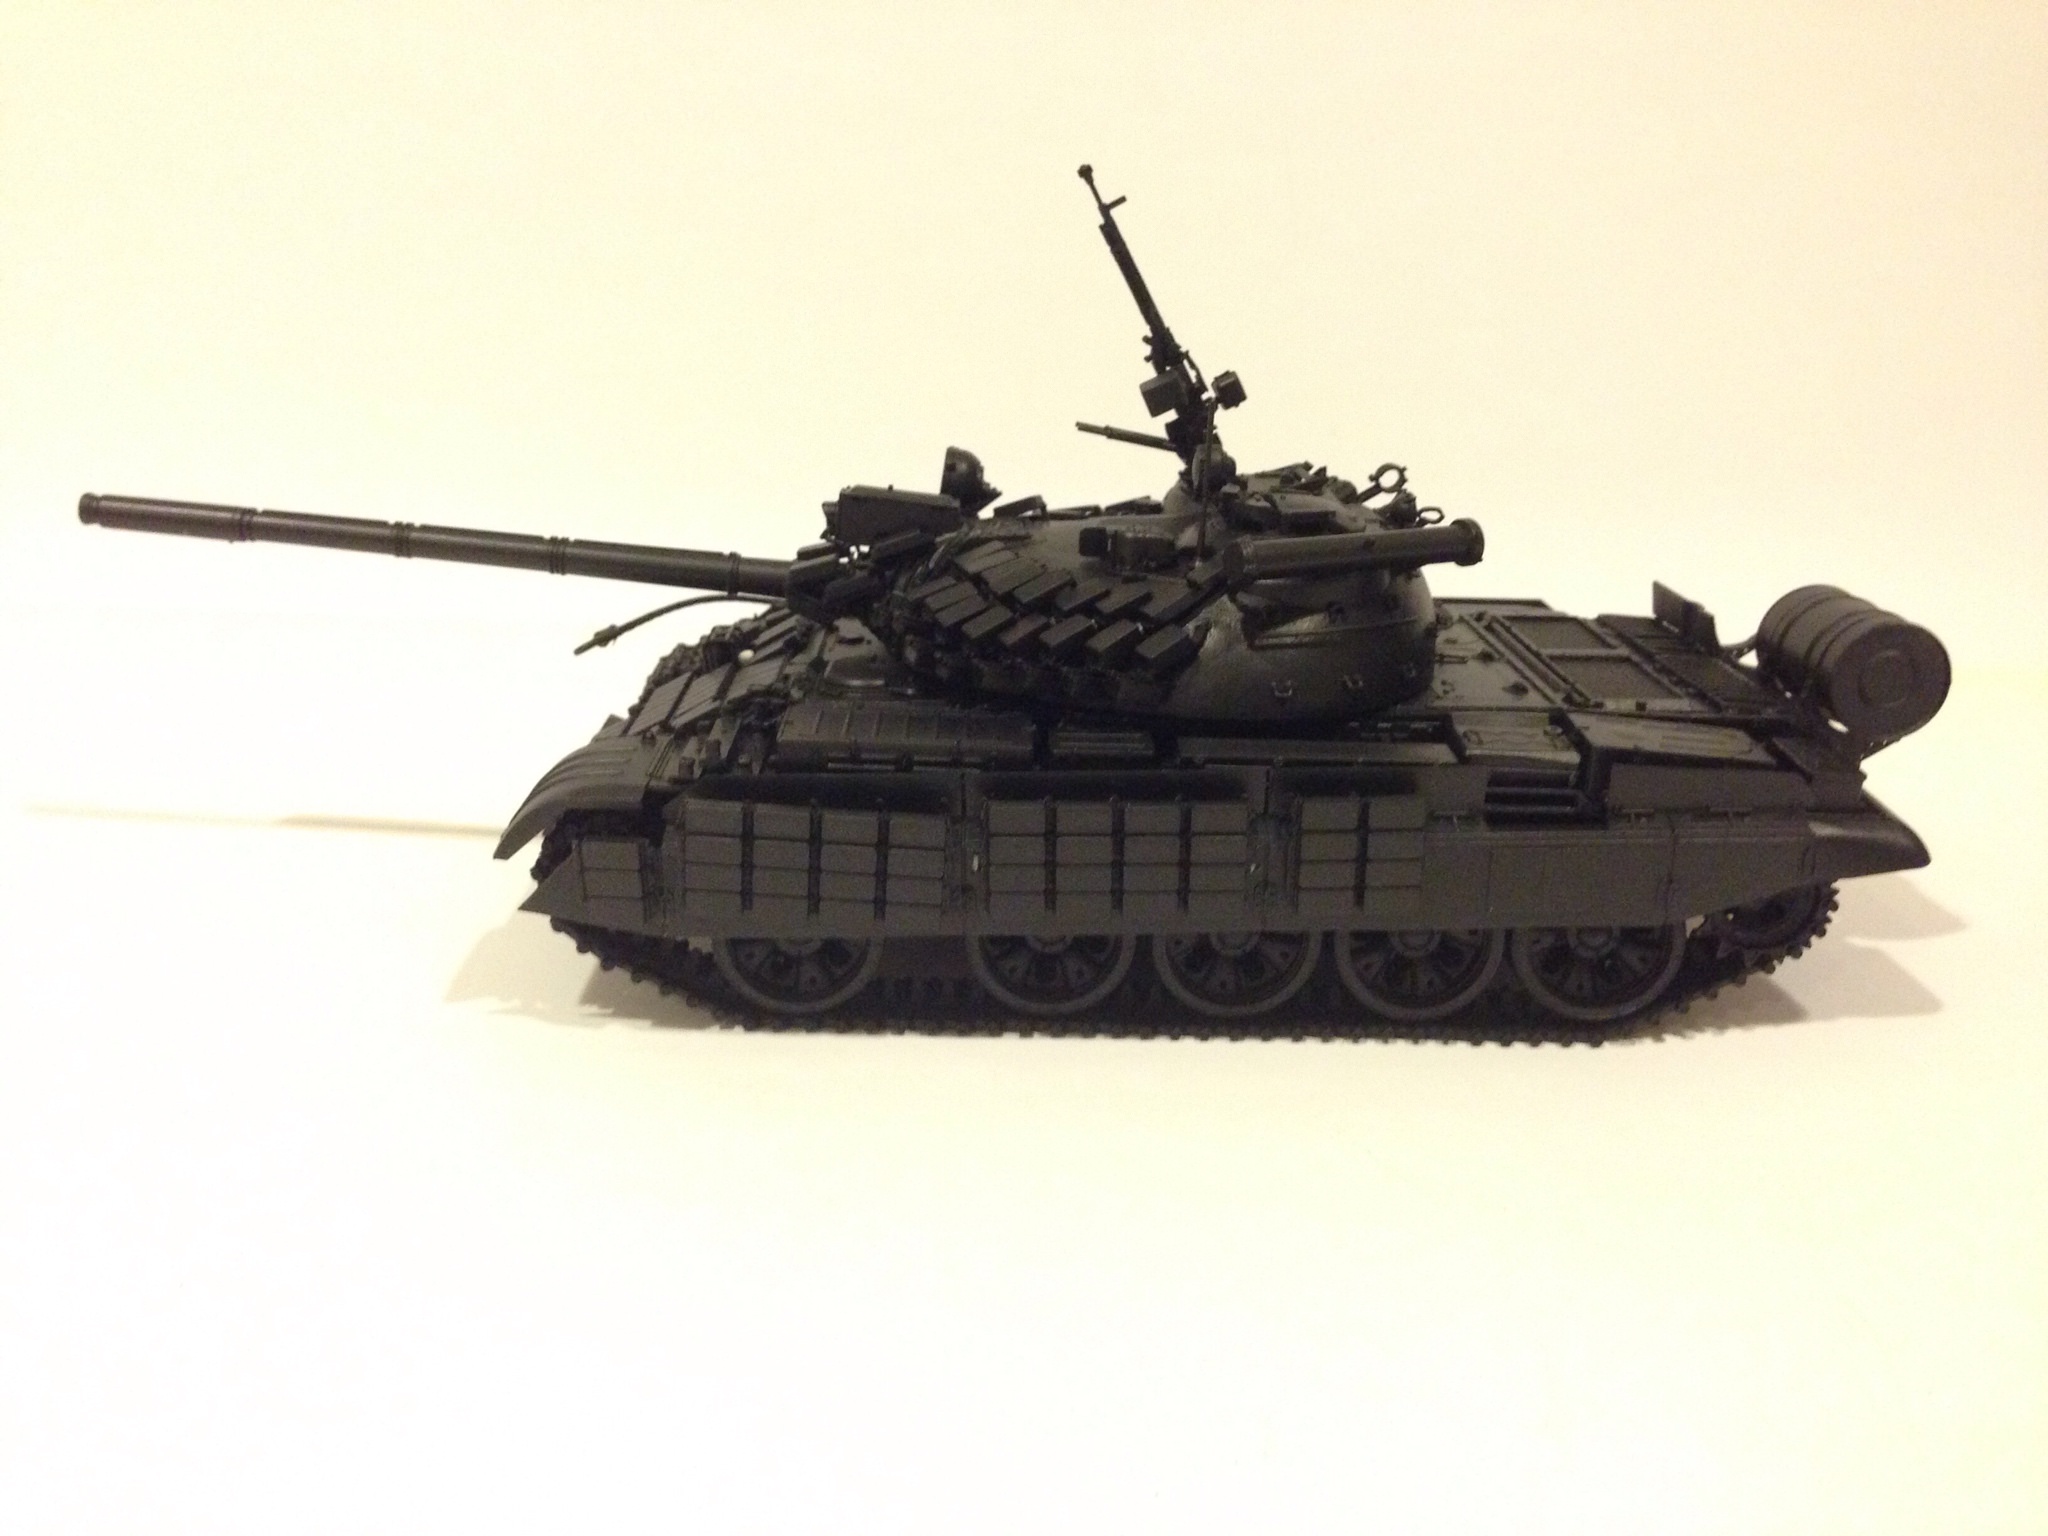
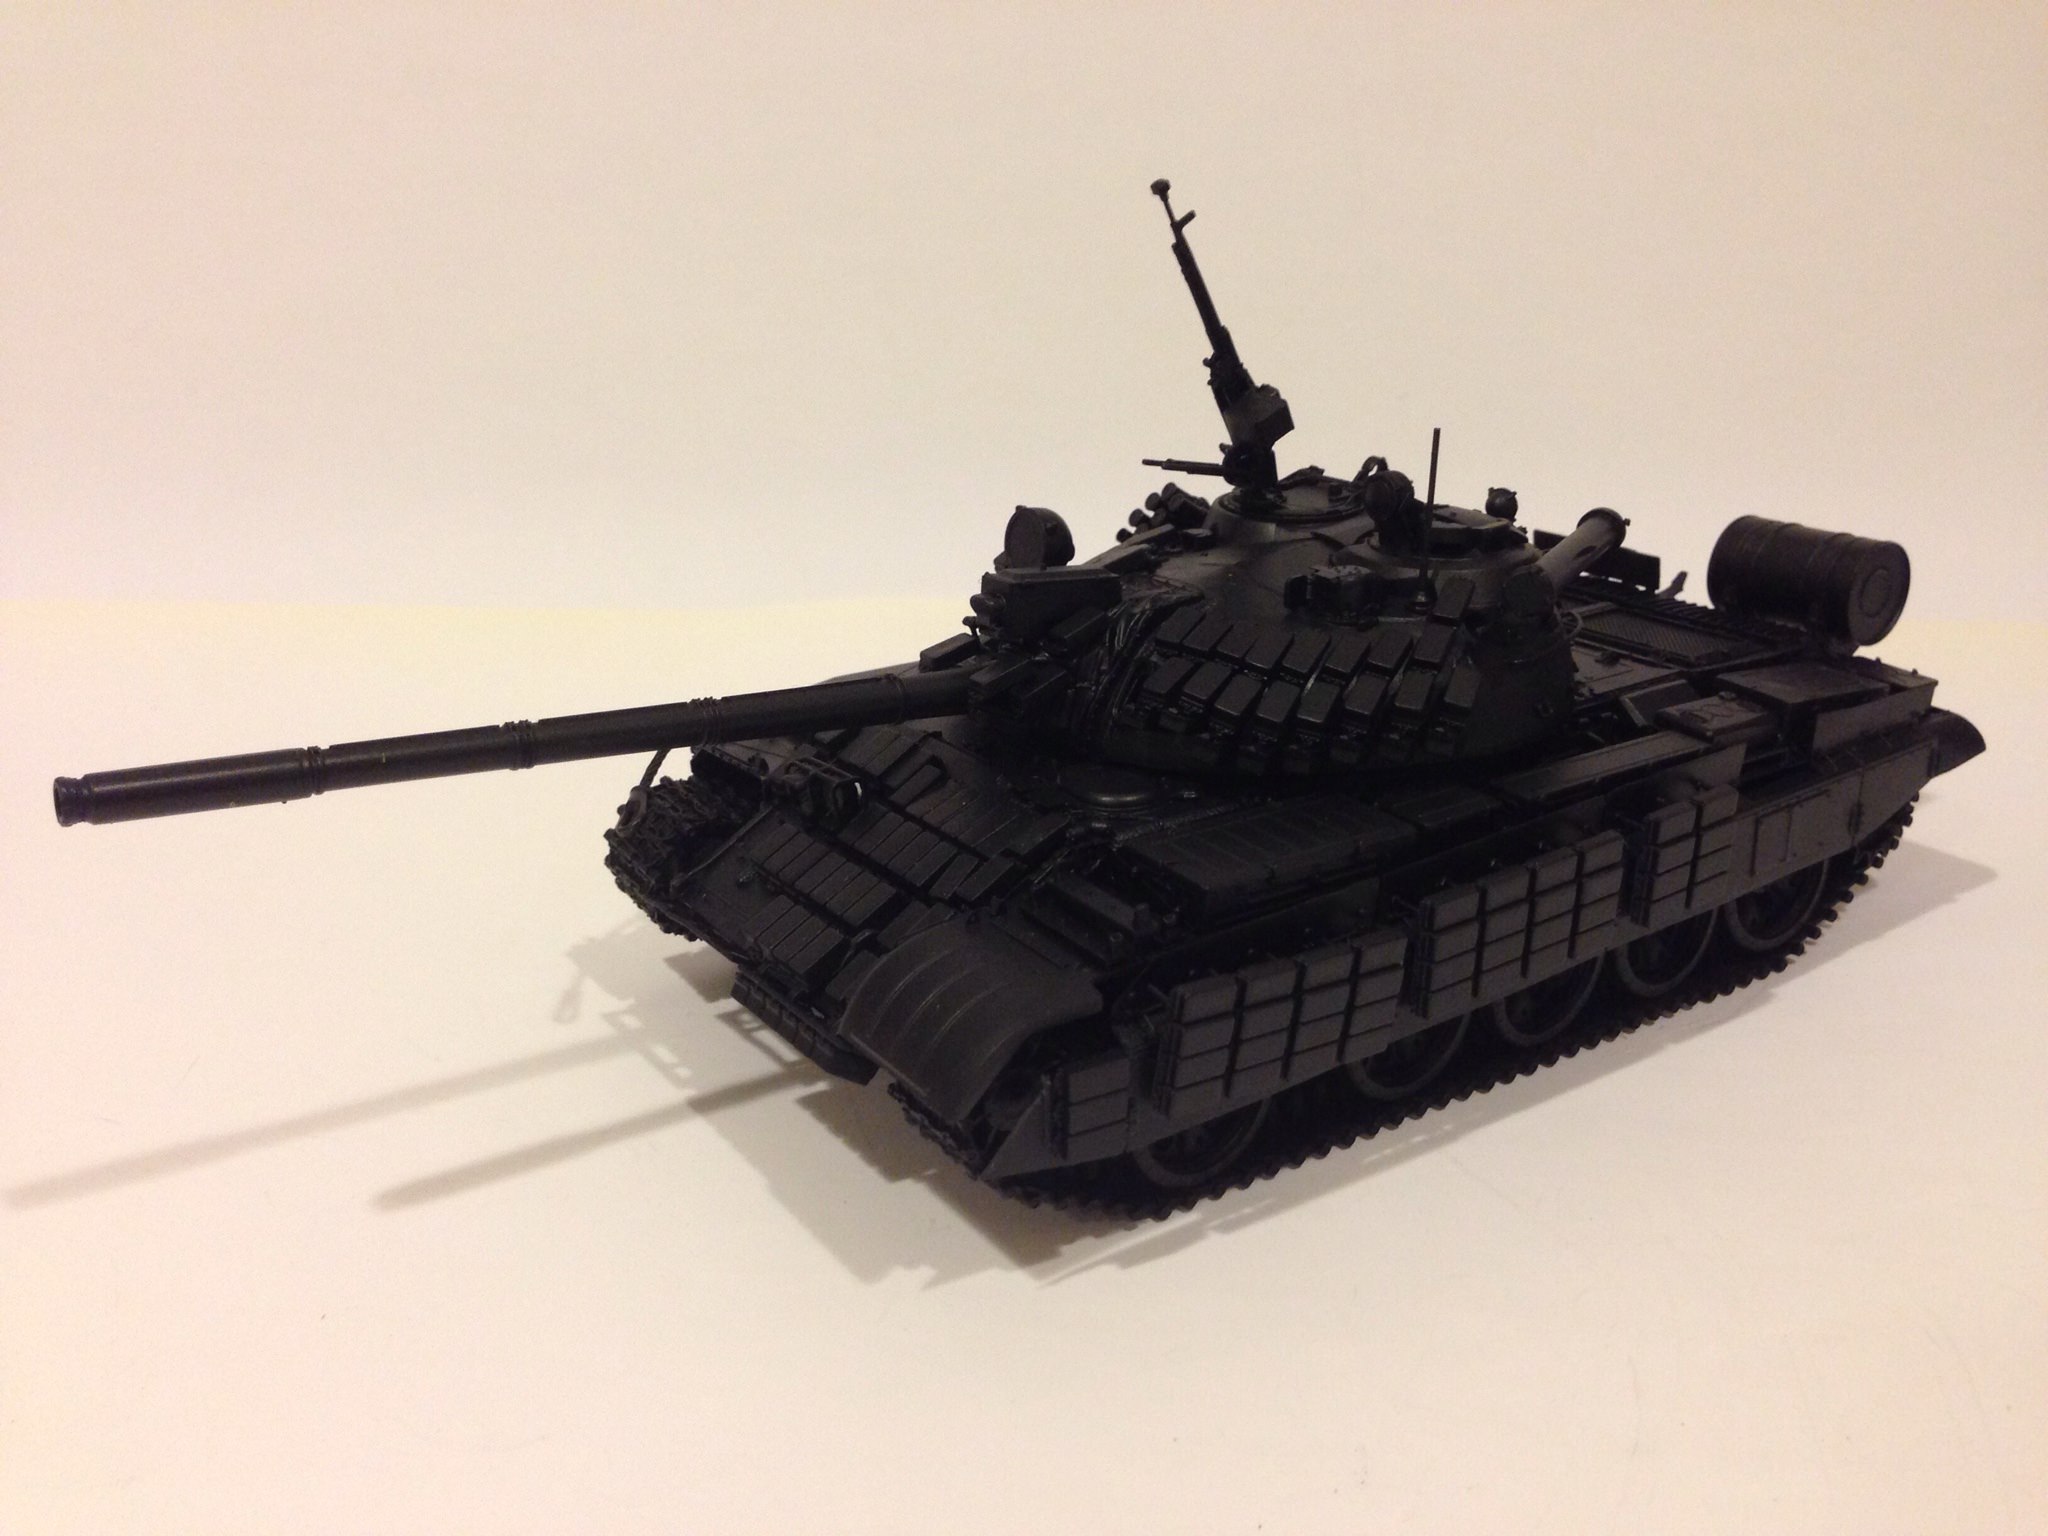
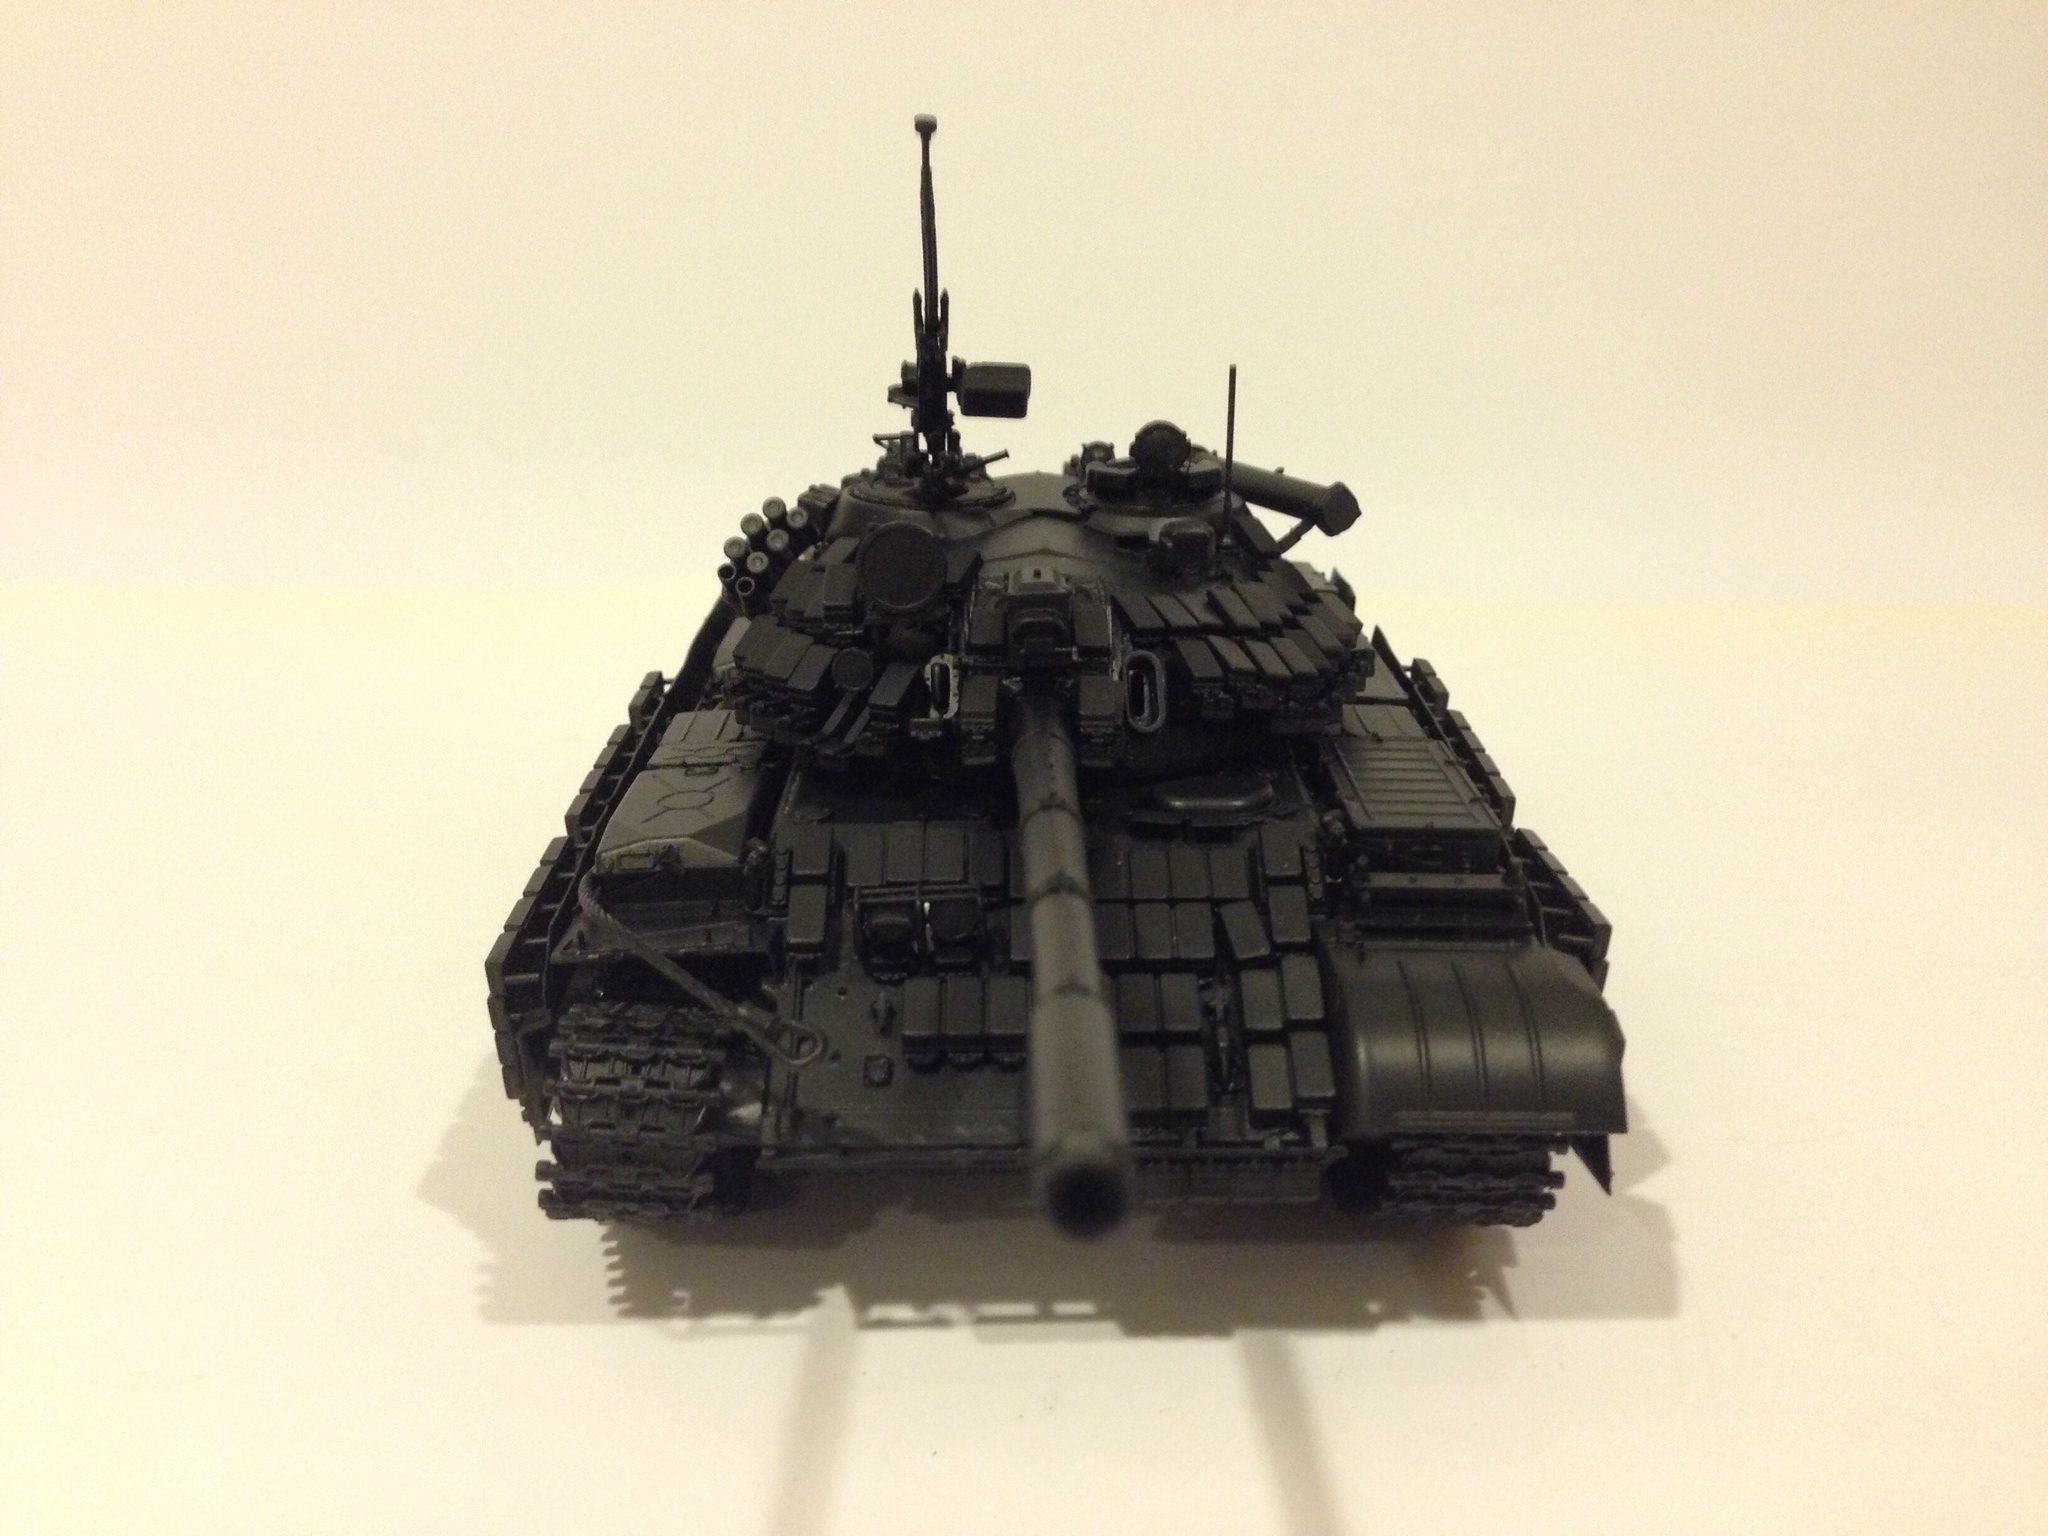
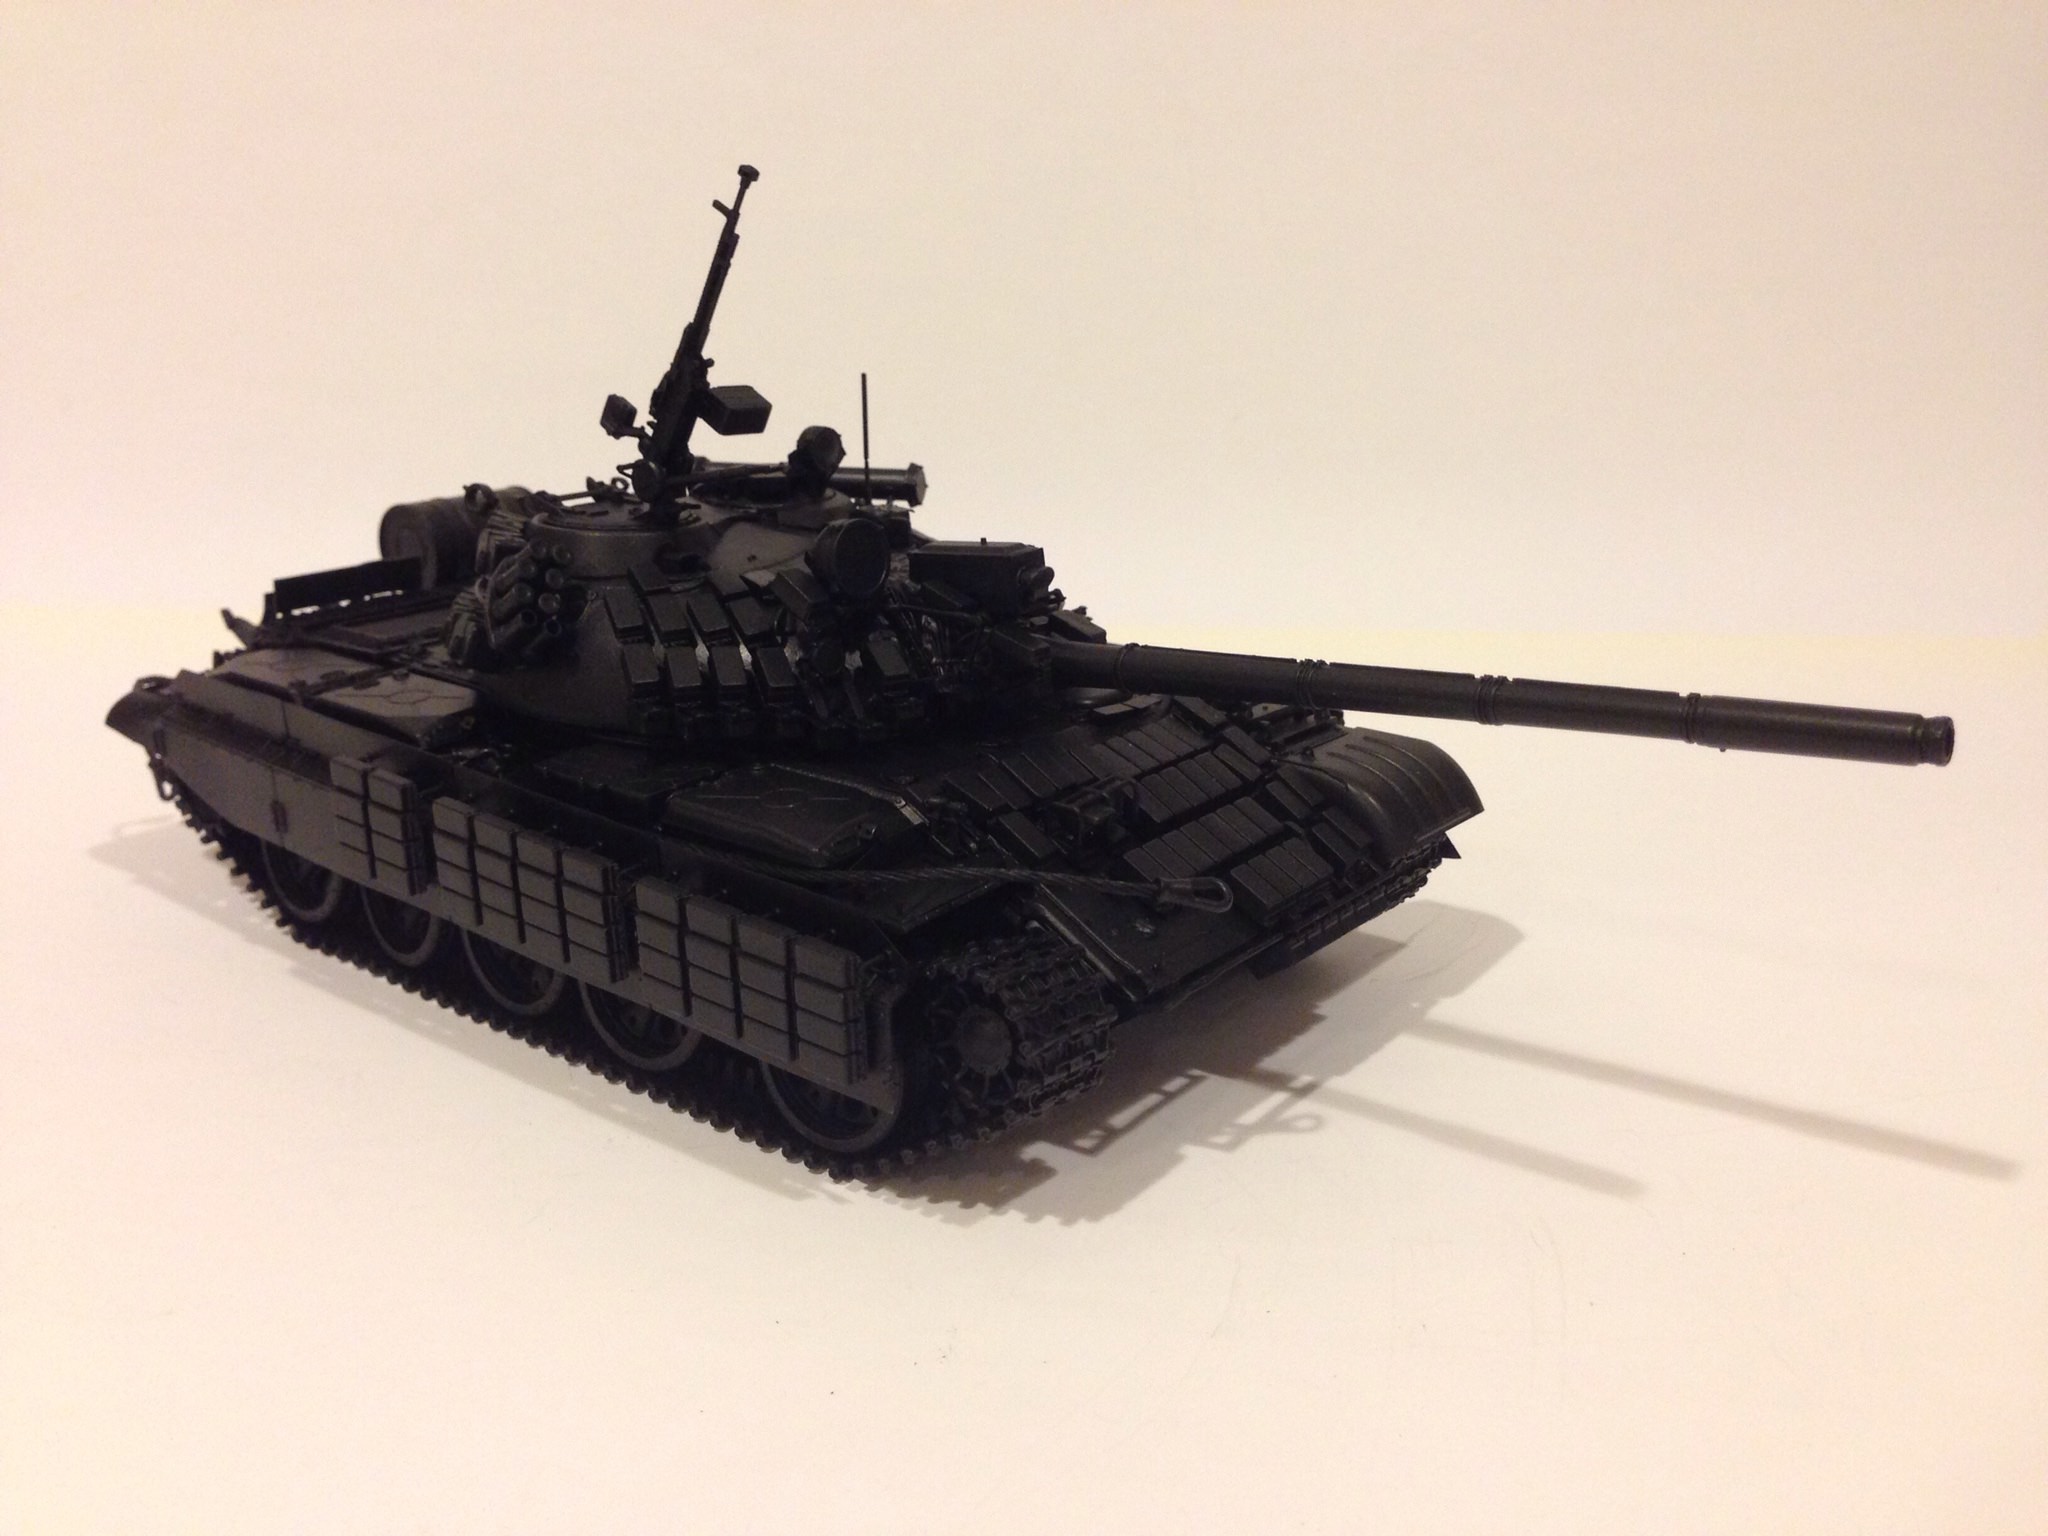
And some more closeup shots. Since some of the hard to reach places have been primed ahead of time, I don't see any missed spots at all.
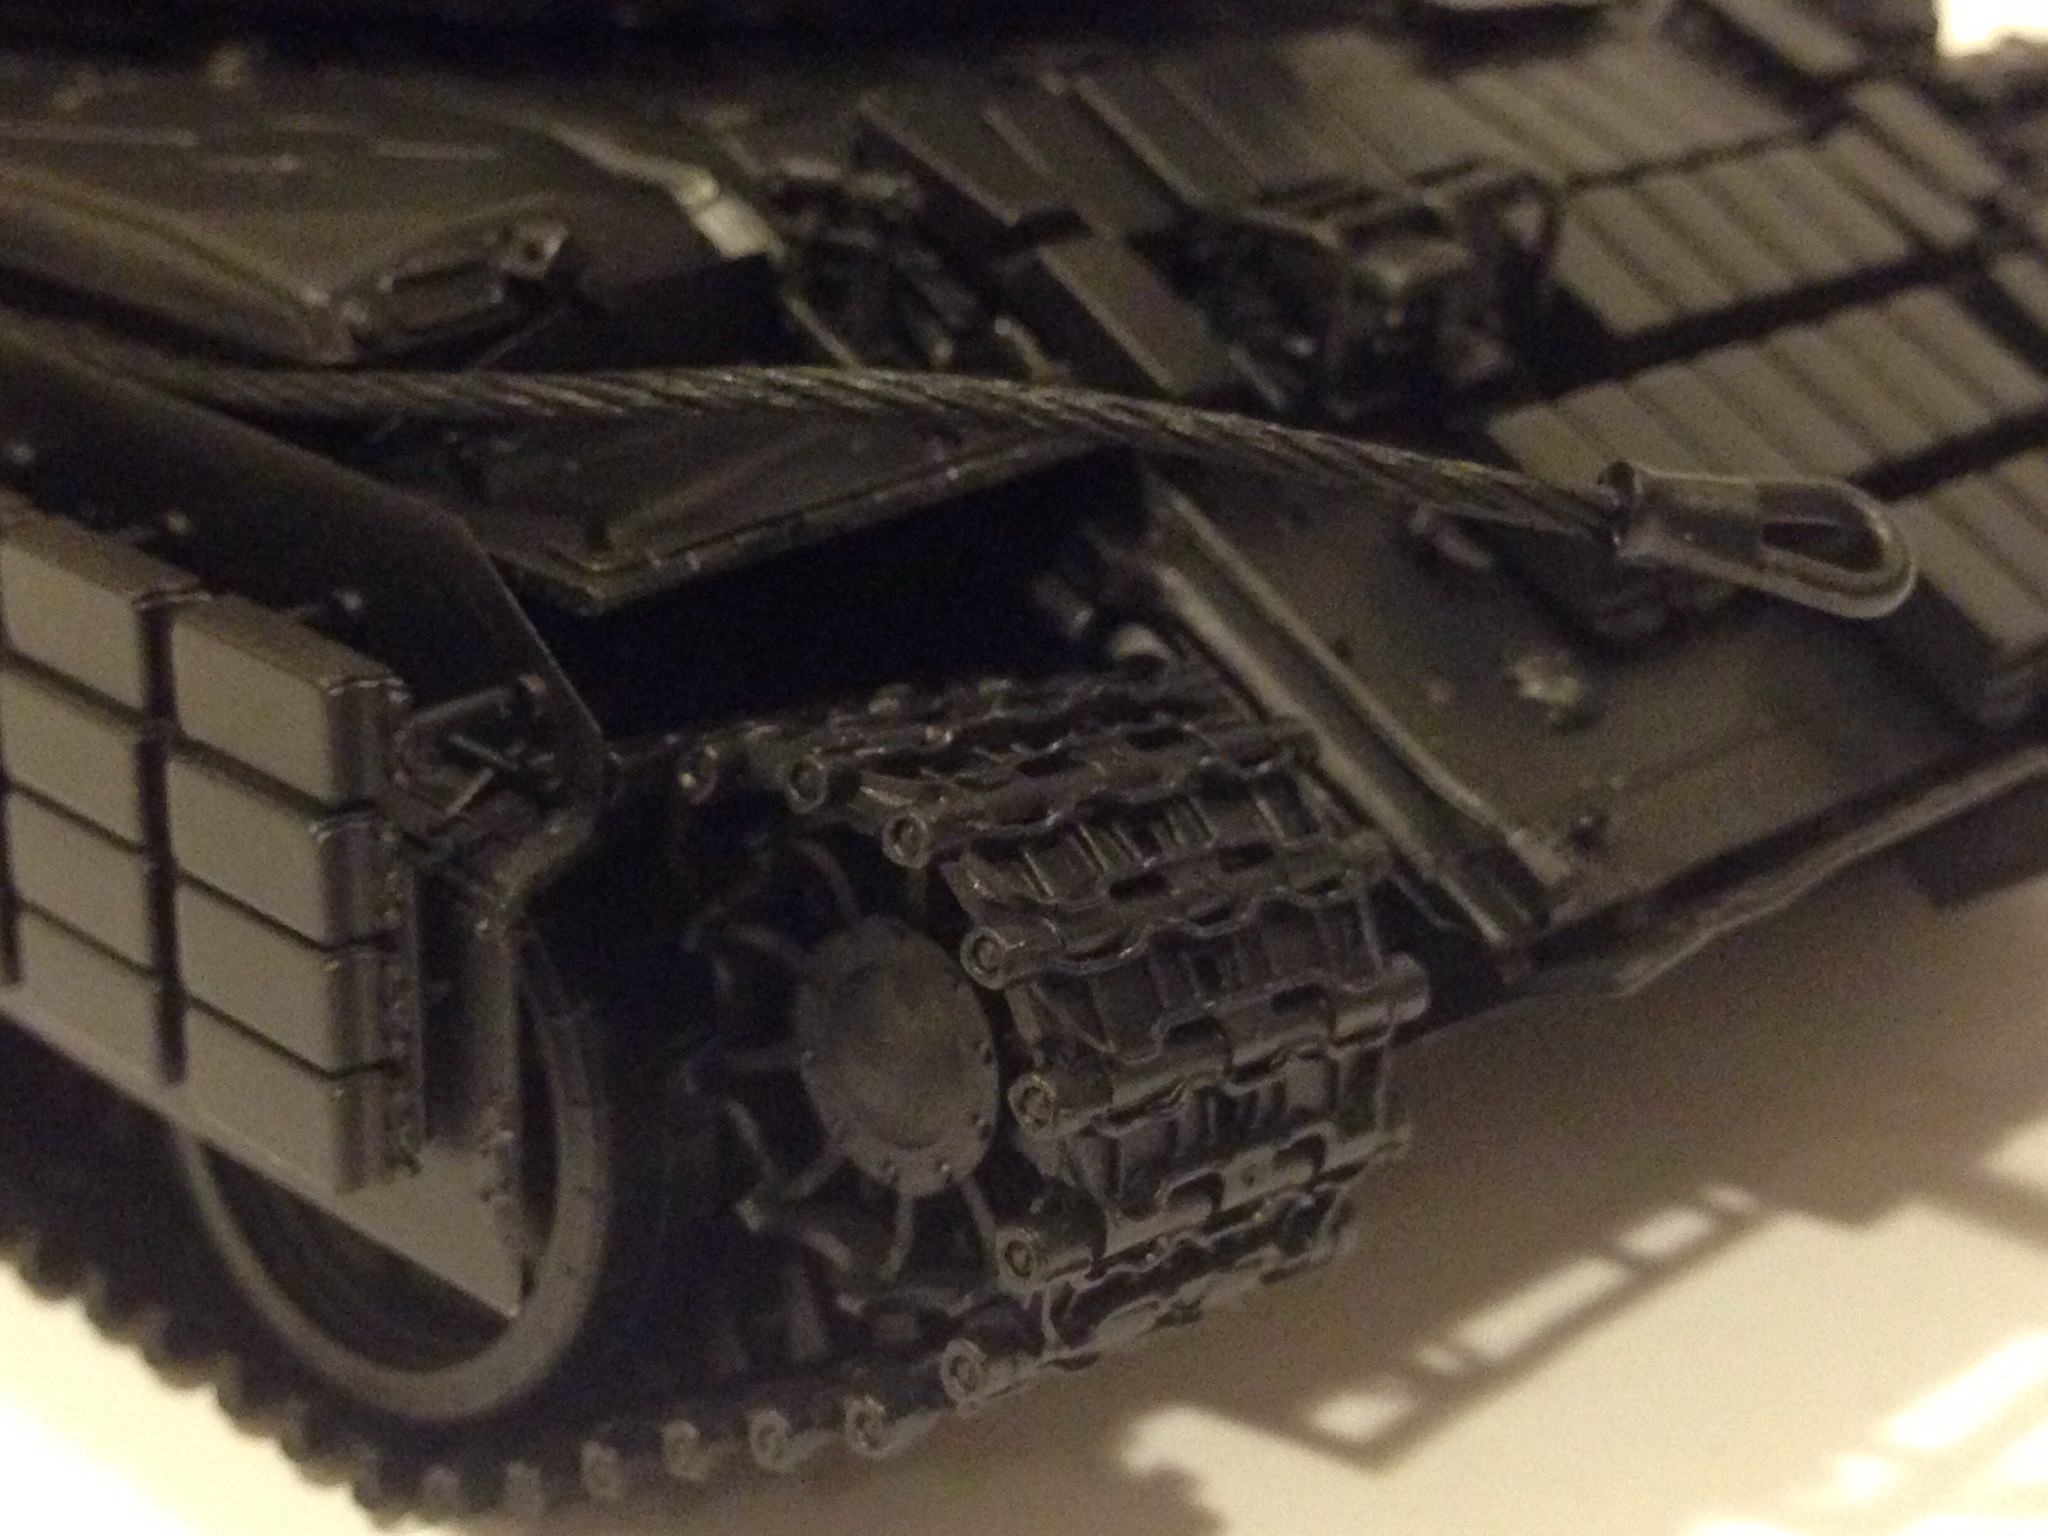
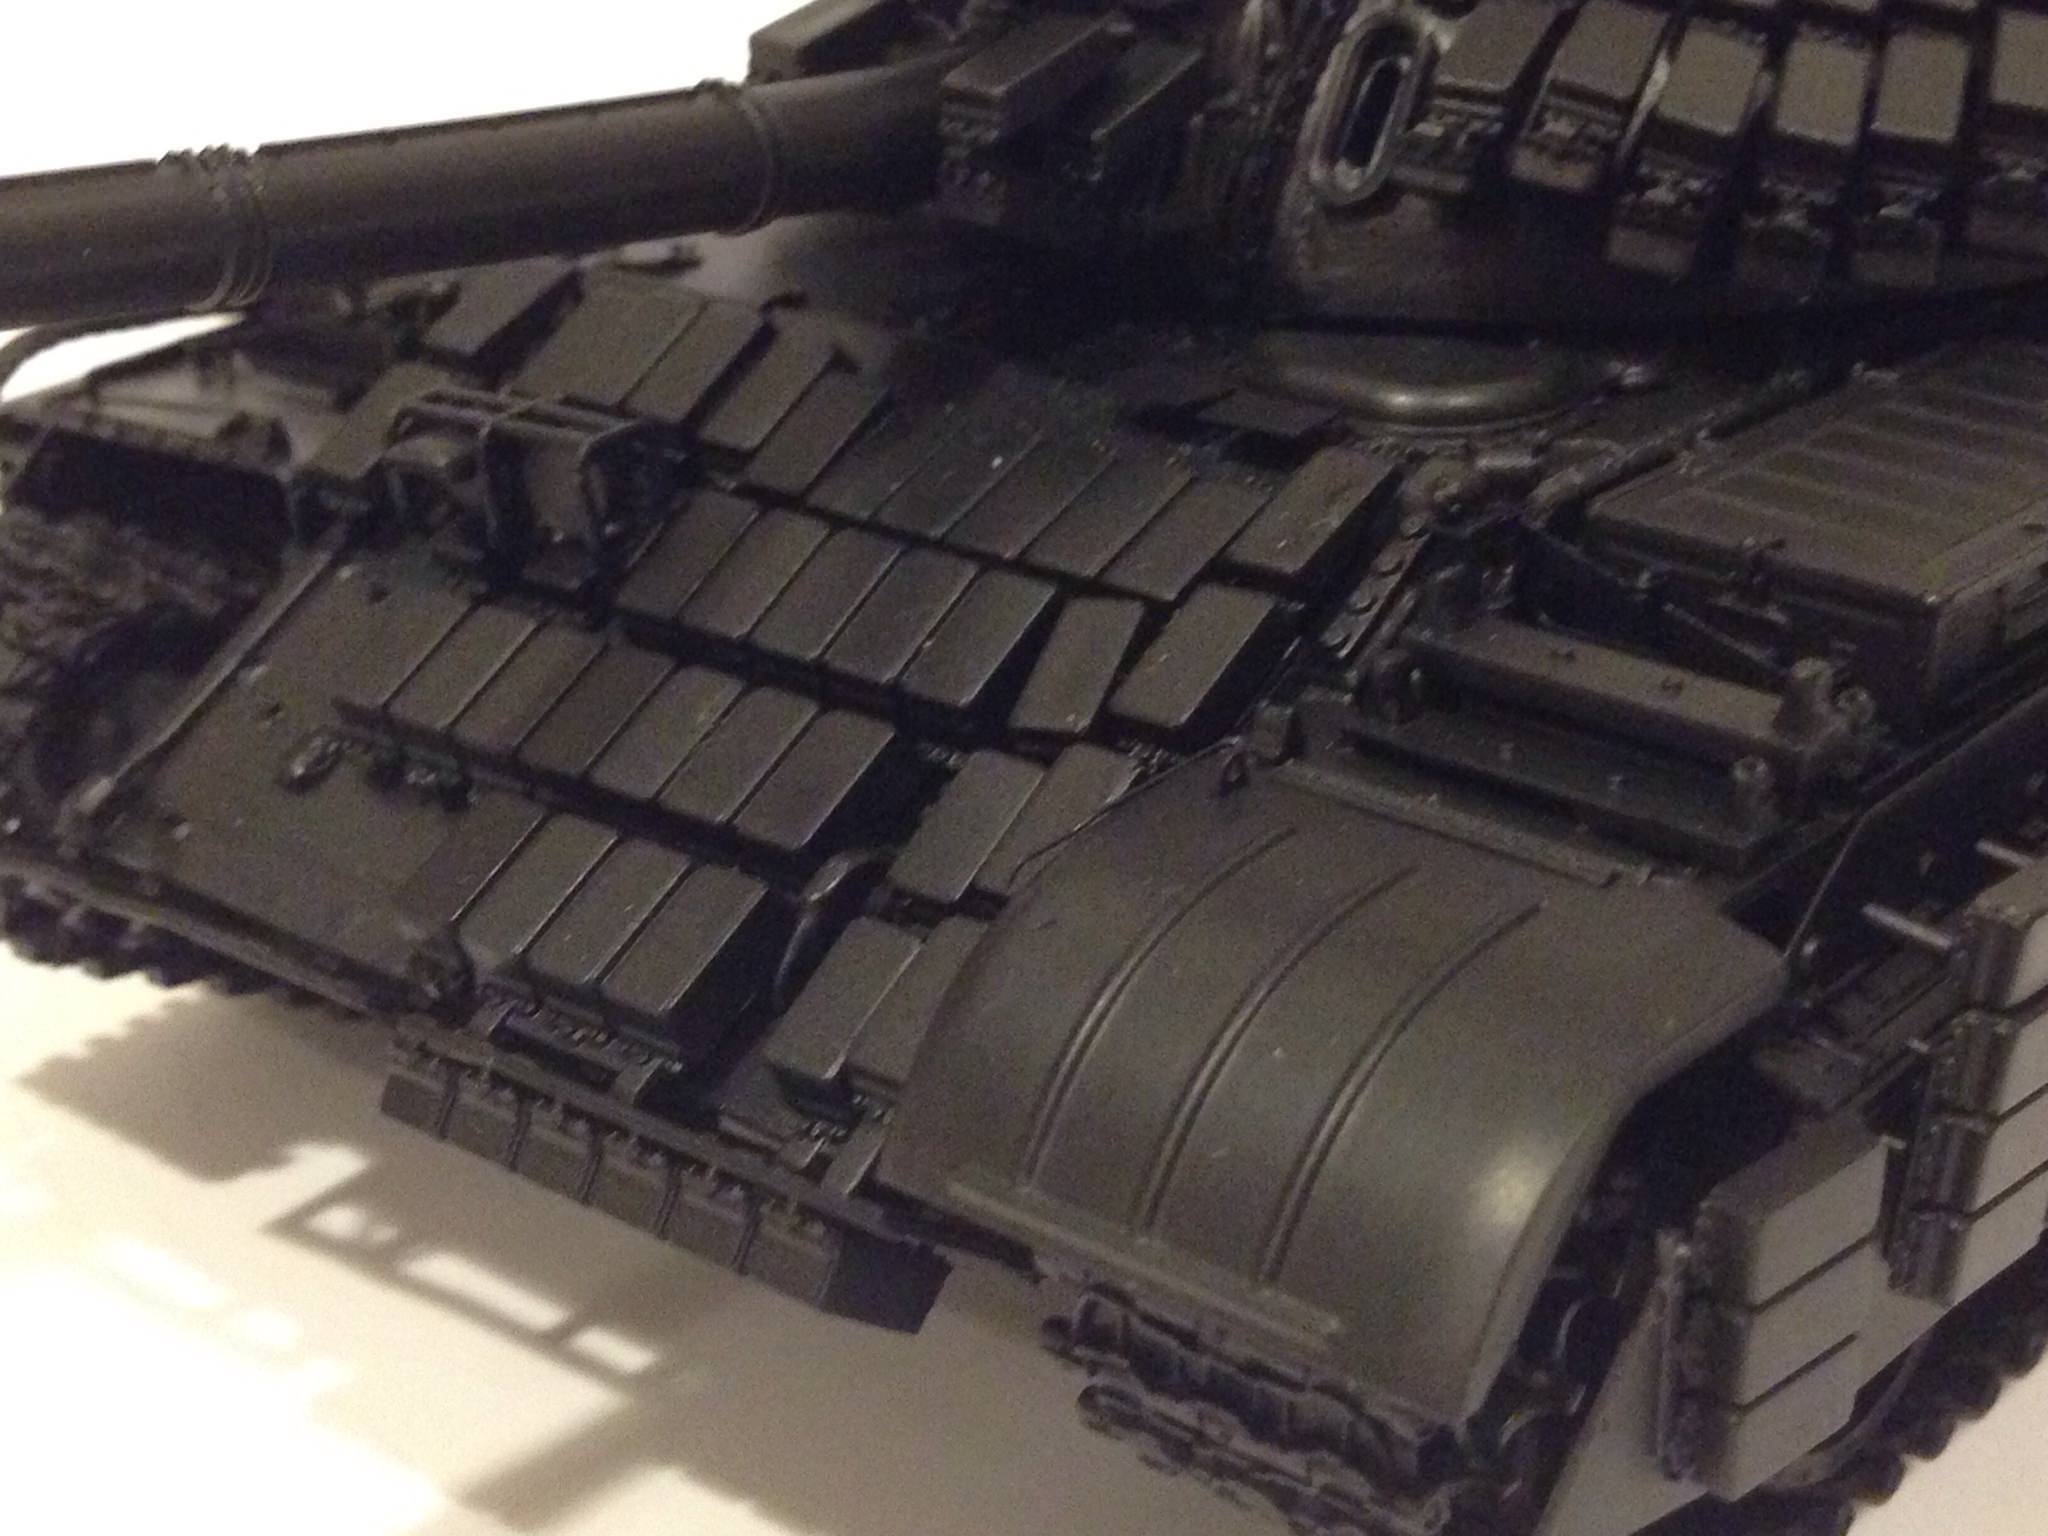
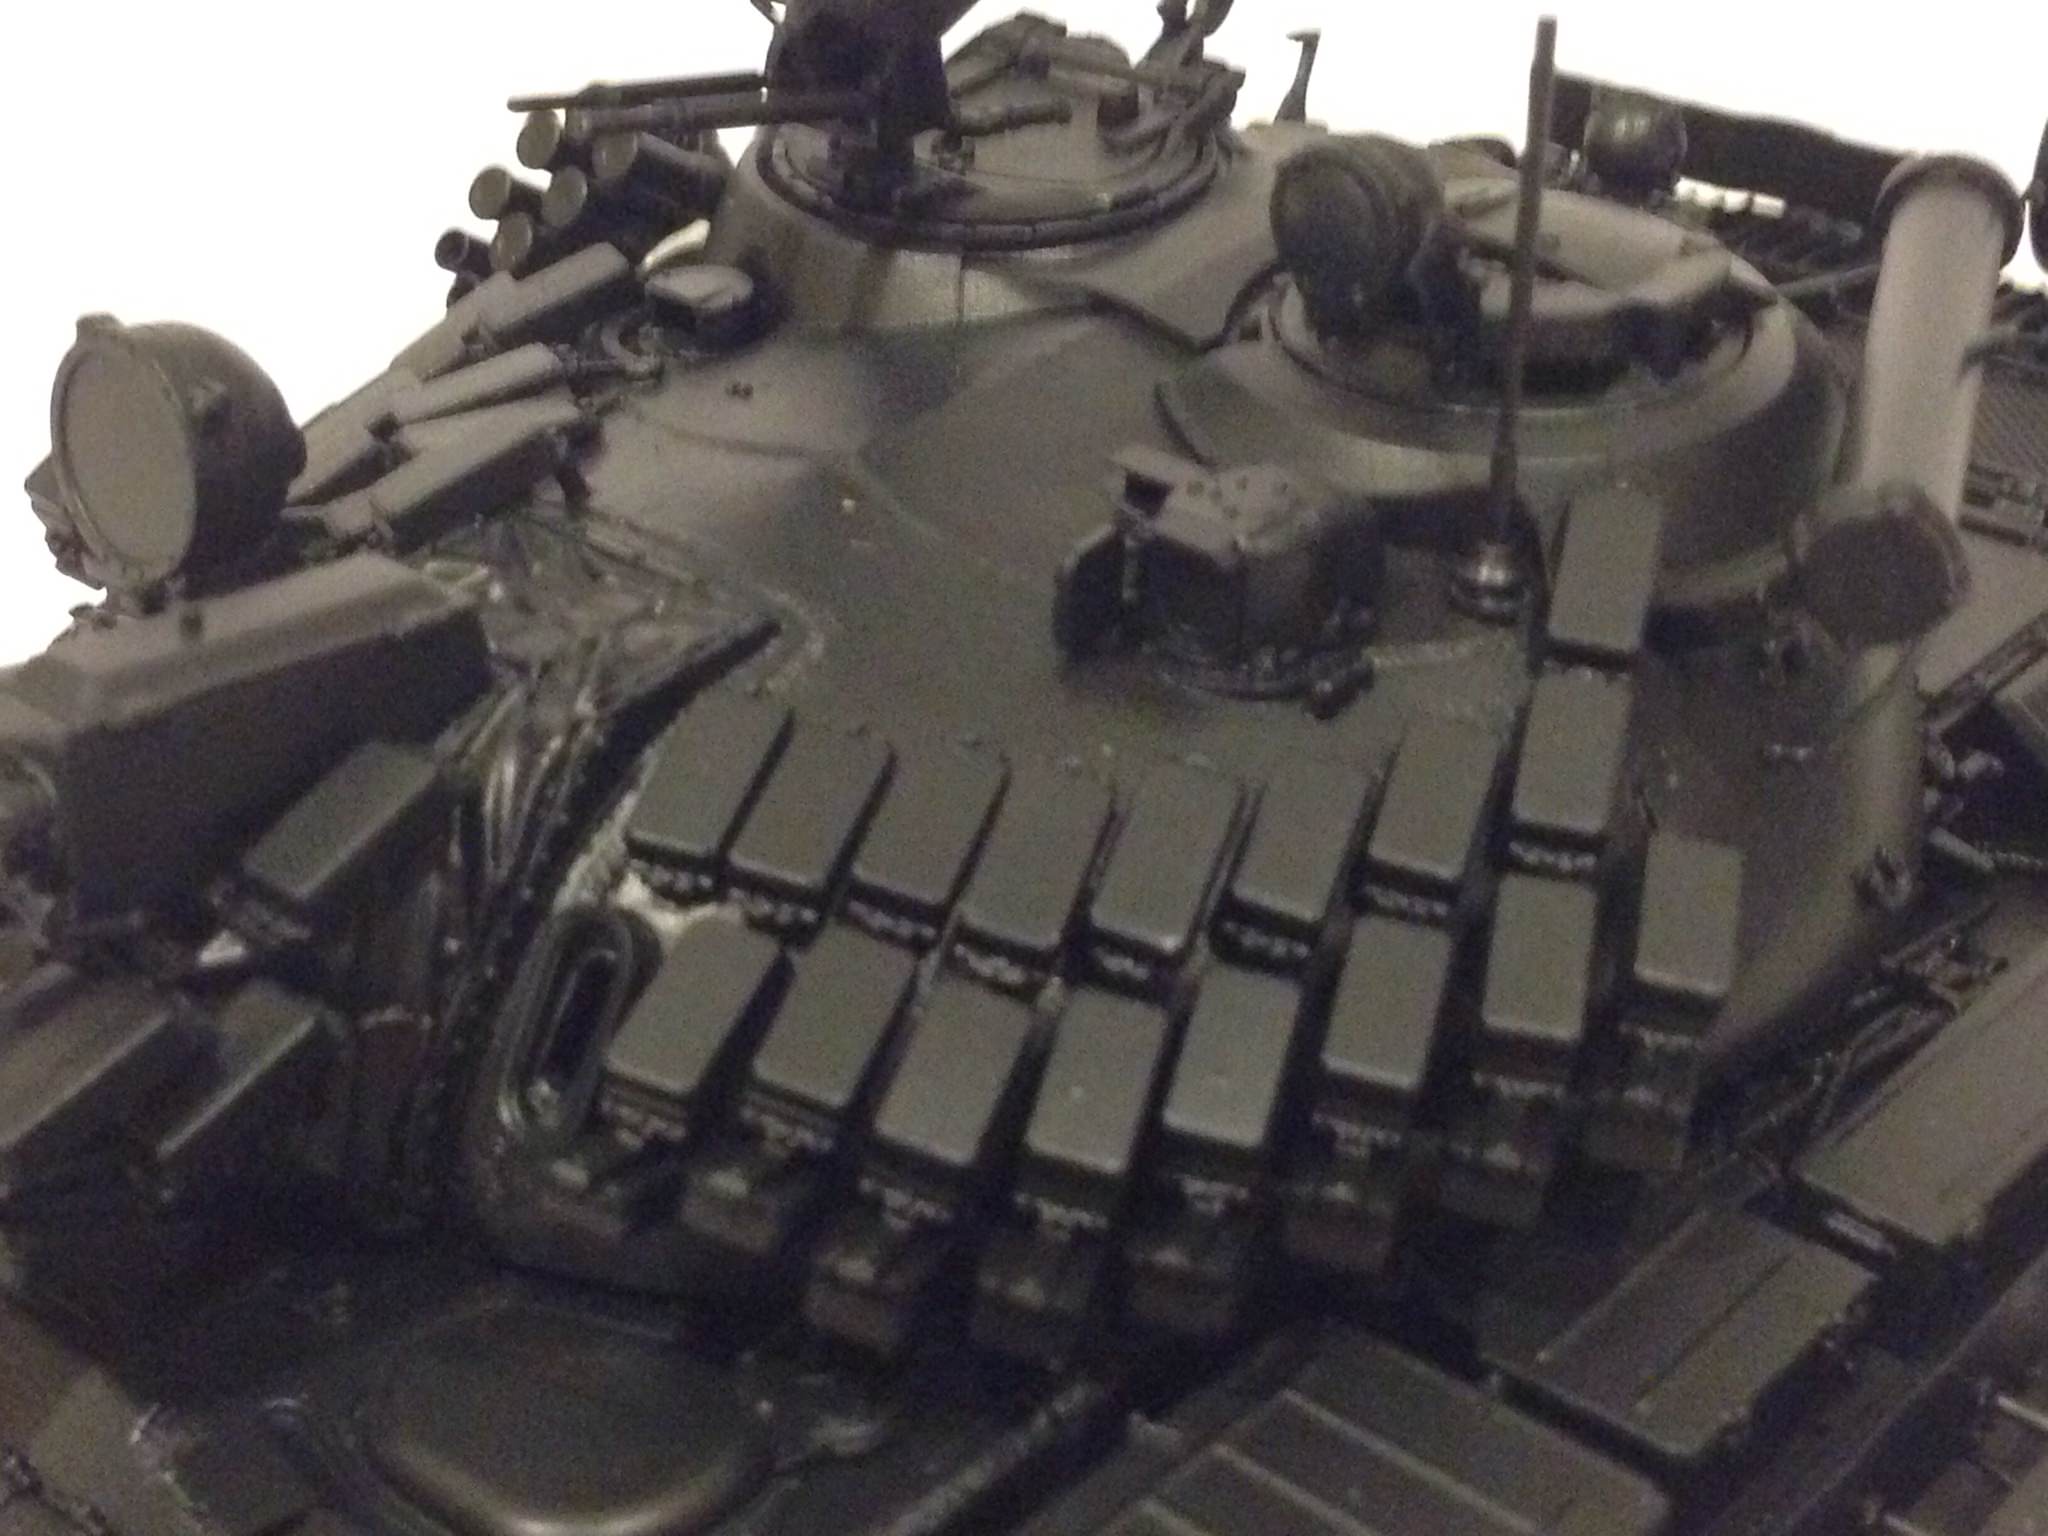

Thanks!


And here are photos of after it has been re-assembled.


And some more closeup shots. Since some of the hard to reach places have been primed ahead of time, I don't see any missed spots at all.


Thanks!

BravoTwoZero

Joined: June 11, 2009
KitMaker: 461 posts
Armorama: 370 posts

Posted: Friday, May 11, 2018 - 04:47 AM UTC
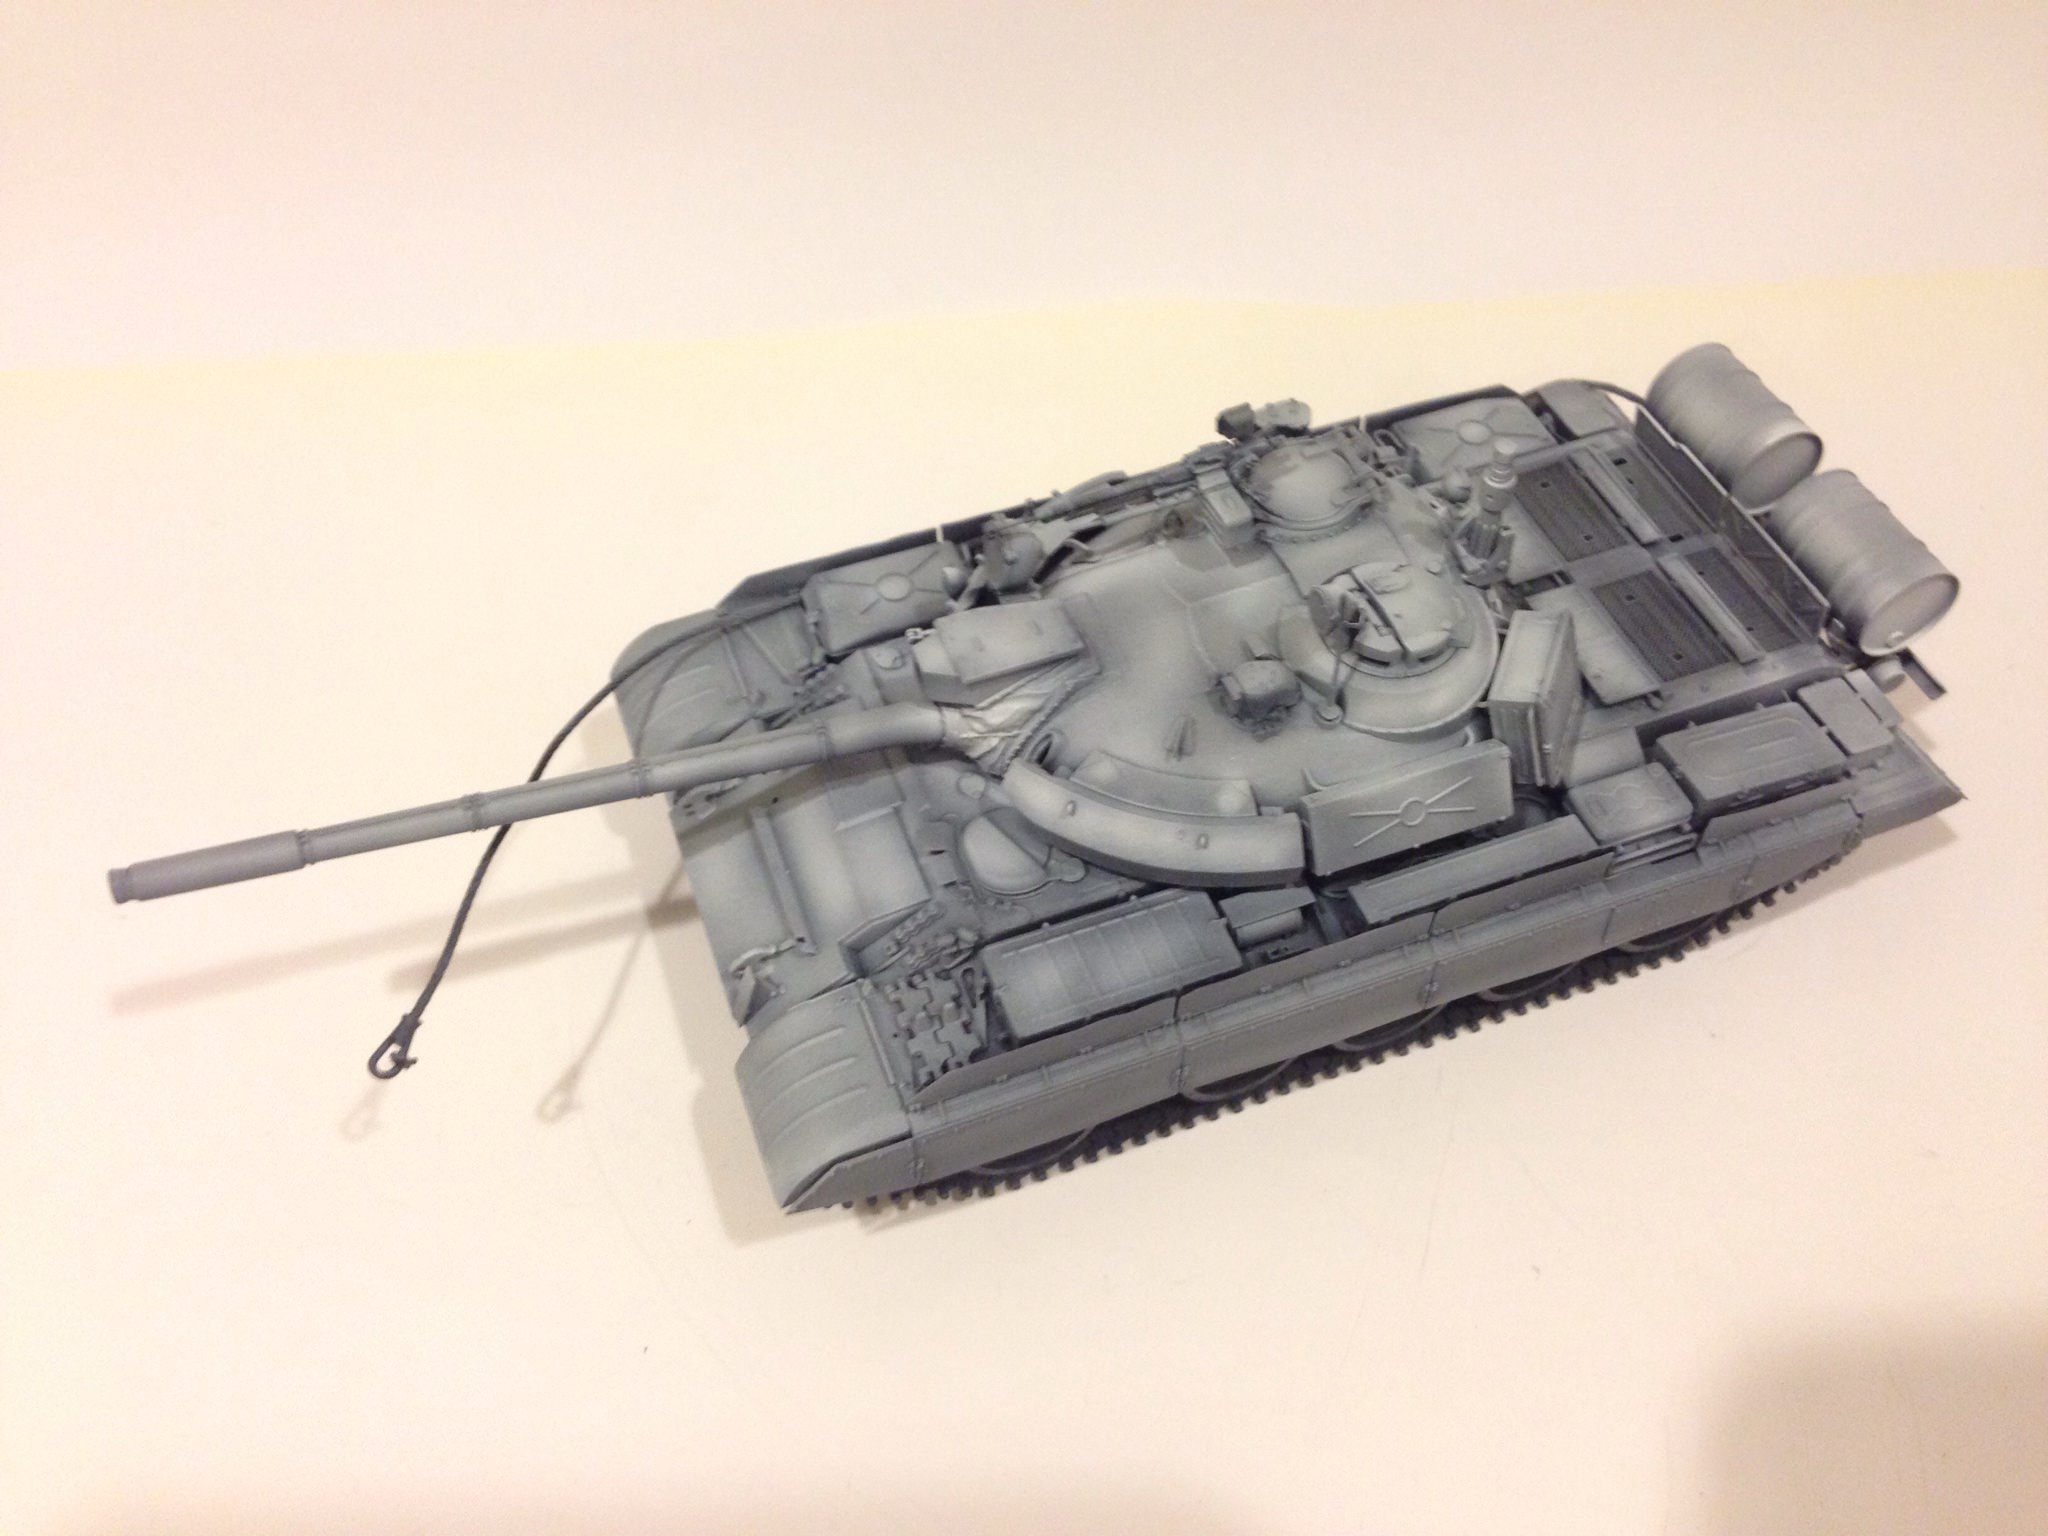
Here are pictures of my attempt at pre-shading on the T55 AM2B. I mixed various ratios of the Mission Models Black and White primers. I was practicing if I could achieve the gradients. I guess I'll need to keep practicing. The end result looks pretty weak. I doubt if these will show up when I spray the base color. Here they are:
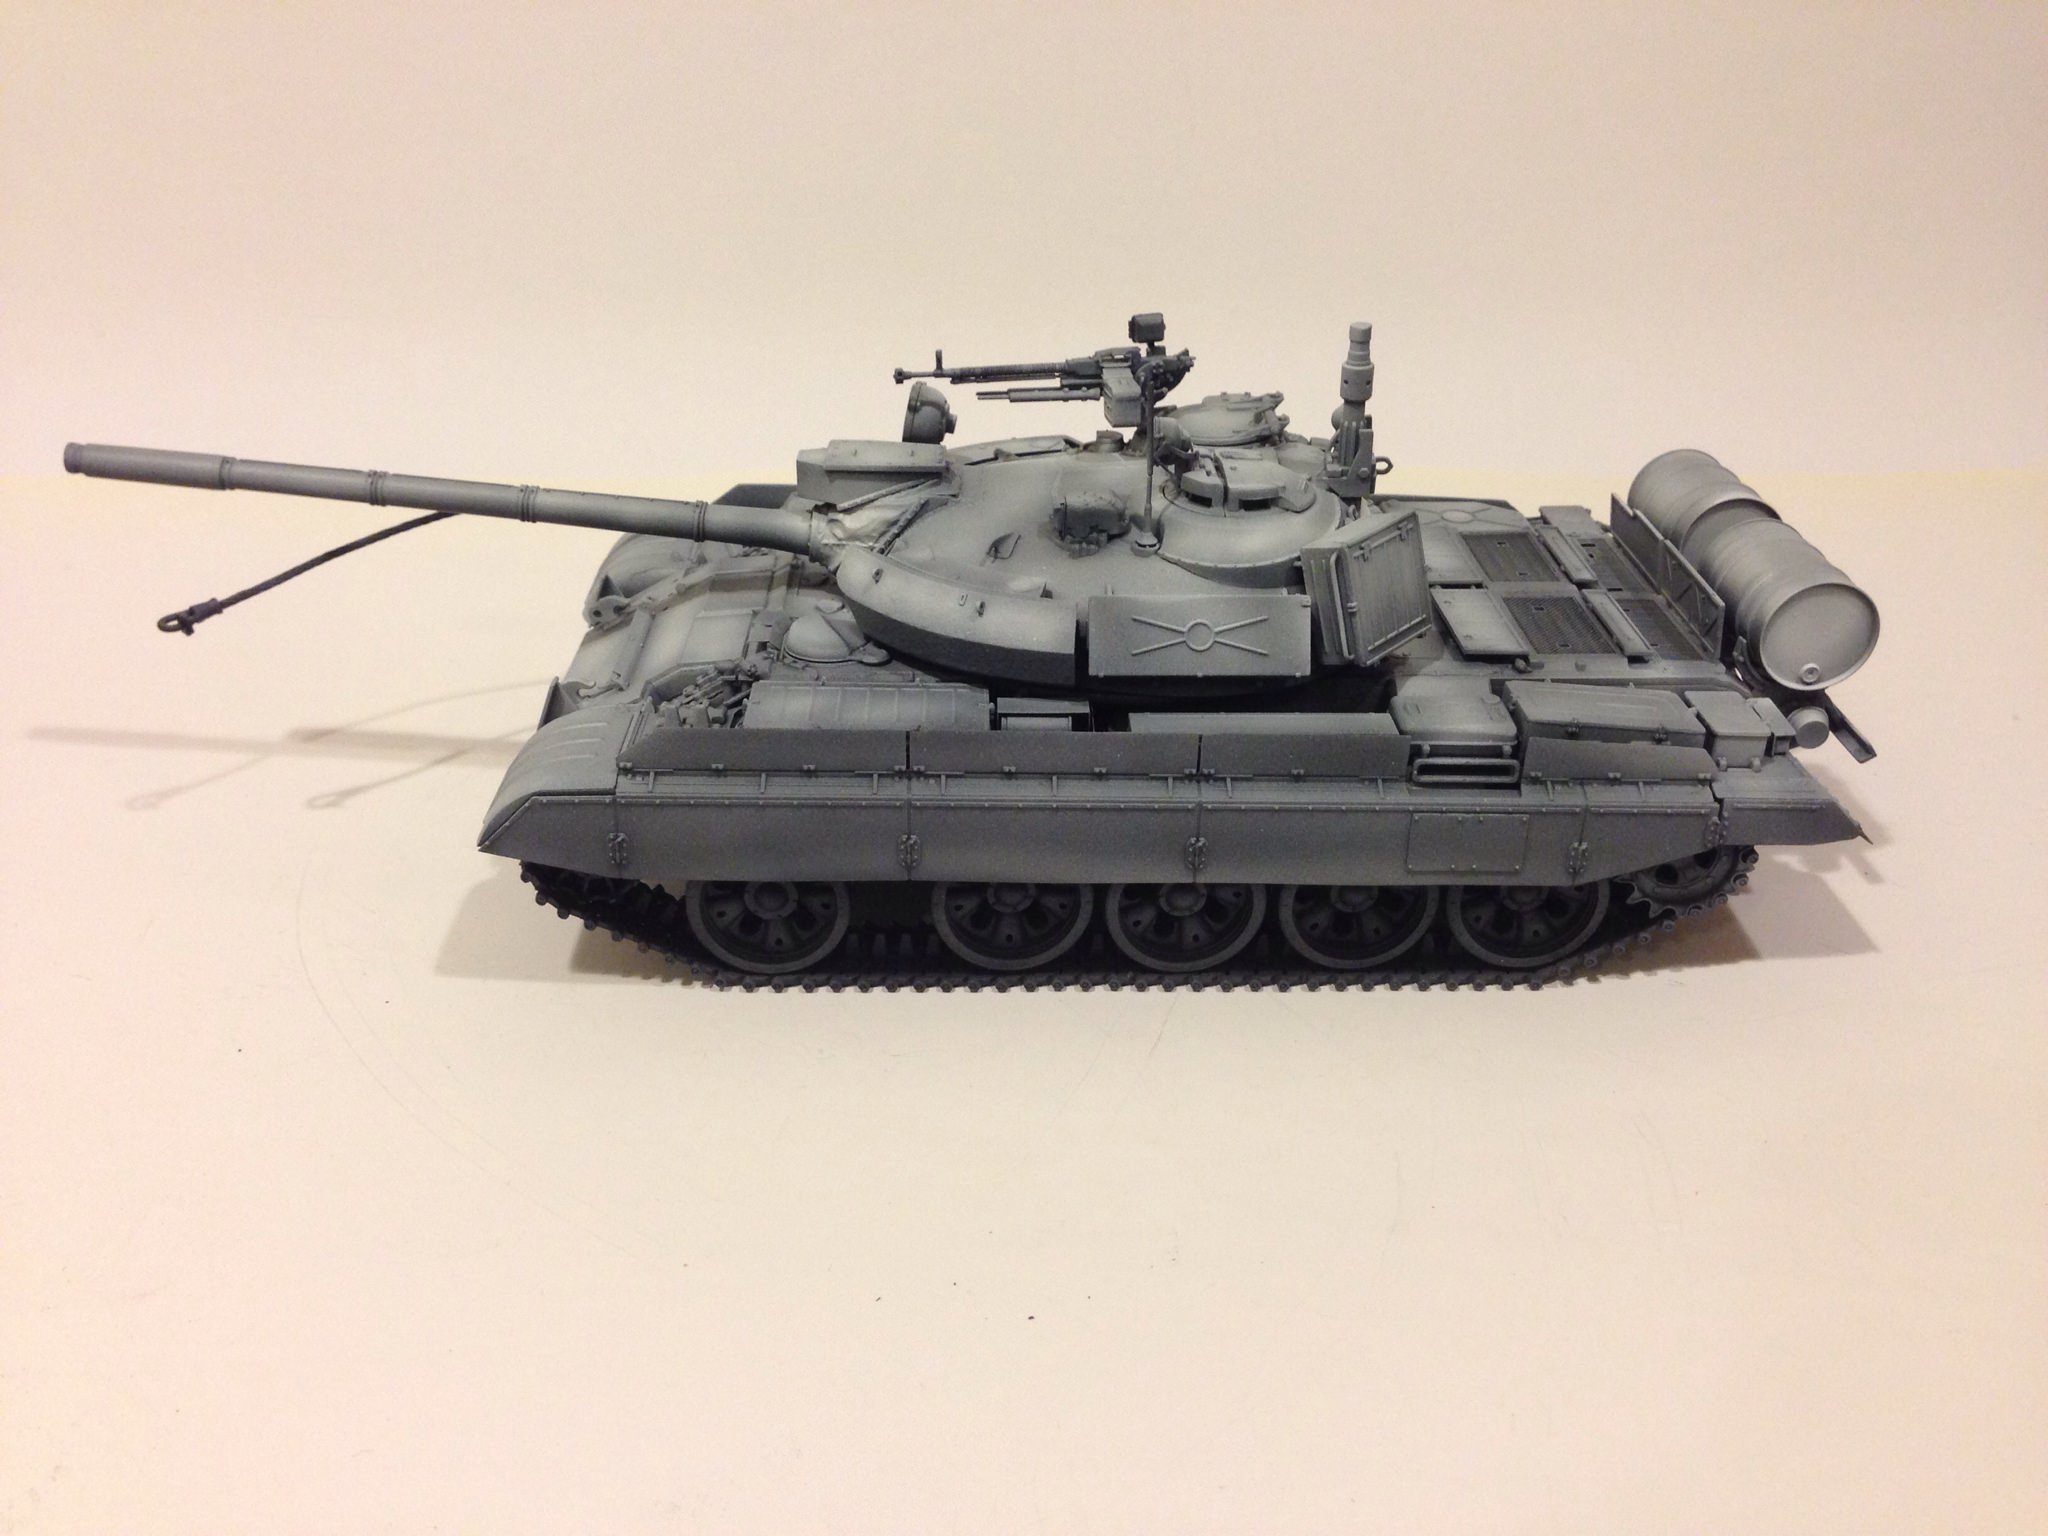
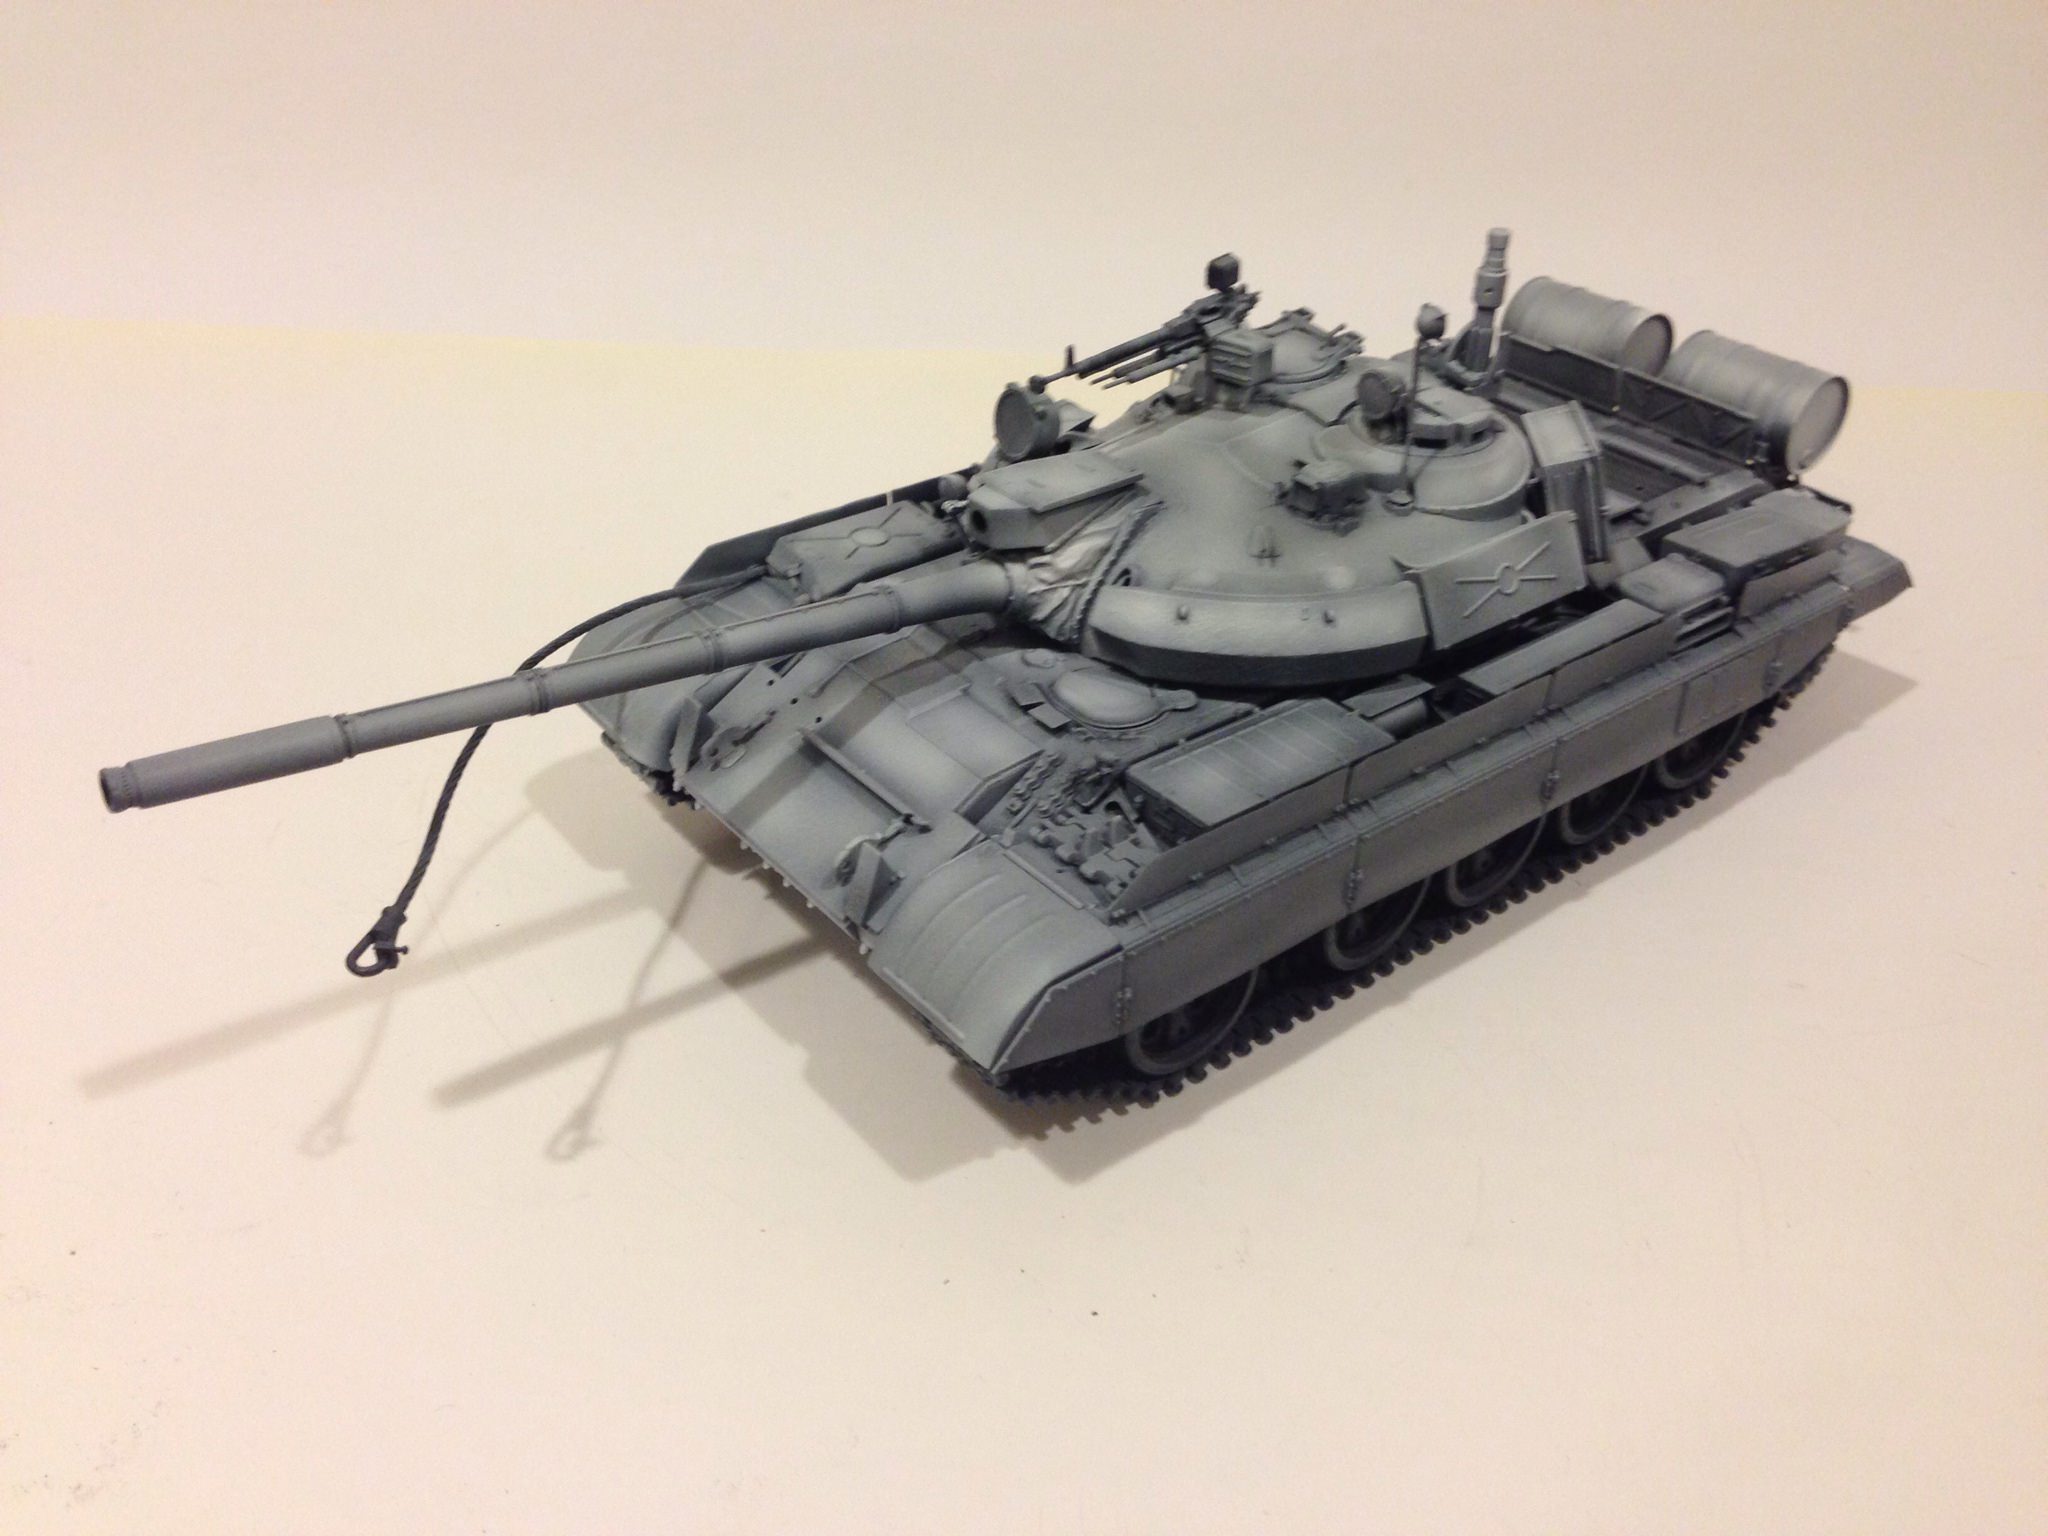
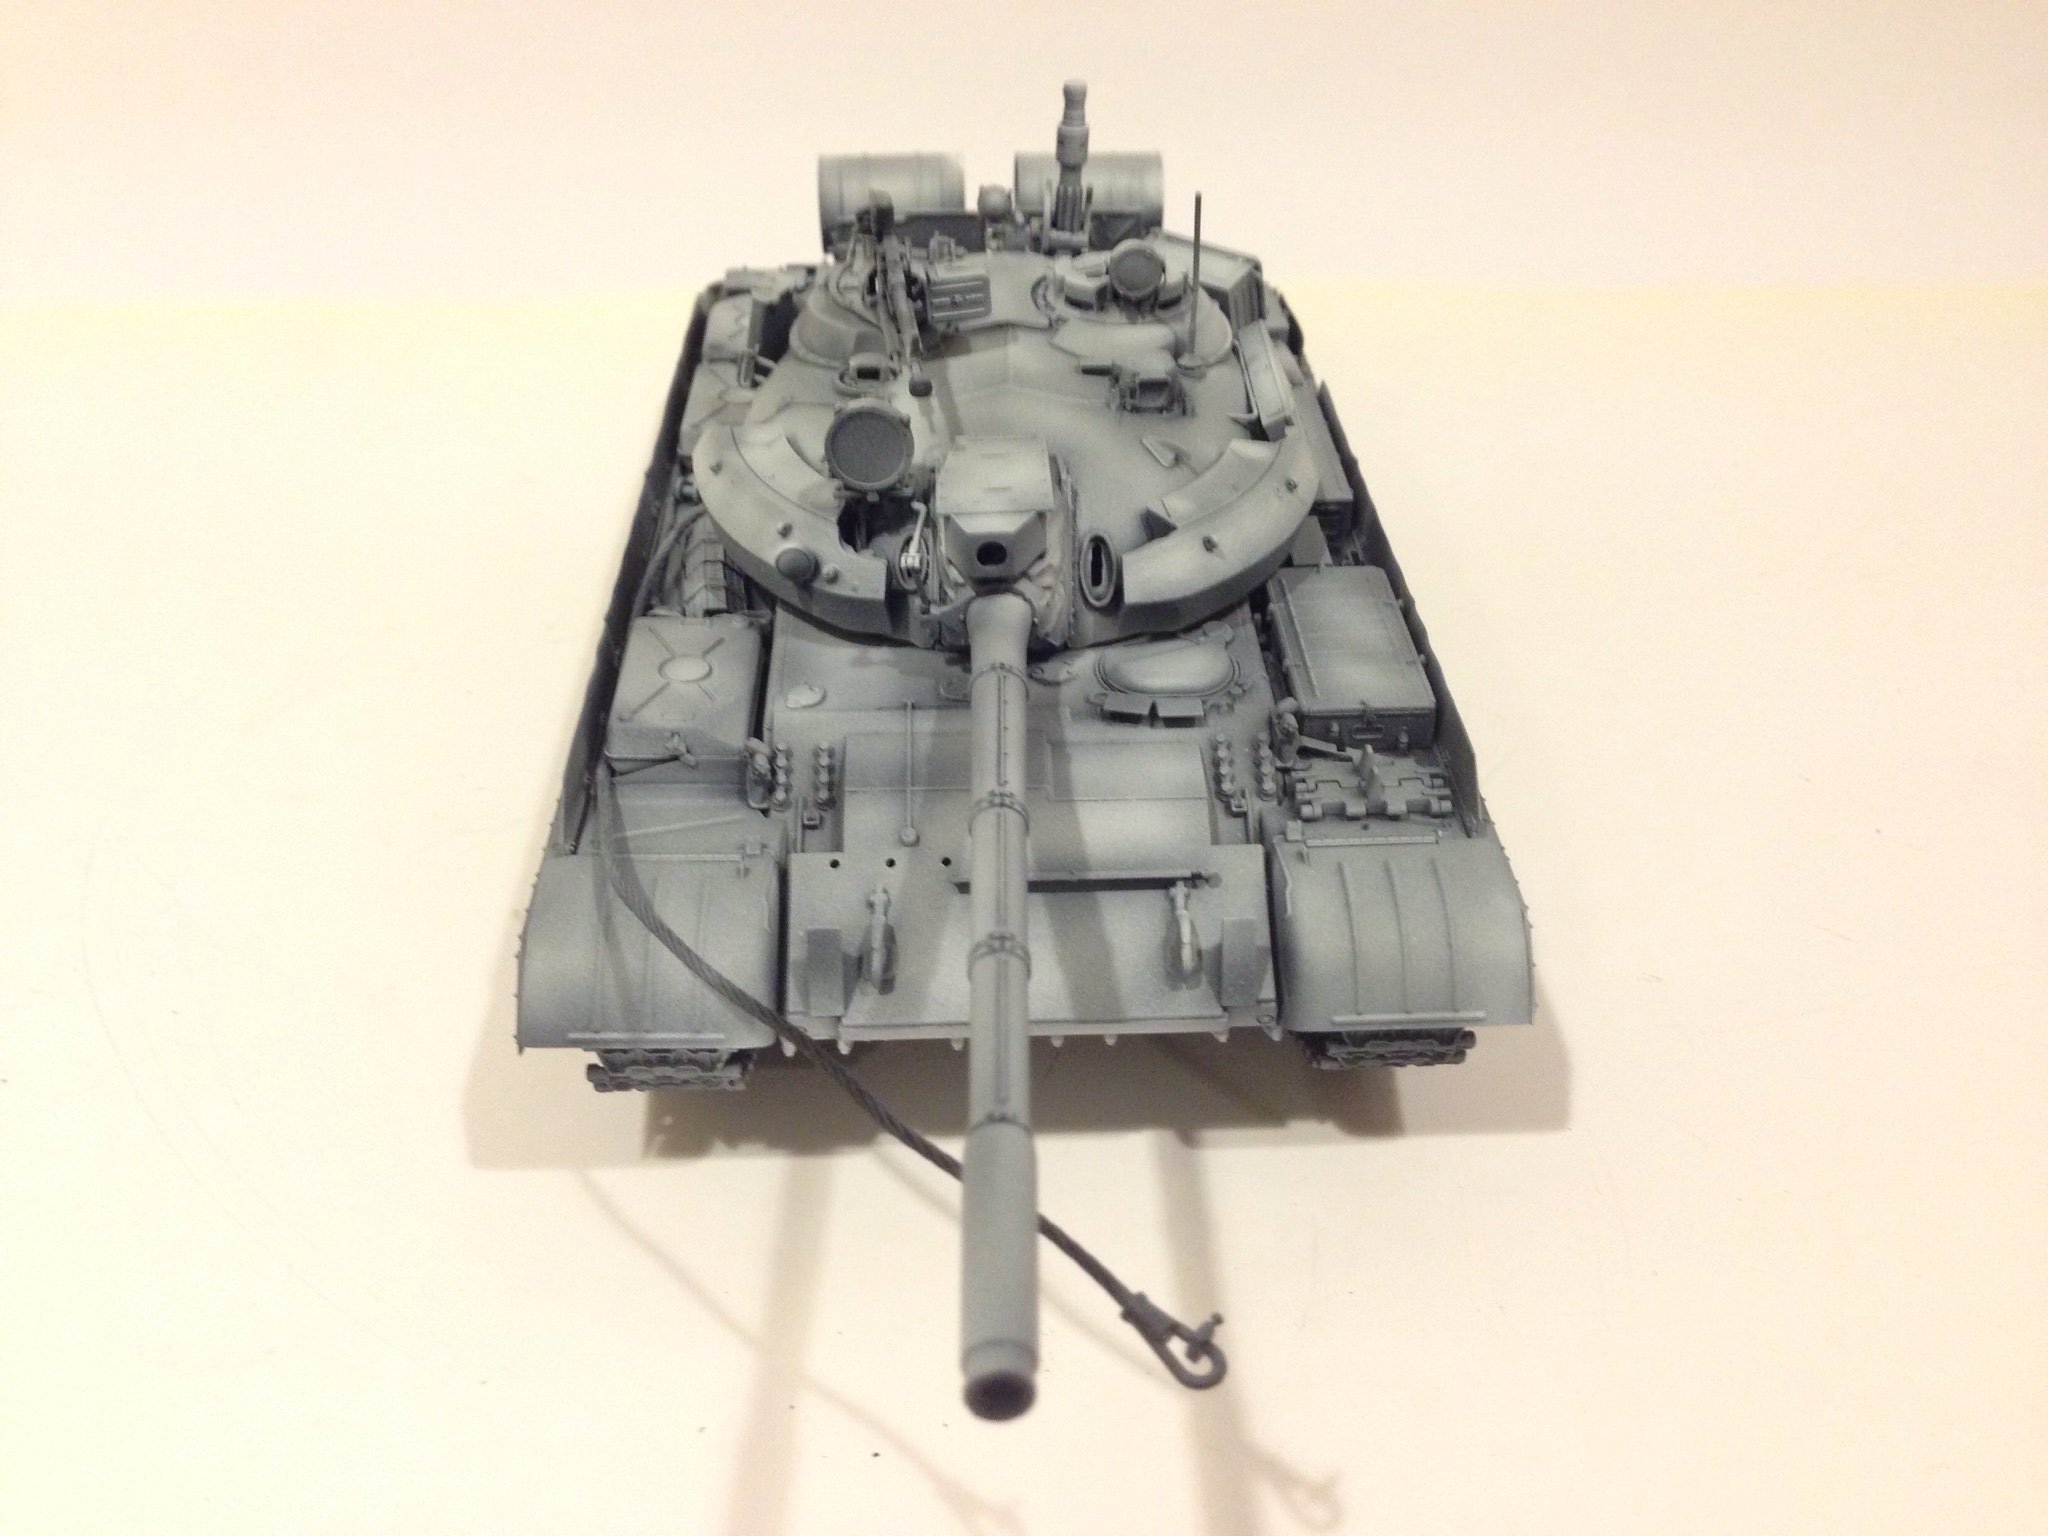
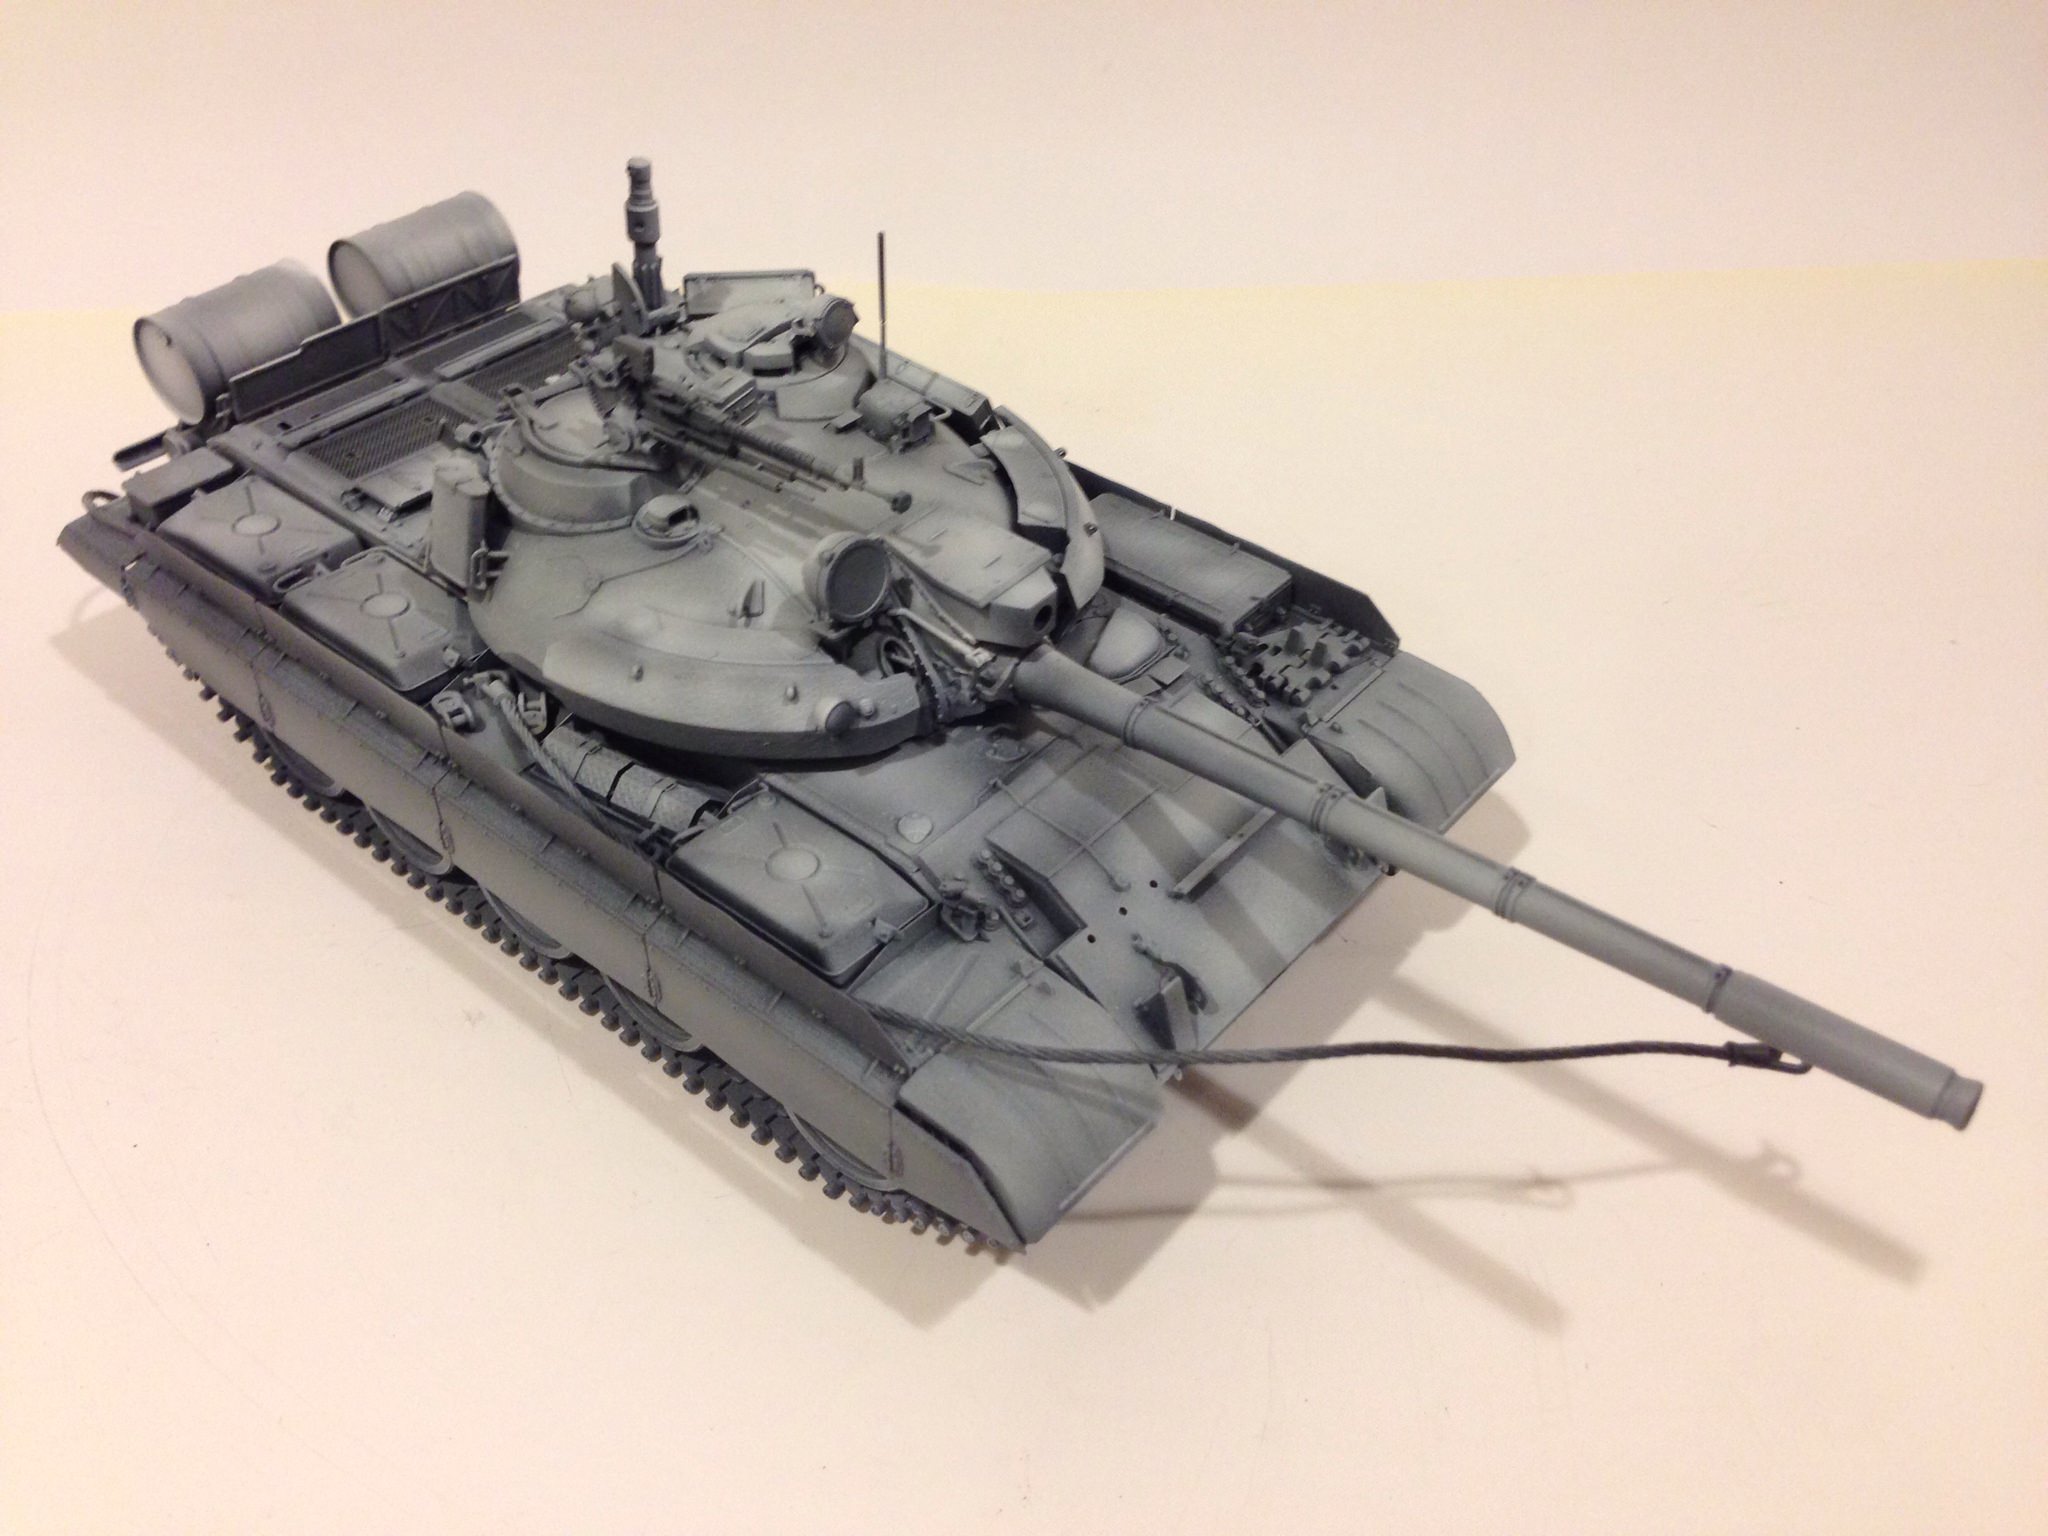


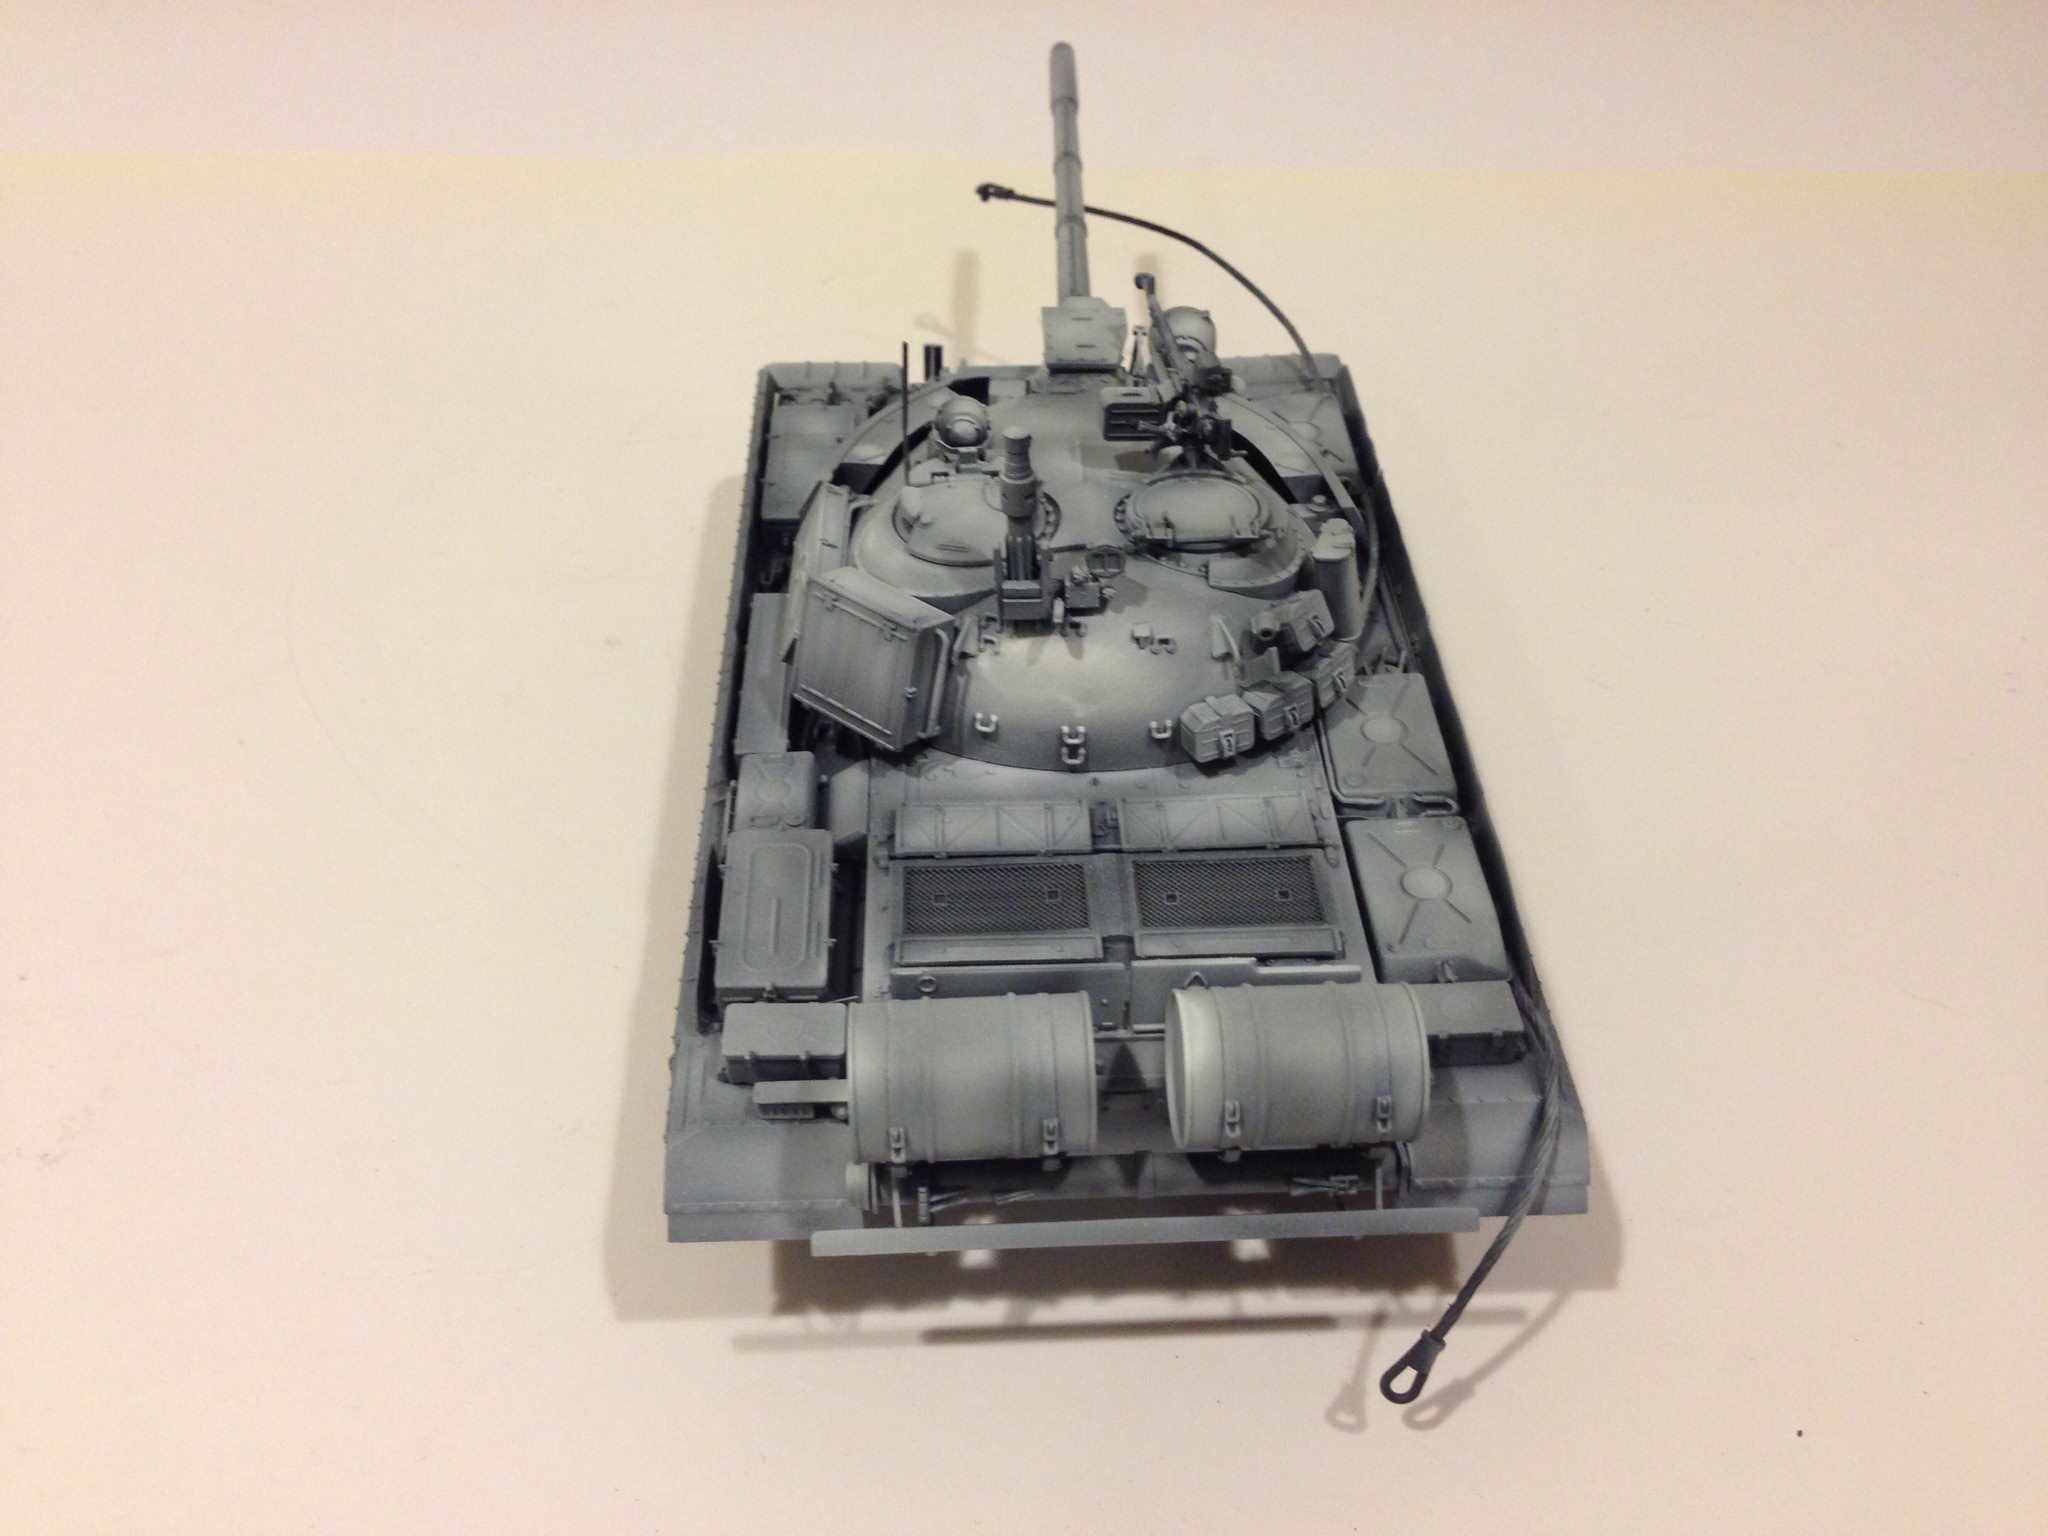
Thanks!


Thanks!

retiredyank

Joined: June 29, 2009
KitMaker: 11,610 posts
Armorama: 7,843 posts

Posted: Monday, May 14, 2018 - 12:42 AM UTC
Joseph - Your amazing builds have really inspired me. I have the AMV, in my stash and another on the way, with the AM. I look forward to your progress. Painting and weathering are my favorite parts.

BravoTwoZero

Joined: June 11, 2009
KitMaker: 461 posts
Armorama: 370 posts

Posted: Monday, May 14, 2018 - 02:46 AM UTC
Quoted Text
Joseph - Your amazing builds have really inspired me. I have the AMV, in my stash and another on the way, with the AM. I look forward to your progress. Painting and weathering are my favorite parts.
Thanks Matthew, I'm glad you are being inspired. For me, this is payback because I have been inspired by many modelers here. I hope to see you start on your stash.

BravoTwoZero

Joined: June 11, 2009
KitMaker: 461 posts
Armorama: 370 posts

Posted: Monday, May 14, 2018 - 02:49 AM UTC
Started work on another kit. This time it is the Takom kit 2055, T-54B. This will be an OOB build and I plan to finish it in Syrian camo. This is how far I got after about 4 hours work.
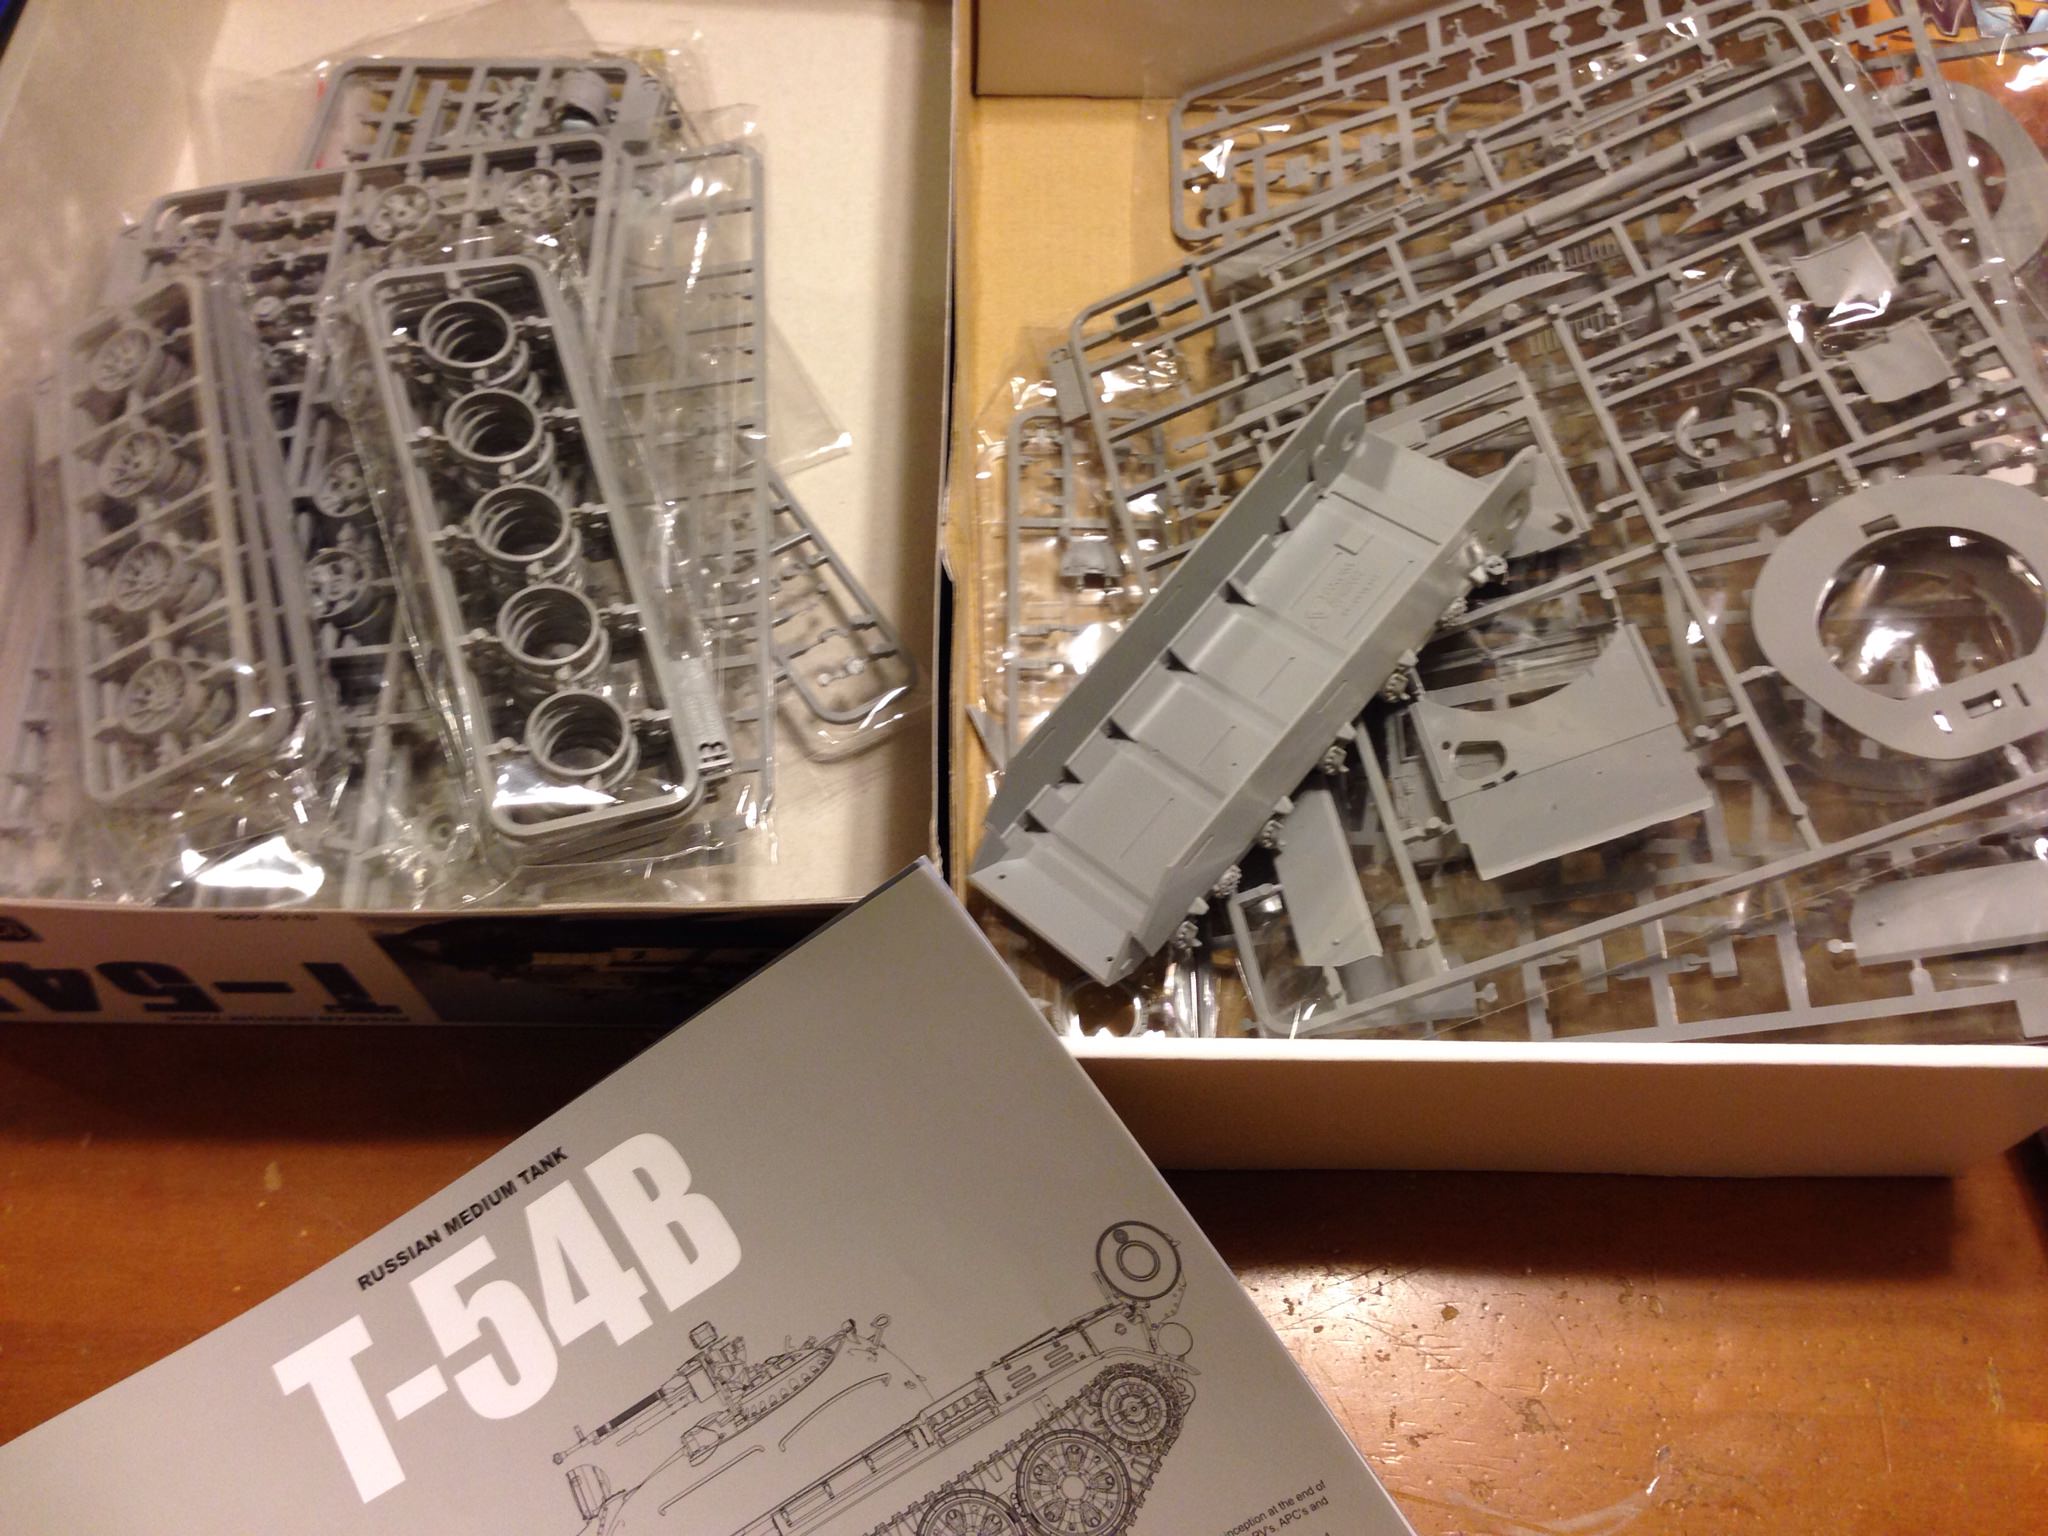
I chose the Spider Web wheel just to make things different with my other four tanks.


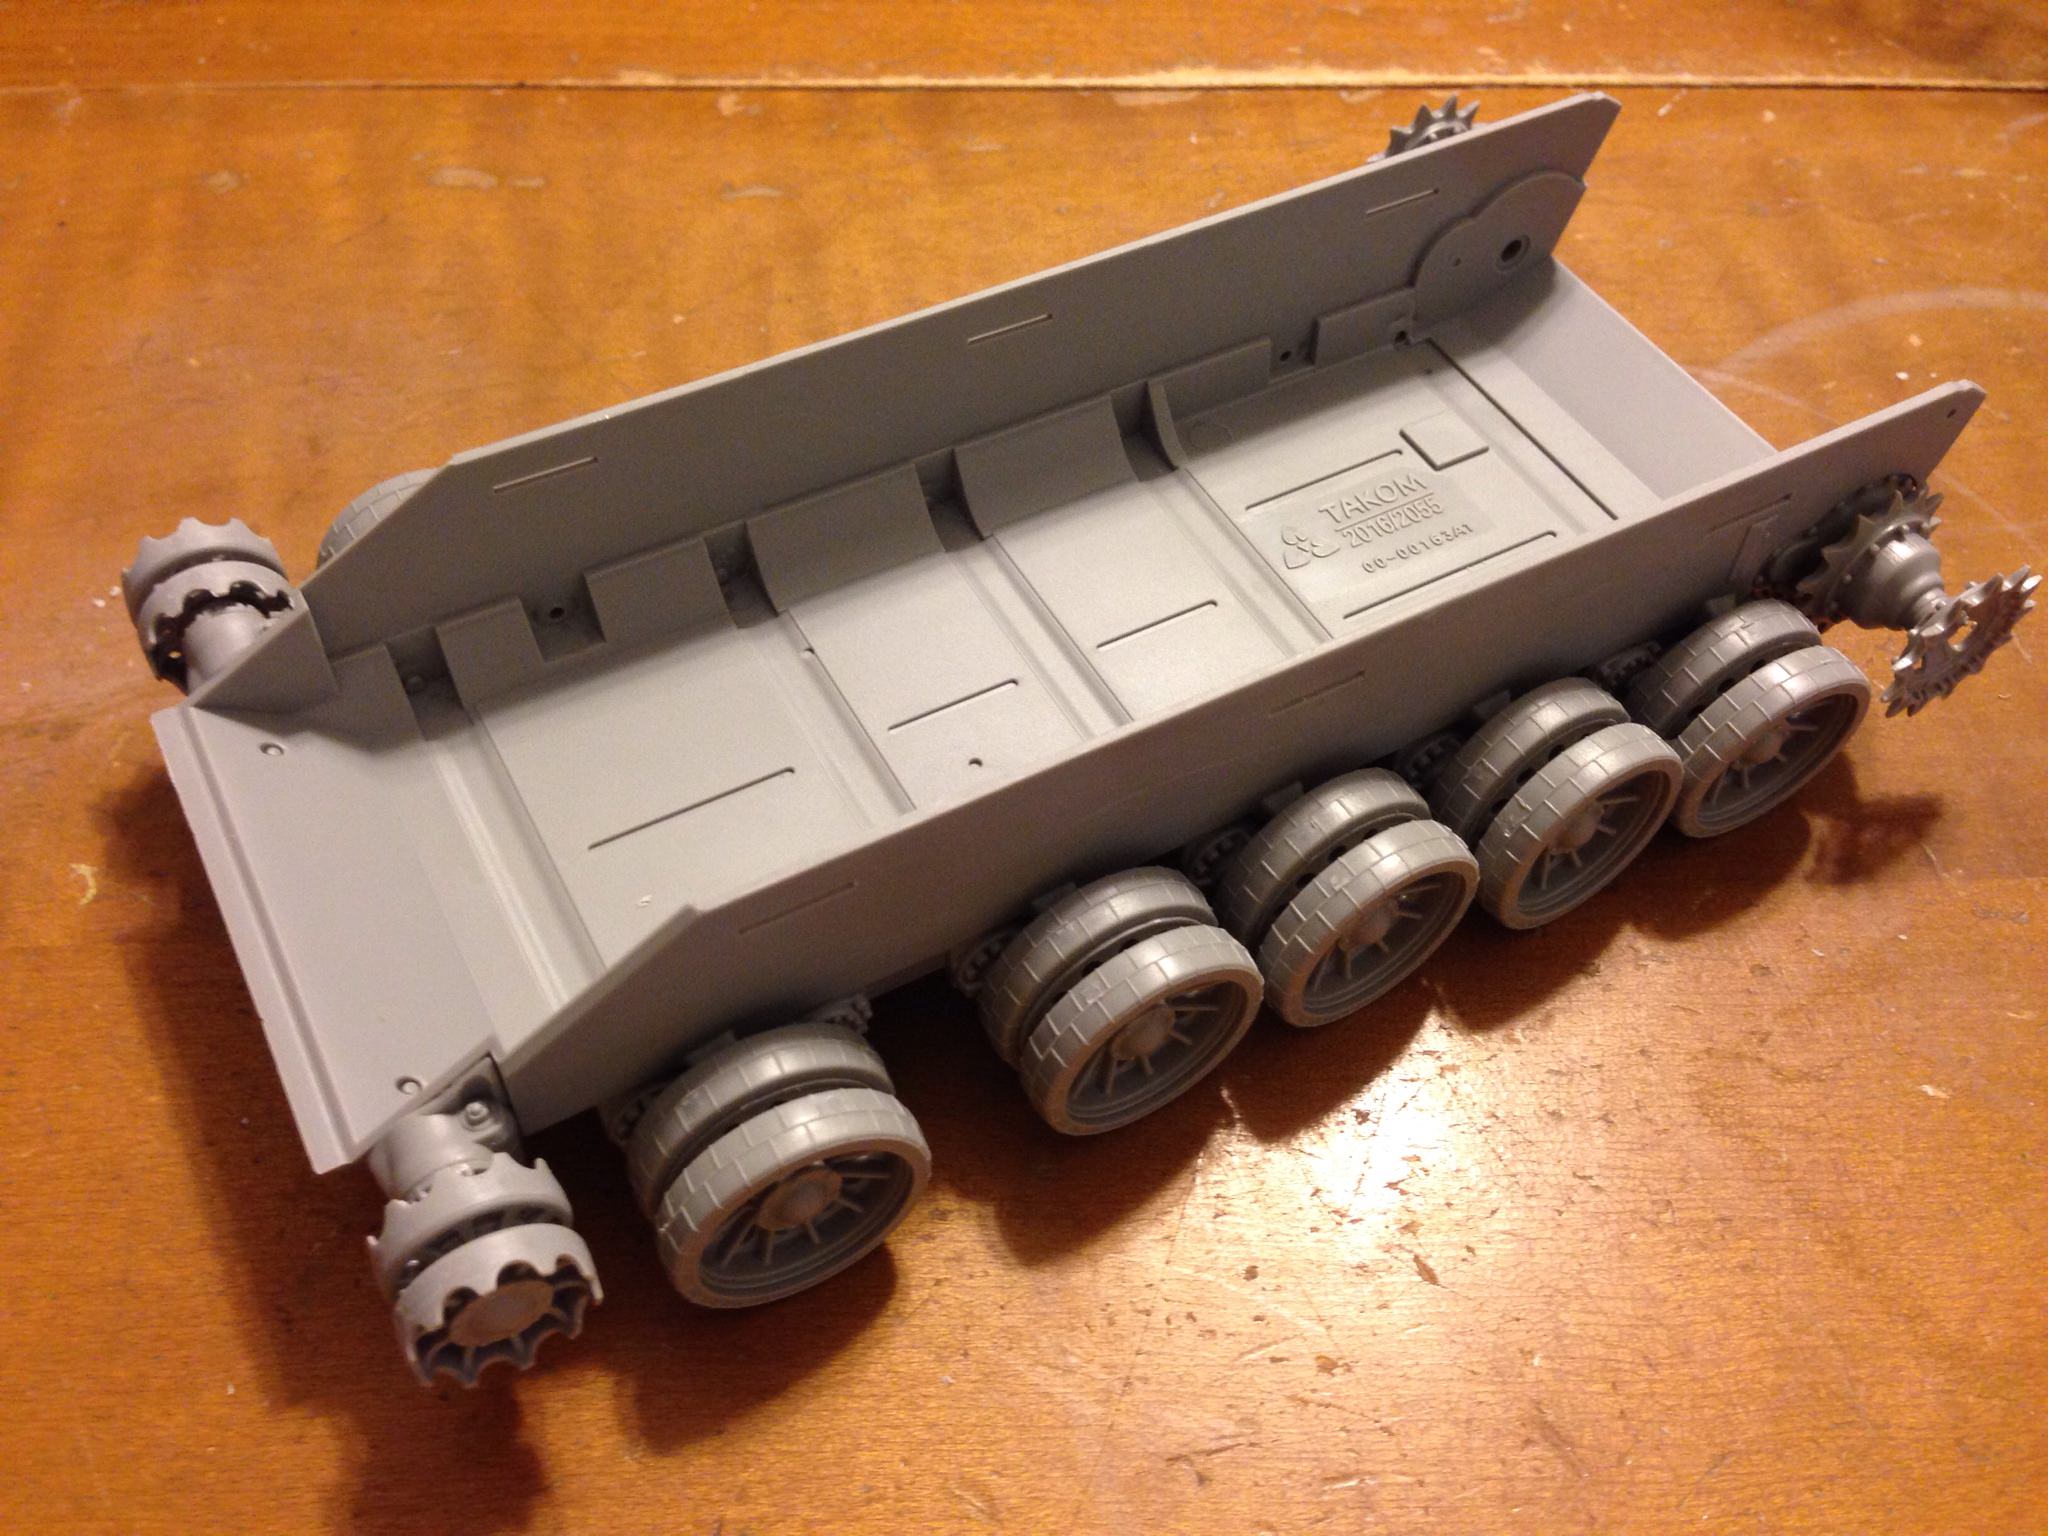
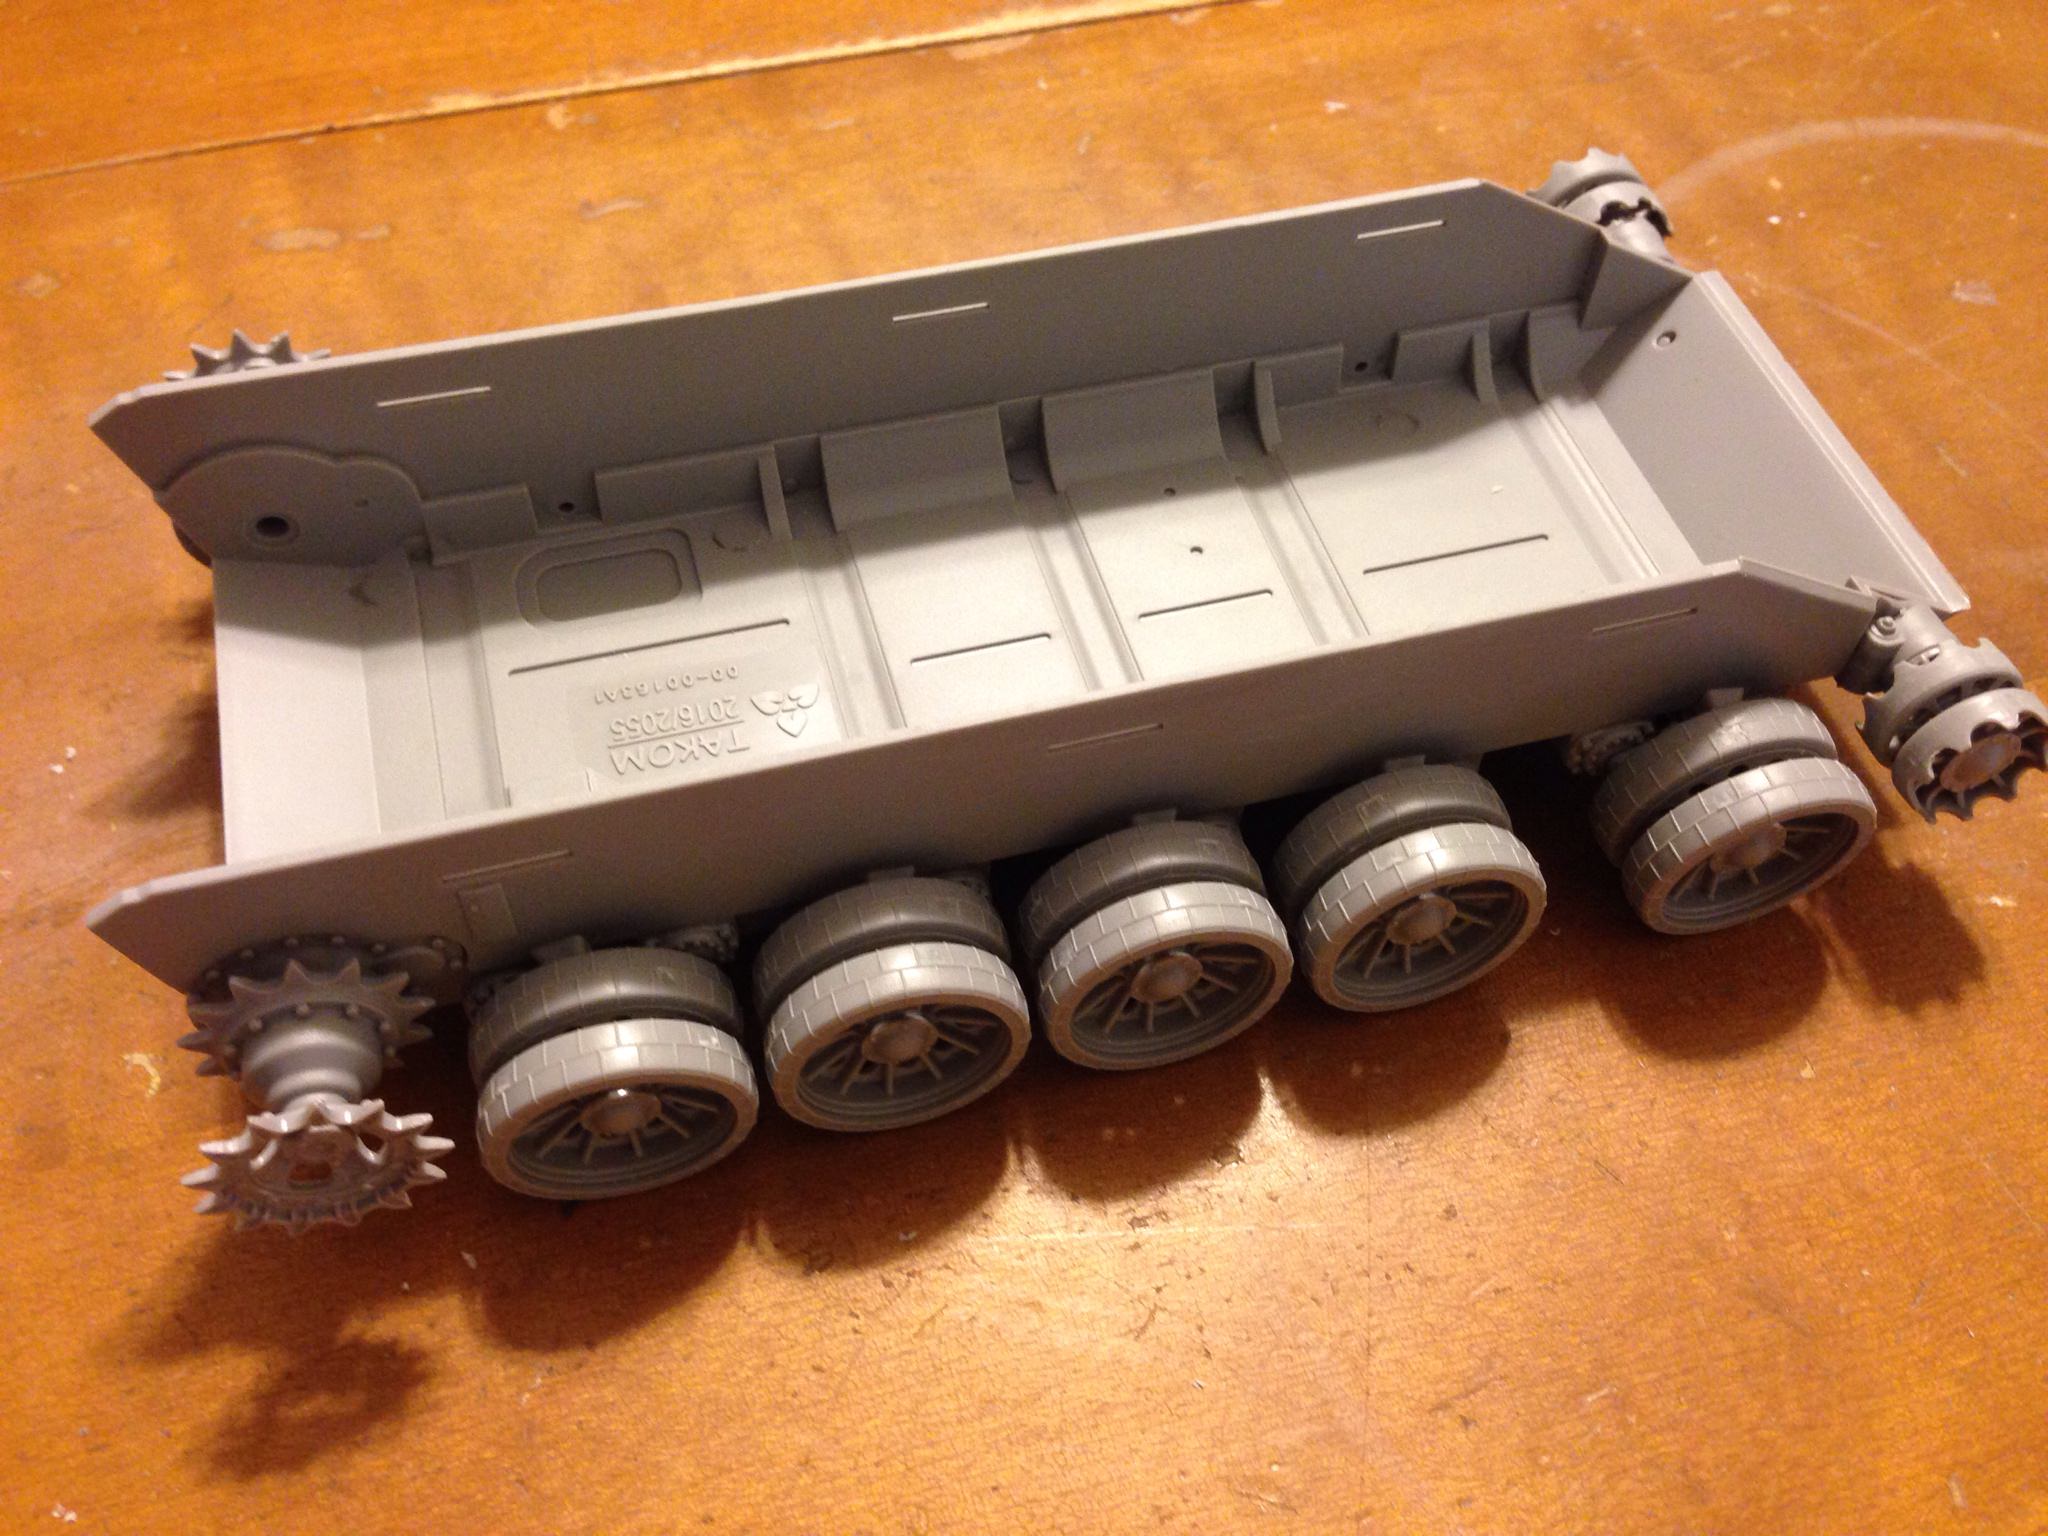
With my current stats, I'll probably finish building this in about a month.
Thanks,
-Joseph

I chose the Spider Web wheel just to make things different with my other four tanks.


With my current stats, I'll probably finish building this in about a month.
Thanks,
-Joseph

BravoTwoZero

Joined: June 11, 2009
KitMaker: 461 posts
Armorama: 370 posts

Posted: Monday, May 14, 2018 - 09:05 PM UTC
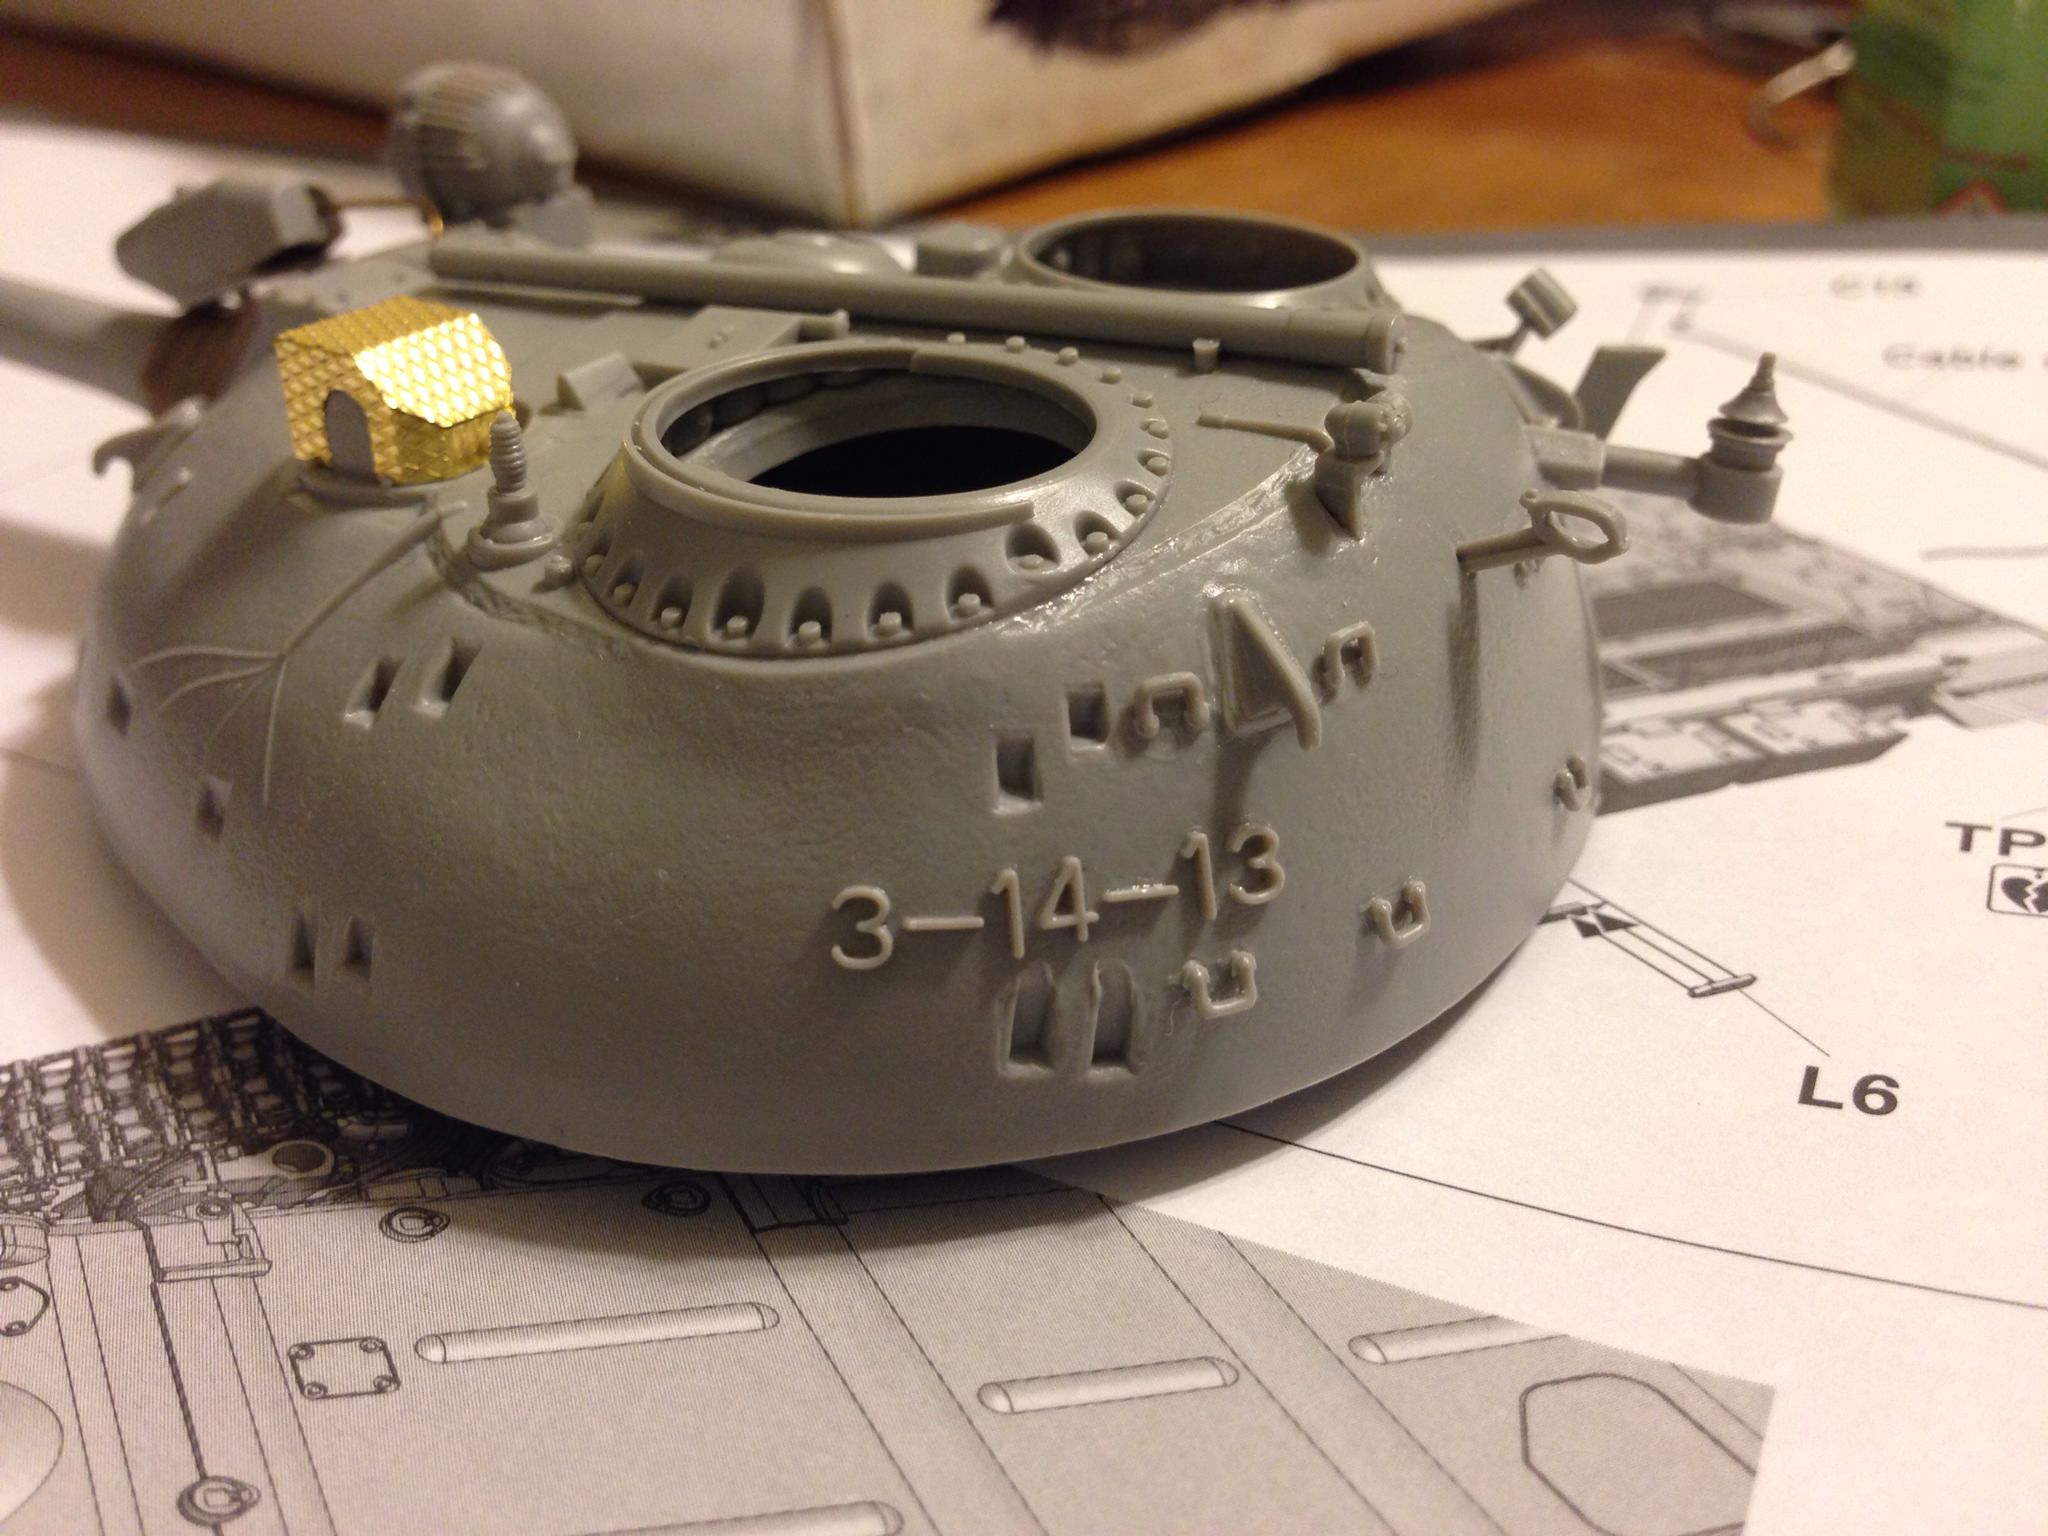
I reviewed my Type 69-II in preparation for primer application. I saw a lot of loose ends. It took about another couple of hours work. I thought I was completely done when I almost missed the serial numbers. Per the instruction, I shaved (fitting that I used a razor blade) the numbers and dashes from the sprue.

I then installed them on to the turret. I chose this date because it is my daughter's birth date.
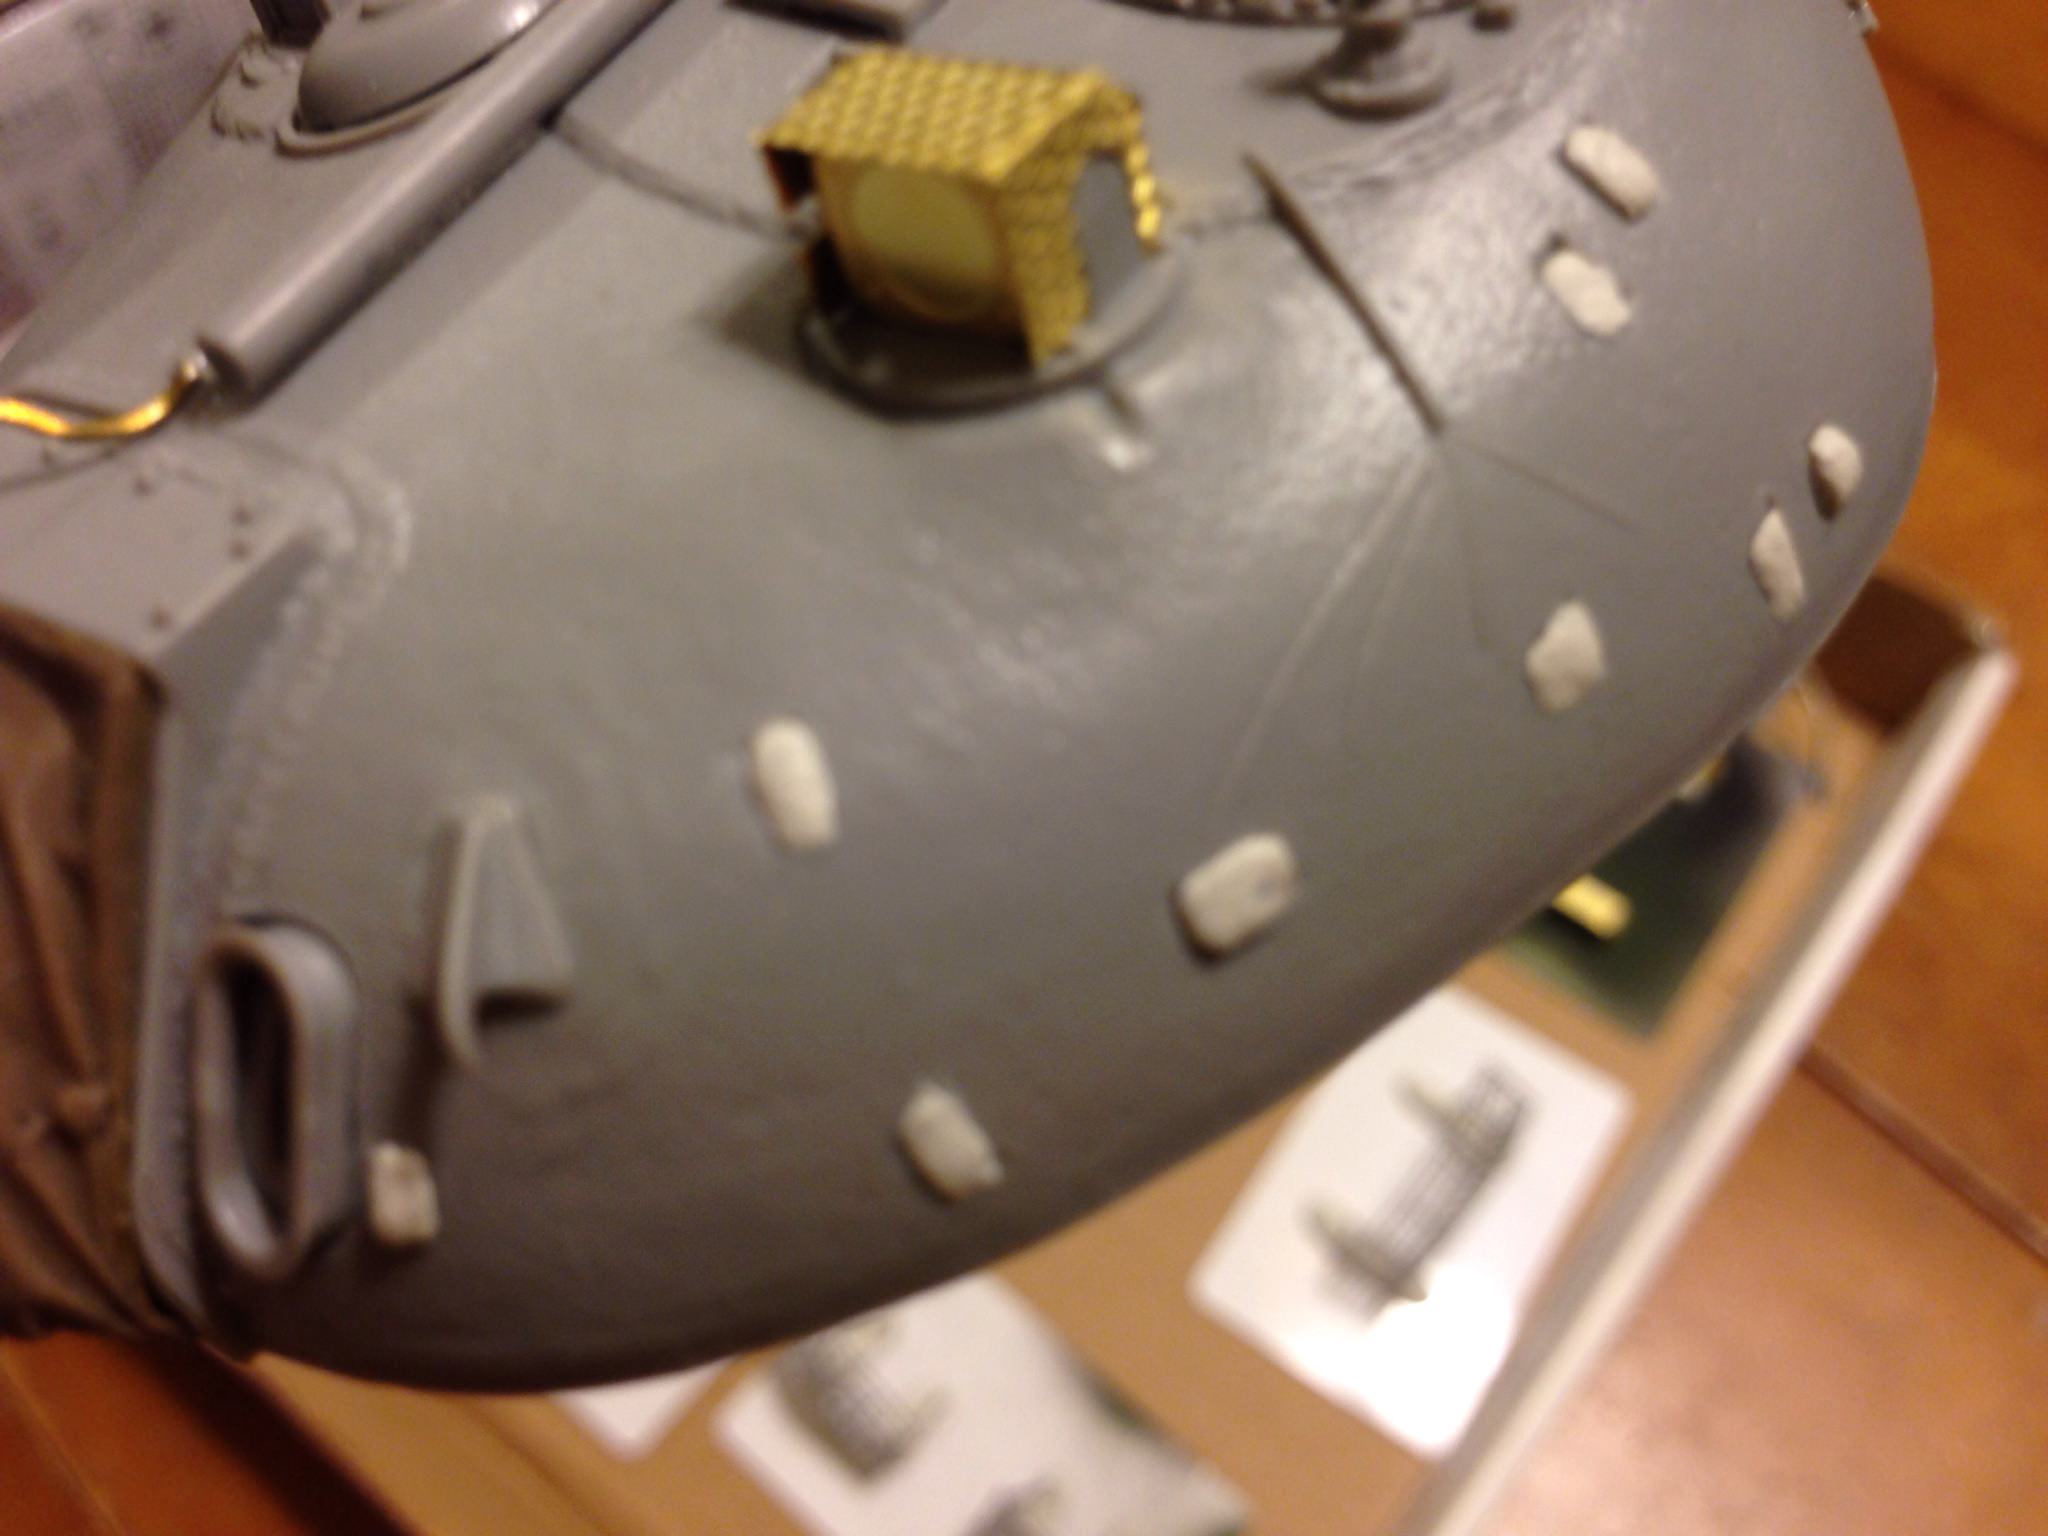
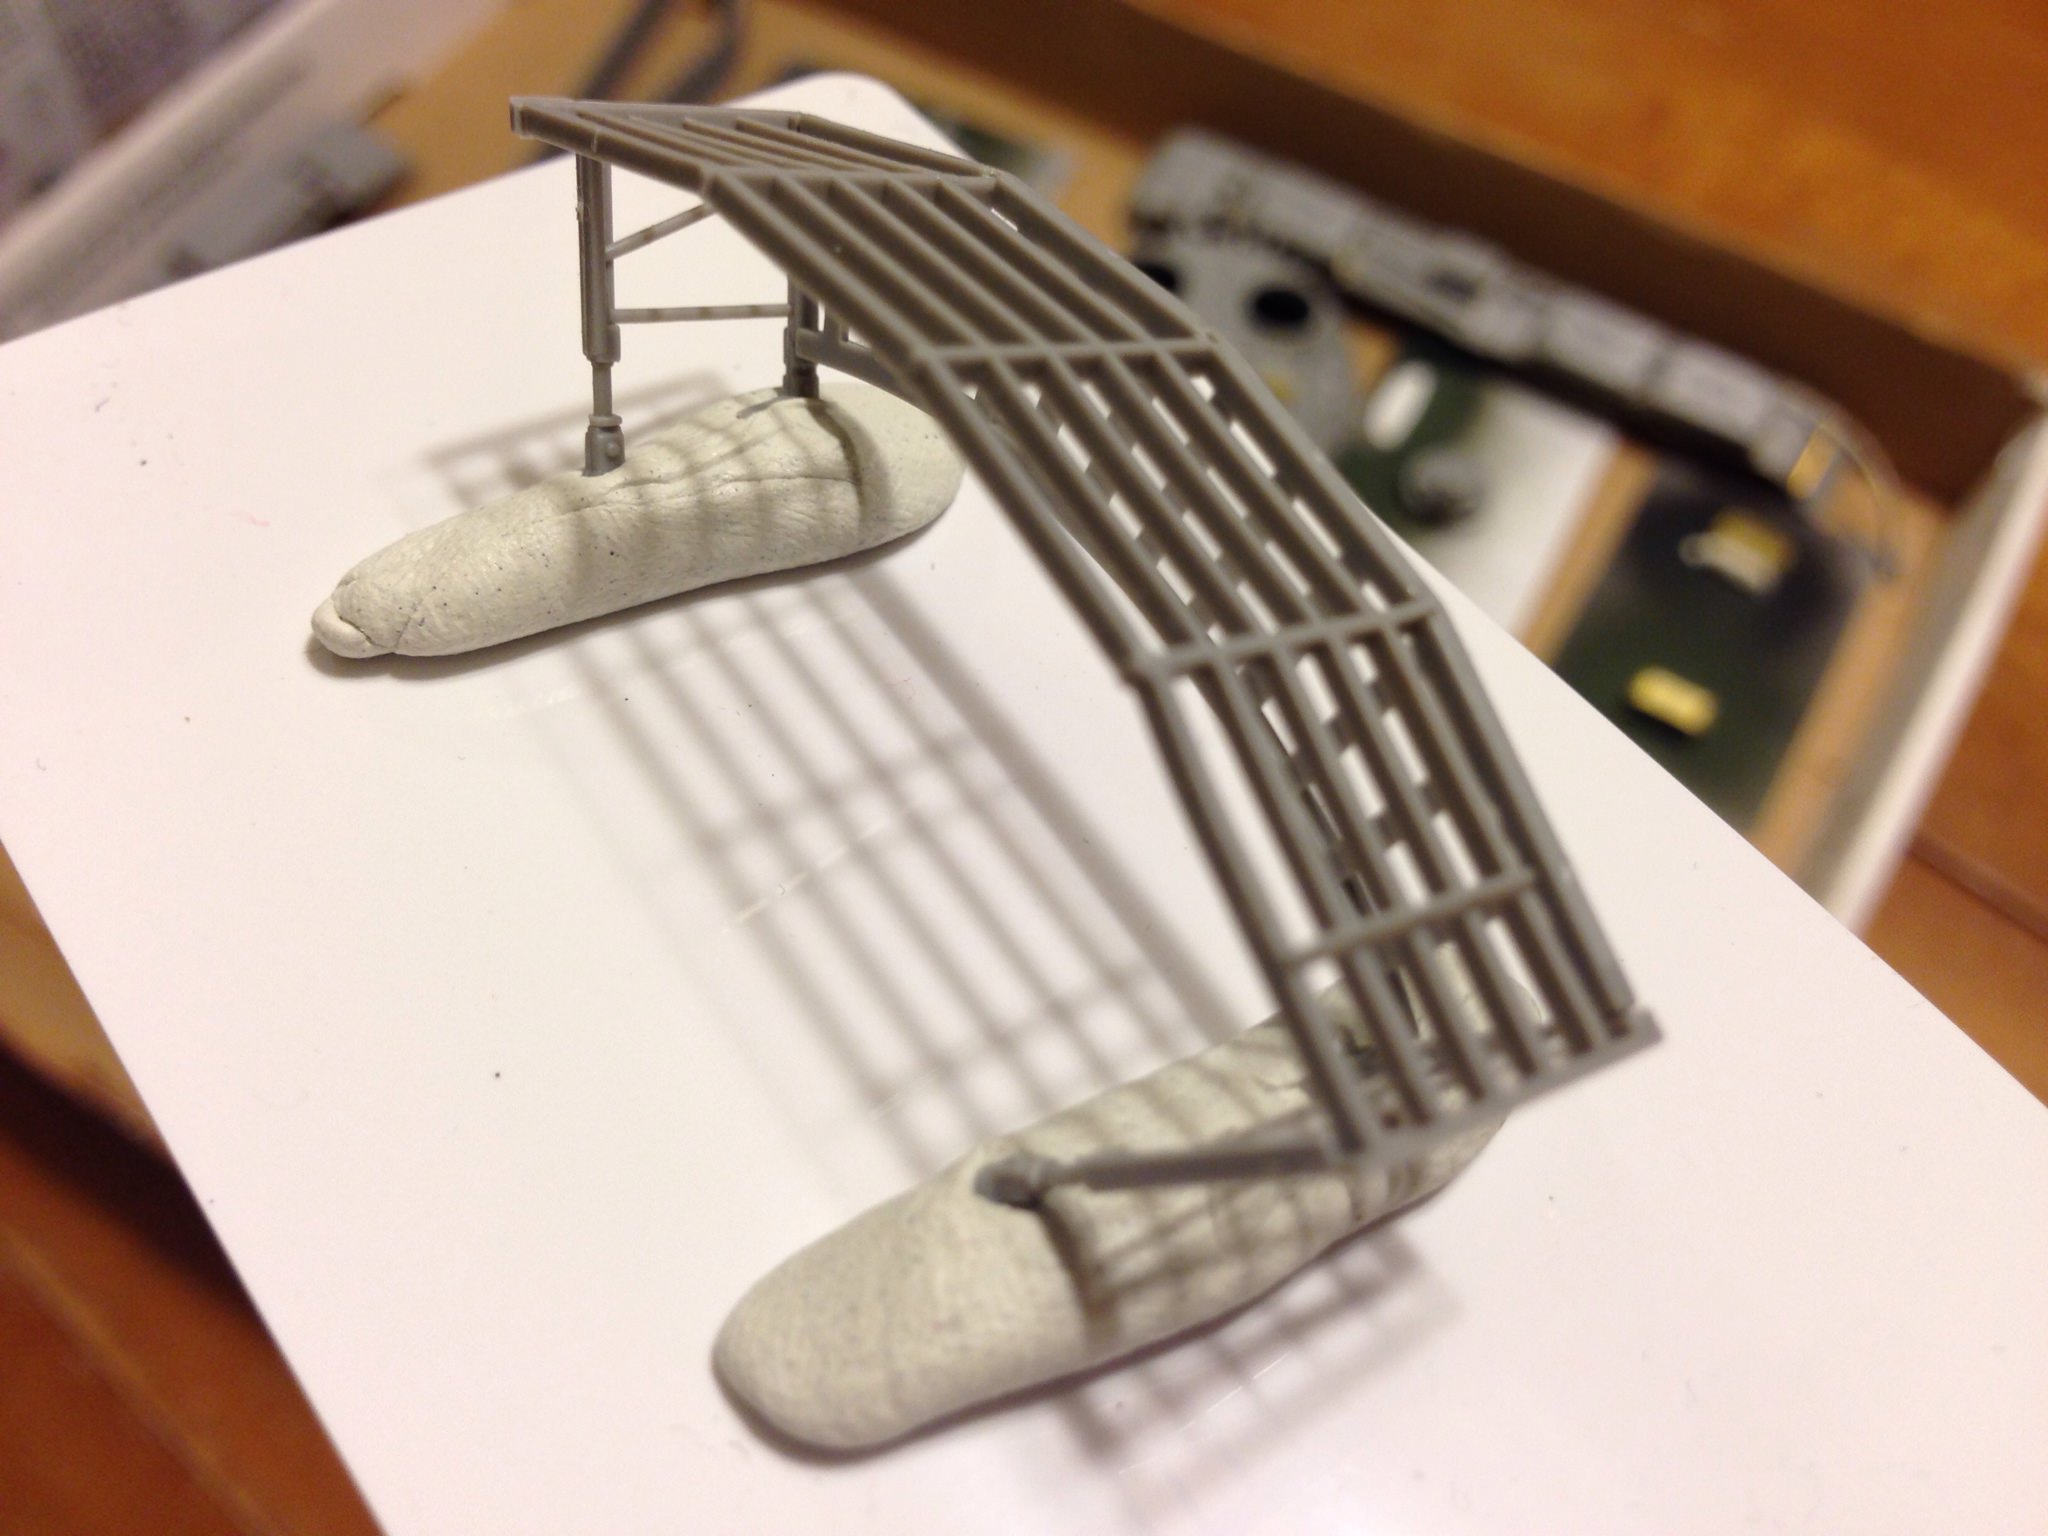
Final steps are to mask off any connection points. Especially the racks. I used the blu tack to fill in gaps and secure the parts.
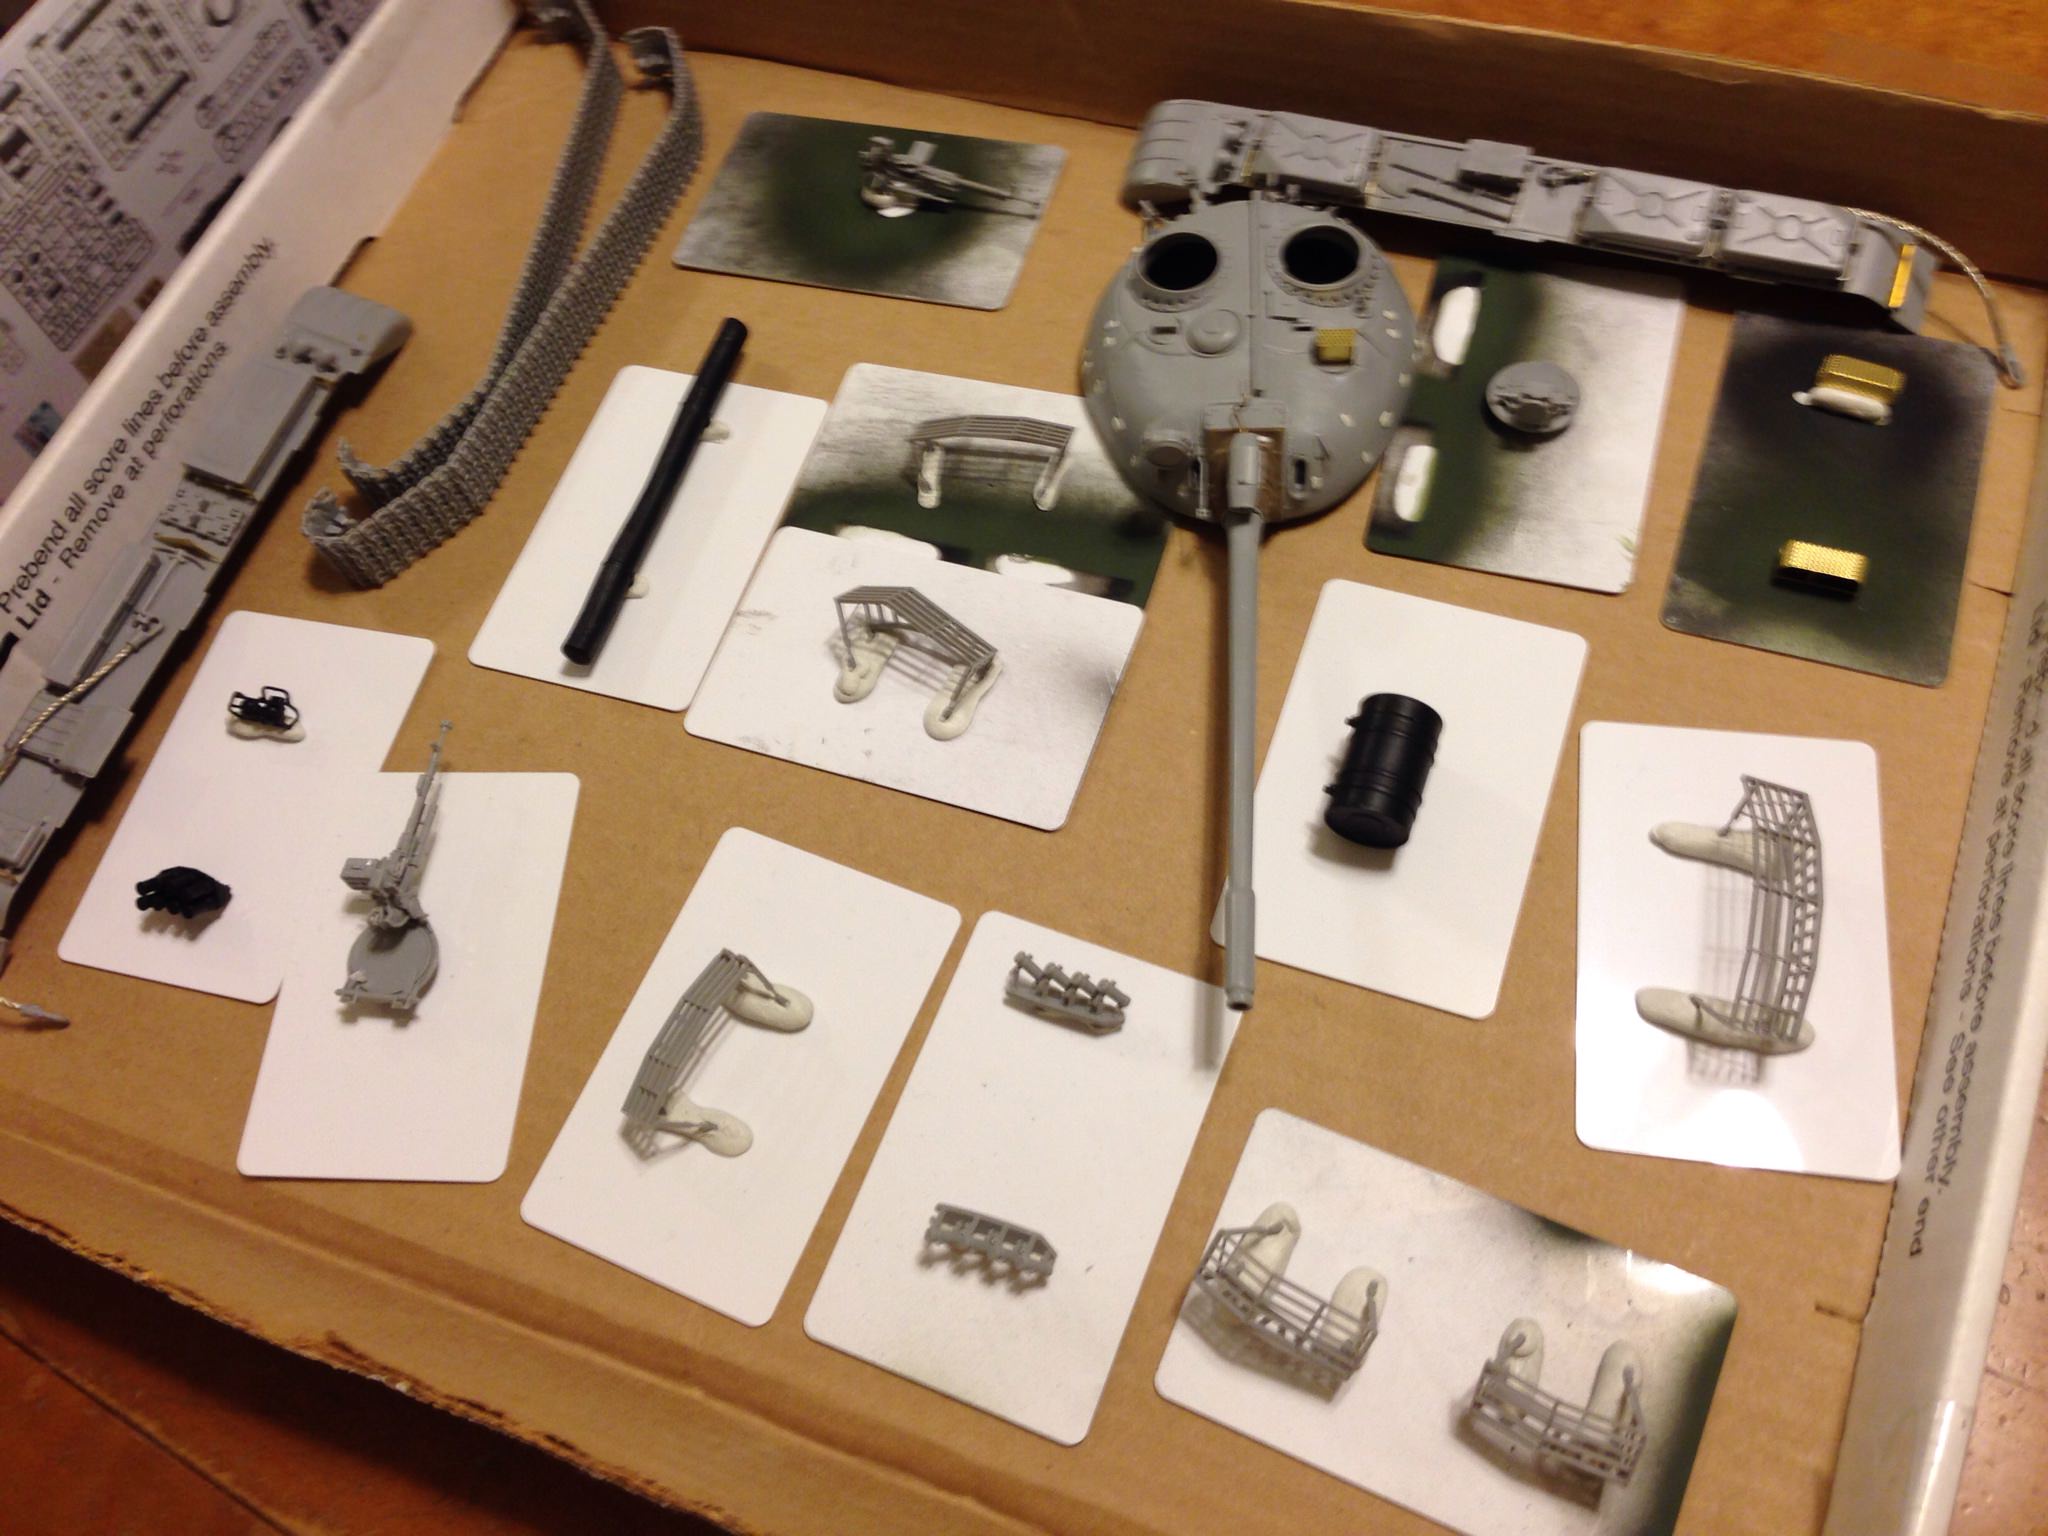
Here are the parts that will soon be primed or painted.
Thanks,
Joseph

I then installed them on to the turret. I chose this date because it is my daughter's birth date.

Final steps are to mask off any connection points. Especially the racks. I used the blu tack to fill in gaps and secure the parts.


Here are the parts that will soon be primed or painted.

Thanks,
Joseph

KoSprueOne

Joined: March 05, 2004
KitMaker: 4,011 posts
Armorama: 1,498 posts

Posted: Monday, May 14, 2018 - 11:53 PM UTC
Quoted Text
BravoTwoZero -Quoted TextThanks for sharing the S-B-S of your "Binge" project and your tech on the track links. I've done a similar "T-55 binge" build as well but with three SKIF kits

You are very welcome and thanks for dropping in. I'd like to see your T-55s. Is there a way for you to post them?
Sure, here it is:
http://armorama.kitmaker.net/forums/219323&ord=&page=1
Good catch on those serial numbers! Your daughter was born in 1913? Dude you're old


BravoTwoZero

Joined: June 11, 2009
KitMaker: 461 posts
Armorama: 370 posts

Posted: Tuesday, May 15, 2018 - 12:40 AM UTC
Quoted Text
Quoted TextBravoTwoZero -Quoted TextThanks for sharing the S-B-S of your "Binge" project and your tech on the track links. I've done a similar "T-55 binge" build as well but with three SKIF kits

You are very welcome and thanks for dropping in. I'd like to see your T-55s. Is there a way for you to post them?
Sure, here it is:
http://armorama.kitmaker.net/forums/219323&ord=&page=1
Good catch on those serial numbers! Your daughter was born in 1913? Dude you're old

Haha..you're still in a pre-Y2K state of mind? So last century. hehehe.. But then again, I AM old because I was born last century.
Thanks for the link. I will check out your build.
 |


