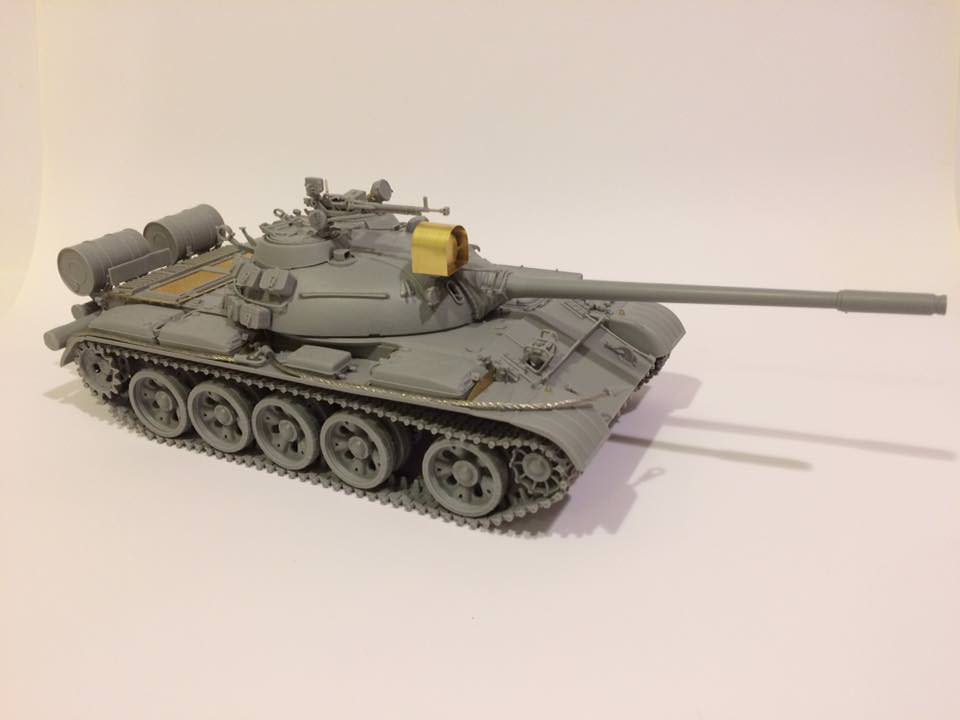
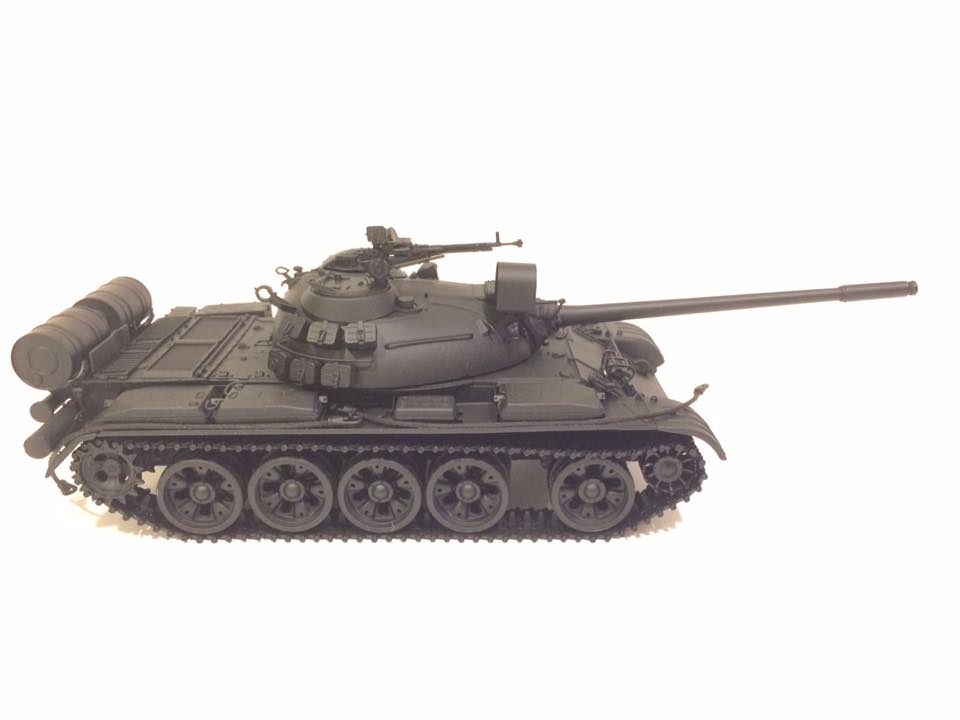
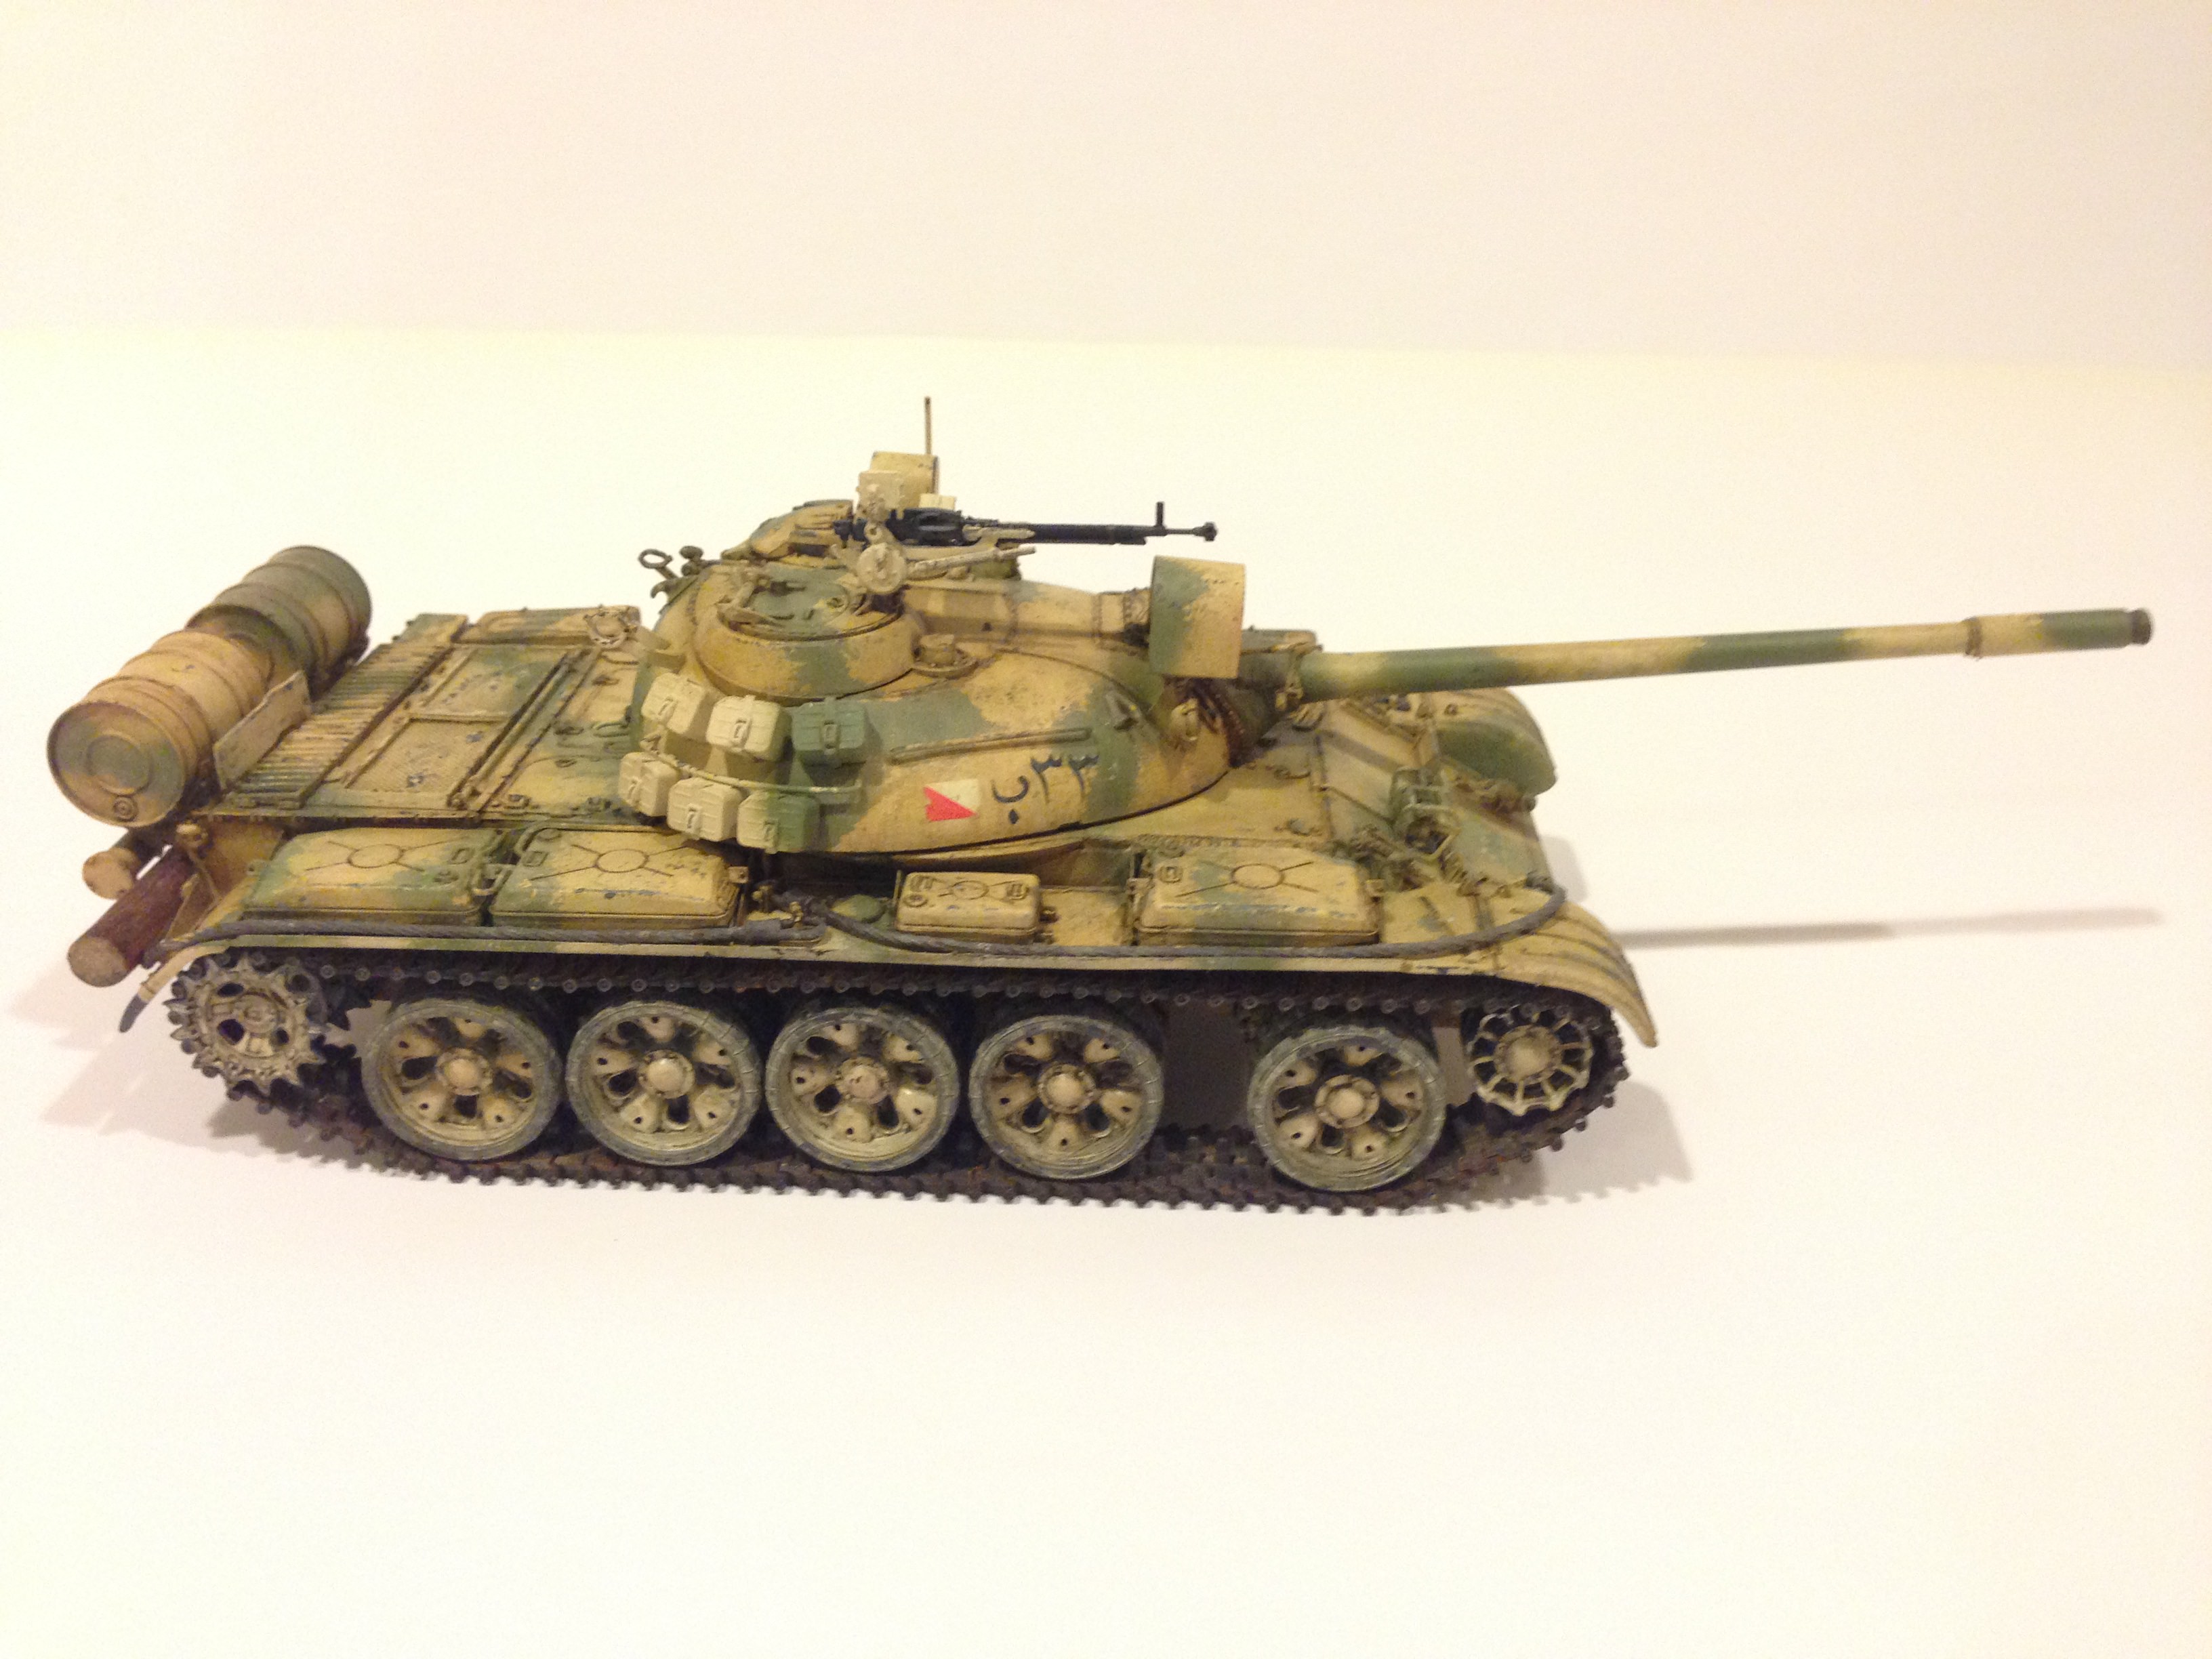
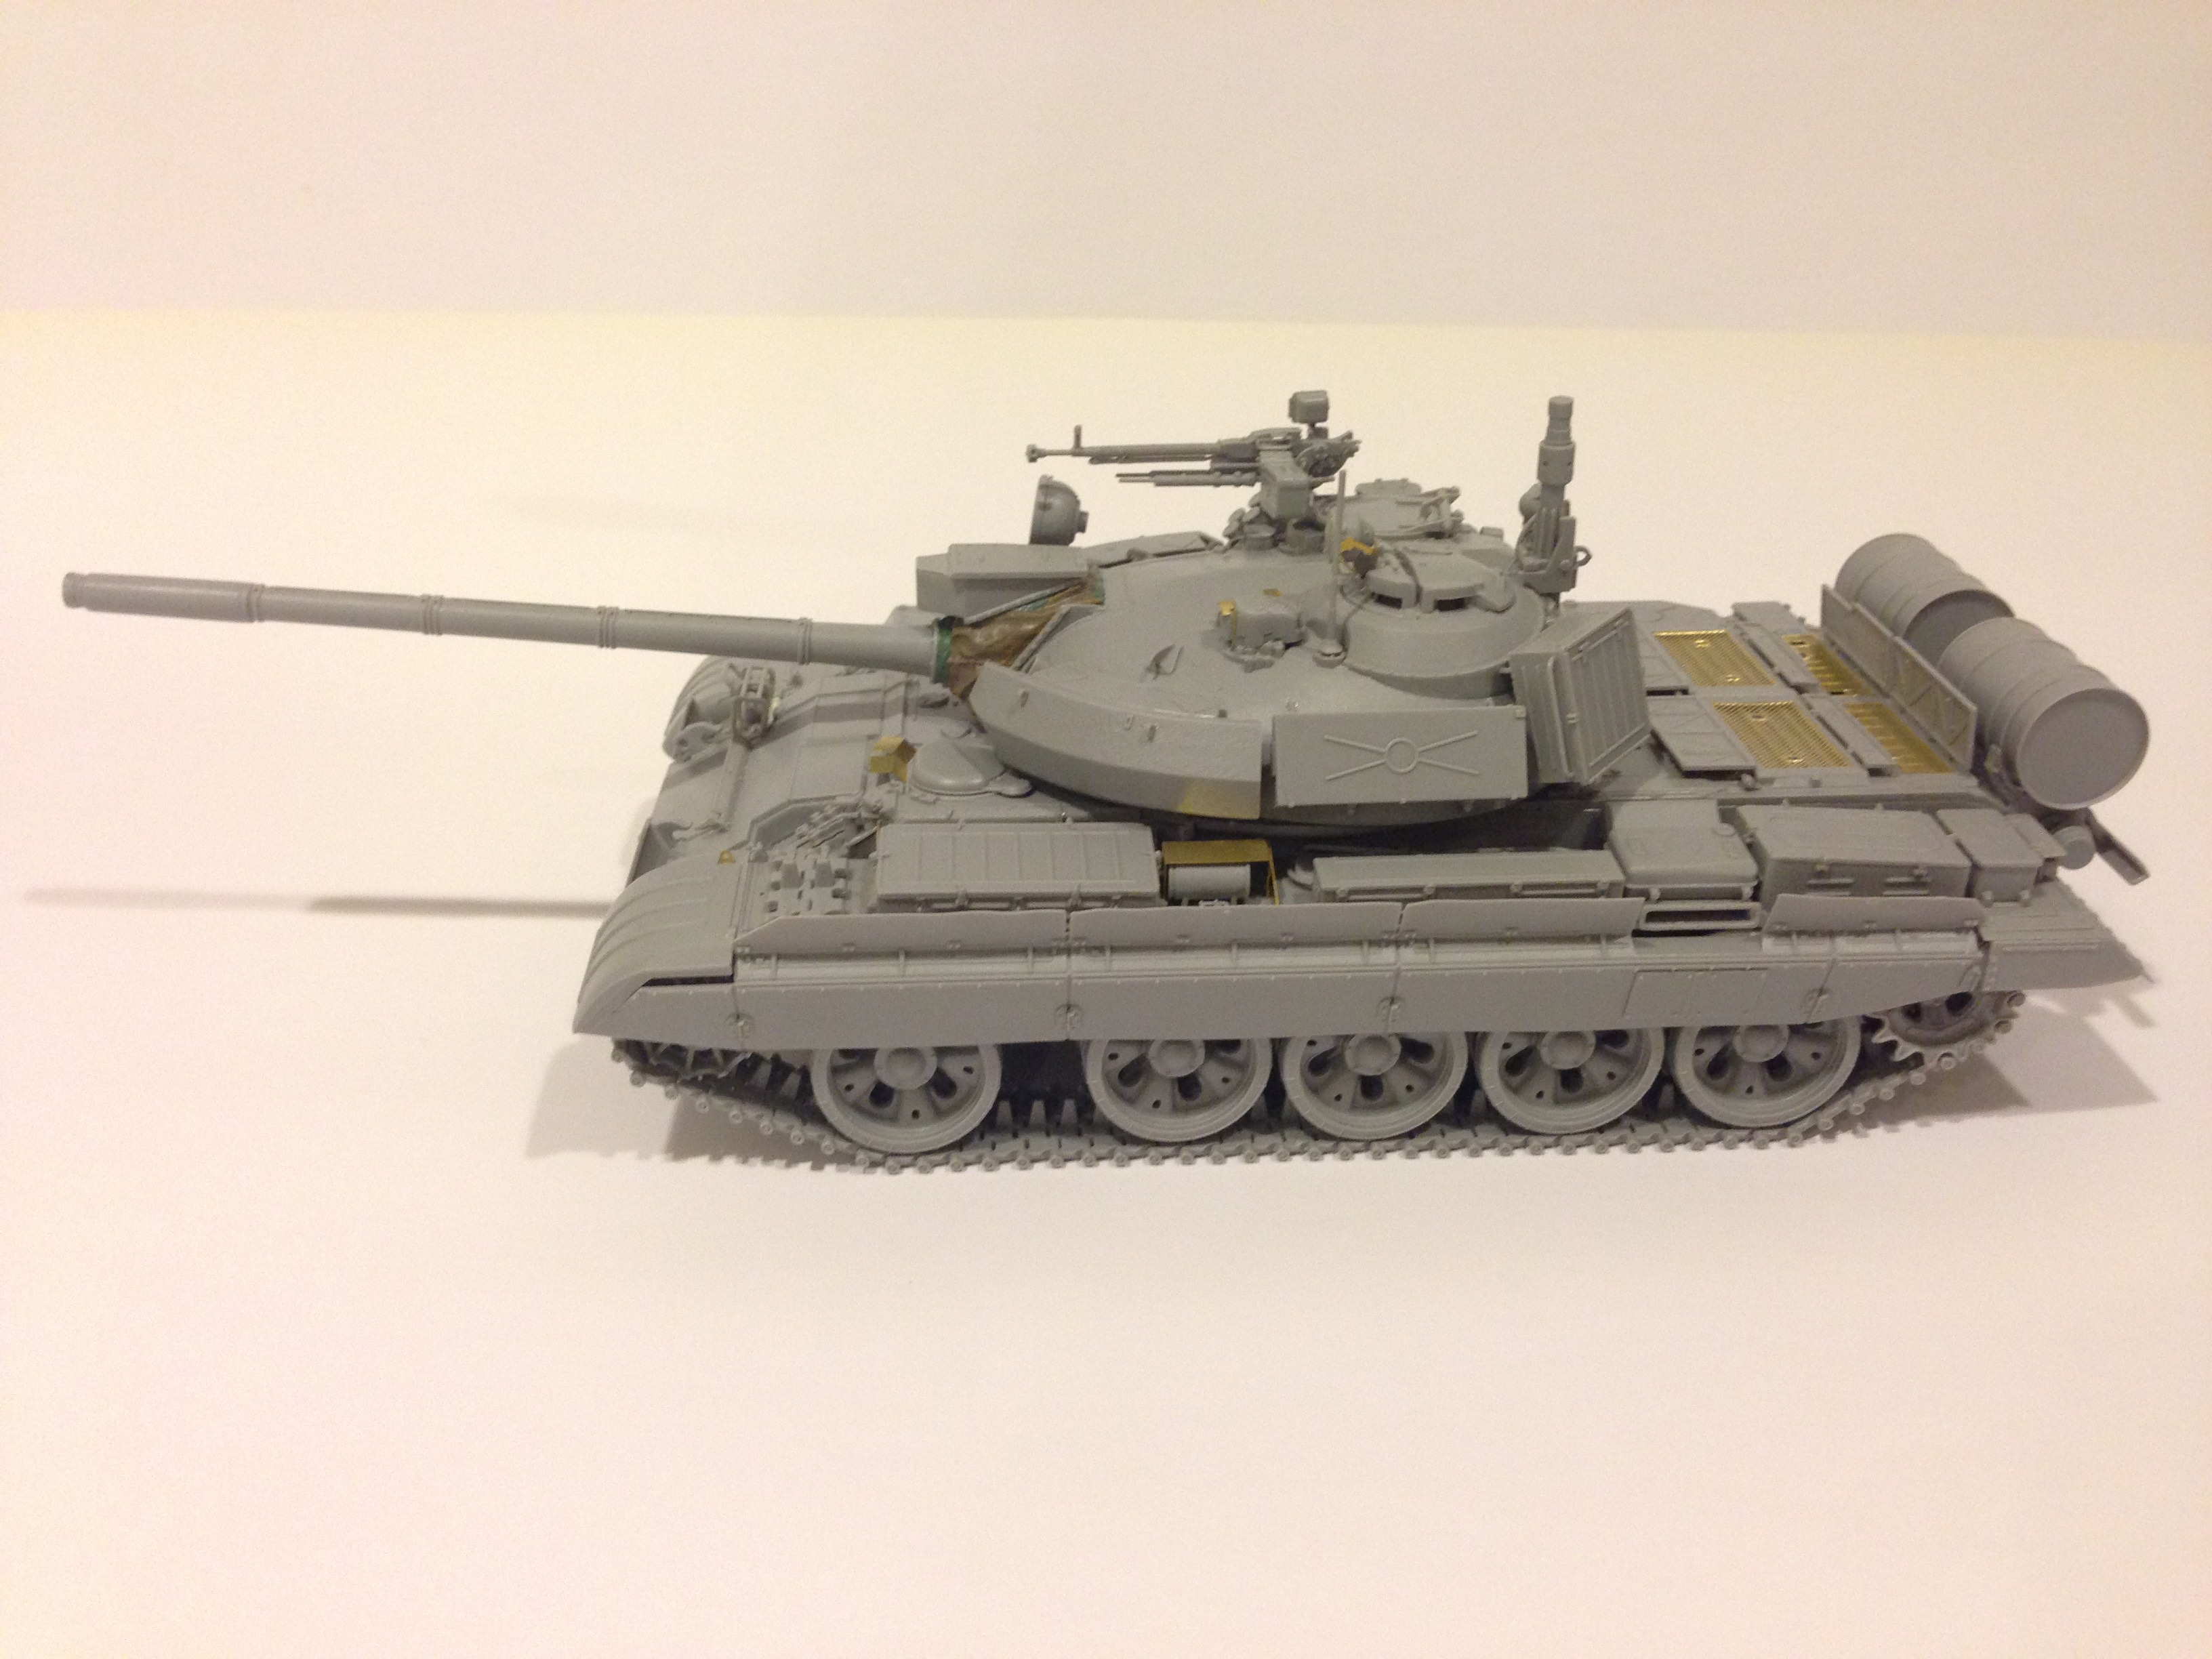
Now for kit 2042, the T-55AMV AU. First some background. I'm sure I am not alone in perusing the excellent site
themodellingnews.com. I have to commend them for making such an informative and I guess at the same time, "dangerous" (I'll explain later) site. They do such a great job in providing well researched articles. I'm very impressed. Articles are accompanied with beautiful photos as well as excellent backgrounds on whatever they feature. For example, if they are talking about a figure model, they take time to look for an actual historical photo that possibly served as reference. I also say it is "dangerous" because, it makes readers like me to want to acquire more kits and also plant an idea that I can build something similar to what they featured. Case in point, I am referring to this article:
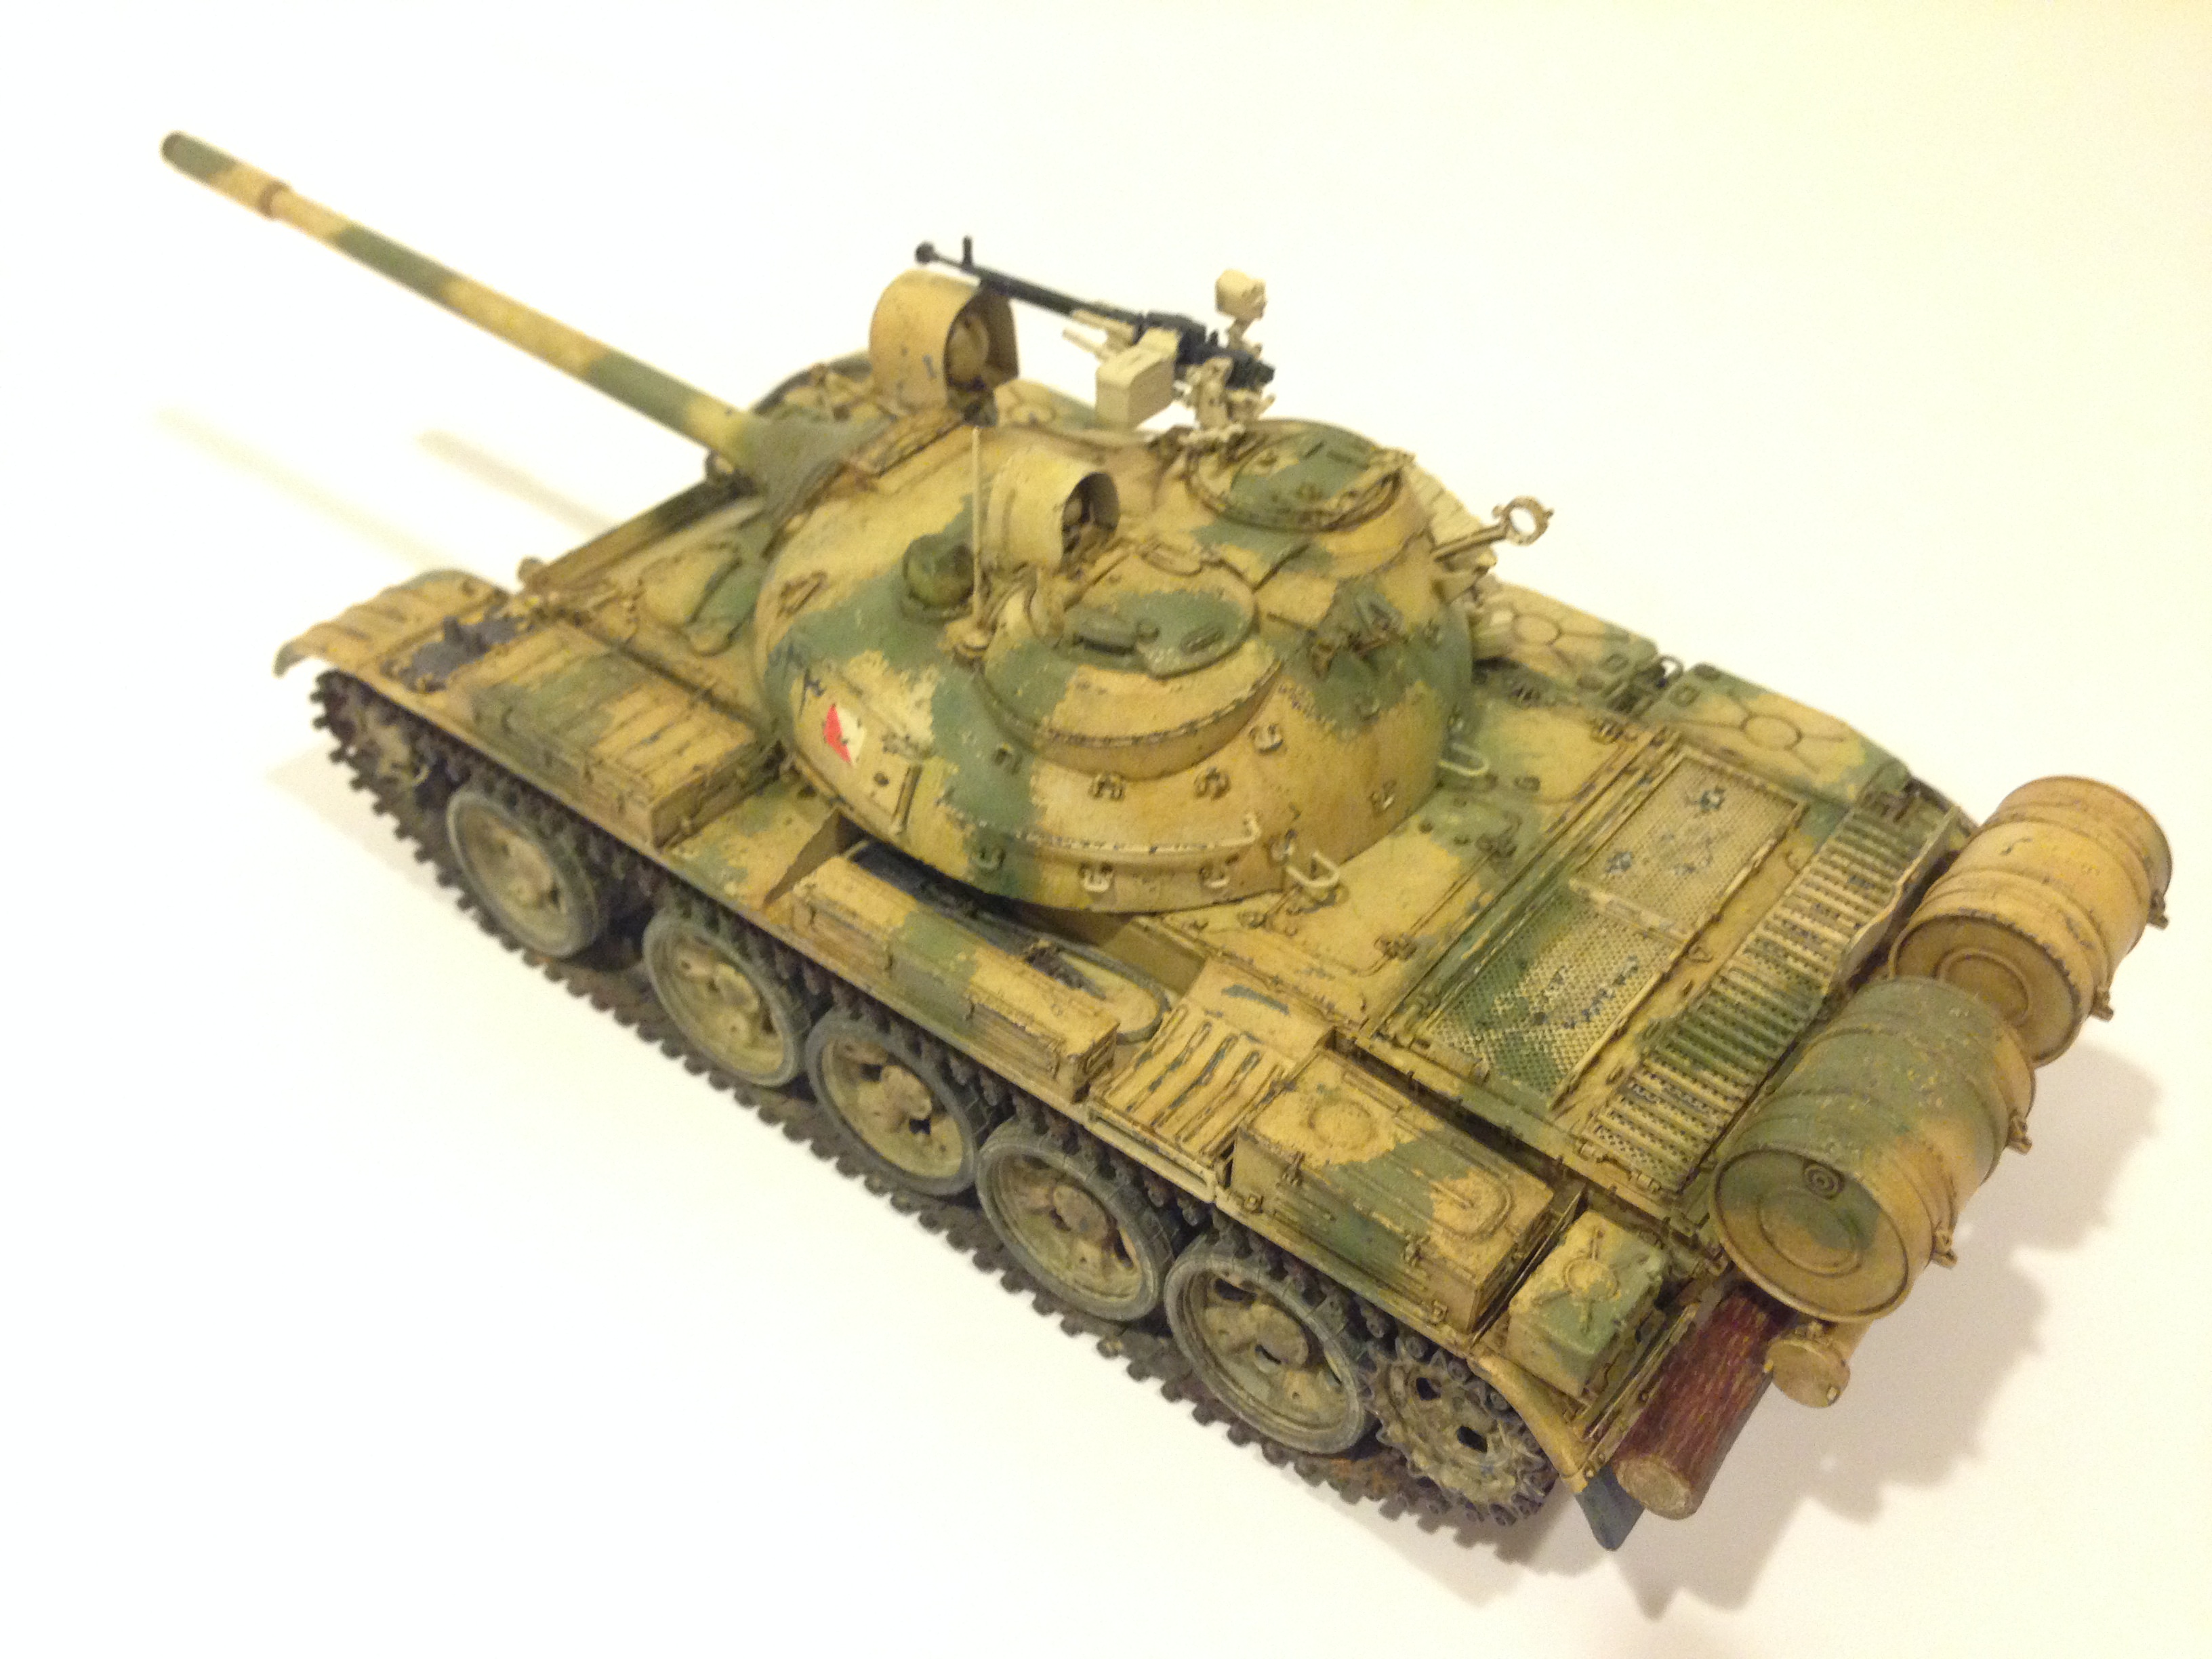
http://www.themodellingnews.com/2016/07/review-ptiii-andy-finishes-takoms-35th.html It was presented in such a clear manner, that I thought, "Hey, I can do that!". So, here's is the result.
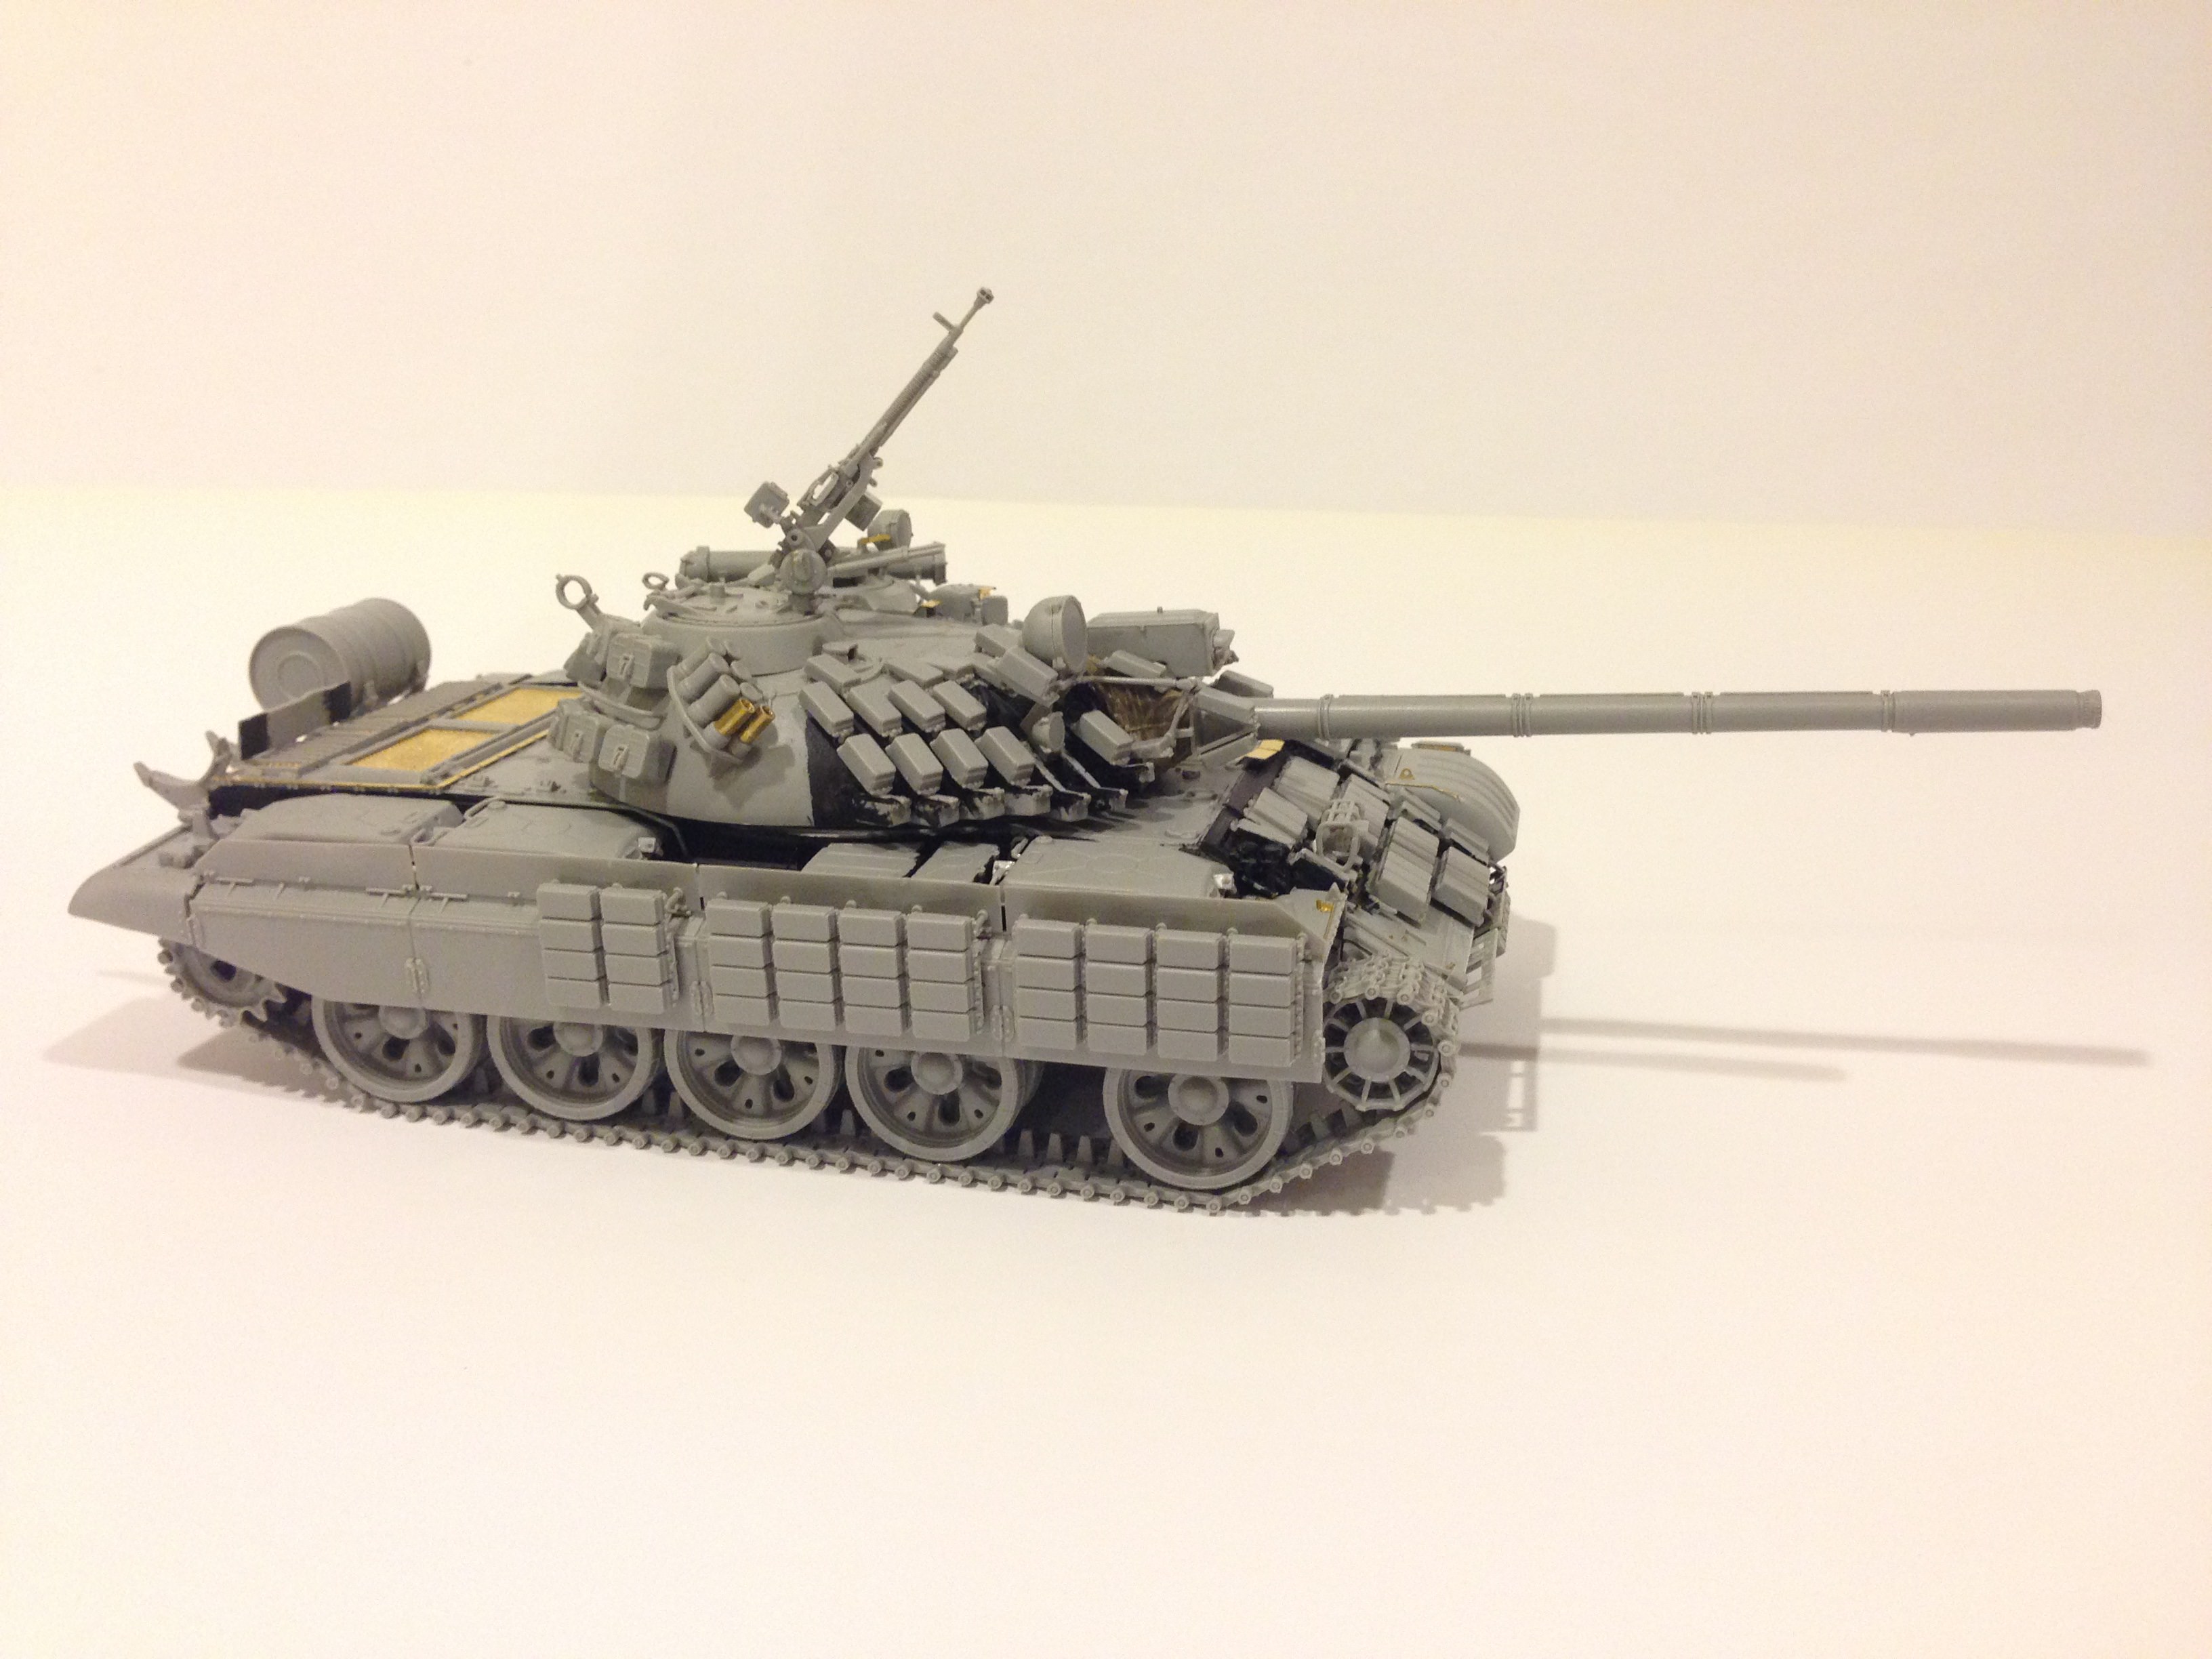


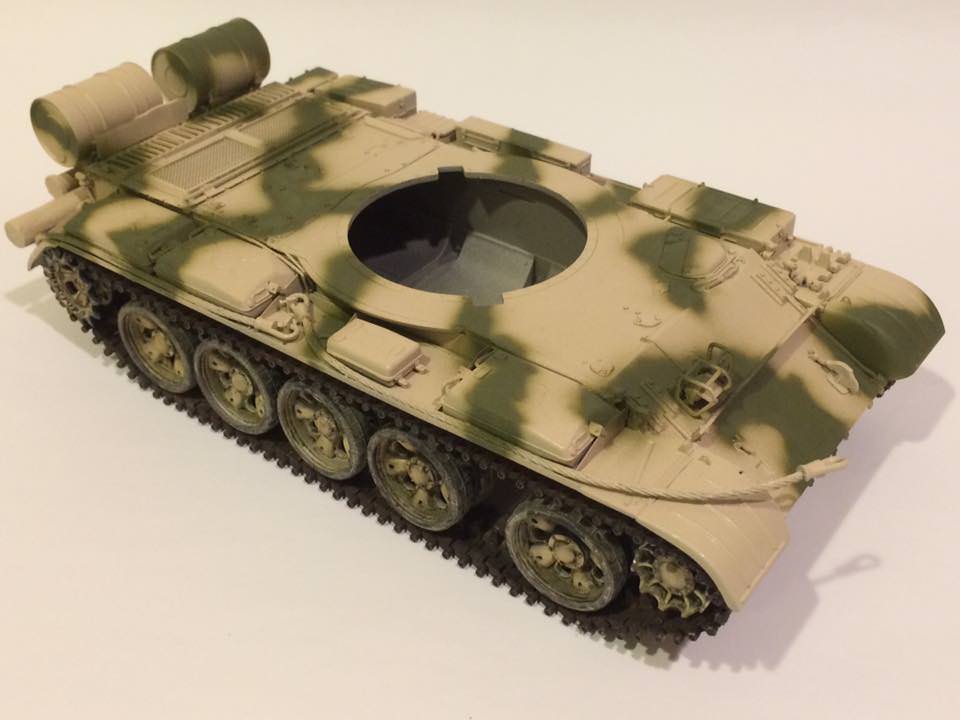
I have completed the build phase for this one. This is not however, OOB! Thanks to that article, I tried to replicate the mods that were done. As if assembling those individual ERA blocks were not time consuming enough, I also incorporated some mods. Here they are:
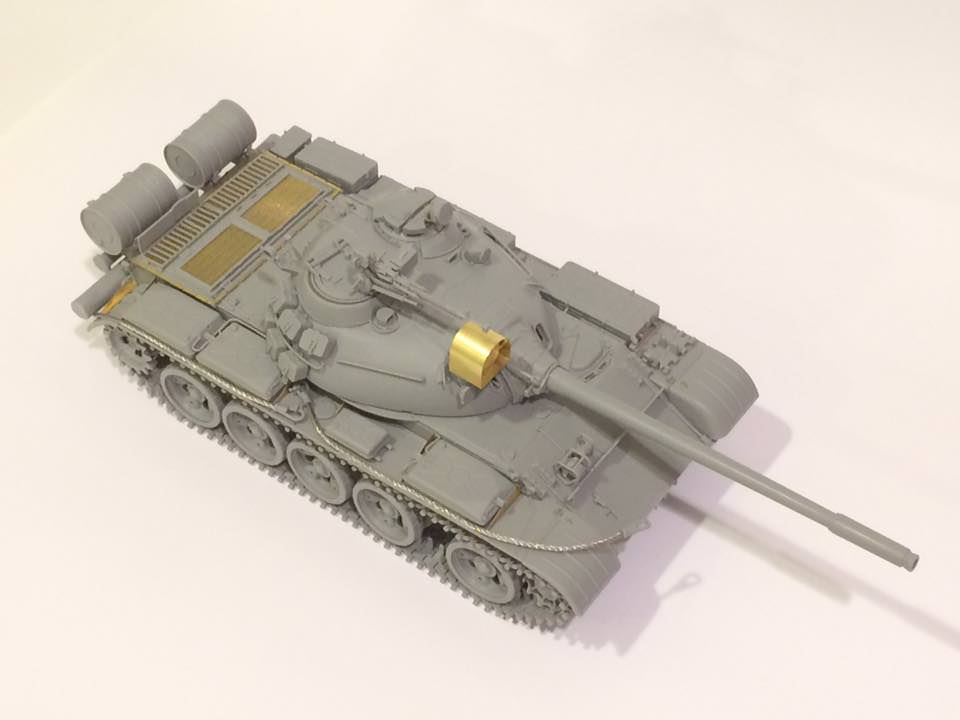
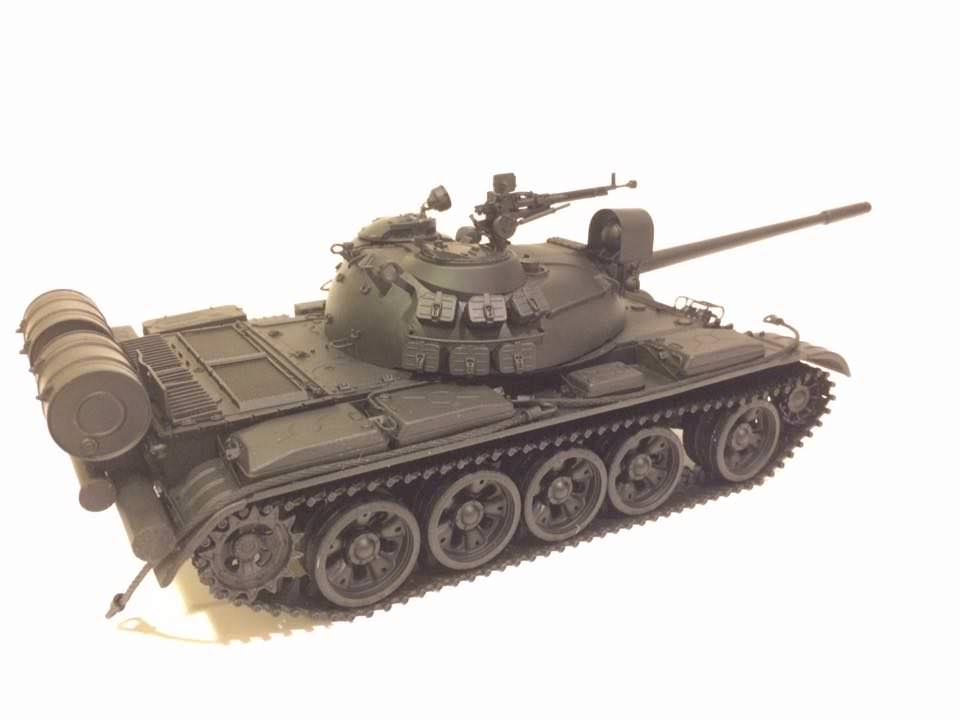
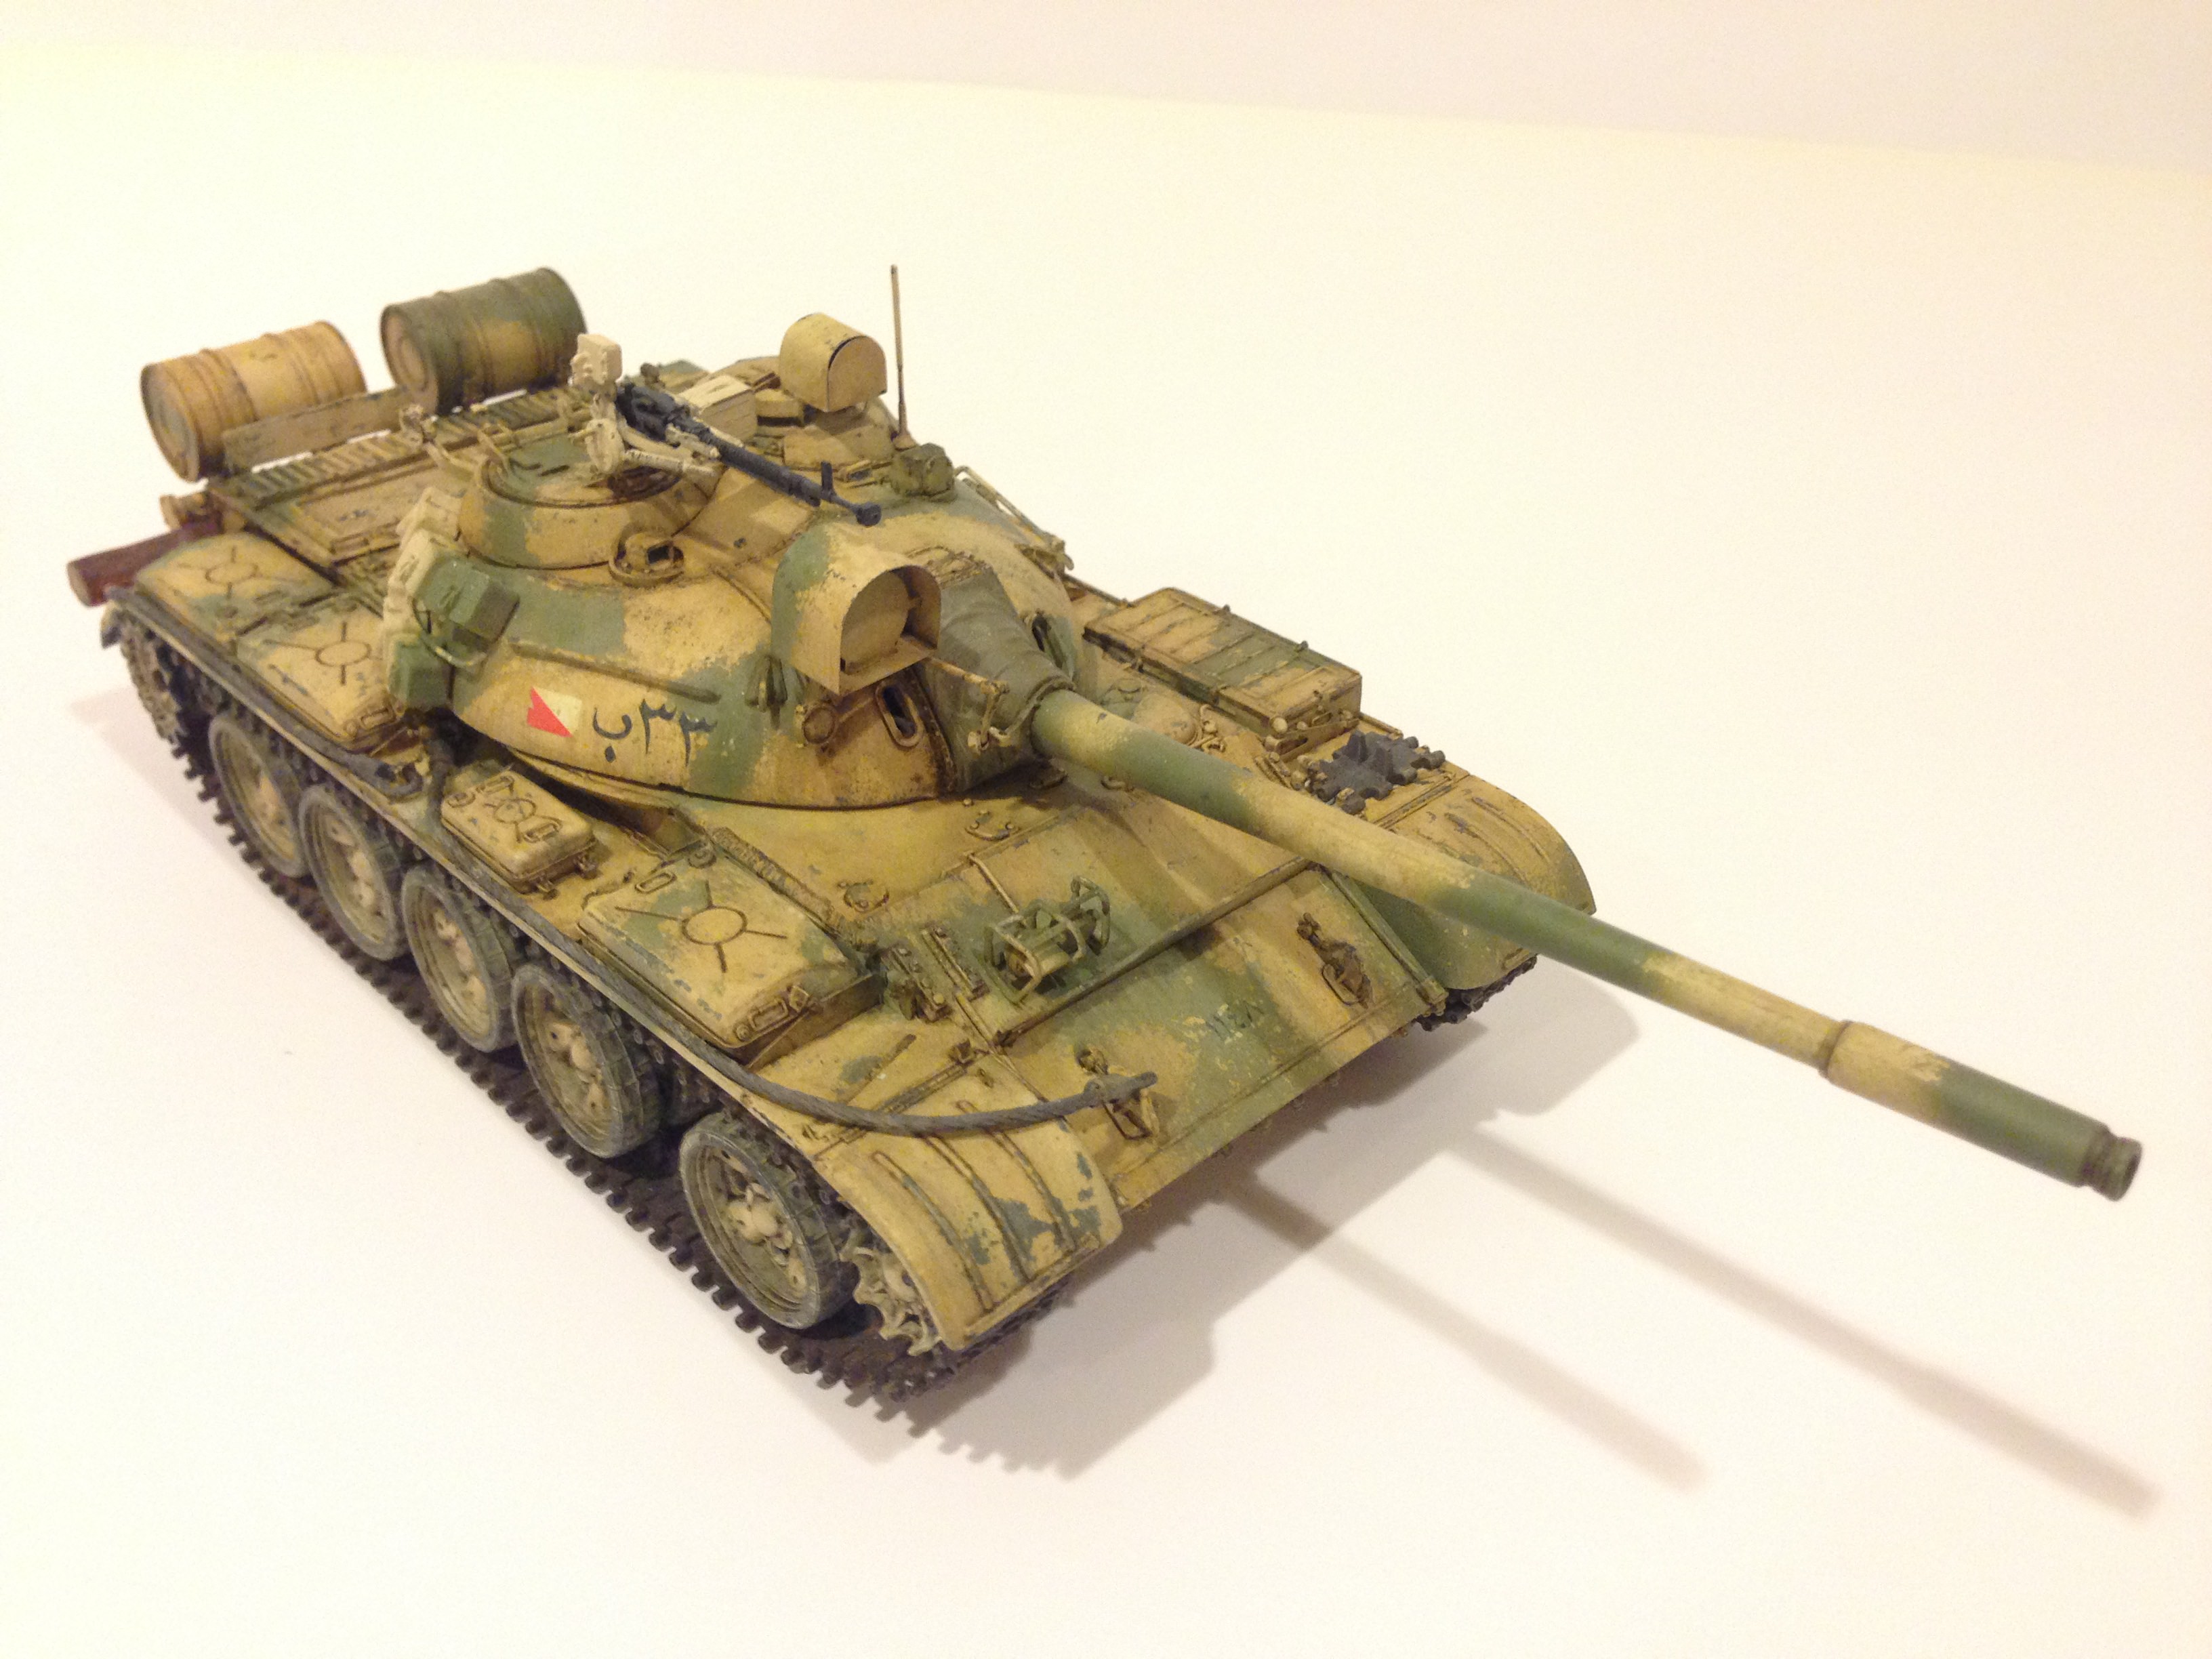
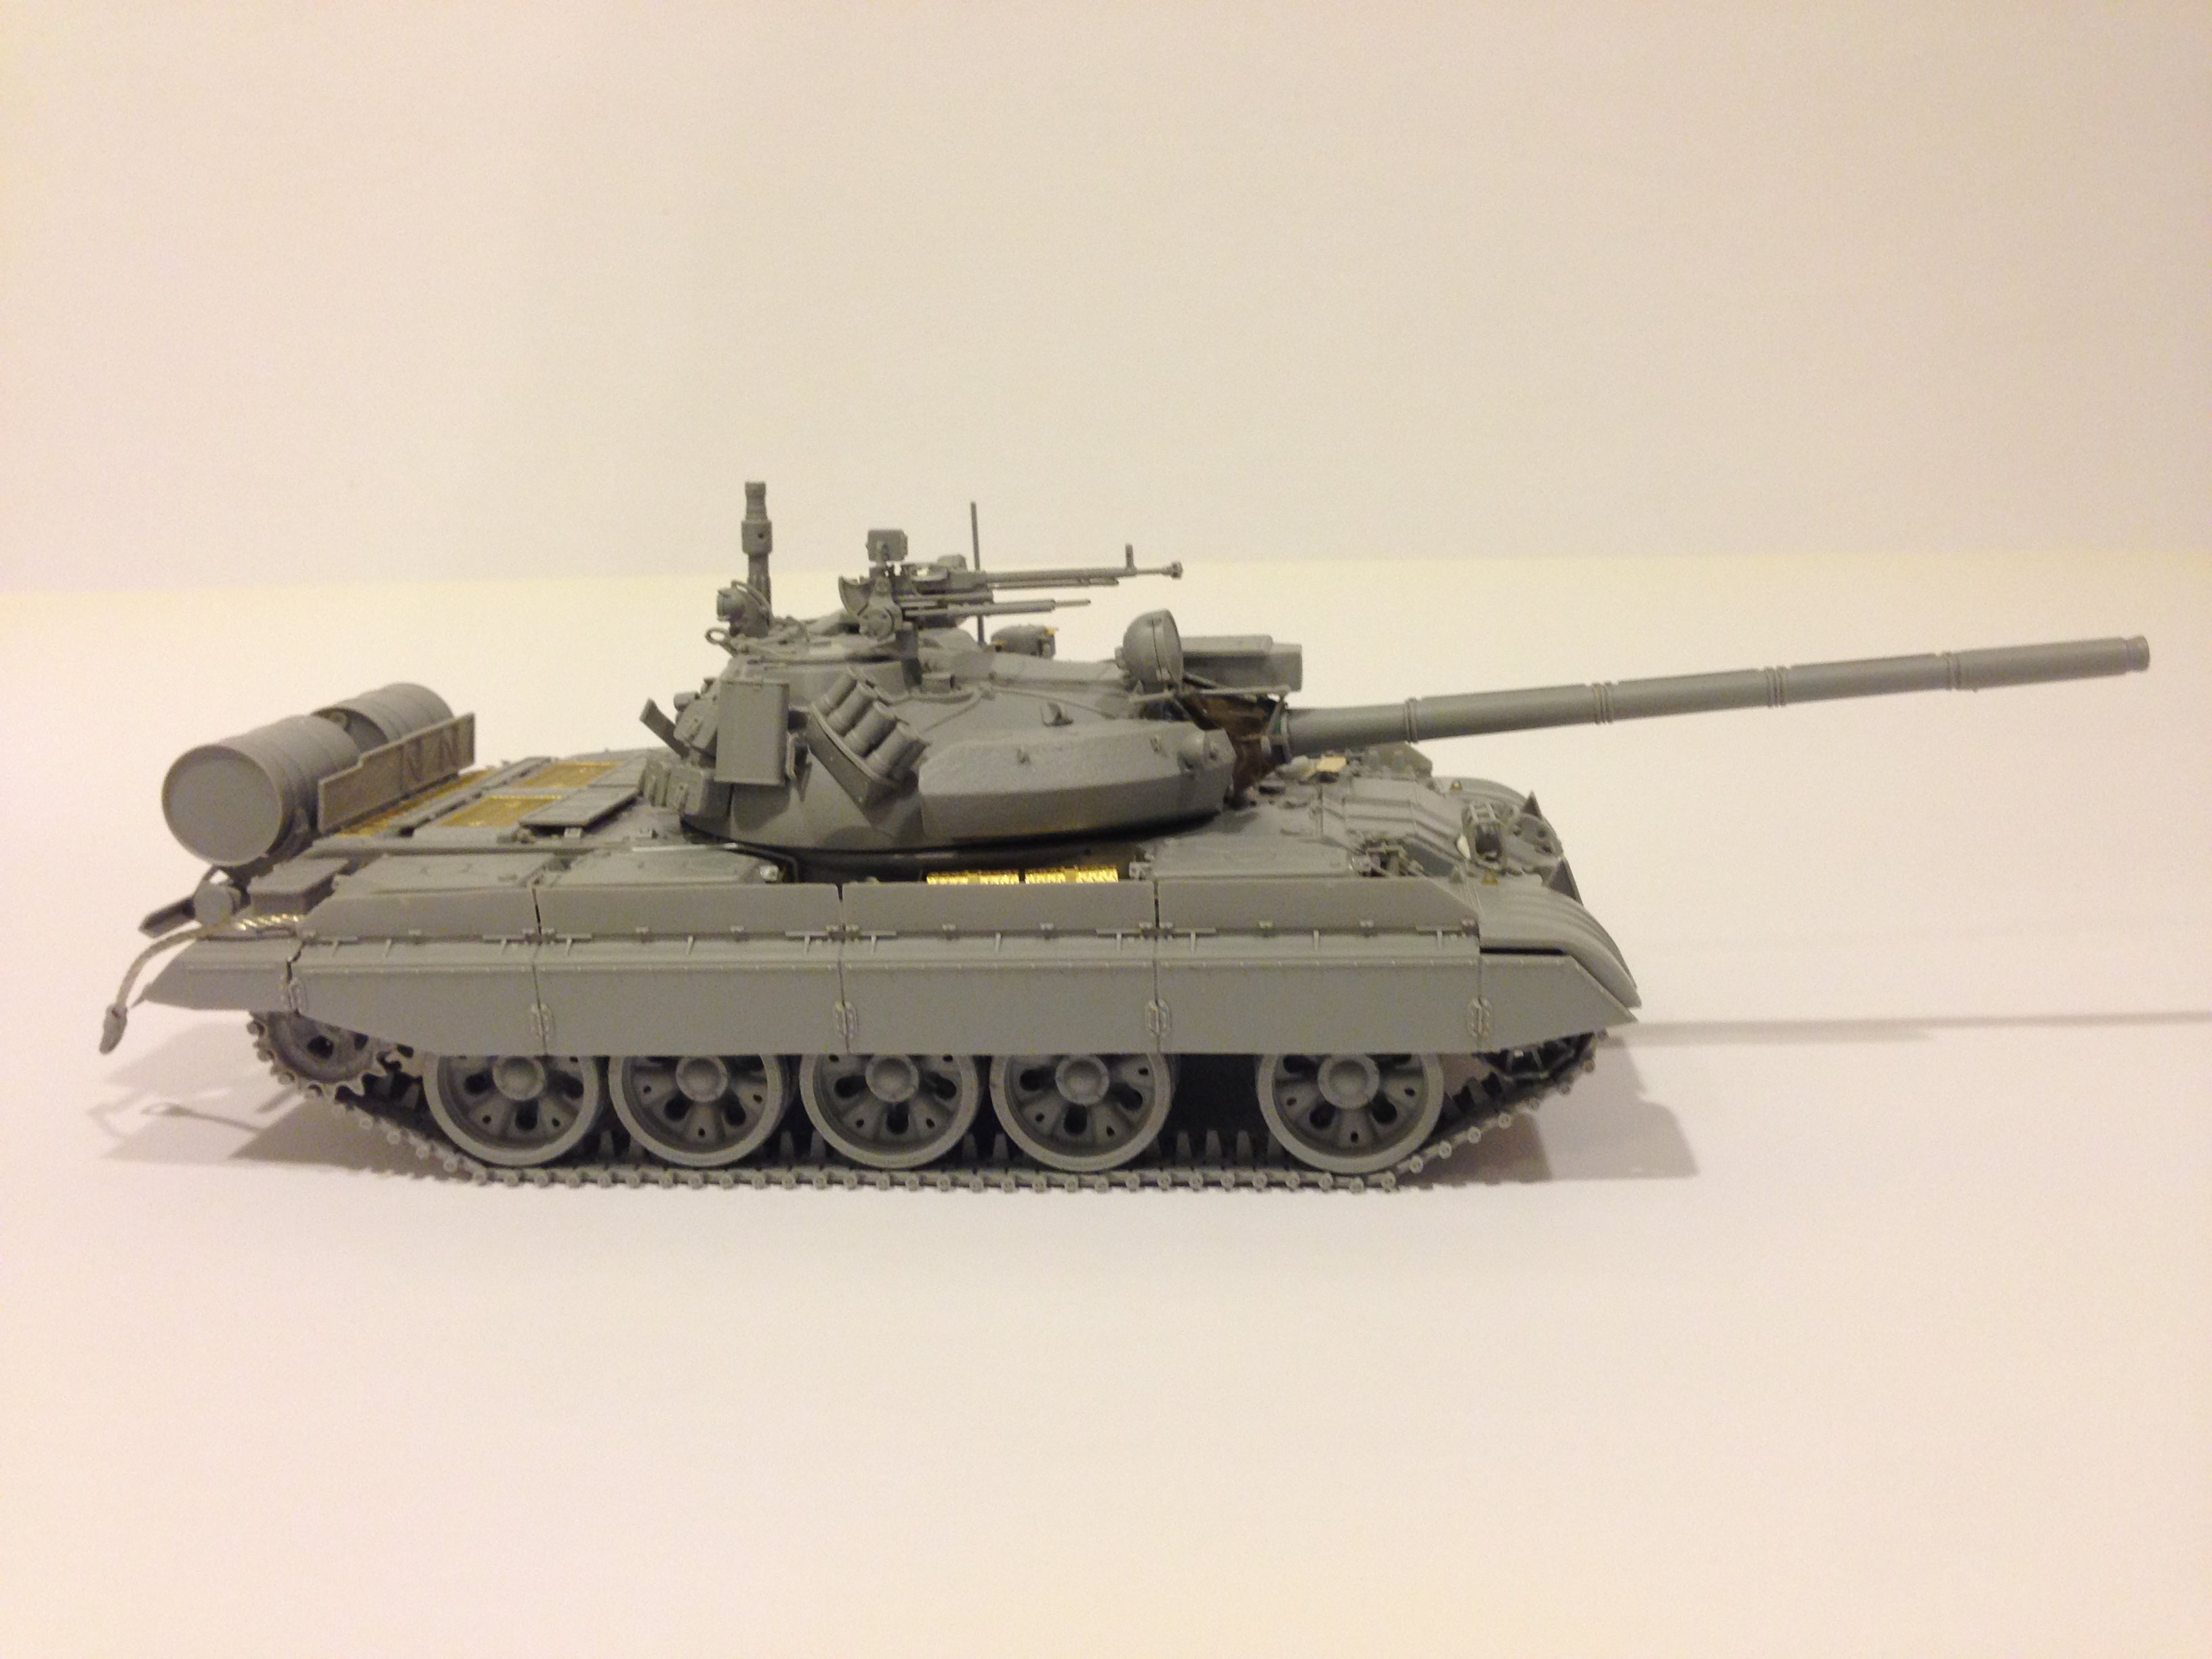
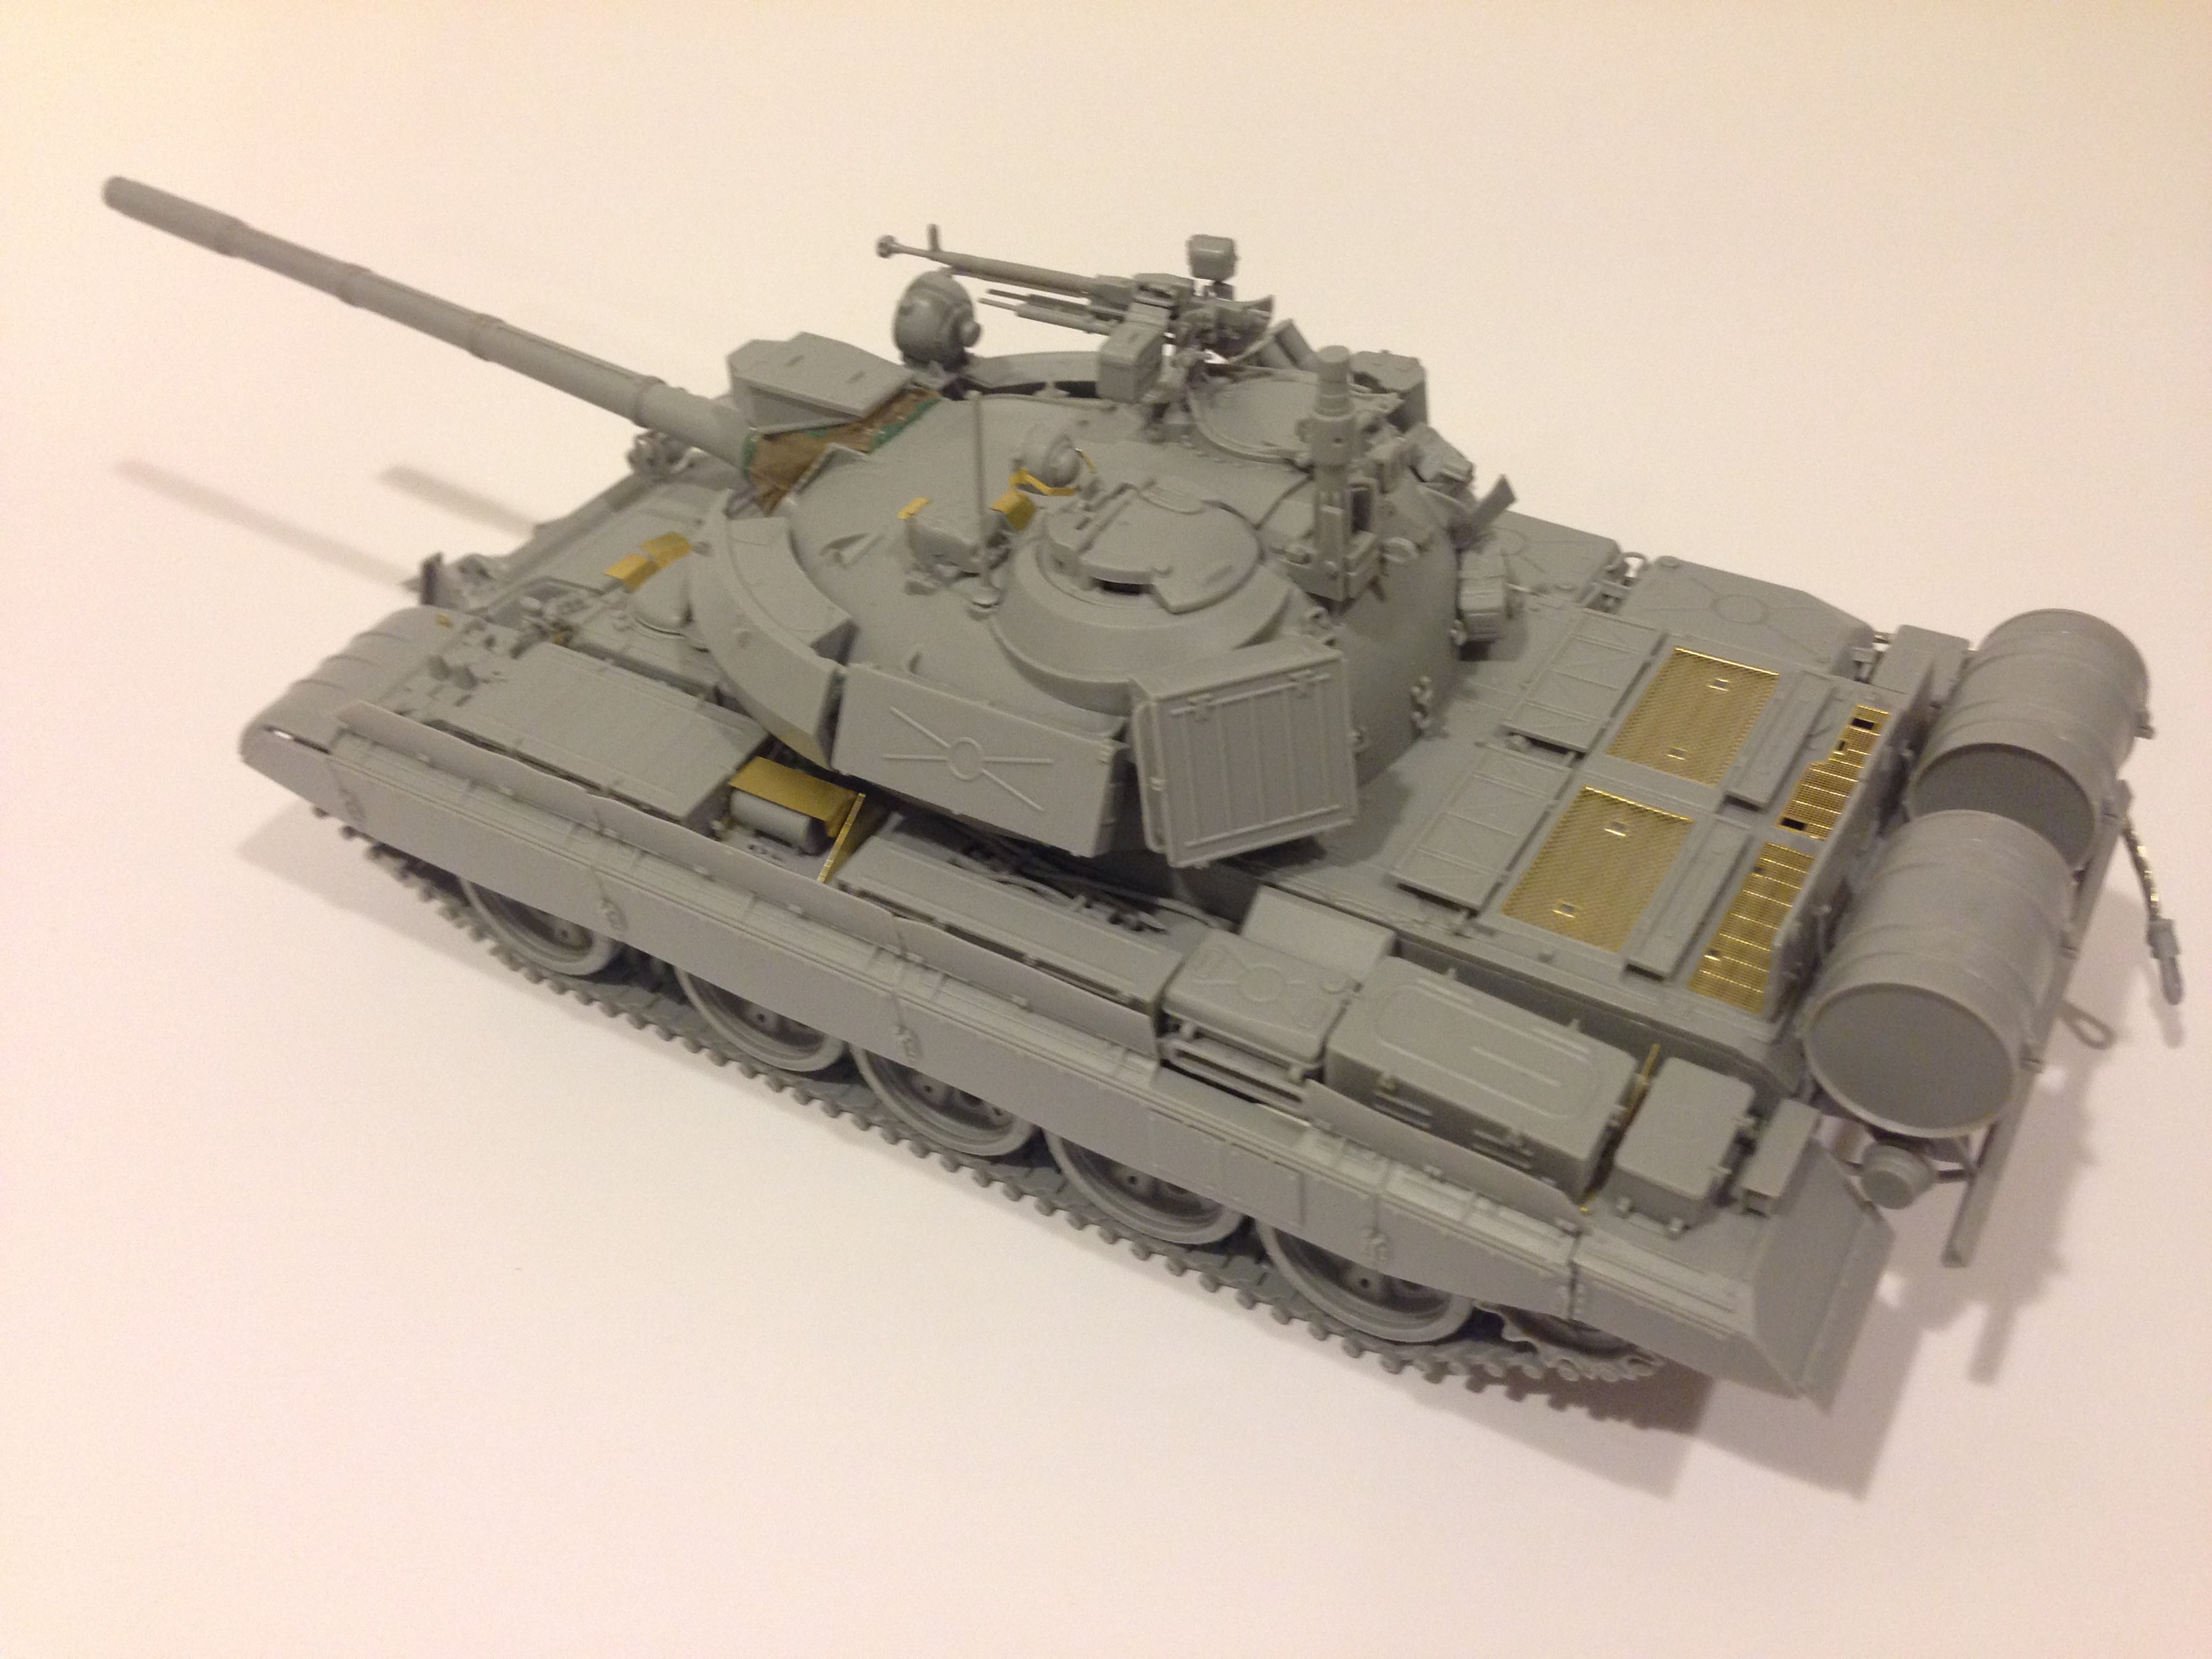
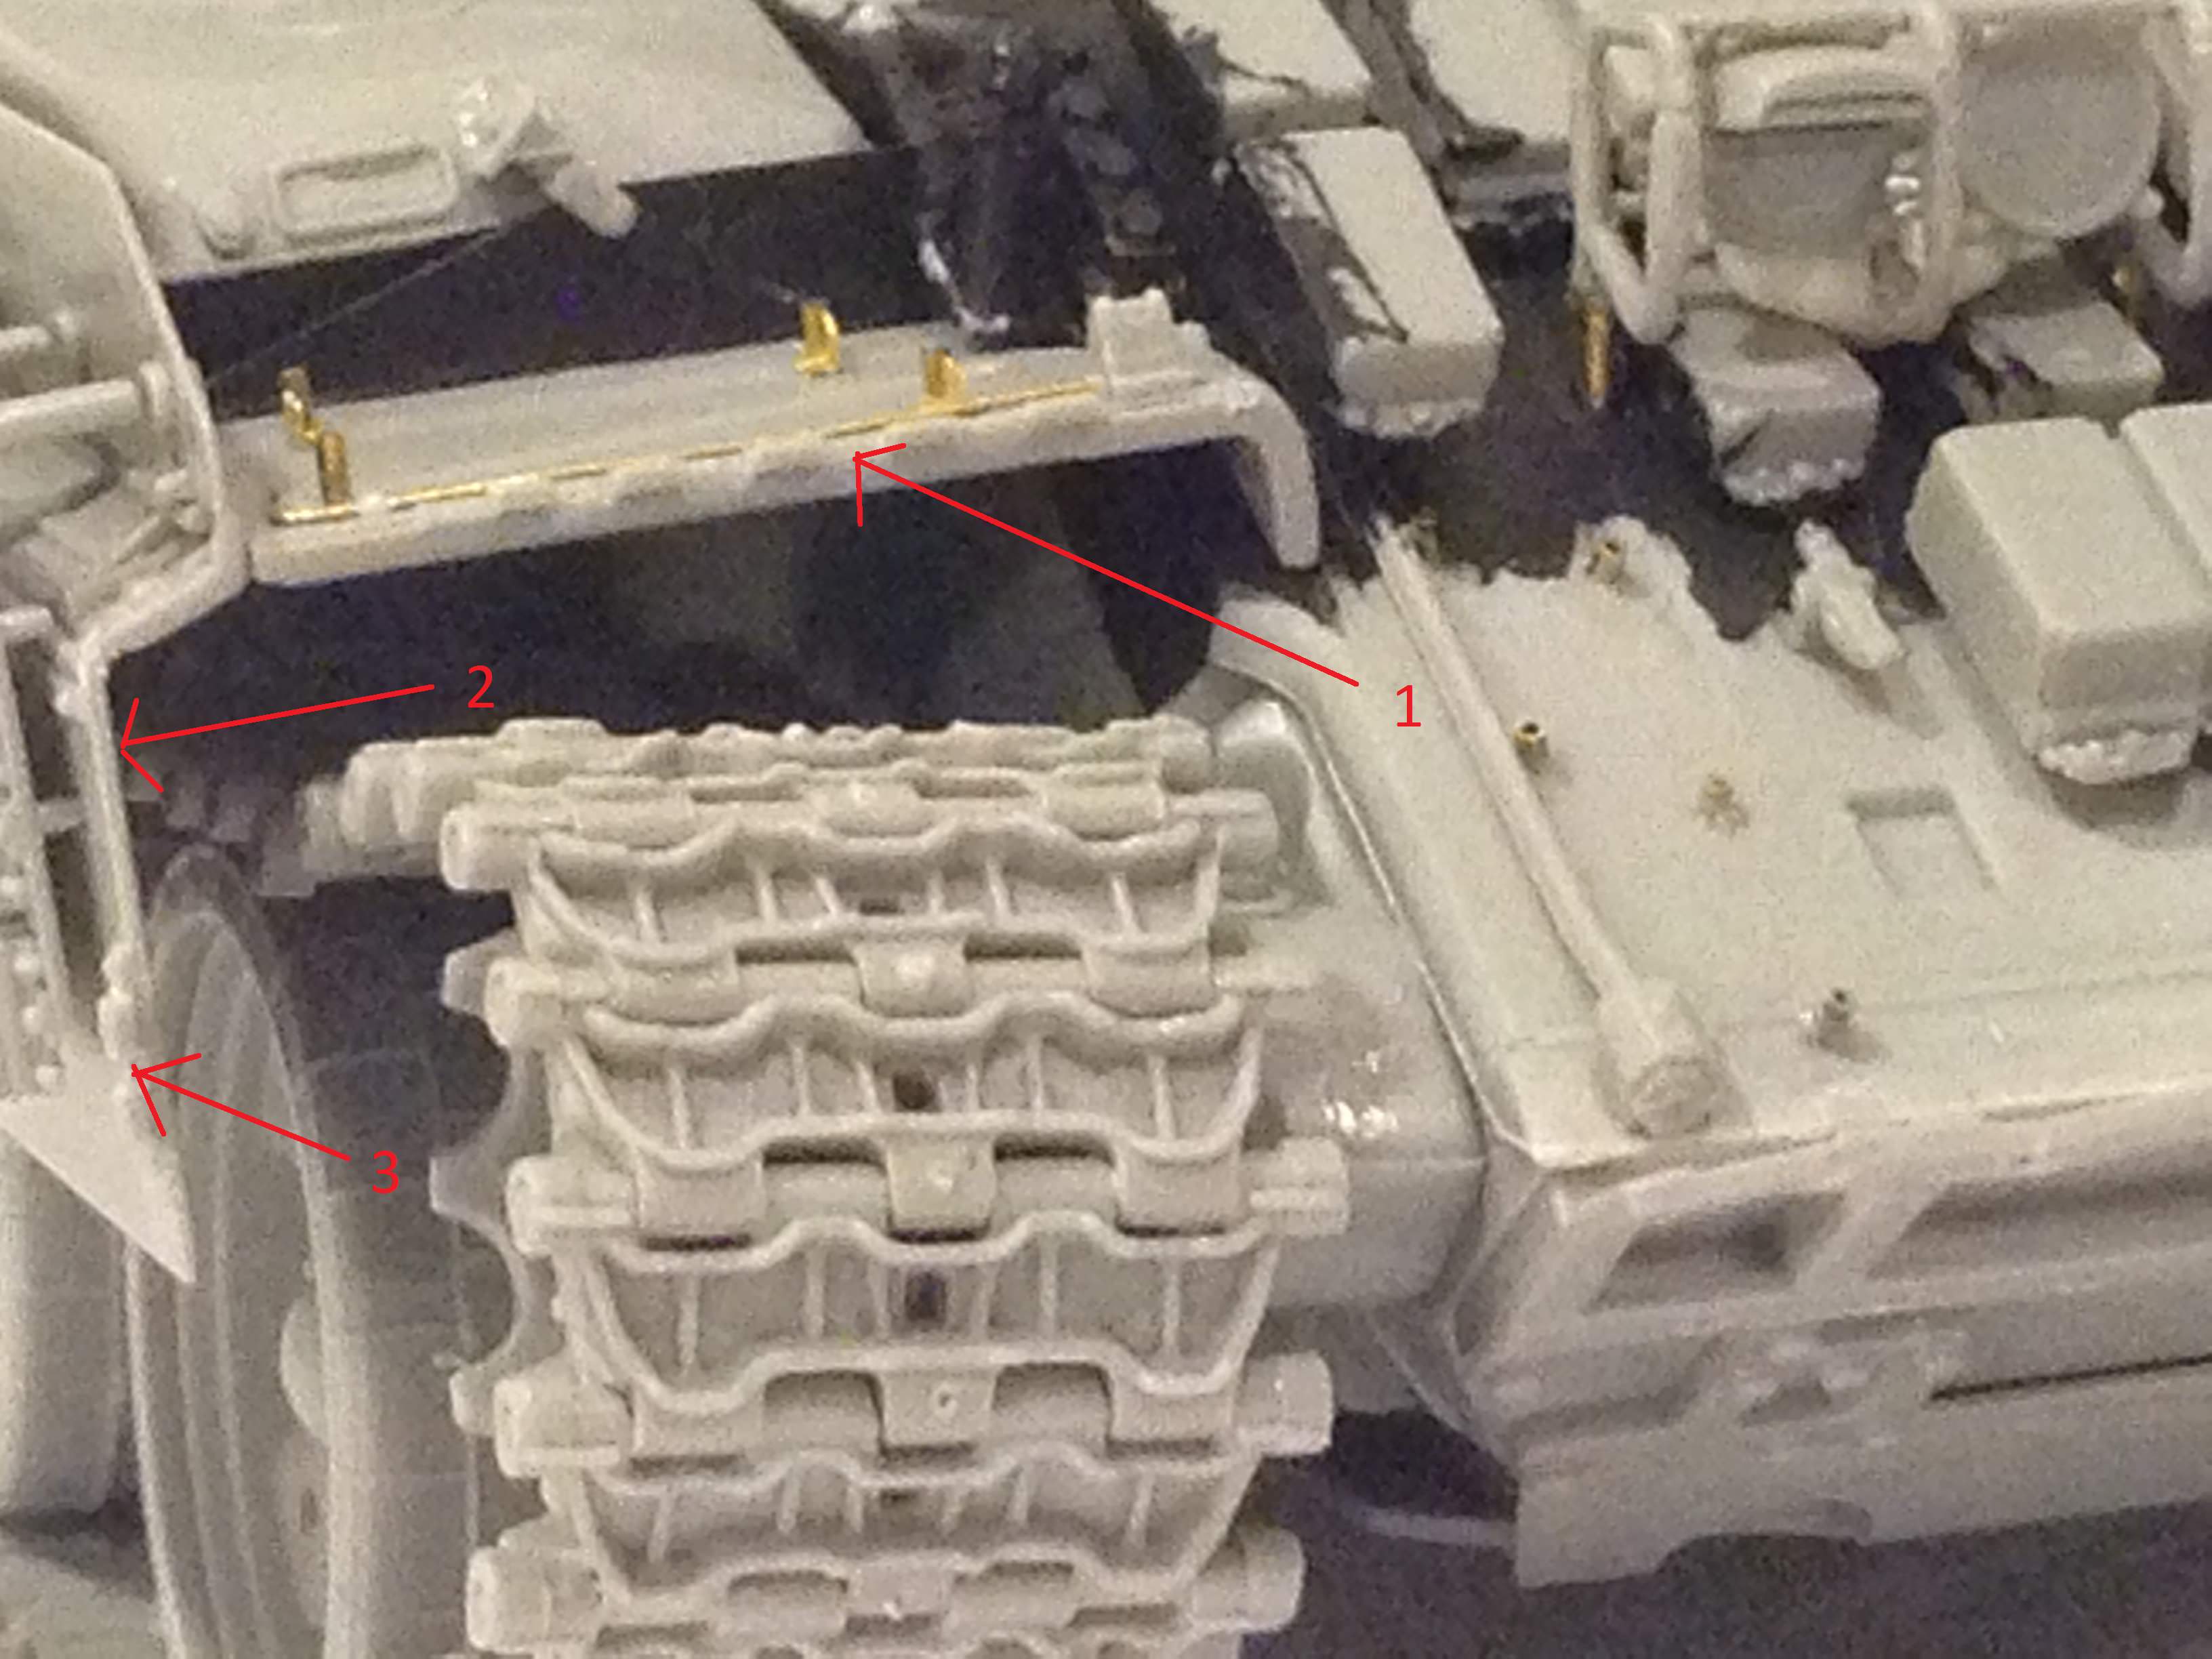
In the following picture, note that I have learned to apply primer on hard to reach places. Particularly under the blocks. Here is a list of the mods I have done:
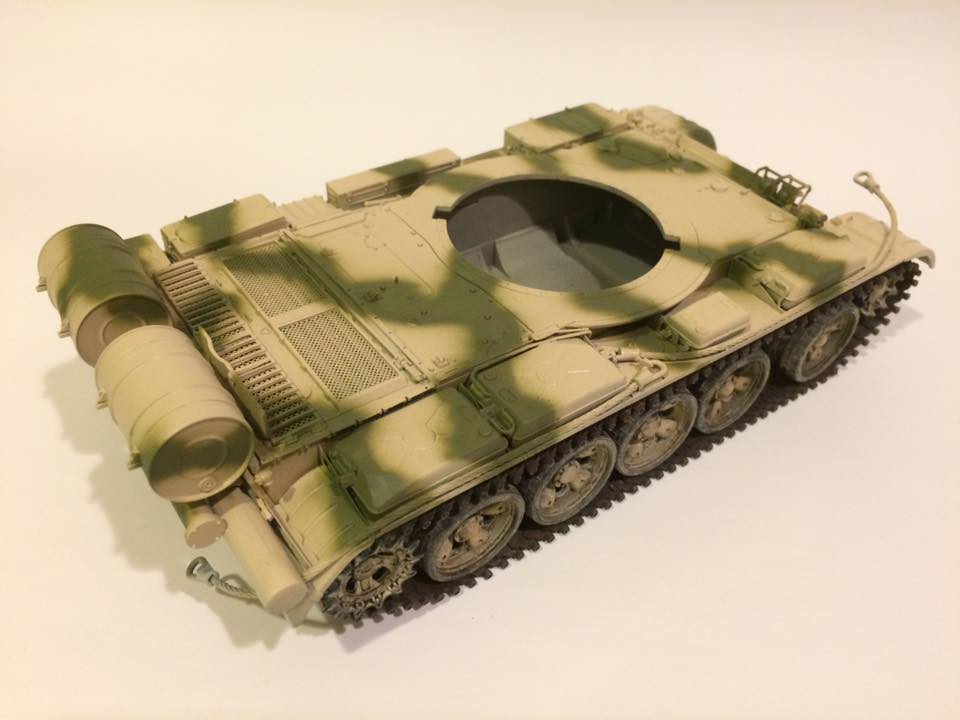
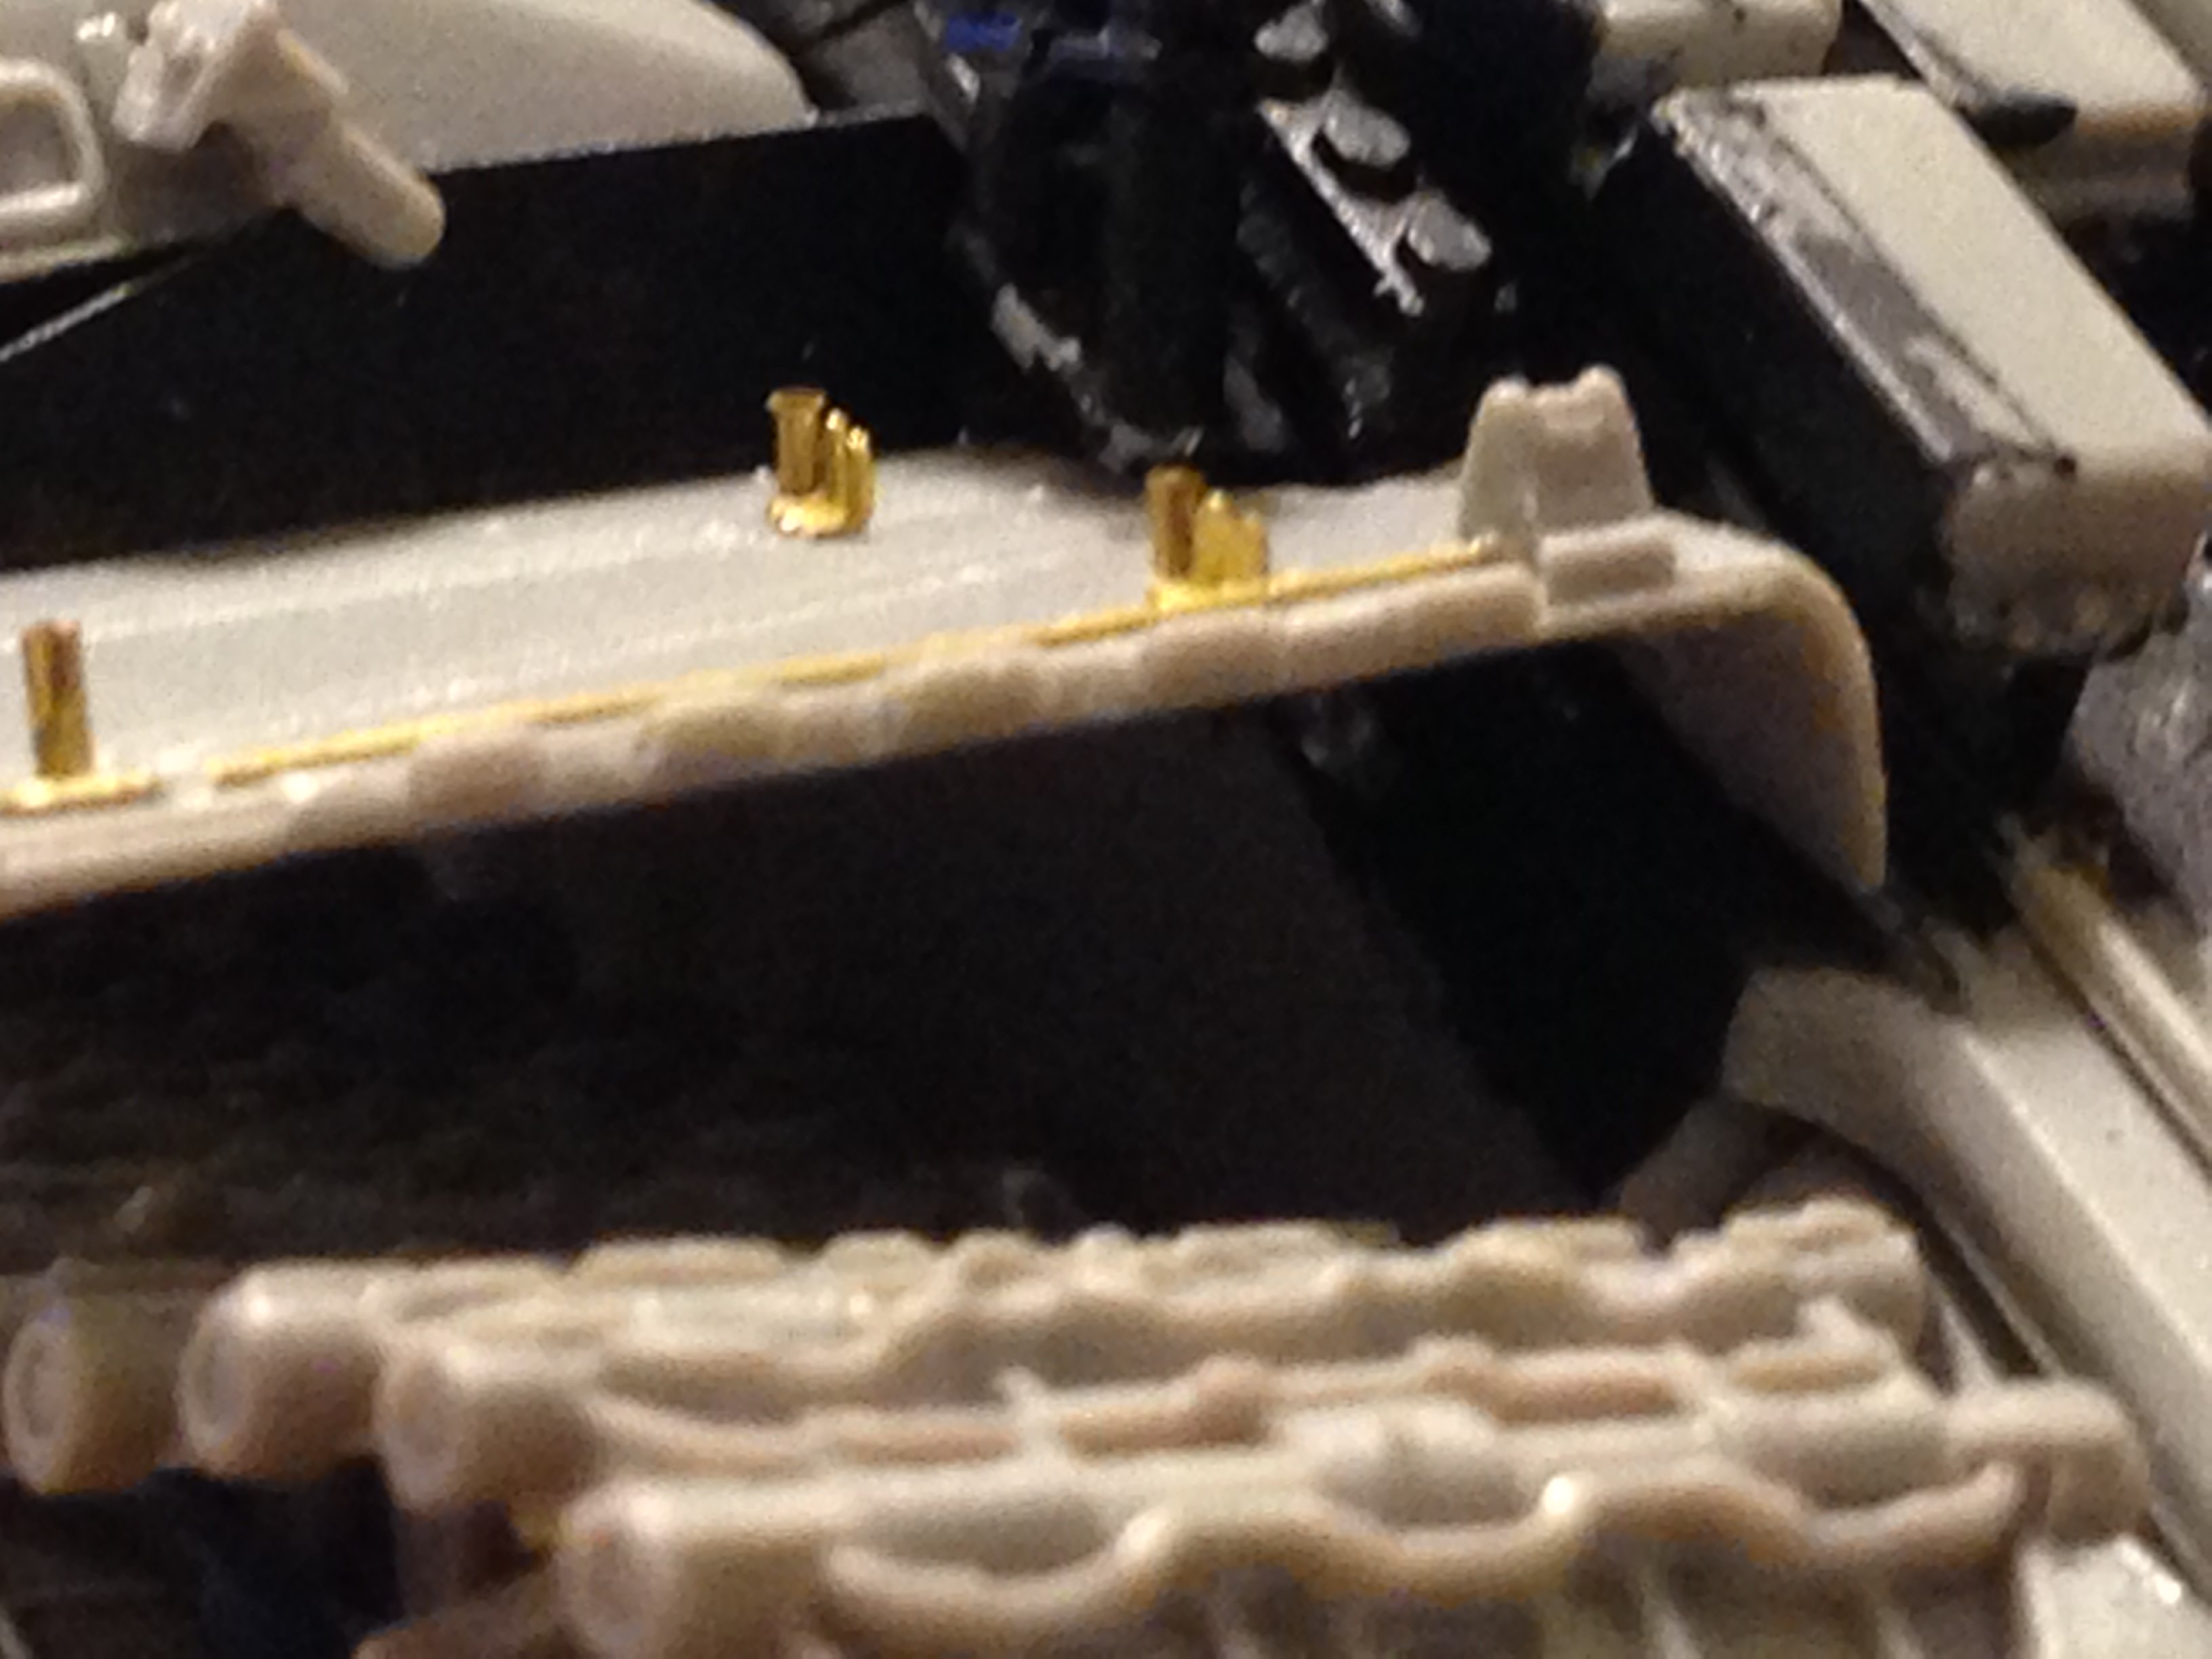
1) I placed brass tubes and spare photo etch parts to serve as the spare track rack.
2) I replaced the fender retaining rod by removing the molded one and placed a brass rod.
3) I placed brass tubes on where the blocks have been removed.
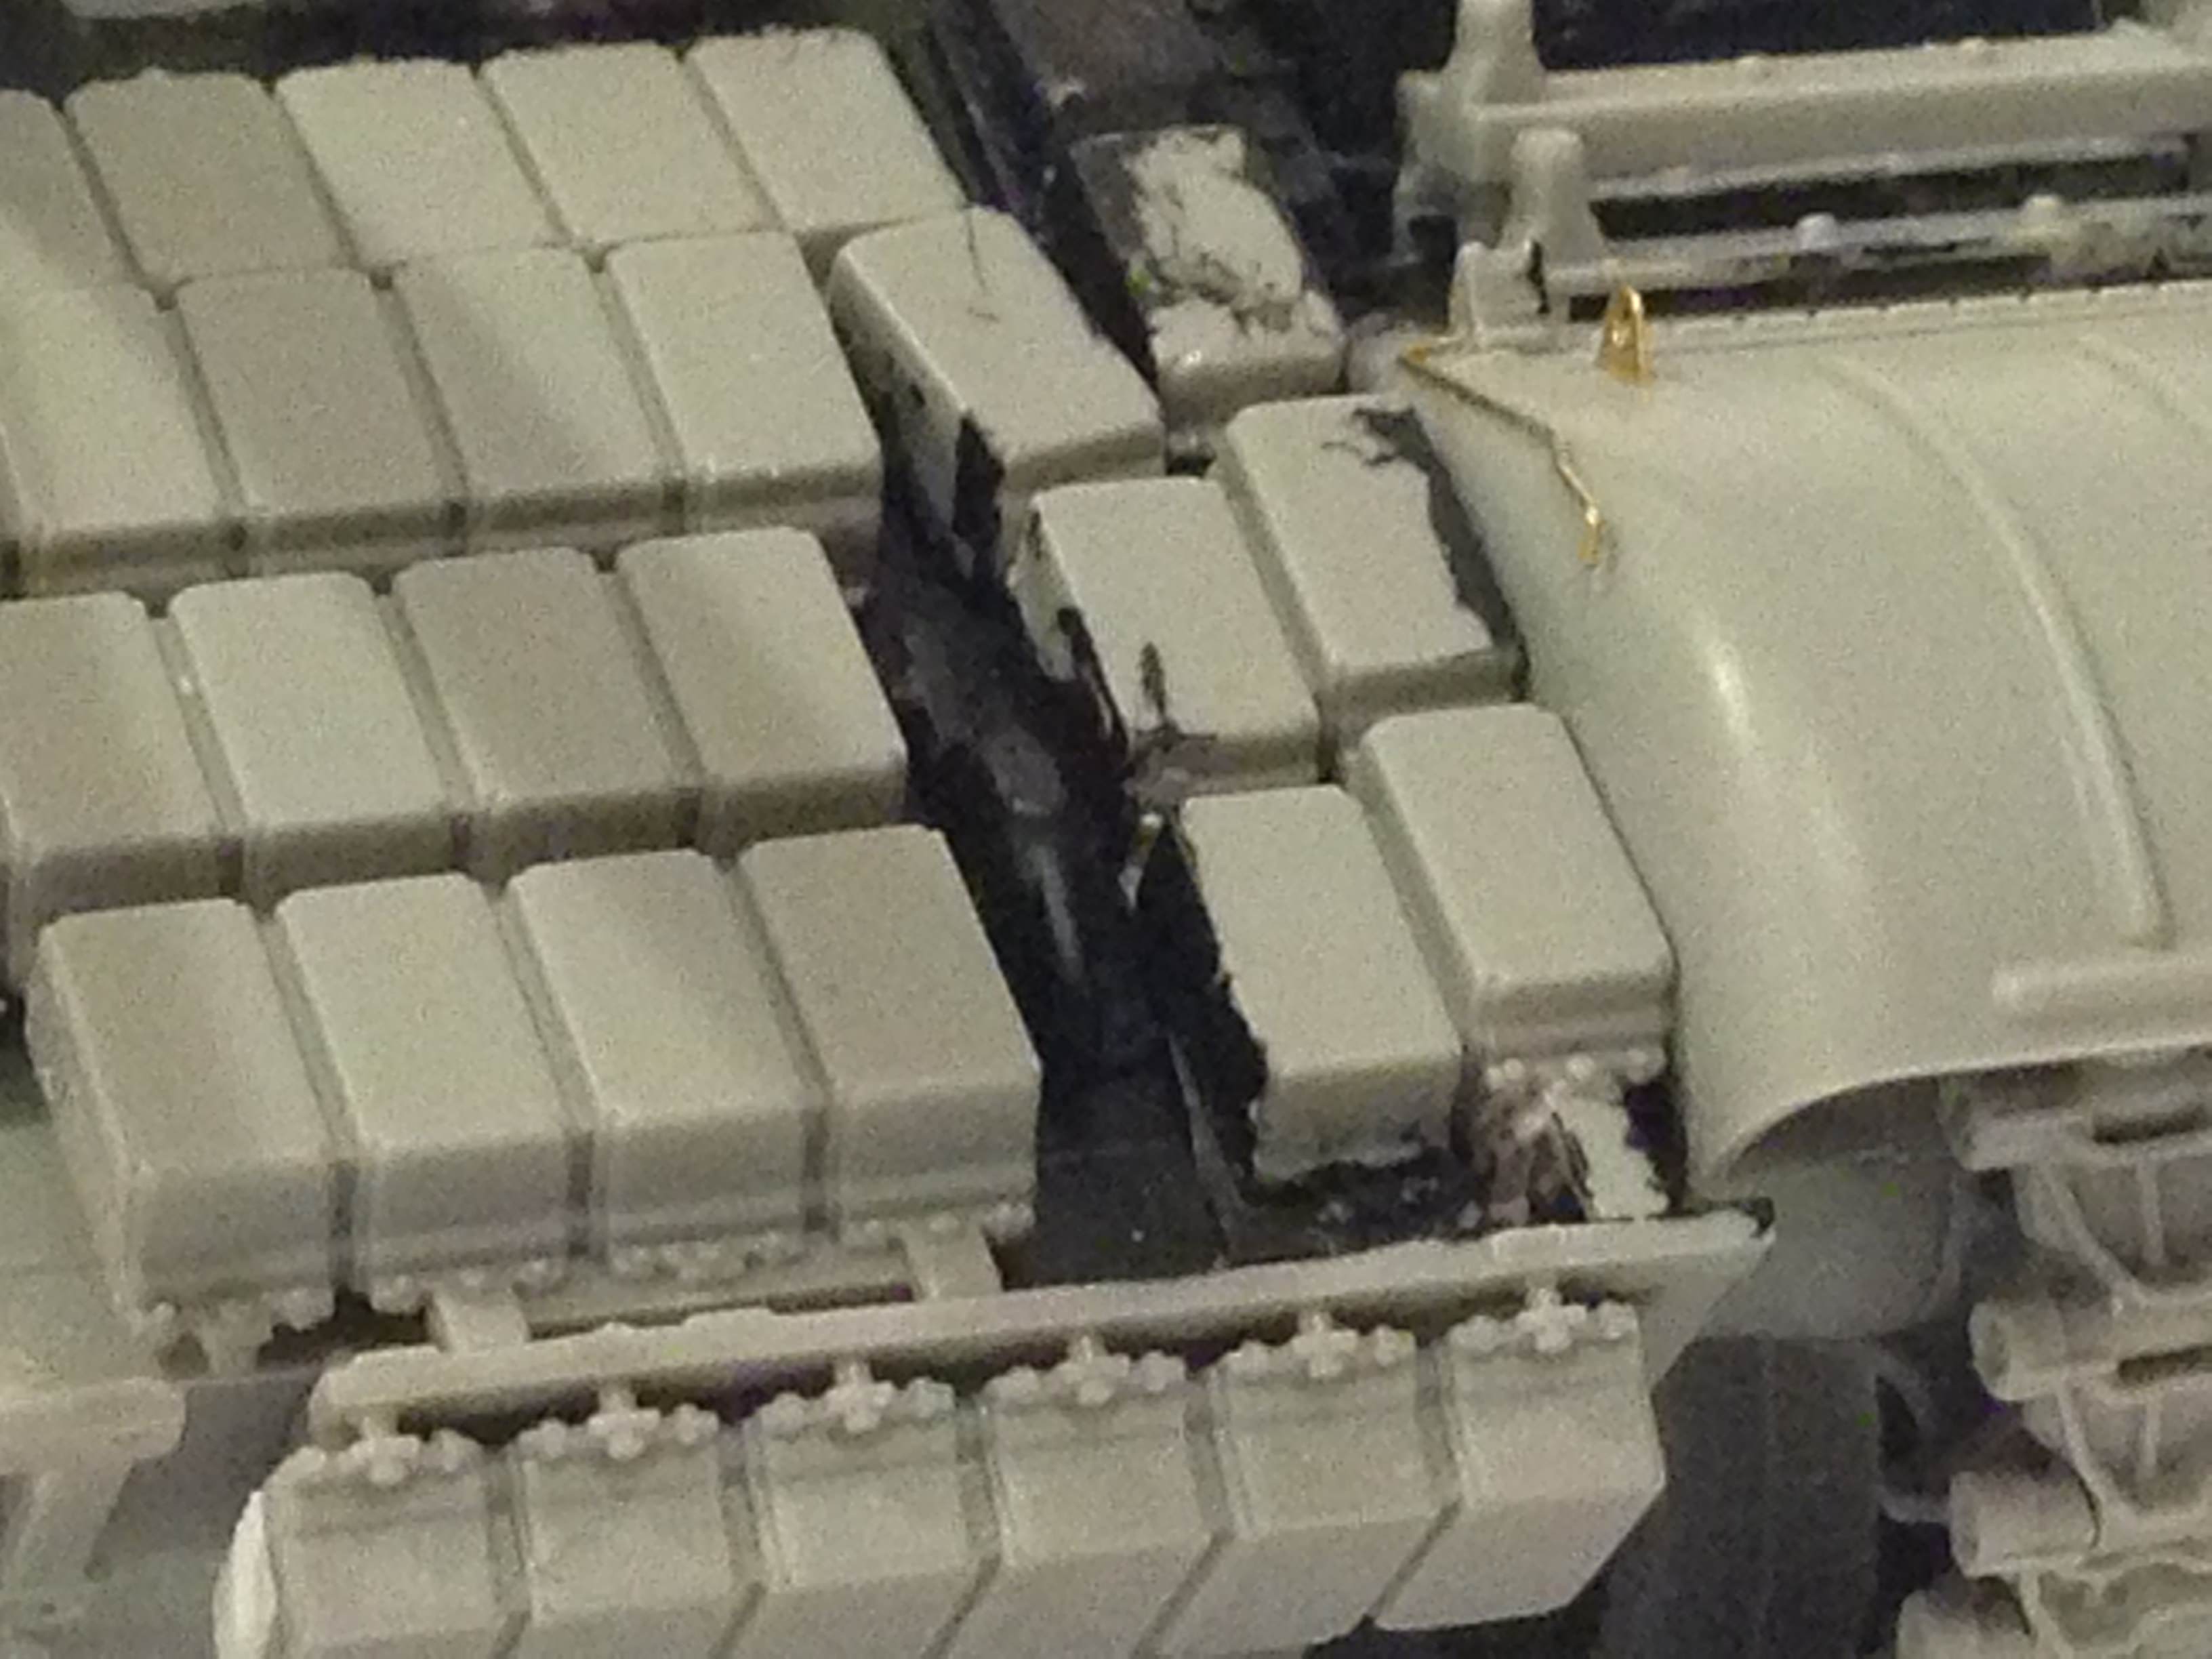
4) I applied some battle damage on the ERA block rack.
5) Filled in the side of the end block with plastic.

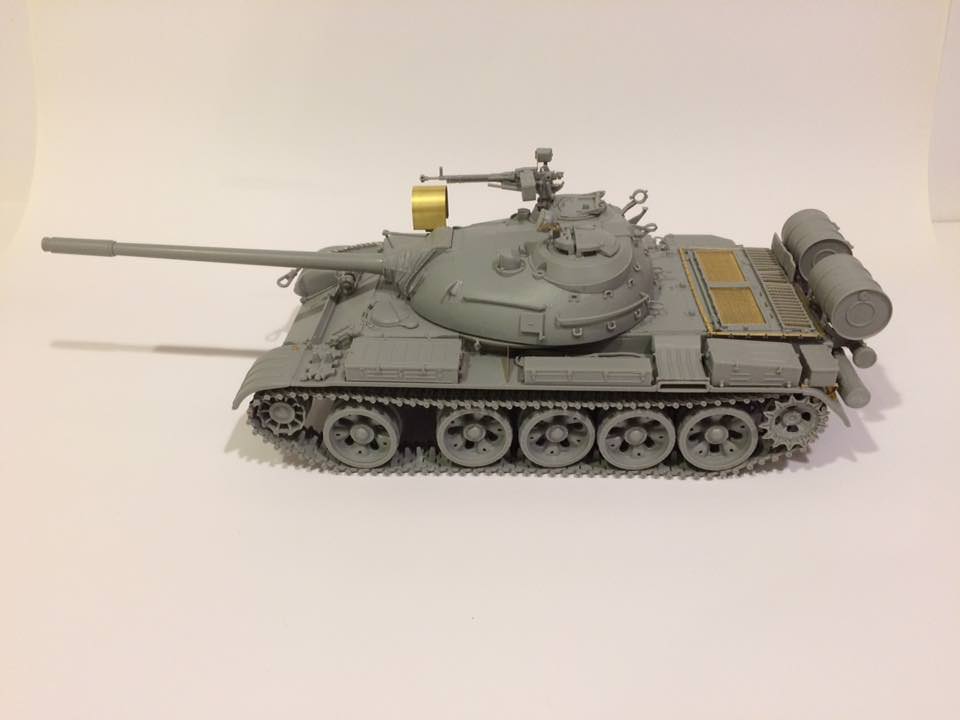
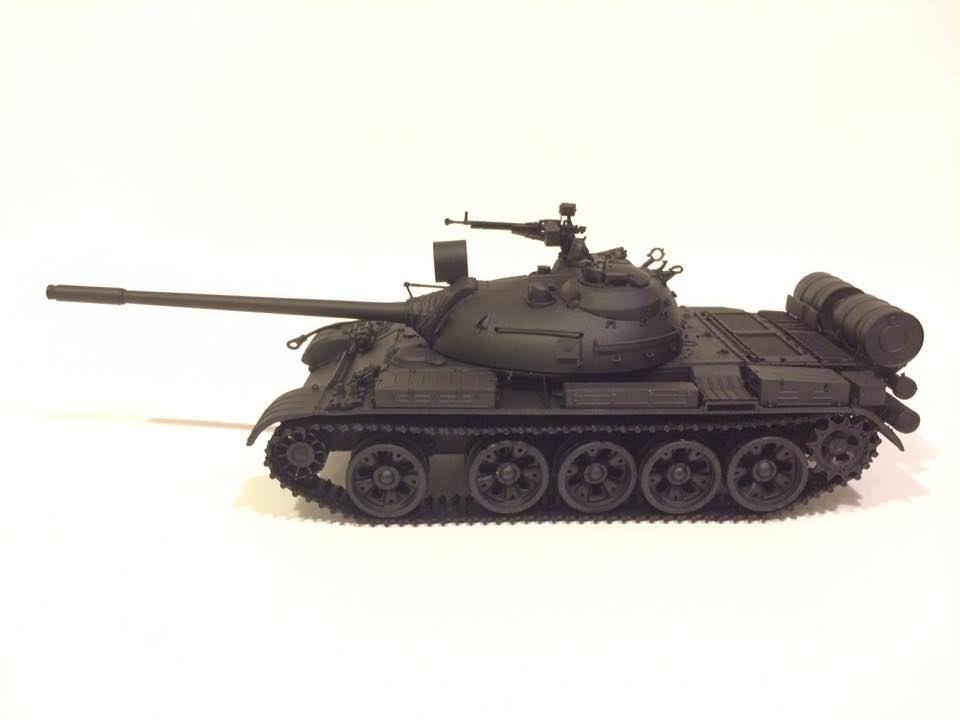
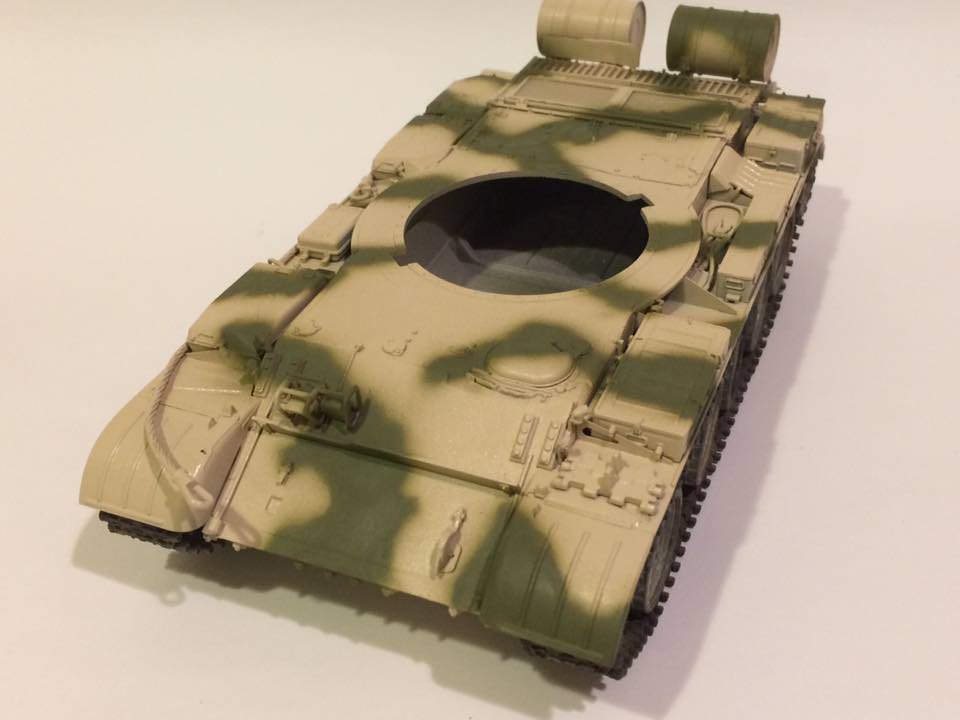
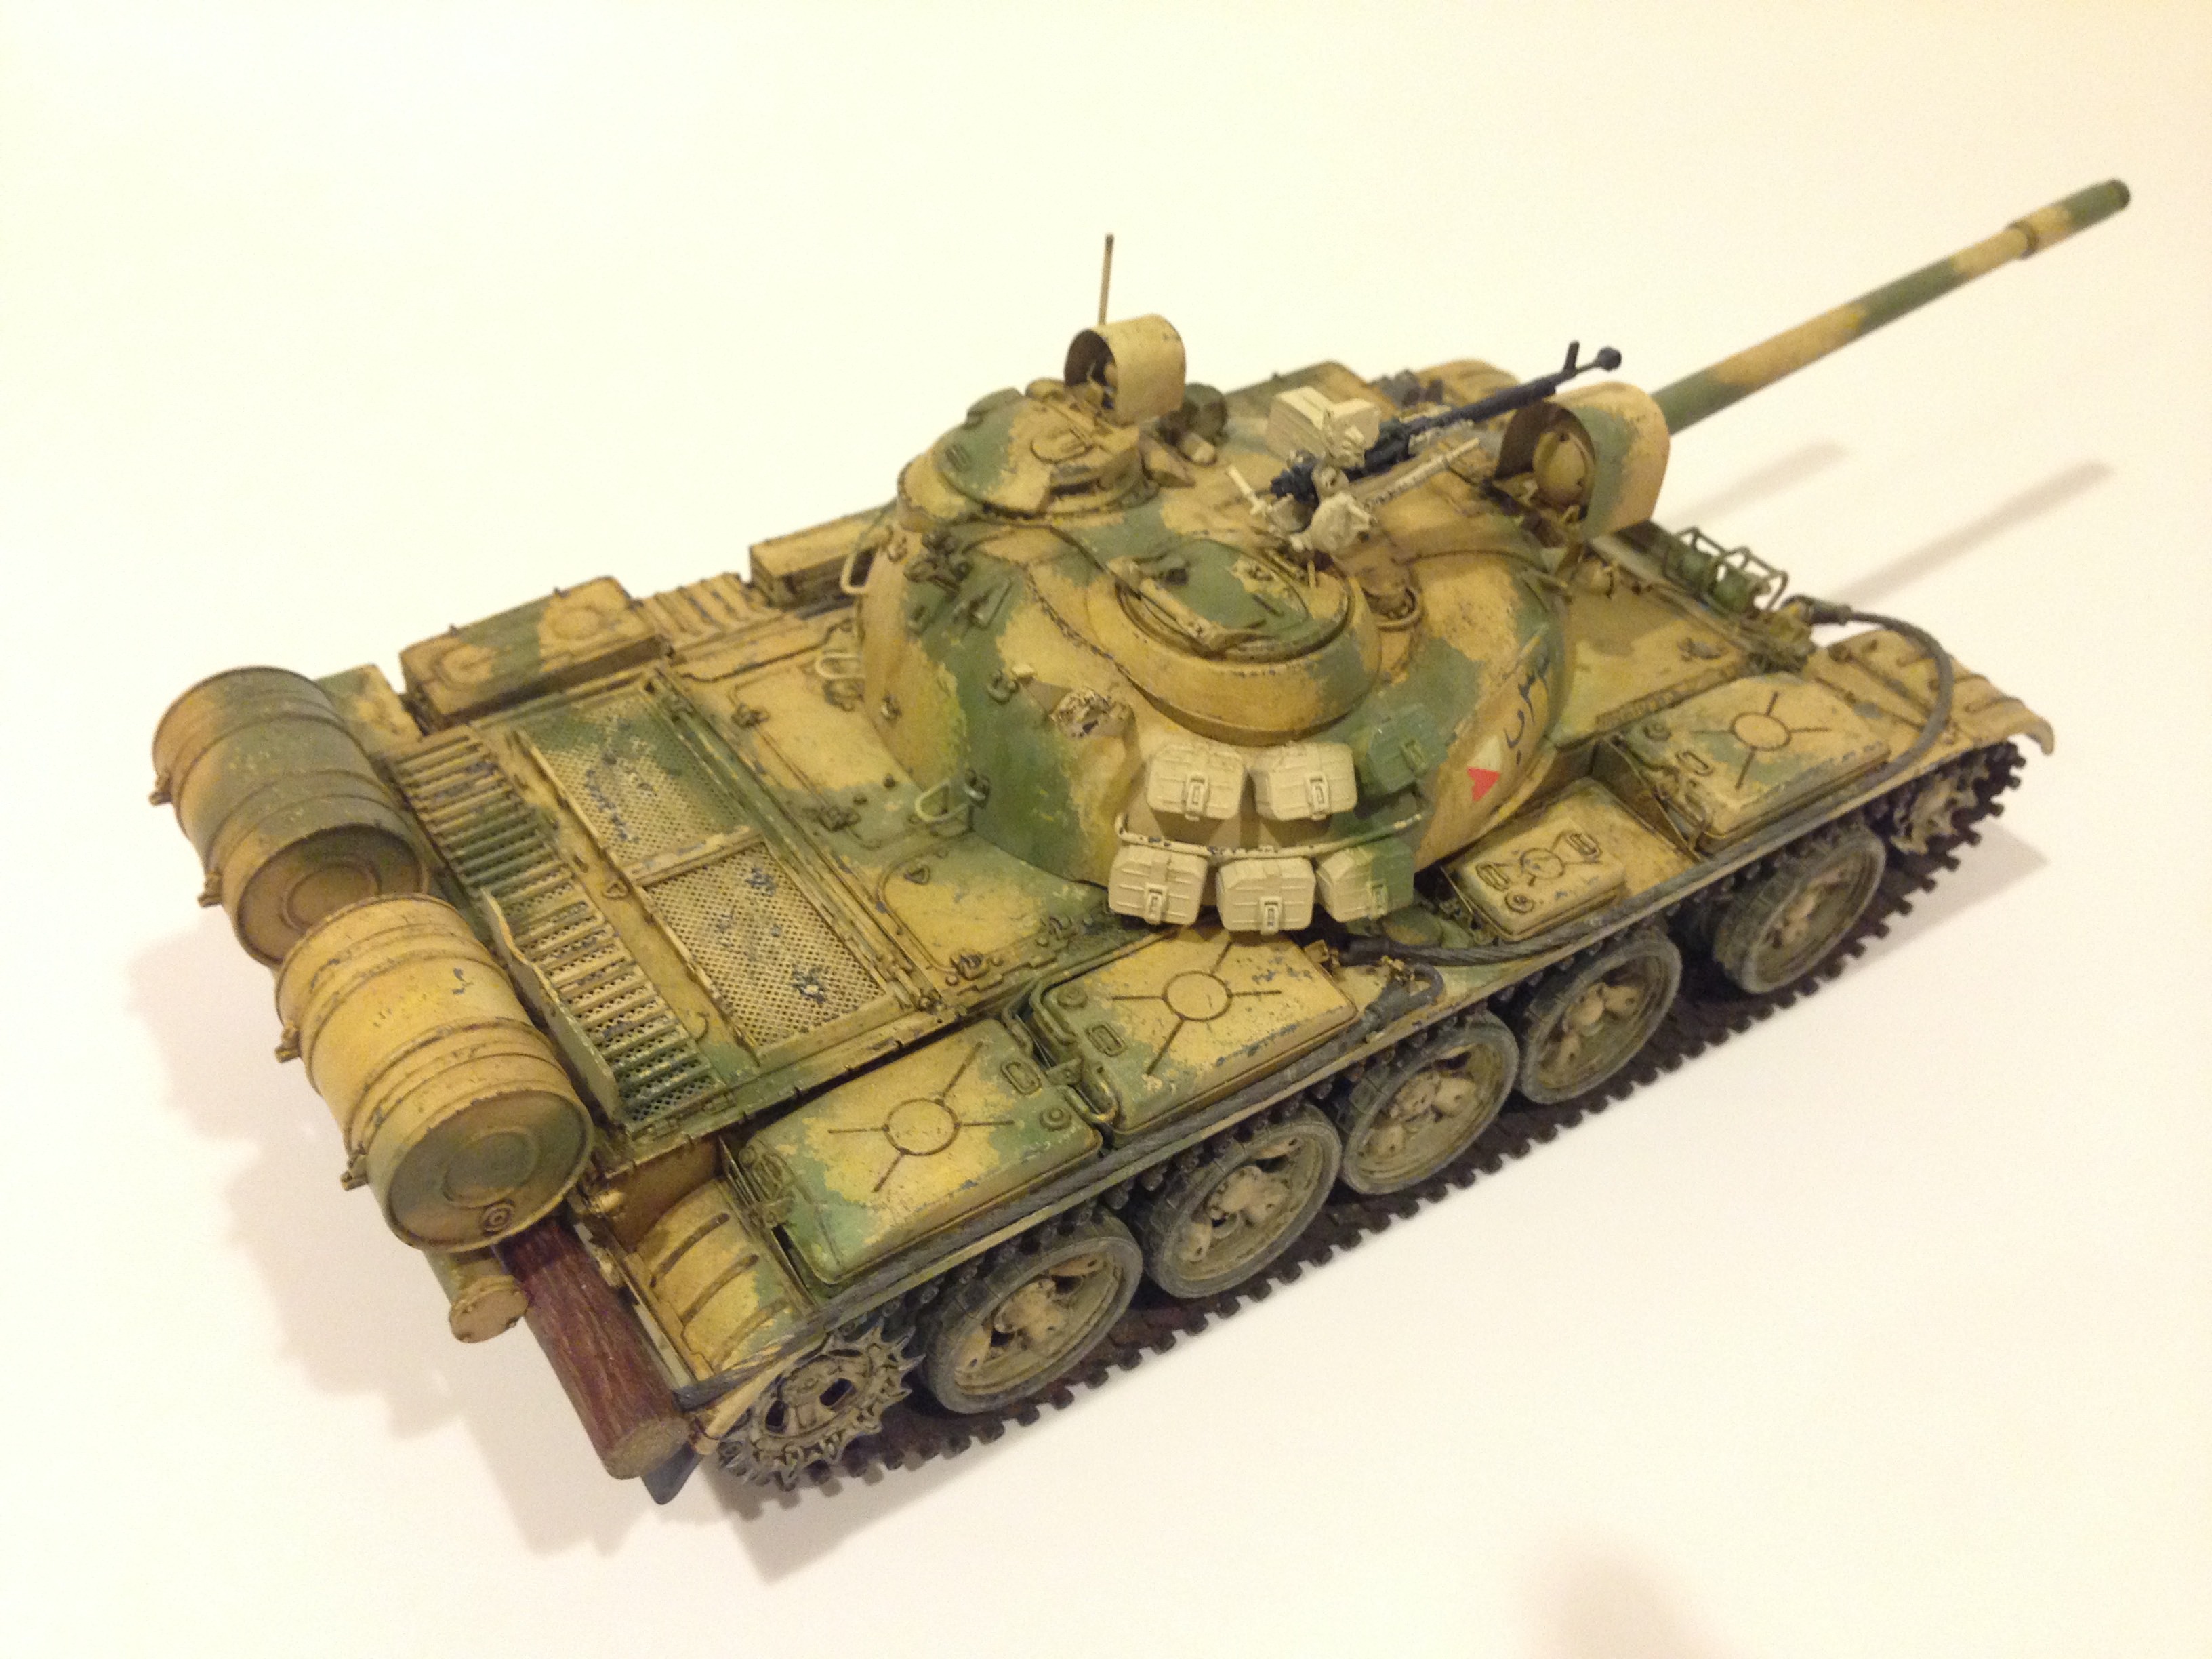
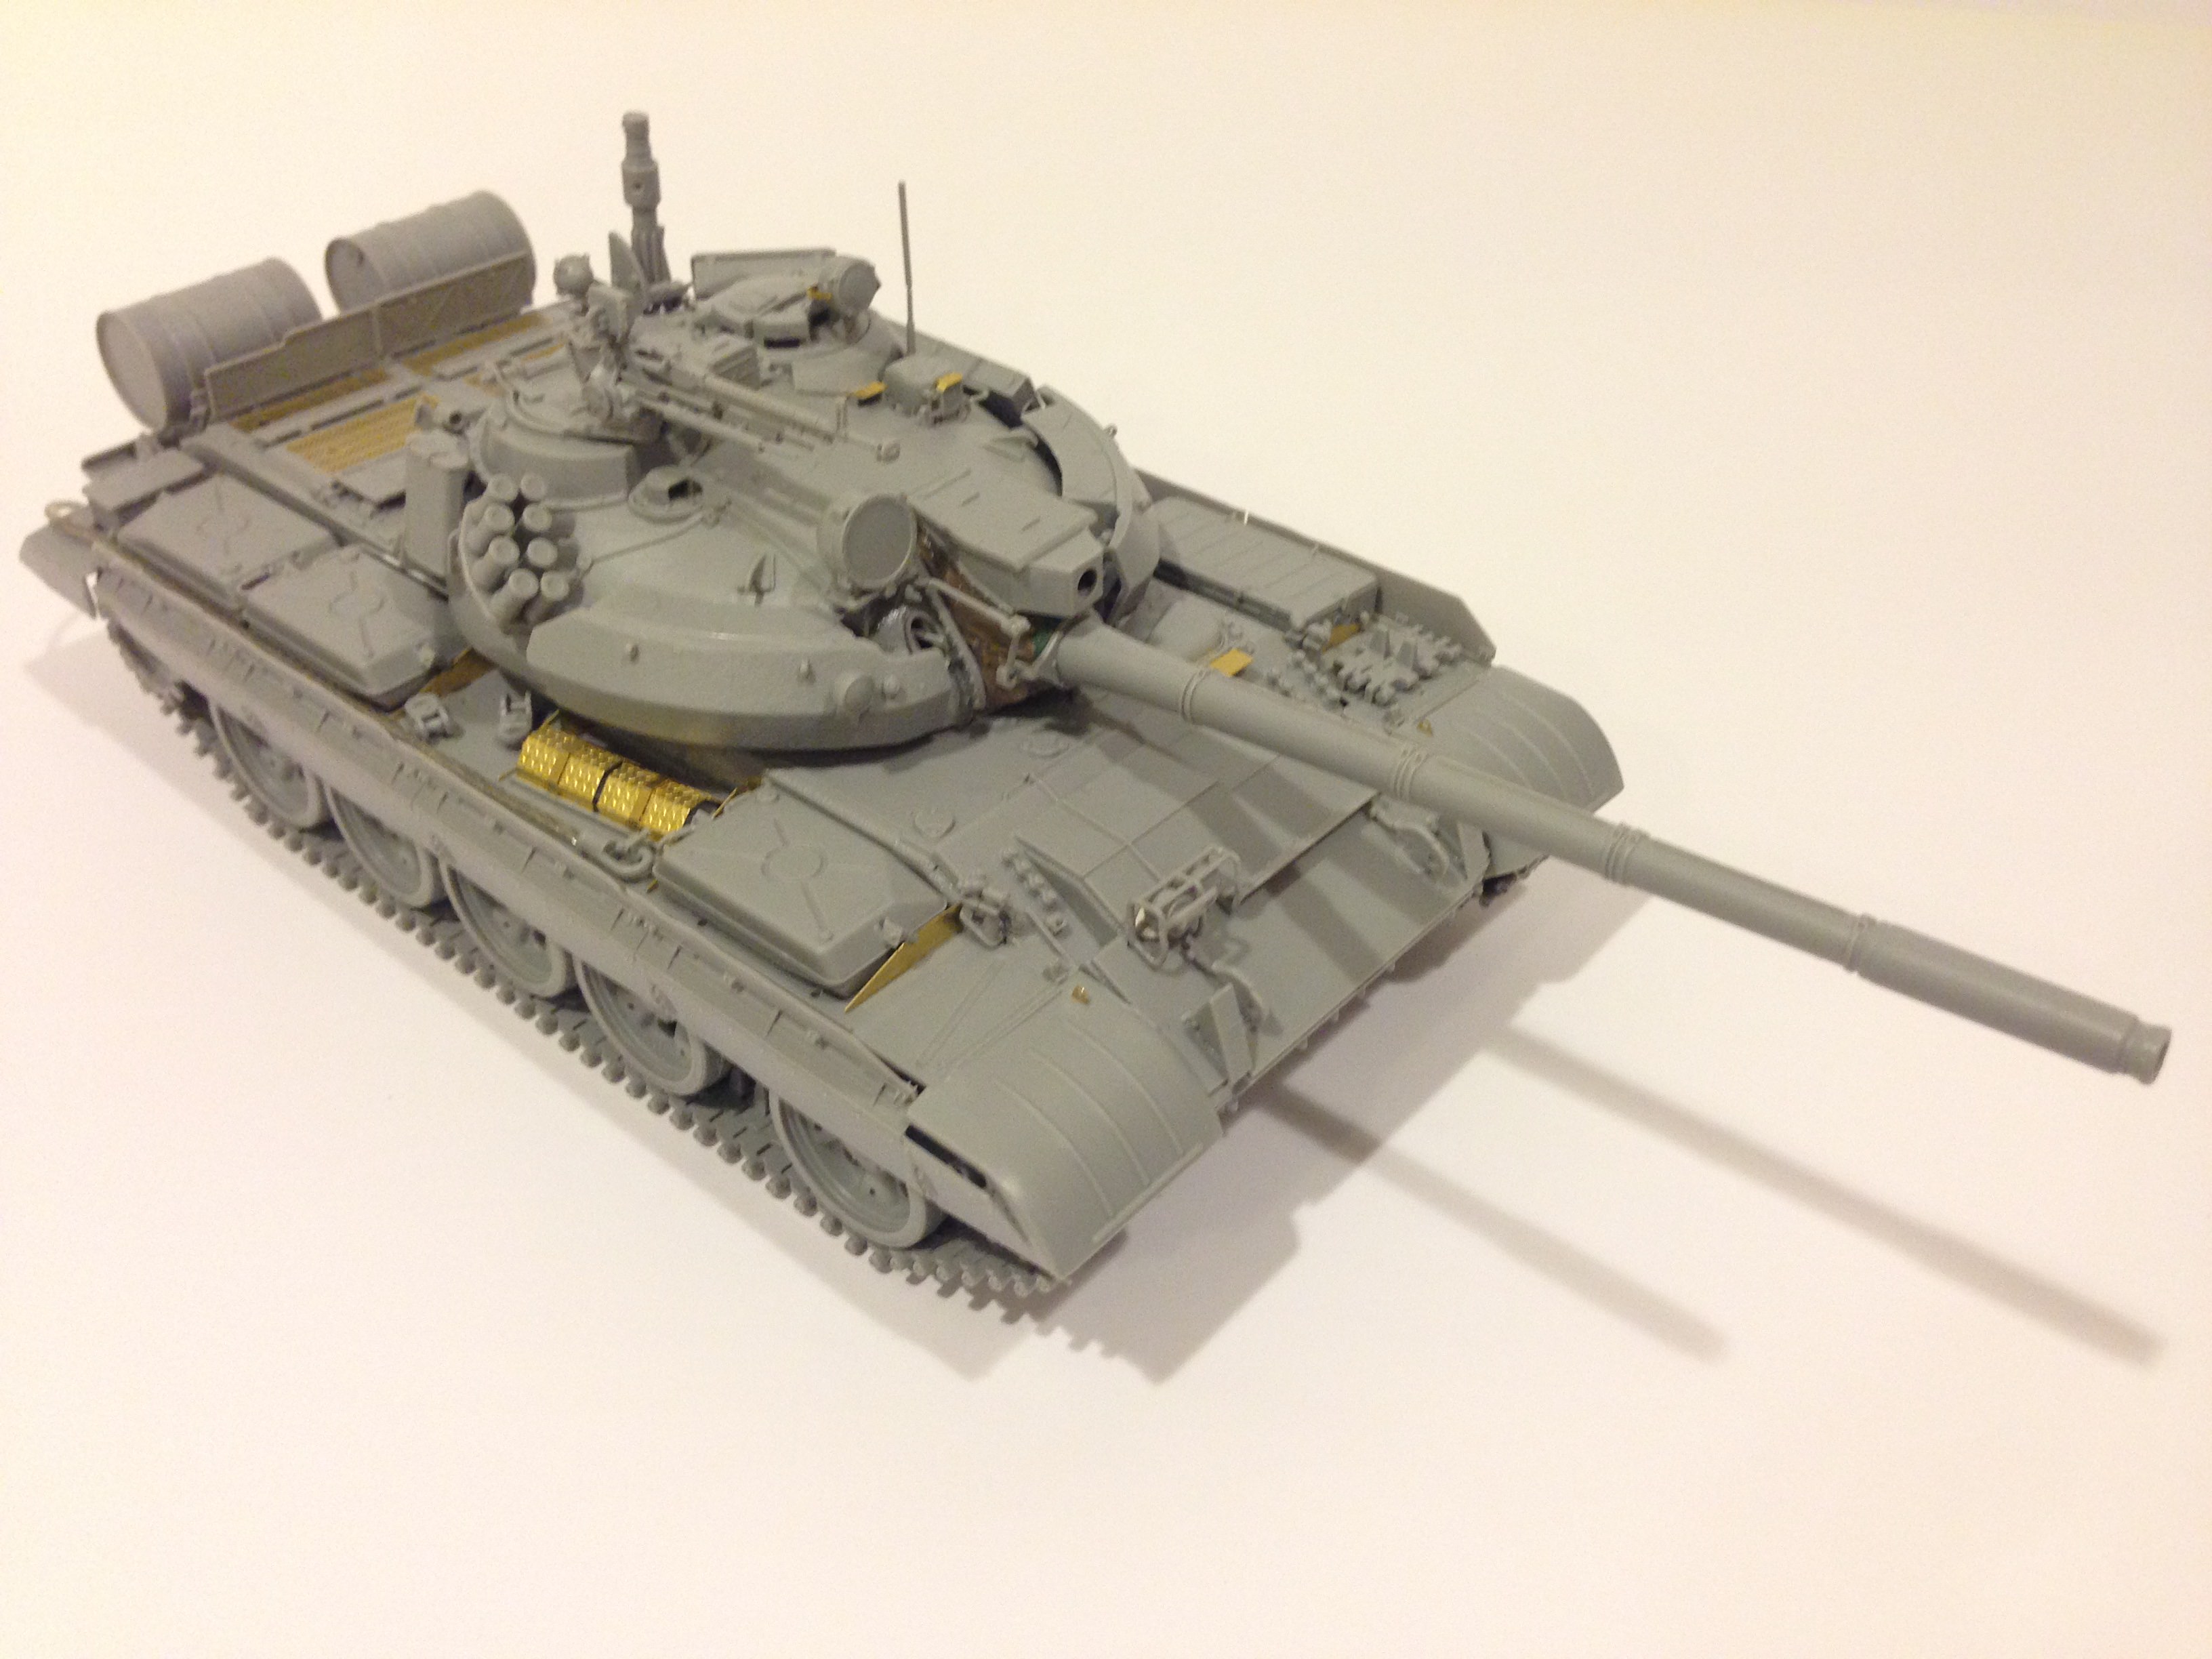
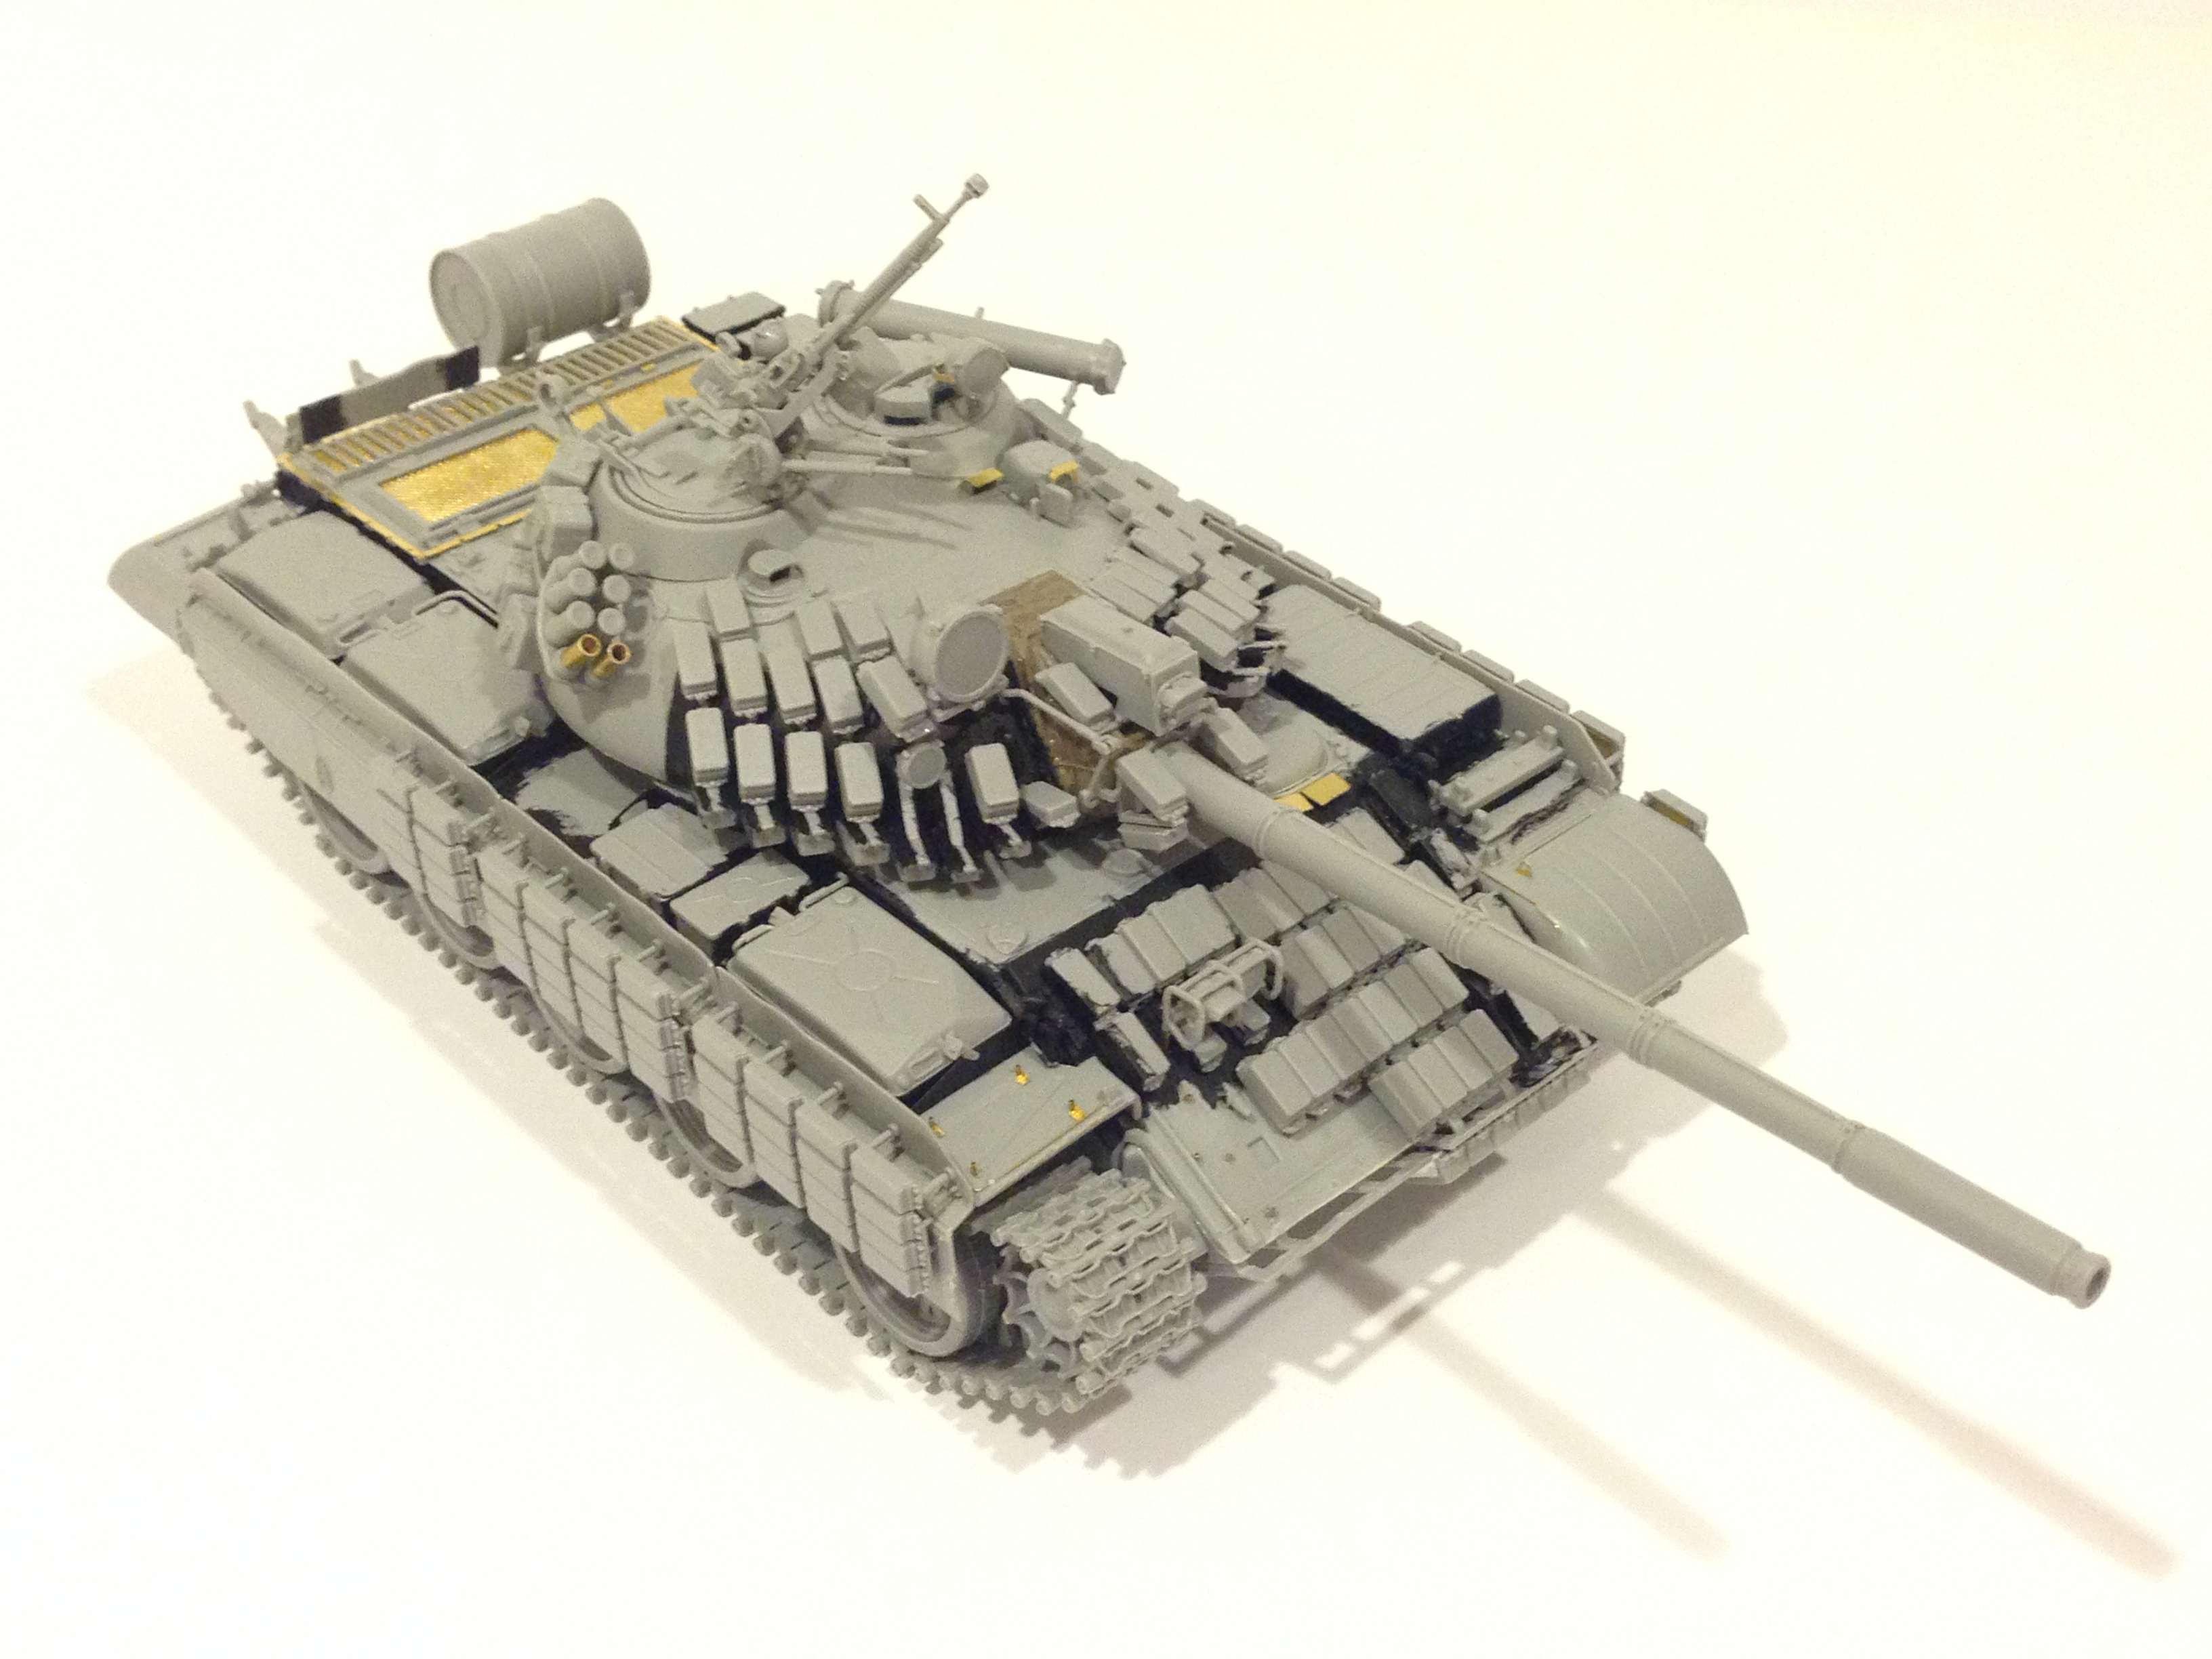
These are the mods I made for the front of the left fender.
1) Removed details on the hinge to make it look like it broke off.
2) Shaved off the edge of the mud guard to thin it out.
3) Also removed details from the hinge for the mudguard.
In this picture, you can see that I shaved off the molded fender retaining rod and replaced it with a brass rod.
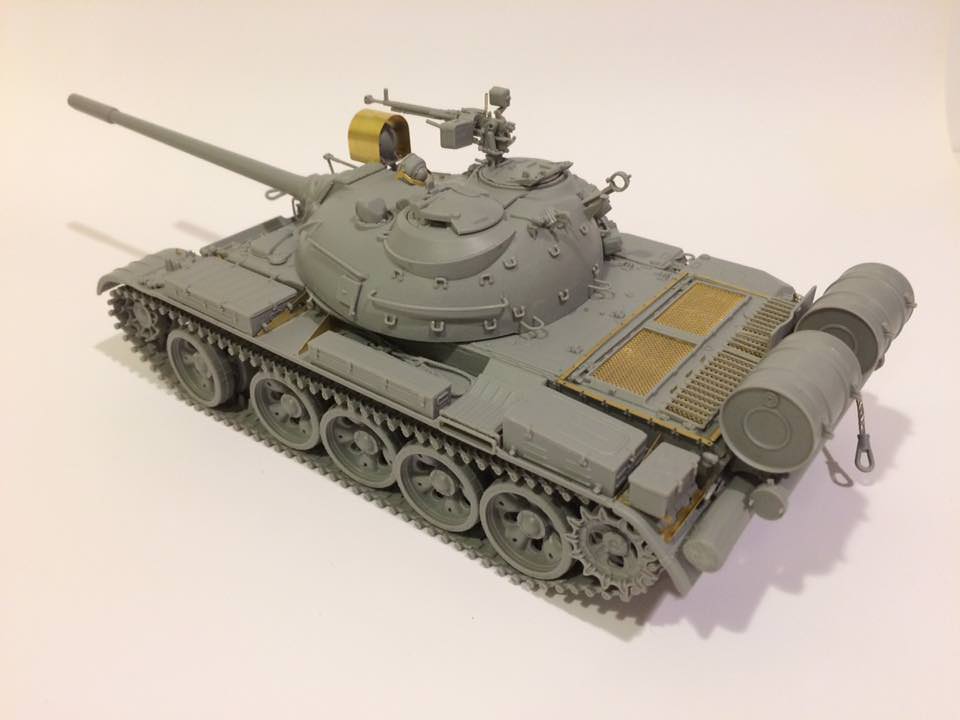
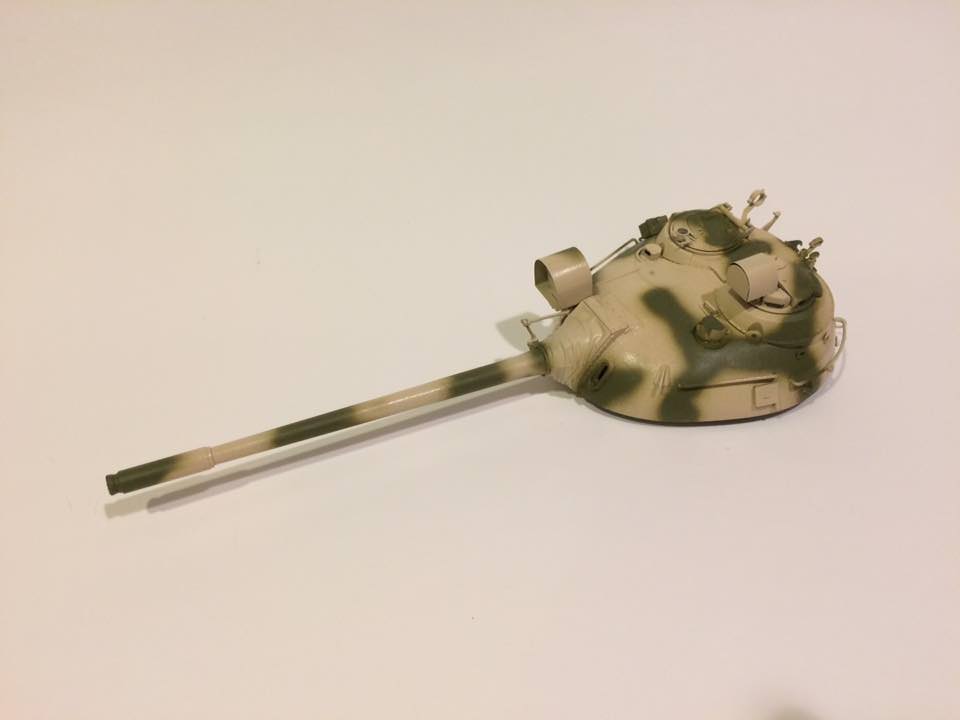
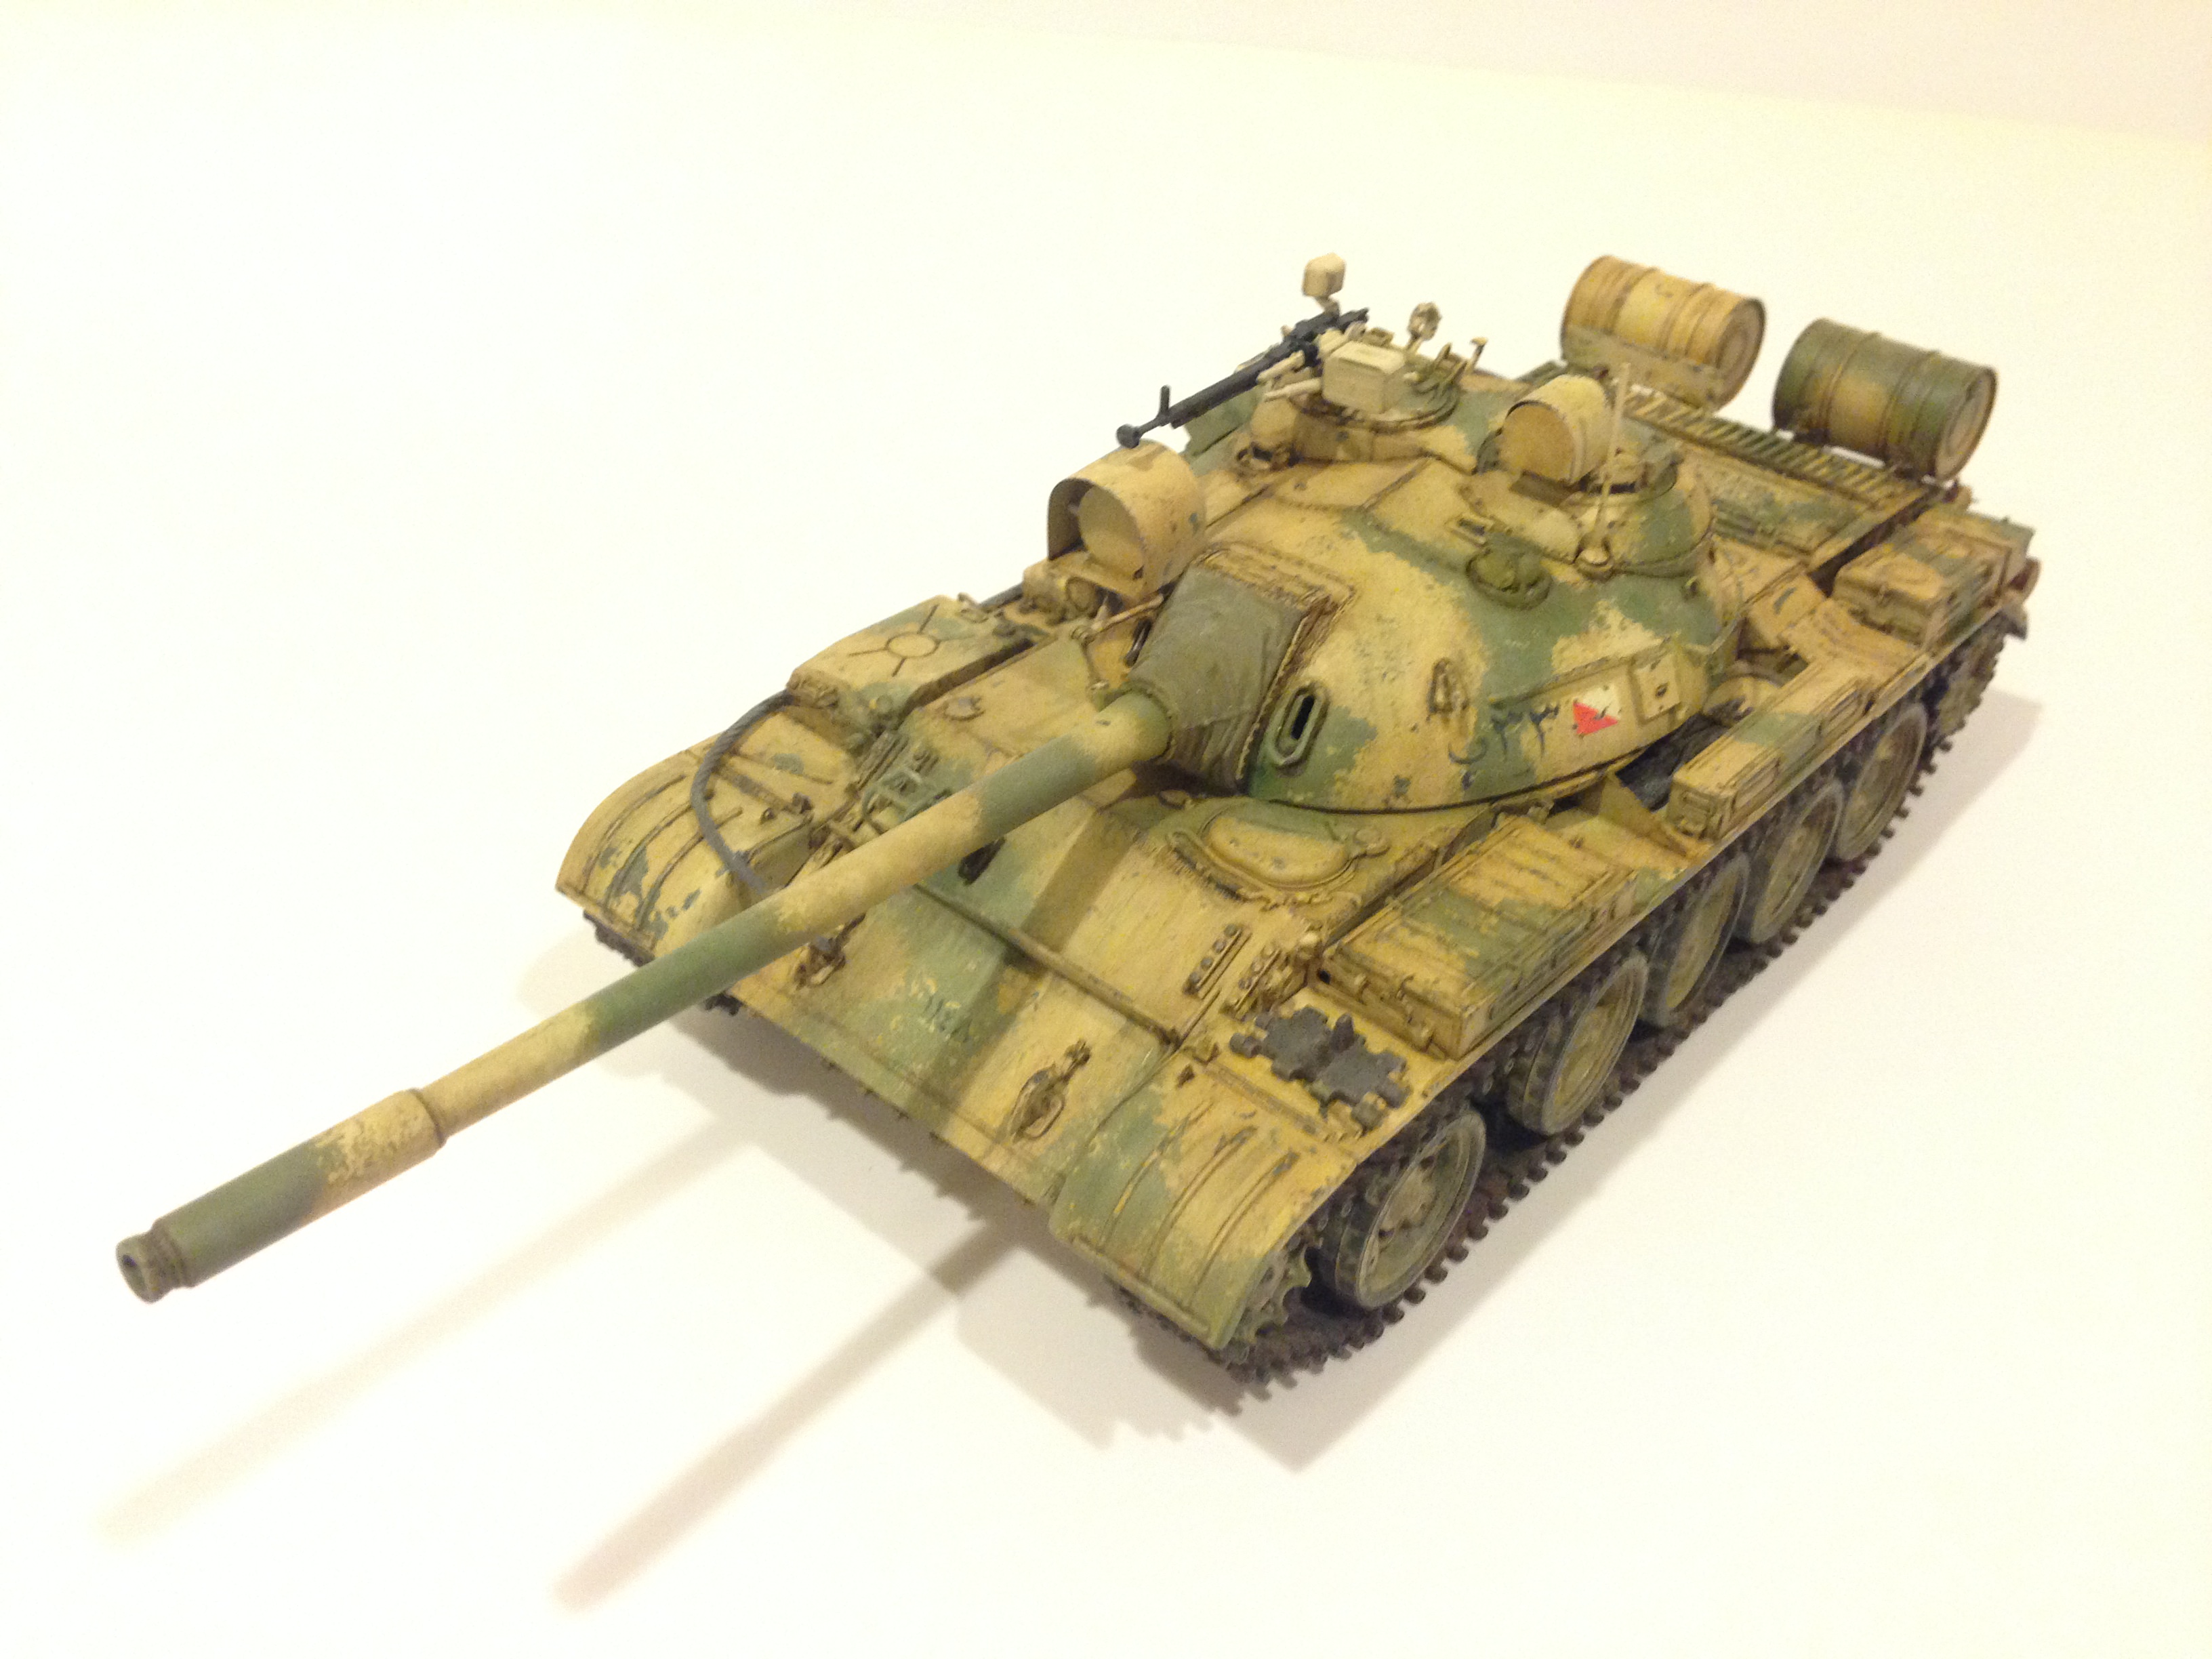
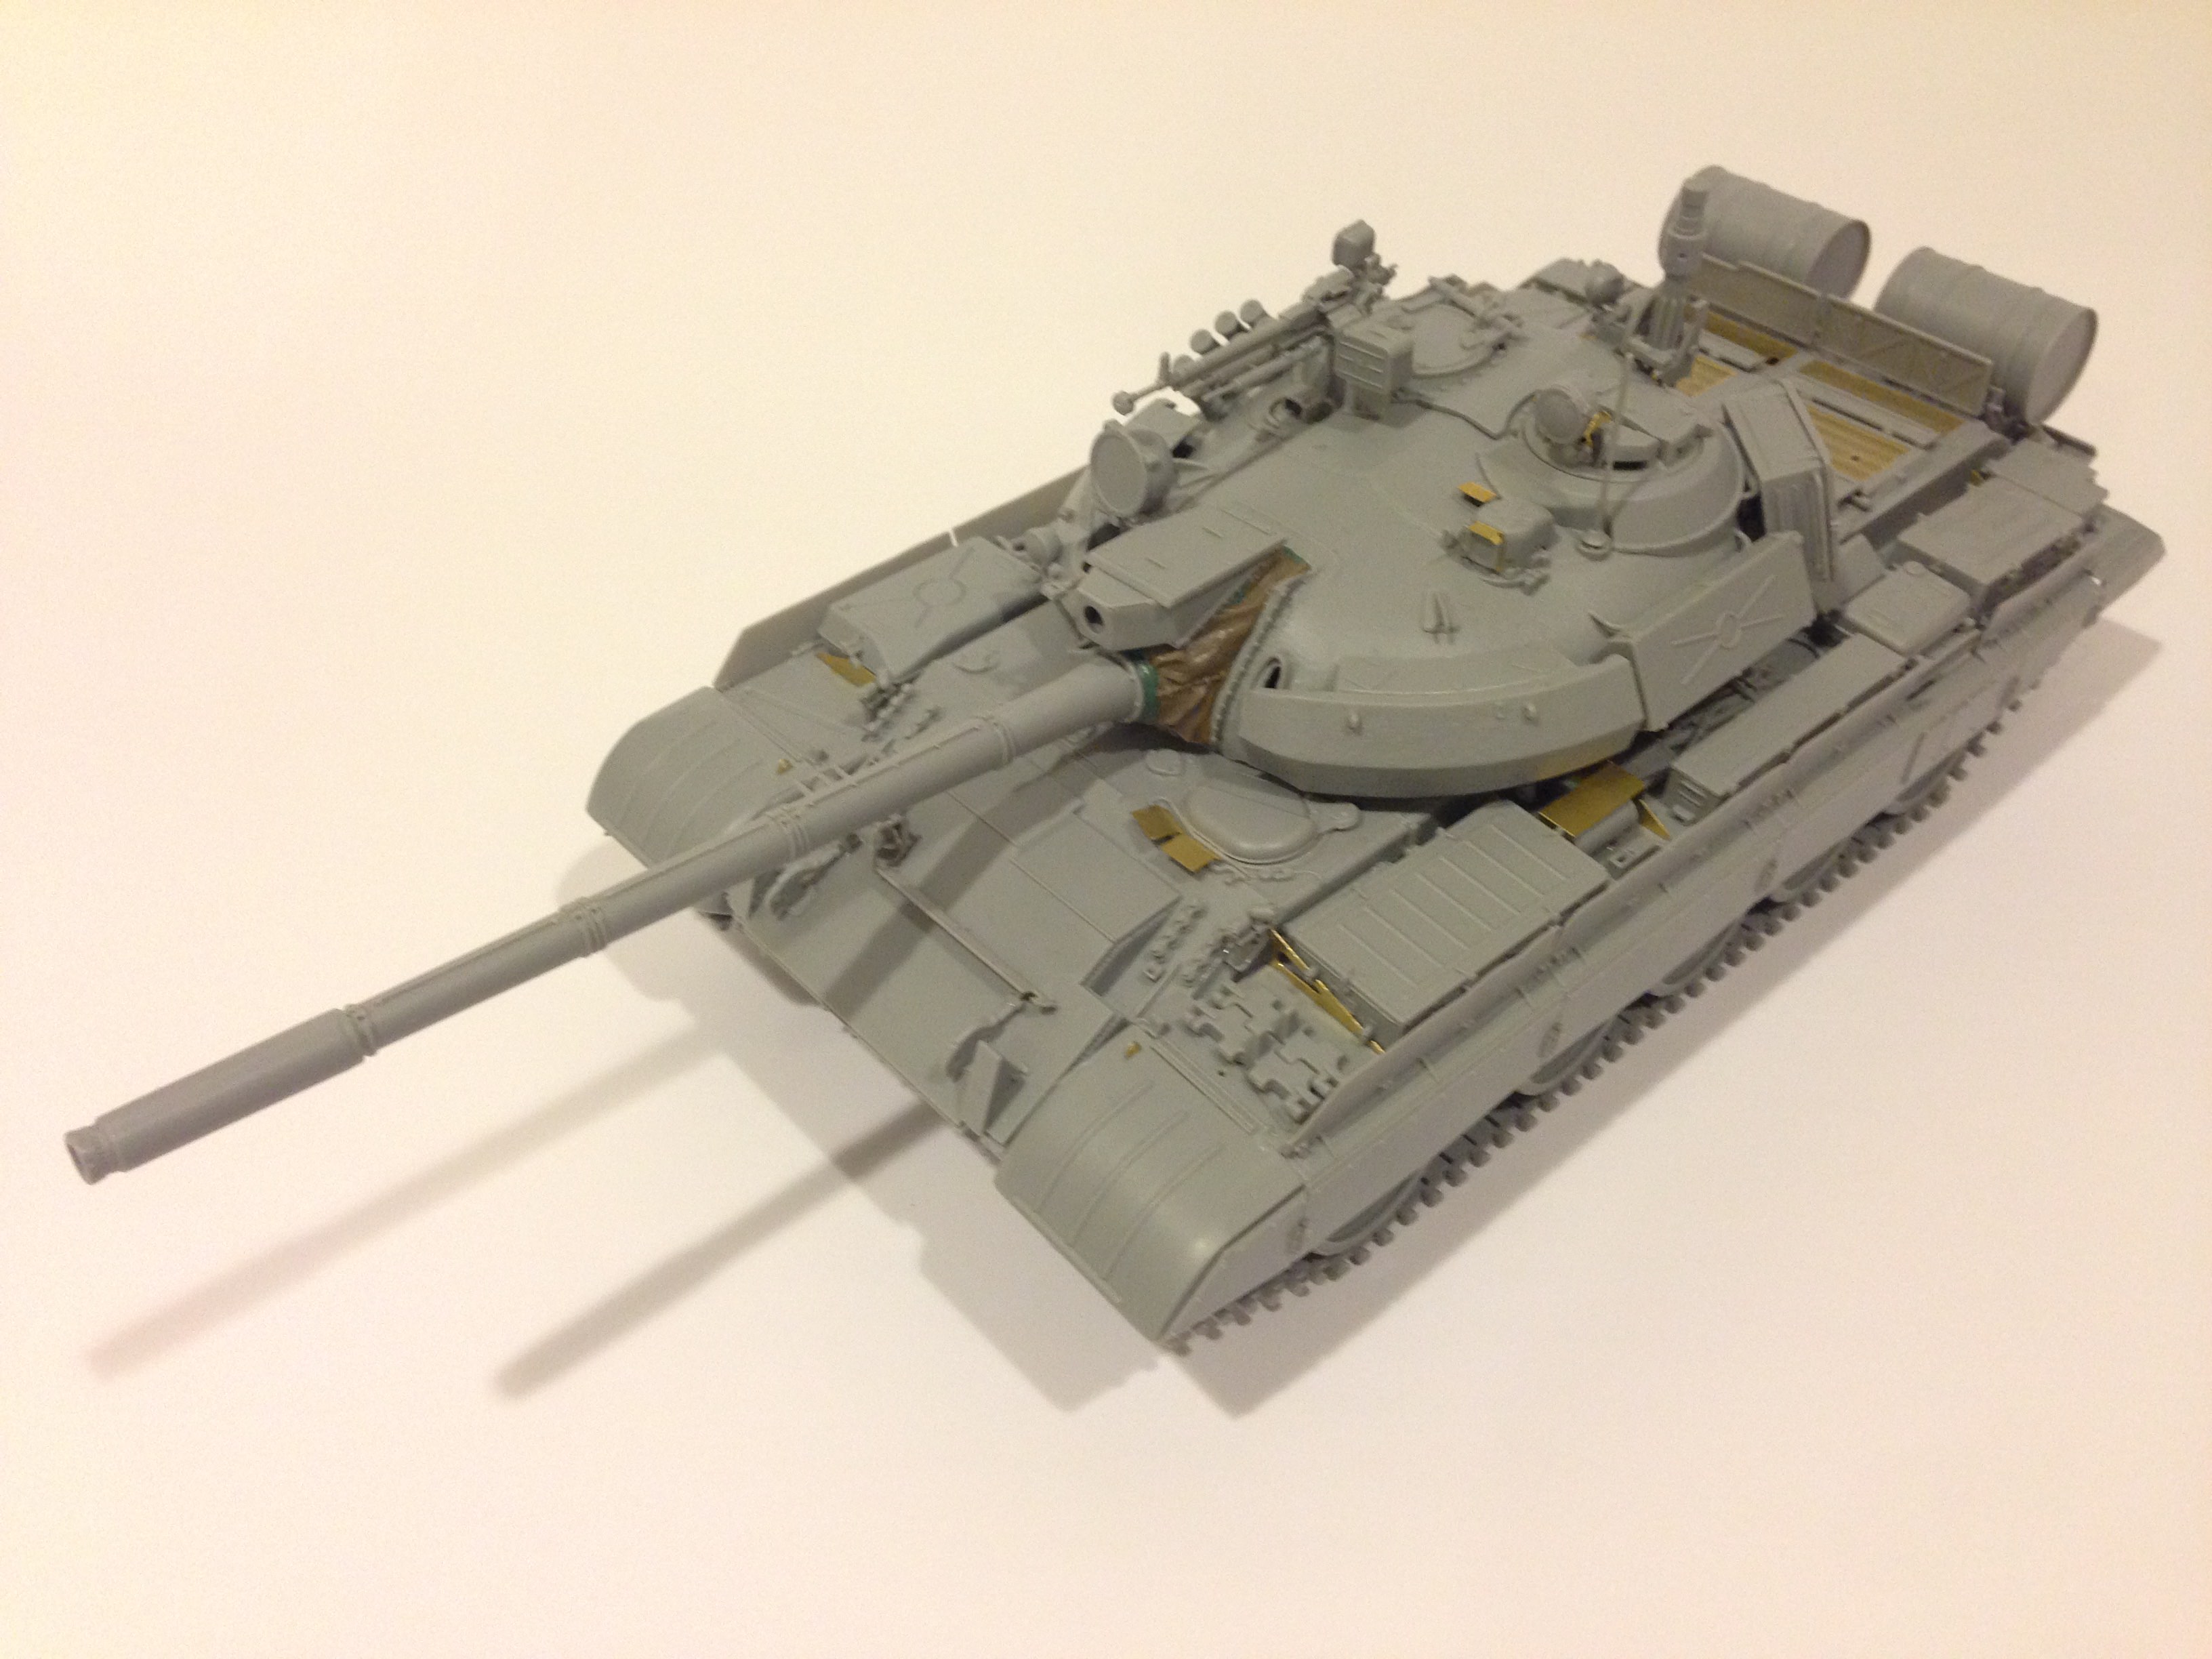
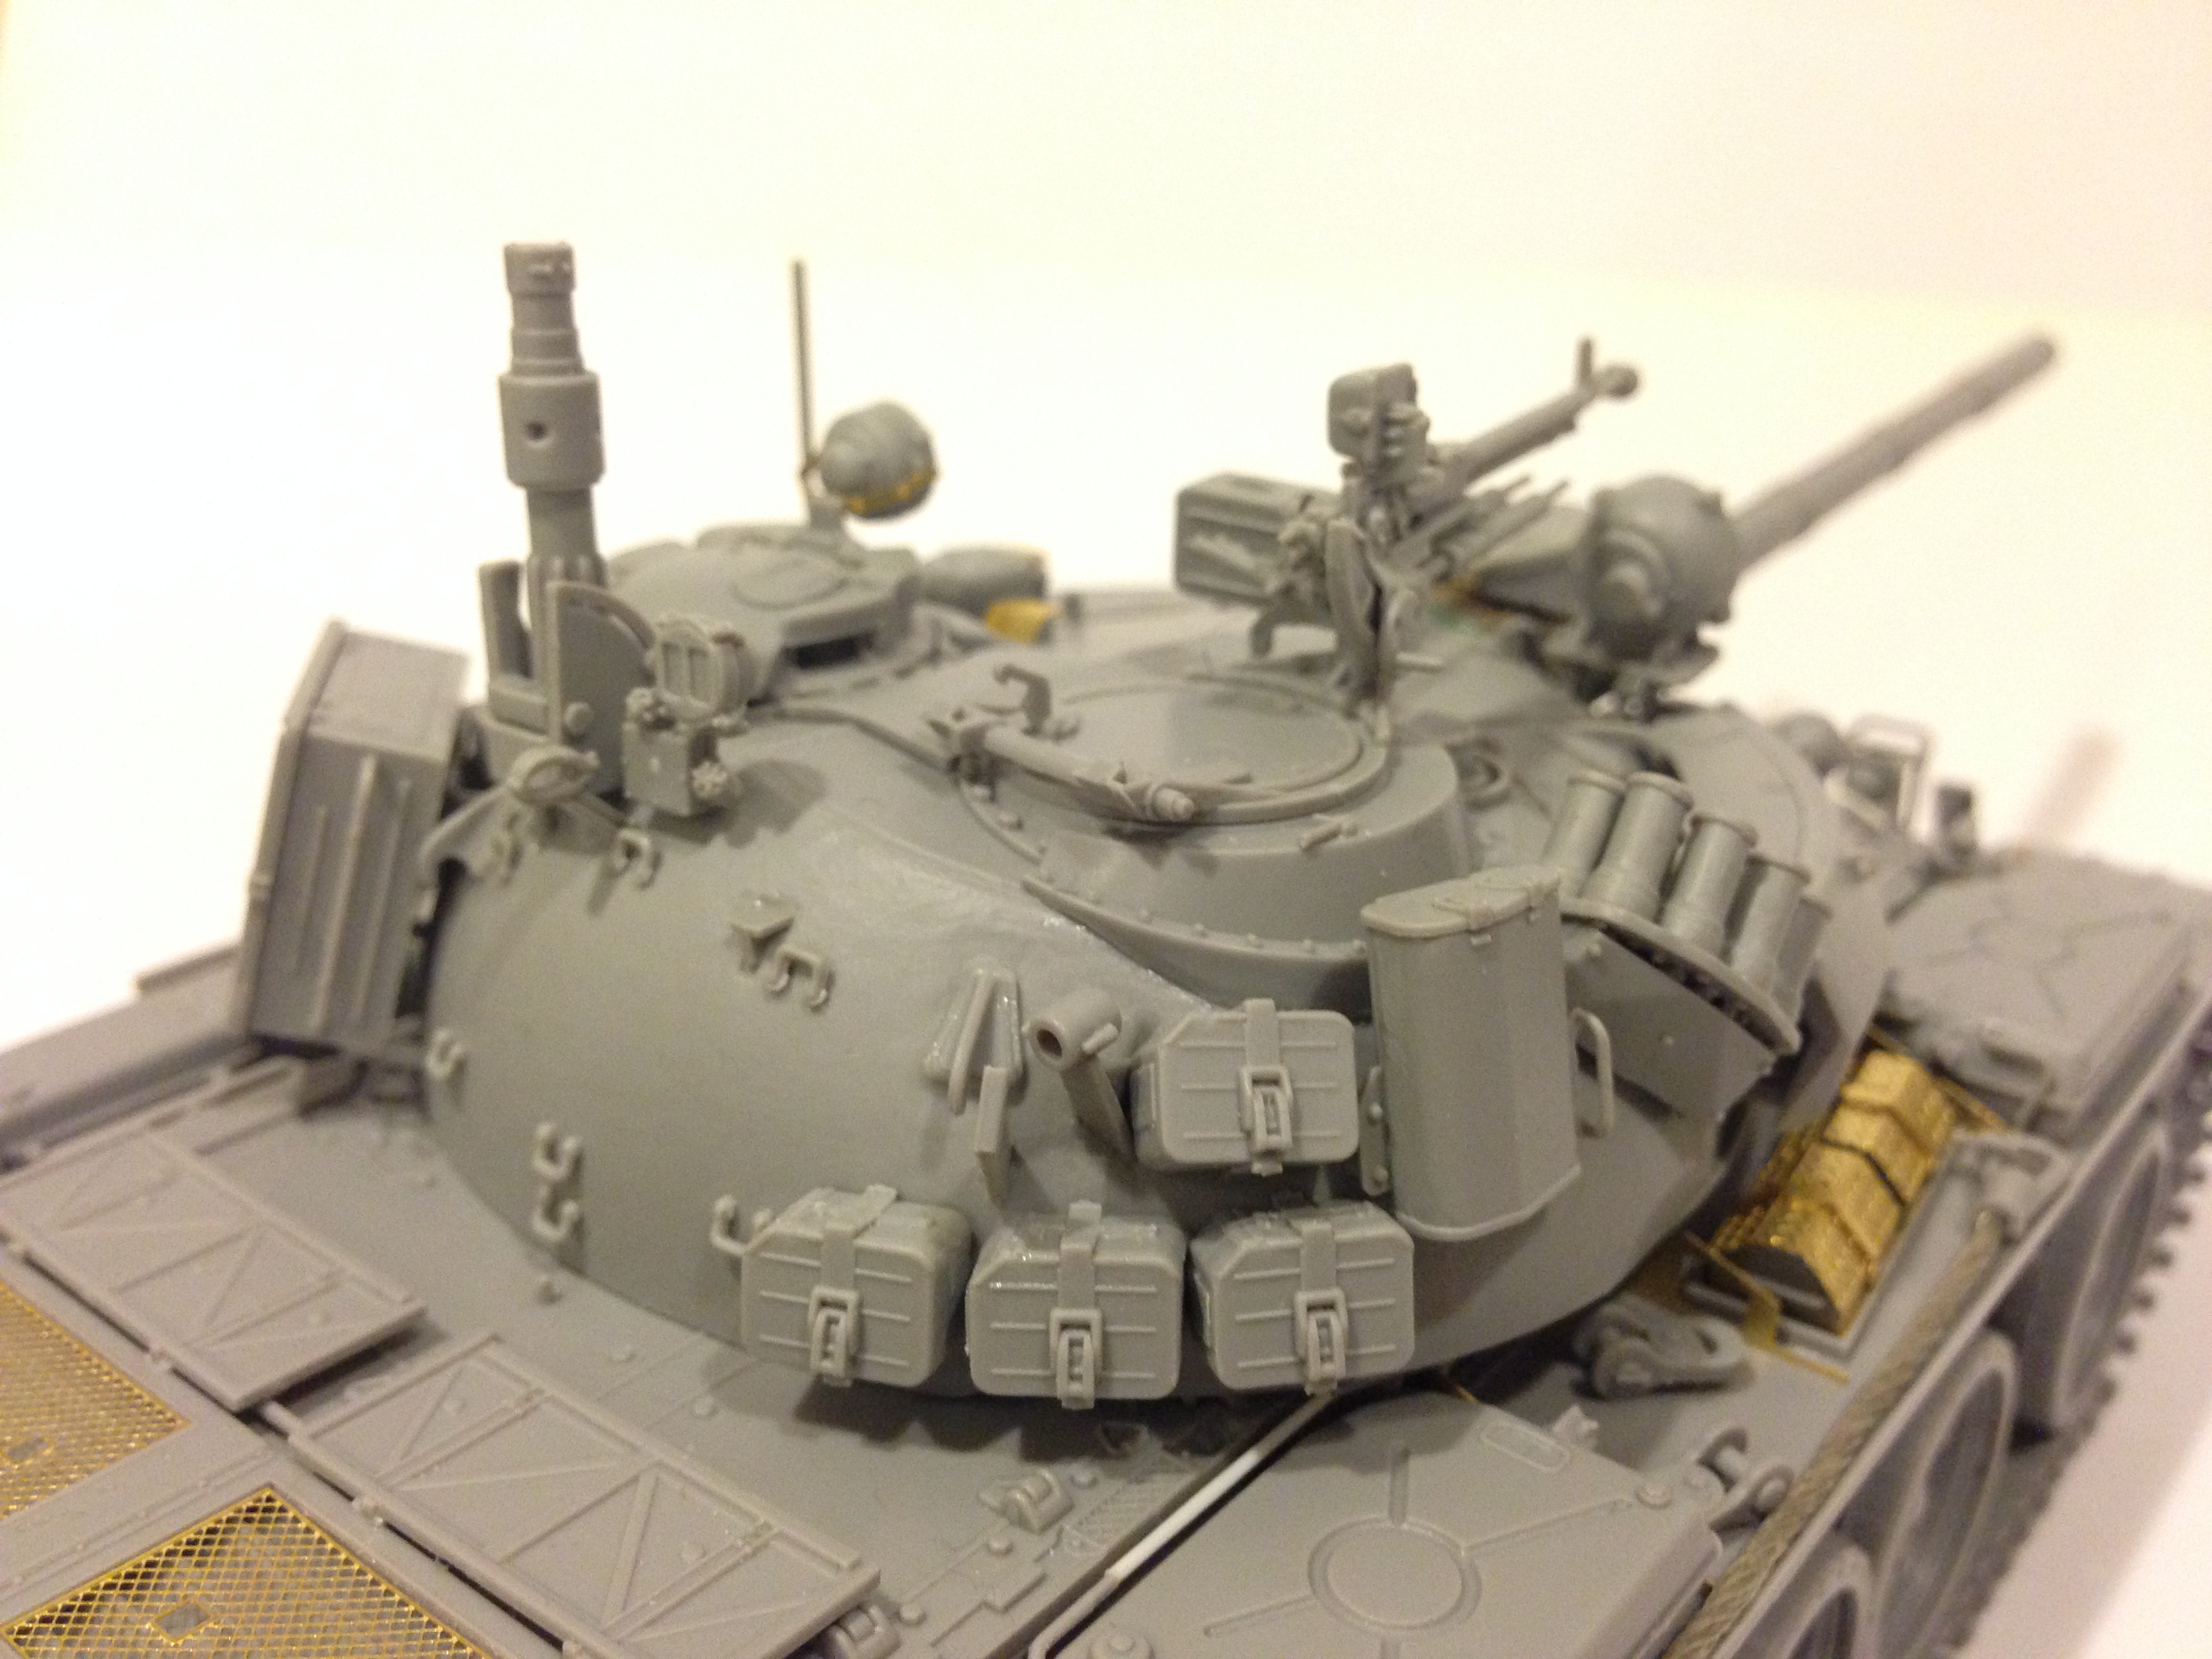
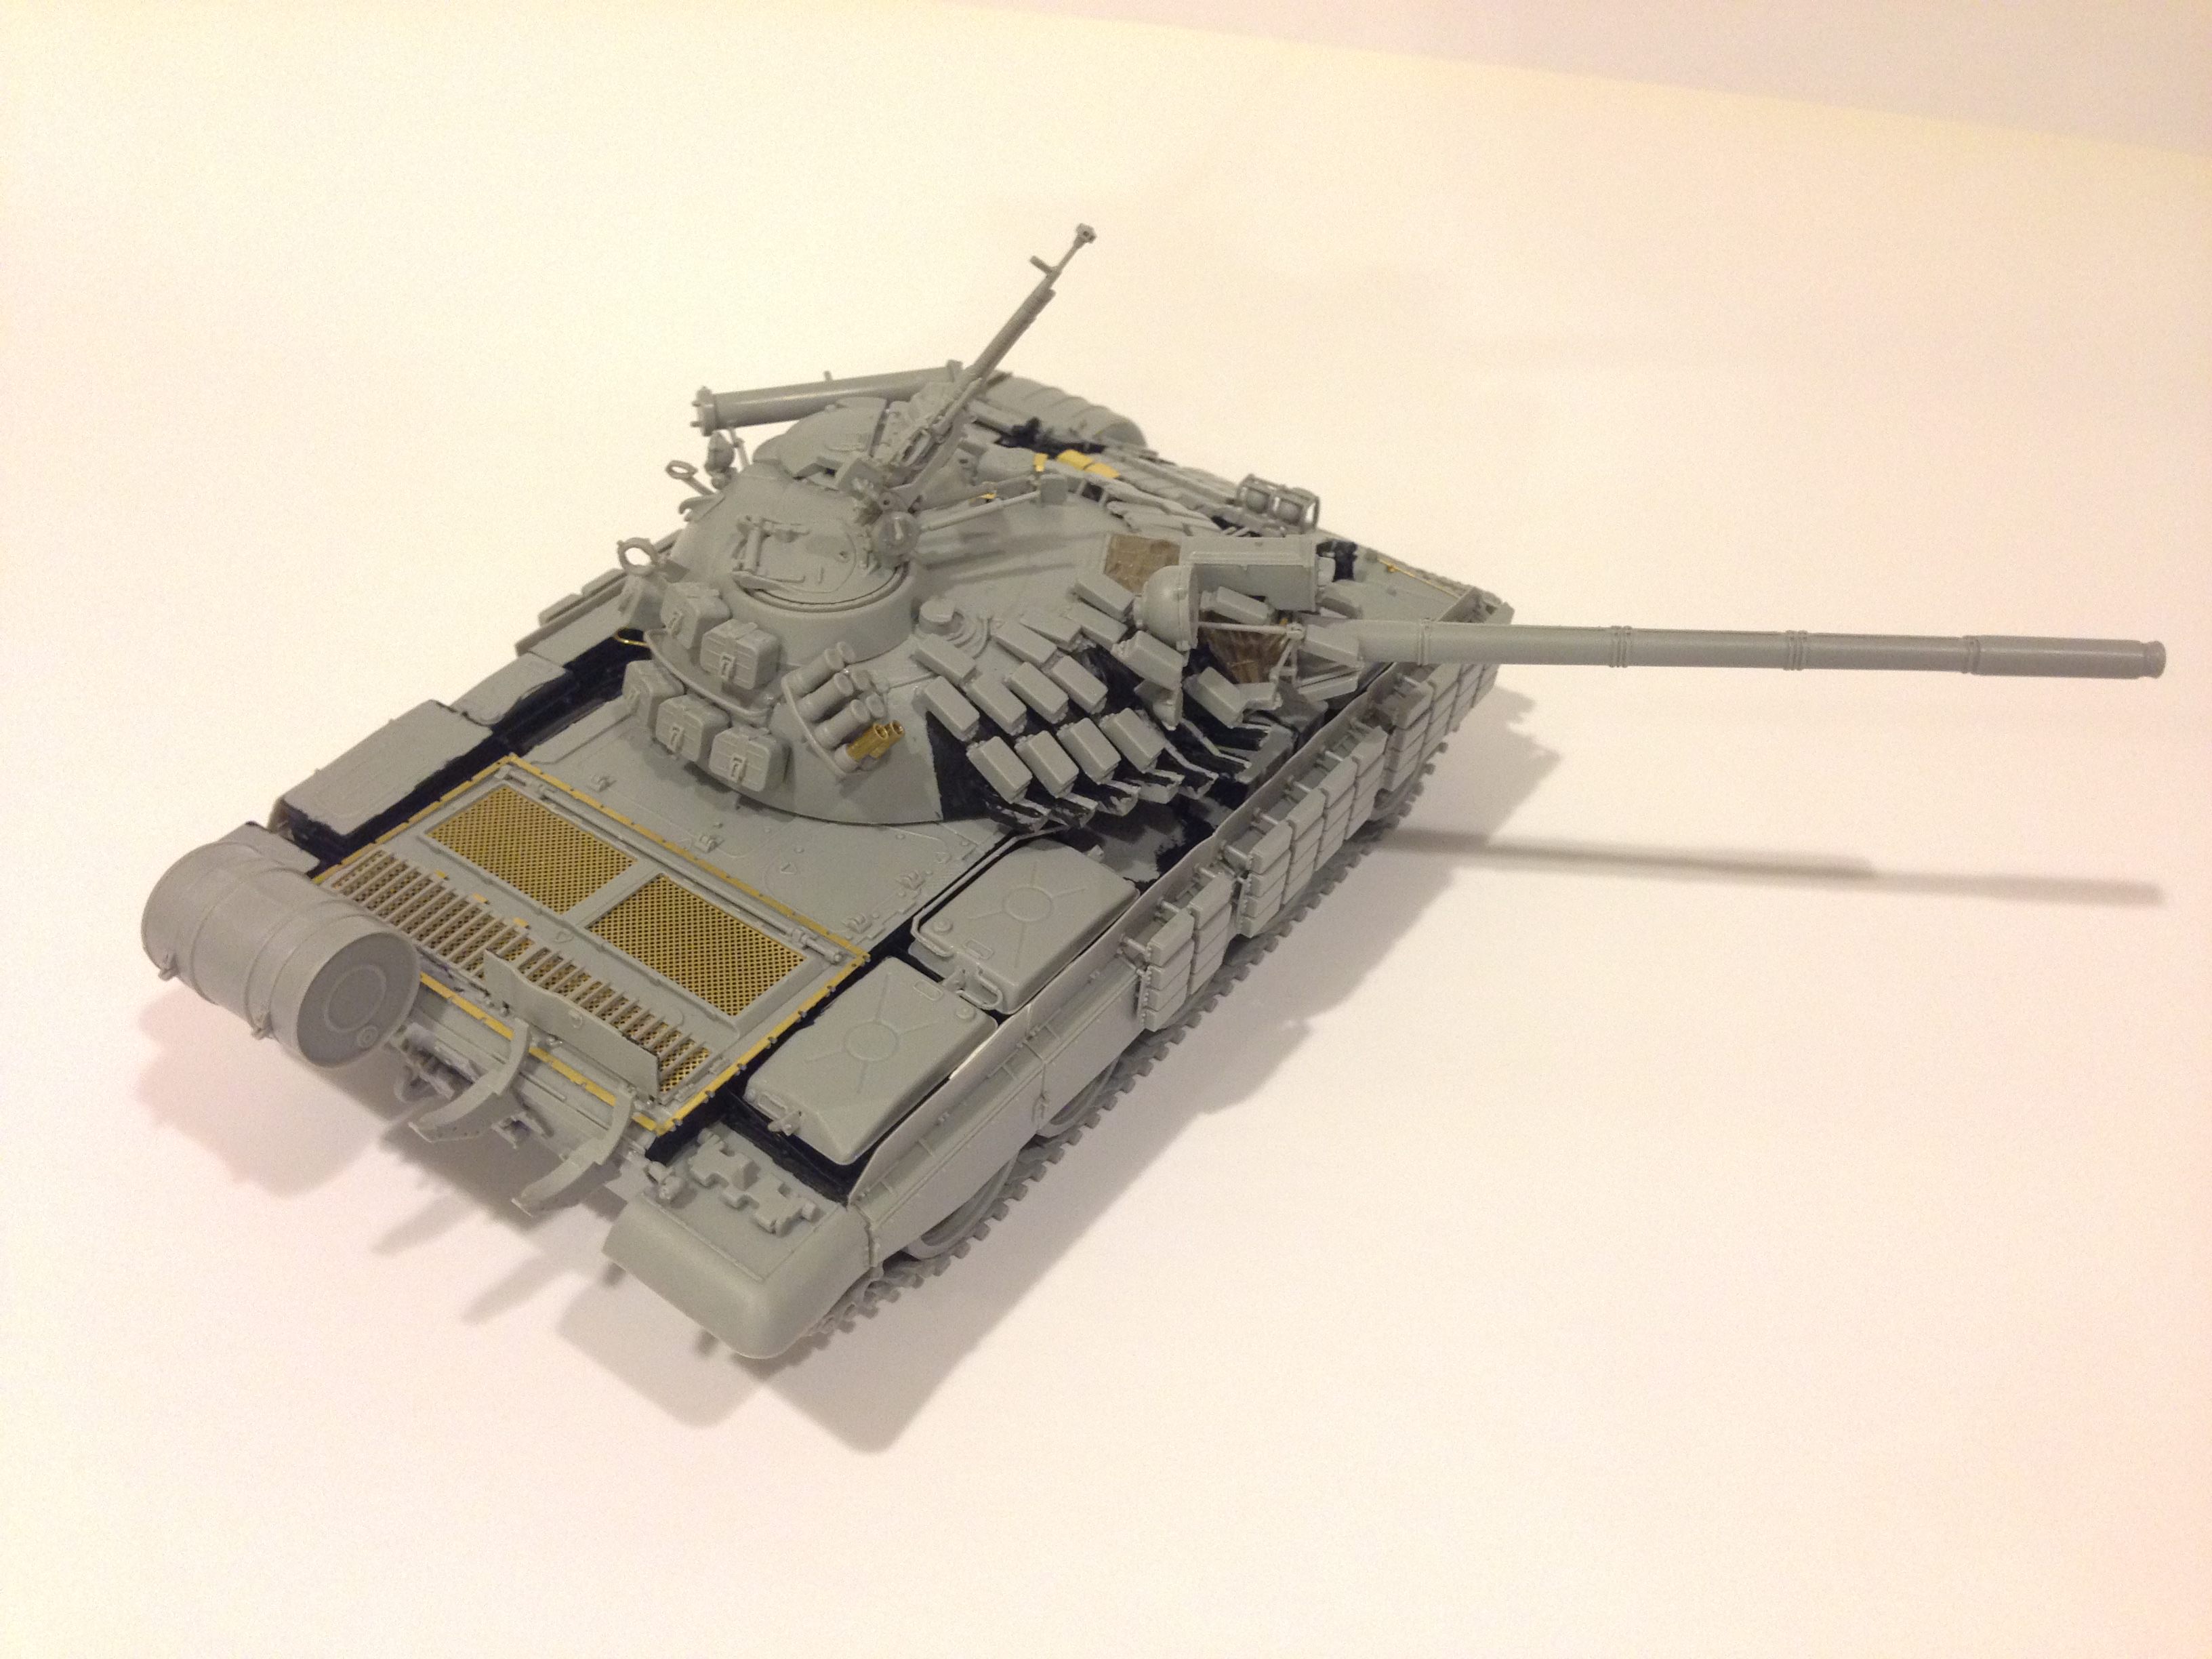
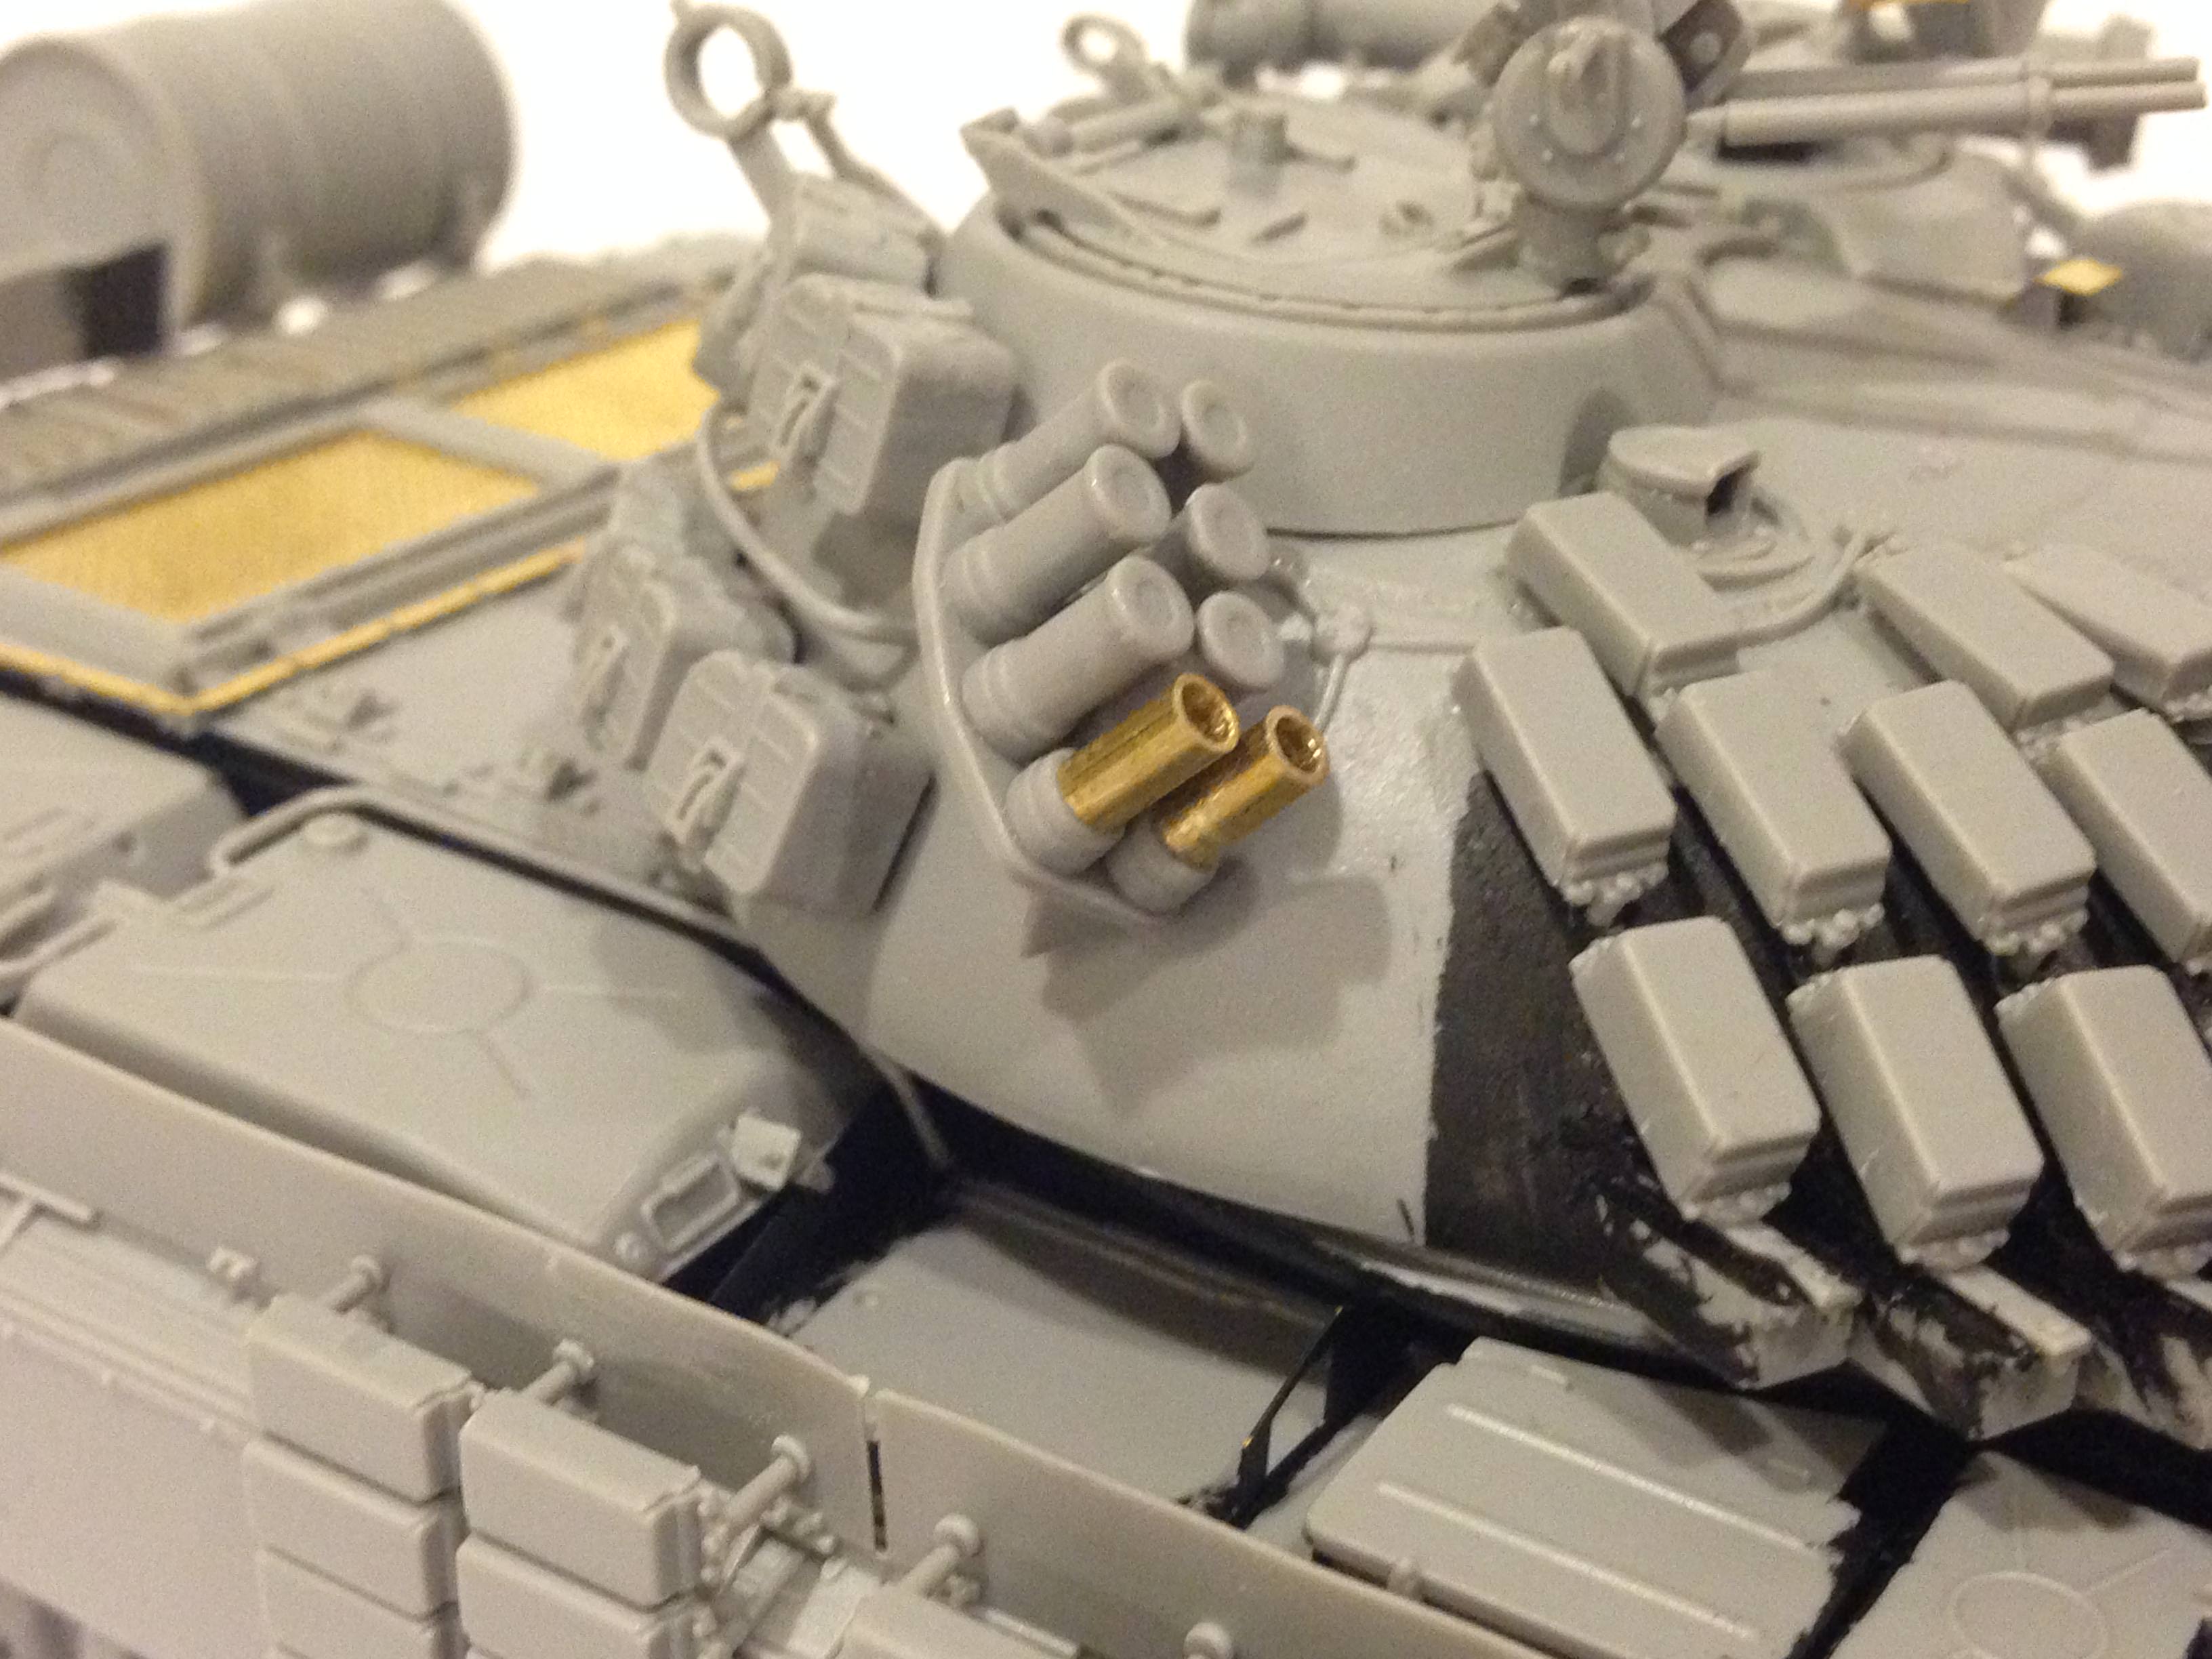
Following the article, I also made replaced the bottom two smoke dischargers to make them look like they have been spent.
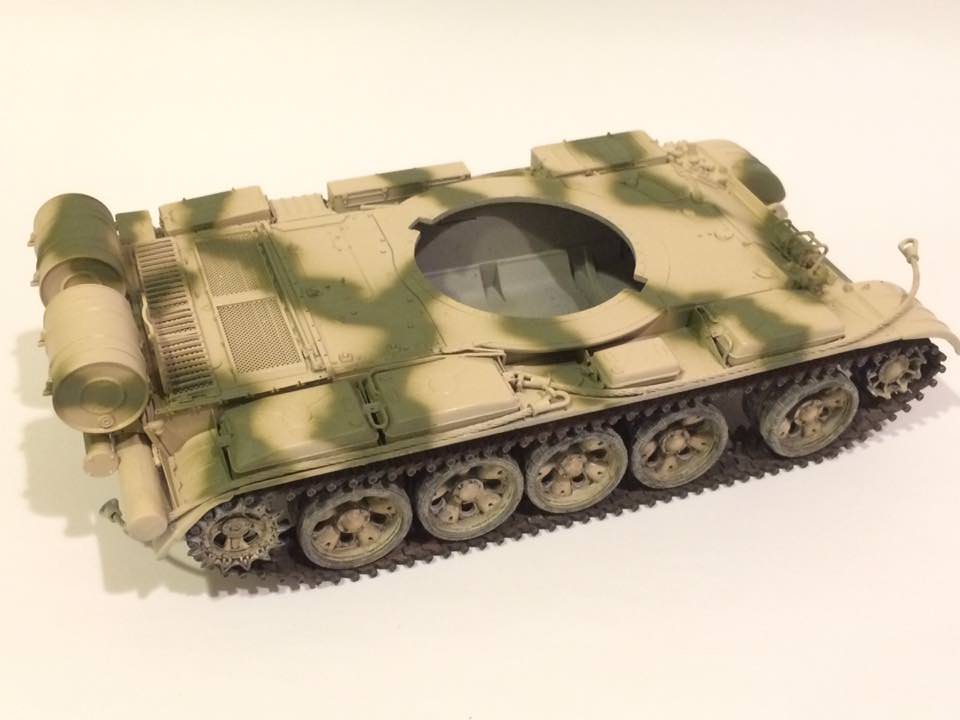
This is also ready for primer application.