

Great work going on here.
Rory, I don't envy you having to paint all that in situ. What Chris means is the pack looks upside down.
Campaigns: Active Campaigns
Campaigns that are either in planning or underway should be grouped here.
Campaigns that are either in planning or underway should be grouped here.
Hosted by Richard S.
MBT Campaign
petbat

Joined: August 06, 2005
KitMaker: 3,353 posts
Armorama: 3,121 posts
Posted: Thursday, November 15, 2018 - 08:43 AM UTC

bwiber

Joined: August 03, 2008
KitMaker: 436 posts
Armorama: 320 posts
Posted: Thursday, November 15, 2018 - 10:02 AM UTC
Definitely some really nice work going on.... and fast as well.
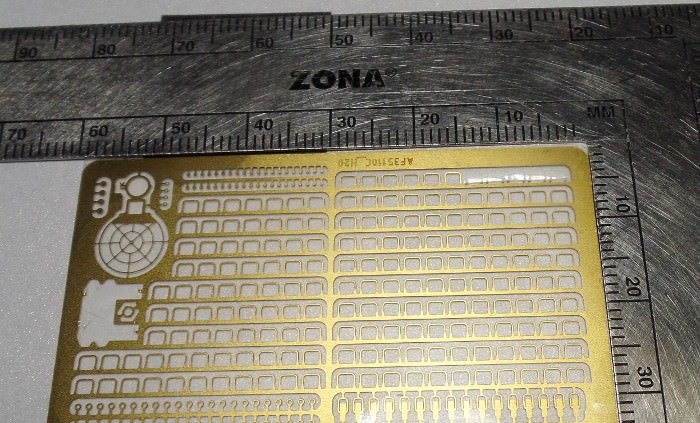
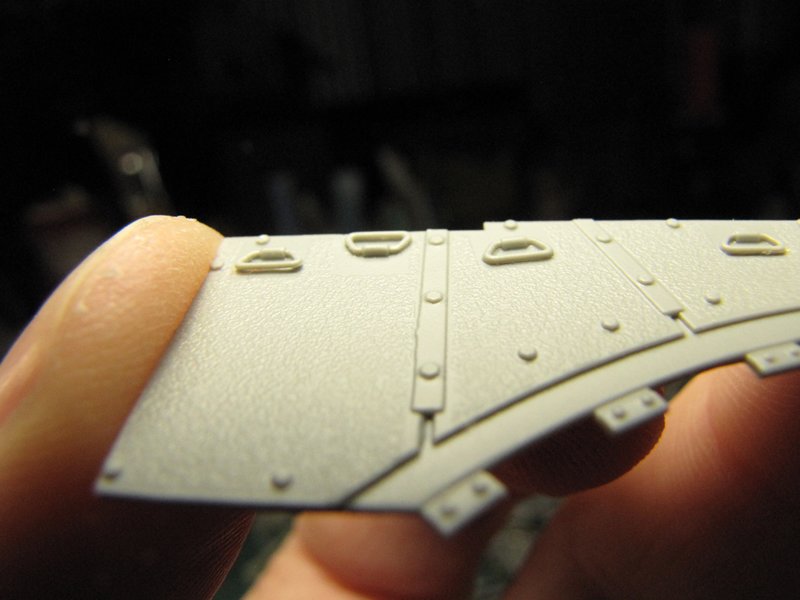
Unfortunately, mine is progressing a bit more slowly. Something to do with a ton of tie down loops...

The little rectangle is the tool that came with the PE for spacing the holes for the tie downs, and for setting the height of them. There are a couple of the tie downs in the photo as well. I have a few more to go....
Bob
Build Blog... https://imgur.com/a/onekU6D
Unfortunately, mine is progressing a bit more slowly. Something to do with a ton of tie down loops...
The little rectangle is the tool that came with the PE for spacing the holes for the tie downs, and for setting the height of them. There are a couple of the tie downs in the photo as well. I have a few more to go....
Bob
Build Blog... https://imgur.com/a/onekU6D

McRunty

#491
Joined: April 06, 2016
KitMaker: 602 posts
Armorama: 191 posts

Posted: Thursday, November 15, 2018 - 10:16 AM UTC
Quoted Text
But one small mistake. The left Backpack on the Rack is attached with the bottom.
Great spot and thank you for pointing it out! I hadn't even noticed. It actually wasnt upside down, it was laying on its back. I had glued the bottom of the rucksack to the rails

It has been corrected.

Igorbc

Joined: December 11, 2015
KitMaker: 101 posts
Armorama: 95 posts
Posted: Thursday, November 15, 2018 - 07:08 PM UTC
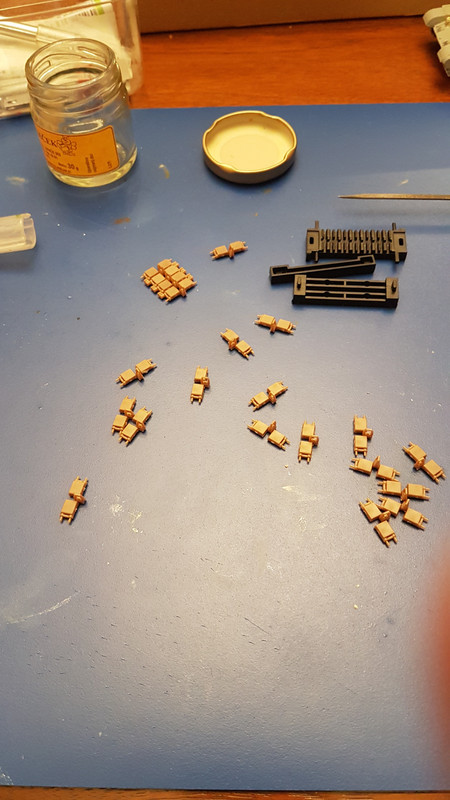
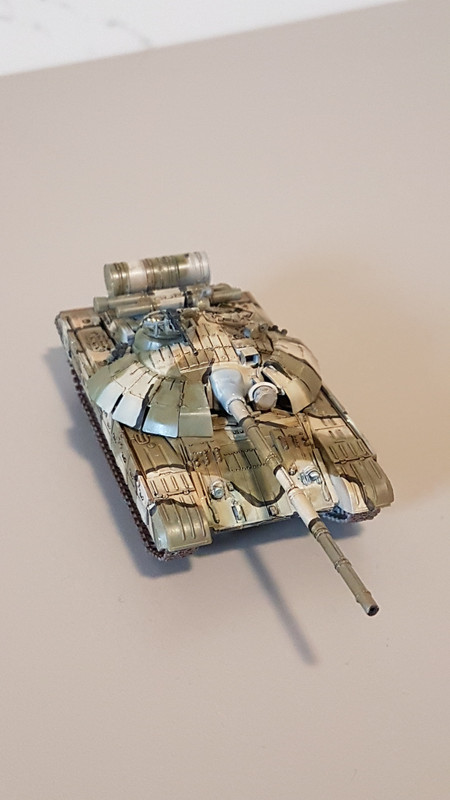
Work has began on T 80 U workable tracks from Trumpeter which I find to be better solution due to fact that T 80 track has two pins each and therefore sag is more natural.
As you can see track tool from Meng is suitable for pin mounting.
As you can see track tool from Meng is suitable for pin mounting.

27-1025
Joined: September 16, 2004
KitMaker: 1,281 posts
Armorama: 1,222 posts
Posted: Friday, November 16, 2018 - 11:47 AM UTC
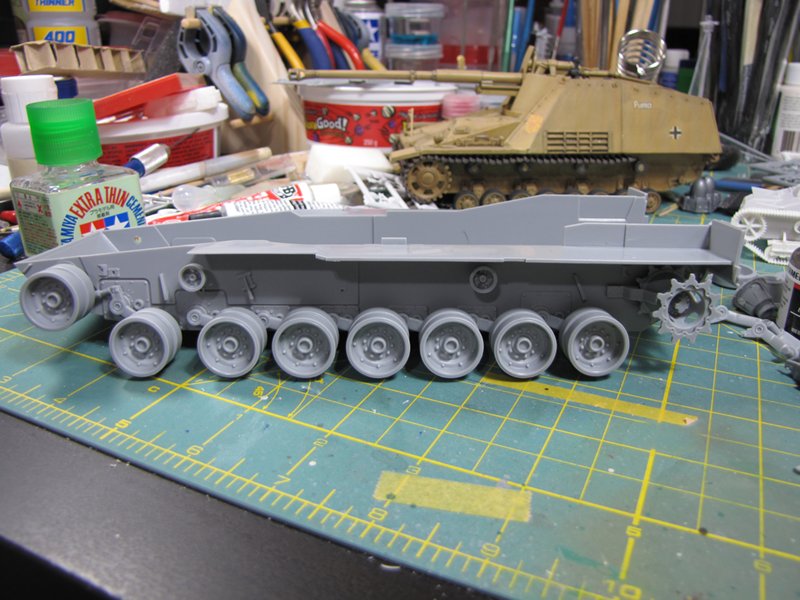
Some in-progress pics. Actually it's ready for paint. Very easy kit to build.


Martinvidas

Joined: February 13, 2011
KitMaker: 322 posts
Armorama: 300 posts

Posted: Friday, November 16, 2018 - 07:41 PM UTC
Good morning
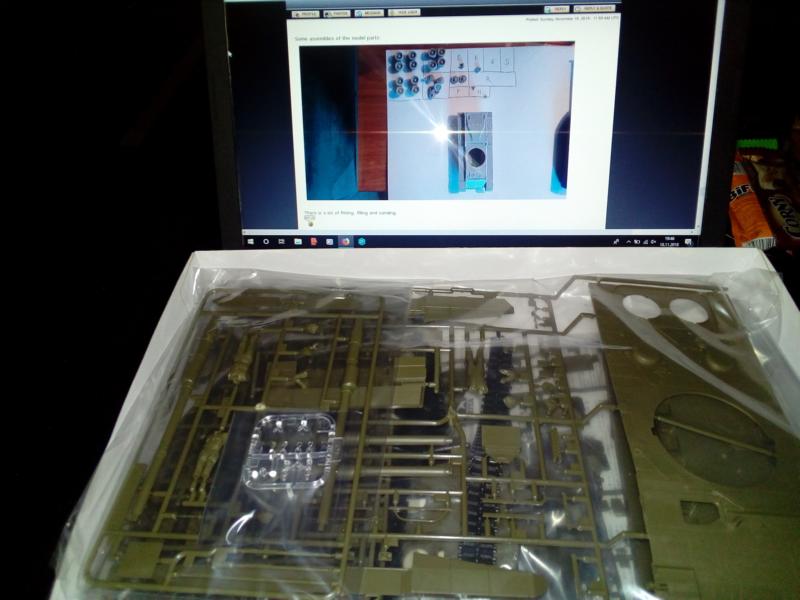
this is my entry here:
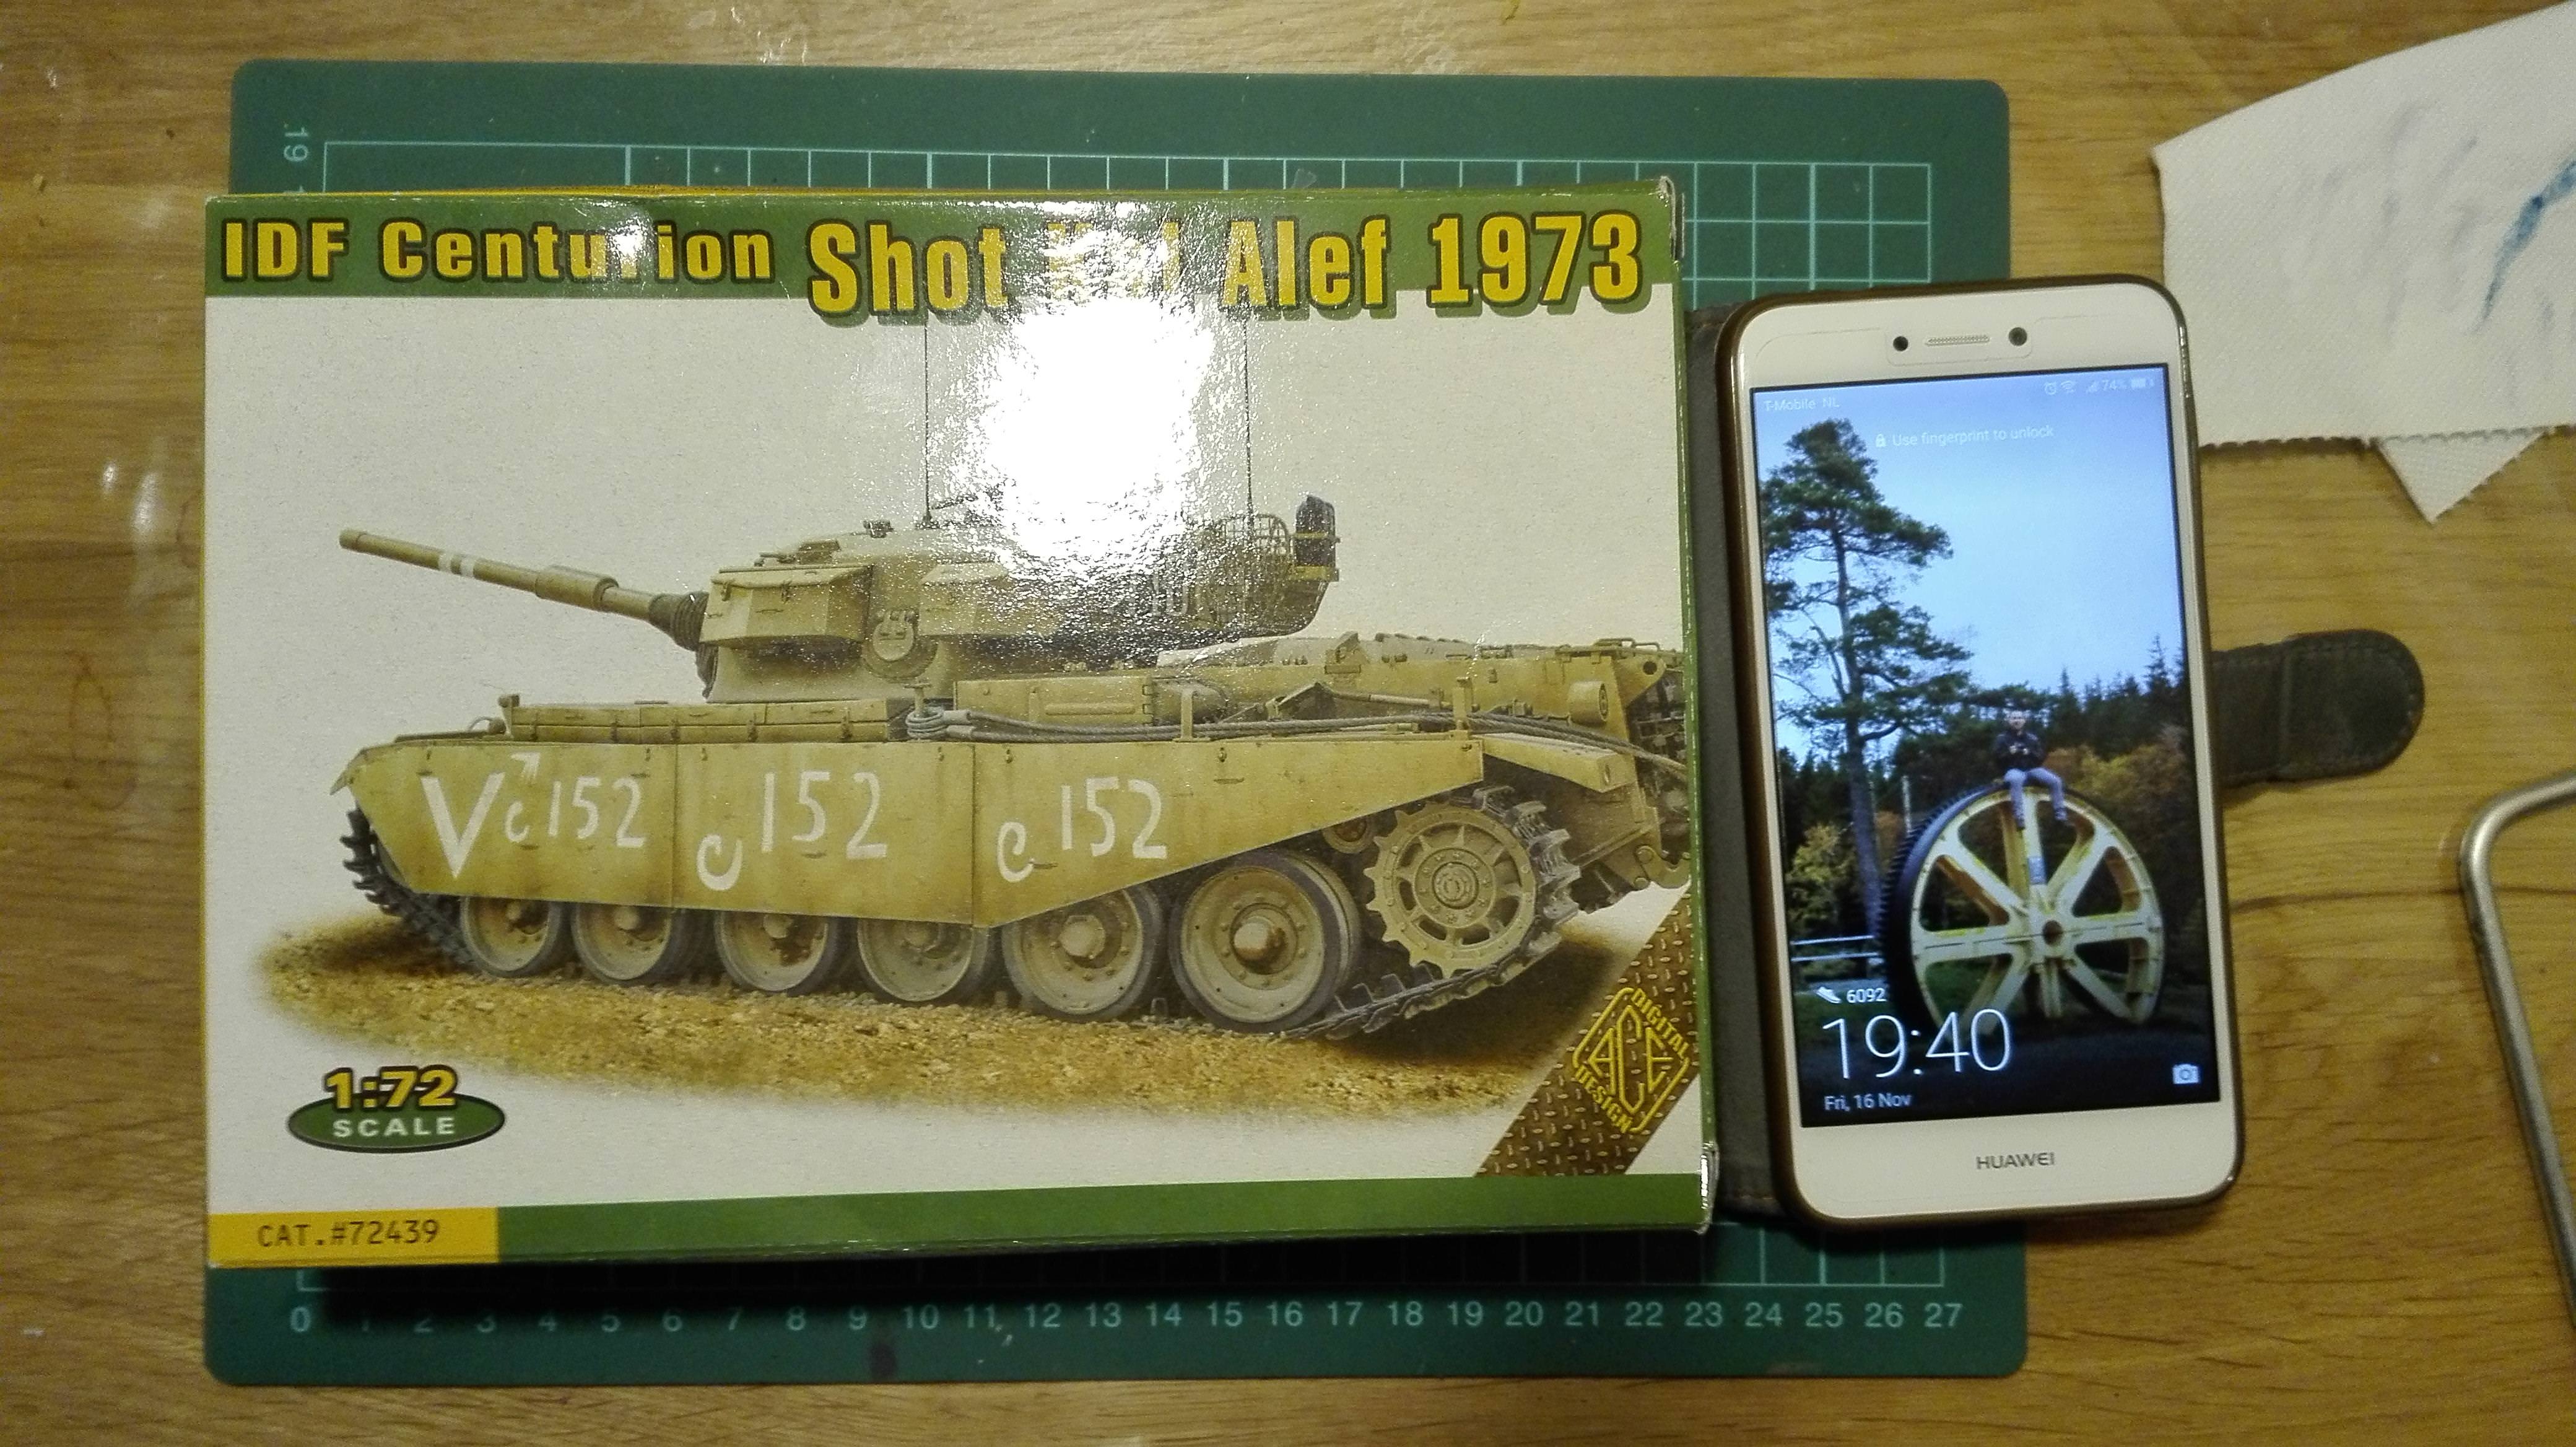
A lot of small parts:
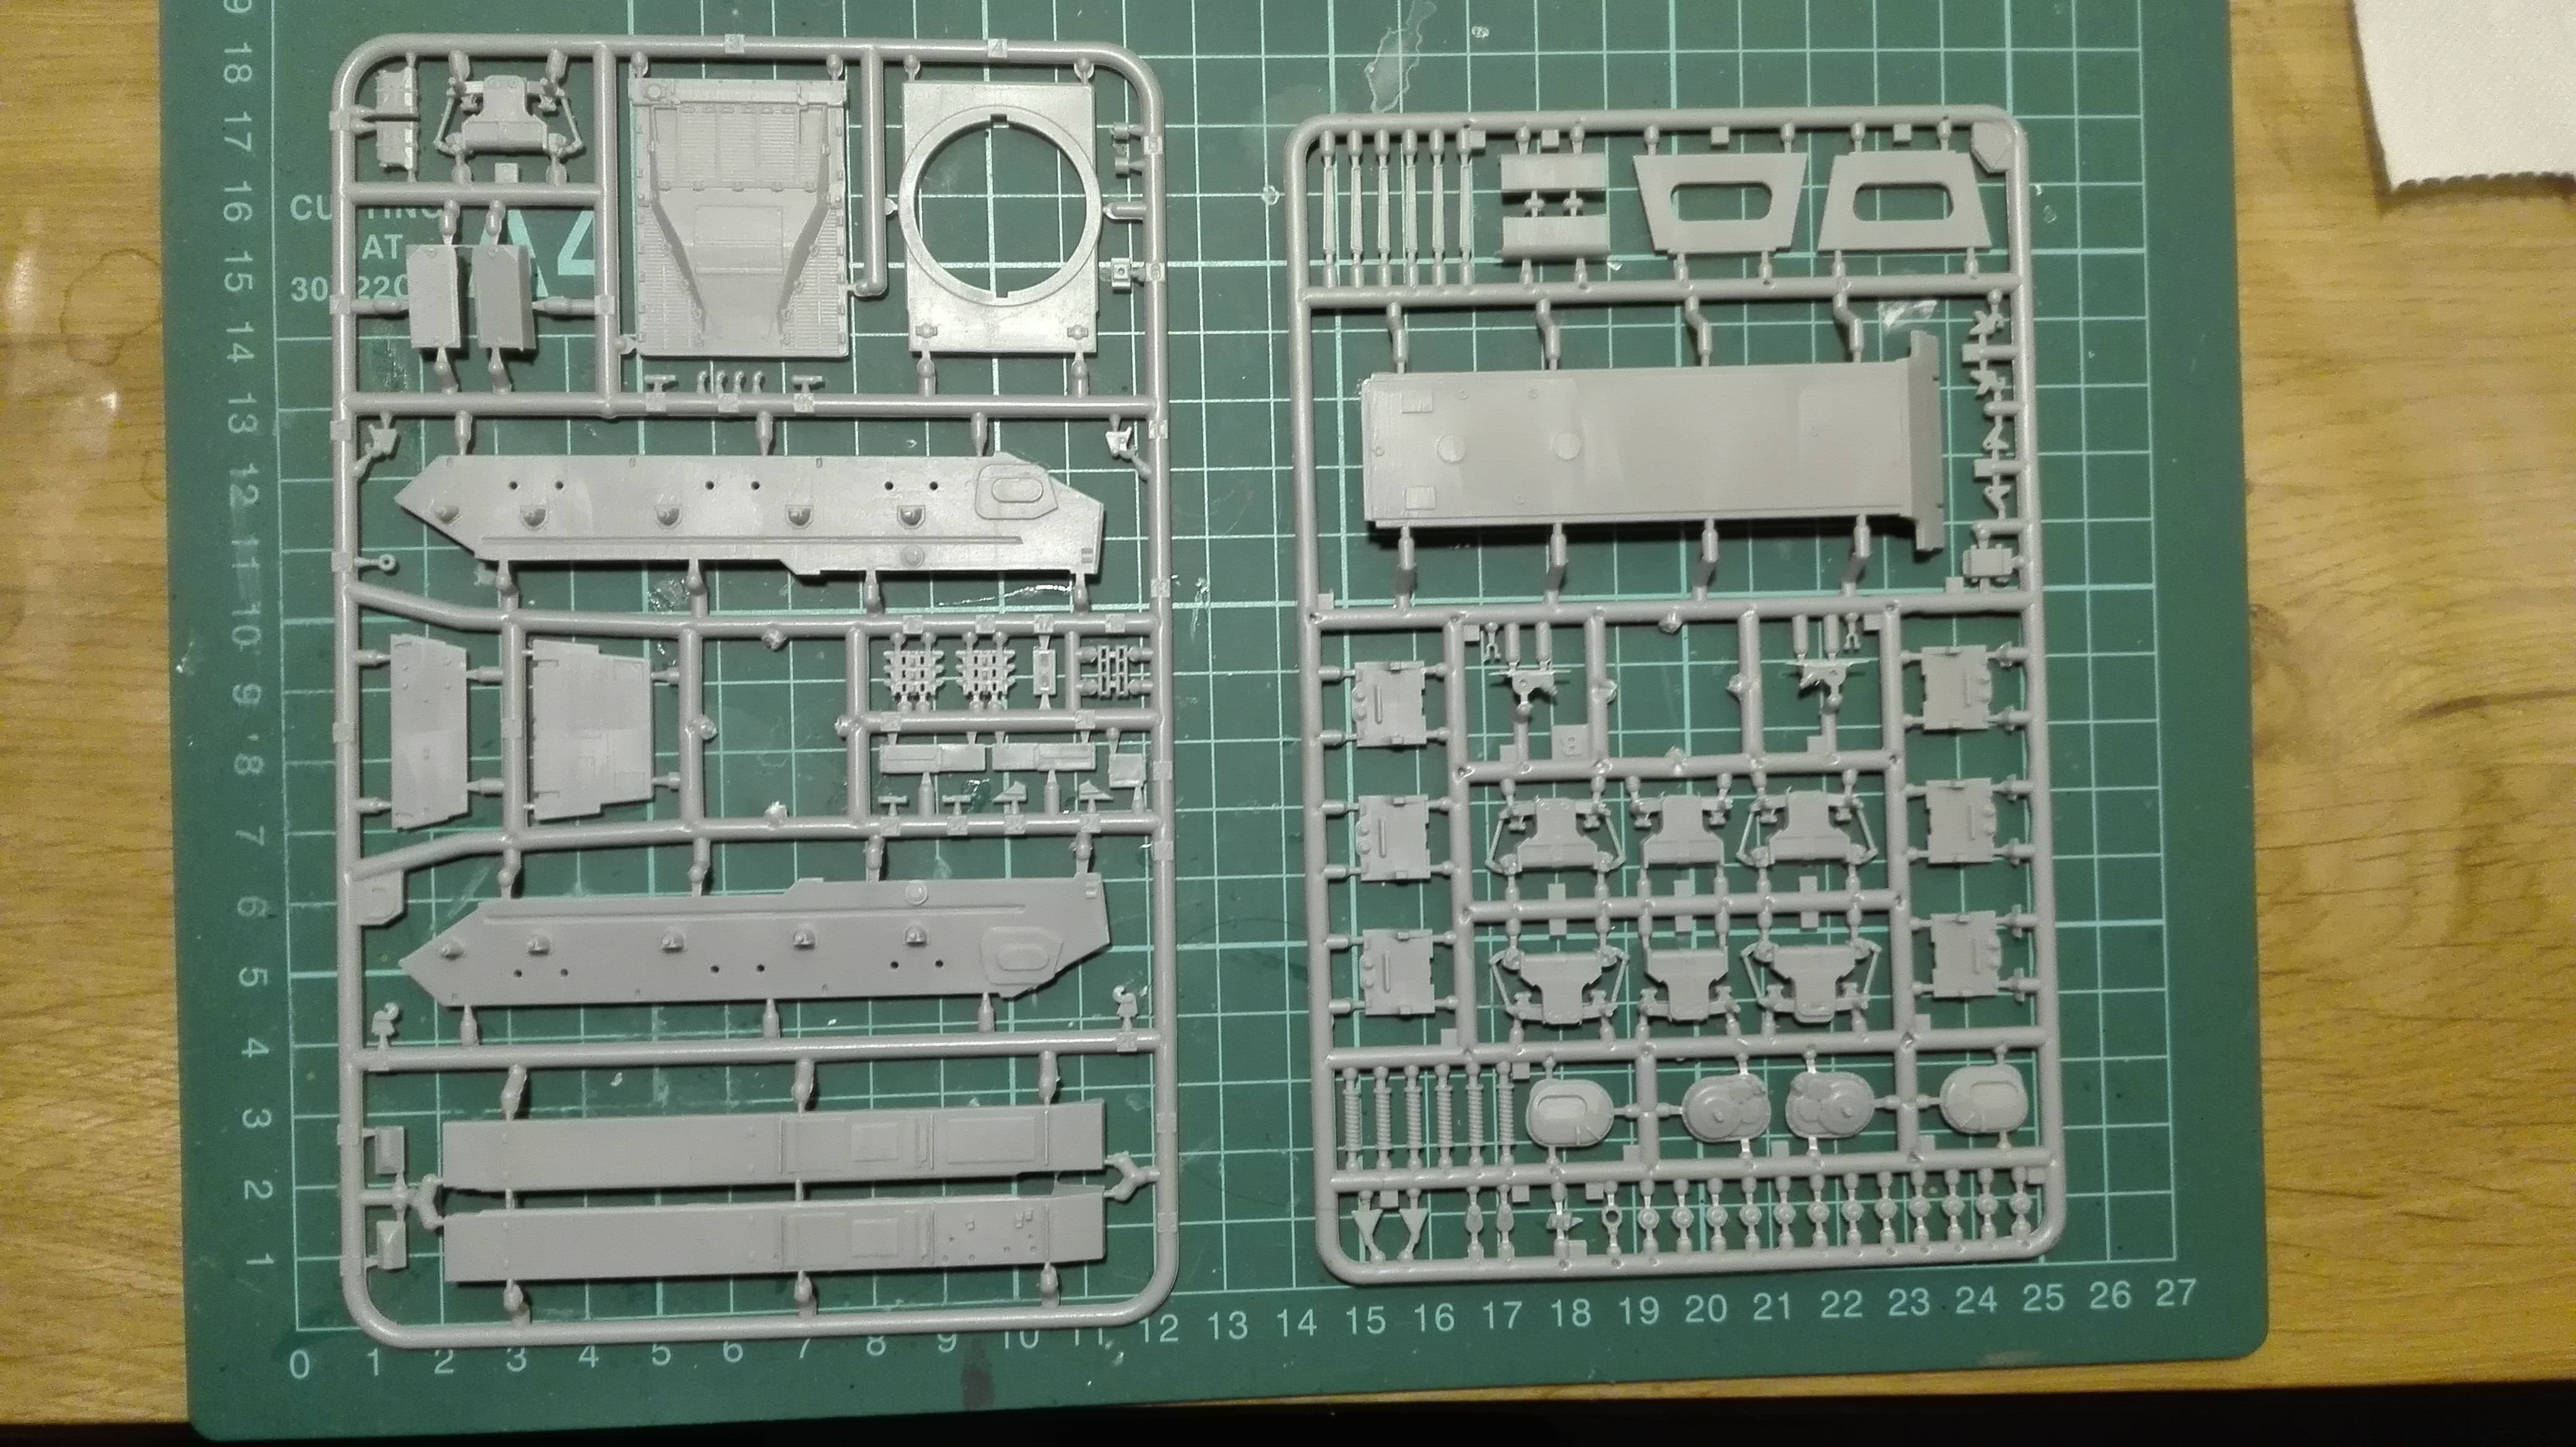
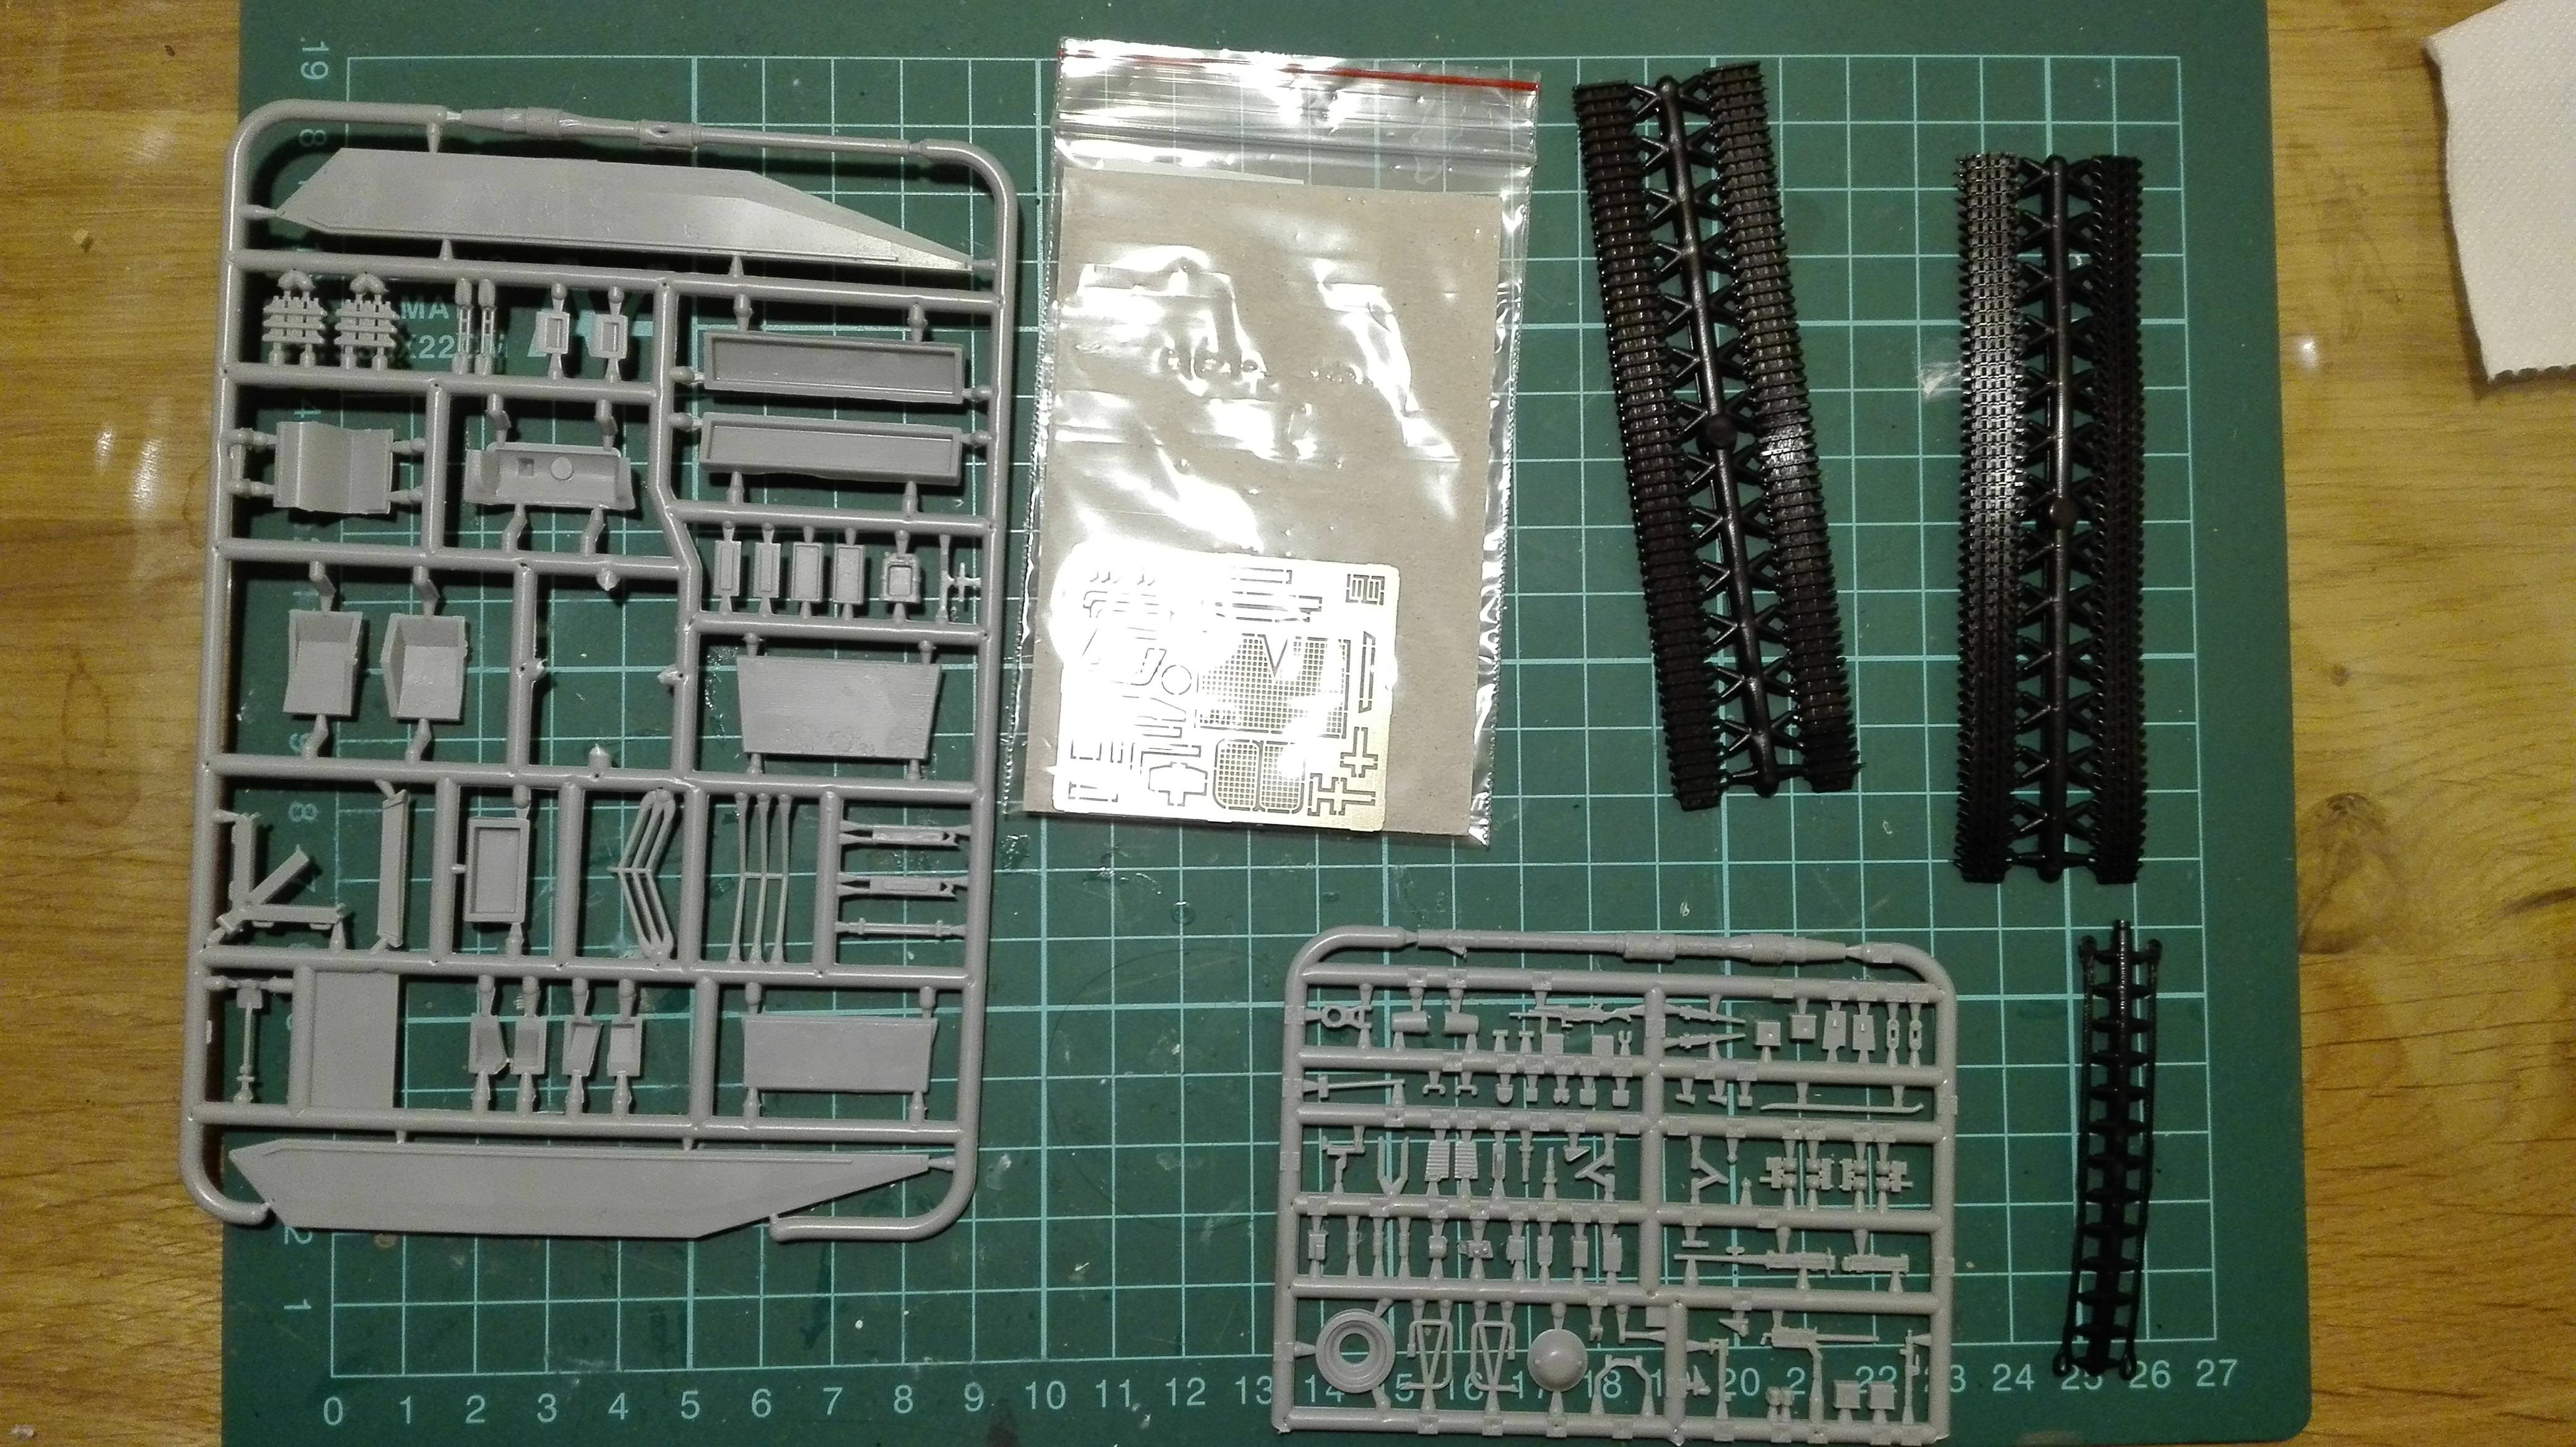

Some fitting are not perfect, a lot of sanding, but good details and soft and easy going plastic.
More to be updated later today
this is my entry here:
A lot of small parts:
Some fitting are not perfect, a lot of sanding, but good details and soft and easy going plastic.
More to be updated later today
Igorbc
Joined: December 11, 2015
KitMaker: 101 posts
Armorama: 95 posts
Posted: Saturday, November 17, 2018 - 01:05 AM UTC
Martinvidas
Joined: February 13, 2011
KitMaker: 322 posts
Armorama: 300 posts
Posted: Sunday, November 18, 2018 - 12:59 AM UTC
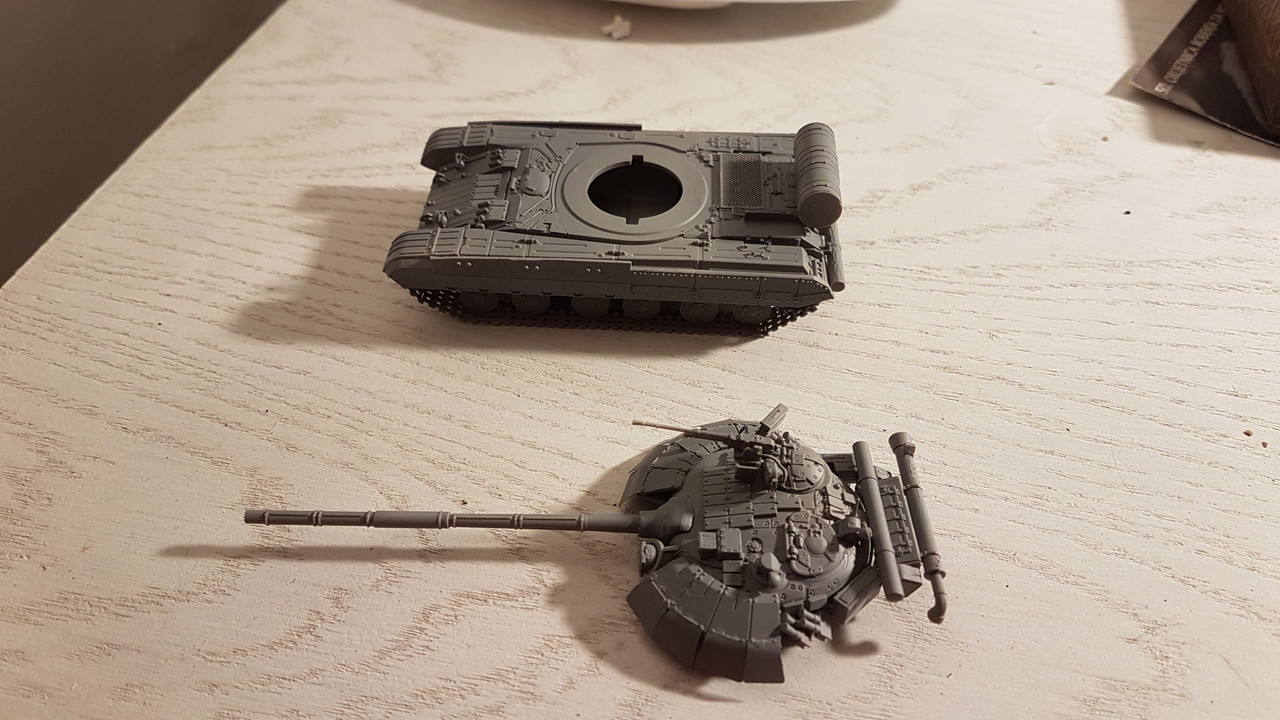
Some assemblies of the model parts:
There is a lot of fitting, filling and sanding.
There is a lot of fitting, filling and sanding.
Dragon164
#226

Joined: February 20, 2012
KitMaker: 1,909 posts
Armorama: 1,066 posts

Posted: Sunday, November 18, 2018 - 09:36 AM UTC
Some nice work going on! 
Assembly has begun.
Cheers Rob.

Assembly has begun.
Cheers Rob.

Sleepwalker71

Joined: August 30, 2012
KitMaker: 265 posts
Armorama: 186 posts

Posted: Sunday, November 18, 2018 - 04:14 PM UTC
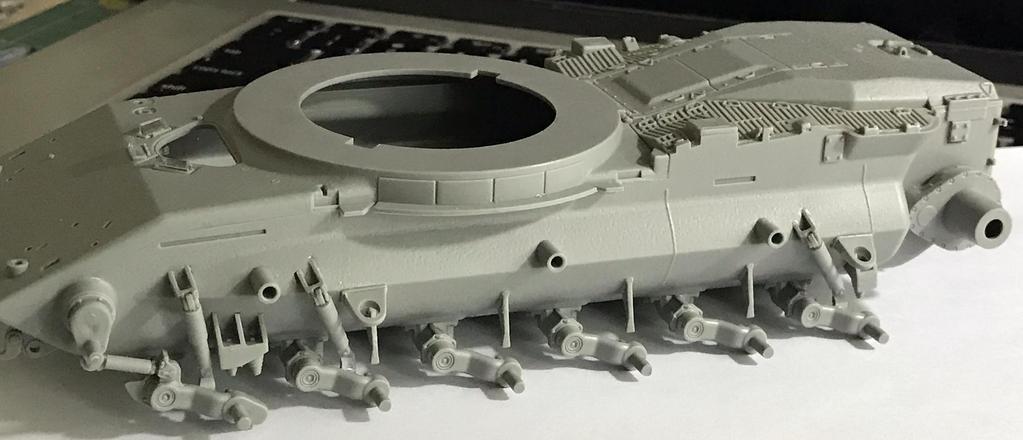
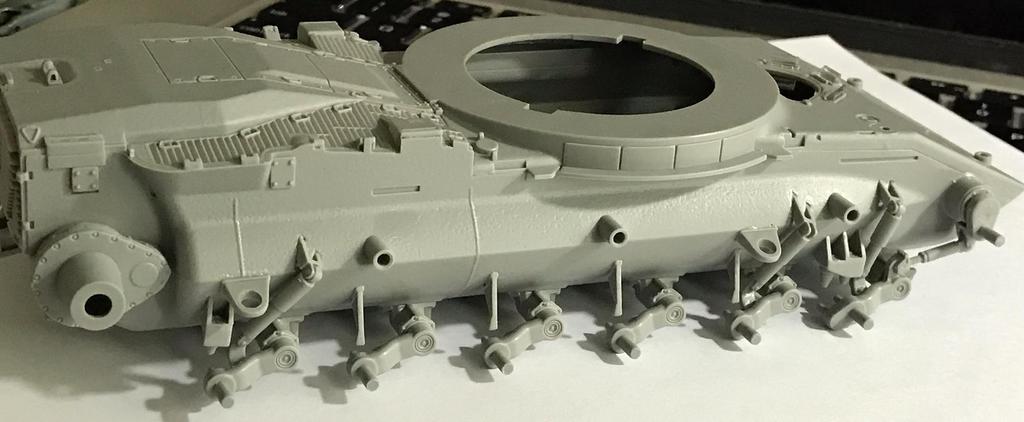
Off we go. M60A1 starts to take a shape. As the fitting of the top and bottom hull required some pressure I decided to glue them first ahead of running gear, as suggested by manual, to avoid any damage to quite delicate parts there. Of course, before connection, I drilled all mounting holes and attached driver's periscopes. I skipped driver's hatch opening mechanism as it will be closed.
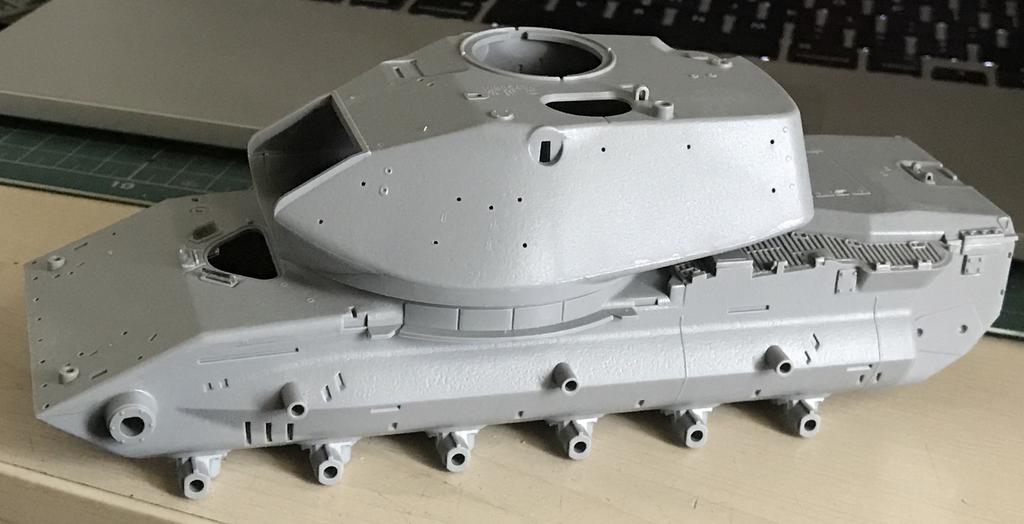
More to come.
More to come.
Igorbc
Joined: December 11, 2015
KitMaker: 101 posts
Armorama: 95 posts
Posted: Sunday, November 18, 2018 - 04:53 PM UTC
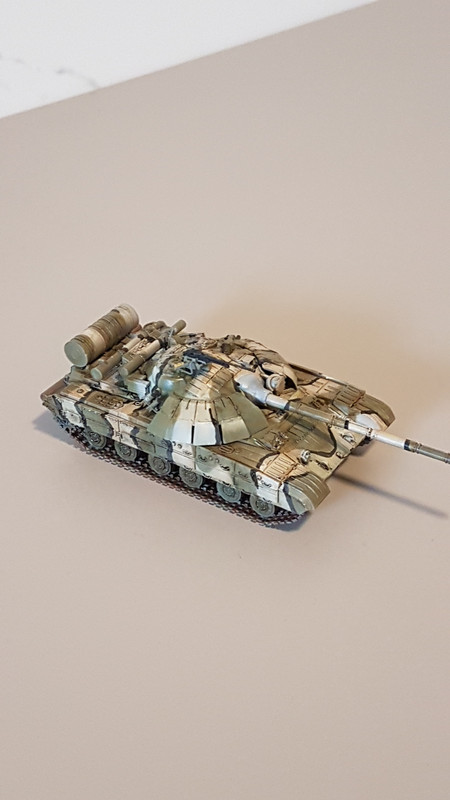
Here is three tone camo.
petbat
Joined: August 06, 2005
KitMaker: 3,353 posts
Armorama: 3,121 posts
Posted: Sunday, November 18, 2018 - 07:48 PM UTC
All I can say is you guys must have been itching to start this build. So many kits started so soon!
Nice build work going on, and great to see a lot more in progress pics too.
Igor, love the colour scheme.
Nice build work going on, and great to see a lot more in progress pics too.
Igor, love the colour scheme.

McScheffer

Joined: July 11, 2013
KitMaker: 100 posts
Armorama: 72 posts
Posted: Monday, November 19, 2018 - 08:12 AM UTC
Hey Mades,
what a great start on your tanks for this campaign.
Here is my entry.
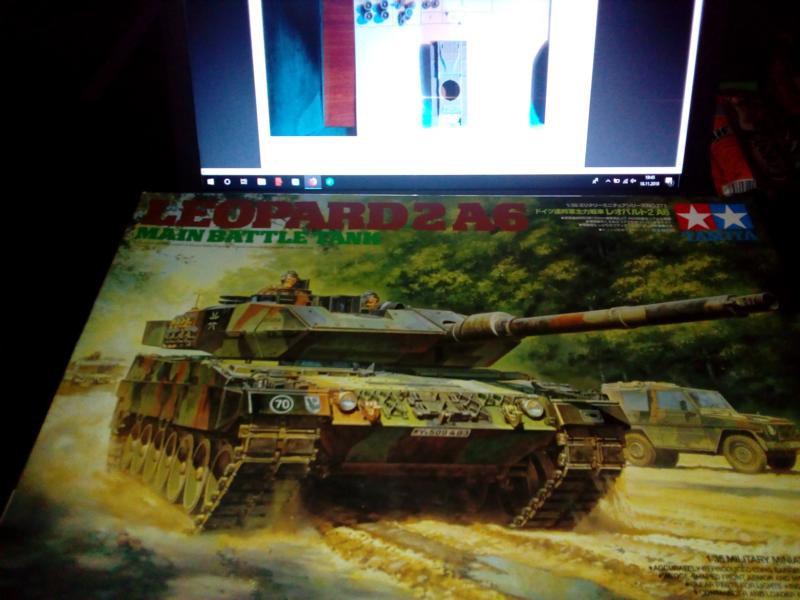
A Tamiya Leopard 2A6. I will build it as a 2A6M+ with parts from Leopard Model. Sad it's not the improved version of this tank. The new storage for the crew weapons is missing
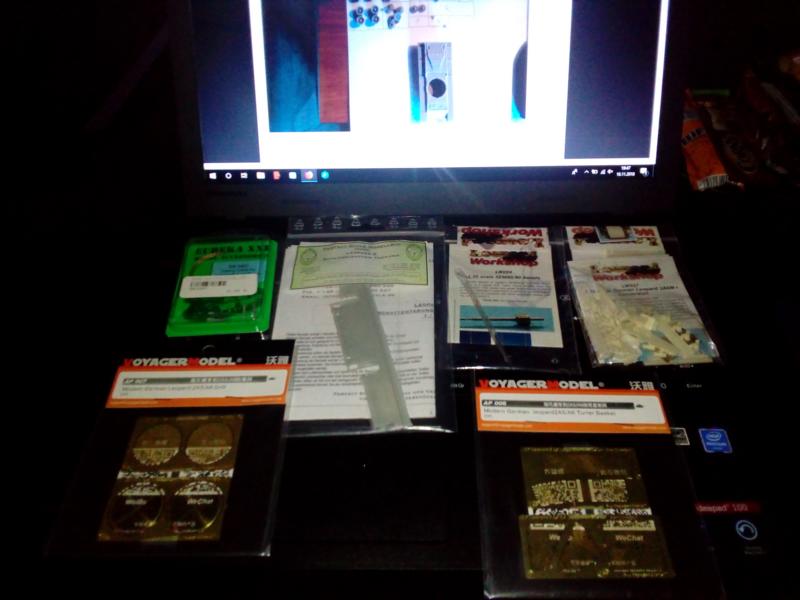
Regards
Chris
what a great start on your tanks for this campaign.
Here is my entry.
A Tamiya Leopard 2A6. I will build it as a 2A6M+ with parts from Leopard Model. Sad it's not the improved version of this tank. The new storage for the crew weapons is missing
Regards
Chris
McScheffer
Joined: July 11, 2013
KitMaker: 100 posts
Armorama: 72 posts
Posted: Monday, November 19, 2018 - 08:17 AM UTC
Great spot and thank you for pointing it out
Hey Rory,
I'm looking for the right gear for my Abrams so I take a closer look
What gear did you use
Regards
Chris
Hey Rory,
I'm looking for the right gear for my Abrams so I take a closer look
What gear did you use
Regards
Chris
nsjohn

Joined: July 26, 2018
KitMaker: 279 posts
Armorama: 265 posts
Posted: Monday, November 19, 2018 - 01:52 PM UTC
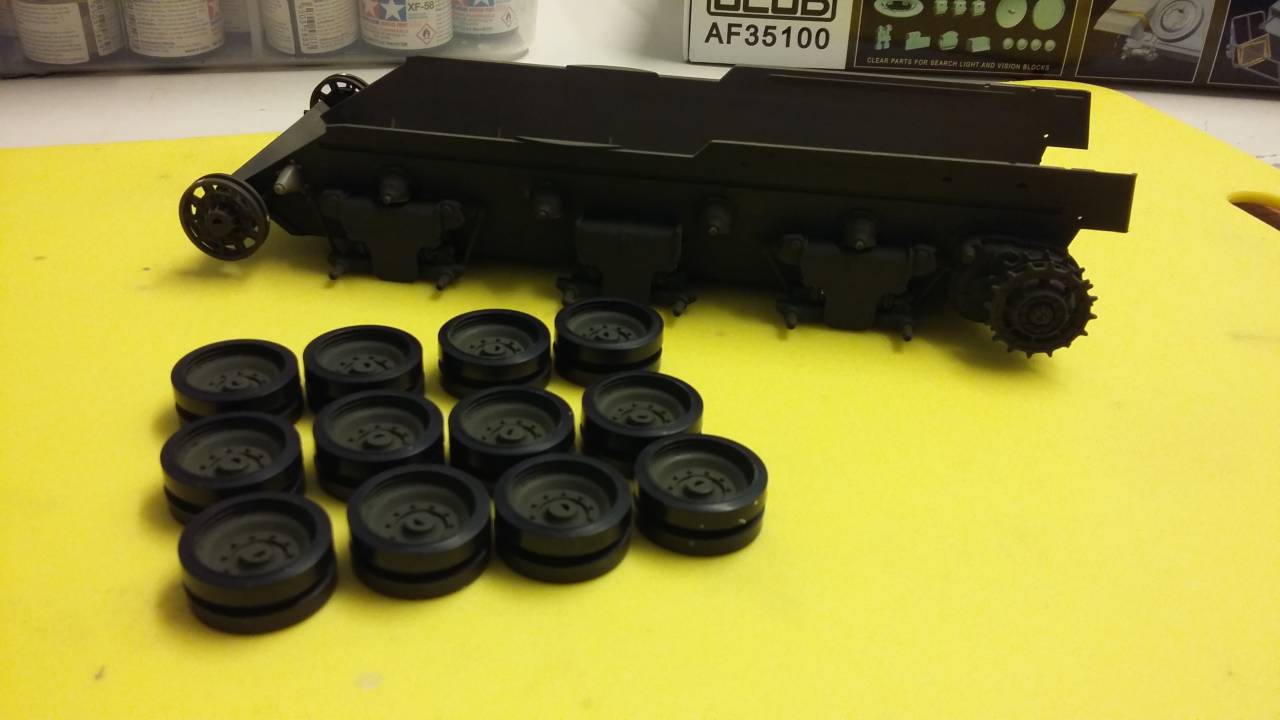
Completed the Horsman suspension units and done the wheels. Nicely moulded kit, but little niggles like the polycaps that won't fit the axles and the return rollers which are a pain to put together. Picture in the gallery and will attempt to post here  [img]https://gallery.kitmaker.net/data/500/thumbs/20181119_001952.jpg" BORDER="0">/image.file[/img]
Sleepwalker71
Joined: August 30, 2012
KitMaker: 265 posts
Armorama: 186 posts
Posted: Monday, November 19, 2018 - 06:02 PM UTC
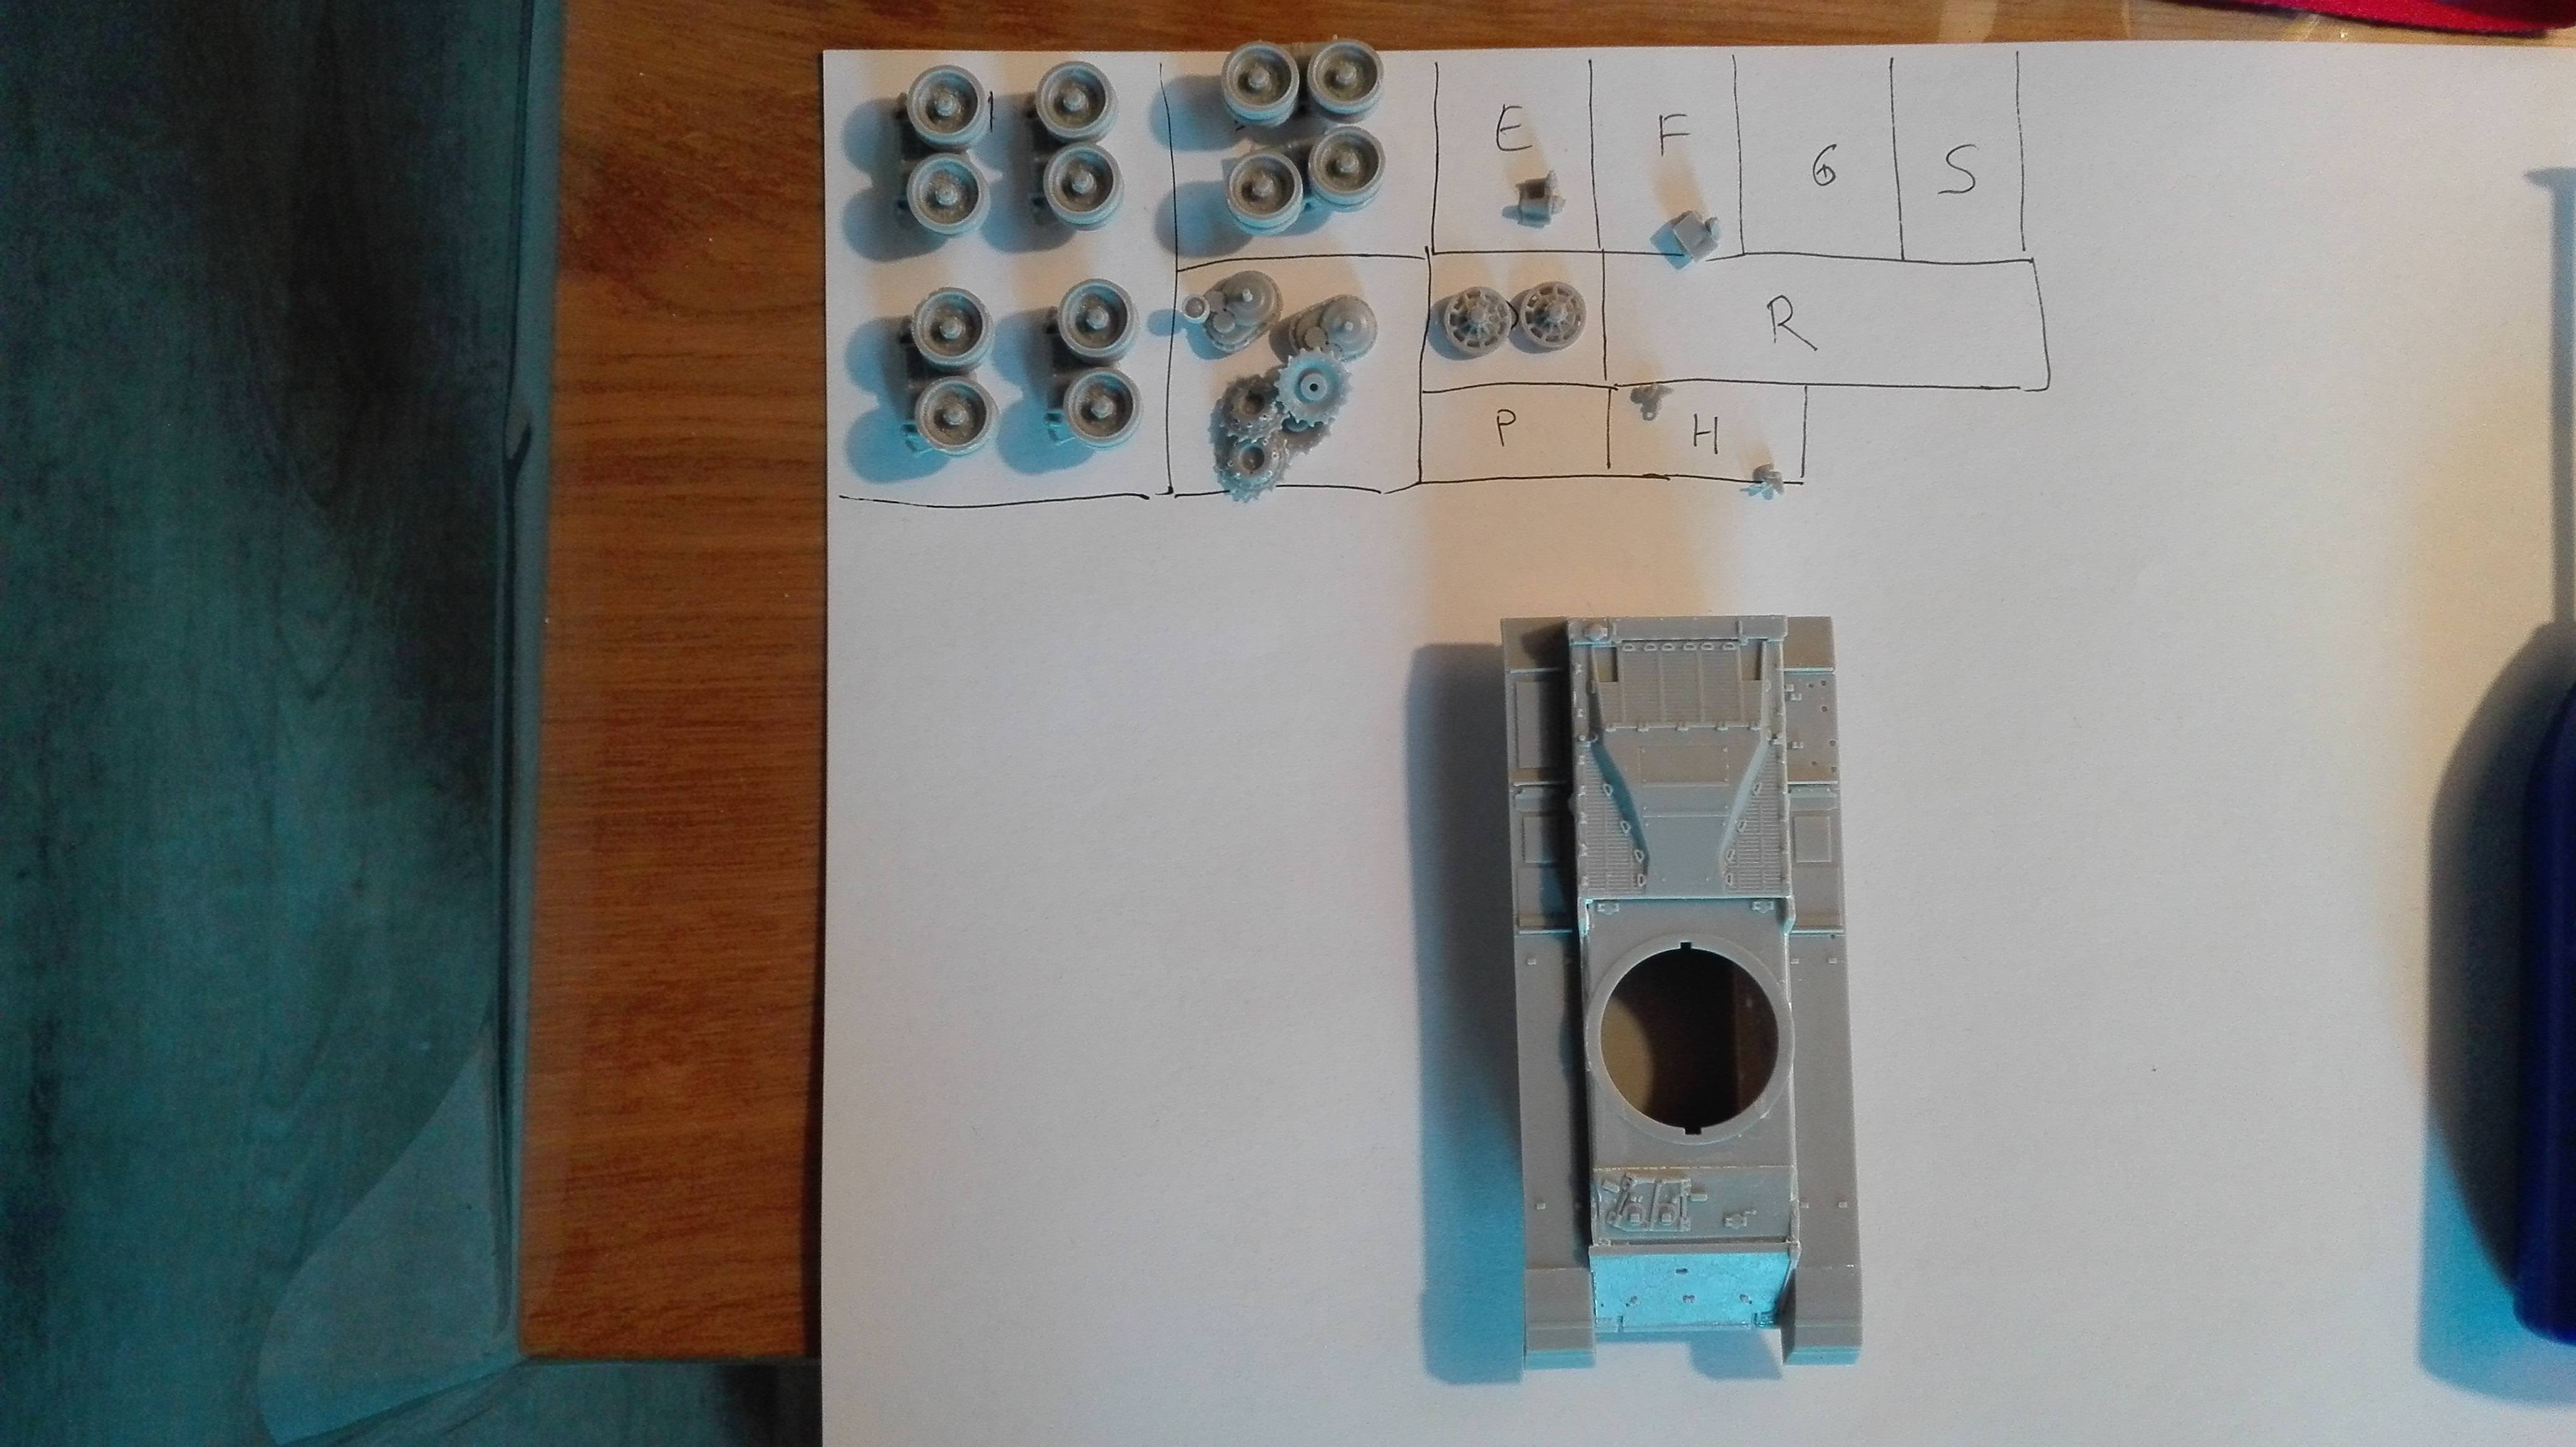
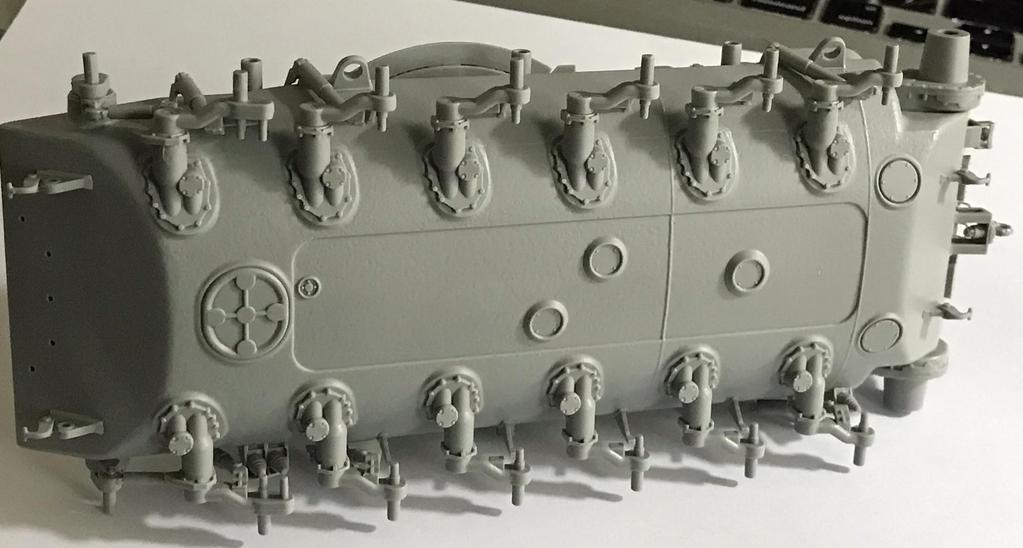
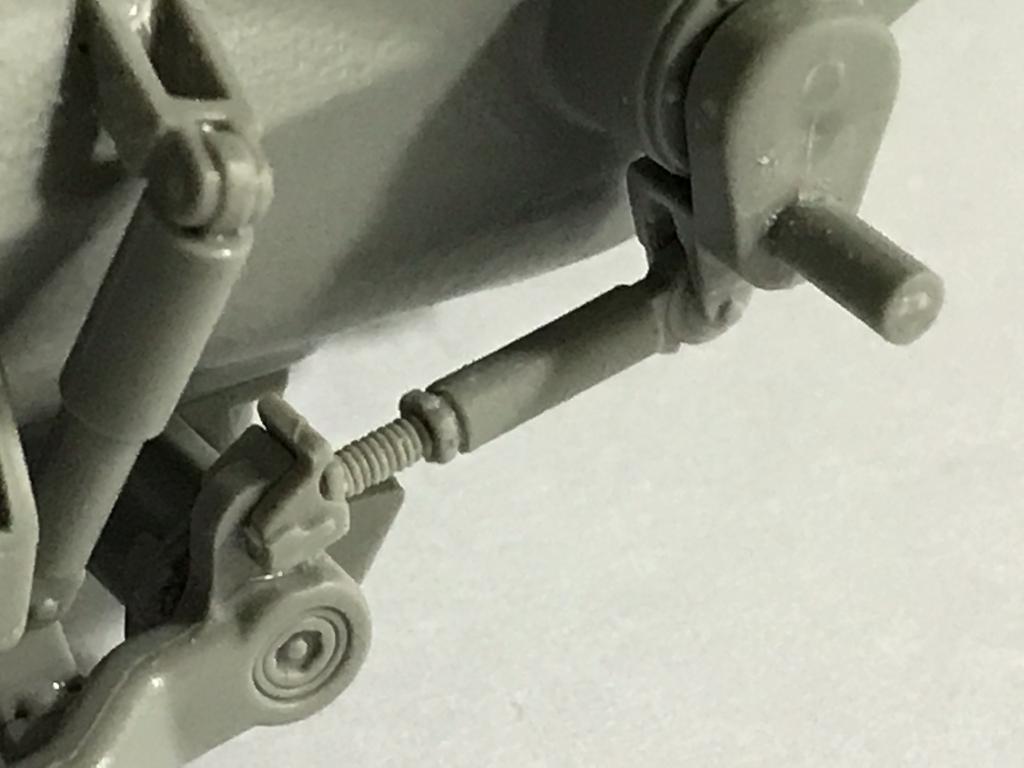
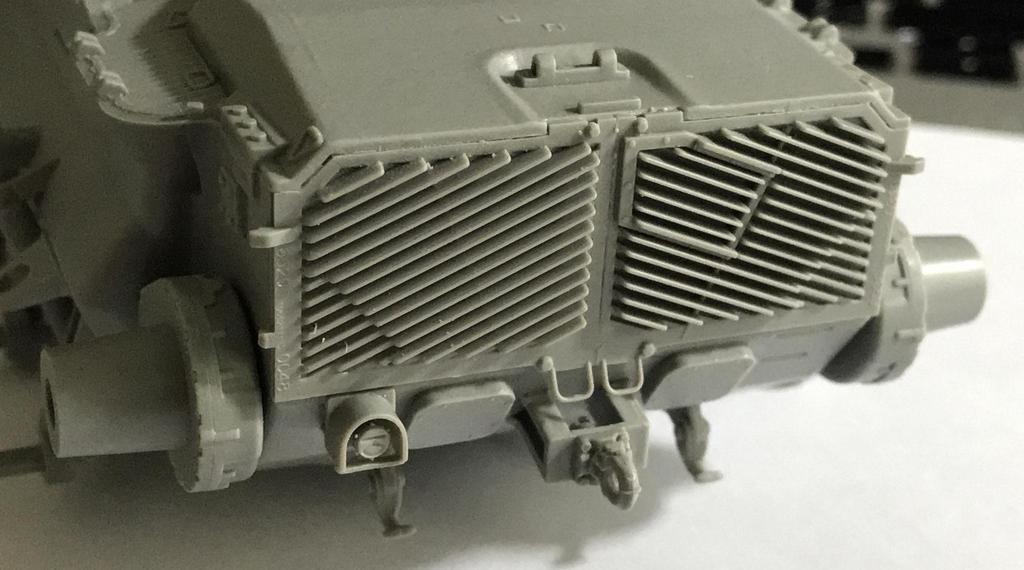
Running gear almost ready, just wheels to be finished but not glued yet. As you can see it is really busy and detailed (see the detail of the track tension system). I added also details of the rear plate. The fit is excellent and tight but unforgiving any mistakes. Plastic is on the brittle side and parts require some cleaning from seam lines and sometimes connection points. Anyway, the build is a fun. The right rear light went AWOL, searching for it now...
petbat
Joined: August 06, 2005
KitMaker: 3,353 posts
Armorama: 3,121 posts
Posted: Tuesday, November 20, 2018 - 07:14 AM UTC
Norman's photo
Hi Norman, your link is a link to the small thumbnail picture but also has a lot of erroneous text after the address too. I am not sure what browser you use, but I use Google Chrome. When you open the large pic in your gallery, right click on it, then select Copy Image address from the list. Then go to your post click the image button to bring up the image string, delete everything between the two bracketed IMG tags and then paste your pic address between the tags, then your pic will appear in the thread.

Cheers.
Hi Norman, your link is a link to the small thumbnail picture but also has a lot of erroneous text after the address too. I am not sure what browser you use, but I use Google Chrome. When you open the large pic in your gallery, right click on it, then select Copy Image address from the list. Then go to your post click the image button to bring up the image string, delete everything between the two bracketed IMG tags and then paste your pic address between the tags, then your pic will appear in the thread.
Cheers.
petbat
Joined: August 06, 2005
KitMaker: 3,353 posts
Armorama: 3,121 posts
Posted: Tuesday, November 20, 2018 - 07:26 AM UTC
Sure is a busy lower hull Damian. Looks great. Hope you find the AWOL piece.
MichaelSatin
Joined: January 19, 2008
KitMaker: 3,909 posts
Armorama: 510 posts
Posted: Tuesday, November 20, 2018 - 07:45 AM UTC
Quoted Text
Hi Norman, your link is a link to the small thumbnail picture but also has a lot of erroneous text after the address too. I am not sure what browser you use, but I use Google Chrome. When you open the large pic in your gallery, right click on it, then select Copy Image address from the list. Then go to your post click the image button to bring up the image string, delete everything between the two bracketed IMG tags and then paste your pic address between the tags, then your pic will appear in the thread.
Here's kind of a step-by-step I wrote in response to someone else's question about this. It works for me (and him)!
"In your gallery/album, click on the picture you want to post. Scroll down under the picture and you'll see several icons and a "linked thumbnail" url. To the right of the url is a small "link" icon. Click that. This will bring up a couple of more urls, one for "html code" and one for "direct link". Highlight and copy the "html code" url.
"Now paste what you've copied into the body of your post on the forum (I normally have the gallery and the forum open in two separate windows to make this easier). You won't need to use the [img] or [url] buttons below the post you're writing, that "html code" url is the correct format already.
"Do that for as many photos as you want to put in your post.
"Hit the "yes" reply button and you should have a post with full size picture(s) in it!
"That's what I do, and while it sounds complicated it actually works pretty fast once you get the hang of it. Hope it works for you!"
Michael

Removed by original poster on 11/20/18 - 20:07:07 (GMT).
nsjohn
Joined: July 26, 2018
KitMaker: 279 posts
Armorama: 265 posts
Posted: Tuesday, November 20, 2018 - 12:02 PM UTC
Trying again now. Thanks guys
Igorbc
Joined: December 11, 2015
KitMaker: 101 posts
Armorama: 95 posts
Posted: Tuesday, November 20, 2018 - 11:35 PM UTC
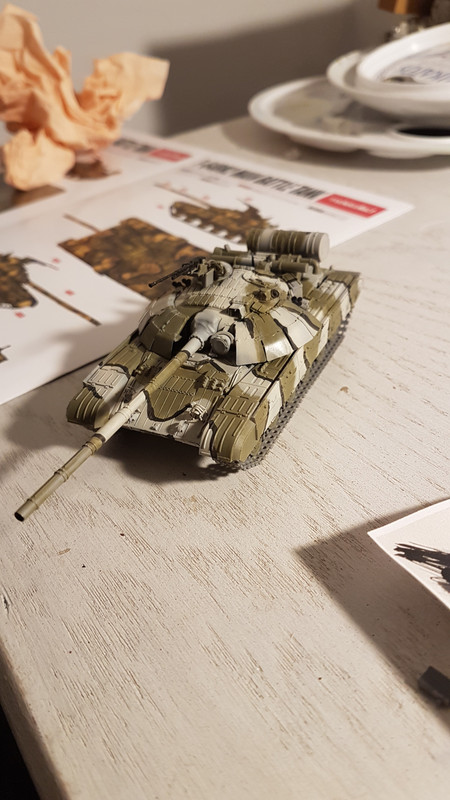
Filter and some washes applied.
Still some paint touches to do and weathering as well.
Still some paint touches to do and weathering as well.
27-1025
Joined: September 16, 2004
KitMaker: 1,281 posts
Armorama: 1,222 posts
Posted: Wednesday, November 21, 2018 - 08:53 AM UTC
Paint on and a coat of clear, Let that bake for a couple of days then on to decals, detail painting and some light weathering.


zontar
Joined: August 27, 2006
KitMaker: 1,646 posts
Armorama: 1,557 posts
Posted: Wednesday, November 21, 2018 - 07:46 PM UTC
Aloha,
Igor: very nice work on such a small thing. Great Job.
Here's my entry: Tamiya's 1/48th M1A2 Abrams.
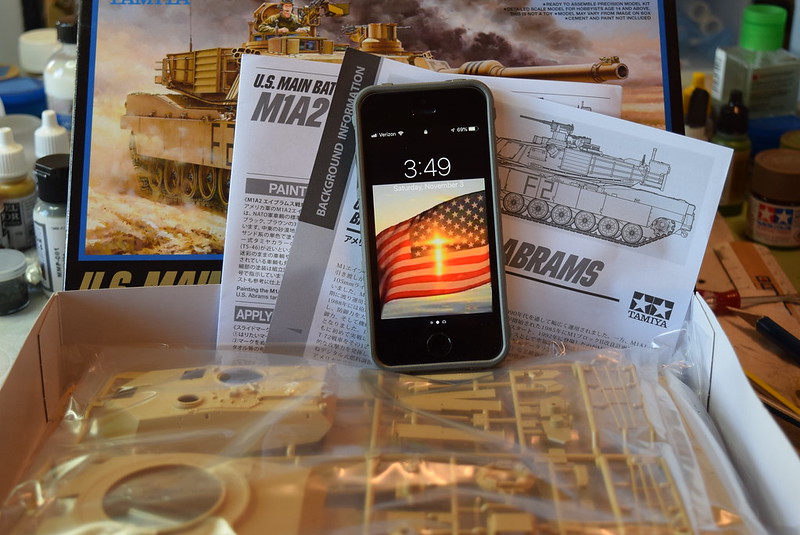
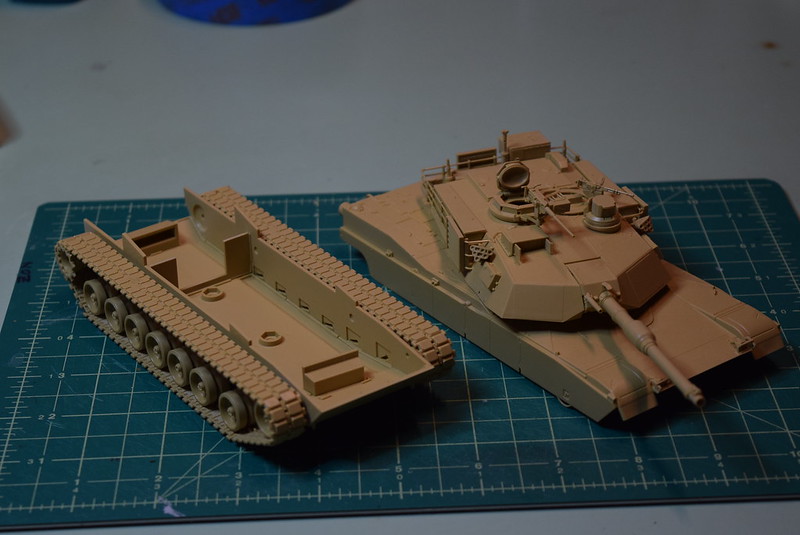
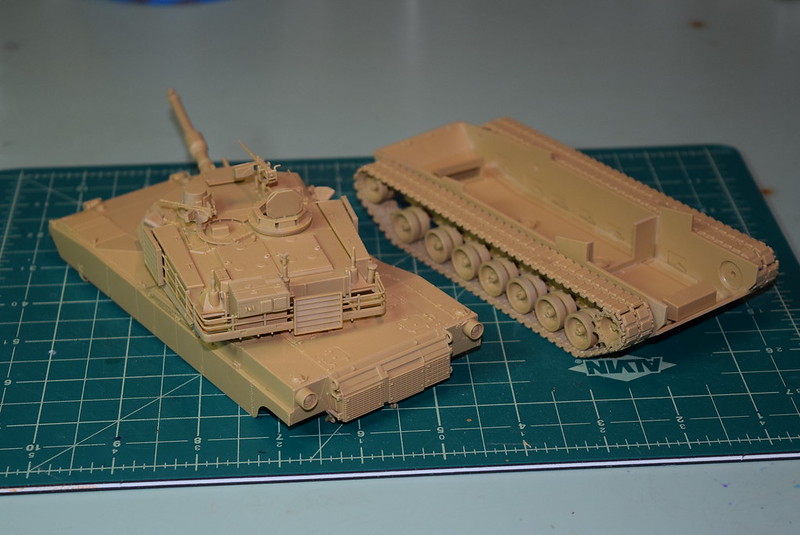
Overall assembly was very straight forward and not too bad. Broke one of the side bustle rack rails as they are very thin and do require some clean up. Also had a bit of difficulty with the link and length track around the drive sprocket. I left them open to remove for painting, but I'm thinking they'll likely break in more places. Very small contact area. Not a big deal, but something to watch out for. Fairly quick and enjoyable build.
Happy Modeling,
Zon
Igor: very nice work on such a small thing. Great Job.
Here's my entry: Tamiya's 1/48th M1A2 Abrams.
Overall assembly was very straight forward and not too bad. Broke one of the side bustle rack rails as they are very thin and do require some clean up. Also had a bit of difficulty with the link and length track around the drive sprocket. I left them open to remove for painting, but I'm thinking they'll likely break in more places. Very small contact area. Not a big deal, but something to watch out for. Fairly quick and enjoyable build.
Happy Modeling,
Zon
Dragon164
#226
Joined: February 20, 2012
KitMaker: 1,909 posts
Armorama: 1,066 posts
Posted: Thursday, November 22, 2018 - 06:30 PM UTC
Small update.
I am using a knife to cut and clean up all the hatches and such, gives them a more 3D look! The one on the left and far right are done the others not.
Cheers Rob.
I am using a knife to cut and clean up all the hatches and such, gives them a more 3D look!
The one on the left and far right are done the others not.Cheers Rob.
 |

WEB HOSTING BY


Copyright ©2021 Armorama and Kitmaker Network, a subsidiary of Silver Star Enterprises
All Rights Reserved. Please read our Conditions of Use and Privacy Policy.
All Rights Reserved. Please read our Conditions of Use and Privacy Policy.