Constructive Feedback
For in-progress or completed build photos. Give and get contructive feedback!
For in-progress or completed build photos. Give and get contructive feedback!
Hosted by Darren Baker, Dave O'Meara
Berlin Brigade Mk10 Chieftain, Takom OOB.
phil2015

Joined: July 27, 2015
KitMaker: 502 posts
Armorama: 325 posts

Posted: Sunday, September 13, 2020 - 08:24 AM UTC
That looks great!
Johnnych01

Joined: June 29, 2019
KitMaker: 604 posts
Armorama: 506 posts

Posted: Sunday, September 13, 2020 - 09:34 AM UTC
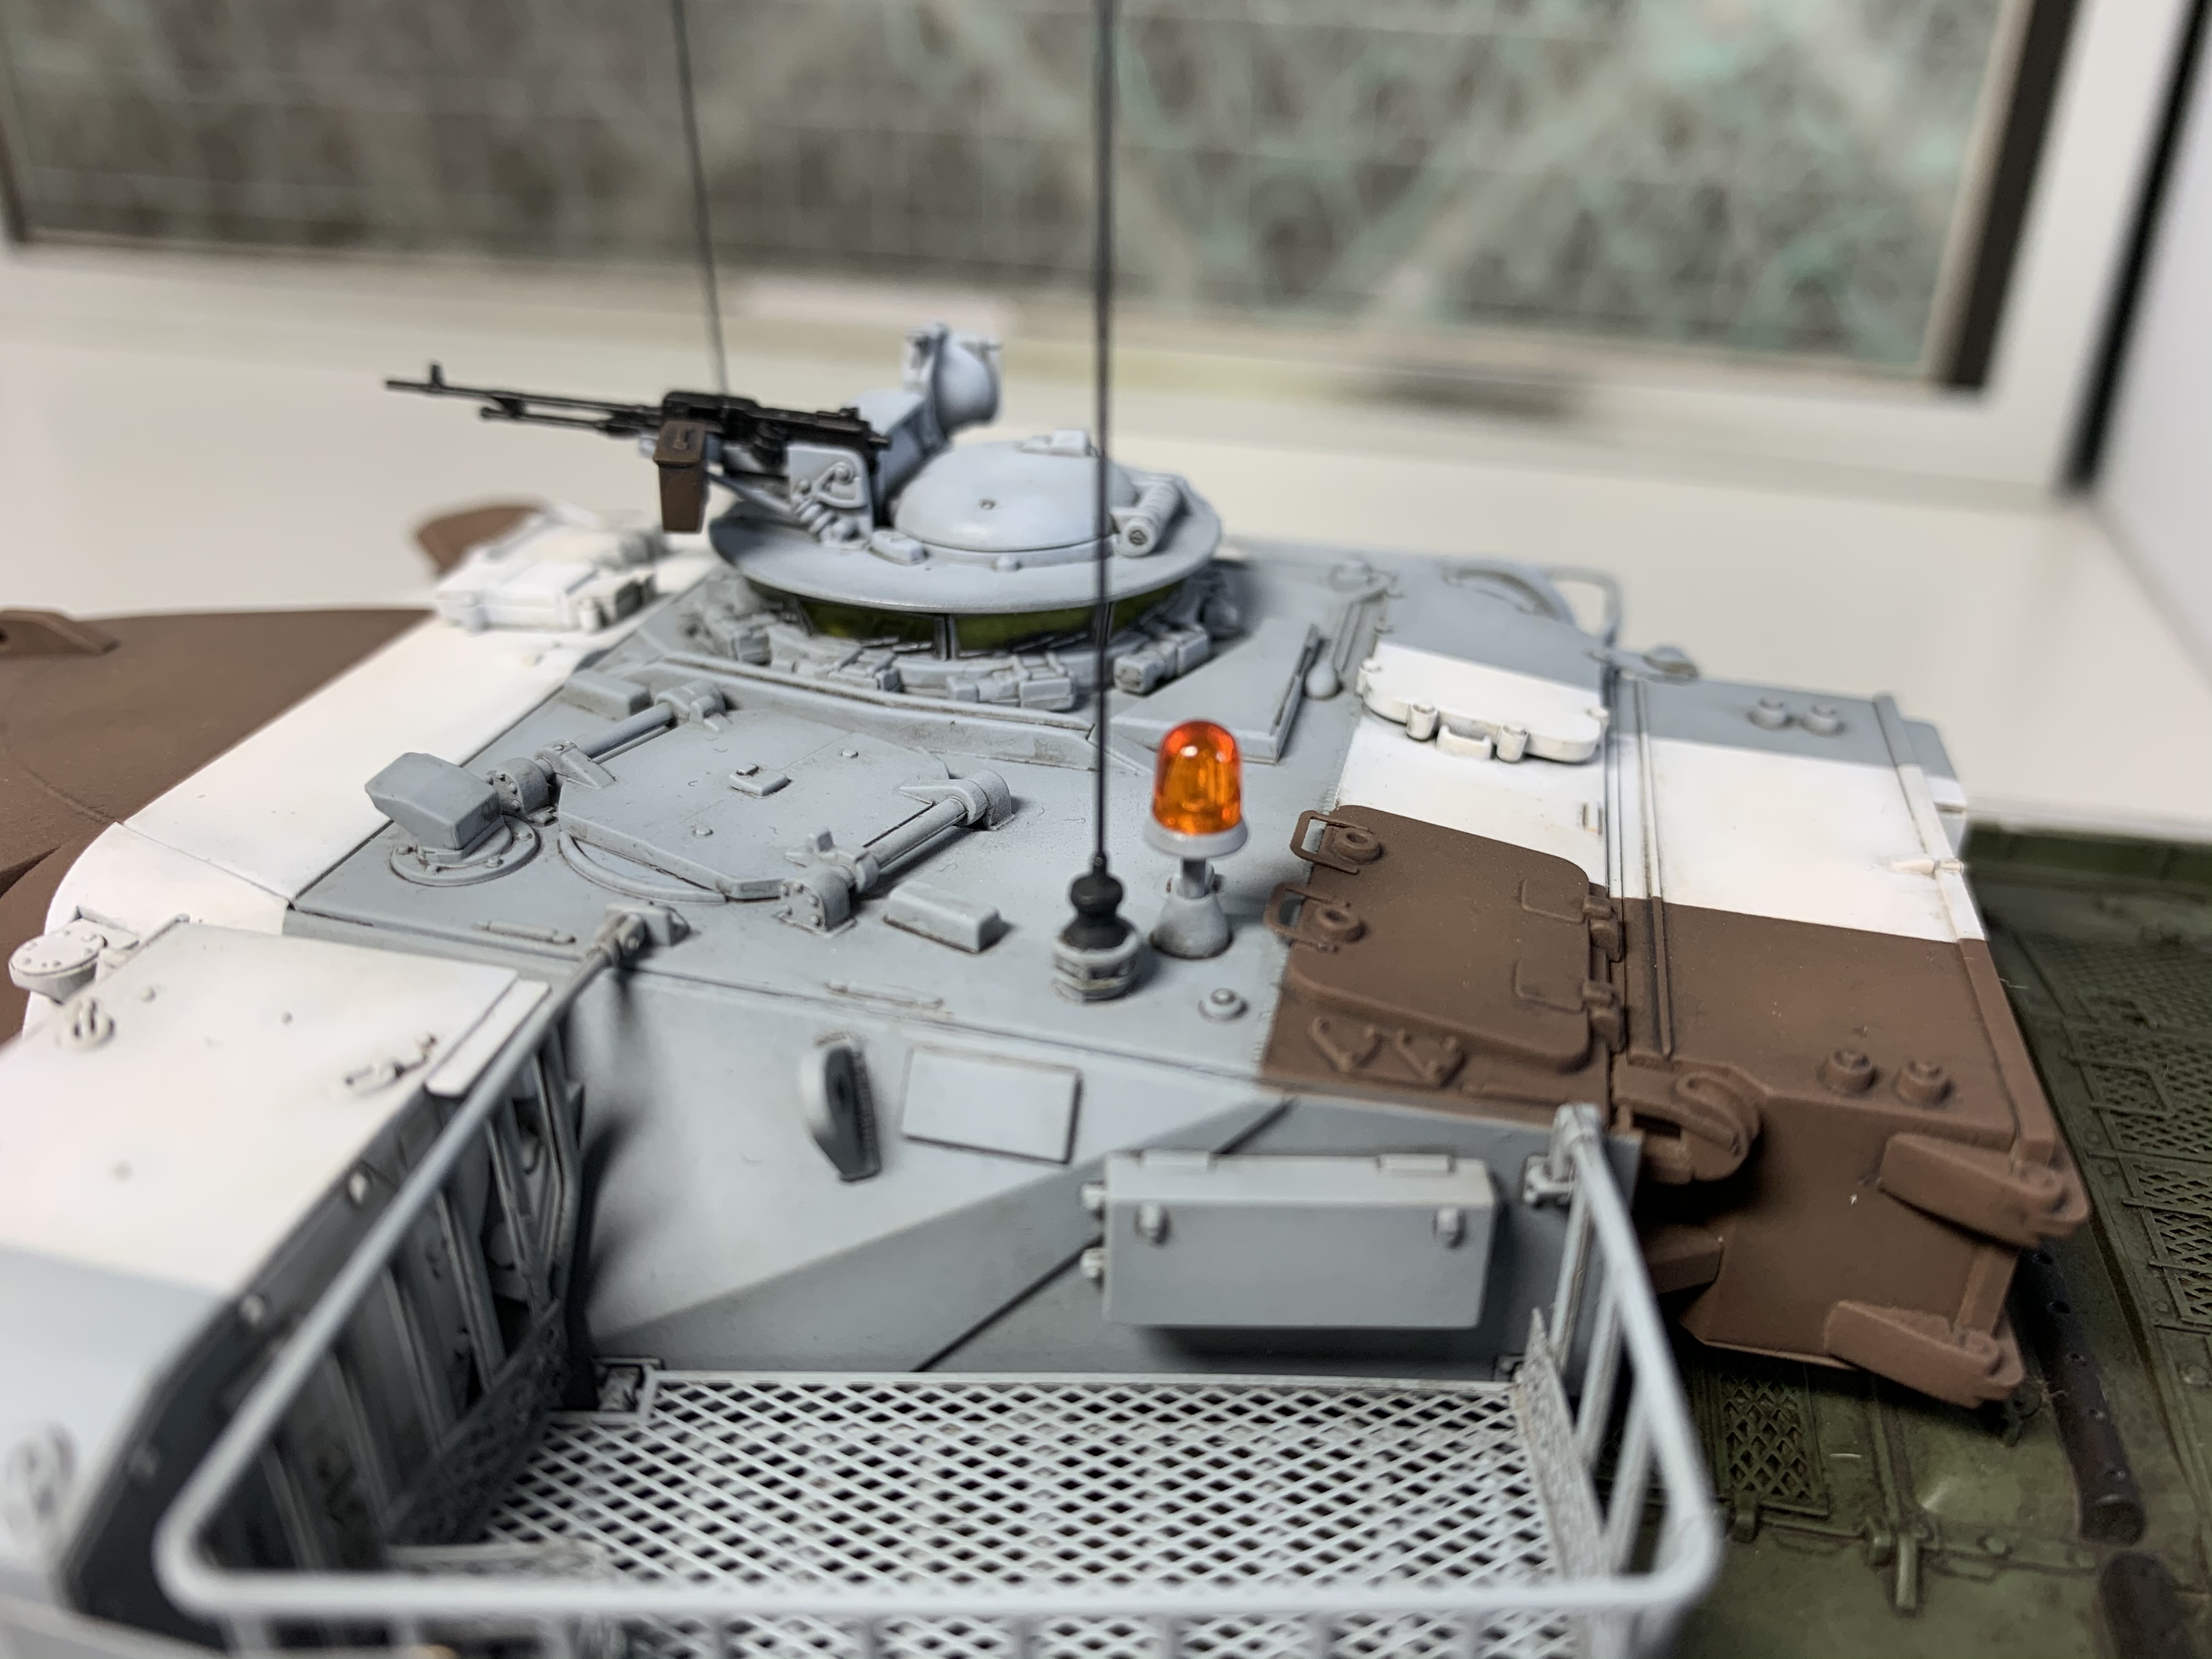
The ABAs (antenna base assemblies) are the small round bits the actual antenna's slide into which are mounted 1 on top of those boxes and the 2nd is just to the rear of the loaders hatch. They are black in colour, and you can get away with any Matt black for those. On the gun tanks they had 2 per turret and on the Sqn leaders tank 0B he would have 3 and likewise 3 on 0C the Sqn 2i/c tank (which was also usually the dozer tank in Chieftains )
iwatajim

Joined: December 15, 2008
KitMaker: 246 posts
Armorama: 171 posts

Posted: Sunday, September 13, 2020 - 10:20 AM UTC
Thanks Phil.
Thanks John. Thatís a relief, should be a fairly easy job. I can see from the pics on page 1 of the thread what you mean.
And I meant to say I used Windsor and Newton Galeria Acrylic Medium Matt varnish, mixed 50:50 with Tamiya x20a thinner for the flat coat. Sprayed at around 15psi. This stuff is very forgiving, with no frosting even when too much put down at once. Not sure about weathering over it, but as a final stage it is great. Need to experiment with it some more.
Thanks again, Jim.
iwatajim

Joined: December 15, 2008
KitMaker: 246 posts
Armorama: 171 posts

Posted: Monday, September 14, 2020 - 11:25 PM UTC
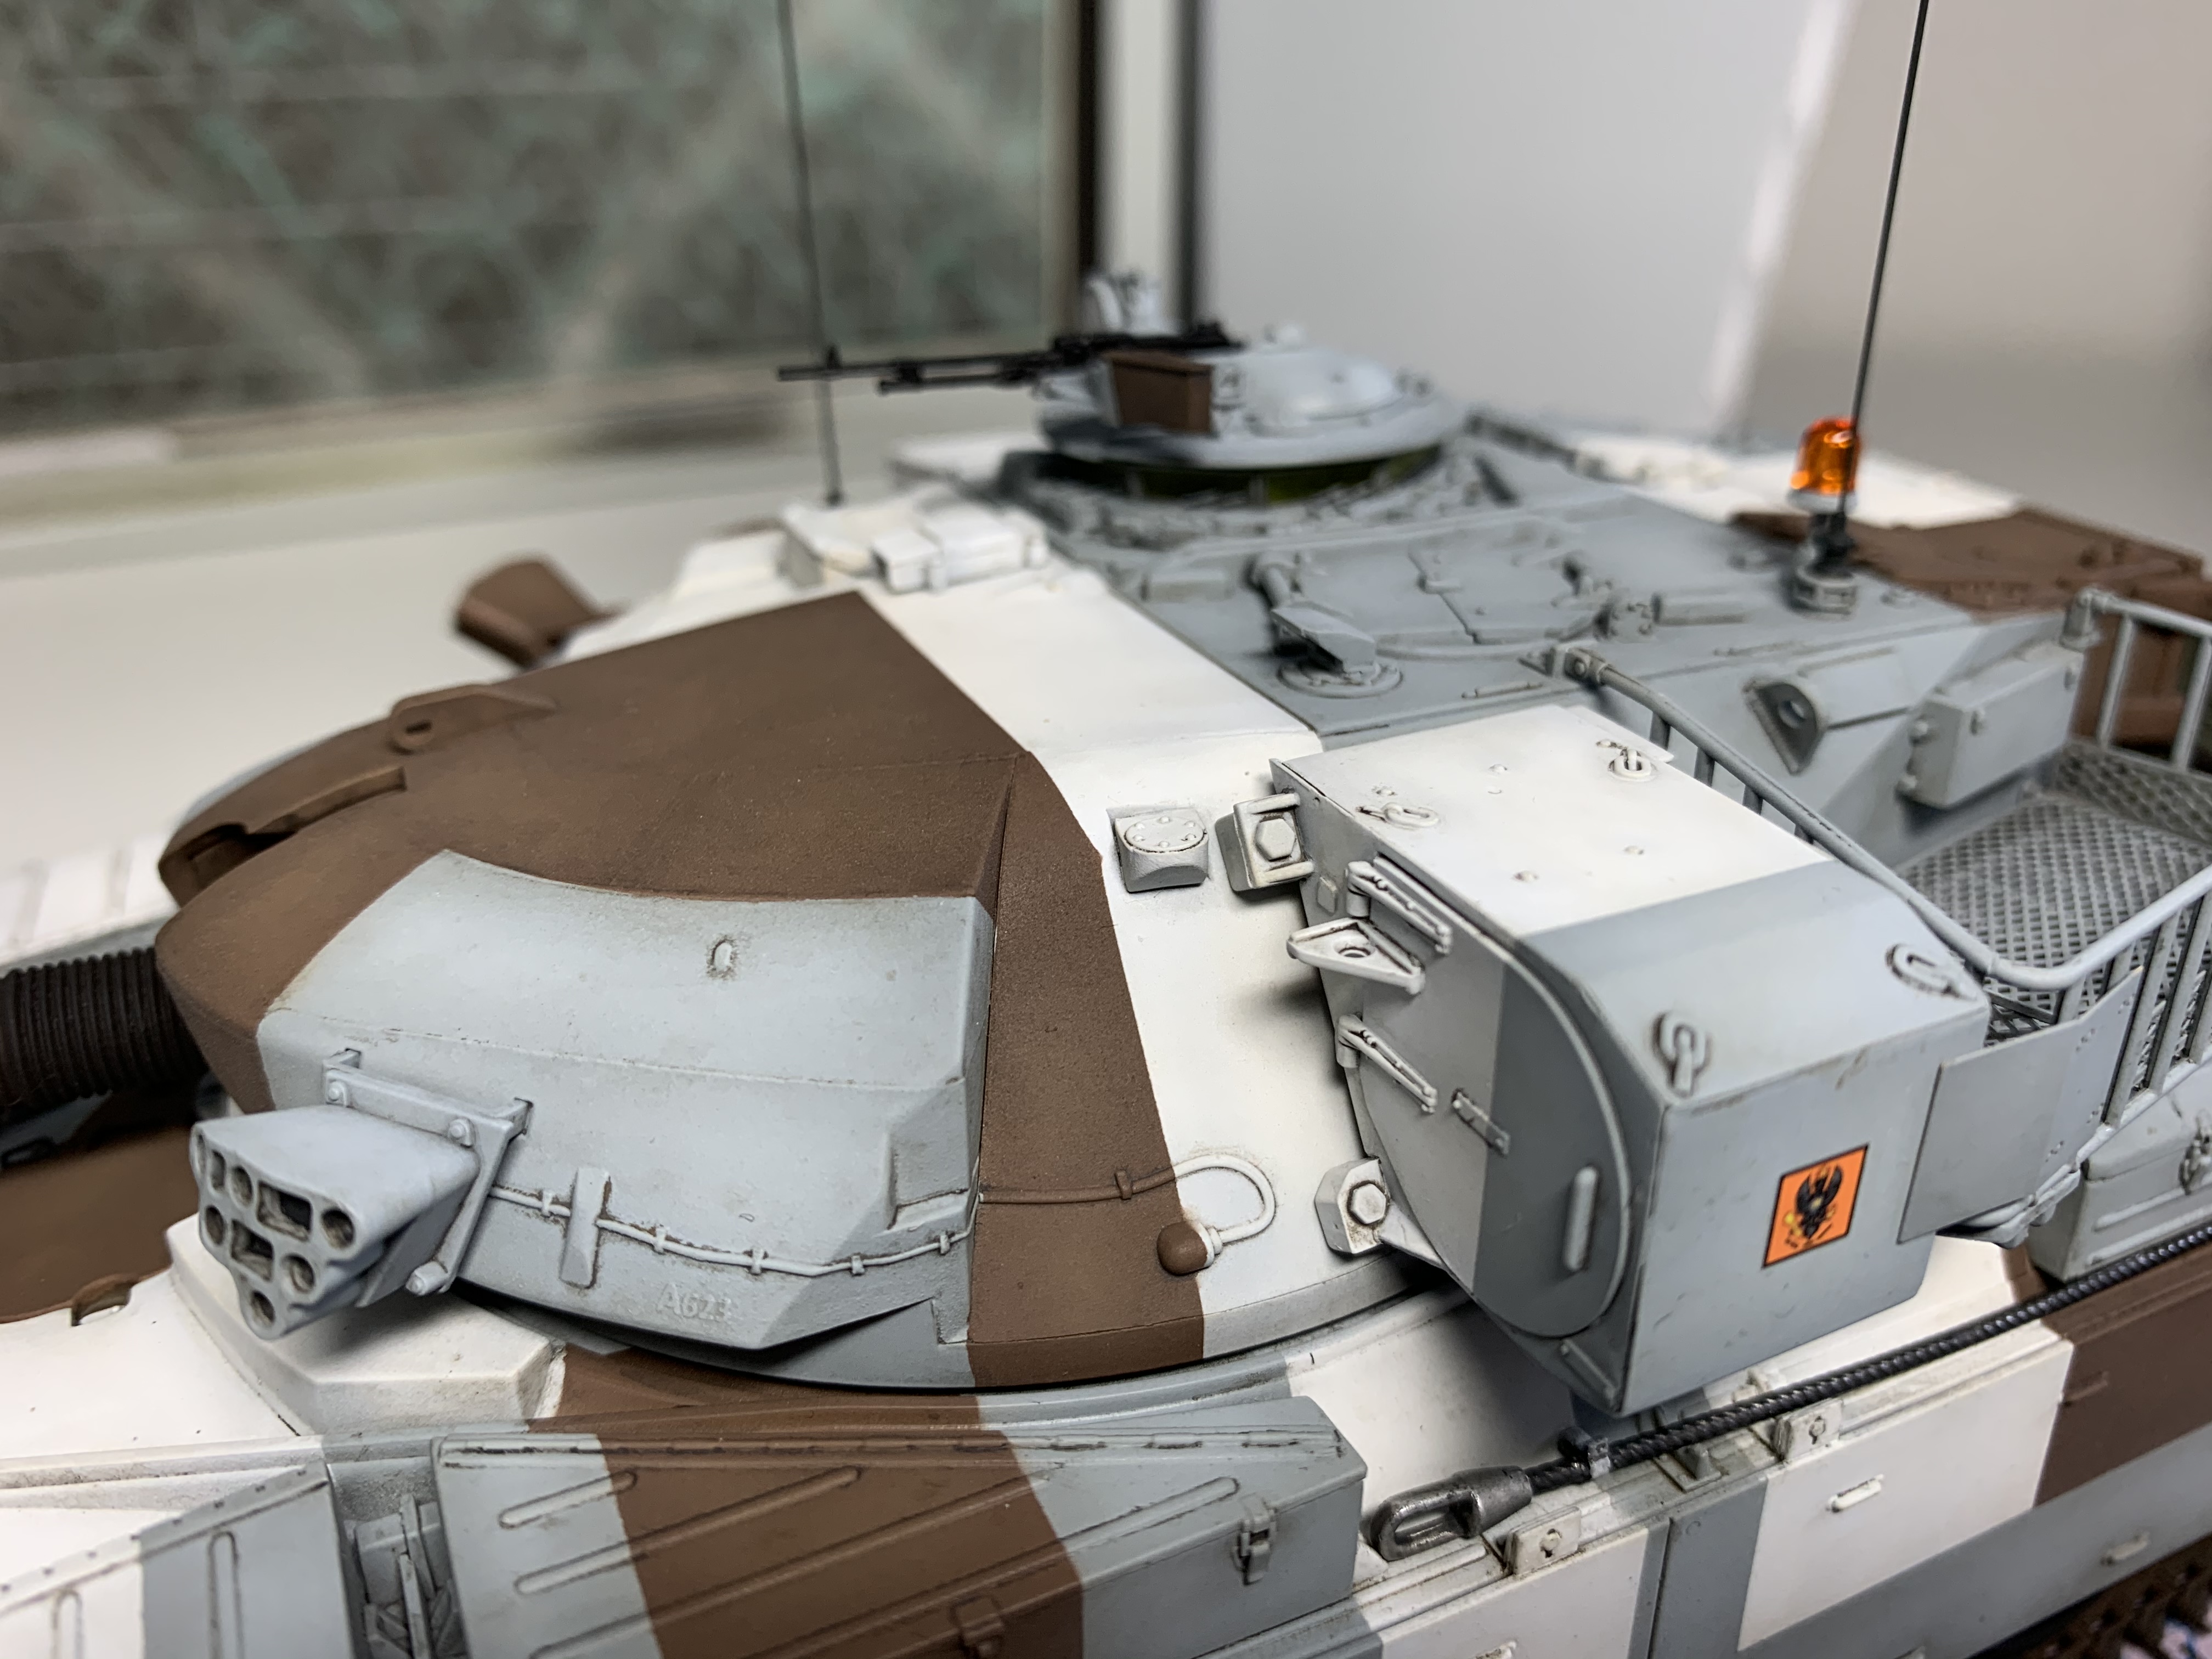
Ok, so I have painted the cable ends, I went with humbrol enamel 27002 polished aluminium, which is a lovely and shiny colour, then I matt coated it then a wash with the starship filth, hopefully a better representation of the material used. And I painted the antenna bases nato black. Most of the turret is together now. I have just dry fitted the orange beacon until I decide how short to go, itís a shame as it looks good high! And the tracks are on.
Just a few progress pics.
Getting there!

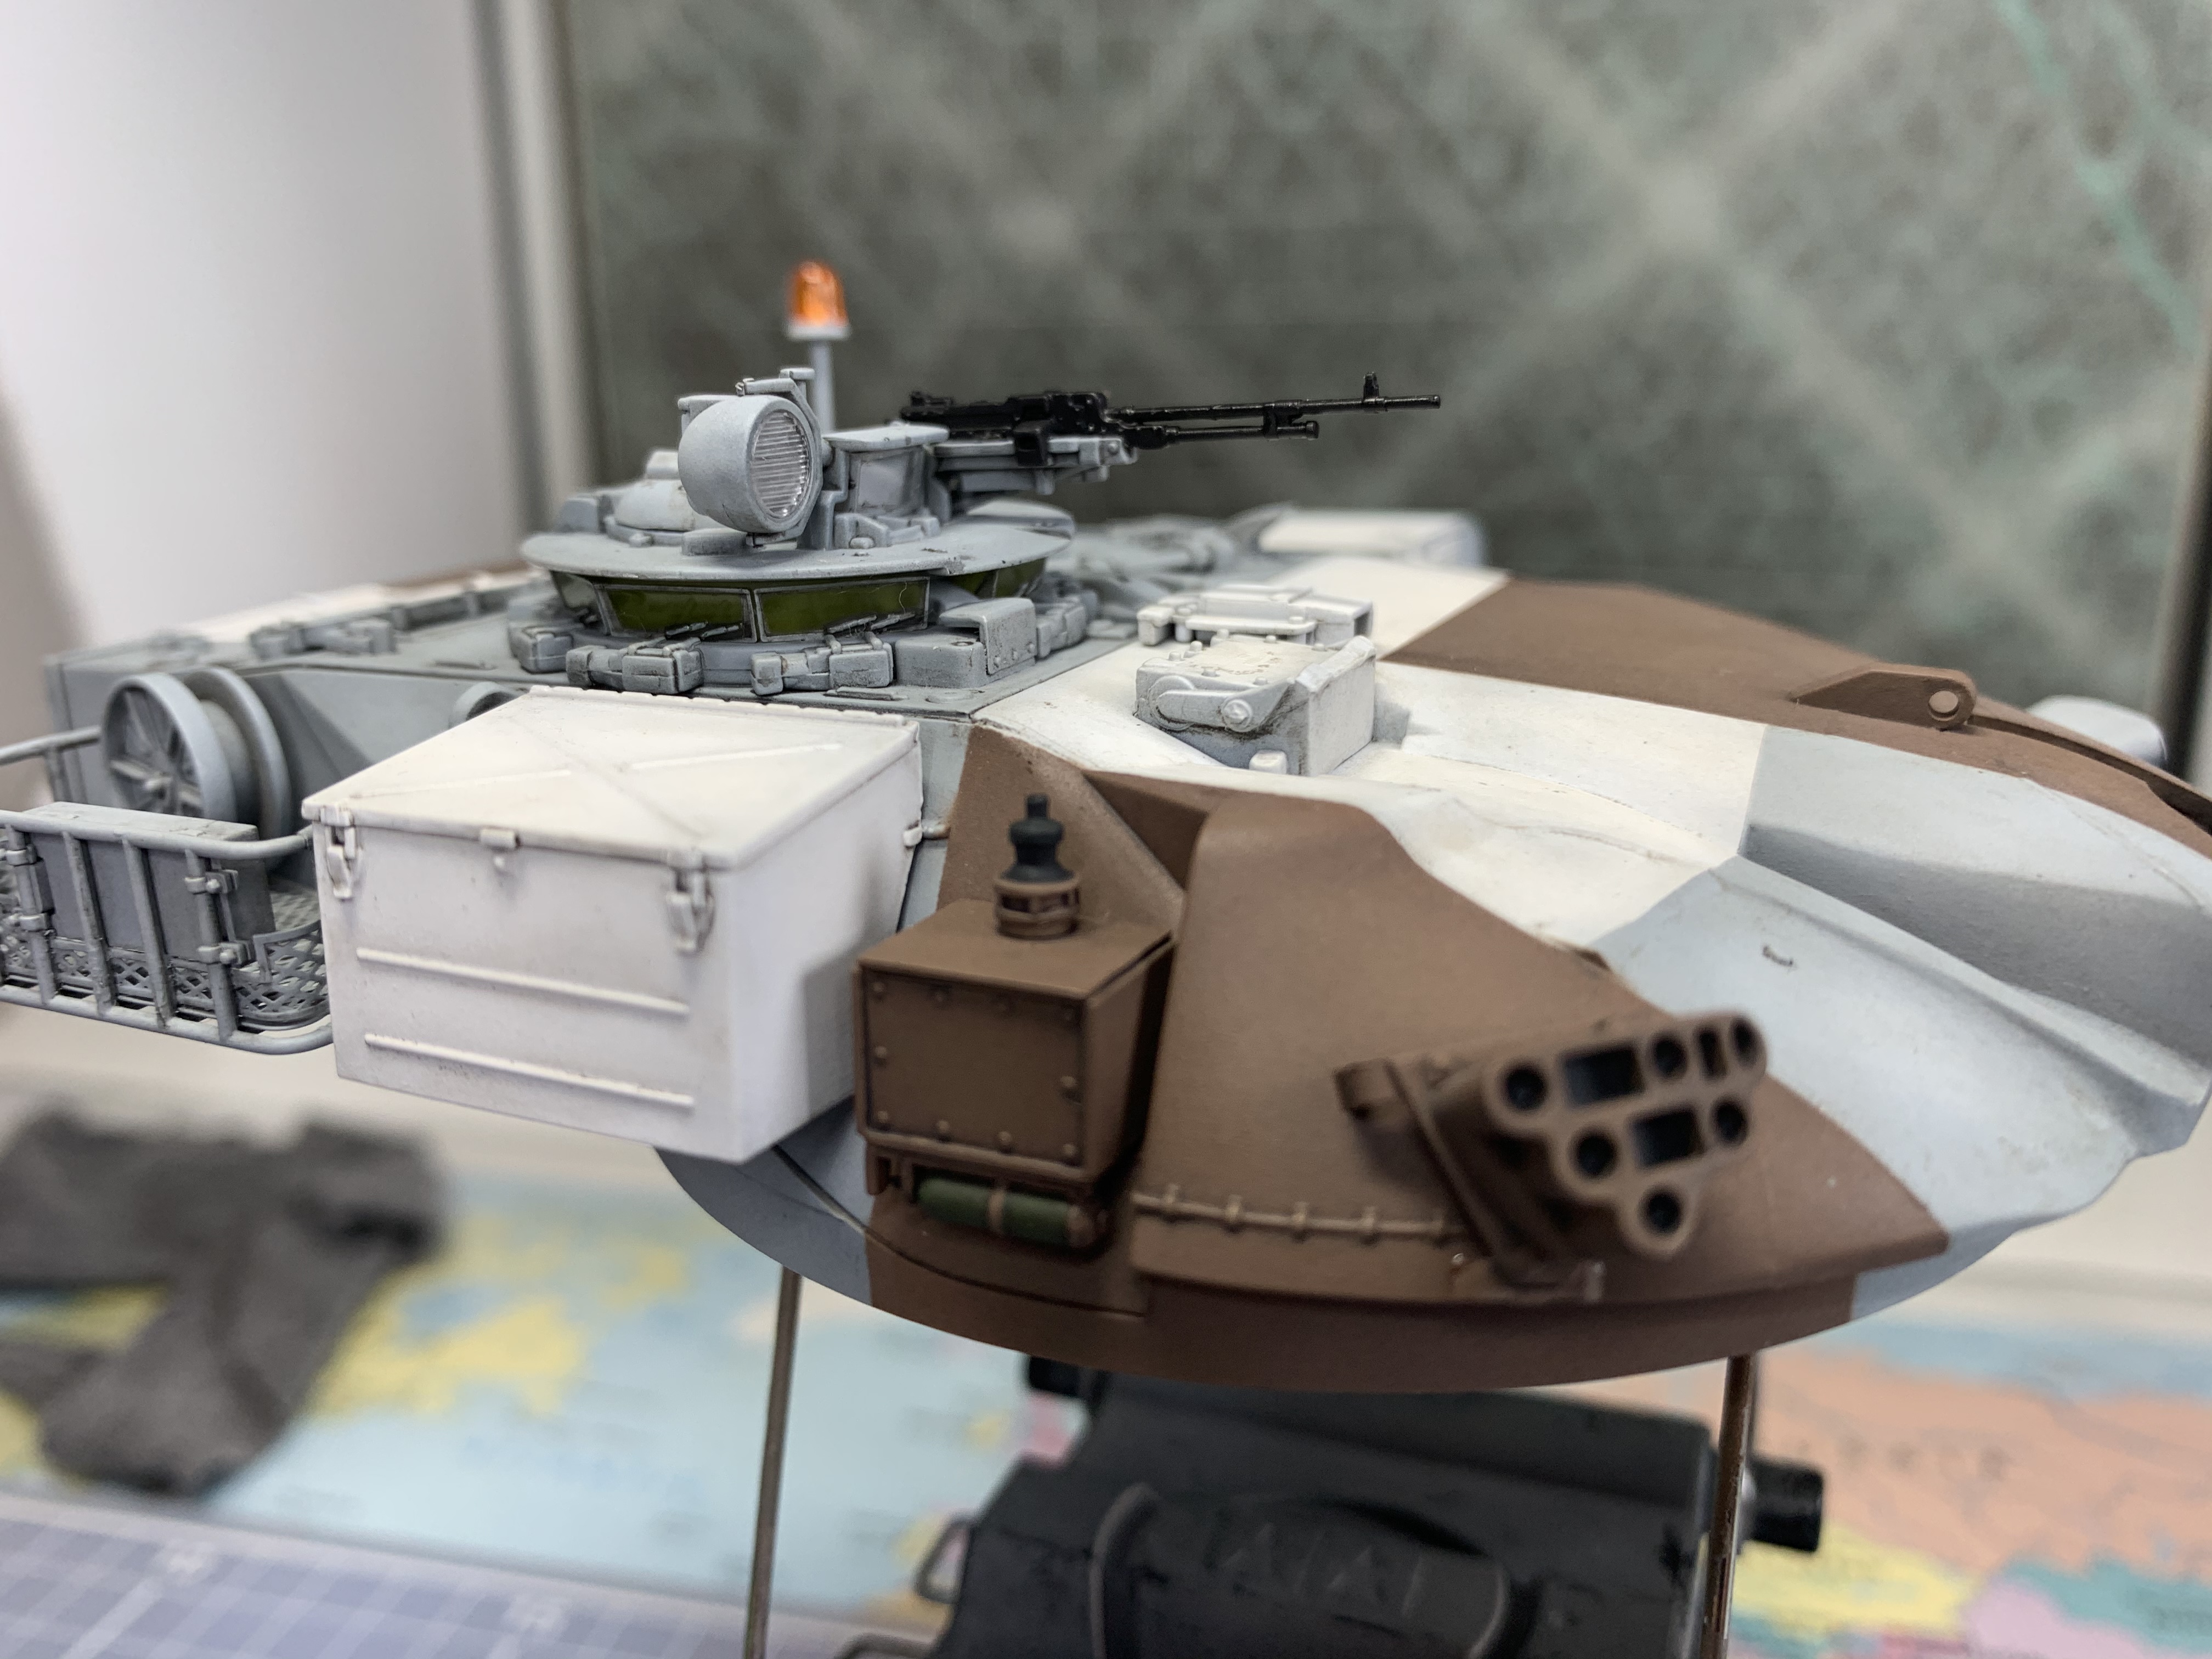
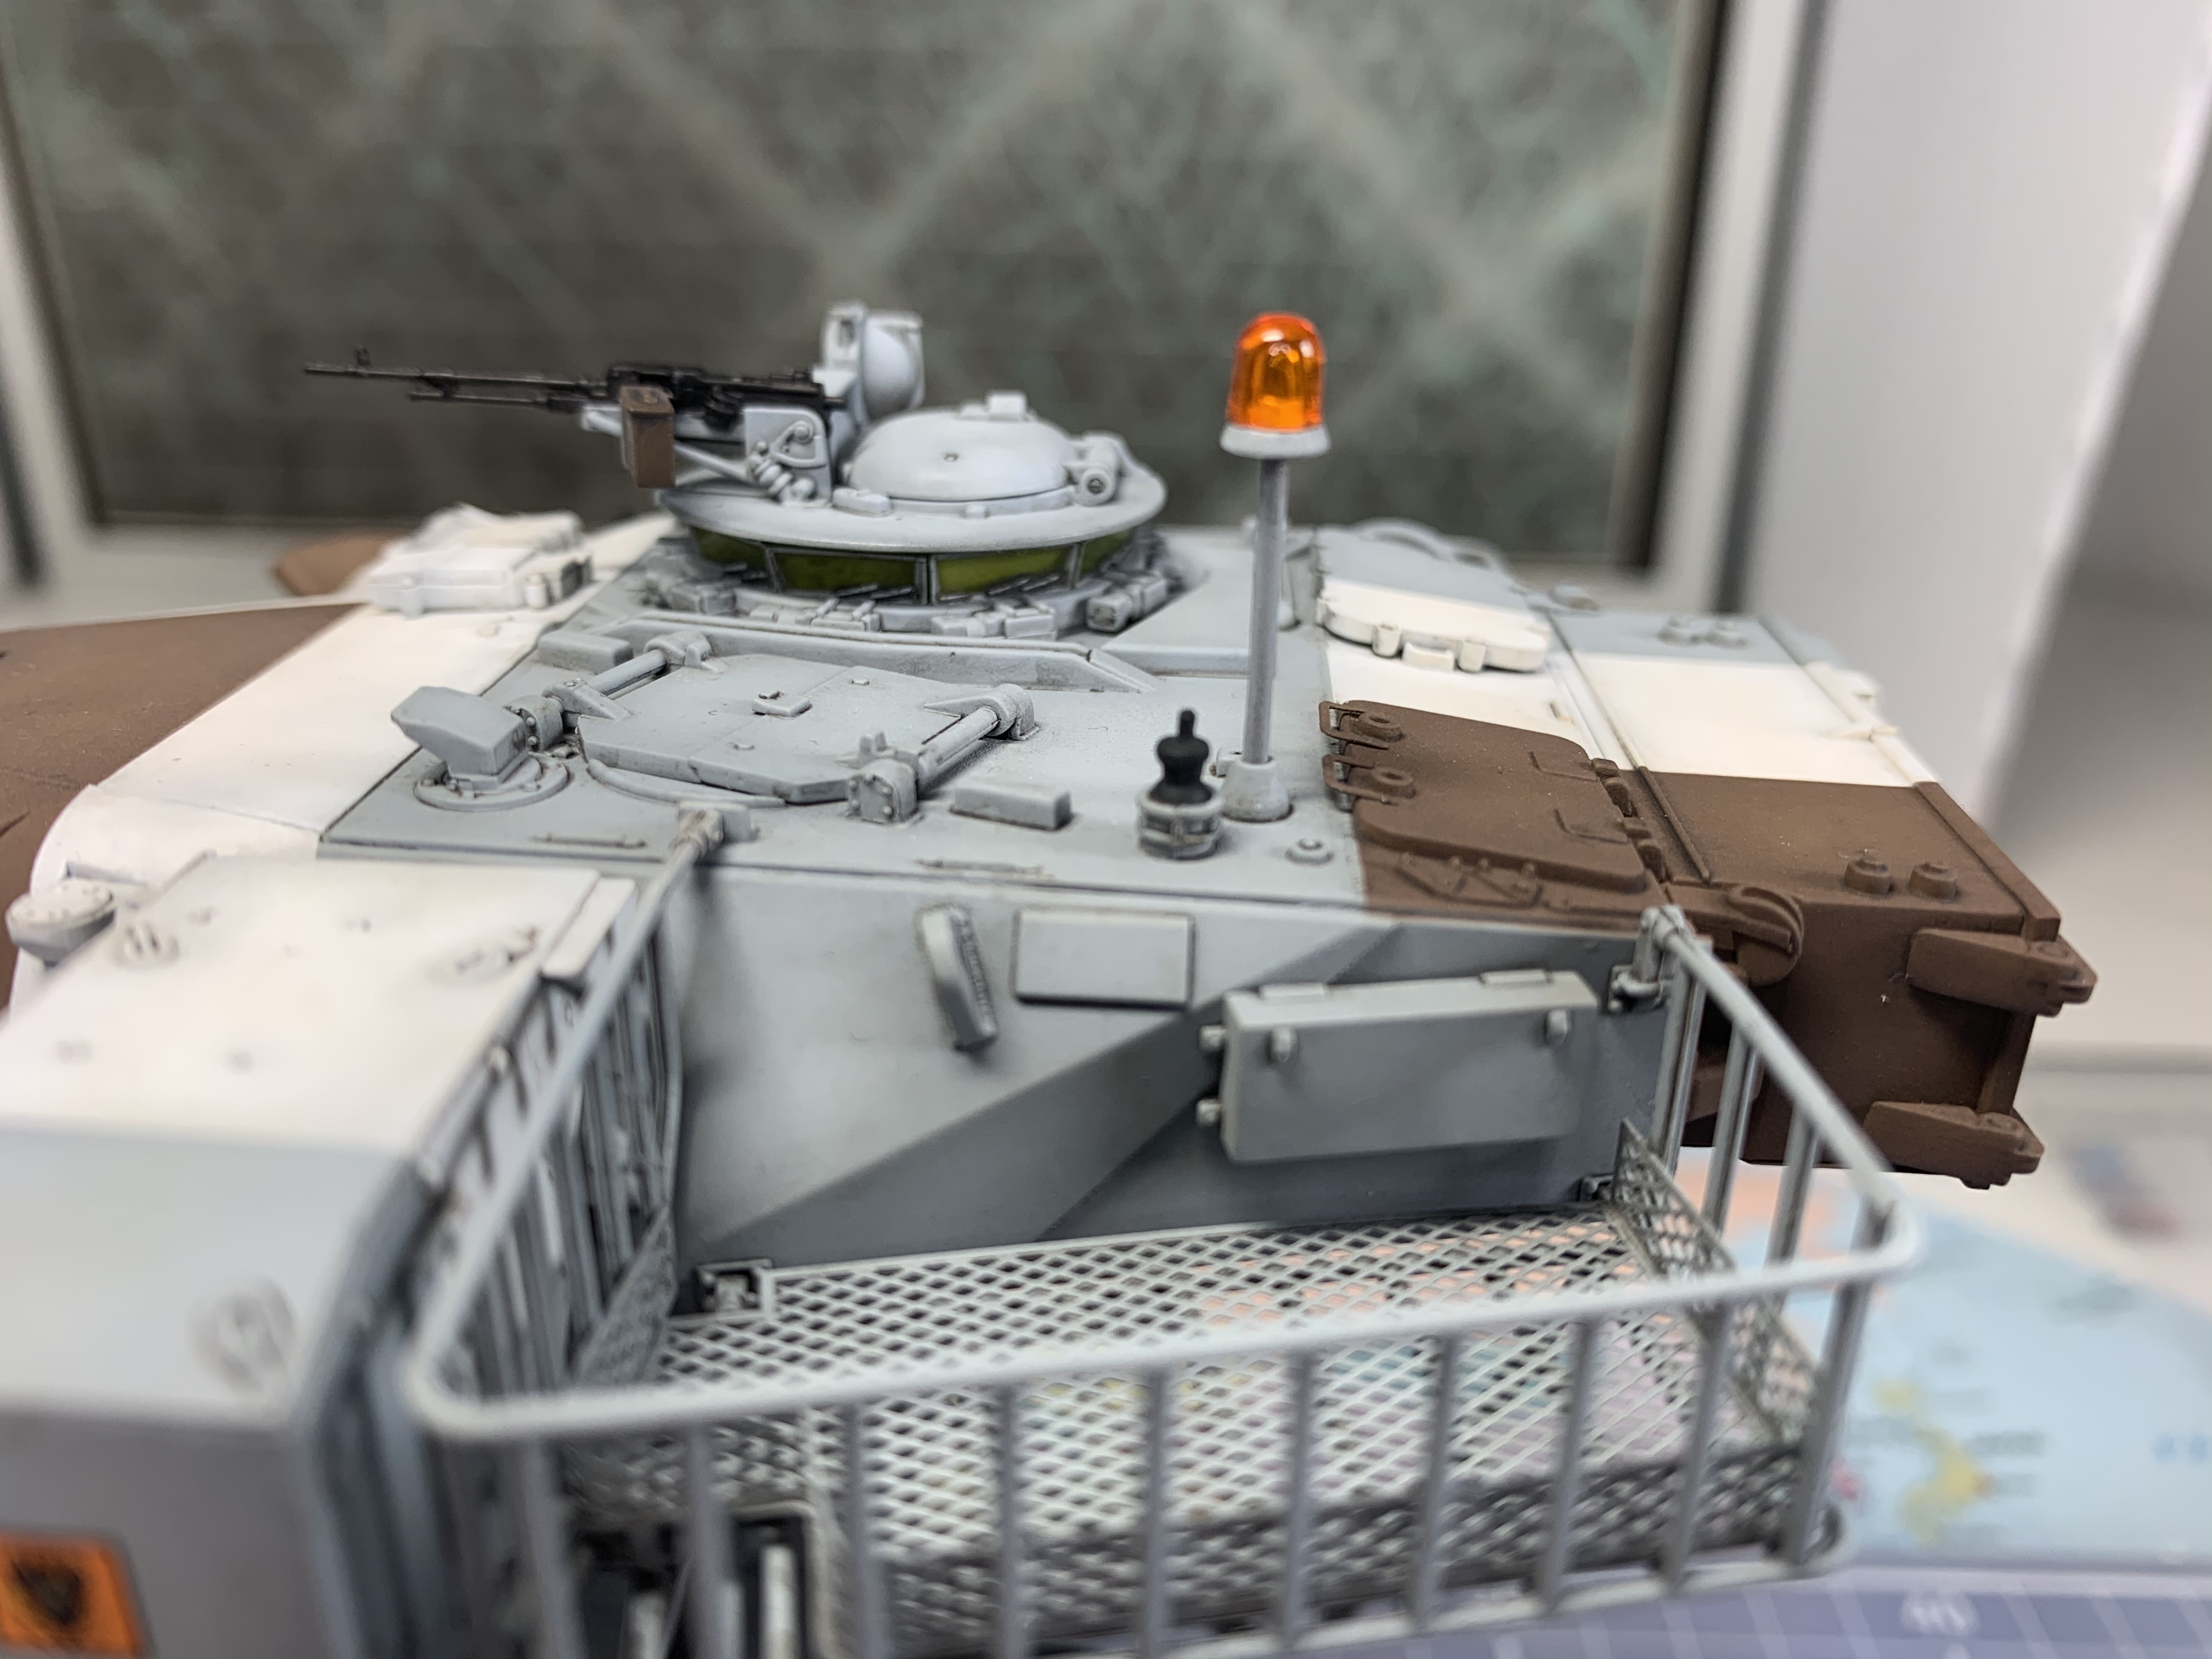
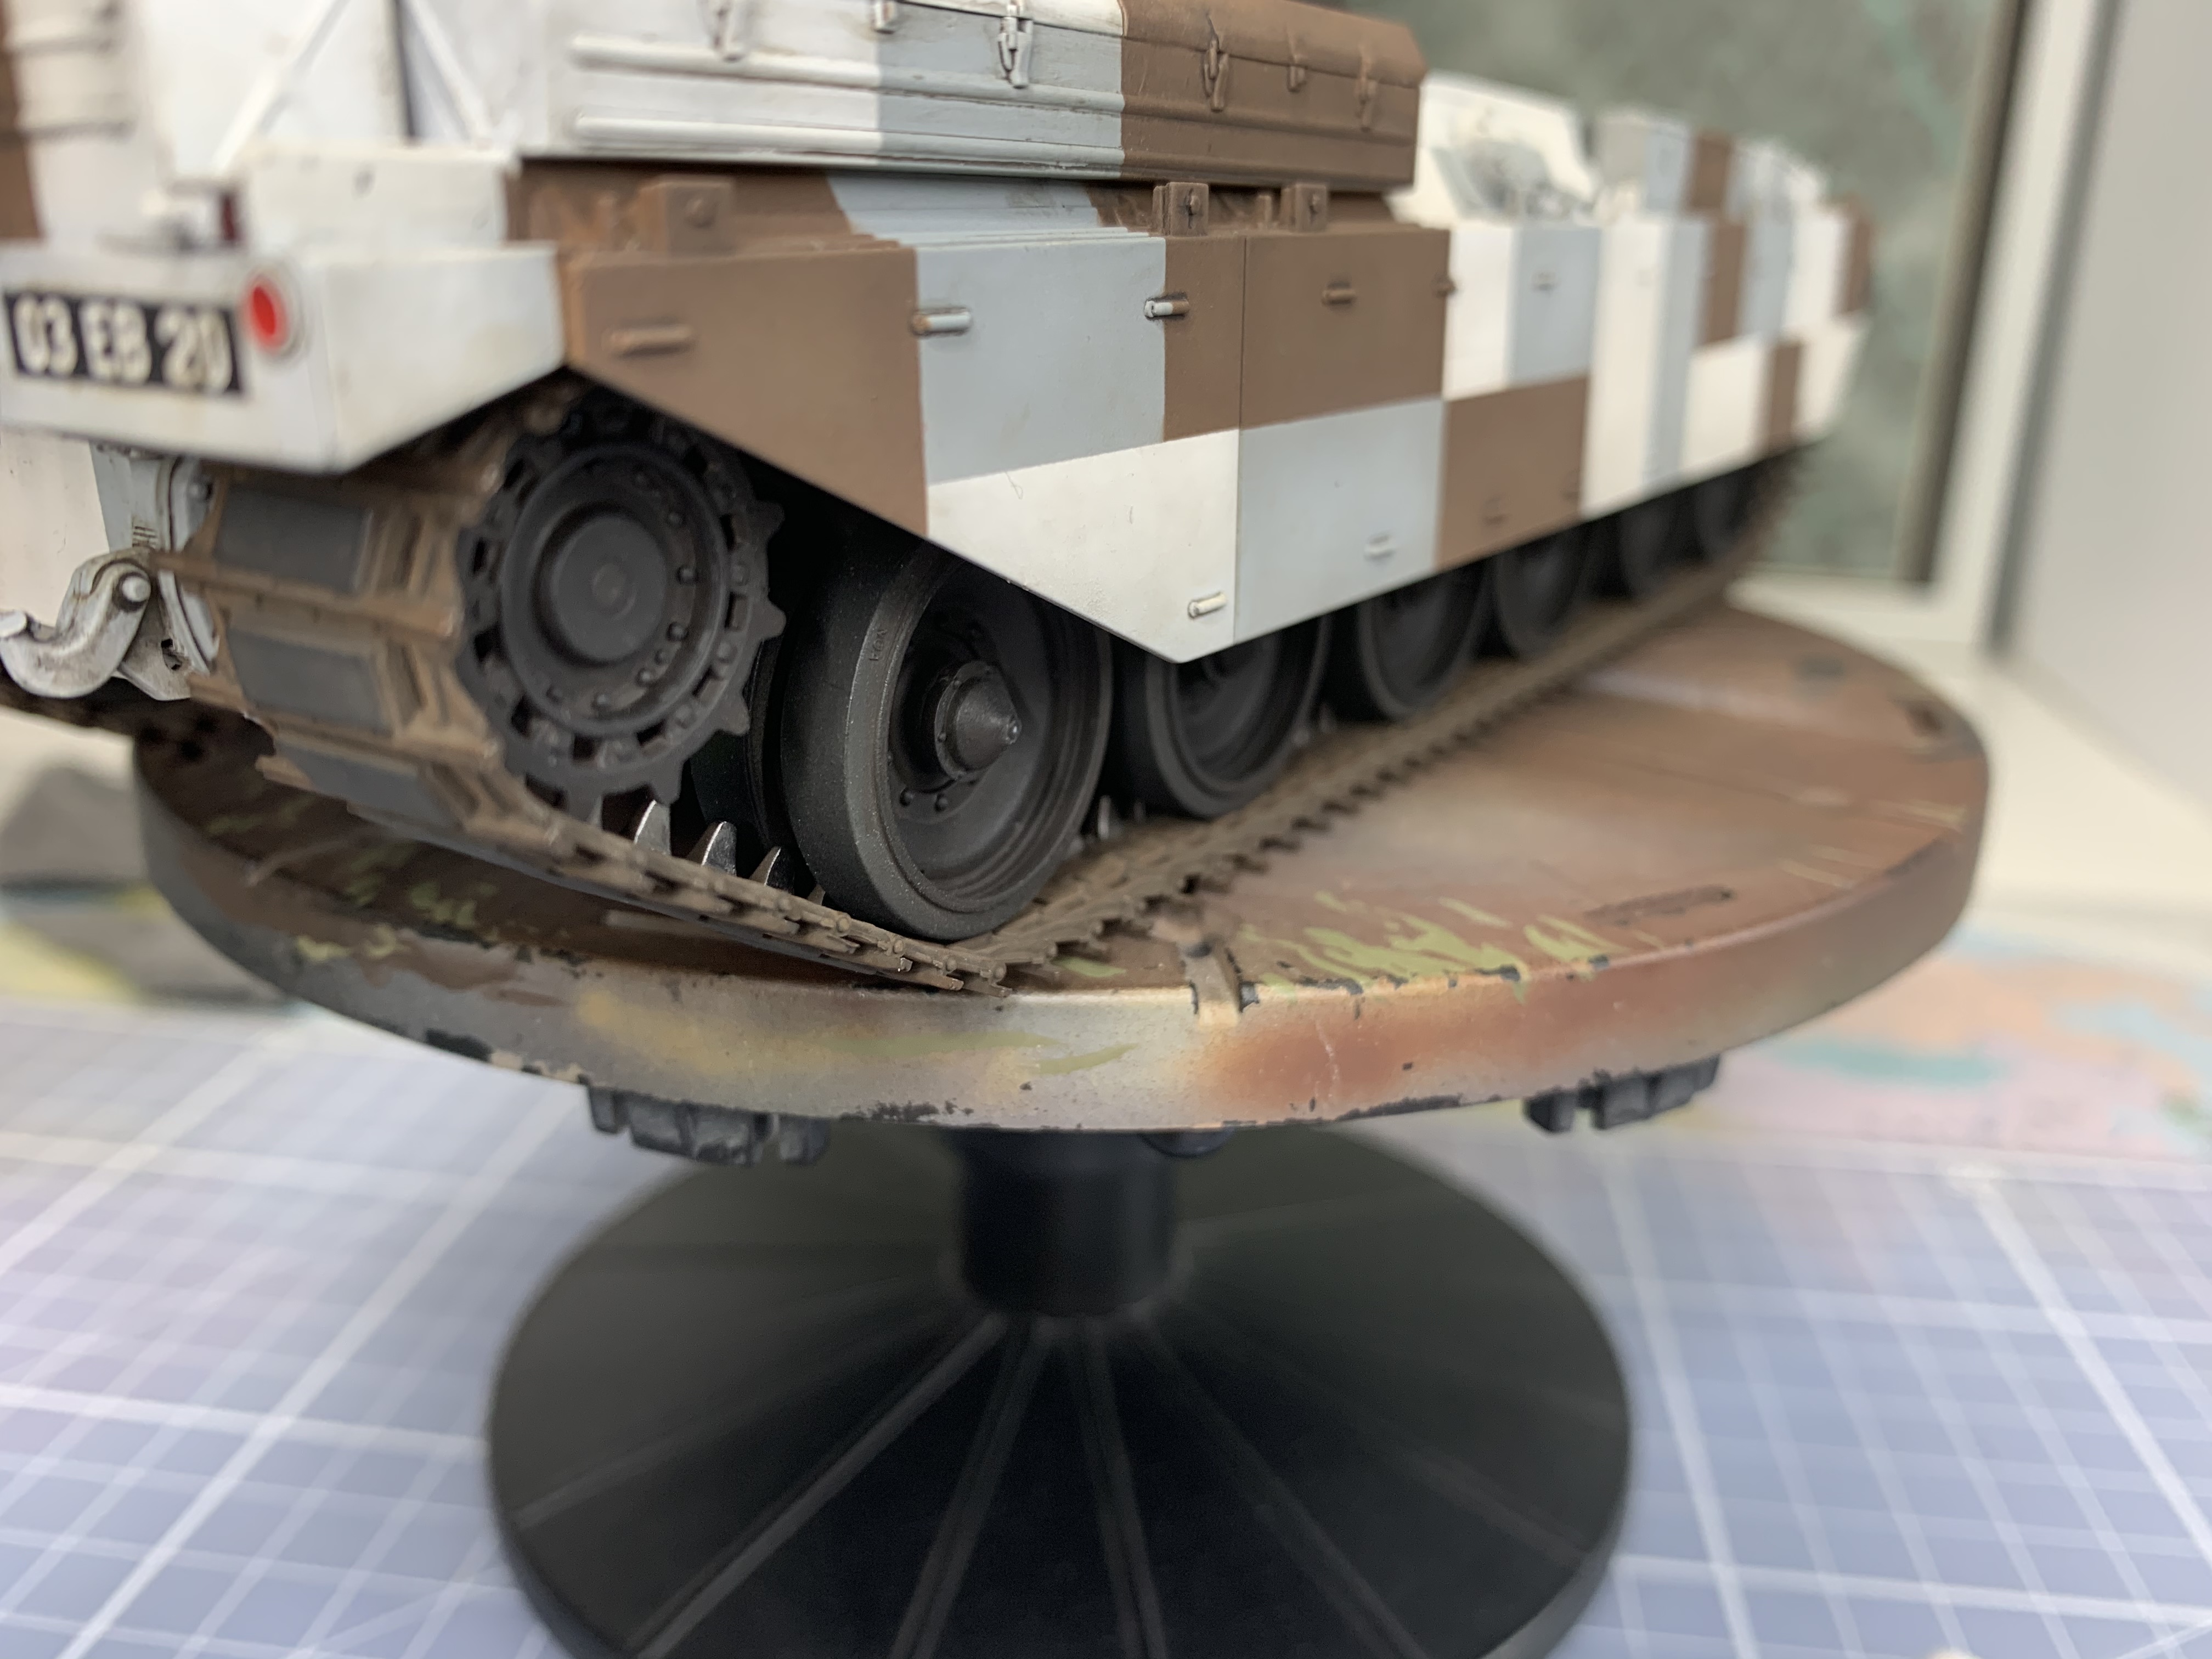
Just a few progress pics.
Getting there!


Johnnych01

Joined: June 29, 2019
KitMaker: 604 posts
Armorama: 506 posts

Posted: Tuesday, September 15, 2020 - 12:34 AM UTC
Hi Jim, great work on the cables and ABA's - both spot on. Tracks and running gear also look great, really tidy work.
As to the amber light, best bet is to go for the bottom of the amber light on its base (not the stem ), and have it pretty much at the same level with the top of the black ABA where the antenna slots it, that will be near to the proper height matey.
Lights at the end of the tunnel now
As to the amber light, best bet is to go for the bottom of the amber light on its base (not the stem ), and have it pretty much at the same level with the top of the black ABA where the antenna slots it, that will be near to the proper height matey.
Lights at the end of the tunnel now
iwatajim

Joined: December 15, 2008
KitMaker: 246 posts
Armorama: 171 posts

Posted: Wednesday, September 16, 2020 - 11:39 PM UTC
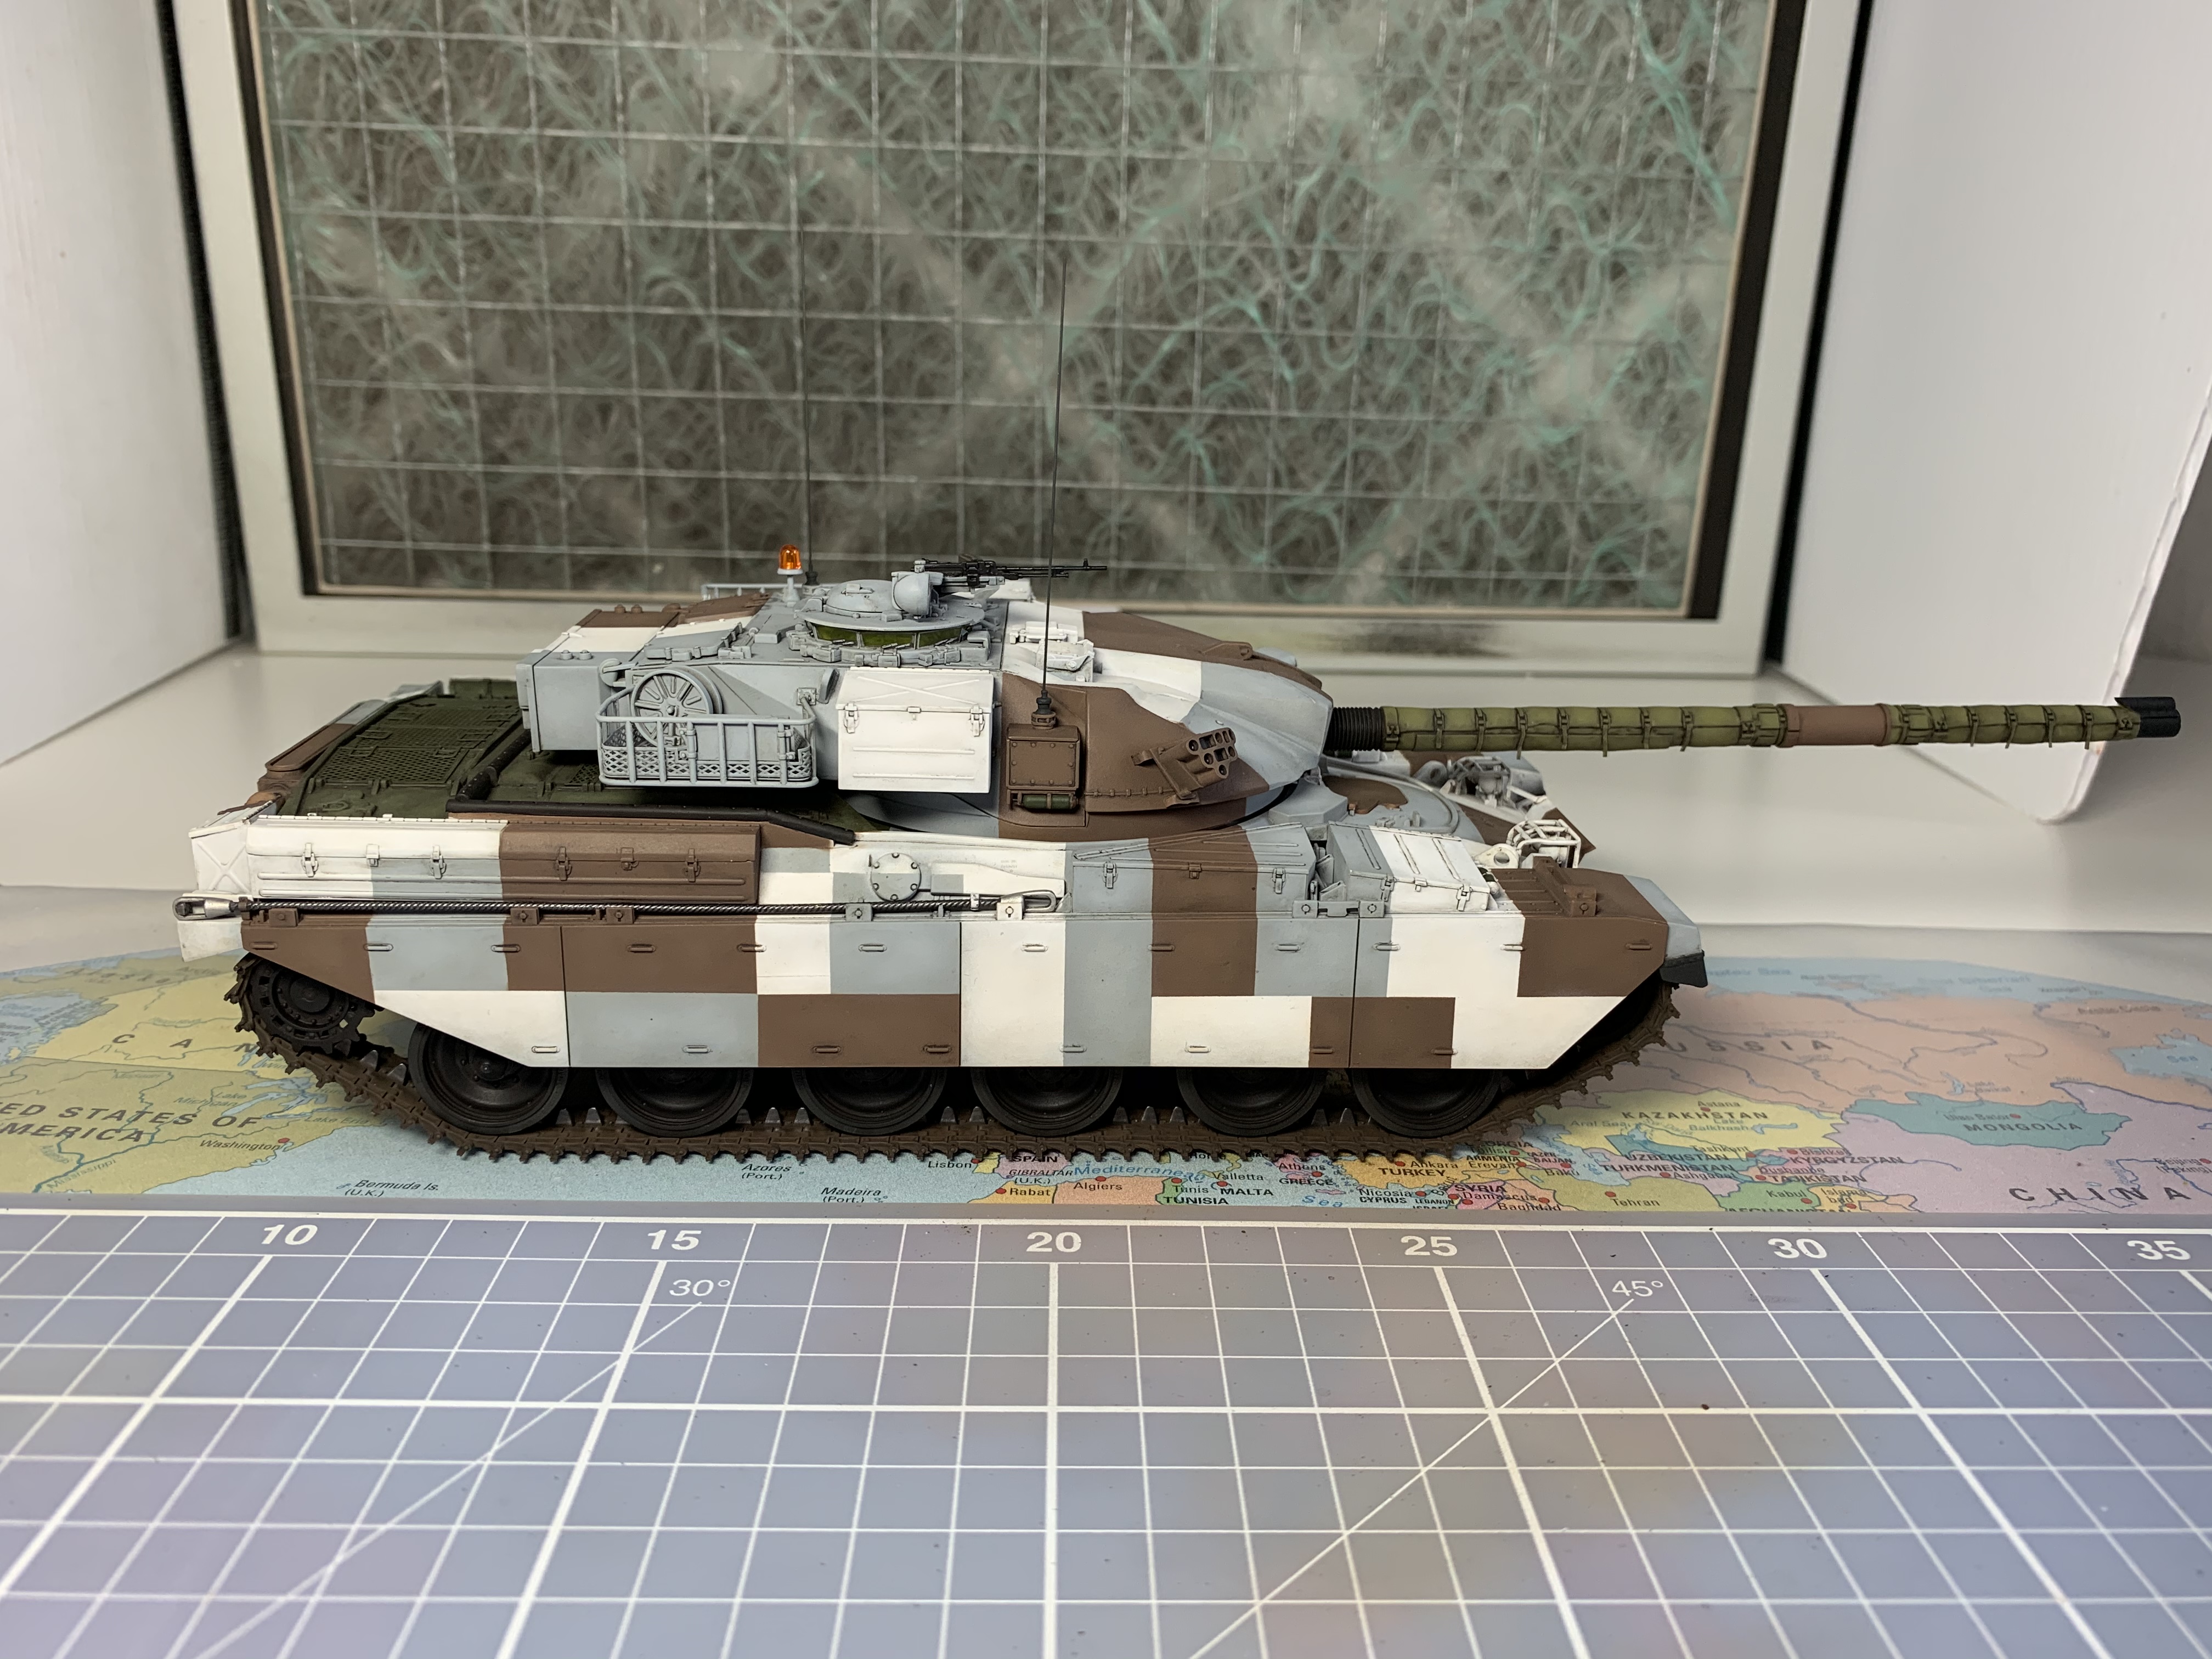
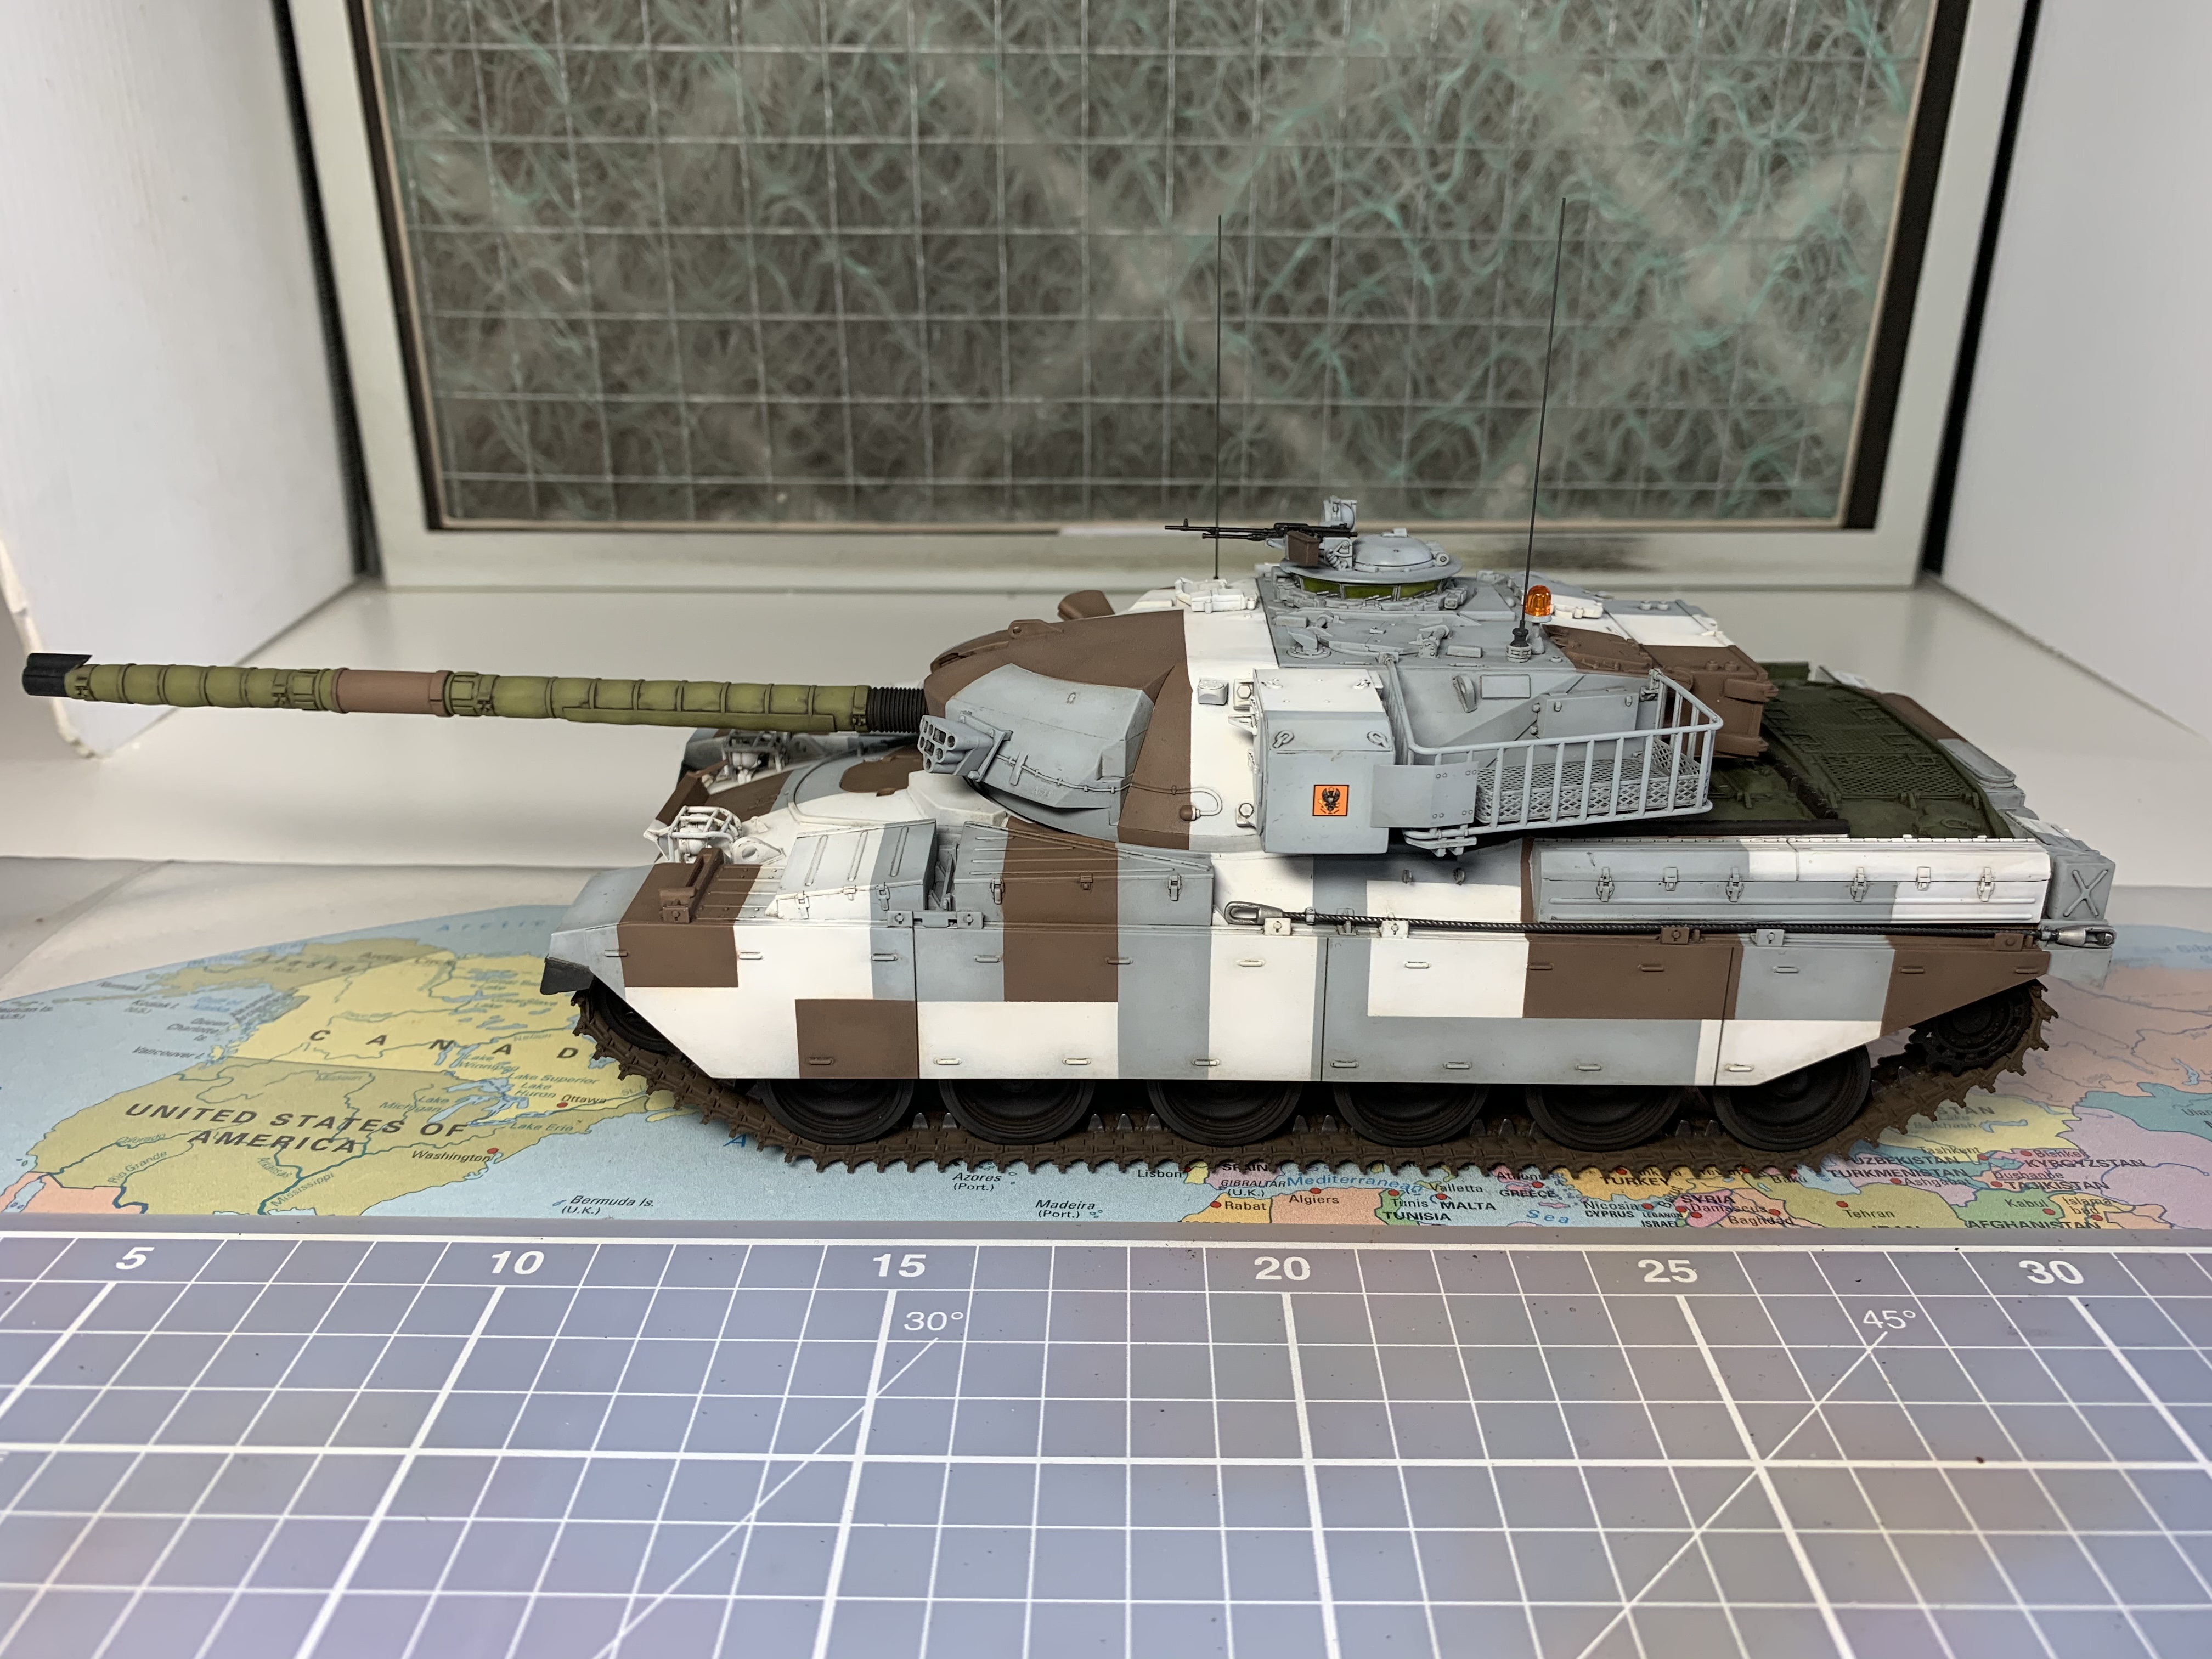
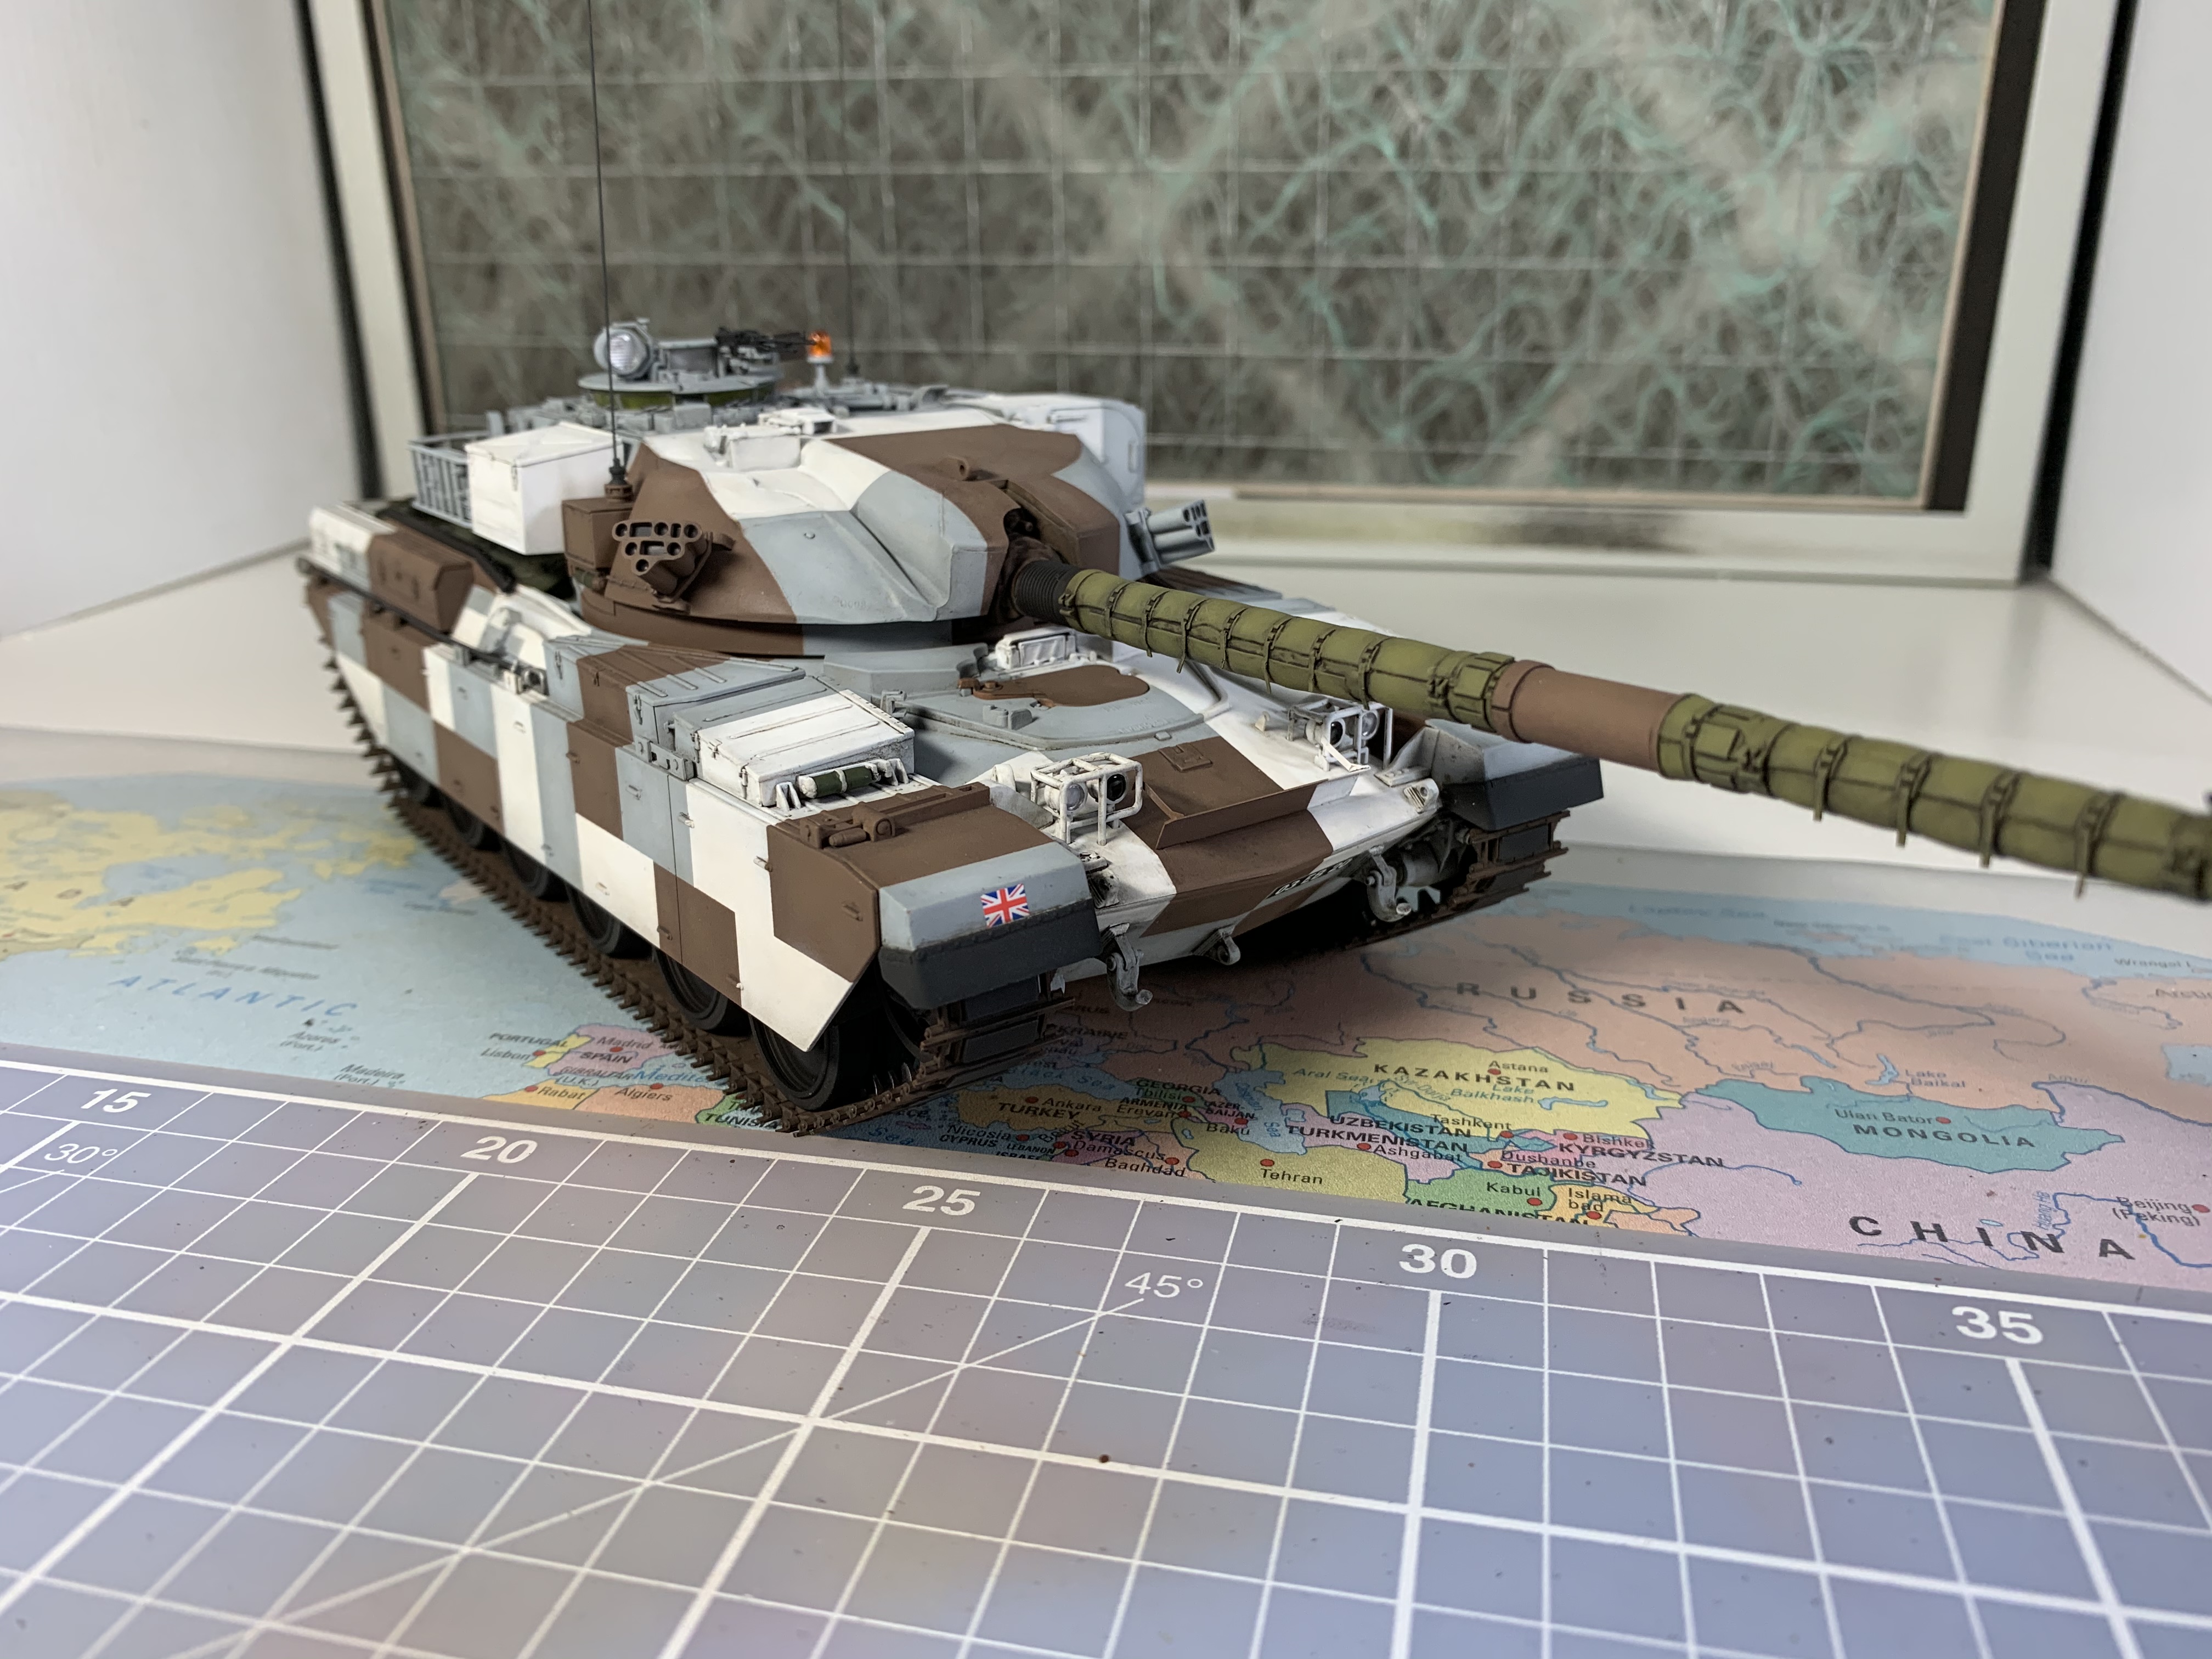
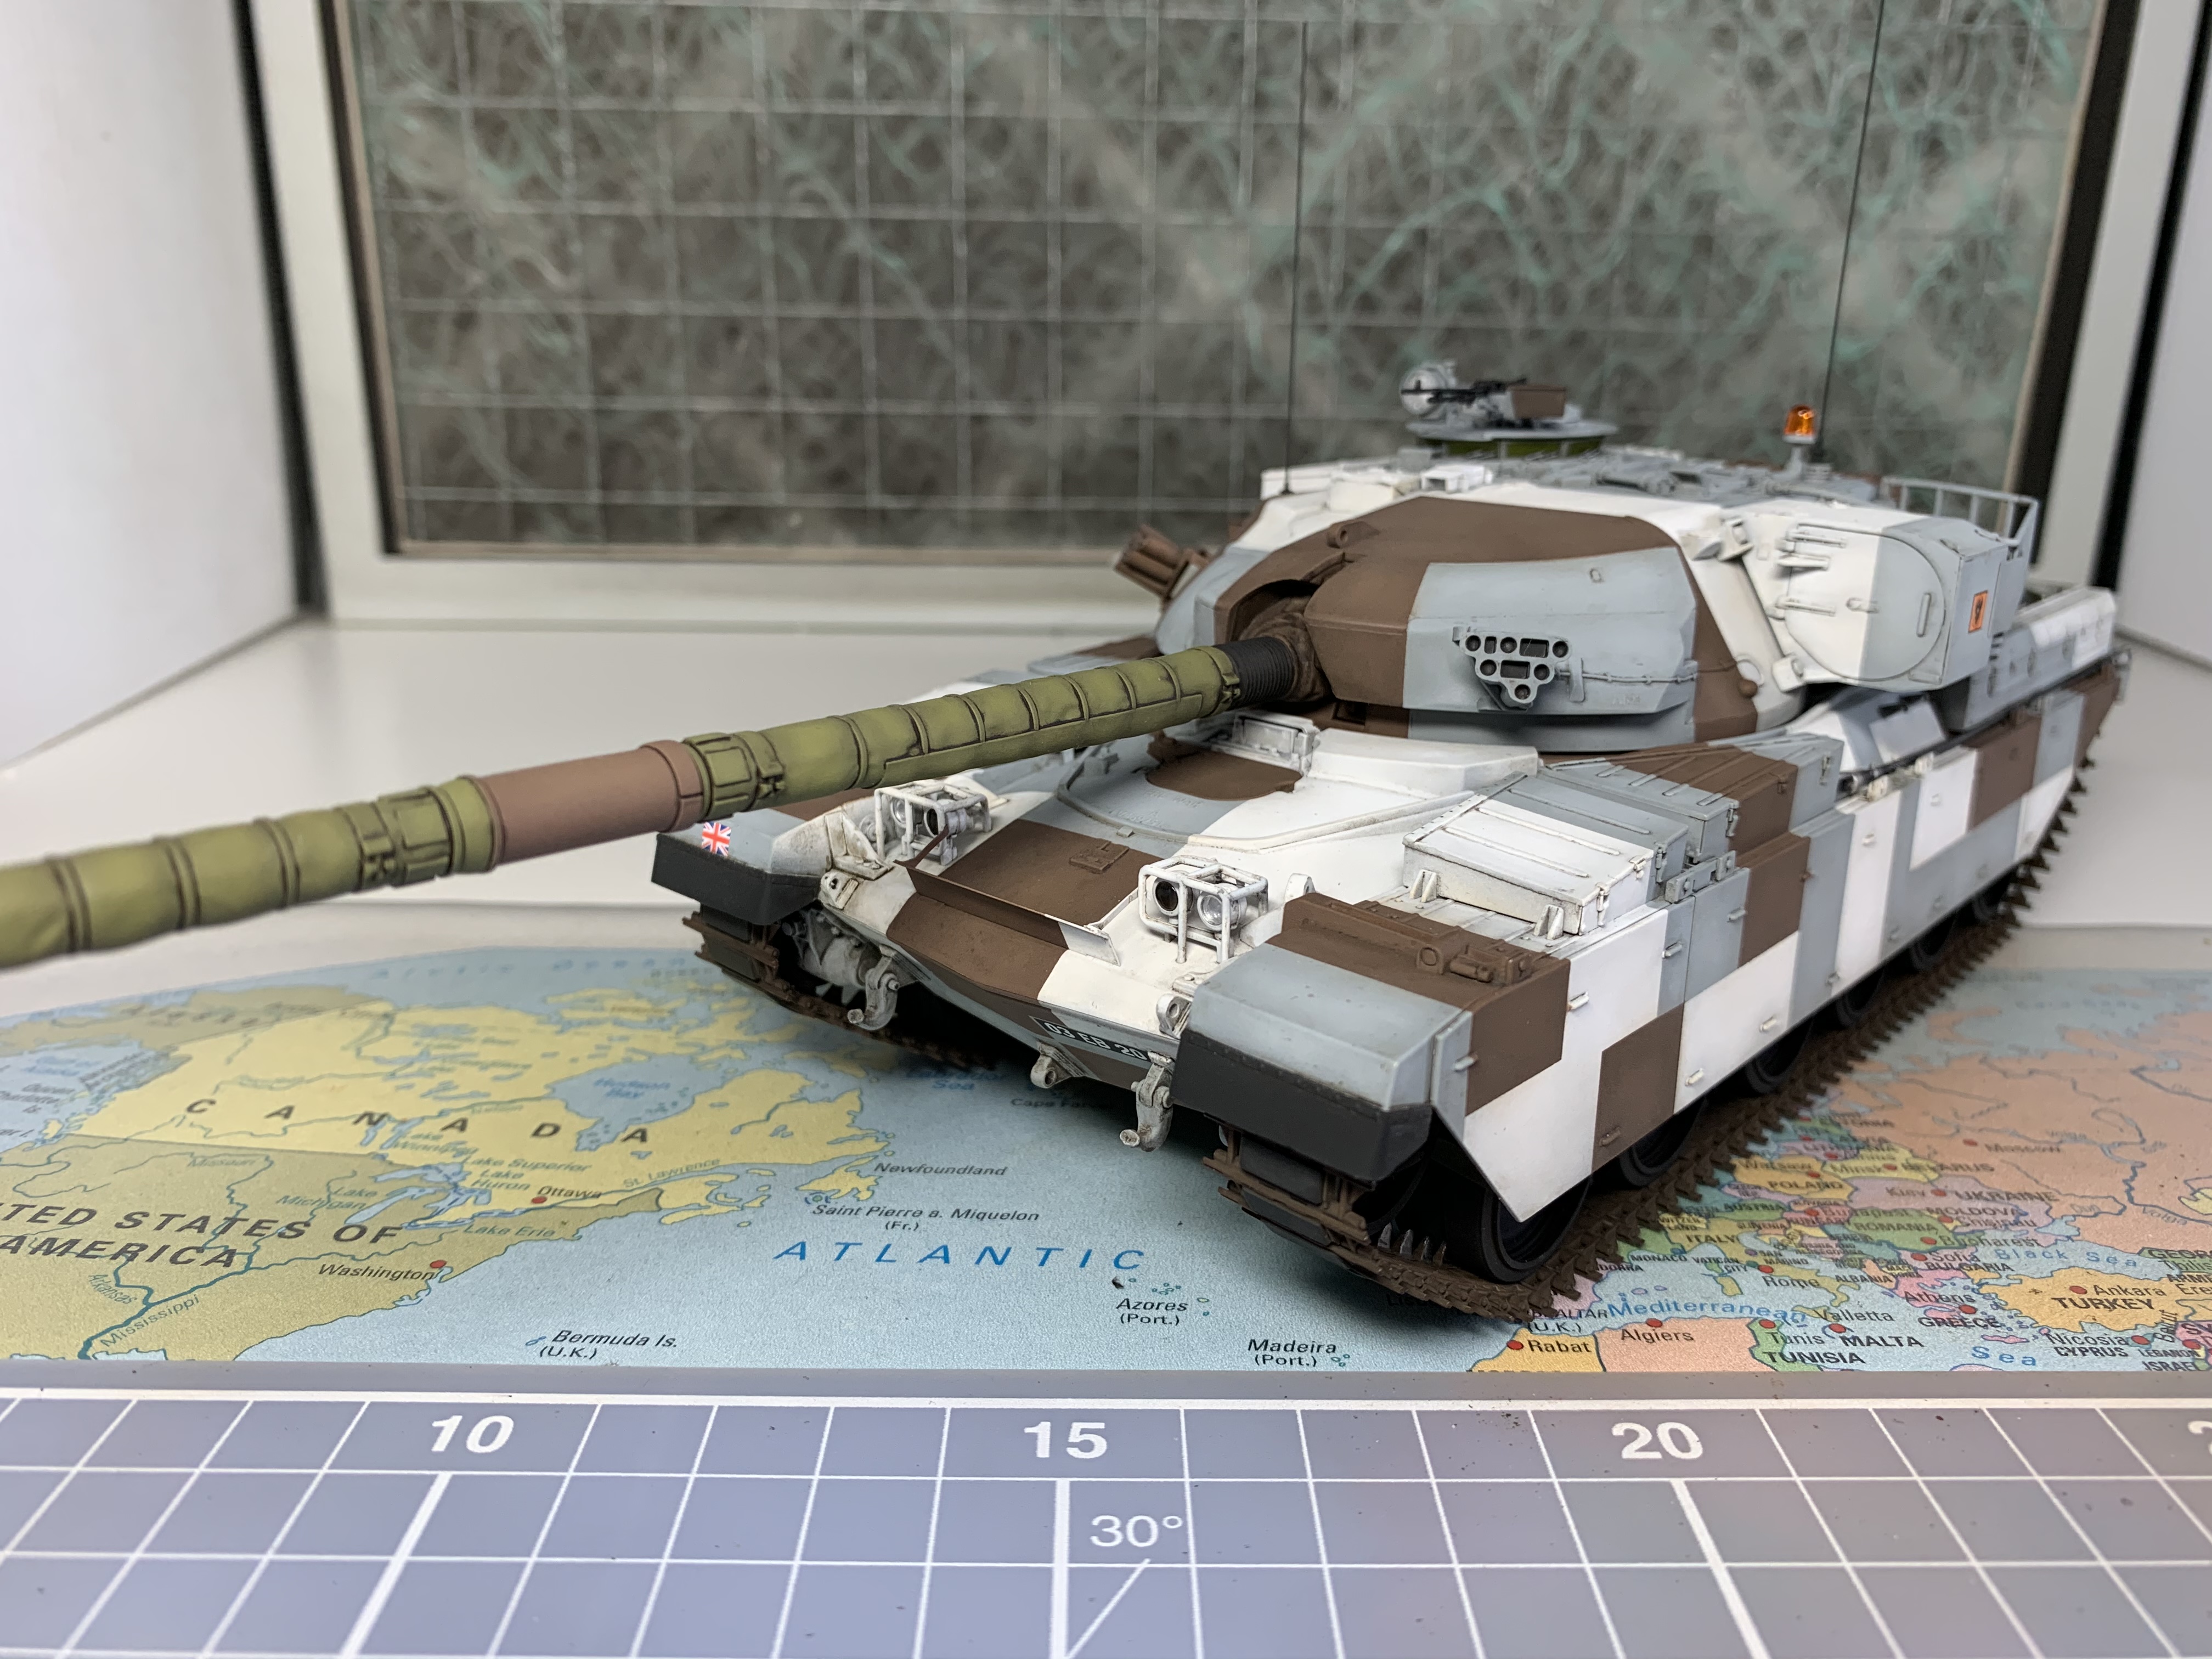
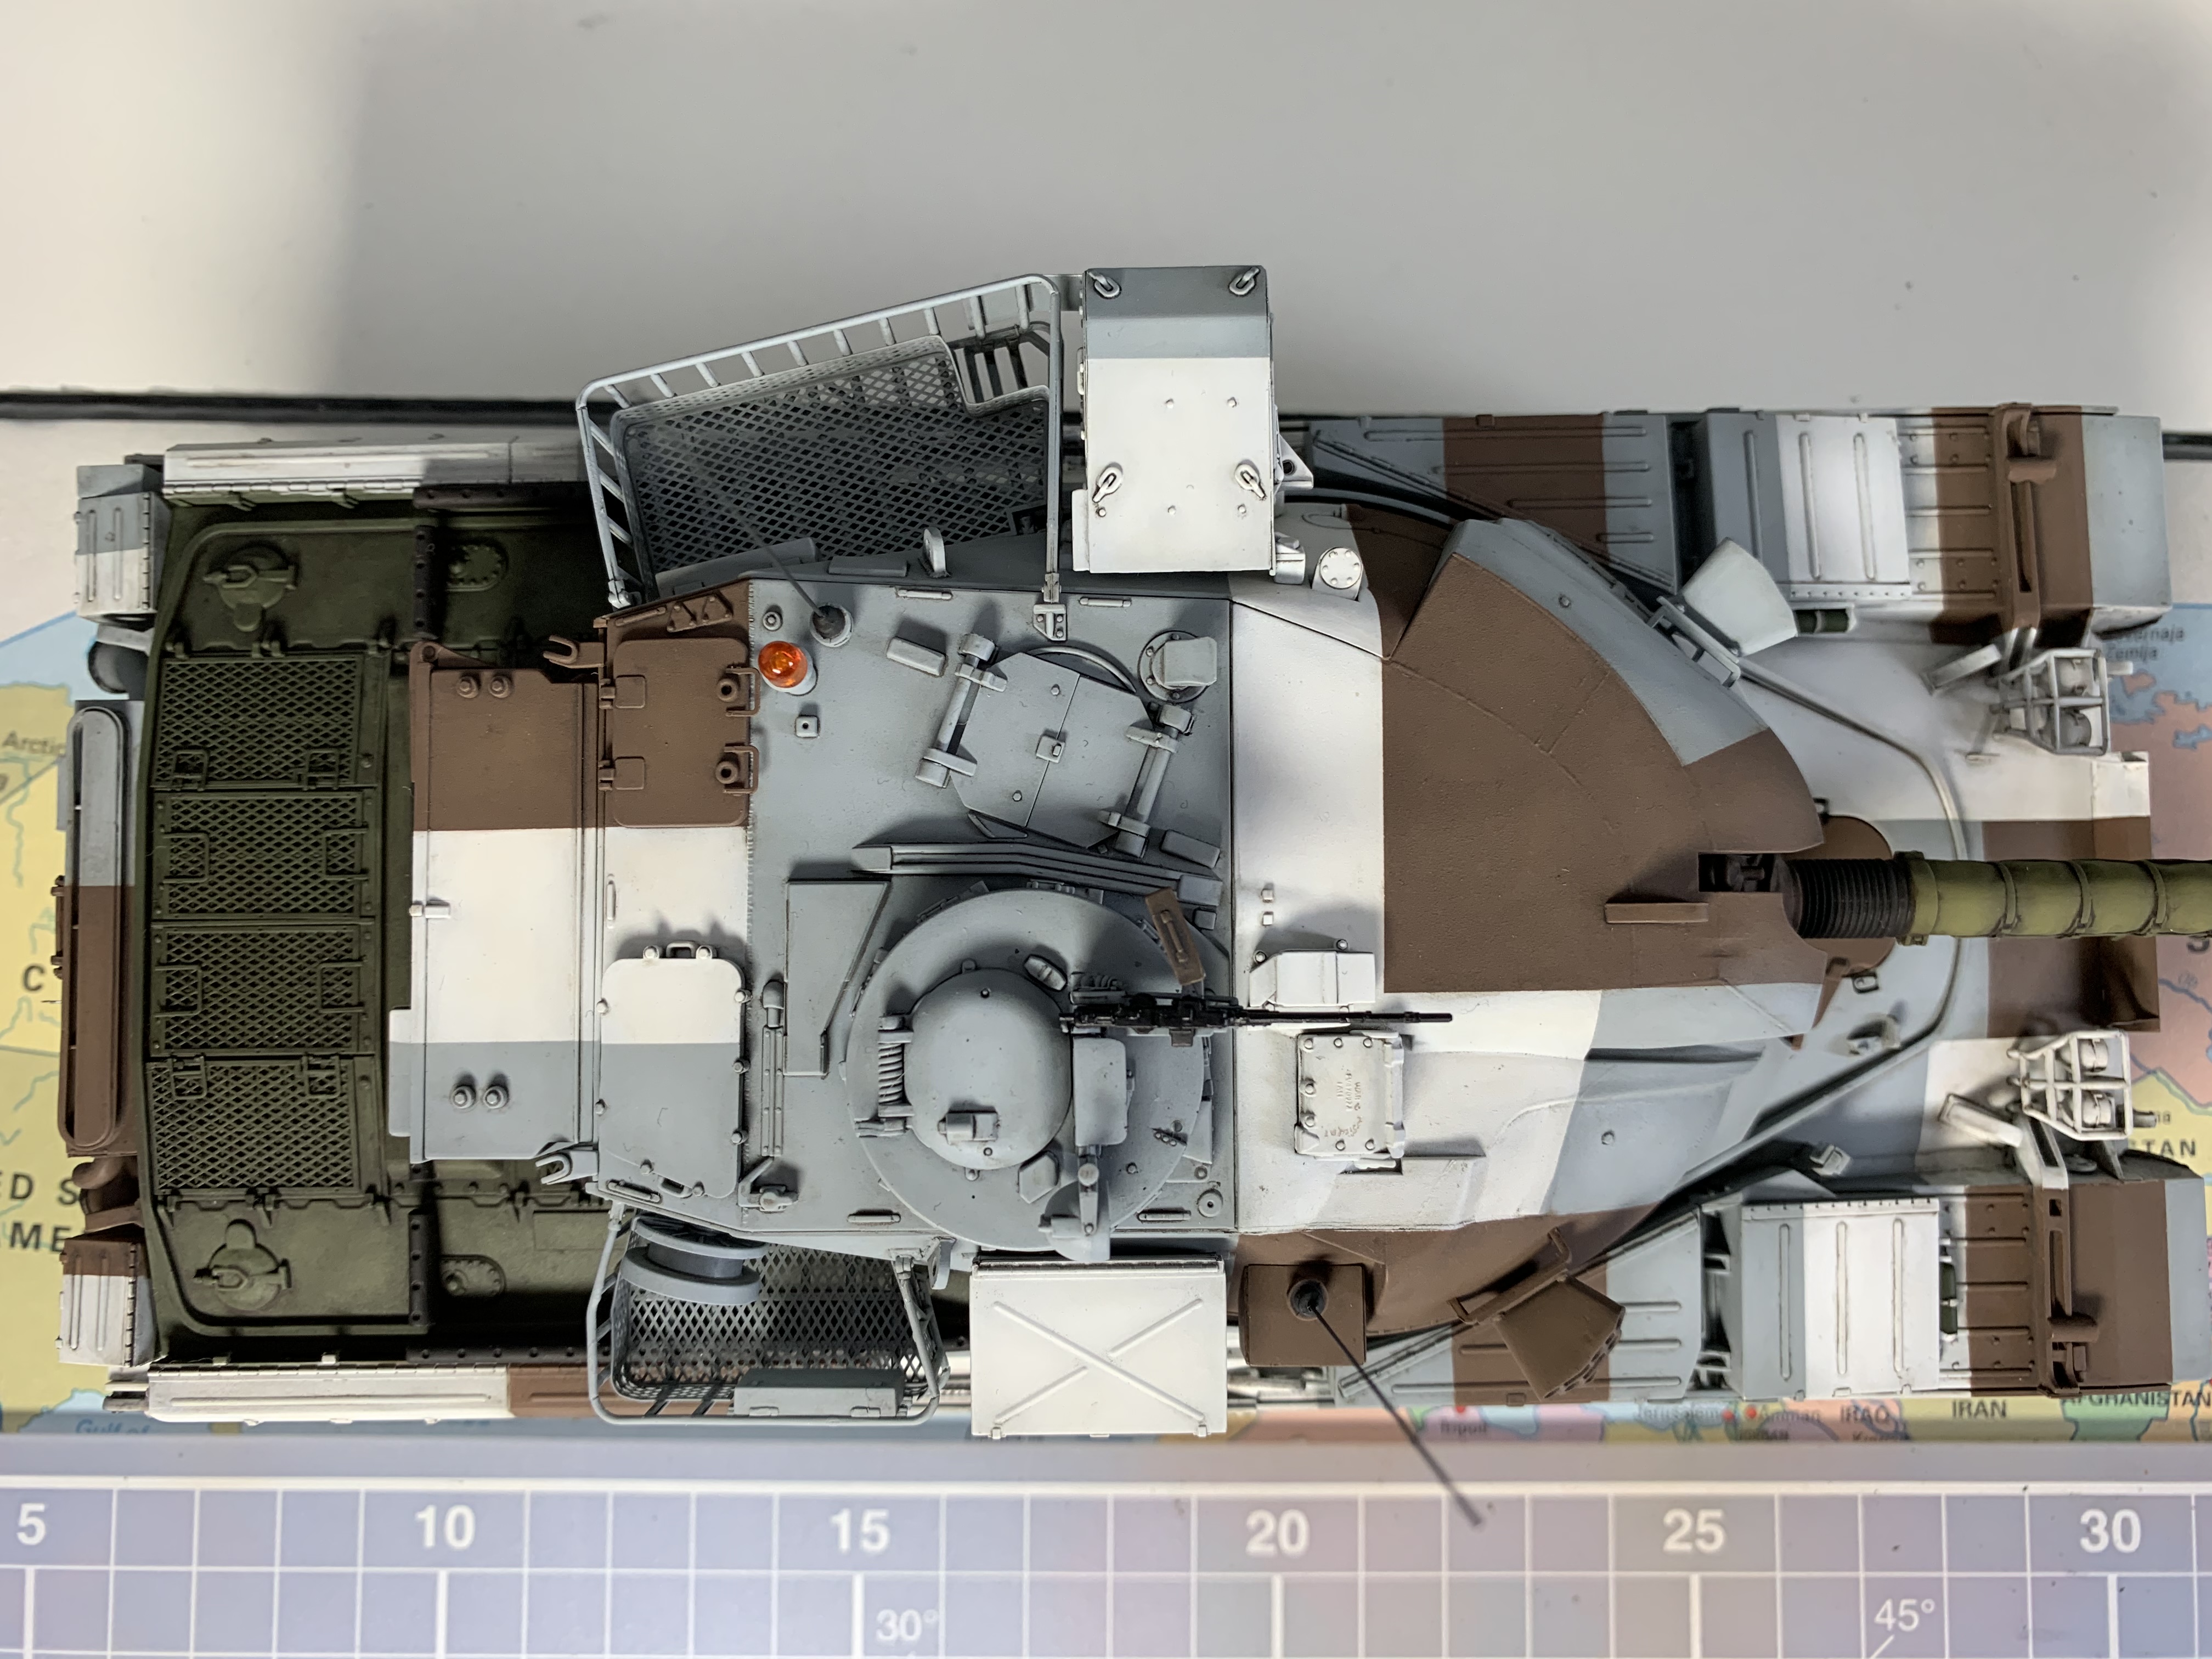
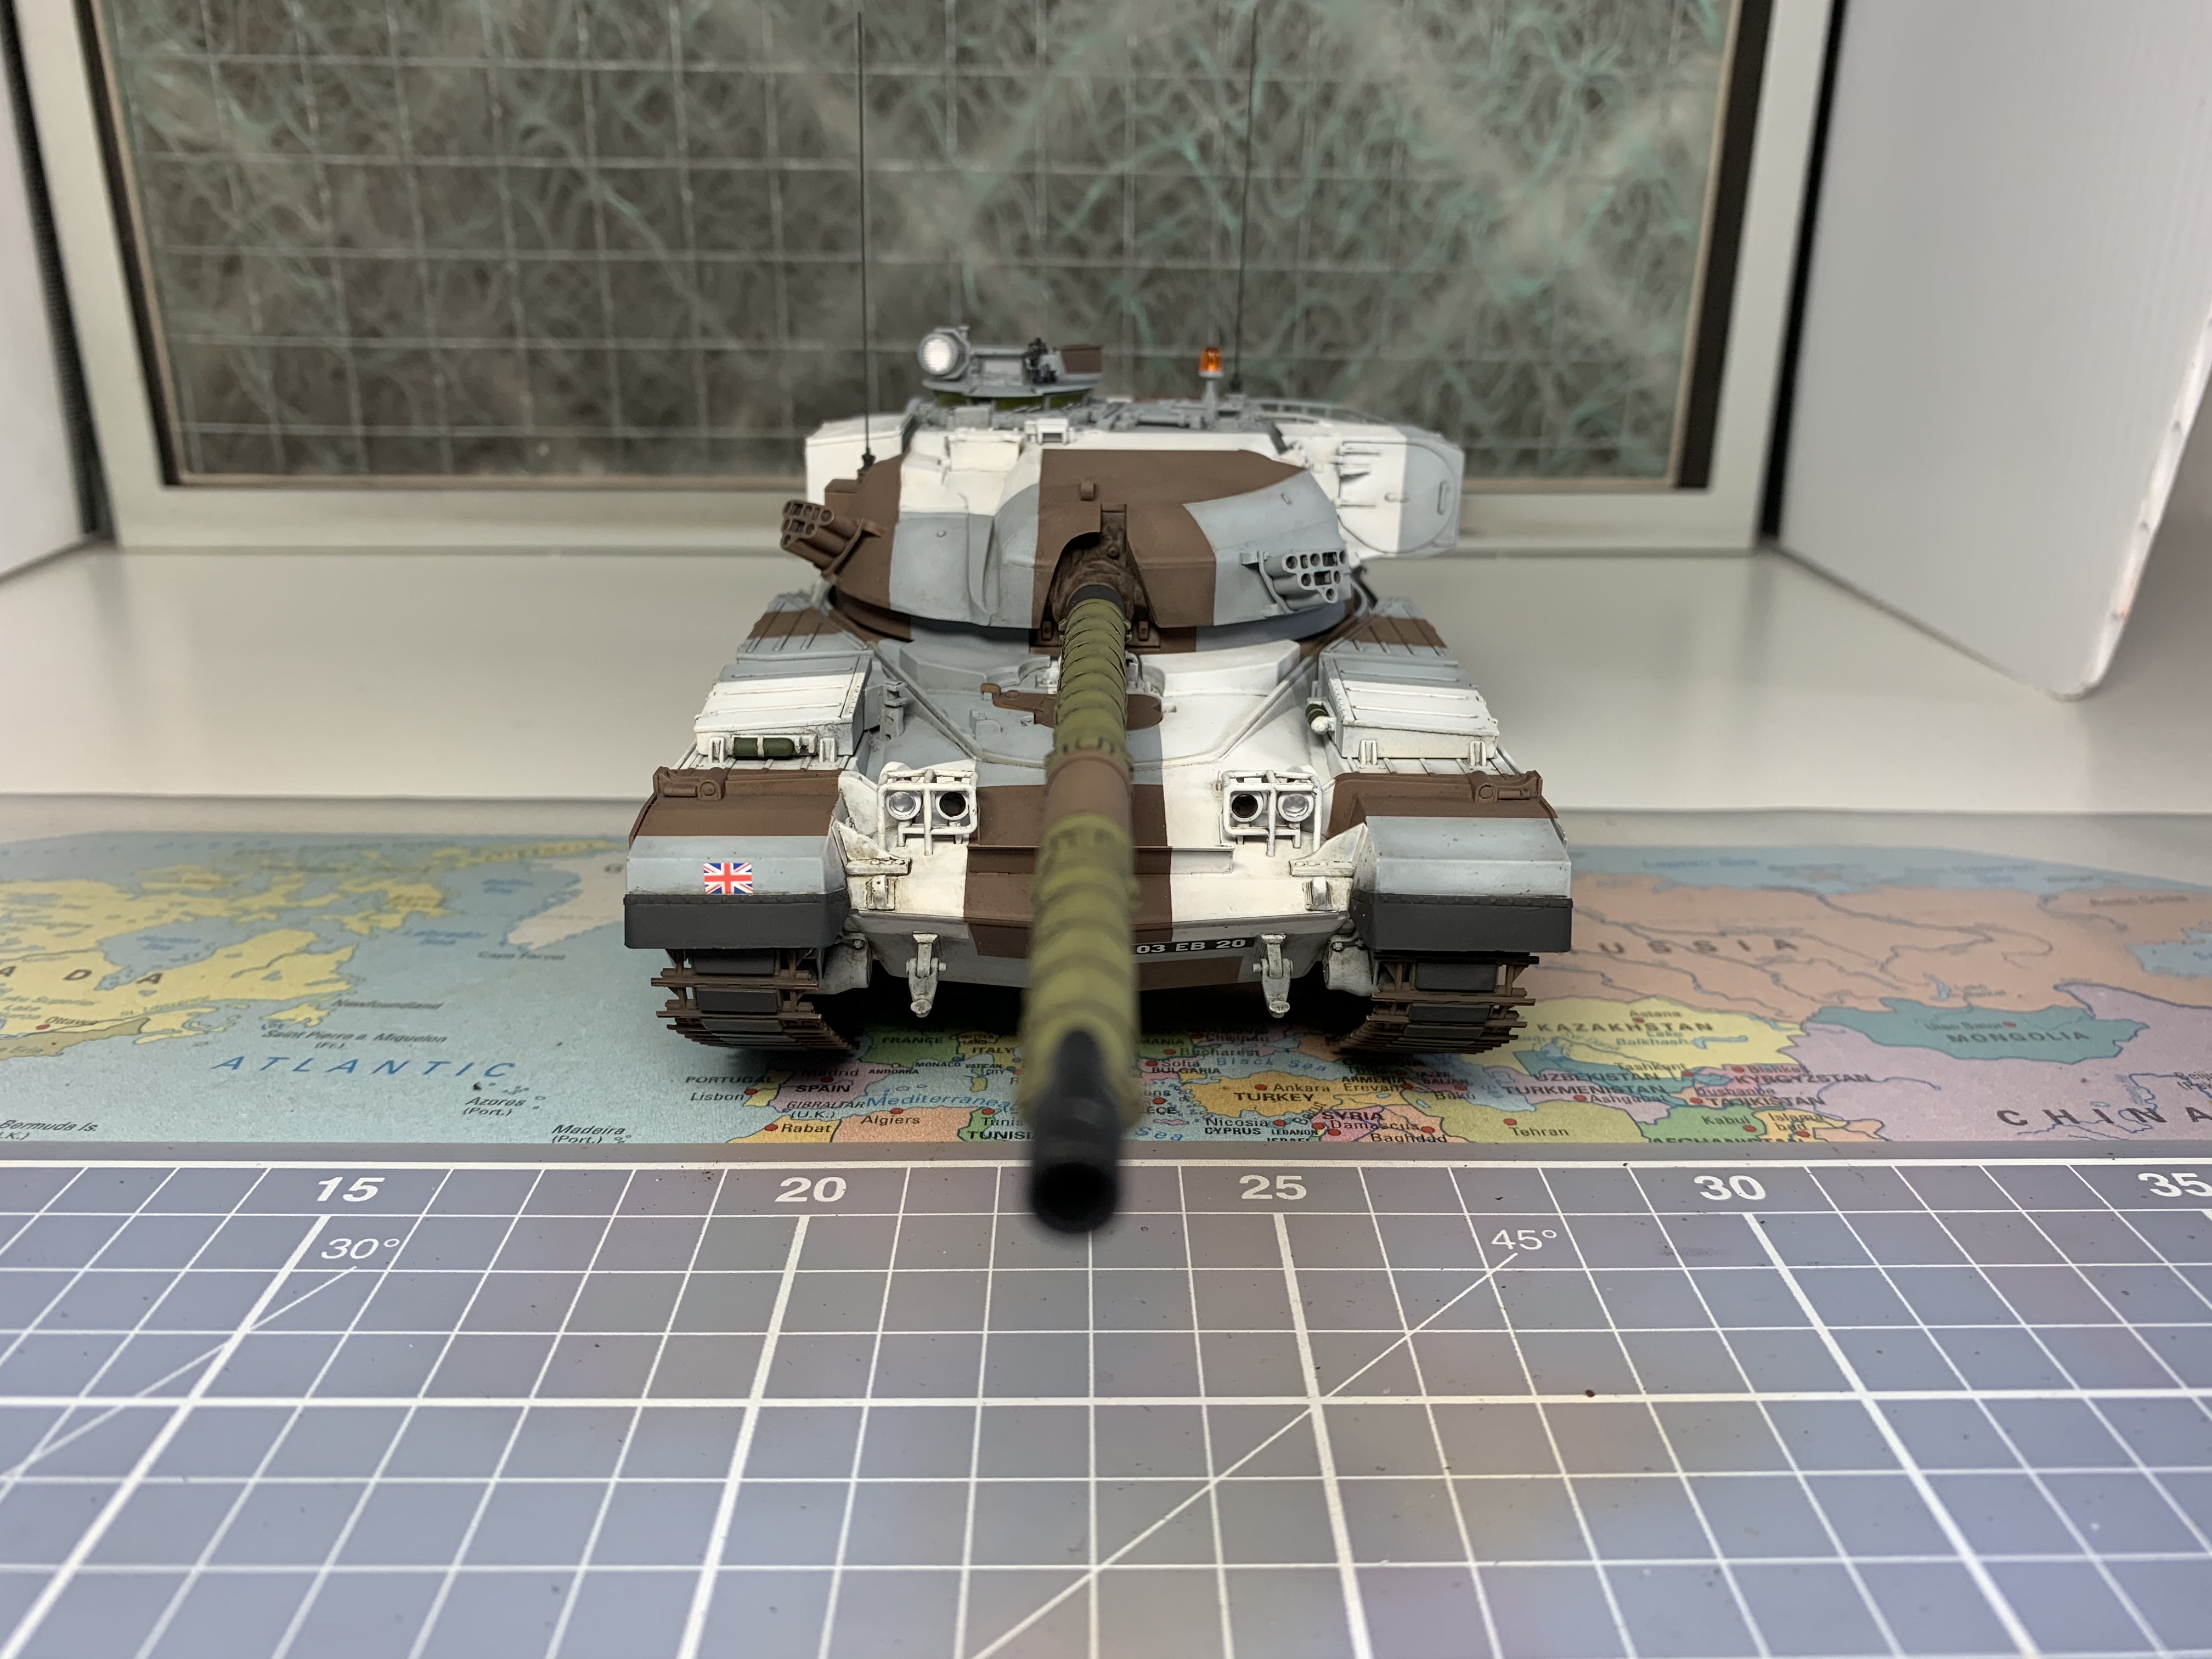
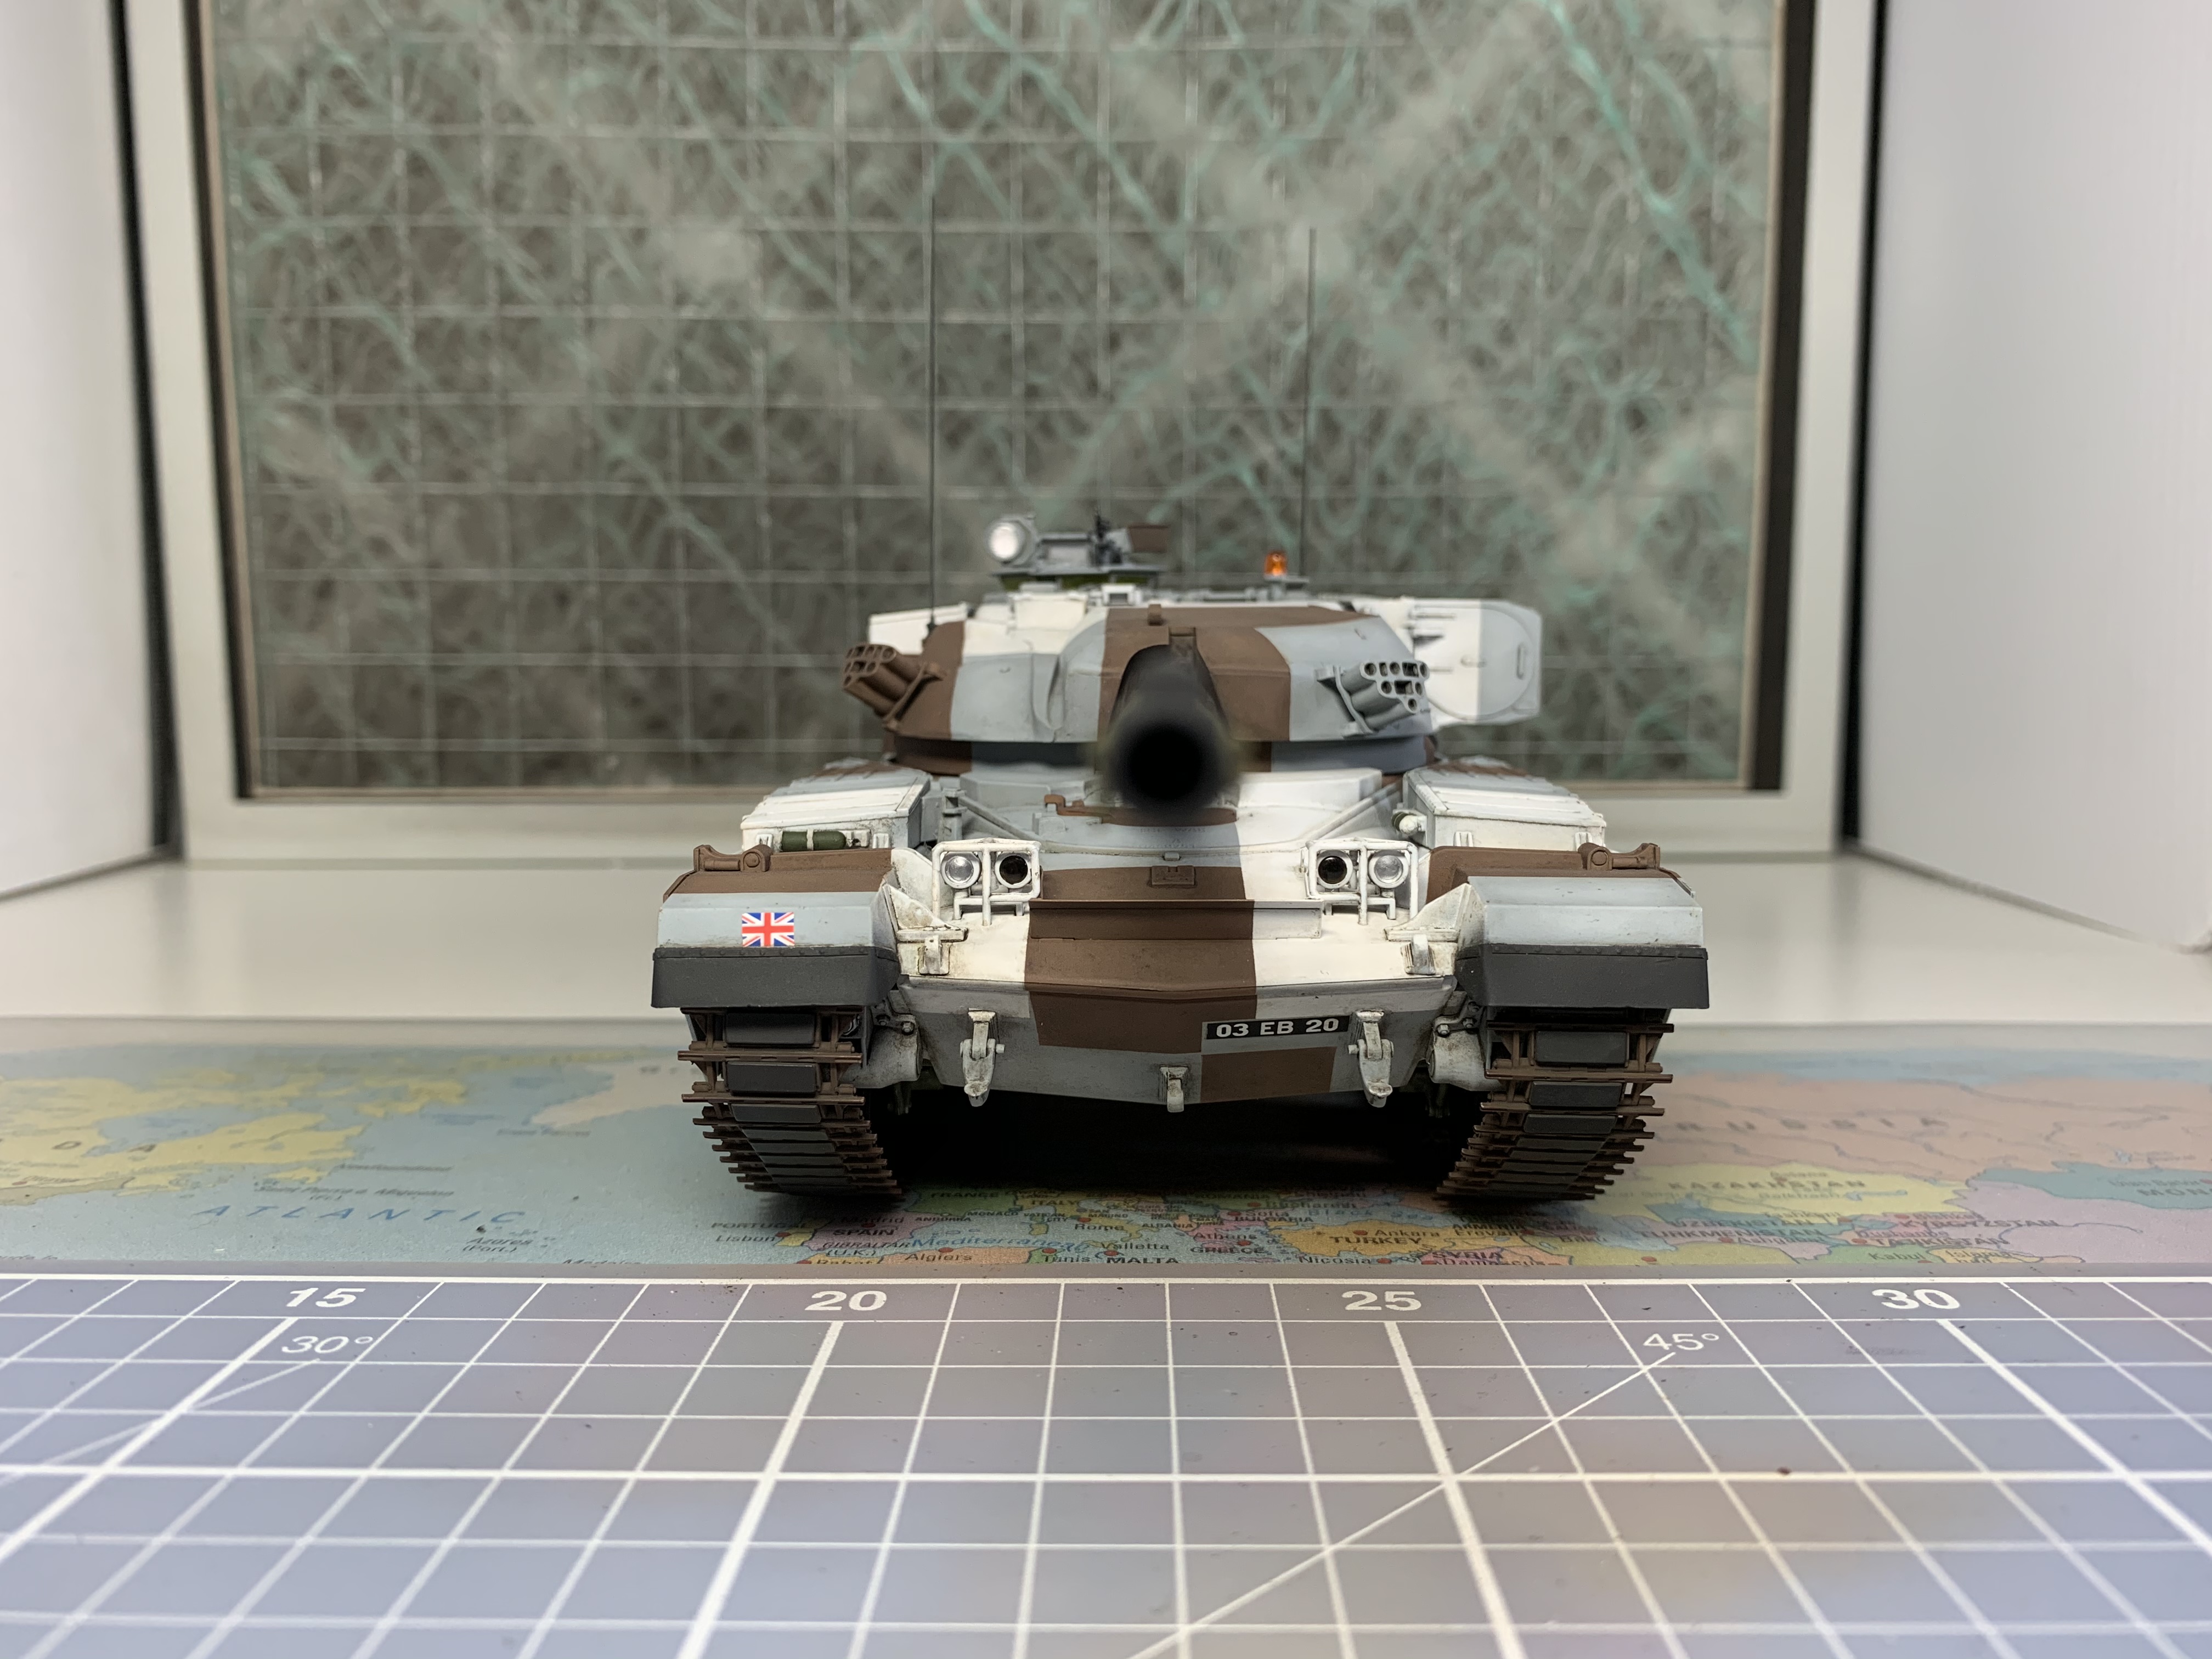
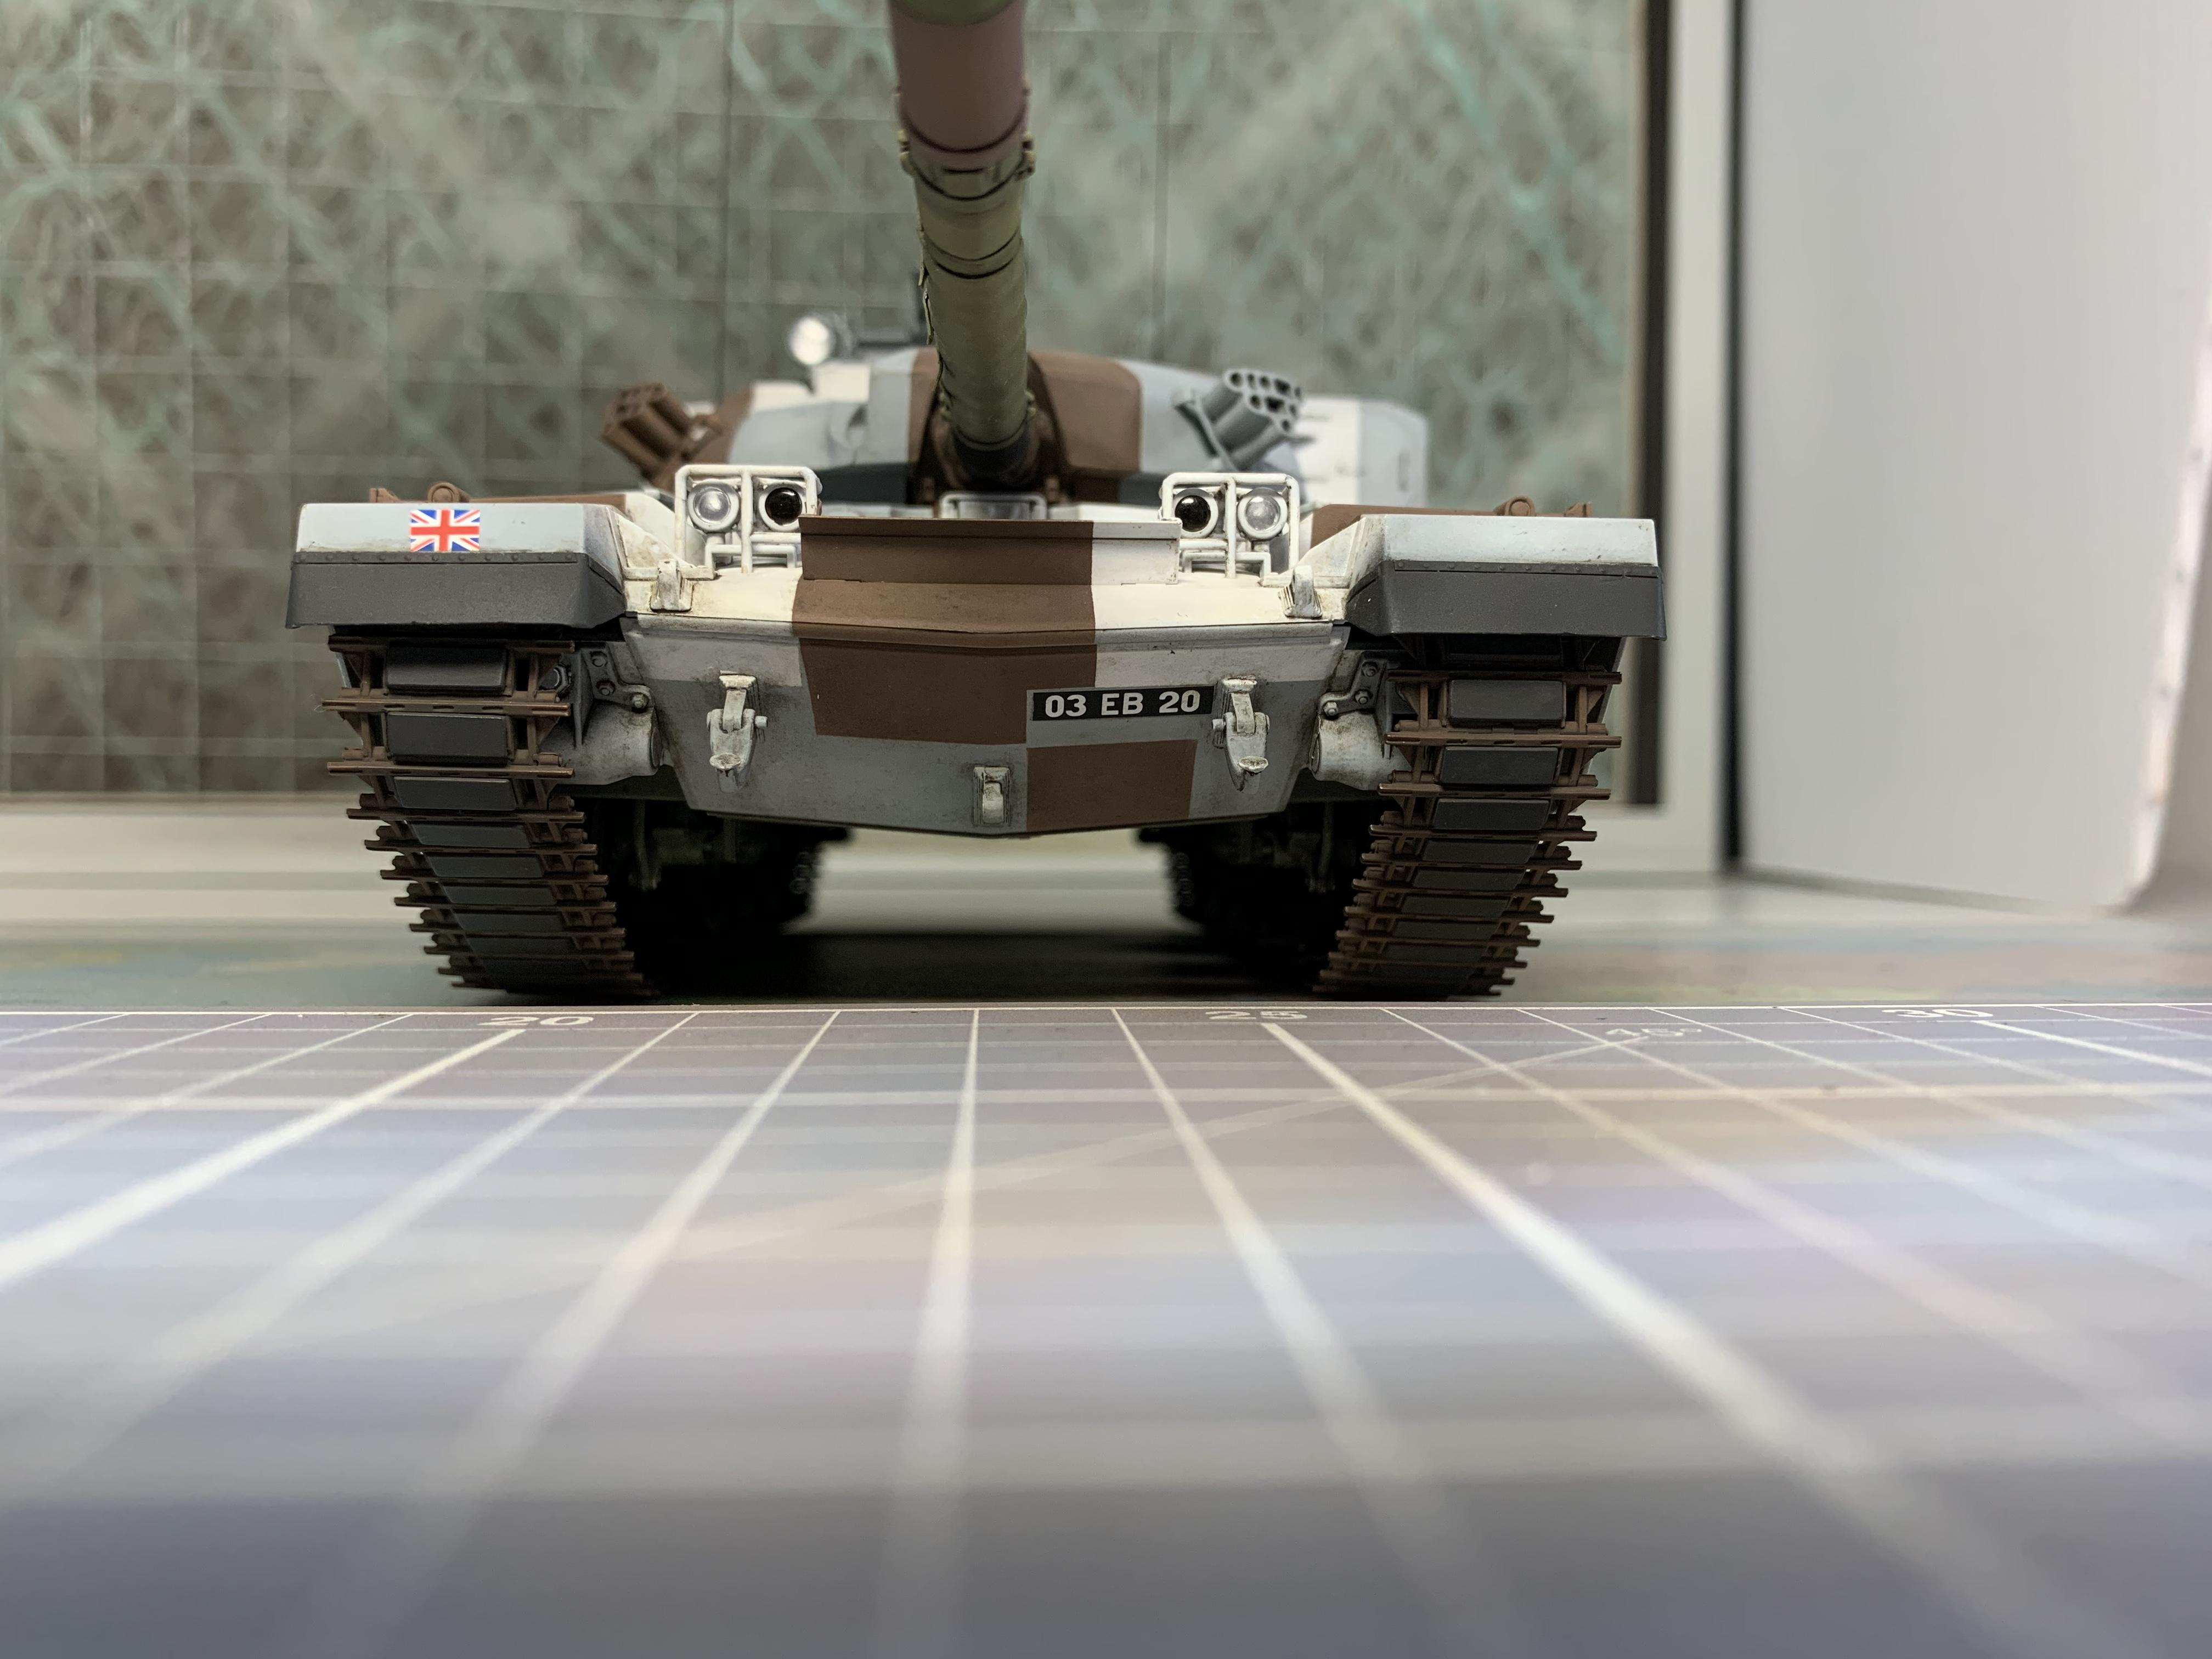
Hey John, Iíve shortened the beacon, maybe another mm or so but quite close to the pics I think.
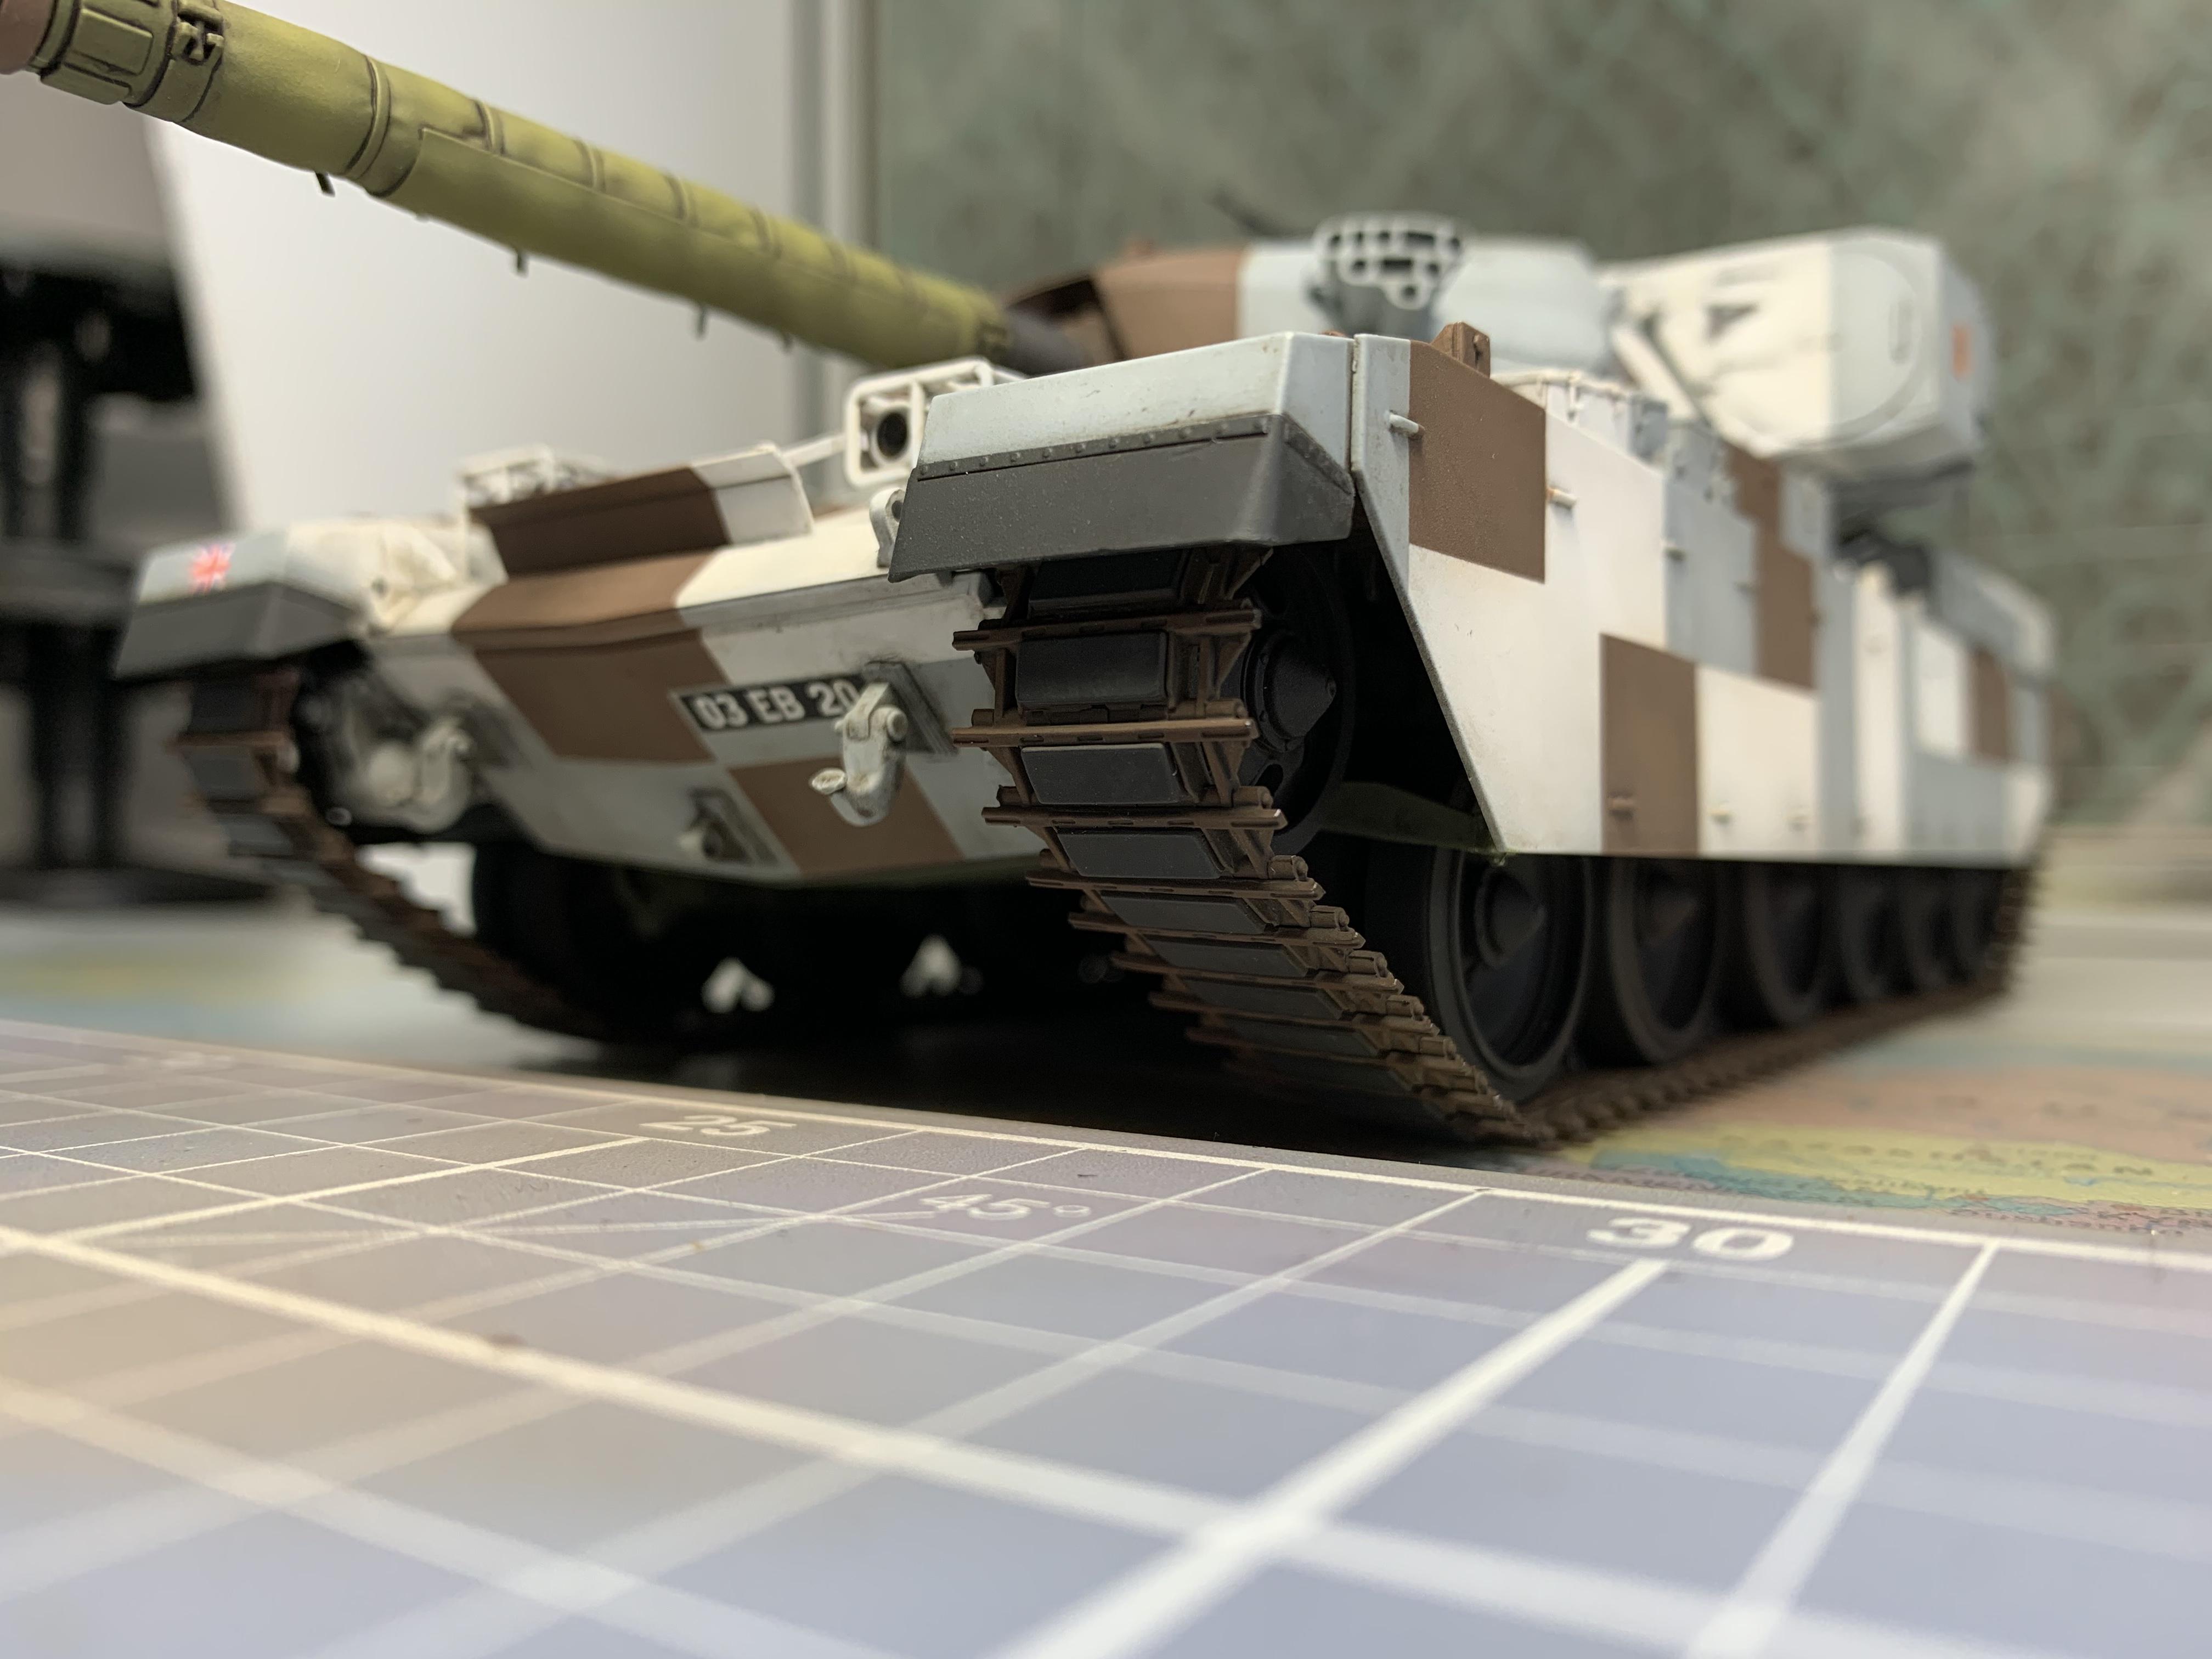
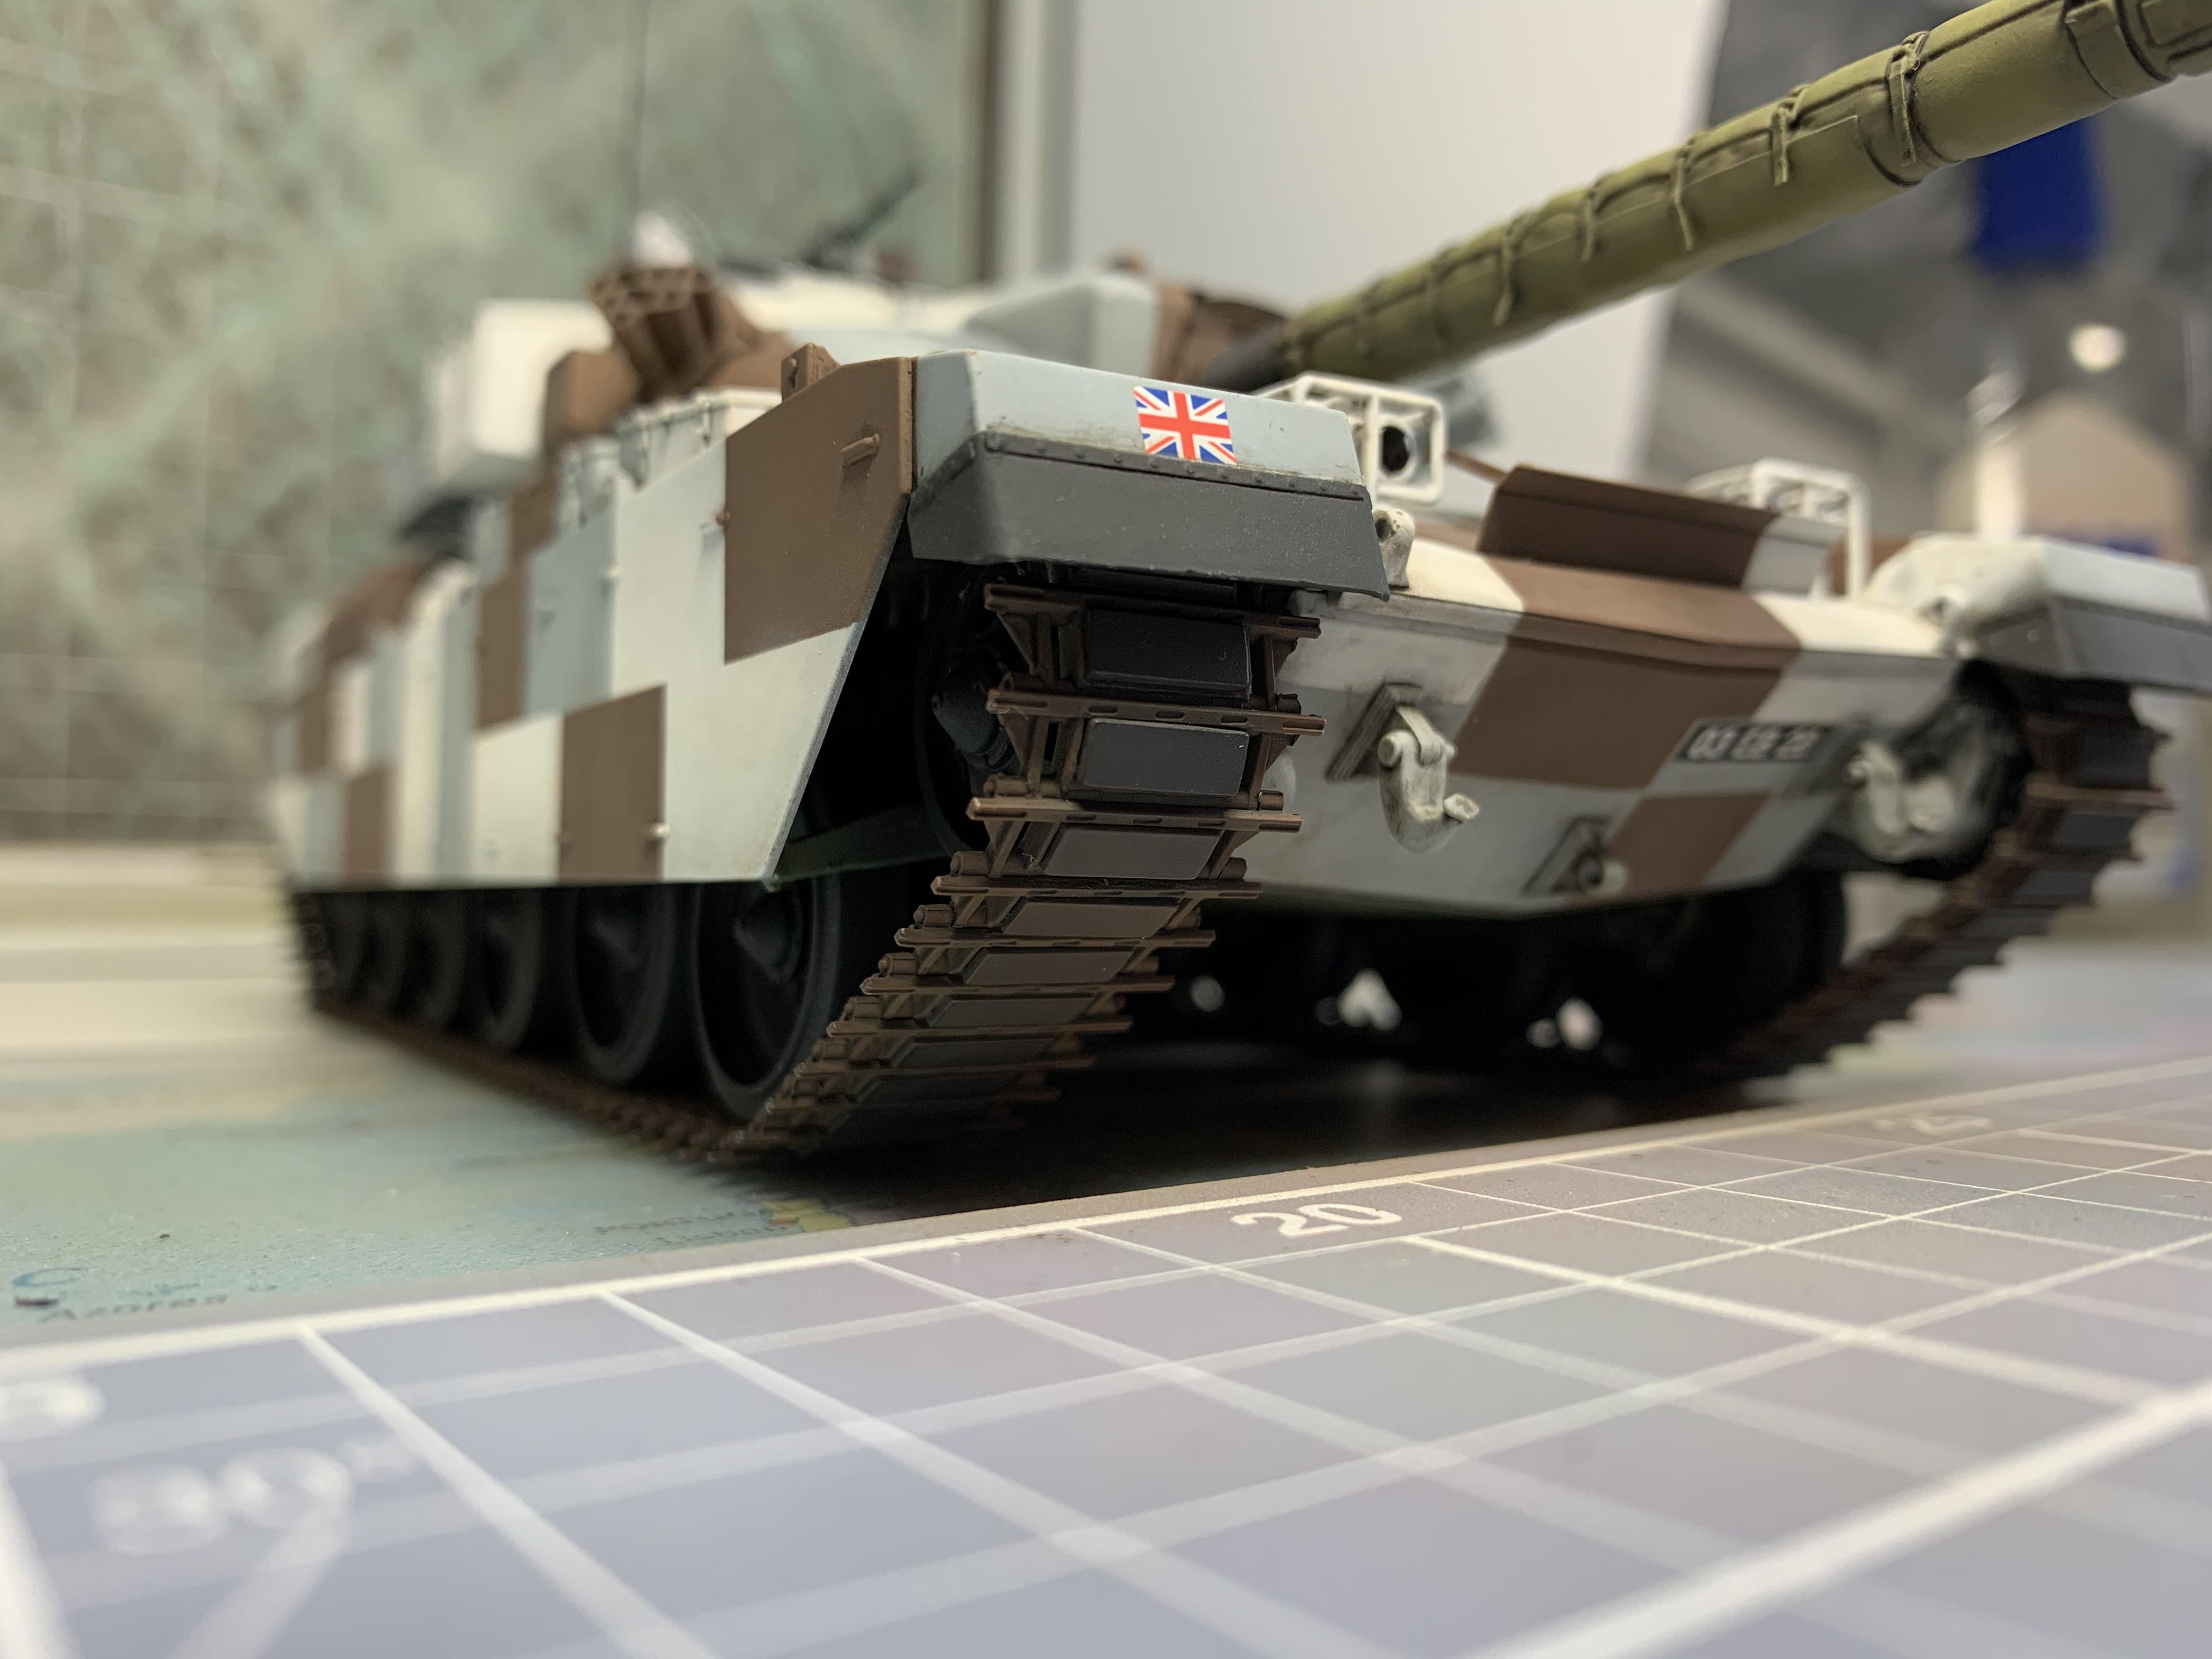
So I have this pretty much buttoned up now. Thank you to everyone who has joined me on this project. There are probably a few more things I would like to do but it is staying as is for now.
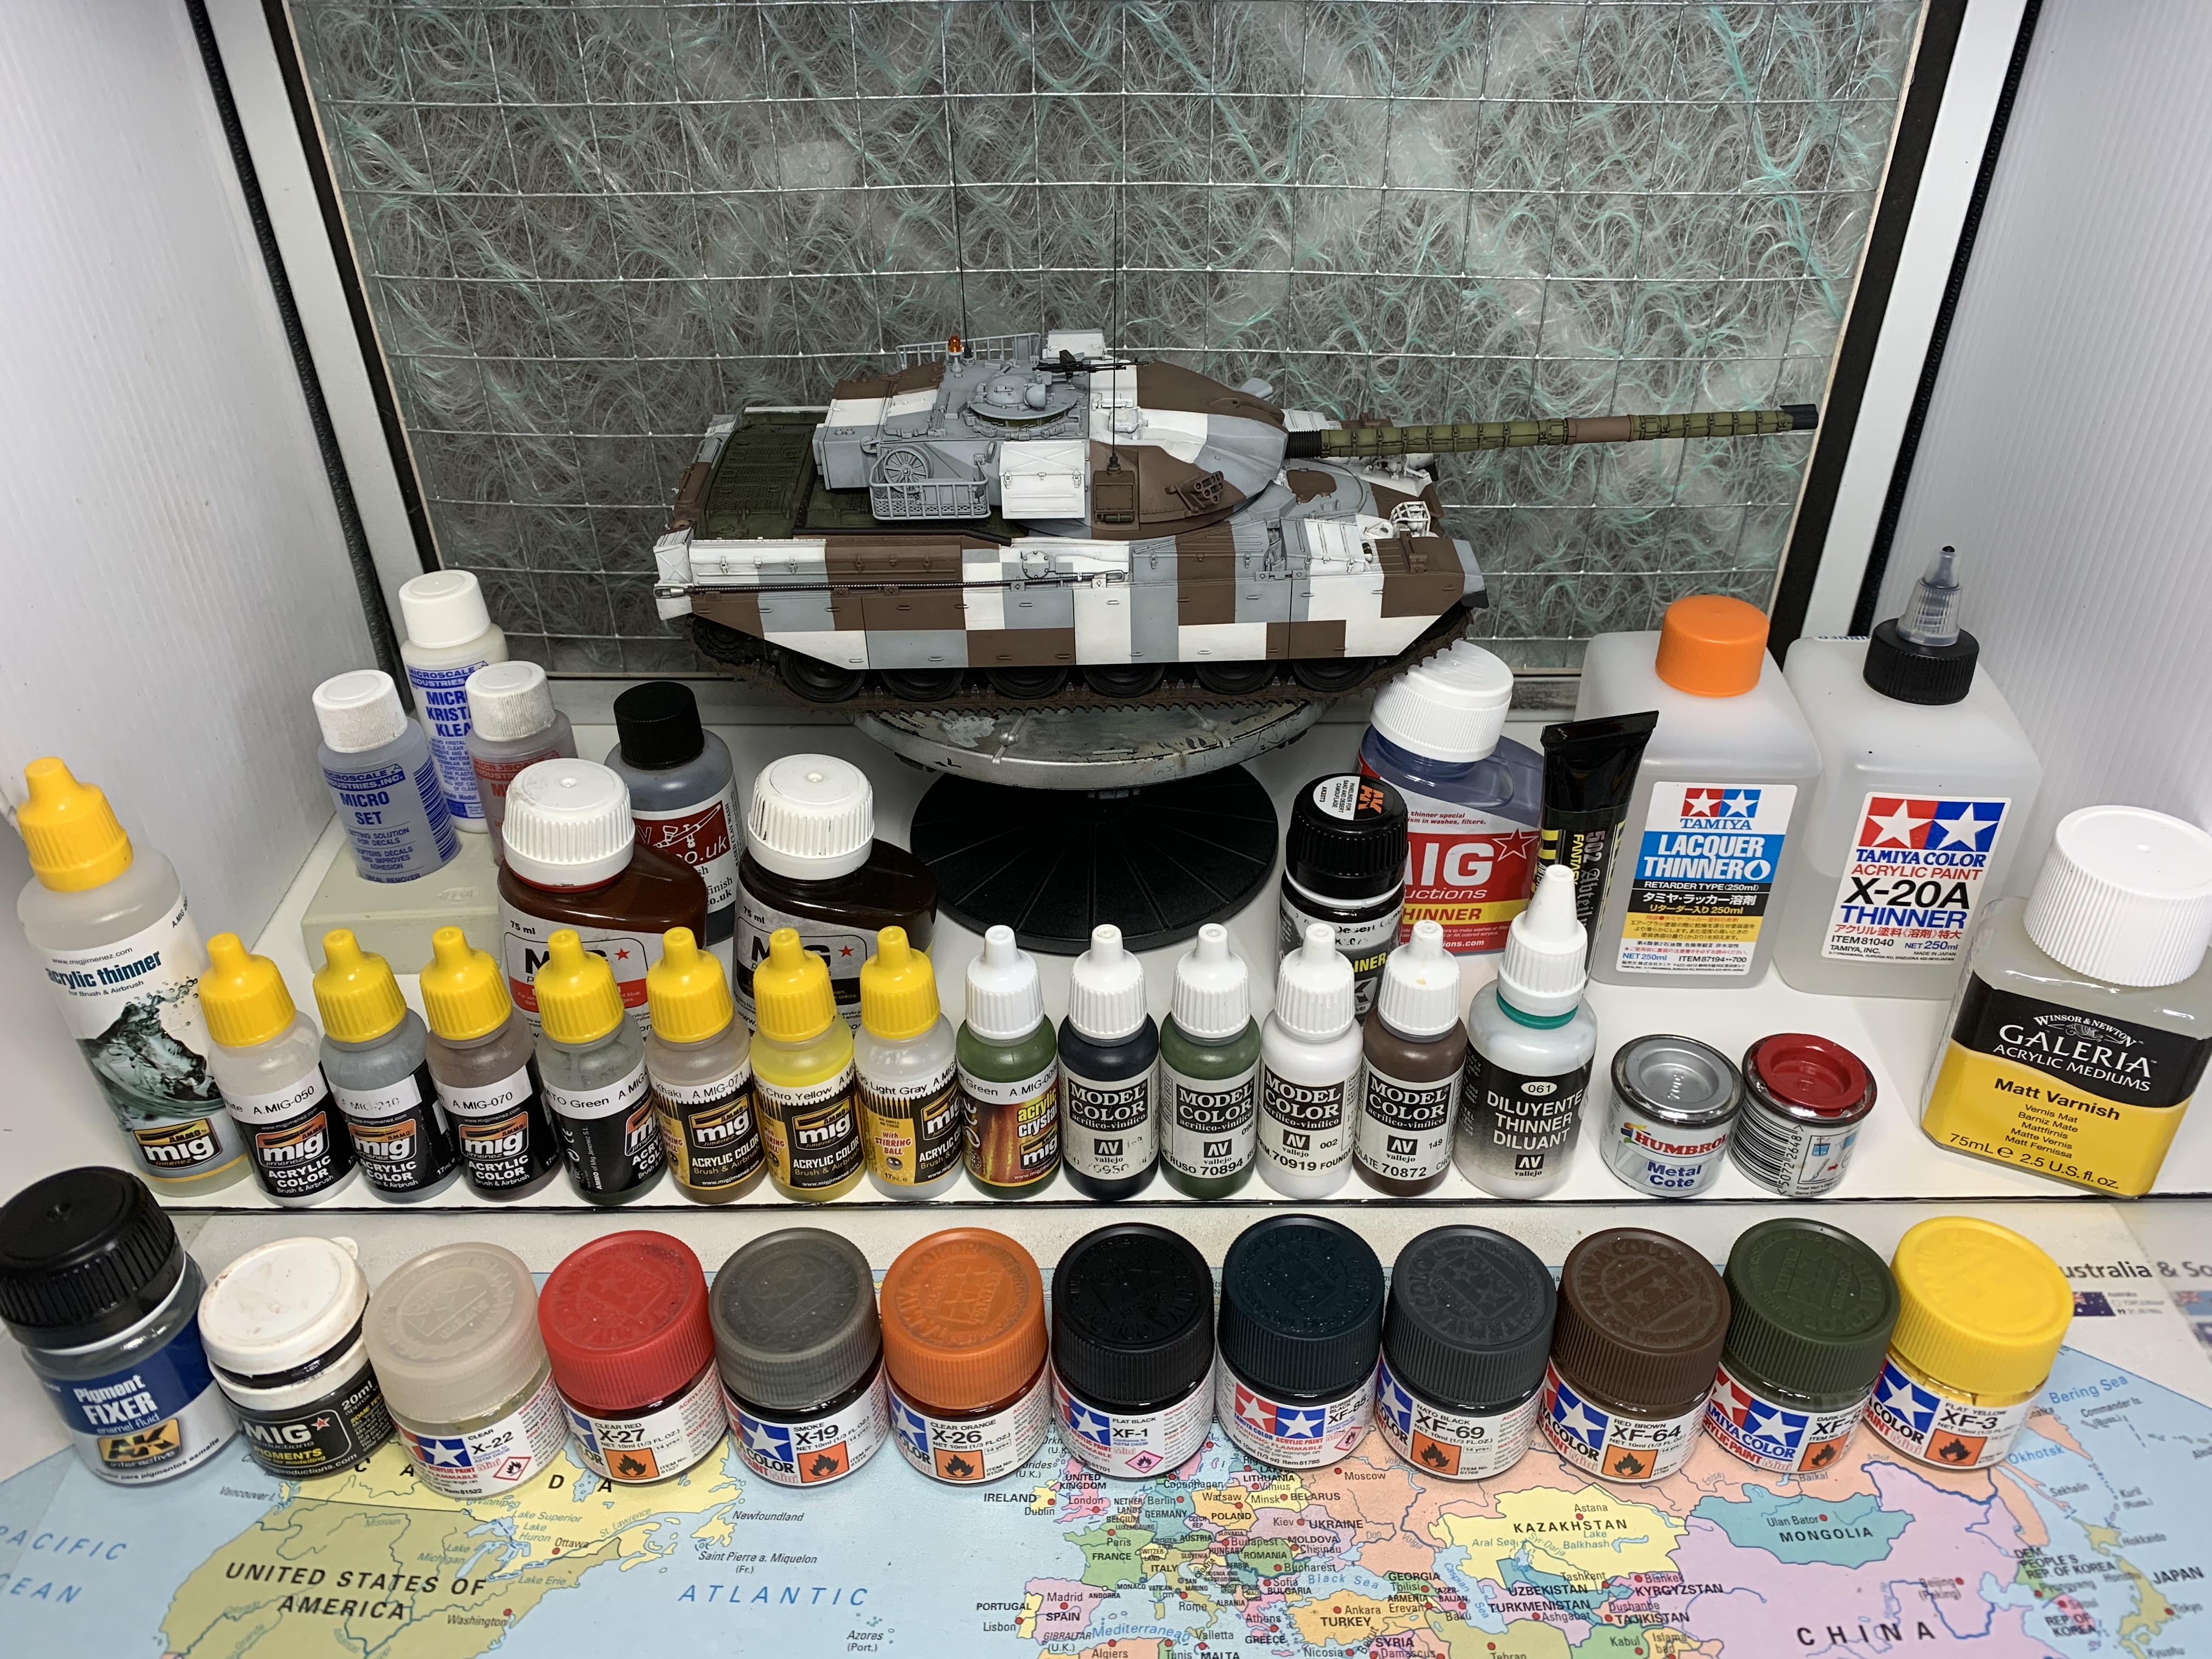
The pics are just with an iPhone but if I can get hold of a better camera will post others. I tried using a black background but colours are quite unreal, so the workbench it is.
First pic shows almost all the paints, etc I used. And I thought there were only three colours on this tank! Ha!
Thanks again for looking in, I have really enjoyed this one.
Cheers, Jim.
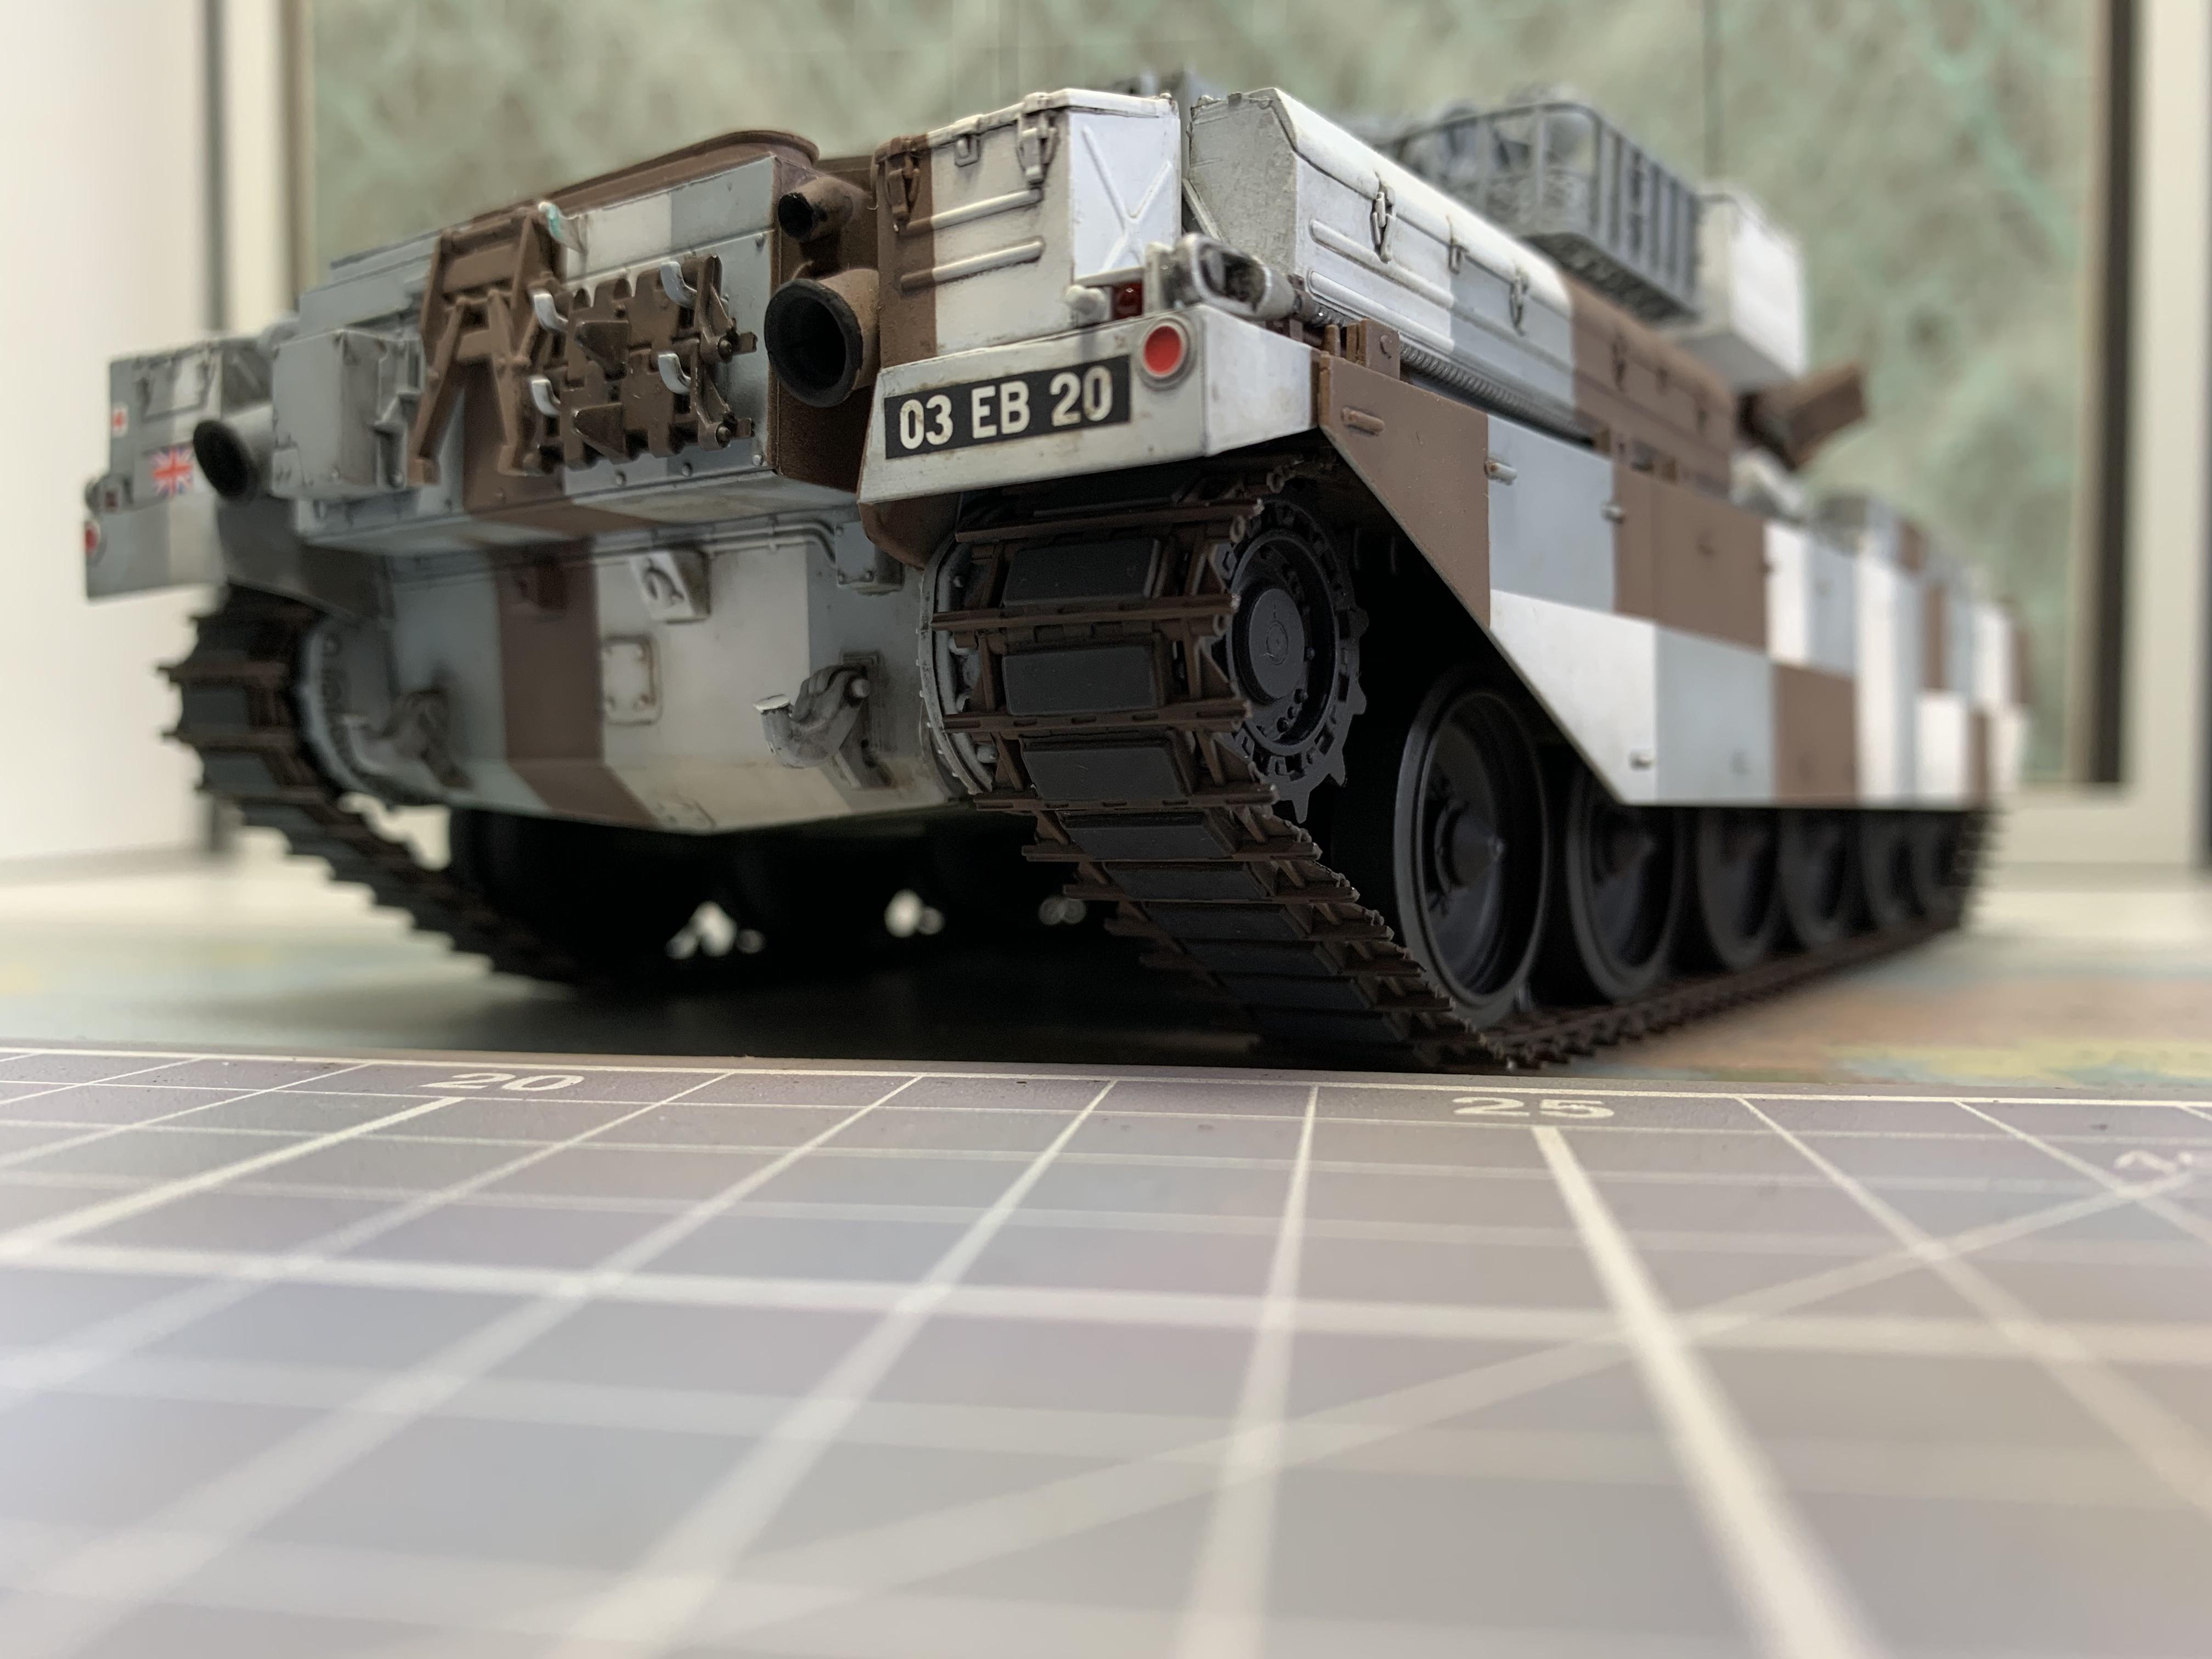
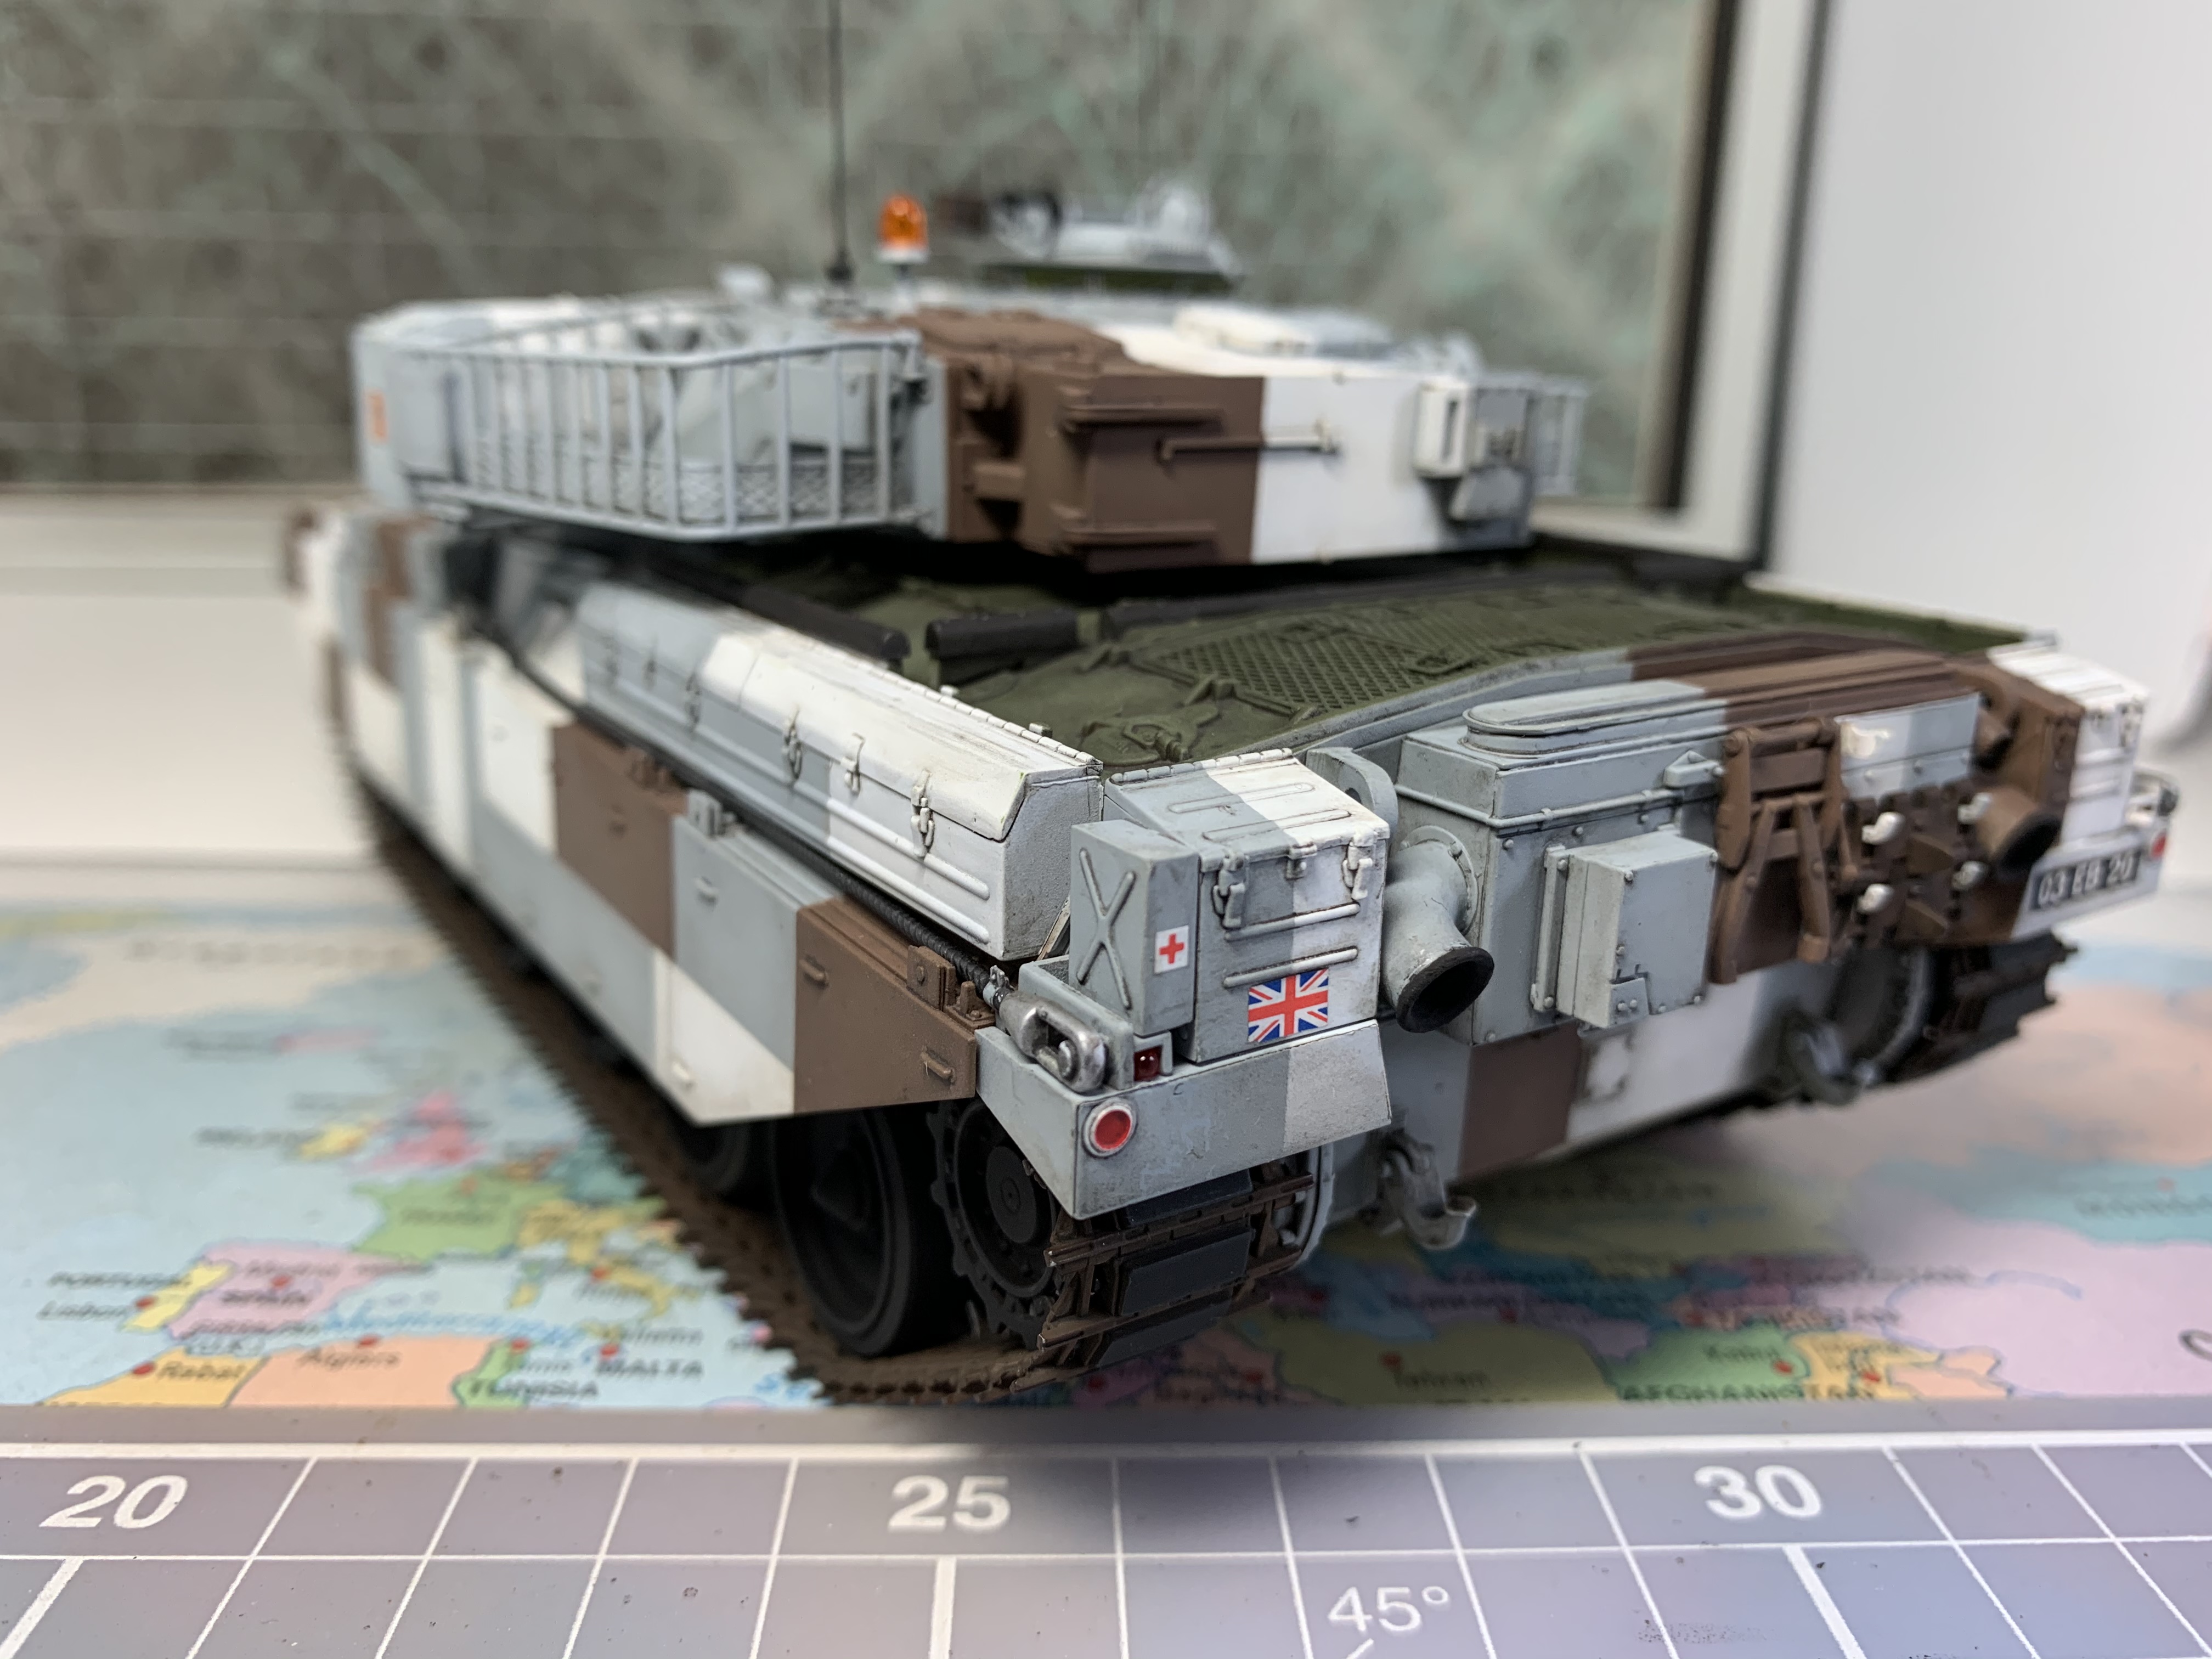
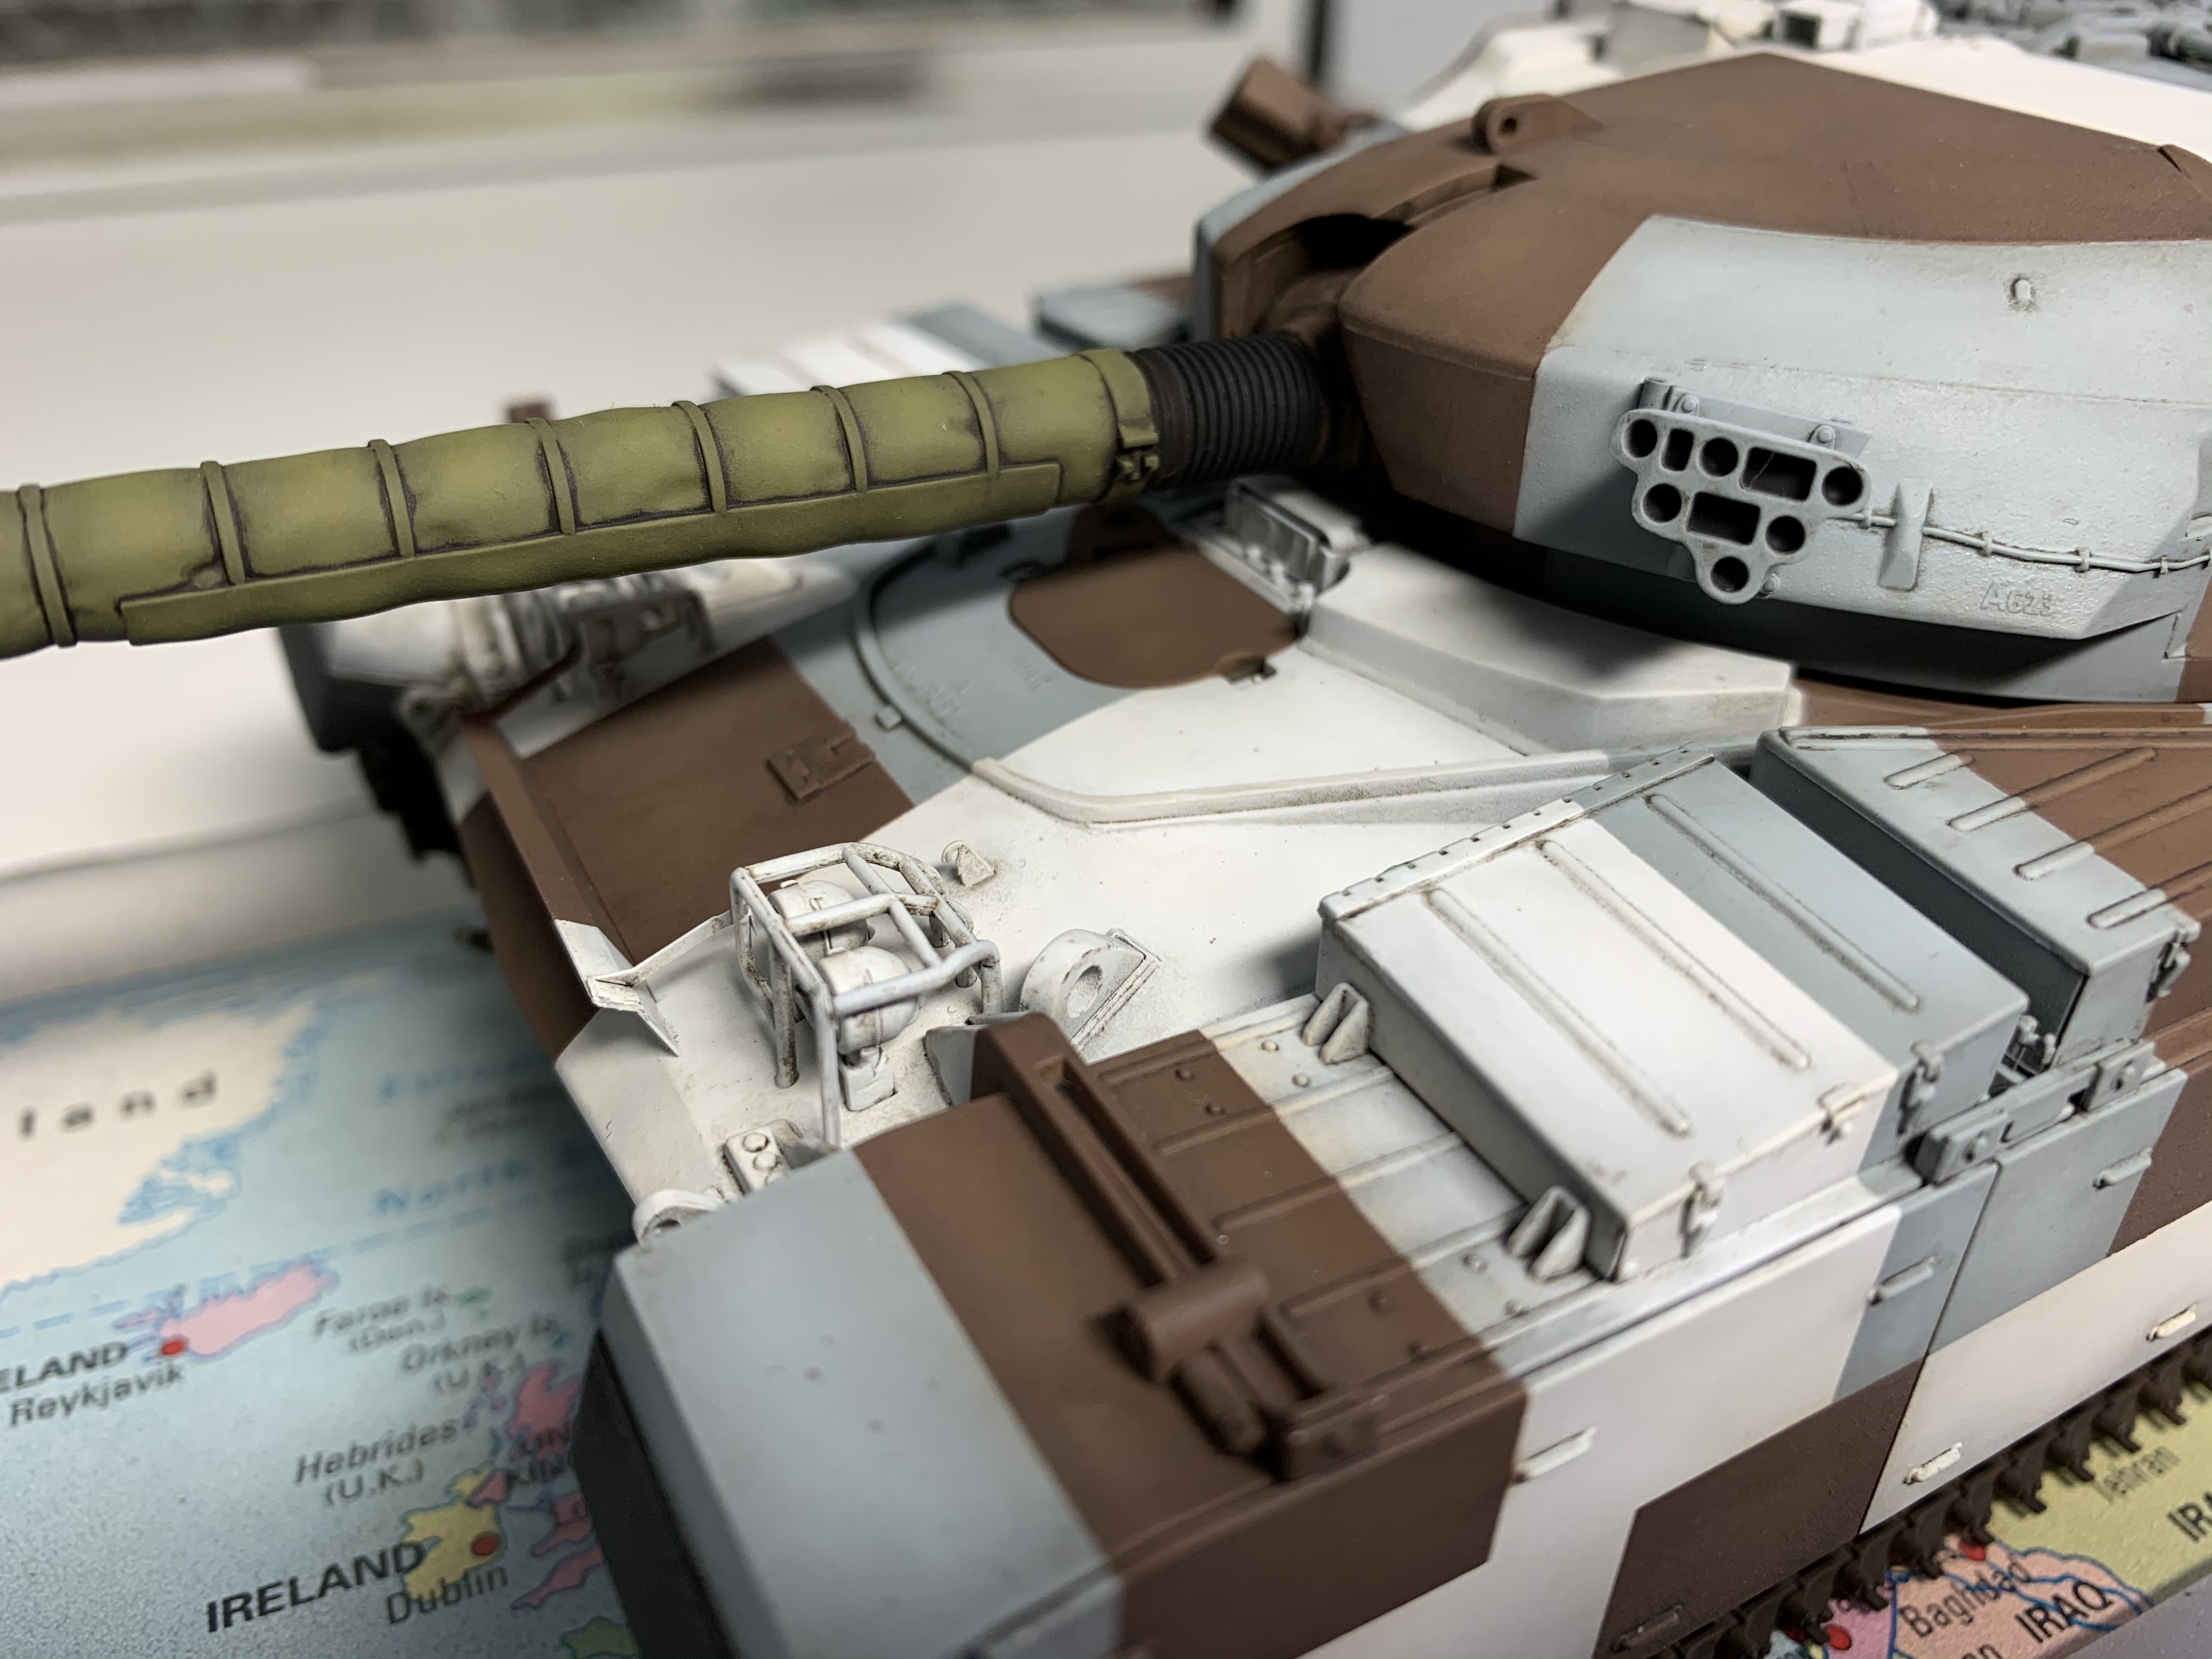
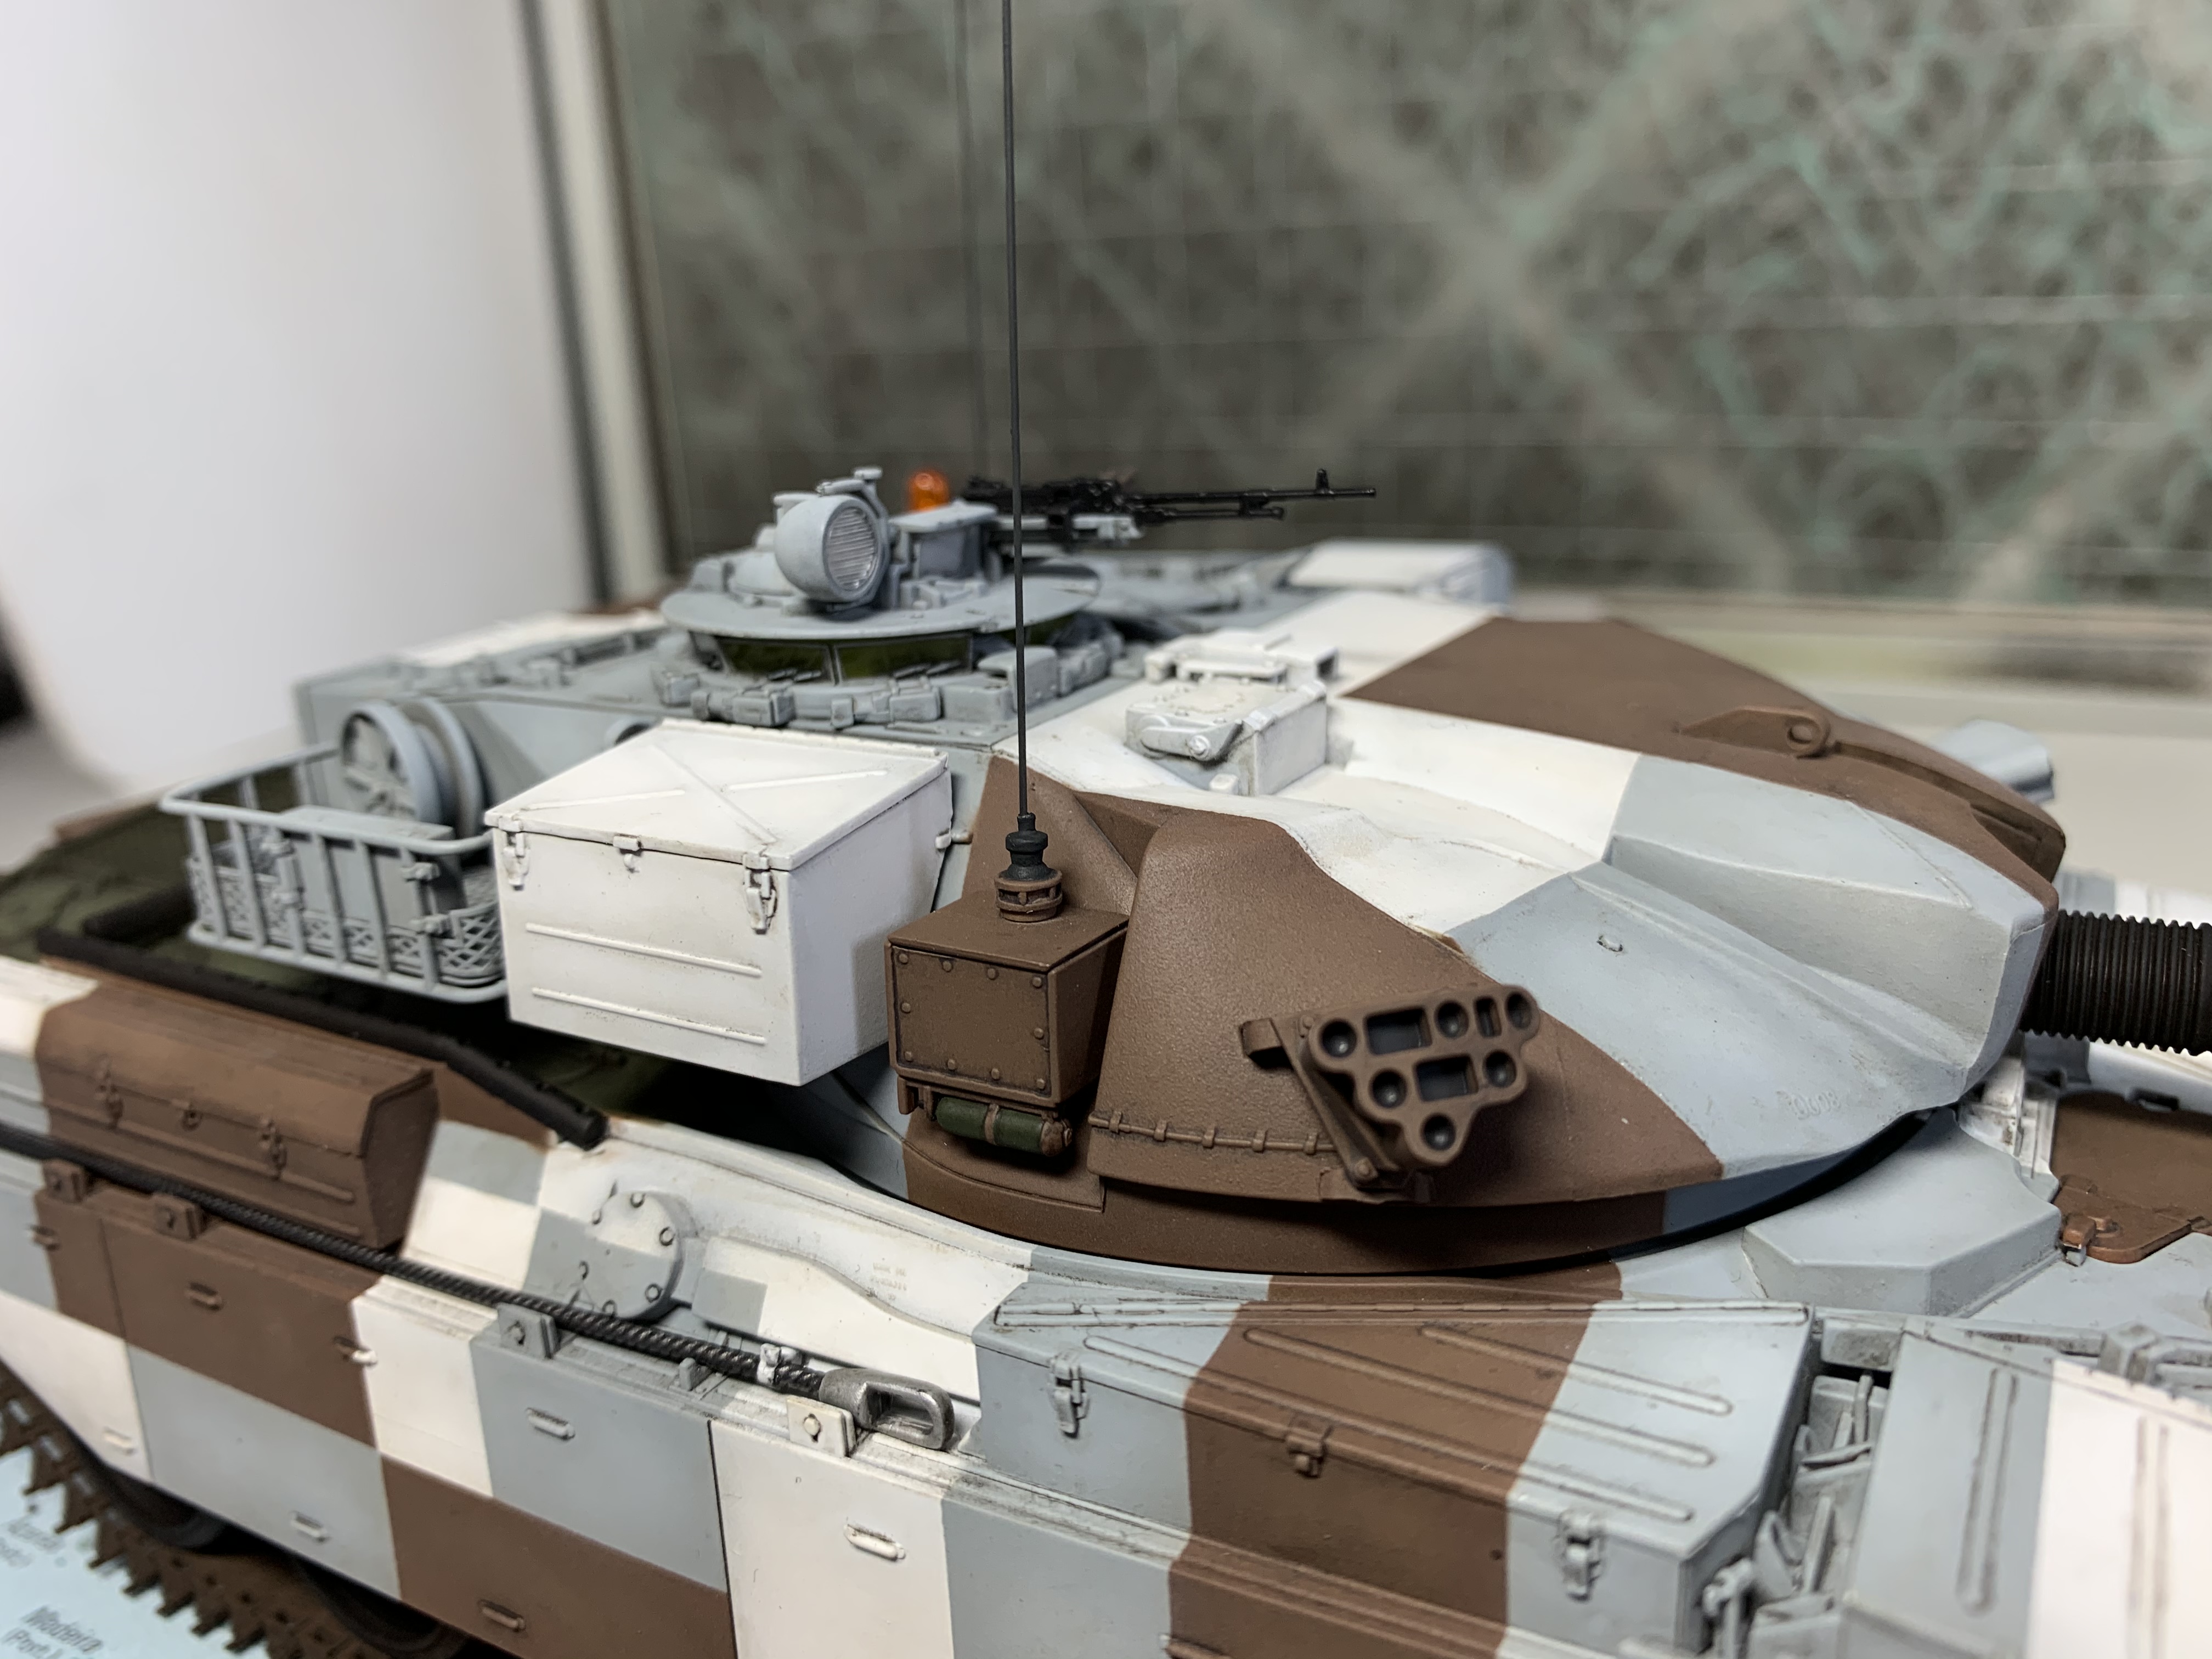


phil2015

Joined: July 27, 2015
KitMaker: 502 posts
Armorama: 325 posts

Posted: Thursday, September 17, 2020 - 12:40 AM UTC
Wow! That's really terrific. Thanks for sharing with us.
Johnnych01

Joined: June 29, 2019
KitMaker: 604 posts
Armorama: 506 posts

Posted: Thursday, September 17, 2020 - 01:33 AM UTC
That is a fantastic rendition Jim. You have nailed every aspect of it, from the delicate little attention to detail to the just right weathering. There isn't much if anything that needs adding, maybe the callsign plate and some turret basket stowage, but to be honest, it doesn't need it. The finished vehicle speaks for itself and you should be very proud of it. Well fone
iwatajim

Joined: December 15, 2008
KitMaker: 246 posts
Armorama: 171 posts

Posted: Thursday, September 17, 2020 - 07:12 AM UTC
Thanks Phil, it has absolutely been my pleasure to share this one.
Thanks John, and thanks for all your invaluable help with the details, apart from the green engine deck I think weíve ended up with a fairly accurate representation of the real beastie, that would not be the case without your input for sure.
And thanks for your kind words guys, which have kept this build on track!
So, for anyone else thinking of attempting this, please go for it. The pics are ok, but it really does make an interesting piece on the shelf. In fact I donít normally enter competitions but I would have been very tempted to take this to the Glasgow or Edinburgh shows, but thatís easy to say when they are cancelled! Ha!
Iím off now to stand in front of the stash, scratch my chin and try to decide what to start next...
Cheers, Jim.
Posted: Thursday, September 17, 2020 - 10:24 AM UTC
Jim you've done an OUTSTANDING job with that beast ! It really looks fantastic ! Every aspect is well done....
iwatajim

Joined: December 15, 2008
KitMaker: 246 posts
Armorama: 171 posts

Posted: Friday, September 18, 2020 - 08:03 AM UTC
Thanks Richard! Iím glad you like the finished article. Although now Iíve noticed the masking tape on the drivers vision block so I now have two tiny wipers to paint!
Thanks again, Jim.
Thanks again, Jim.
Panzer_Modeler

Joined: May 19, 2020
KitMaker: 419 posts
Armorama: 217 posts

Posted: Wednesday, September 23, 2020 - 12:15 PM UTC
Wowwwww! That looks amazing! its perfectly weathered and looks a treat! 


iwatajim

Joined: December 15, 2008
KitMaker: 246 posts
Armorama: 171 posts

Posted: Thursday, September 24, 2020 - 12:39 AM UTC
Hey, thanks Ezra! Much appreciated!
Just noticed the decal sheet has what I think is the writing for the commanders mg ammo box, although nothing in the instructions about it.
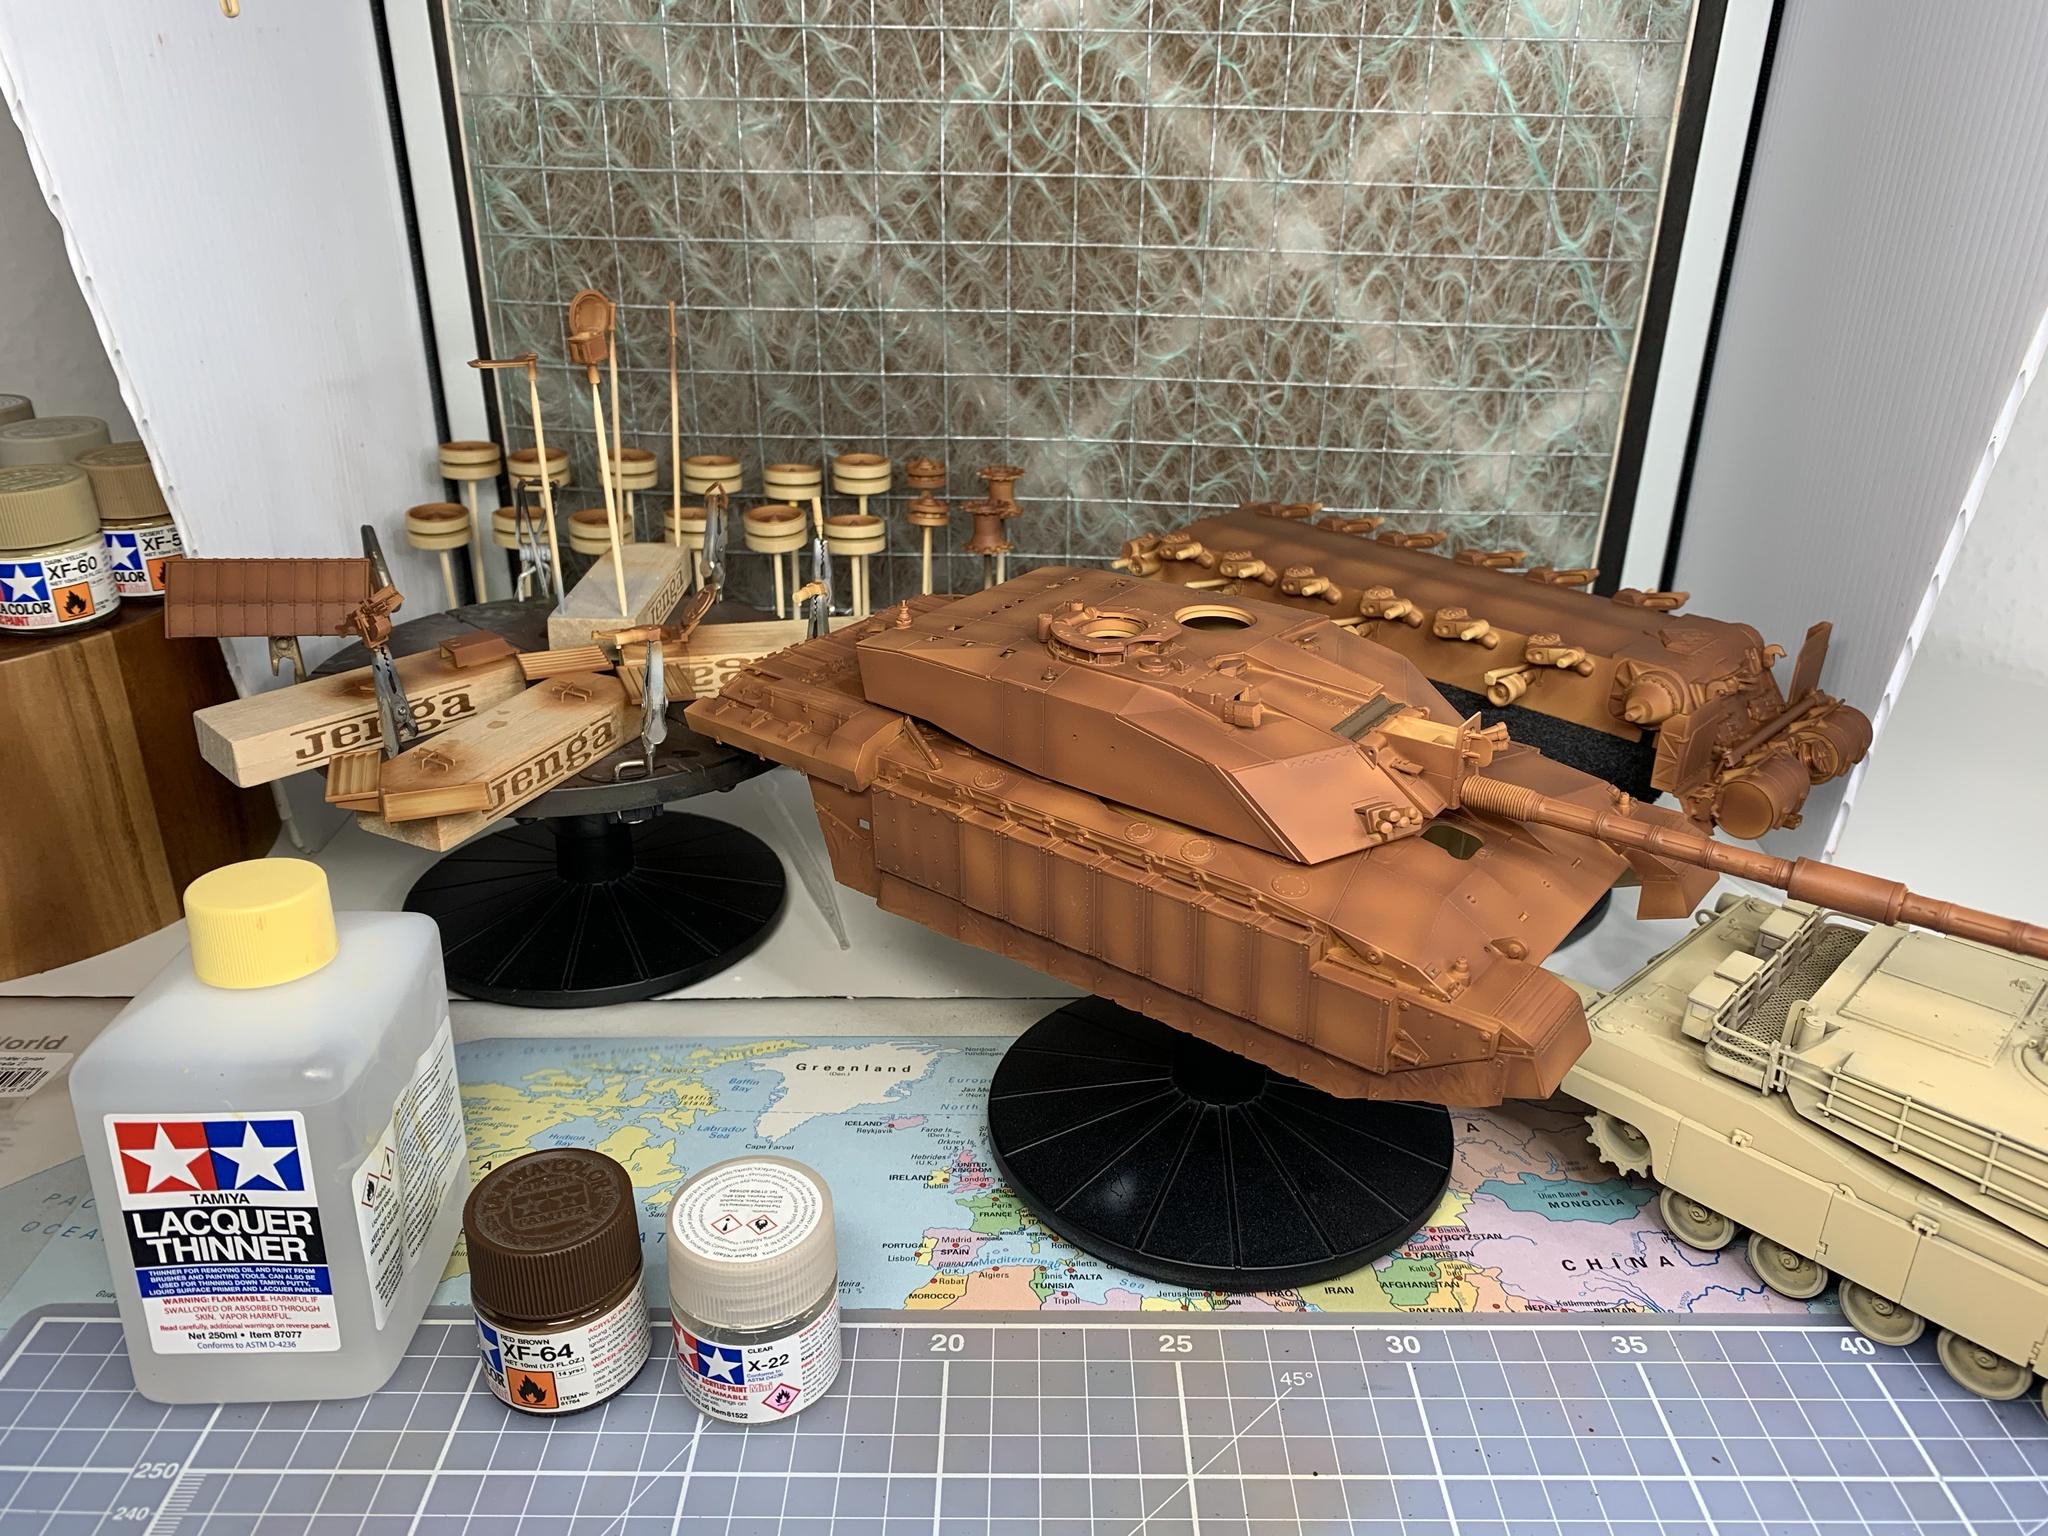
Will sort that when I get to the same process on my current build, a Tamiya Challenger 2 desertised, once I figure out what hue of bloominí yellow to go for! Ha! Already got red brown down as a primer and going to do highlights with buff, then the ďyellowĒ. An exercise in painting and weathering is the plan for this one...
Thanks again, Jim.
p.s. the abrams is the test bed once again.


maximus8425

Joined: May 12, 2006
KitMaker: 331 posts
Armorama: 320 posts

Posted: Thursday, September 24, 2020 - 02:24 AM UTC
Really liking the end product here. One tny little point which you might want to address, the handles for the fixed fire extinguishers were generally painted red. Those are the ones located between the first and second tool bins on either side. Other than that it's outstanding in my view.
Johnnych01

Joined: June 29, 2019
KitMaker: 604 posts
Armorama: 506 posts

Posted: Thursday, September 24, 2020 - 04:22 AM UTC
Damn, good spot Maximus... I missed that.
iwatajim

Joined: December 15, 2008
KitMaker: 246 posts
Armorama: 171 posts

Posted: Thursday, September 24, 2020 - 05:25 AM UTC
Thanks Max! Well spotted indeed. I had noticed something red there in the pics Iíve seen but thought it was maybe more first aid markings, but can now see what you mean.
In fact, John, Iím sure I remember you mentioning red handles on fire extinguishers at one point..
So, drivers vision block wipers, mg ammo box decal, and the red extinguisher handles. I shall finish this! I even bought a Tamiya display case, F size, for it. Had to chop a couple of mm from the highest aerial but it fits nicely.
Thanks again guys, J.
 |


