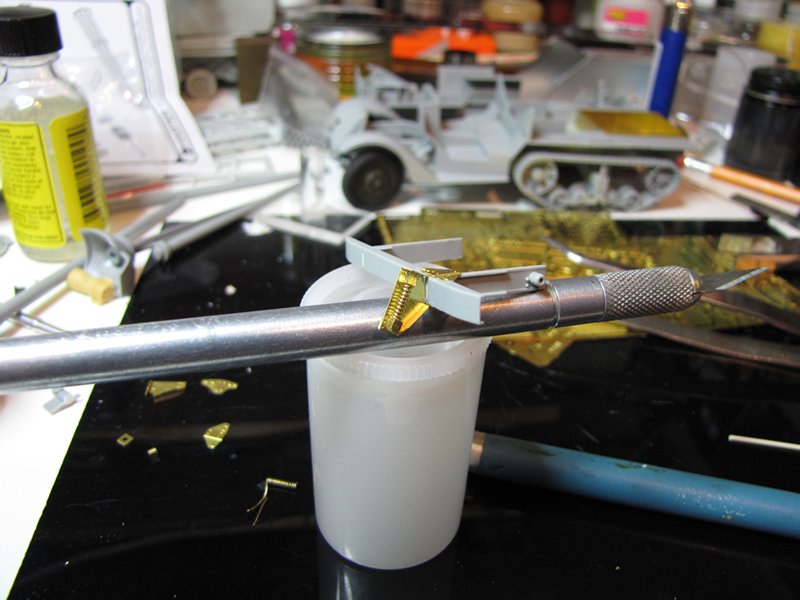
Rob ,, those little buggers are in the Lion Roar conversion for the M2 ,,once i sorted out a way to do them they were very easy to do but damn you gotta treat these things with kid gloves ..so so delicate but damn they look good
Phill
Campaigns
Where Armorama group builds can be discussed, organized, and updates posted.
Hosted by Darren Baker, Richard S.
US Halftracks Campaign
WARDUKWNZ
Auckland, New Zealand
Joined: June 01, 2011
KitMaker: 1,716 posts
Armorama: 1,638 posts
Joined: June 01, 2011
KitMaker: 1,716 posts
Armorama: 1,638 posts
Posted: Wednesday, August 08, 2012 - 10:55 PM UTC
Joel_W
Associate Editor
New York, United States
Joined: December 04, 2010
KitMaker: 11,666 posts
Armorama: 1,143 posts
Joined: December 04, 2010
KitMaker: 11,666 posts
Armorama: 1,143 posts
Posted: Thursday, August 09, 2012 - 12:15 AM UTC
Phil, I'm simply speechless.
Posted: Thursday, August 09, 2012 - 01:14 AM UTC
Thanks Phil!
Looks like those are available separately.
Cheers Rob.
Looks like those are available separately.
Cheers Rob.
WARDUKWNZ
Auckland, New Zealand
Joined: June 01, 2011
KitMaker: 1,716 posts
Armorama: 1,638 posts
Joined: June 01, 2011
KitMaker: 1,716 posts
Armorama: 1,638 posts
Posted: Thursday, August 09, 2012 - 07:45 PM UTC
Josh .. Thanks man all in all they were pretty easy to make ..trust me i'm glad about that
Rob .. Ya know dude i don't know .i can't remember ever seeing them listed as a separate item and hell i didn't even know they came in this conversion until i got em .
Phill
Rob .. Ya know dude i don't know .i can't remember ever seeing them listed as a separate item and hell i didn't even know they came in this conversion until i got em .
Phill
Posted: Thursday, August 09, 2012 - 10:06 PM UTC
Phill, that fifty looks awesome, but I'd go nuts with the ammo... It was bad enough in 1/1 scale, but 1/35?!?
Posted: Thursday, August 09, 2012 - 11:31 PM UTC
WARDUKWNZ
Auckland, New Zealand
Joined: June 01, 2011
KitMaker: 1,716 posts
Armorama: 1,638 posts
Joined: June 01, 2011
KitMaker: 1,716 posts
Armorama: 1,638 posts
Posted: Thursday, August 09, 2012 - 11:57 PM UTC
Well it turns out you can get them and man i am glad that camera took better pics than mine could but you can see just how small those links are but damn not that hard to do .
Phill
WARDUKWNZ
Auckland, New Zealand
Joined: June 01, 2011
KitMaker: 1,716 posts
Armorama: 1,638 posts
Joined: June 01, 2011
KitMaker: 1,716 posts
Armorama: 1,638 posts
Posted: Saturday, August 11, 2012 - 03:37 PM UTC
Hey guys ,, ok went hunting for a set of Lion Roar's ammo set like the one in the above post ..it would seem tho that this item has disappeared of the face of the planet .
Can't find it anywhere .if any of you guys know where this can be scored then please let me know .
Phill
Can't find it anywhere .if any of you guys know where this can be scored then please let me know .
Phill
WARDUKWNZ
Auckland, New Zealand
Joined: June 01, 2011
KitMaker: 1,716 posts
Armorama: 1,638 posts
Joined: June 01, 2011
KitMaker: 1,716 posts
Armorama: 1,638 posts
Posted: Saturday, August 11, 2012 - 04:08 PM UTC
Ok been at it again ... this is what the M2 looks like now .
and these are the guys i am gonna use with a small dio ..
Thats it for now
Phill
and these are the guys i am gonna use with a small dio ..
Thats it for now
Phill
Posted: Sunday, August 12, 2012 - 10:30 AM UTC
Looking good Phil!
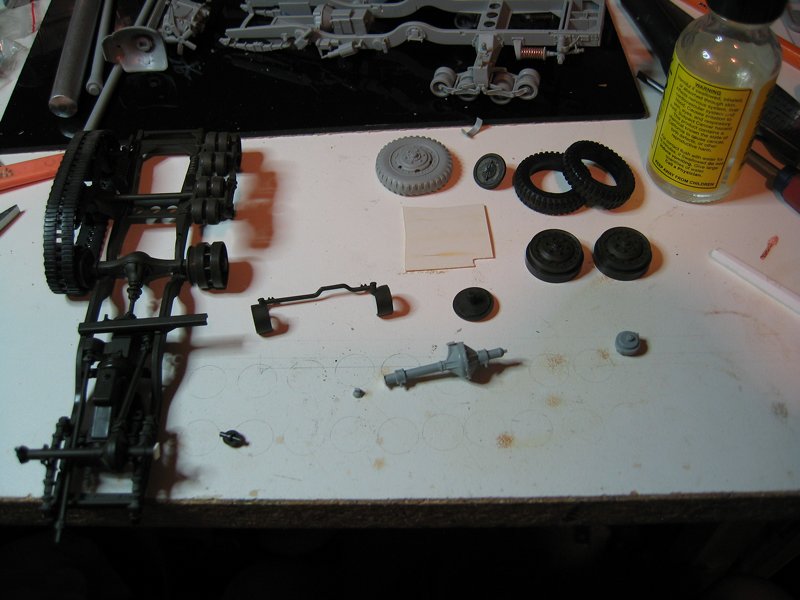
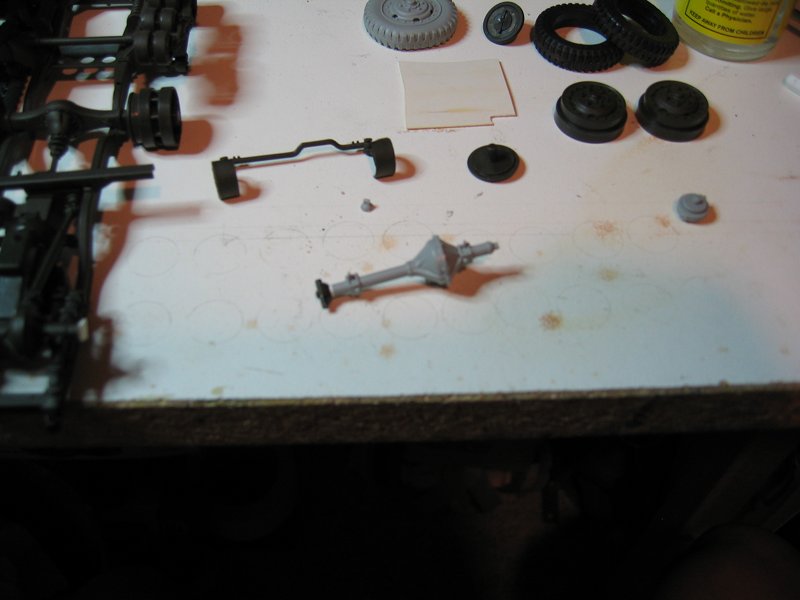
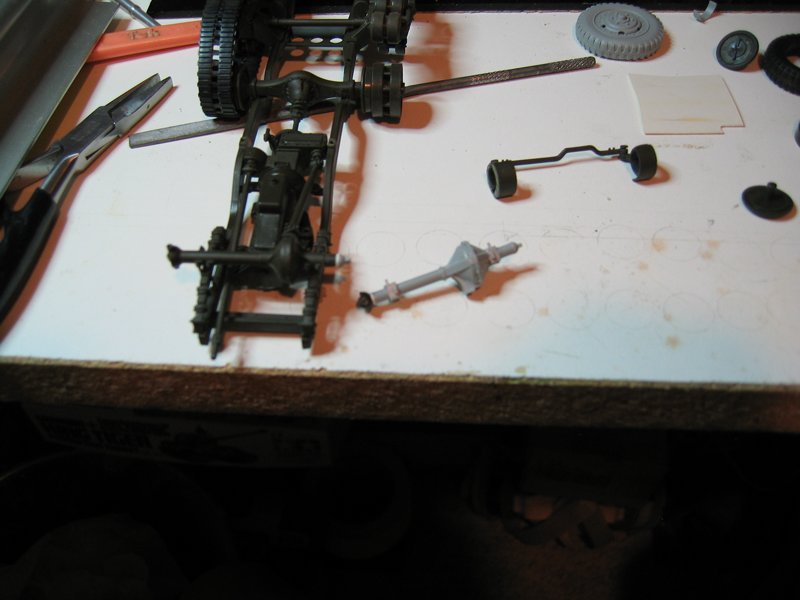
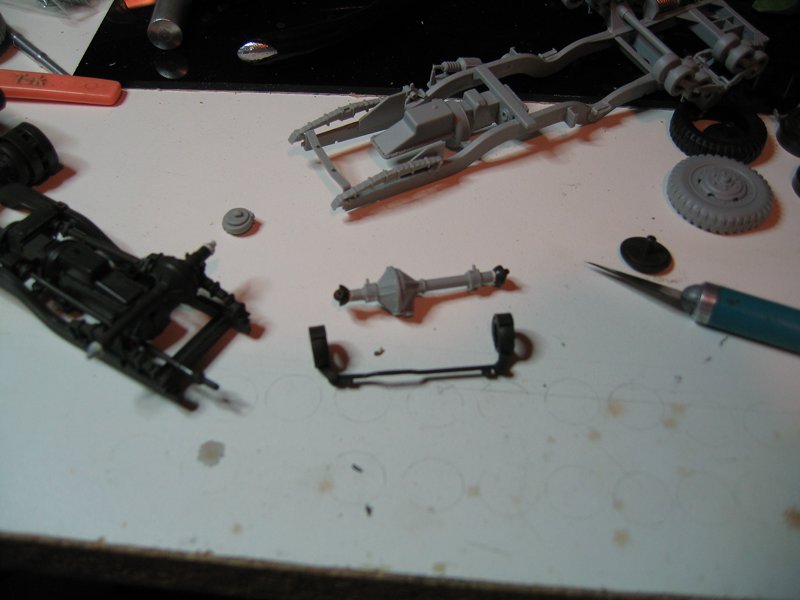
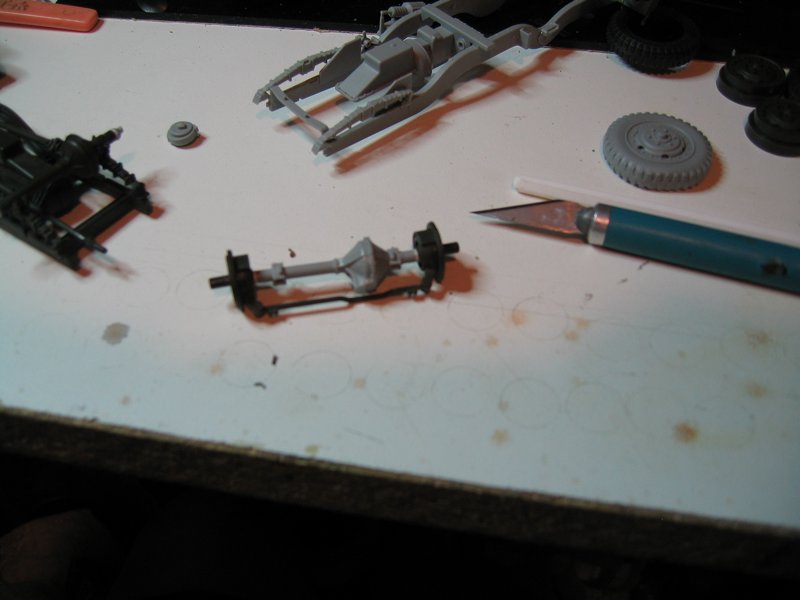
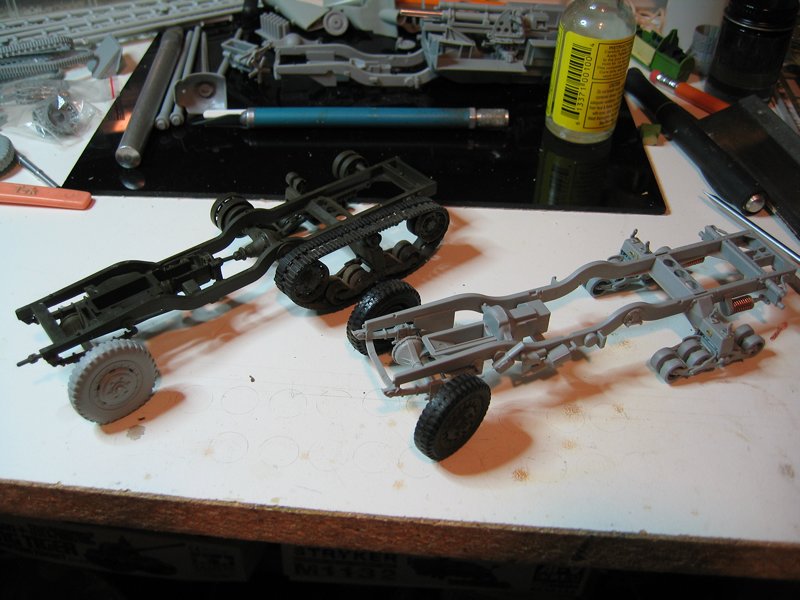
I got a bit done on mine, I wanted to make the front wheels turn and was prepared to do some major surgery on the axles. I then happened to pick up one of my not yet finished Tamyia halftracks and it hit me an easier way to go. The pics should tell the story.
Cheers Rob.
I got a bit done on mine, I wanted to make the front wheels turn and was prepared to do some major surgery on the axles. I then happened to pick up one of my not yet finished Tamyia halftracks and it hit me an easier way to go. The pics should tell the story.
Cheers Rob.
Posted: Monday, August 13, 2012 - 09:47 AM UTC
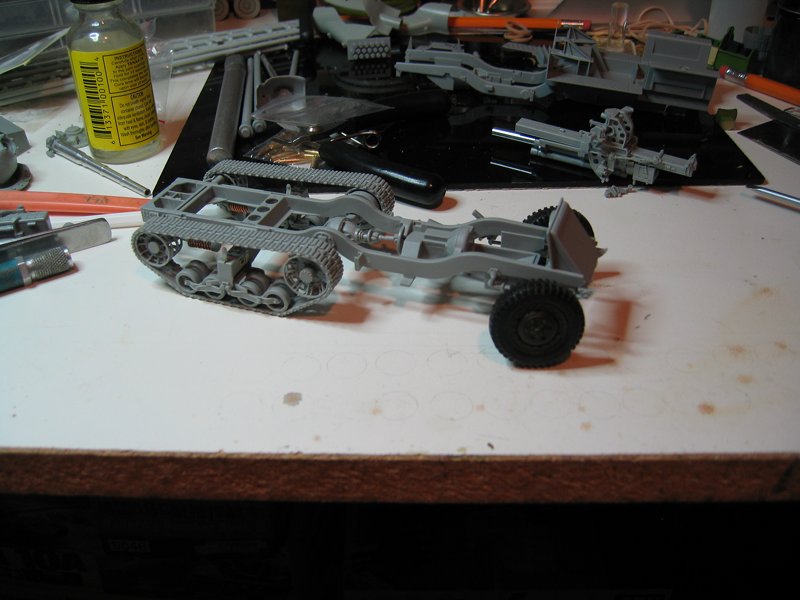
A little more progress with the front axle. I am happy with the way it turned out much easier than my first plan.
Cheers Rob.
Cheers Rob.
Posted: Monday, August 13, 2012 - 07:43 PM UTC
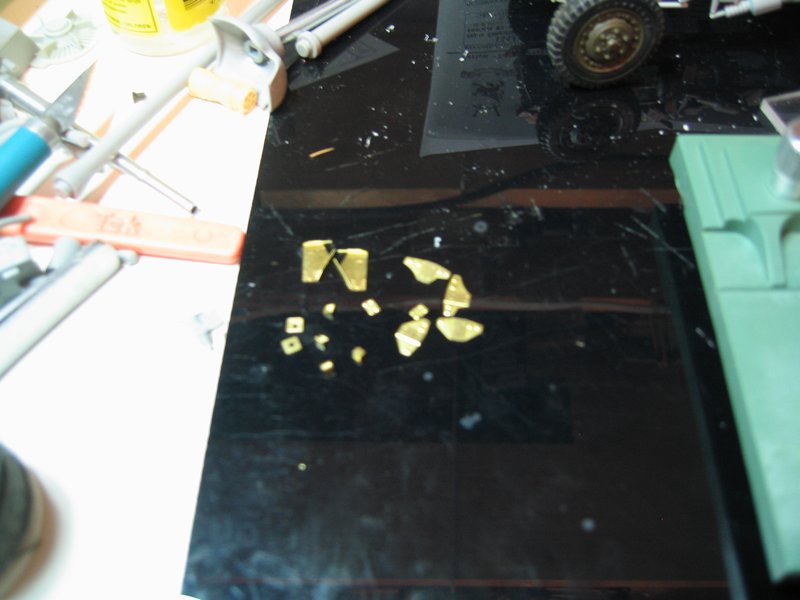
Got up to step 5 done and prepared all the PE for the front roller.
Cheers Rob.
Cheers Rob.
Posted: Tuesday, August 14, 2012 - 10:49 AM UTC
One side done, I think I might start a thread on this and just post some updates here so I don't clutter this thread too much.
Cheers Rob.
Ok,
Started a thread here:
https://armorama.kitmaker.net/forums/196107&page=1#1642580
Cheers Rob.
Ok,
Started a thread here:
https://armorama.kitmaker.net/forums/196107&page=1#1642580
Posted: Tuesday, August 14, 2012 - 12:57 PM UTC
Wow guys.. we should rename this "Going Nuts with PE" LOL
anyway I am keeping notes, after all I have a few Halftracks in the stash..
On the M3A1 zvezda kit:
I've been working on the pioneer tools for this build, I decided to replace the kit parts, which are terrible, with some Pioneer tools from a Verlinden resin set I have.
I only had a couple of pieces of the clamps for the tools on the PE set I had, so I spent some time building some tool holders and clamps out of the leftover bits of Photo Etch fret.
I also managed to correctly bend a couple of the Jerry cans, one is from accurate armor and the other from the eastern block Photo etch I'm using.
I know the tools are not in the officially correct locations, mainly because I made a mistake in the shovel placement, and everything else led from there. But I like it so I'm using artistic license with this build.
don't laugh too hard, I am not the best scratch builder in the world and I am learning a lot with this build.. I am pretty sure I have stepped a bit past my comfort level..
later
Delbert
Cannon99
New Brunswick, Canada
Joined: December 25, 2009
KitMaker: 44 posts
Armorama: 24 posts
Joined: December 25, 2009
KitMaker: 44 posts
Armorama: 24 posts
Posted: Tuesday, August 14, 2012 - 03:35 PM UTC
Construction is underway on my DML M2A1 (now that I'm done with vacation).
Thanks,
Karl
Thanks,
Karl
Joel_W
Associate Editor
New York, United States
Joined: December 04, 2010
KitMaker: 11,666 posts
Armorama: 1,143 posts
Joined: December 04, 2010
KitMaker: 11,666 posts
Armorama: 1,143 posts
Posted: Wednesday, August 15, 2012 - 11:01 AM UTC
Phil, your build looks fantastic.
This is the 1st opportunity I've had since Monday to log in as I had to make a emergency family trip to Florida from NY.Flying home on Friday. Looking forward to actually getting more of the weathering done.
It's hard to believe but my Mother might be the only person here at the condo that doesn't have internet service. I have to go to the club house and log into their system just to go online.
Joel
beefy66
England - North East, United Kingdom
Joined: October 22, 2007
KitMaker: 971 posts
Armorama: 280 posts
Joined: October 22, 2007
KitMaker: 971 posts
Armorama: 280 posts
Posted: Wednesday, August 15, 2012 - 10:54 PM UTC
Hey you guys have gone PE crazy I,am just doing a OOB that is supposed to be a quick one for me but you lot are real speed freaks with your builds look great guy,s here is my progress after my little vacation to the states got most of the build in sub assembly and base coat of paint on
WARDUKWNZ
Auckland, New Zealand
Joined: June 01, 2011
KitMaker: 1,716 posts
Armorama: 1,638 posts
Joined: June 01, 2011
KitMaker: 1,716 posts
Armorama: 1,638 posts
Posted: Friday, August 24, 2012 - 09:24 PM UTC
Hey ya guys ... Its been a little while but i haven't forgotten the M2 .. fact is i have been busy on it over the last few days and did more this morning ..least now it looks like a US issue half track instead of some pimps bling wagon .
So here's some pics for ya all to take a look at
Phill
So here's some pics for ya all to take a look at
Phill
Joel_W
Associate Editor
New York, United States
Joined: December 04, 2010
KitMaker: 11,666 posts
Armorama: 1,143 posts
Joined: December 04, 2010
KitMaker: 11,666 posts
Armorama: 1,143 posts
Posted: Saturday, August 25, 2012 - 07:13 AM UTC
Well, I finally finished my DML OOB M2 build. This was my 1st ever half track, but it sure won't be my last. I really enjoyed building this kit as it's so different from the Tanks I've been building since I joined Armorama.
As I was pulling off the masking tape from the windshield so I could take some pictures, I managed to knock off one of the armor shield stanchions. I quickly cut a new one and was going to paint it, when I noticed that it's dia is just too large. So I have to replace it. Since I had all my photo gear out, I went ahead and shot these pictures.
Posted: Saturday, August 25, 2012 - 02:47 PM UTC
Hi guys,
Here is an update on my M3A1 zvezda kit build. I feel I'm improving the kit quite a bit by changing a few bits here and there. It won't be a super detailed kit, but it won't be to bad by my own standards.
anyway things are coming together, most parts are ready to install or ready for paint. I'm currently putting together a verlinden 50 cal MG, and finishing up the jerry cans and jerry can holders.
here is the photo.
later
Delbert
BigSmitty
Minnesota, United States
Joined: October 01, 2008
KitMaker: 597 posts
Armorama: 439 posts
Joined: October 01, 2008
KitMaker: 597 posts
Armorama: 439 posts
Posted: Saturday, August 25, 2012 - 04:21 PM UTC
Taking a break from trying to finish up the WWI campaign, and finished up the 1/48 Campaign 2, and worked some on my Tank Destroyer/SPG campaign...so I decided to get some work done on the M16 MGMC. Got quite a bit done tonight:
The weighted front tires are really well done, especially for plastic one piece jobs...
Got some work done on the front cab. A word of warning to anybody not done with their DML M2 series halftracks. Make sure you put the pick on the side of the cab BEFORE the shovel. Trust me, I found out the hard way, and it's not like the instructions helped at all
That's all for tonight. Really enjoying everybody else's builds. Fun to see all these versions of the same basic body and frame.
Posted: Friday, August 31, 2012 - 08:03 AM UTC
Sorry for my absence lately guys! Finally got some bench time this week with the family on vacation… Amazing all the PE work going on around here.
Phill, she’s a beaut with paint on!
Rob, good idea to use the Tamiya parts! Also solves the issue with the flattened tires (if that is an issue…)
Delbert, looking good to me; it’s always good to pass your comfort level a little bit now and then.
Karl, you mean you needed a vacation from the building? Nice start!
Keith, that reminds me of my early days when I built the Tamiya tracks. Still a nice kit though! Good work so far!
Joel, nice work! Now all you have to do is get the .50 cal a bit down and back, it’s not sitting in the right spot on the cradle… Might be the angle, but it seems the hull is sitting too high on the chassis?
Matt, that’s a quick start! And thanks for the tip with the pick!
Hope to make some real progress on my HT now that all my other projects are finished.
Cheers!
Stefan
Phill, she’s a beaut with paint on!
Rob, good idea to use the Tamiya parts! Also solves the issue with the flattened tires (if that is an issue…)
Delbert, looking good to me; it’s always good to pass your comfort level a little bit now and then.
Karl, you mean you needed a vacation from the building? Nice start!
Keith, that reminds me of my early days when I built the Tamiya tracks. Still a nice kit though! Good work so far!
Joel, nice work! Now all you have to do is get the .50 cal a bit down and back, it’s not sitting in the right spot on the cradle… Might be the angle, but it seems the hull is sitting too high on the chassis?
Matt, that’s a quick start! And thanks for the tip with the pick!
Quoted Text
I agree. That's why I proposed this campaign. )Fun to see all these versions of the same basic body and frame.
Hope to make some real progress on my HT now that all my other projects are finished.
Cheers!
Stefan
IrishGreek
Michigan, United States
Joined: October 17, 2010
KitMaker: 627 posts
Armorama: 571 posts
Joined: October 17, 2010
KitMaker: 627 posts
Armorama: 571 posts
Posted: Saturday, September 01, 2012 - 03:16 AM UTC
Okay, so I took the initial photos awhile ago...
I actually started doing some things on it this week. Quick question, are the sink marks under the cab and front wheel wells pretty visible once assembled?
Here is the first photo...
I actually started doing some things on it this week. Quick question, are the sink marks under the cab and front wheel wells pretty visible once assembled?
Here is the first photo...
Joel_W
Associate Editor
New York, United States
Joined: December 04, 2010
KitMaker: 11,666 posts
Armorama: 1,143 posts
Joined: December 04, 2010
KitMaker: 11,666 posts
Armorama: 1,143 posts
Posted: Saturday, September 01, 2012 - 03:54 AM UTC
Stephen, thanks for CC. I'll work on the 50.Cal as I must have screwed the mount up. As for the hull sitting too high on the chassis, I really struggled to get it down that far. This was my 1st Half Track, and it was a real learning experience.
Joel
Joel
IrishGreek
Michigan, United States
Joined: October 17, 2010
KitMaker: 627 posts
Armorama: 571 posts
Joined: October 17, 2010
KitMaker: 627 posts
Armorama: 571 posts
Posted: Sunday, September 02, 2012 - 01:49 PM UTC
Just a quick question. Are the front wheels supposed to cant/tilt in a little bit? Meaning, the botton of the wheel is closer to the frame than the top of the wheel?
Thanks.
Thanks.