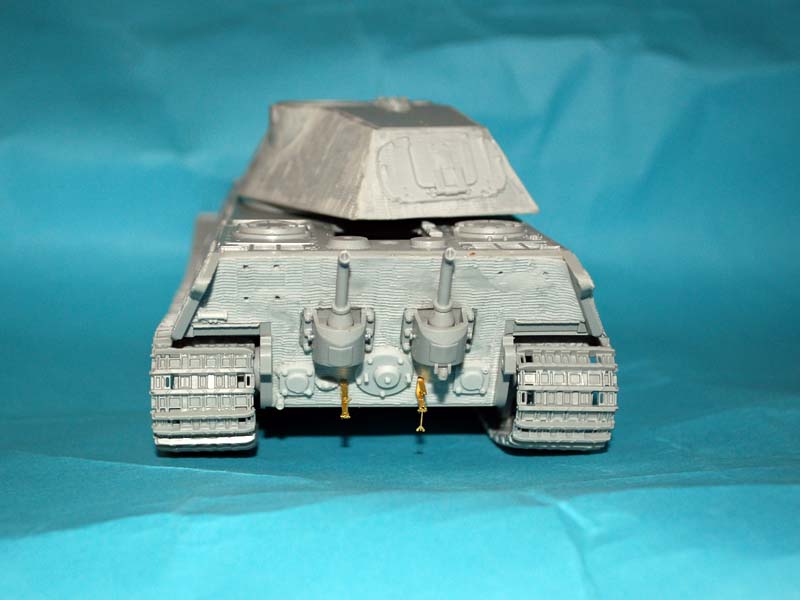
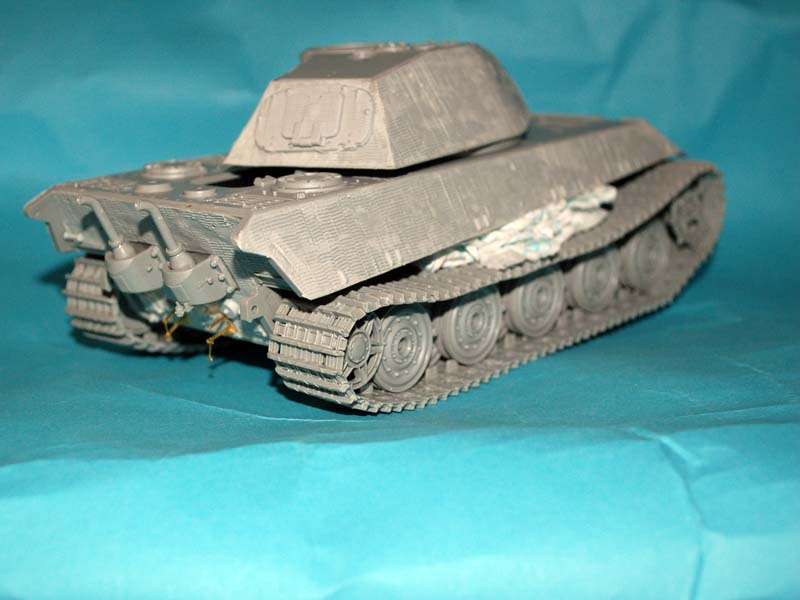
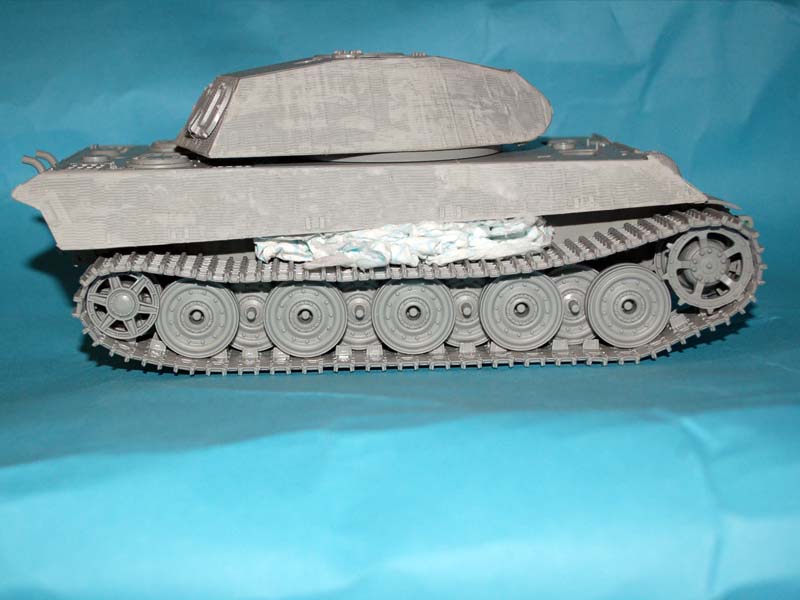
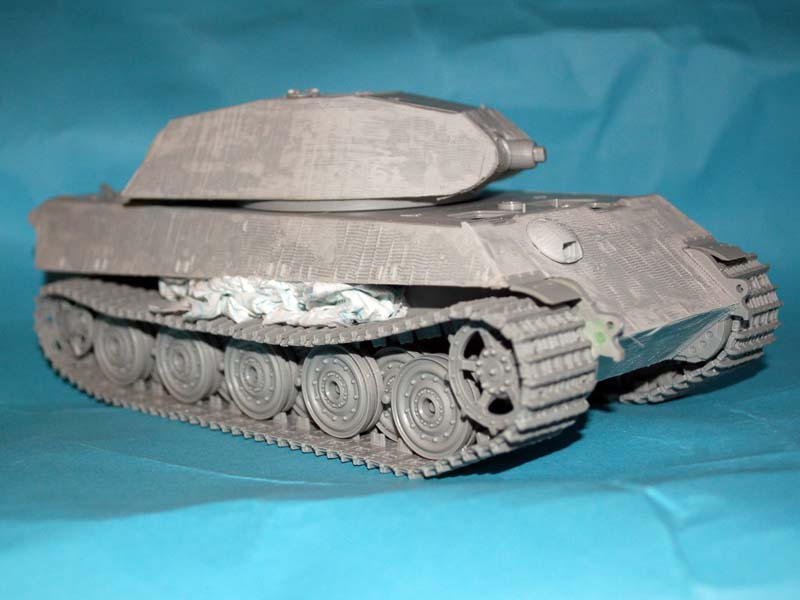
There is some nice work going on in this campaign. Some of you hit the ground running like a young racehorse right out of the gate (and any other clichés for a quick start you can think of )
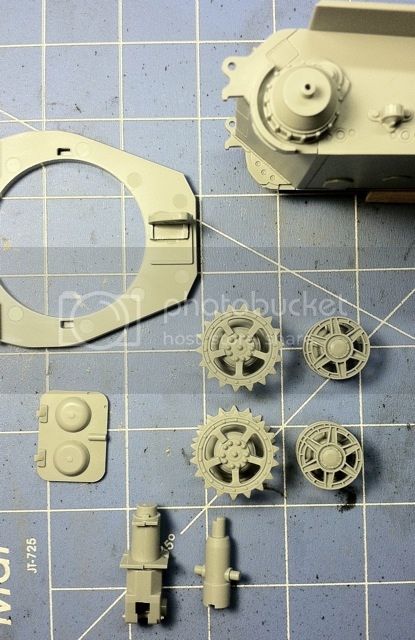
My progress thus far: I've managed to remove the cellophane from the sprue trees! And clean up and dry fit the major components. A slow start, but a start none-the-less!
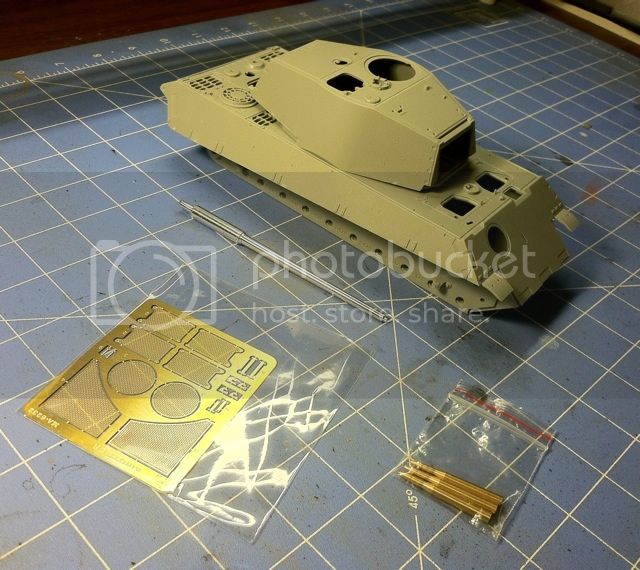
Keith
Campaigns
Where Armorama group builds can be discussed, organized, and updates posted.
Hosted by Darren Baker, Richard S.
King Campaign
woltersk
Utah, United States
Joined: May 27, 2003
KitMaker: 1,026 posts
Armorama: 654 posts
Joined: May 27, 2003
KitMaker: 1,026 posts
Armorama: 654 posts
Posted: Monday, November 05, 2012 - 11:49 PM UTC
Nito74
Lisboa, Portugal
Joined: March 04, 2008
KitMaker: 5,386 posts
Armorama: 4,727 posts
Joined: March 04, 2008
KitMaker: 5,386 posts
Armorama: 4,727 posts
Posted: Tuesday, November 06, 2012 - 12:44 AM UTC
Hi Keith,
We just saw the opened gate, that's all...
Your KT looks good, really lke the metal ammo.
Which kit are you using ?
We just saw the opened gate, that's all...
Your KT looks good, really lke the metal ammo.
Which kit are you using ?
woltersk
Utah, United States
Joined: May 27, 2003
KitMaker: 1,026 posts
Armorama: 654 posts
Joined: May 27, 2003
KitMaker: 1,026 posts
Armorama: 654 posts
Posted: Tuesday, November 06, 2012 - 01:22 AM UTC
Hey John,
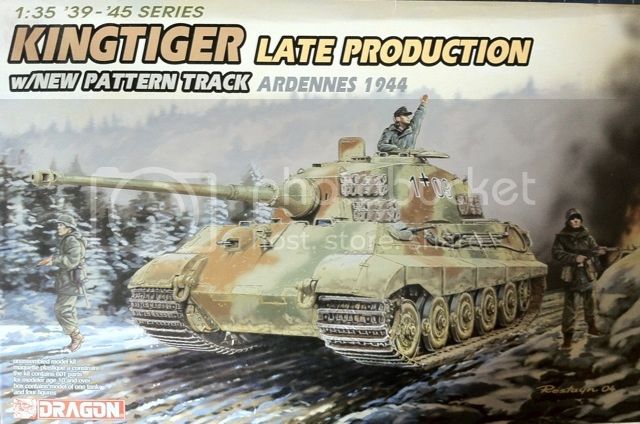
It's this Dragon offering:
My first kit with a metal gun barrel and magic tracks, and my first serious foray into PE. The brass ammo was a nice touch. It also came with wire tow cables.
Keith
It's this Dragon offering:
My first kit with a metal gun barrel and magic tracks, and my first serious foray into PE. The brass ammo was a nice touch. It also came with wire tow cables.
Keith
Removed by original poster on 11/07/12 - 00:44:36 (GMT).
imatanker
Maine, United States
Joined: February 11, 2011
KitMaker: 1,654 posts
Armorama: 1,565 posts
Joined: February 11, 2011
KitMaker: 1,654 posts
Armorama: 1,565 posts
Posted: Tuesday, November 06, 2012 - 12:53 PM UTC
Keith... Great choice,don't be scared of your PE,at least you don't need an electron microscope to see all the pieces This is what I have to work with
Yes, that's a dime.What have I gotten myself into? Thank goodness for Opti-visors
I did manage to get some primer on the engine compartment today I am beginning to hatch a plan for the crane Jeff T.
Yes, that's a dime.What have I gotten myself into? Thank goodness for Opti-visors
I did manage to get some primer on the engine compartment today I am beginning to hatch a plan for the crane Jeff T.
Posted: Tuesday, November 06, 2012 - 01:36 PM UTC
What's up Jeff is age taking its toll on the eyeballs like me, I have to do most assembly now under a desk mounted magnifier and light.
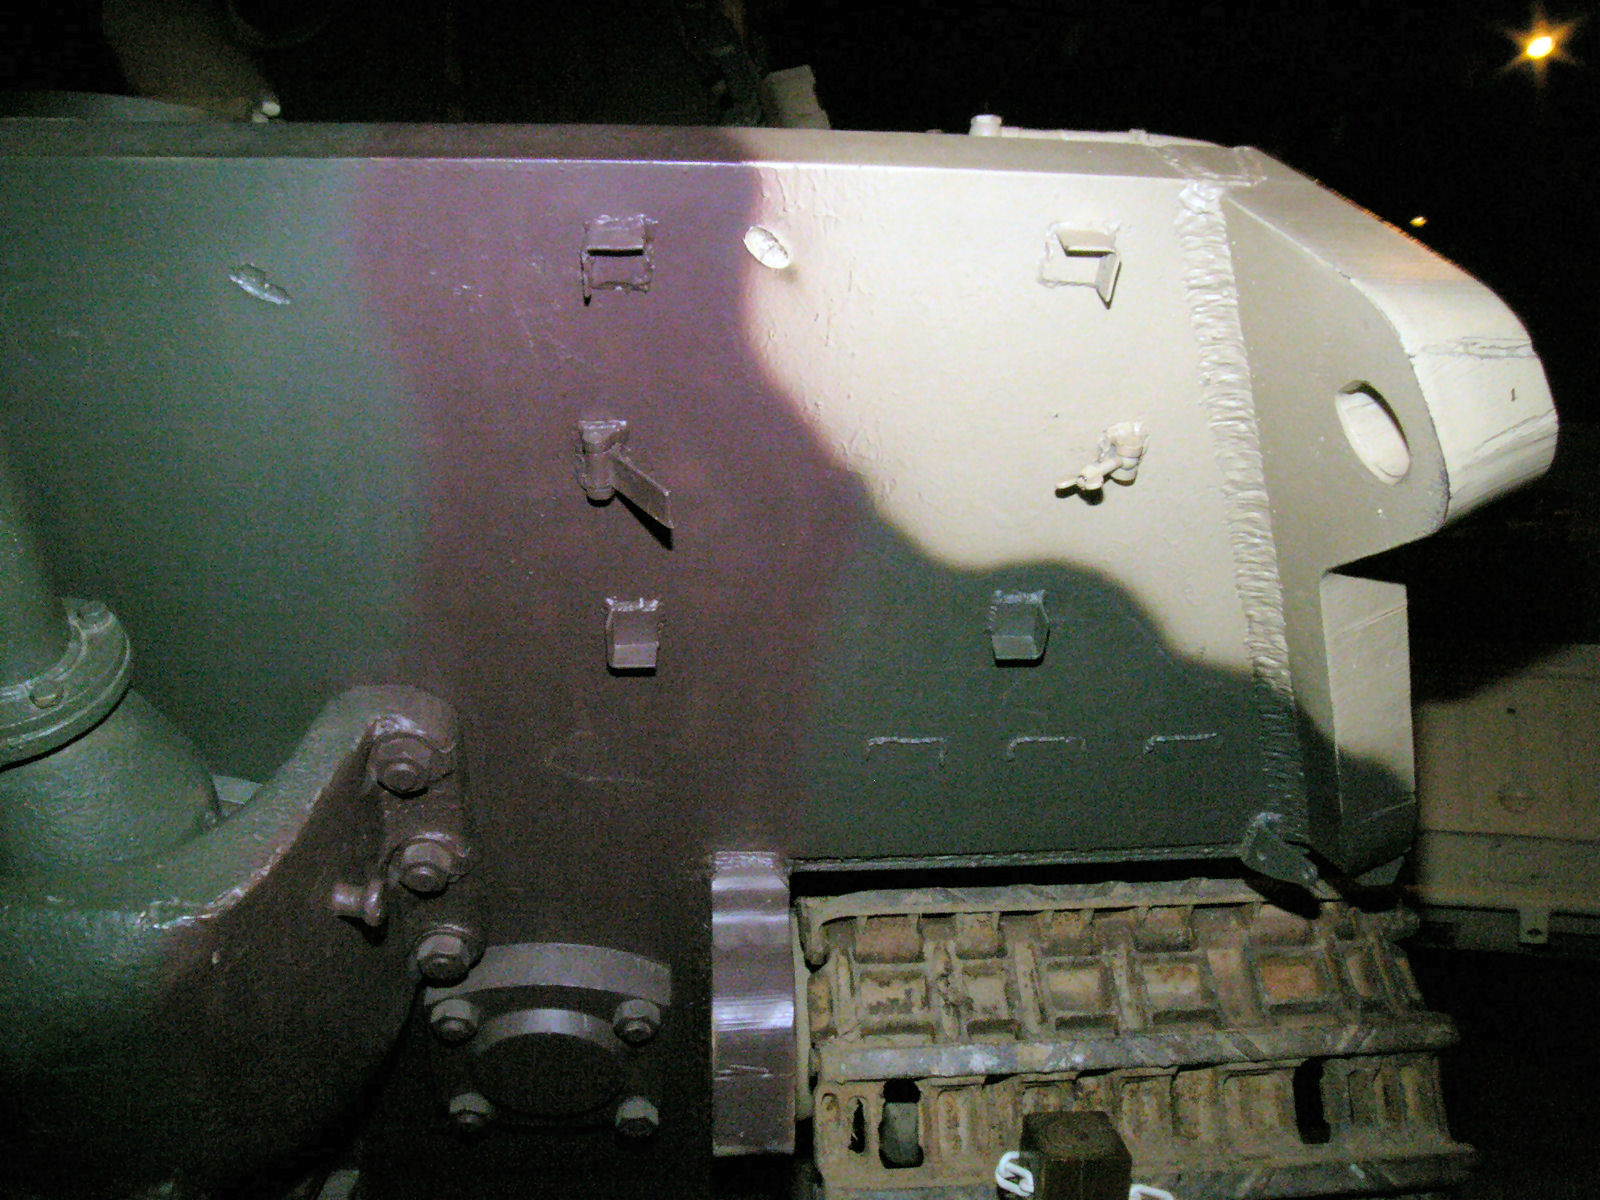
I have not been idle the last few days and I will upload my progress pictures tomorrow. I have assemble the track, changed the drive wheels, joined the upper and lower hull, and put the turret together. I do however have a question (That's a surprise isn't it), my question is in the picture below I have ringed an area which normally would be the wooden jacking block but this does not look like the wooden block to me. The good news is that in the ET Model set there are exhaust guards and this KT does not appear to need them so that's a result.
Snorri23
Ontario, Canada
Joined: March 25, 2010
KitMaker: 514 posts
Armorama: 261 posts
Joined: March 25, 2010
KitMaker: 514 posts
Armorama: 261 posts
Posted: Tuesday, November 06, 2012 - 03:56 PM UTC
I have added more small detail items. Found some left over photo etch parts and used the lifting hooks, wire grab handles. Do not think that it will show up well being photographed. Have enjoyed the posted photos so far. Excellent work everyone.
Nito74
Lisboa, Portugal
Joined: March 04, 2008
KitMaker: 5,386 posts
Armorama: 4,727 posts
Joined: March 04, 2008
KitMaker: 5,386 posts
Armorama: 4,727 posts
Posted: Wednesday, November 07, 2012 - 01:01 AM UTC
Lower Hull details:
imatanker
Maine, United States
Joined: February 11, 2011
KitMaker: 1,654 posts
Armorama: 1,565 posts
Joined: February 11, 2011
KitMaker: 1,654 posts
Armorama: 1,565 posts
Posted: Wednesday, November 07, 2012 - 01:35 AM UTC
Quoted Text
What's up Jeff is age taking its toll on the eyeballs like me, I have to do most assembly now under a desk mounted magnifier and light.
I have not been idle the last few days and I will upload my progress pictures tomorrow. I have assemble the track, changed the drive wheels, joined the upper and lower hull, and put the turret together. I do however have a question (That's a surprise isn't it), my question is in the picture below I have ringed an area which normally would be the wooden jacking block but this does not look like the wooden block to me. The good news is that in the ET Model set there are exhaust guards and this KT does not appear to need them so that's a result.
Darren,I don't know what that is in the pic.But the more I look at it the more it looks like a hole in the hull.Is that possible ?JeffT.
Posted: Wednesday, November 07, 2012 - 02:08 AM UTC
Hi Darren,
I haven't finished my Panther, let alone started my KT! That dark spot looks a lot like a fuel can to me. The spout is to the right (in the darker area) while you can just make out the hump at the back of the handles on the left. With the eye of faith I think I can even see the "X" pattern grooves on the face. What I cannot see is any sort of bracket - could it be held in baling wire? Maybe the real fear that drove the need for Zimmerit was the development of magnetic fuel cans!
Tom
I haven't finished my Panther, let alone started my KT! That dark spot looks a lot like a fuel can to me. The spout is to the right (in the darker area) while you can just make out the hump at the back of the handles on the left. With the eye of faith I think I can even see the "X" pattern grooves on the face. What I cannot see is any sort of bracket - could it be held in baling wire? Maybe the real fear that drove the need for Zimmerit was the development of magnetic fuel cans!
Tom
woltersk
Utah, United States
Joined: May 27, 2003
KitMaker: 1,026 posts
Armorama: 654 posts
Joined: May 27, 2003
KitMaker: 1,026 posts
Armorama: 654 posts
Posted: Wednesday, November 07, 2012 - 02:08 AM UTC
Quoted Text
Keith... Great choice,don't be scared of your PE,at least you don't need an electron microscope to see all the pieces
Yes, that's a dime. What have I gotten myself into? Thank goodness for Opti-visors
I did manage to get some primer on the engine compartment today
@Jeff T.
Good gawd man what scale is that, 1/76th? It may as well be 1/144 for these old eyes. I need my 10 X Optivisor to see my 1/35th stuff. I haven't done any 'large' armor in years so when I pulled the chassis out of the box I said to myself "this looks smaller than I remember 1/35th being" and then double-checked the box lid to make sure it wasn't 1/48th!
And yours has an engine deck to boot?! I look forward to seeing your build move forward!
Keith
Posted: Wednesday, November 07, 2012 - 02:45 AM UTC
Thanks for your help and suggestions guys, it seems a lot of votes are going for a fuel can.
Keep up the great work
PantherF
Indiana, United States
Joined: June 10, 2005
KitMaker: 6,188 posts
Armorama: 5,960 posts
Joined: June 10, 2005
KitMaker: 6,188 posts
Armorama: 5,960 posts
Posted: Wednesday, November 07, 2012 - 03:28 AM UTC
WOW Jeff! You're my hero of PE!
~ Jeff
~ Jeff
Posted: Wednesday, November 07, 2012 - 09:53 AM UTC
Here is a quick walk around of where I am at.
imatanker
Maine, United States
Joined: February 11, 2011
KitMaker: 1,654 posts
Armorama: 1,565 posts
Joined: February 11, 2011
KitMaker: 1,654 posts
Armorama: 1,565 posts
Posted: Wednesday, November 07, 2012 - 11:25 AM UTC
Darren...Yes,I'm afraid the eyes arn't what they used to be and now that I am home and can look at a bigger "what is it pic" I'm leaning towards some kind of can also.I think Tom is right.Although He couldn't see any type of bracket,I found a pic(on Prime Portal, go figure)that shows something could have been hung there.
So now that we know something COULD be put there,we just need to figure out what
Looks like you are getting some good info from your build log.
Trevor... You'll be amazed at what will show up in the pics you take and post.I'll bet that you will have at least one"oops,gotta fix that before I post"moment. Ask Me how I know
John... Nice work on your hull,I wish my glue joints where that neat.
Keith...It's 1/72,but close enough for me.It remains to be seen if I can complete the mission
Jeff S.... I'm no Hero,but I am glad you're up and posting Welcome to the fray.Jeff T.
Posted: Wednesday, November 07, 2012 - 11:49 AM UTC
Jeff That is the bracket system for the wooden jacking block on the KT, that is what should be there but does not look to be what is shown in the picture of the specific tank I aim to replicate. Thank you for your efforts so far.
imatanker
Maine, United States
Joined: February 11, 2011
KitMaker: 1,654 posts
Armorama: 1,565 posts
Joined: February 11, 2011
KitMaker: 1,654 posts
Armorama: 1,565 posts
Posted: Wednesday, November 07, 2012 - 12:14 PM UTC
Quoted Text
Jeff That is the bracket system for the wooden jacking block on the KT, that is what should be there but does not look to be what is shown in the picture of the specific tank I aim to replicate. Thank you for your efforts so far.
Darren,Sorry if I wasn't clear.I knew that's where the jack block went,I was just trying to show that there where mounting brackets. Jeff T.
wedgetail53
Queensland, Australia
Joined: October 02, 2008
KitMaker: 658 posts
Armorama: 629 posts
Joined: October 02, 2008
KitMaker: 658 posts
Armorama: 629 posts
Posted: Wednesday, November 07, 2012 - 03:20 PM UTC
G'day fellow KT fanatics
I've finally managed to get my act together, and the build is well under way. To date, I have sanded off all the wheels ( ), assembled the two parts of the hull, and mounted all the axles. See photos below.
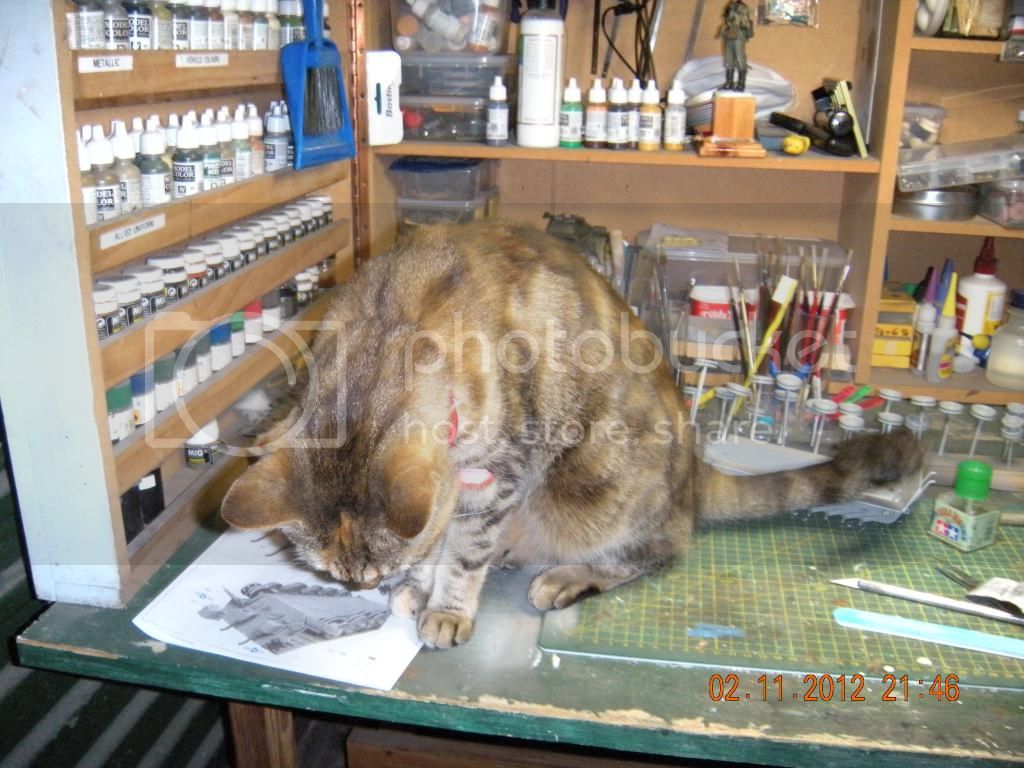
Of course, before starting, the instructions had to be reviewed by the furry assistant:
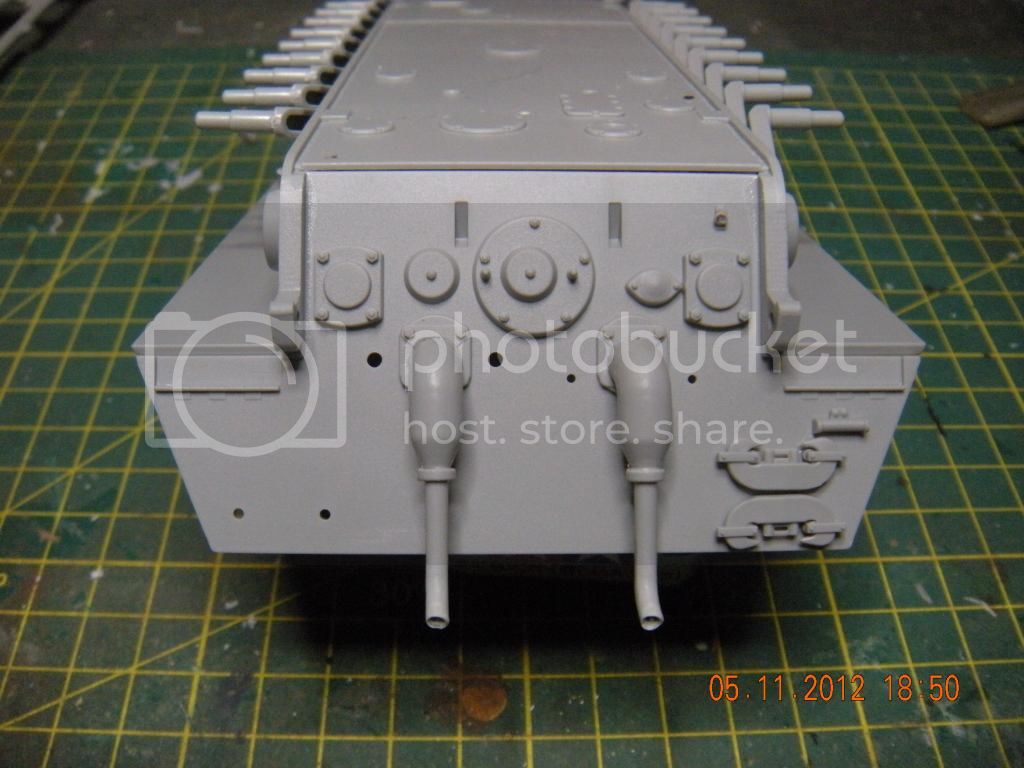
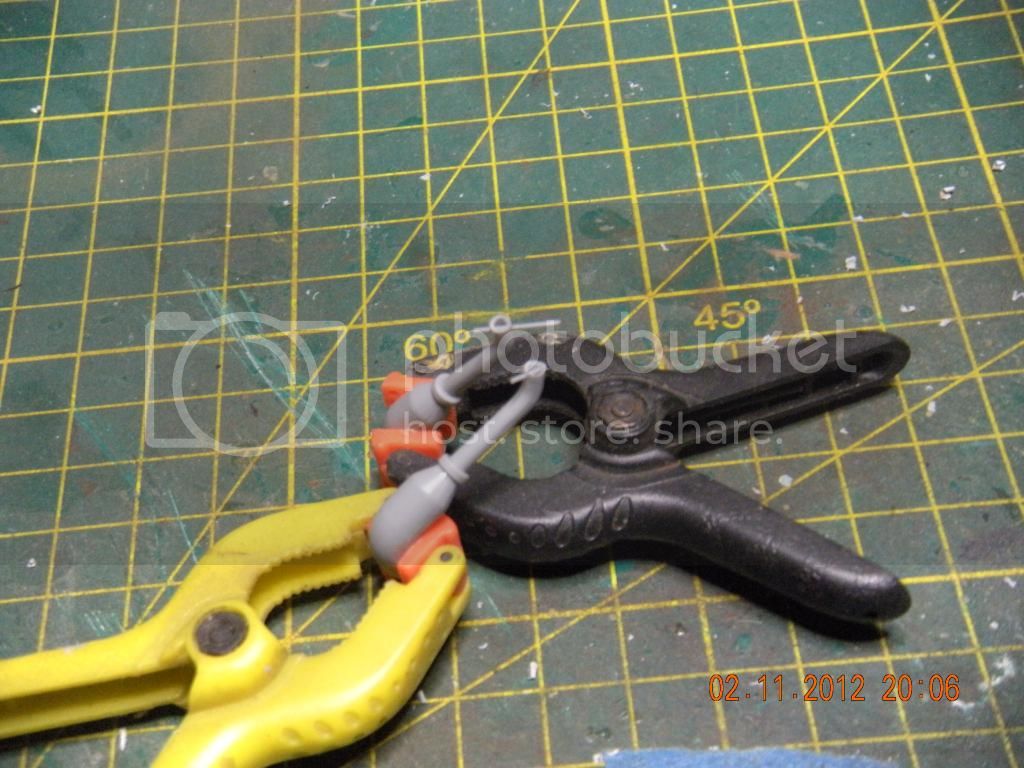
I wasn't very happy with the way DML had represented the pieces of wire blocking the ends of the exhausts, so removed them and did my own thing with some stretched sprue.
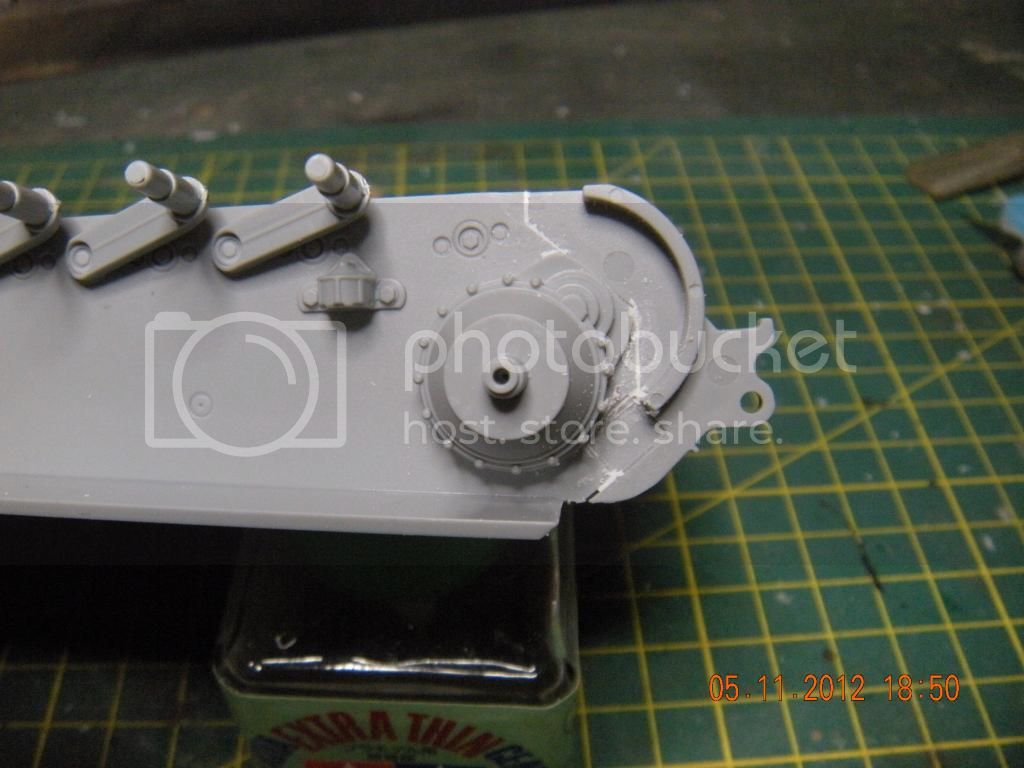
Front drive sprocket hubs in place, with the obligatory filling of the seam. I used Vallejo Plastic Putty, which seems to do quite a good job.
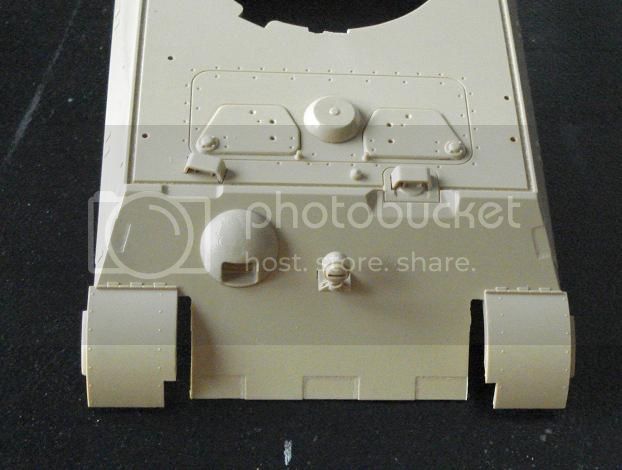
All the gear mounted on the rear plate. For now, I have left off the armoured exhaust guards until I determine which I am going to use of the two alternatives provided.
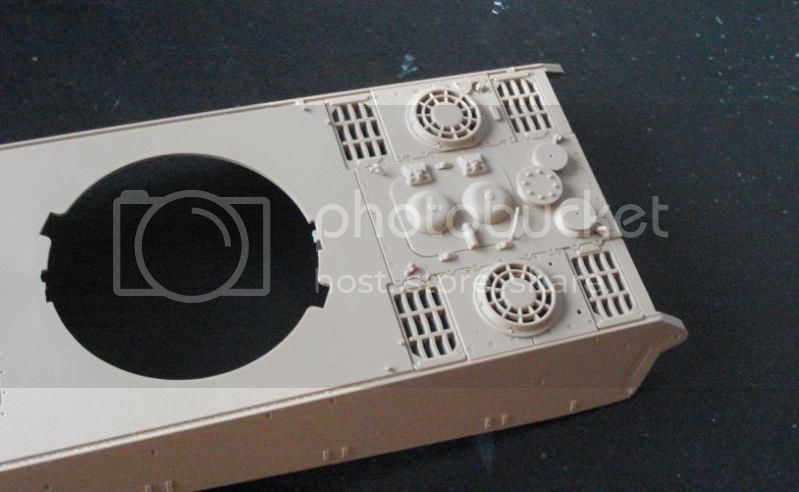
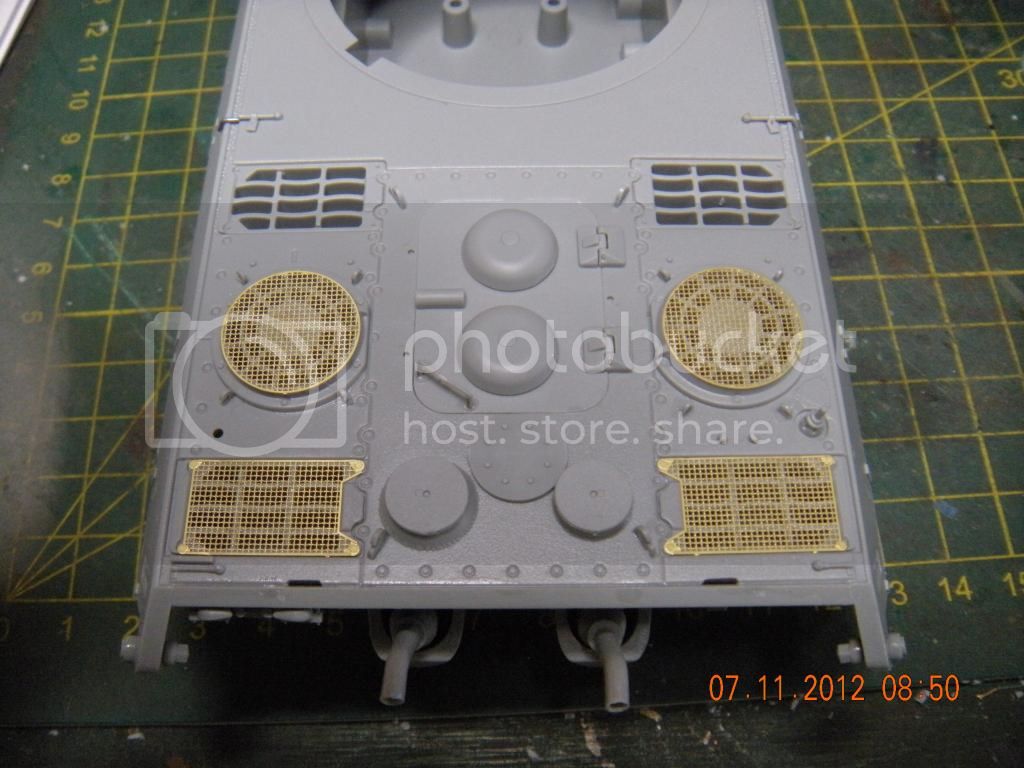
The engine deck. Note that the tubular "handle" on the engine access door needs to be drilled out as it was intended to have a crowbar inserted to assist in lifting the 40mm thick (and consequently VERY heavy) door.
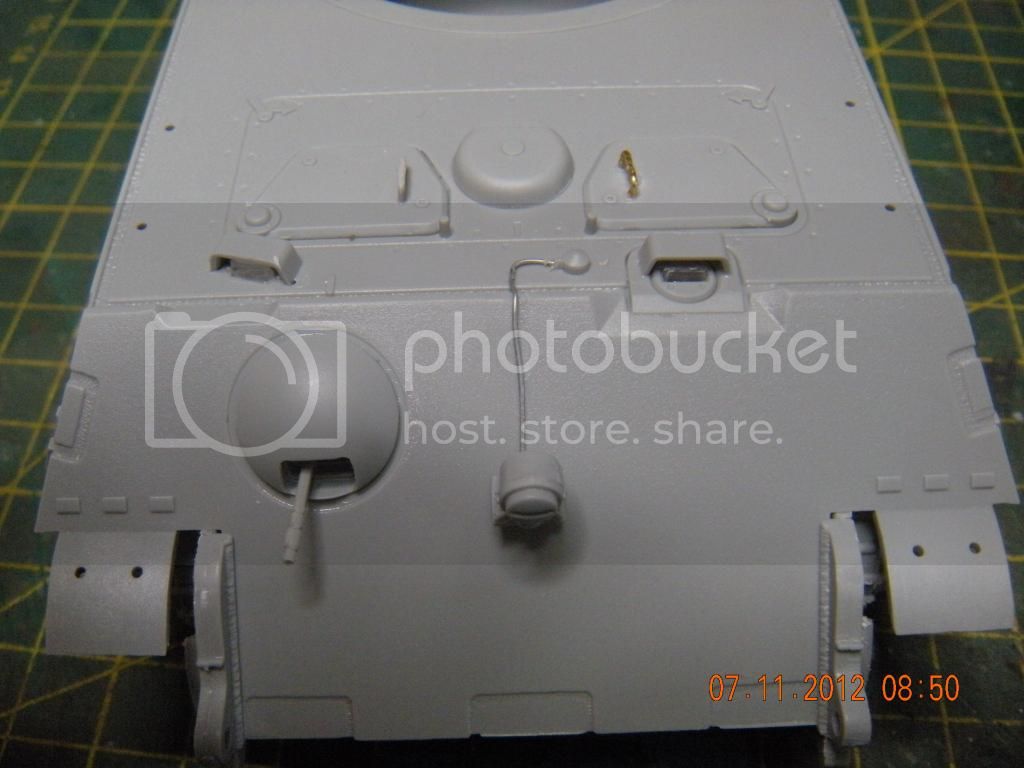
The front of the hull, with the wire for the headlight added out of a piece of lead wire. Please, DML, if you can provide these wires for other kits, why not this one? The driver's hatch handle did a disappearing act and had to be replaced with brass.
Hope to post more progress soon.
Regards
Rob
I've finally managed to get my act together, and the build is well under way. To date, I have sanded off all the wheels ( ), assembled the two parts of the hull, and mounted all the axles. See photos below.
Of course, before starting, the instructions had to be reviewed by the furry assistant:
I wasn't very happy with the way DML had represented the pieces of wire blocking the ends of the exhausts, so removed them and did my own thing with some stretched sprue.
Front drive sprocket hubs in place, with the obligatory filling of the seam. I used Vallejo Plastic Putty, which seems to do quite a good job.
All the gear mounted on the rear plate. For now, I have left off the armoured exhaust guards until I determine which I am going to use of the two alternatives provided.
The engine deck. Note that the tubular "handle" on the engine access door needs to be drilled out as it was intended to have a crowbar inserted to assist in lifting the 40mm thick (and consequently VERY heavy) door.
The front of the hull, with the wire for the headlight added out of a piece of lead wire. Please, DML, if you can provide these wires for other kits, why not this one? The driver's hatch handle did a disappearing act and had to be replaced with brass.
Hope to post more progress soon.
Regards
Rob
woltersk
Utah, United States
Joined: May 27, 2003
KitMaker: 1,026 posts
Armorama: 654 posts
Joined: May 27, 2003
KitMaker: 1,026 posts
Armorama: 654 posts
Posted: Thursday, November 08, 2012 - 04:24 AM UTC
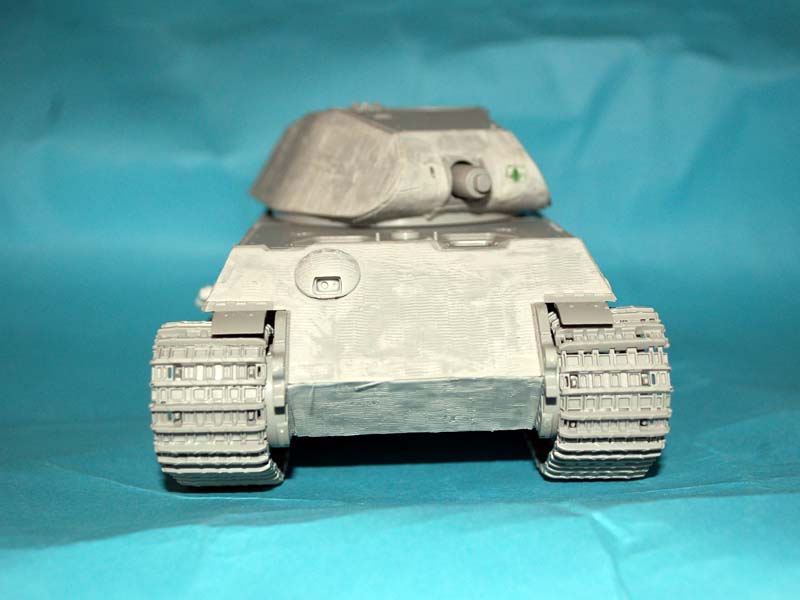
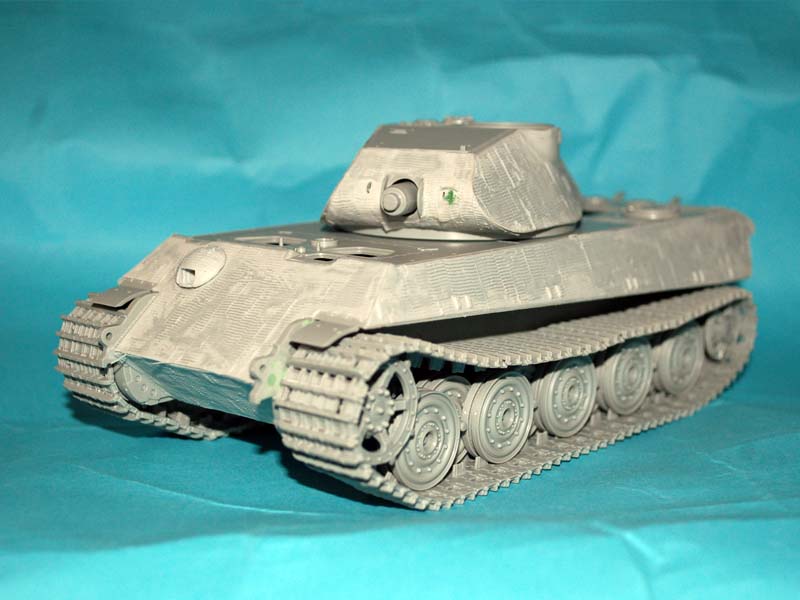
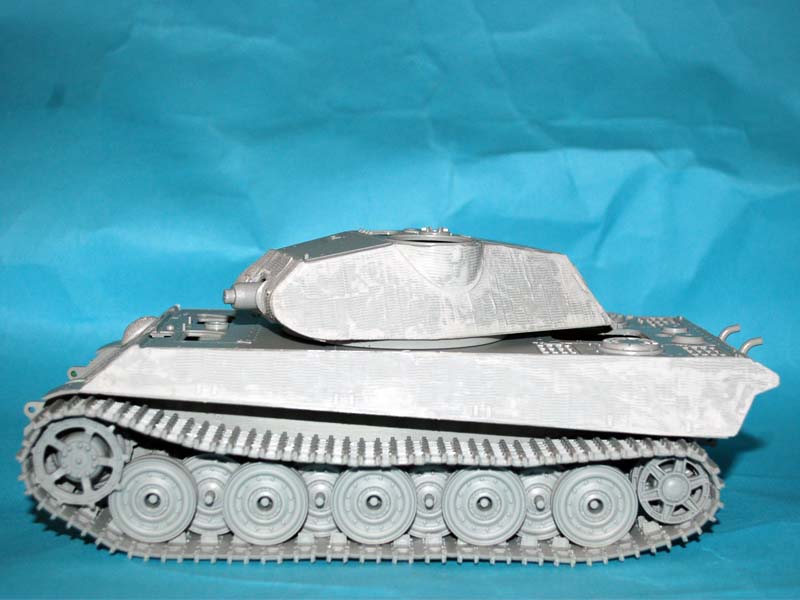
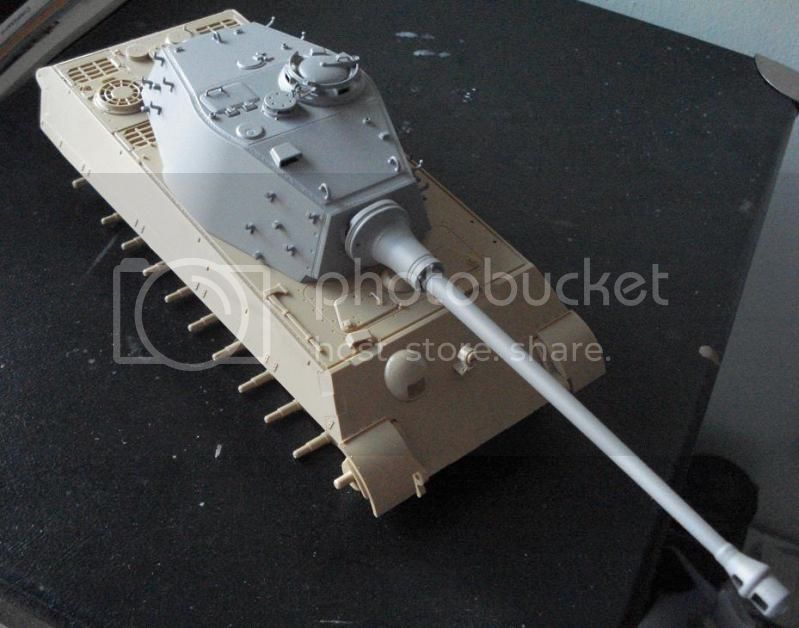
A little more slow and steady progress.
This is my first Dragon kit and I must say that I'm fairly impressed. The level of detail is amazing. The quality of the plastic seems top notch. No ejector pin marks, dimples, or sink holes. The parts fit is outstanding, albeit for where the engine deck meets the rear armor panel, and where the glacis meets the 'nose'. Nothing insermountable though, just surprising when compared to the rest.
Keith
Nito74
Lisboa, Portugal
Joined: March 04, 2008
KitMaker: 5,386 posts
Armorama: 4,727 posts
Joined: March 04, 2008
KitMaker: 5,386 posts
Armorama: 4,727 posts
Posted: Thursday, November 08, 2012 - 05:16 AM UTC
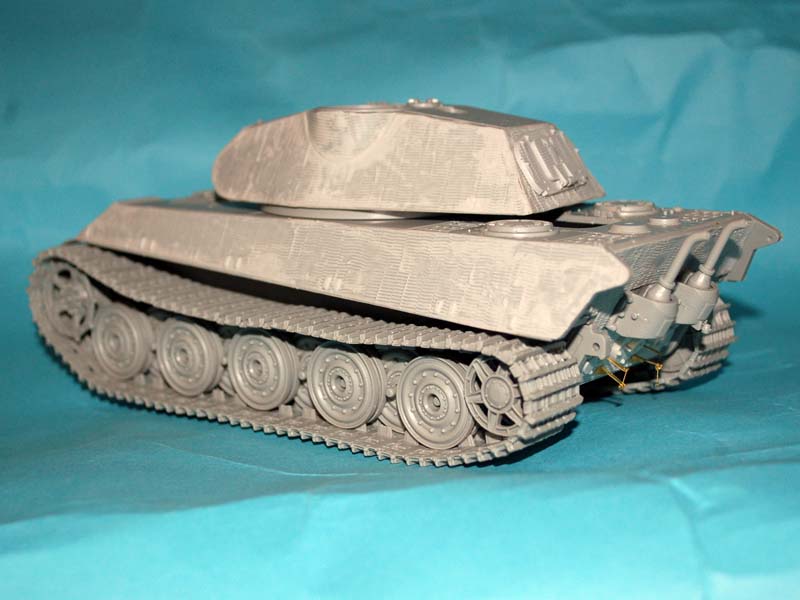
Some work on KT:
Dryfit of hull & turret.
Lower & Top hull glued, also added some more missing details.
I will try to scratch the wire at the front, add some mesh engine and still need to add the side cables.
After this it's going to be wheel week...
Dryfit of hull & turret.
Lower & Top hull glued, also added some more missing details.
I will try to scratch the wire at the front, add some mesh engine and still need to add the side cables.
After this it's going to be wheel week...
wedgetail53
Queensland, Australia
Joined: October 02, 2008
KitMaker: 658 posts
Armorama: 629 posts
Joined: October 02, 2008
KitMaker: 658 posts
Armorama: 629 posts
Posted: Thursday, November 08, 2012 - 11:06 AM UTC
Keith
Interesting you should say that about the fit of the hull top at the nose and rear deck. On my DML KT, the fit was absolutely perfect, which I have to say is the first time I have seen such a neat fit. usually I have to resort to clamps to make everything join neatly, but not this time.
Looks like it's the luck of the draw.
Regards
Rob
wedgetail53
Queensland, Australia
Joined: October 02, 2008
KitMaker: 658 posts
Armorama: 629 posts
Joined: October 02, 2008
KitMaker: 658 posts
Armorama: 629 posts
Posted: Thursday, November 08, 2012 - 11:08 AM UTC
John
Don't know about you, but I'm leaving the side cables off until I do the camo masks - will make things somewhat simpler.
Regards
Rob
Don't know about you, but I'm leaving the side cables off until I do the camo masks - will make things somewhat simpler.
Regards
Rob
Posted: Thursday, November 08, 2012 - 11:21 AM UTC
Keith the upper and lower hull on my KT also fit very well, is it possible the rear plate has been attached a little too far back?
PantherF
Indiana, United States
Joined: June 10, 2005
KitMaker: 6,188 posts
Armorama: 5,960 posts
Joined: June 10, 2005
KitMaker: 6,188 posts
Armorama: 5,960 posts
Posted: Thursday, November 08, 2012 - 11:45 AM UTC
Quoted Text
Jeff S.... I'm no Hero,but I am glad you're up and posting Welcome to the fray.Jeff T.
I will have to change my original kit because... I don't want to spend the 50 bucks on the zimm right now to do the Initial Turret Tiger, so I will instead build a Late KT for this Campaign.
Pictures at eleven.
~ Jeff
jhooper
Ohio, United States
Joined: May 02, 2012
KitMaker: 28 posts
Armorama: 28 posts
Joined: May 02, 2012
KitMaker: 28 posts
Armorama: 28 posts
Posted: Thursday, November 08, 2012 - 12:36 PM UTC
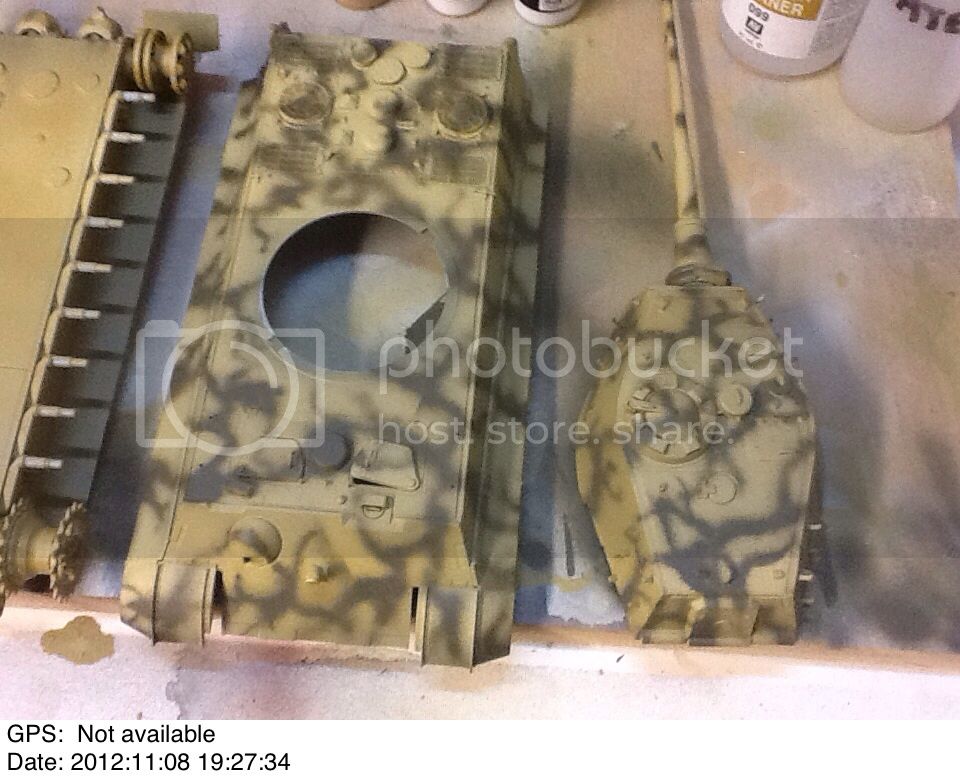
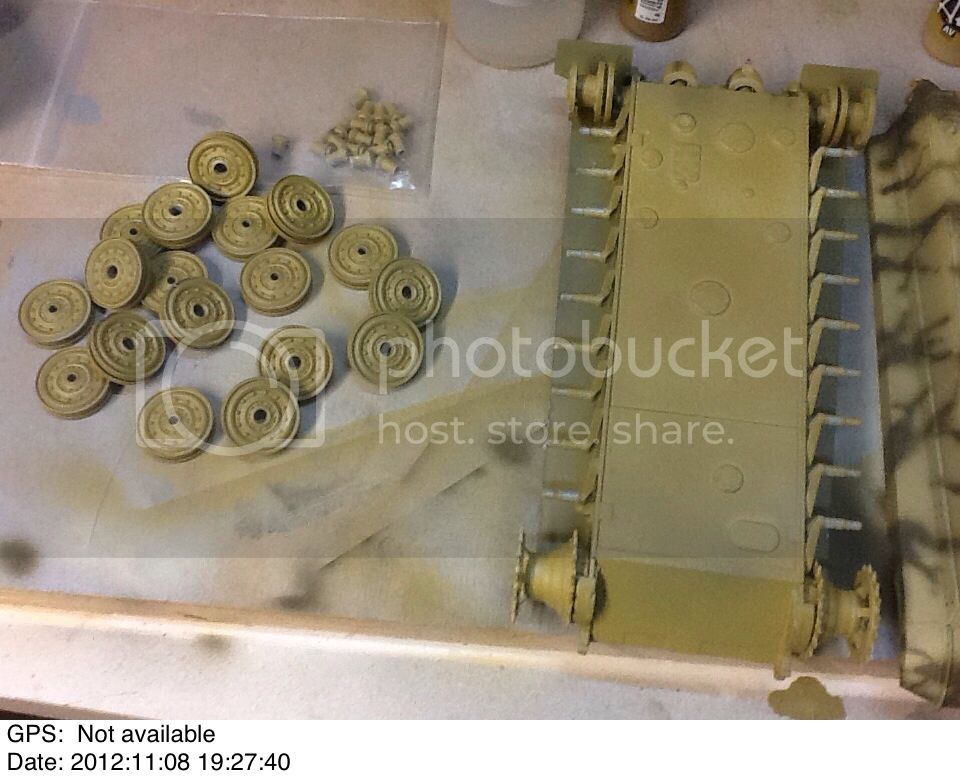
Some really nice builds going on! This is only my second but I'm learning a lot. I got the base assembly done and some base paint. First time trying to paint camo with an airbrush. It's not as clean as I had hoped, still some work todo!