Philipe,
Lookin very good. Those grills came out perfectly!#
Paul
Hosted by Jacques Duquette
Trumpeter's 1/35 Ehkranami KV-1

hofpig

Joined: March 04, 2007
KitMaker: 1,330 posts
Armorama: 1,017 posts

Posted: Sunday, October 21, 2012 - 11:01 PM UTC

asmodeuss

Joined: November 19, 2011
KitMaker: 1,389 posts
Armorama: 1,388 posts

Posted: Monday, October 22, 2012 - 01:40 AM UTC
Thanks Guys!! Always apreciated. 
I hadn't the camera this weekend so there is a big step in the build pics.
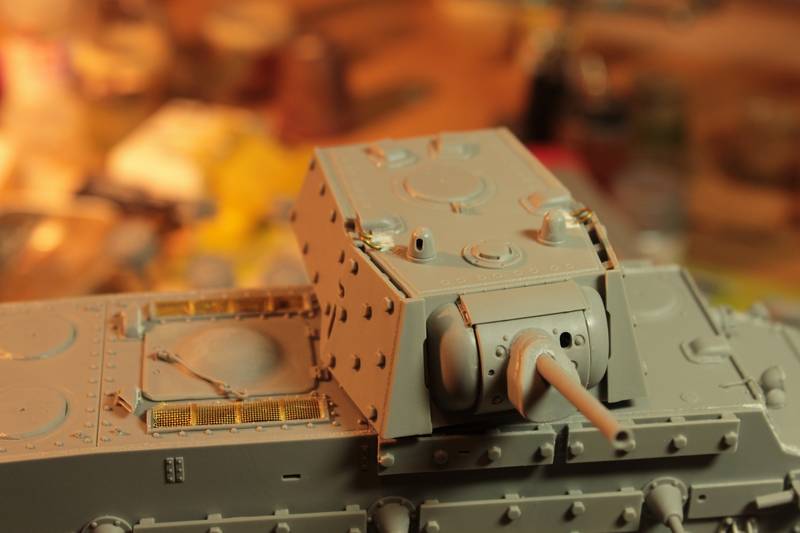
The turret rear MG was missing from the sprue!!! so I had to scratch one from styrene rod. I'm, lets say 75% happy with it.
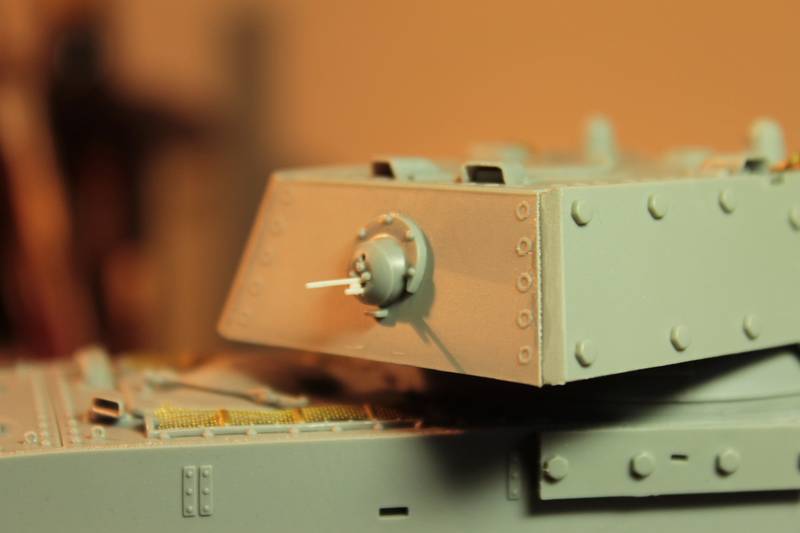
I have to find a way to get the muzzle right it is supposed to be thicker.
The big gun is up and ready!
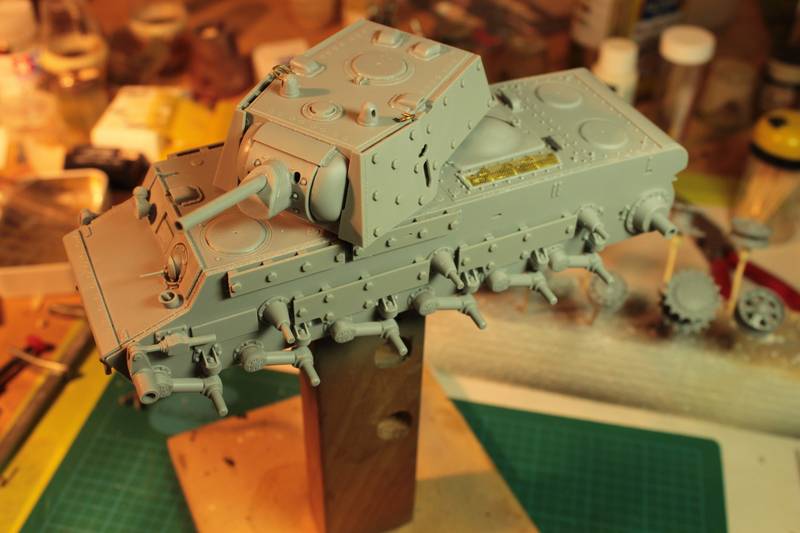
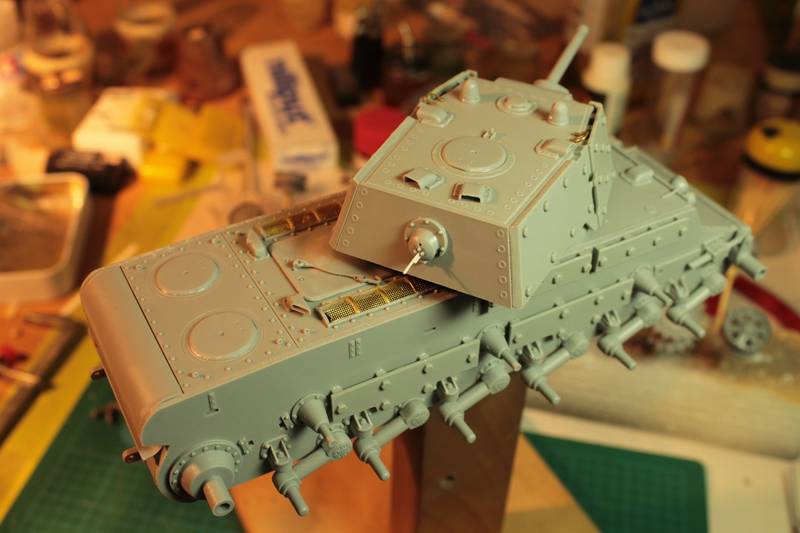
The engine bay with the exhaust is near completion.
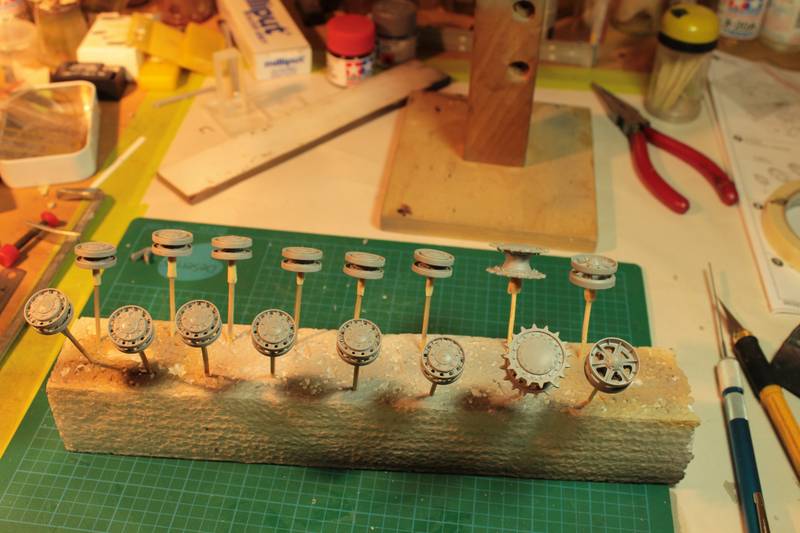
Got my wheels, sprocket and iddler wheels ready to roll. The iddler wheels are the only part that had some small fitting issue, nothing a couple of passes on the sanding stick couldn't fix.
That is about it for today.
Next some gap filling, small pe and fenders!
Remember to tune in regularly, the e-mail notice is still not working
Thanks for viewing.
Phil.

I hadn't the camera this weekend so there is a big step in the build pics.
The turret rear MG was missing from the sprue!!! so I had to scratch one from styrene rod. I'm, lets say 75% happy with it.

I have to find a way to get the muzzle right it is supposed to be thicker.
The big gun is up and ready!

The engine bay with the exhaust is near completion.

Got my wheels, sprocket and iddler wheels ready to roll. The iddler wheels are the only part that had some small fitting issue, nothing a couple of passes on the sanding stick couldn't fix.

That is about it for today.
Next some gap filling, small pe and fenders!
Remember to tune in regularly, the e-mail notice is still not working

Thanks for viewing.
Phil.

Posted: Monday, October 22, 2012 - 02:06 AM UTC
Phil in the belief that you are using the link and length tracks in the box do not cement the fenders in place untill you wheels and tracks are sorted or it will be a headache to sort.

asmodeuss

Joined: November 19, 2011
KitMaker: 1,389 posts
Armorama: 1,388 posts

Posted: Monday, October 22, 2012 - 12:36 PM UTC
Yes indeed! I'll get the stowage box on the fenders and all the other gear but since the fenders fixation are well design i'll get them on after the tracks are on. Even after I've painted the hull and tracks. Nice to see that you are watching my back Darren Thanks mate! 


Spiderfrommars

Joined: July 13, 2010
KitMaker: 3,845 posts
Armorama: 3,543 posts

Posted: Tuesday, October 23, 2012 - 06:51 PM UTC
It's looking great so far! I really like the rear grill
Tanksami

Joined: August 06, 2011
KitMaker: 1,314 posts
Armorama: 1,217 posts

Posted: Tuesday, October 23, 2012 - 09:21 PM UTC
Phil,
Looking great loving watching & learning the do's & don't's for KVing in the future!!
Cheers Mike
Looking great loving watching & learning the do's & don't's for KVing in the future!!

Cheers Mike


asmodeuss

Joined: November 19, 2011
KitMaker: 1,389 posts
Armorama: 1,388 posts

Posted: Wednesday, October 24, 2012 - 12:29 PM UTC
Thanks all! 
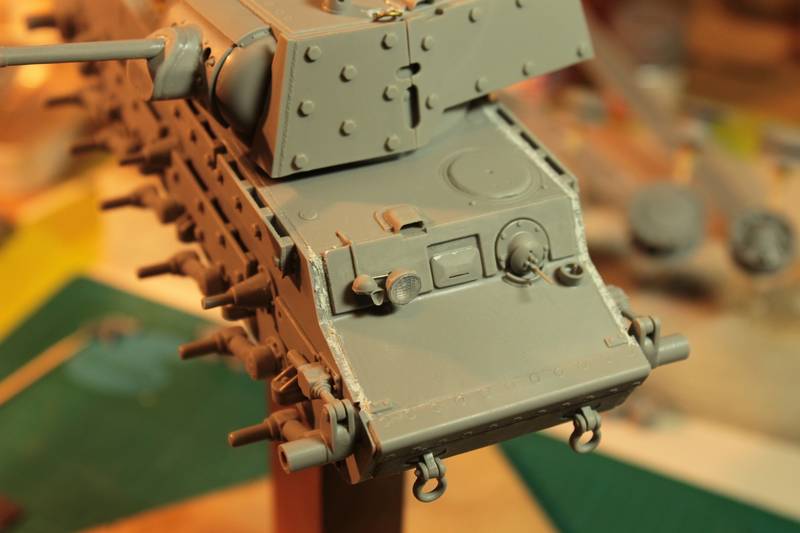
After gazing to old fuzzy pics till my eyes bled I think I've laid down my putty to the right place Afterward I'm going to asses the welds situation but i think the putty in place will look good with minor intervention.... we'll see.
Here is the putty!
Front glacis.
lifting hooks that i've made out of the usual brass wire.
(just realised that the photo sucks... )
)
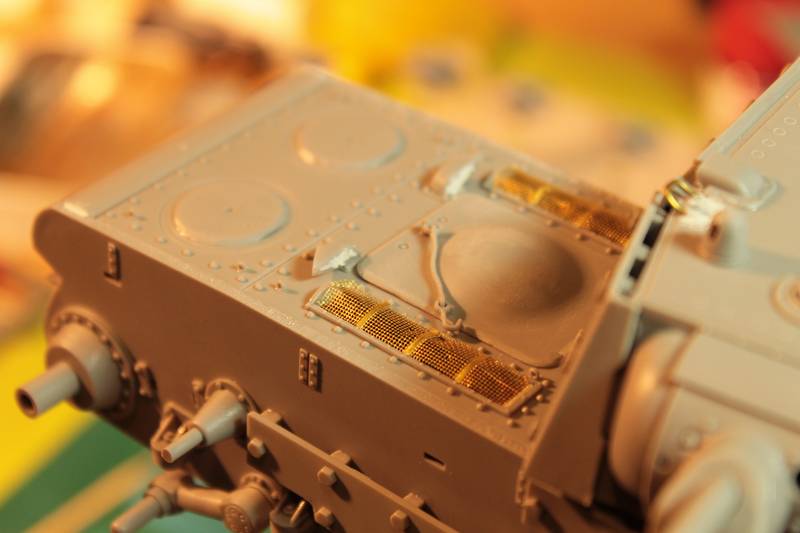
And I had to fill some shrinkage on the exhaust.
(Why are my pics so crappy this eavening!? )
)
Thanks for following!
Is anyone getting an e-mail notice? Mine still does not work
Should I keep the engine bay hook and cable or get rid of it? Must admit I've not seen it on any pics...
Phil.

After gazing to old fuzzy pics till my eyes bled I think I've laid down my putty to the right place Afterward I'm going to asses the welds situation but i think the putty in place will look good with minor intervention.... we'll see.
Here is the putty!
Front glacis.

lifting hooks that i've made out of the usual brass wire.
(just realised that the photo sucks...
 )
)
And I had to fill some shrinkage on the exhaust.
(Why are my pics so crappy this eavening!?
 )
)
Thanks for following!
Is anyone getting an e-mail notice? Mine still does not work

Should I keep the engine bay hook and cable or get rid of it? Must admit I've not seen it on any pics...
Phil.


BBD468

Joined: March 08, 2010
KitMaker: 2,465 posts
Armorama: 2,383 posts

Posted: Wednesday, October 24, 2012 - 12:39 PM UTC
Hey Brotha Phil,
Builds comin' right along! Look great bro!!! I dont have a clue about the cable and hook, but if your doin' a veteran tank maybe off - a newish tank then on...maybe???
 Tracks then paint?
Oh and still no email notice. Ill subscribe again.
Later my friend,
Gary
Builds comin' right along! Look great bro!!!
 I dont have a clue about the cable and hook, but if your doin' a veteran tank maybe off - a newish tank then on...maybe???
 Tracks then paint?
Oh and still no email notice. Ill subscribe again.

Later my friend,
Gary
Posted: Wednesday, October 24, 2012 - 05:00 PM UTC
It should be there Phil. I have tried making this part by replacing the plastic cable portion with wire from a phone connection and home made metal loop which improves the overall look a lot.

asmodeuss

Joined: November 19, 2011
KitMaker: 1,389 posts
Armorama: 1,388 posts

Posted: Thursday, October 25, 2012 - 12:20 AM UTC
Thanks Gary! Hey, what are you up to? haven't see a build from you in a week!? 
Darren, thanks for the tip, I'll check the spare part shelve for wire.
Phil.

Darren, thanks for the tip, I'll check the spare part shelve for wire.
Phil.


BBD468

Joined: March 08, 2010
KitMaker: 2,465 posts
Armorama: 2,383 posts

Posted: Friday, October 26, 2012 - 03:30 AM UTC
Hello brother Phil,
Ive been messin' with a wingy...'a quickie' if you will. I started A Tamiya Type 97 Chi ha medium tank (late production). Will start a thread sometime today.
Gary
Ive been messin' with a wingy...'a quickie' if you will. I started A Tamiya Type 97 Chi ha medium tank (late production). Will start a thread sometime today.

Gary


retiredyank

Joined: June 29, 2009
KitMaker: 11,610 posts
Armorama: 7,843 posts

Posted: Friday, October 26, 2012 - 03:53 AM UTC
For the paint, you may want to refer to this post.
https://armorama.kitmaker.net/forums/198797&page=1
https://armorama.kitmaker.net/forums/198797&page=1

asmodeuss

Joined: November 19, 2011
KitMaker: 1,389 posts
Armorama: 1,388 posts

Posted: Friday, October 26, 2012 - 04:59 PM UTC
Thanks Matt! I'll make sure to consider this thread when painting.
Gary,Nice spitfire man! Love the cam scheme.
Gary,Nice spitfire man! Love the cam scheme.

asmodeuss

Joined: November 19, 2011
KitMaker: 1,389 posts
Armorama: 1,388 posts

Posted: Saturday, October 27, 2012 - 02:00 AM UTC
Hi everyone! I've modified a little the cable from the engine hatch,I know th loops are not 100% but I'm still working on blending them in. at least it is better looking than the oob thing and it is workable!.
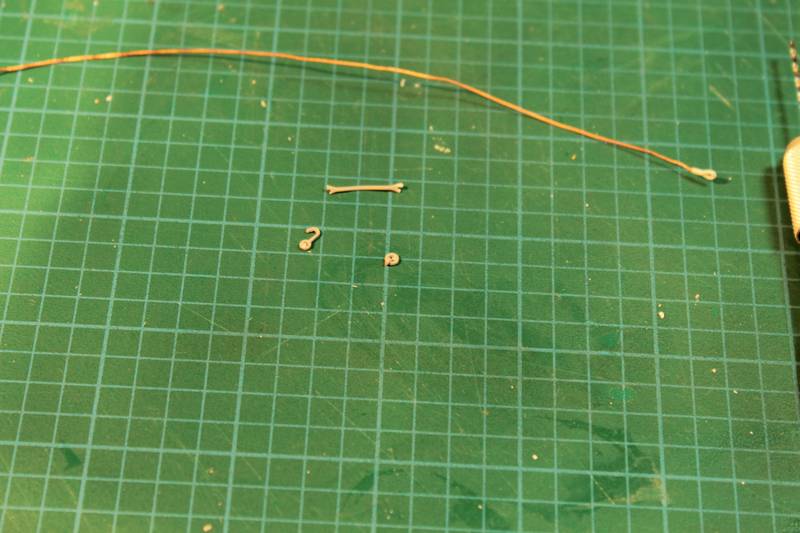
Ive kept the hook since it was, I think good looking with a detailed shape i could not yet acheive with wire. The loop was kept to gain time I admit...But it looks ok I think...
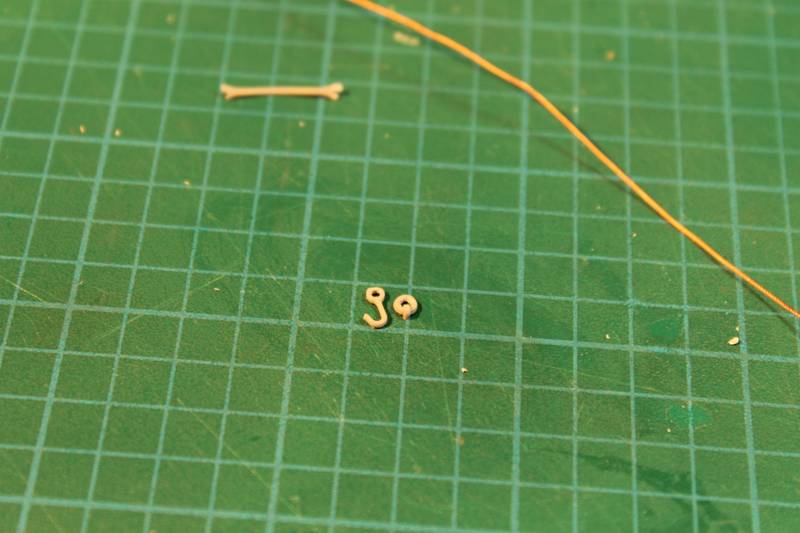
The joint between the cable and loop still need to be filed and textured.
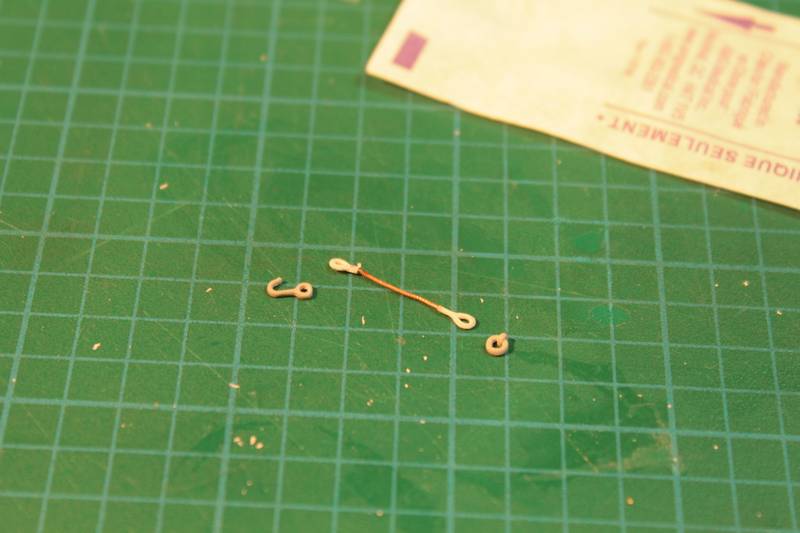
I've cut the hook and loop with a knive and inserted the cable loops in them, glued them up and:It's workable.
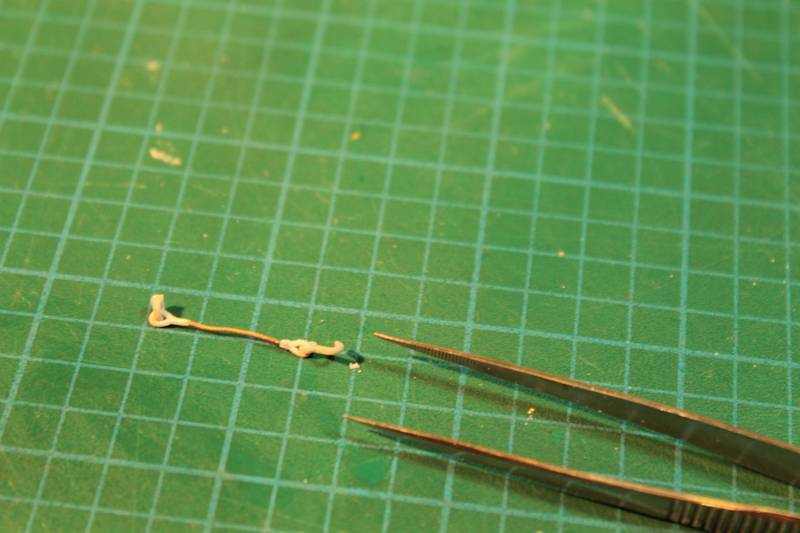
Thanks for watching
Phil.

Ive kept the hook since it was, I think good looking with a detailed shape i could not yet acheive with wire. The loop was kept to gain time I admit...But it looks ok I think...

The joint between the cable and loop still need to be filed and textured.

I've cut the hook and loop with a knive and inserted the cable loops in them, glued them up and:It's workable.


Thanks for watching
Phil.


asmodeuss

Joined: November 19, 2011
KitMaker: 1,389 posts
Armorama: 1,388 posts

Posted: Saturday, October 27, 2012 - 05:07 AM UTC
.
Posted: Saturday, October 27, 2012 - 06:16 AM UTC
Phil just wrap your desired thickness of wire around a drill bit then cut with a sharp blade, that will give you your open loop when slid off. feed the hook loop and wire loop onto your wire loop and glue the wire together with super glue. Job done. You will also need eight smaller loops for the engine deck lifting points as well.

asmodeuss

Joined: November 19, 2011
KitMaker: 1,389 posts
Armorama: 1,388 posts

Posted: Saturday, October 27, 2012 - 08:19 AM UTC
Thamks Darren I'll do just that.
I really got to resupply on wire tought. I don't know if i have enough for 8 loops
I really got to resupply on wire tought. I don't know if i have enough for 8 loops

Posted: Saturday, October 27, 2012 - 05:55 PM UTC
Smallest grade of fuse wire is about right for the engine deck.

BBD468

Joined: March 08, 2010
KitMaker: 2,465 posts
Armorama: 2,383 posts

Posted: Sunday, October 28, 2012 - 03:52 AM UTC
Hey Phil,
Nice work on the cable bro - Very nice!!! Lets see dem tracks on! Lookin good brotha!
Gary
Nice work on the cable bro - Very nice!!!
 Lets see dem tracks on! Lookin good brotha!
Gary

asmodeuss

Joined: November 19, 2011
KitMaker: 1,389 posts
Armorama: 1,388 posts

Posted: Sunday, October 28, 2012 - 06:39 AM UTC
Ok, OK! here is the right side tracks... seems there 1/2 track too manny, tried one less and wouldn't close.... 
I'll figure something out when it is fully cured.
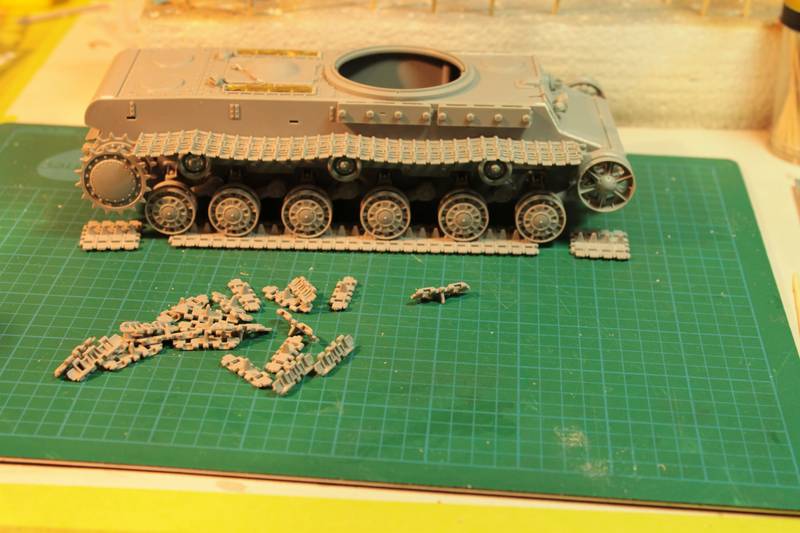
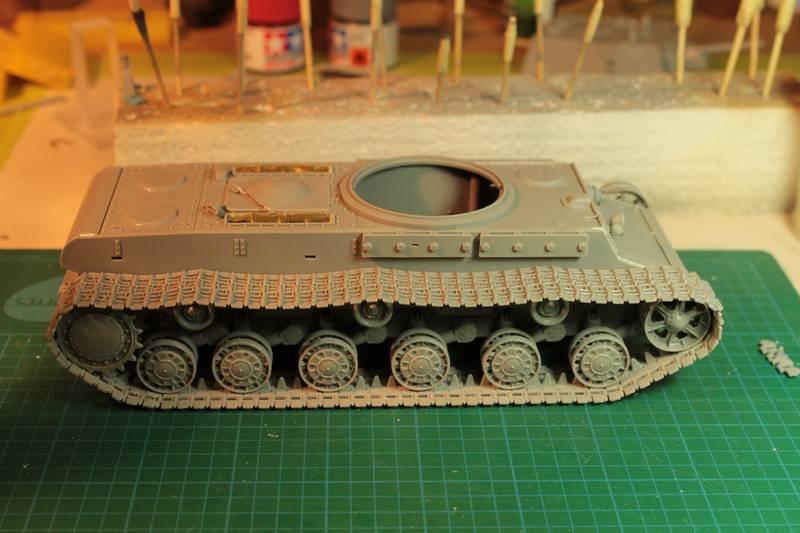
It is wonderfull the way they acheive to put 4 extractor mark on every link
Any advice on the 1/2 track too manny thing?
Thanks for watching, and no, the e-mail notice does not work yet.
Phil.

I'll figure something out when it is fully cured.


It is wonderfull the way they acheive to put 4 extractor mark on every link

Any advice on the 1/2 track too manny thing?
Thanks for watching, and no, the e-mail notice does not work yet.
Phil.


asmodeuss

Joined: November 19, 2011
KitMaker: 1,389 posts
Armorama: 1,388 posts

Posted: Sunday, October 28, 2012 - 06:47 AM UTC
@ Darren, I must admit I'm a little lost with the 8 eyelet you talked about. First I tought I knew but looking at pics I can't figure what you are talking about. Is it on the lifting eyes that are all over the egine bay?
Phil.
Phil.


retiredyank

Joined: June 29, 2009
KitMaker: 11,610 posts
Armorama: 7,843 posts

Posted: Sunday, October 28, 2012 - 07:45 AM UTC
The tracks look great! I'm not a fan of the link and length(I always seem to need a different amount of links on one side), but these seam a dream. At $13, I'll go ahead and pick one up.
Posted: Sunday, October 28, 2012 - 08:06 AM UTC
In this picture of your model I have highlighted four of the eight lifting points where the rings should be placed.


 |


