

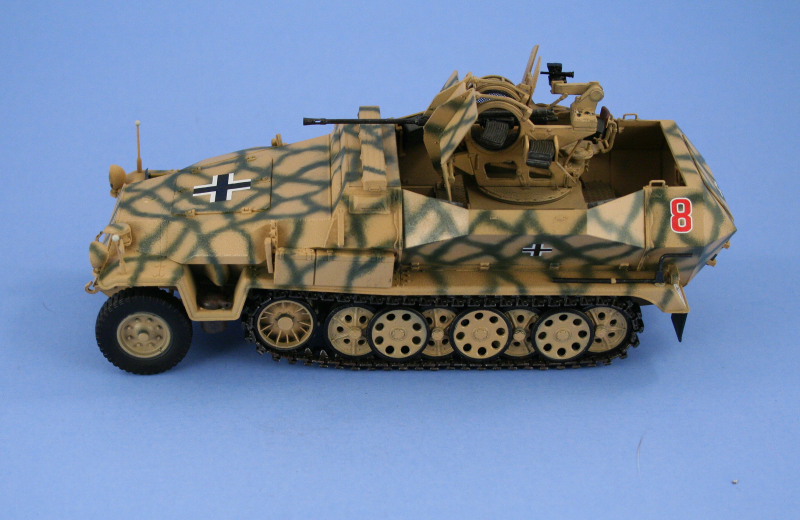
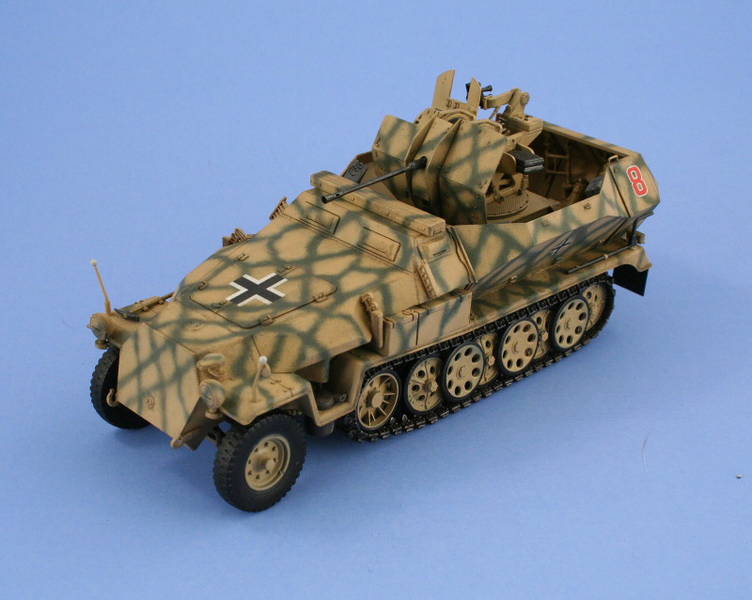
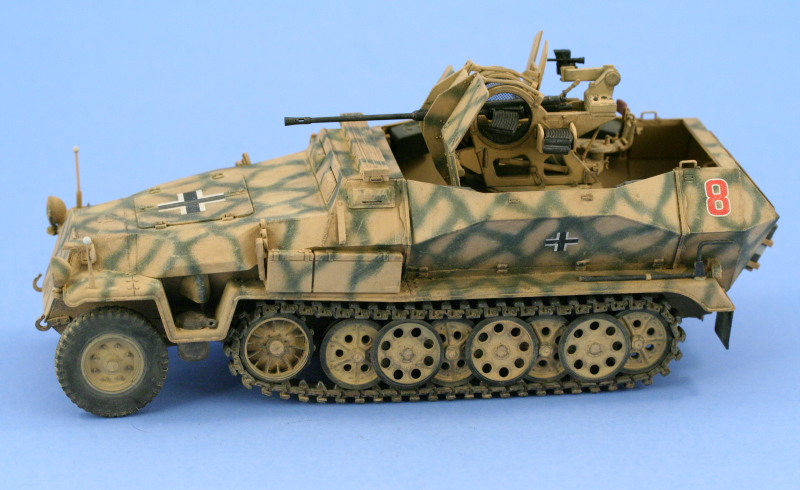
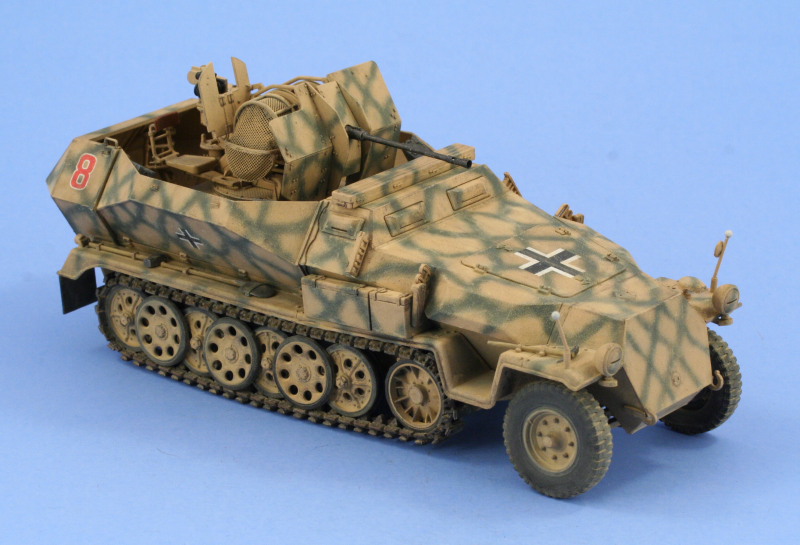
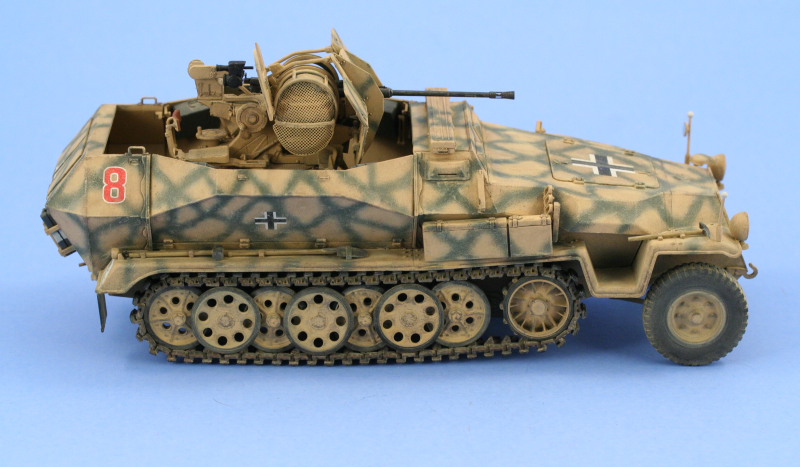
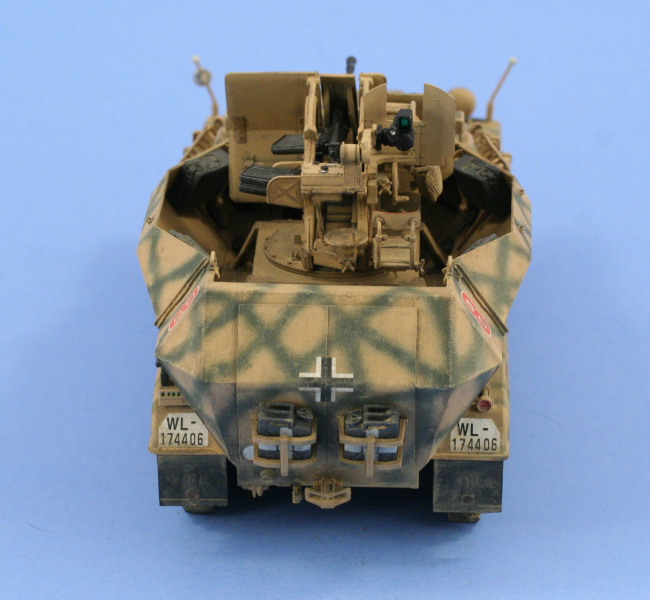
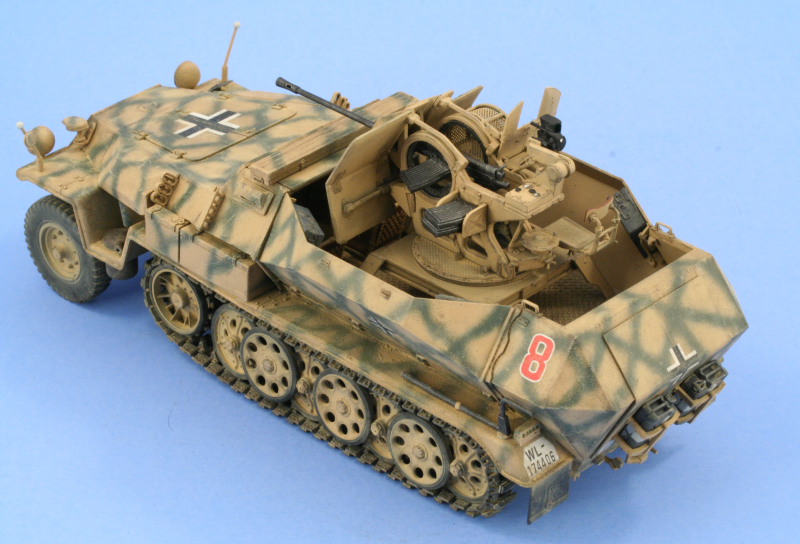
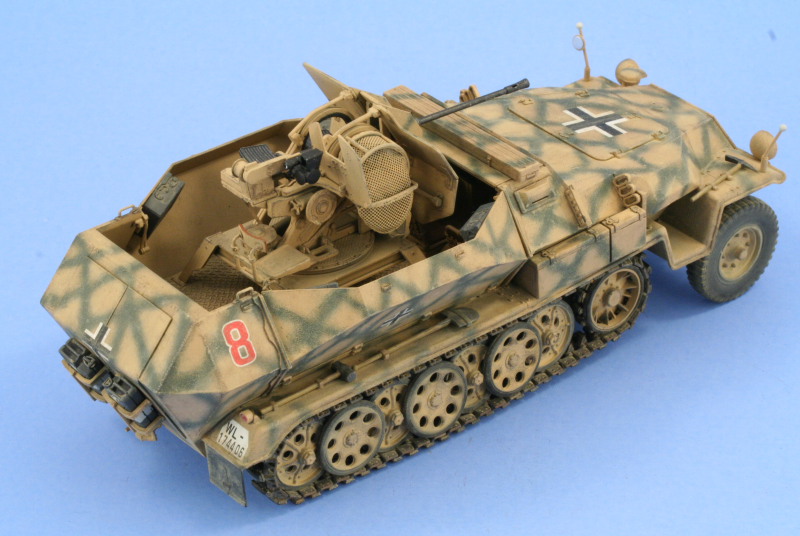
1⁄35Sdkfz 251/17 Ausf C
7
Comments
Paint and Finish
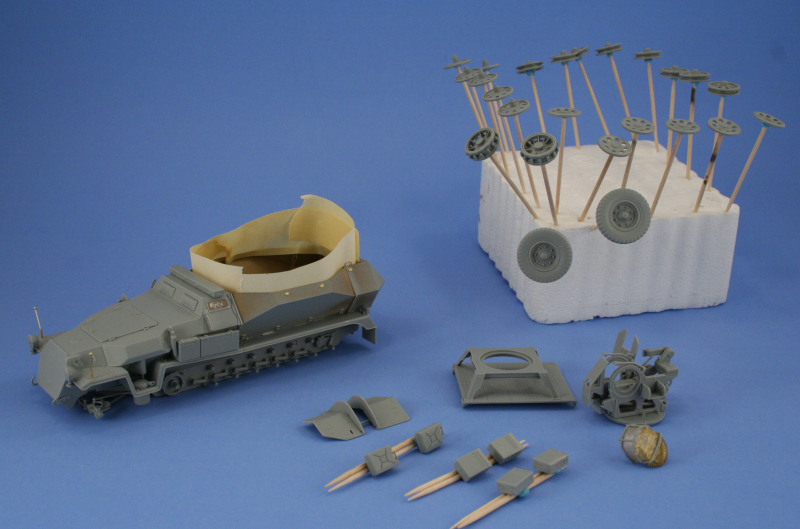
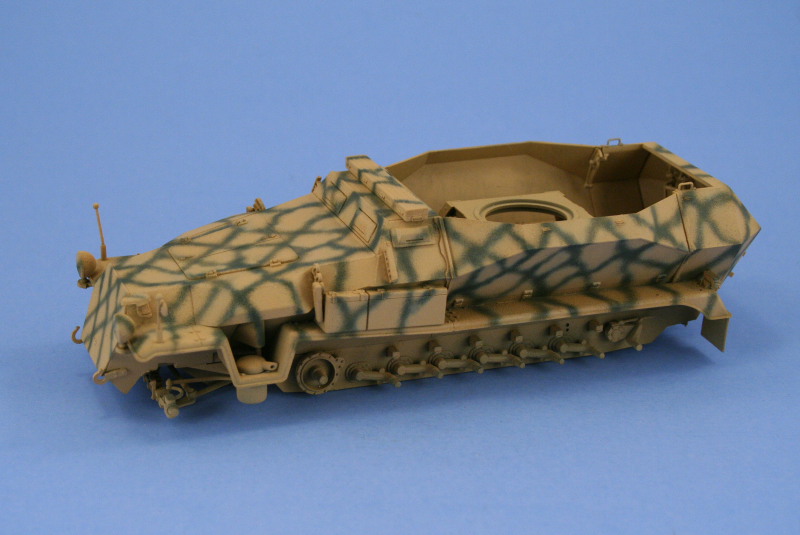
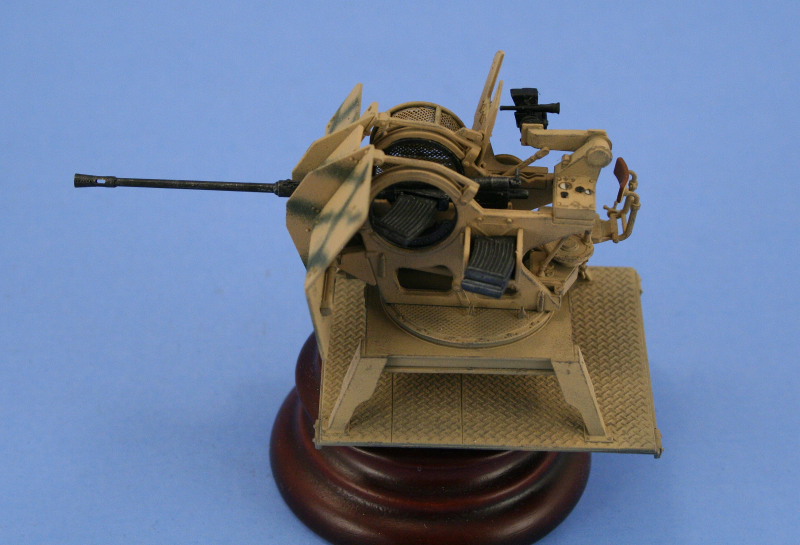
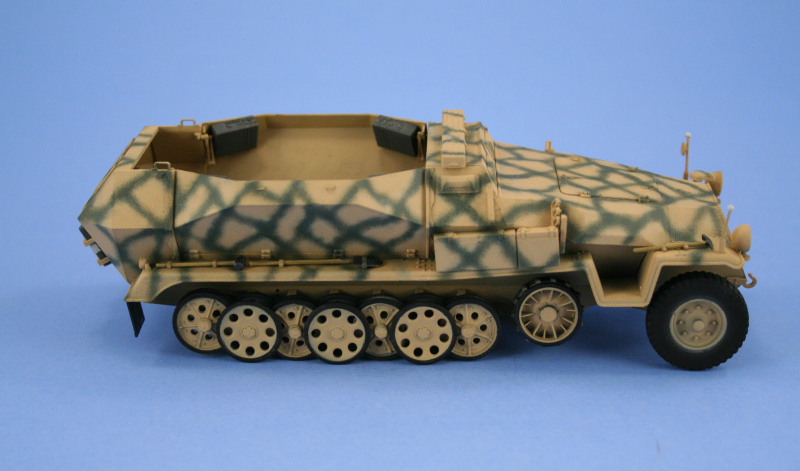
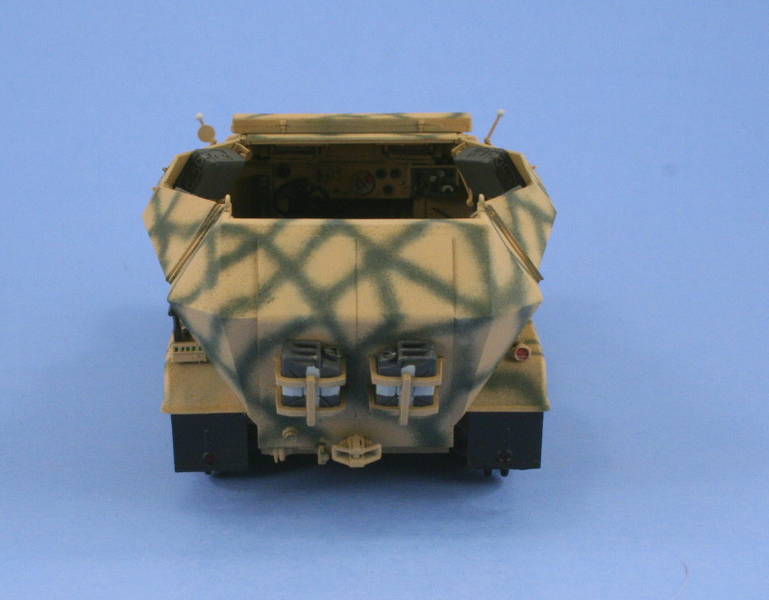
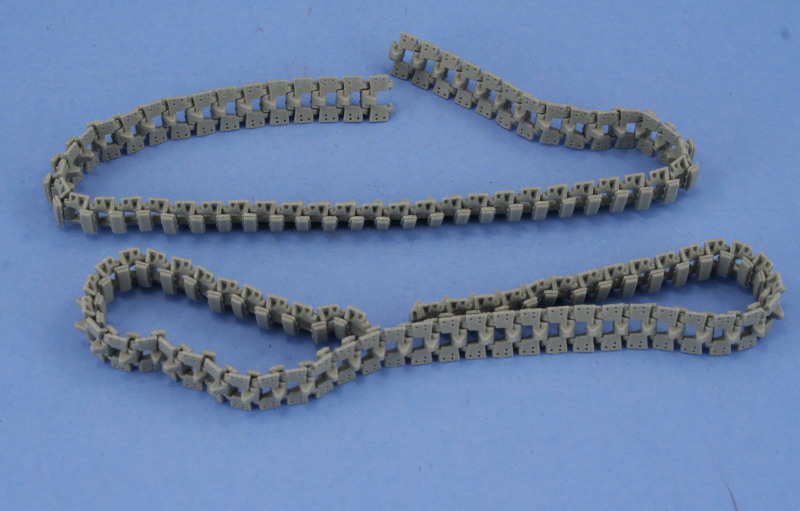
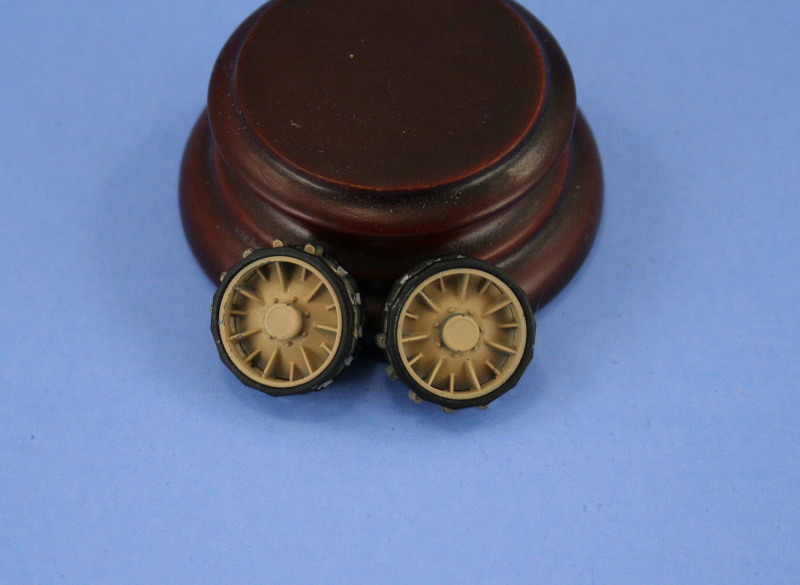
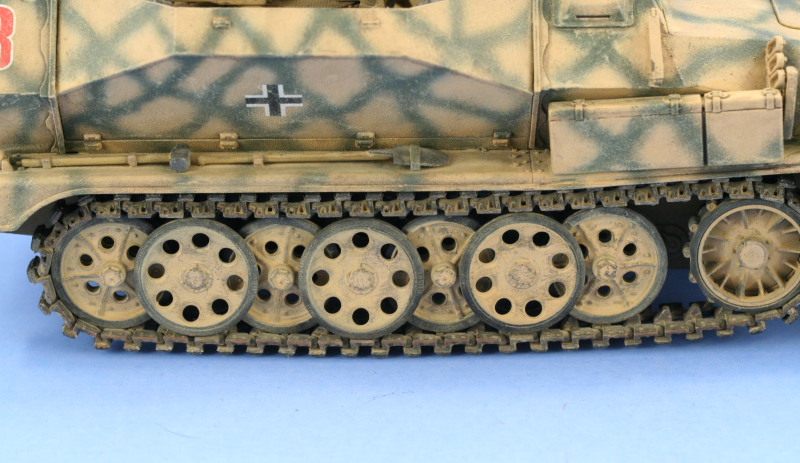
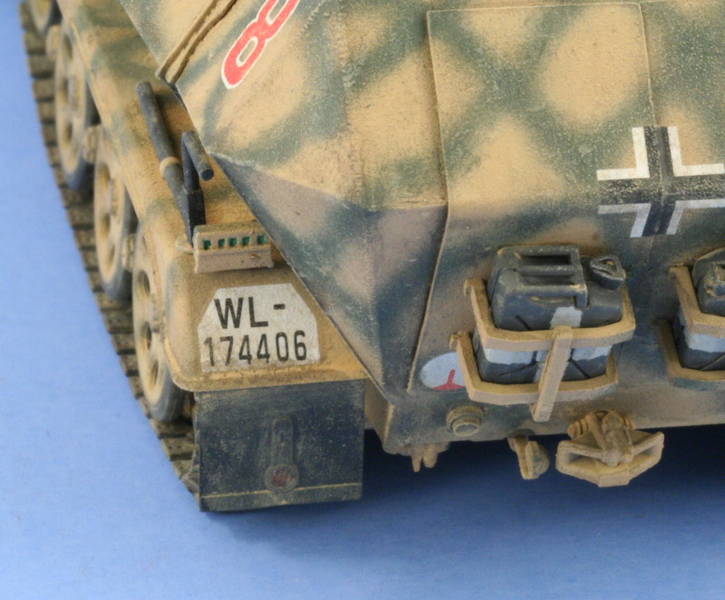
In preparation for painting, the interior compartment was masked off with masking tape and the wheels, sprockets, and road wheels mounted on toothpicks for easier painting. The Flak 38 was also broken down into its sub-assemblies for the same purpose. The wheels with rubber portions were sprayed Flat Black and set off to the side to dry. A primer coat of Panzer Schwarzgrau was applied and allowed to dry followed by multiple thin coat passes of Afrika Braun RAL 8020 to slowly build up the base coat color. The wheels and road wheels were also painted Afrika Braun using an ordinary circle template of the appropriate diameter for the respective wheel rims. Once the basecoat was applied, the camo pattern consisting of crisscrossed green lines, formulated from a 50-50 mix of Russian Armor Green and Panzer Schwarzgrau, were applied at low pressure with the nozzle of the airbrush virtually touching the surface. Overspray was touched up with the original base color and then a highly thinned mist coat of the Afrika Braun applied overall from about 12 inches away from the vehicle to tie everything together. The details on the Flak gun were added, with the gun sight installed along with the ready magazines and the gun itself installed. The gunners controls were detailed and the overall gun features given a dry brushing of Panzer Schwarzgrau to simulate light wear. The gun was secured to the pedestal mount with a retaining disk mating up with the base plate, allowing it to rotate freely. Since Id elected to have the sides in the closed position, this feature had limited utility but still proved useful in positioning the gun properly once the pedestal base was installed in the vehicle. The base was left removable for now to better facilitate weathering and was secured in place at the very end of the painting and weathering process as the final installation step. Next up, all of the road wheels were installed on their respective suspension arms to create the interleaved pattern, leaving the sprockets free to allow for installation of the track. The 2.0cm ammo boxes were also installed on the interiors of the hull sides and the jerry cans, along with their white cross markings as water cans, mounted on the rear hull. The tracks were then constructed using the pad blocks to trap one links hinge pins within the next, keeping the runs workable in the process. The left side required 54 links and the right side 55 and test fits revealed that the new sprockets in the kit required modification for the links to sit properly. The sprocket teeth on the new sprockets are wider than on the older type and it was necessary to remove the teeth from the faces where the links made contact with the rubber rim to get the right fit. The teeth were removed with sprue cutters and the sprockets glued in place to insure proper alignment. The tracks were painted with Non-buffing Metalizer, dry brushed with Steel, then given a wash of Burnt Umber followed by another wash of Rust. Once dry, the tracks were installed and the final blocks put in place to connect up the runs on both sides and insure the proper sag was maintained. The vehicle and Flak gun/mount received separate coats of Future to seal in the paint finish and decal markings for the Tunisia scheme applied per the kit finishing guide. The kit decals laid down fairly easily, requring only a little help from some Walthers Solvaset to get them to conform to the surface evenly and prevent silvering. Once dry, a second coat of Future was applied and the weathering process began. The vehicle and Flak received dot filters of Panzer Schwarzgrau and Raw Umber followed by a pin wash of Burnt Umber. Both were sprayed with Testors Flat Lusterless dull coat in the rattle can and then dry brushed with Afrika Braun. The suspension and running gear were dry brushed with Panzer Schwarzgrau and then a wash of Mig Gulf War Sand applied to both the running gear and to the horizontal surfaces of the vehicle to provide a dusty look. A stiff bristled brush was used to adjust where needed and remove any excess build up to complete the final appearance. Overall this project was an enjoyable one despite the many pitfalls contained in the instructions, allowing me to build up one of the more unusual variants of the 251 Ausf C and attempt a complex finishing scheme in the process.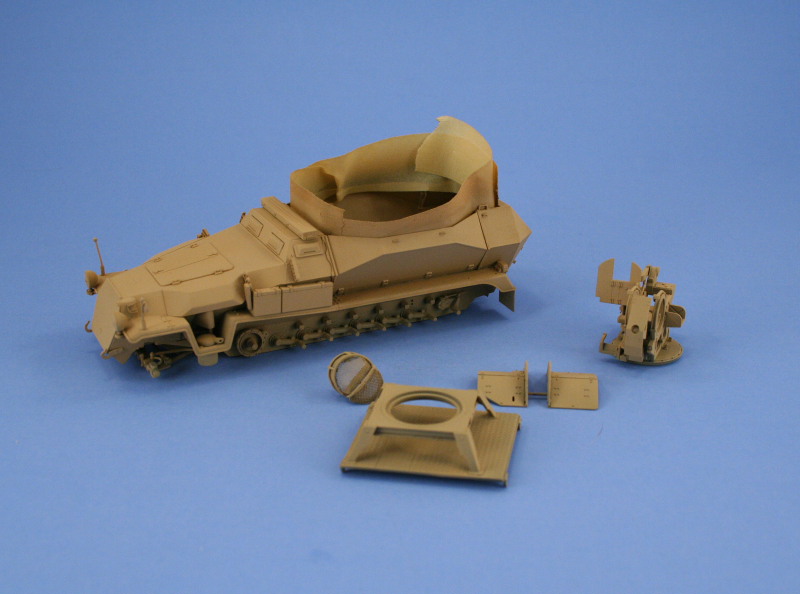


About the Author


FROM: TEXAS, UNITED STATES
Like many, I started out in the hobby as a kid building airplanes to hang from my bedroom cieling. I took a long break from the hobby, returning in 2001 with an interest in armor inspired mostly by online gaming. WW2 armor, 1/35 scale, is my preferred genre with a special taste for the stranger vehi...
Comments


Bill, as always a nice feature from you. Good build (love the camo) and good concrete article.
Thanks for your time and effort
JUN 18, 2007 - 09:55 PM


Great build article Bill and one i will definatly be refering to when i get around to building my halftracks, the painting and weathering turned out great also.
Ron.
JUN 19, 2007 - 03:30 AM
Copyright ©2021 by Bill Plunk. Images and/or videos also by copyright holder unless otherwise noted. The views and opinions expressed herein are solely the views and opinions of the authors and/or contributors to this Web site and do not necessarily represent the views and/or opinions of Armorama, KitMaker Network, or Silver Star Enterrpises. All rights reserved. Originally published on: 2007-06-17 00:00:00. Unique Reads: 35728

WEB HOSTING BY


Copyright ©2021 Armorama and Kitmaker Network, a subsidiary of Silver Star Enterprises
All Rights Reserved. Please read our Conditions of Use and Privacy Policy.
All Rights Reserved. Please read our Conditions of Use and Privacy Policy.