1⁄35Borrowed Goods
Ok let`s start talking Airborne Jeep
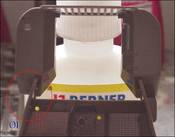
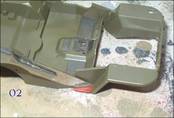
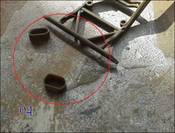
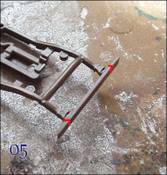
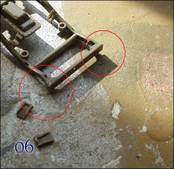
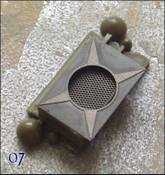
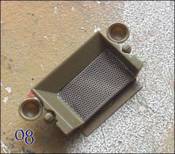
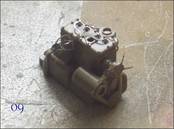
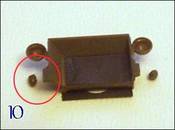
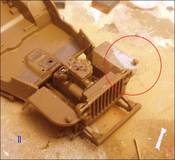
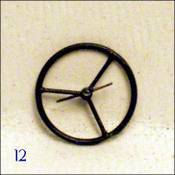
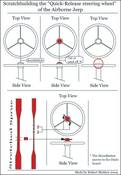
One of the first things I did when I started this build was removing the footplanks on both the driverís side and the passenger side: See images 1, 2 and 3. The next thing after that was cutting the round thingys off the backbumper see Image 4. And after having the backbumper modified I couldn`t leave the frontbumper untouched so the frontbumper got shortened too. I cut them simply on the places where the lines are. See image 5 and 6. With the chassis completely modified as needed I started to work on the radiator and motor. Sadly none of this stiff is very visible but it gives a very good feeling knowing it is there. I added the Eduard PE screen and parts on the radiator See Images 7, 8 and 9. I have to say that the Eduard PE set for this Jeep was very nice I can recommend it to everybody even though you only use the half of the PE set for the Airborne Jeep Conversion. Another item that needed to be modified was the catís eyes lights on the grill part these are moved to the mudguards on the front. See Image 10 and 11. Another thing I made in this stage of the build was the Quick-release steering wheel. This was a modification which was so the jeep would fit into the glider. Then immediately as the glider landed they would attach the steering wheel and drive away with the jeep. The Quick-release steering wheel was nothing more then a detachable steering wheel with a rod through it to lock it in place. See image 12. I made a digital sketch of how to make a Quick-Release steering wheel. See the diagram on the steering wheel.Copyright ©2021 by Robert Blokker. Images and/or videos also by copyright holder unless otherwise noted. The views and opinions expressed herein are solely the views and opinions of the authors and/or contributors to this Web site and do not necessarily represent the views and/or opinions of Armorama, KitMaker Network, or Silver Star Enterrpises. All rights reserved. Originally published on: 2005-03-28 00:00:00. Unique Reads: 13690


