

1⁄35Borrowed Goods
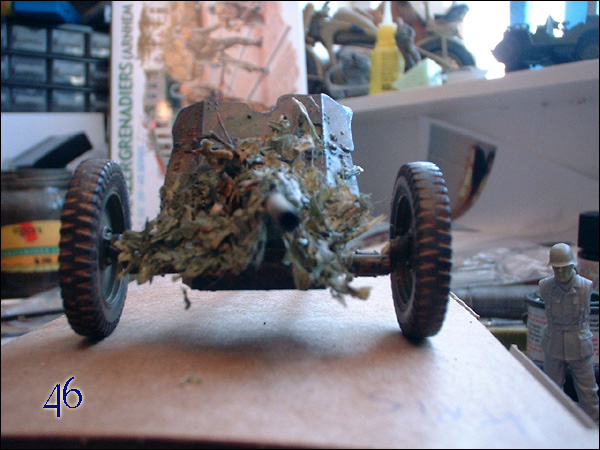
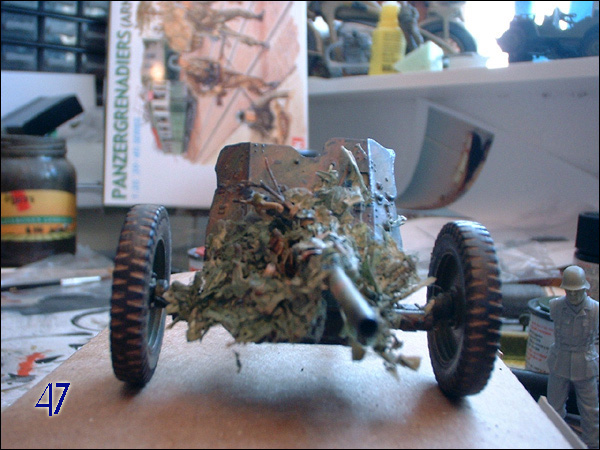
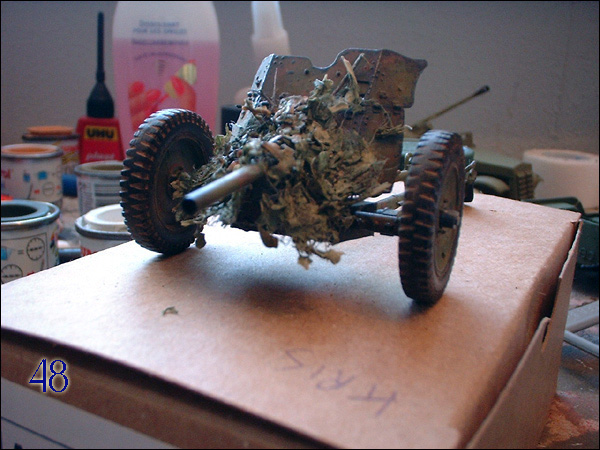
Camouflage on the gun
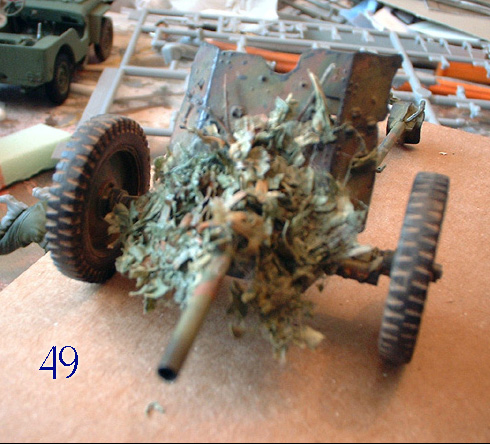
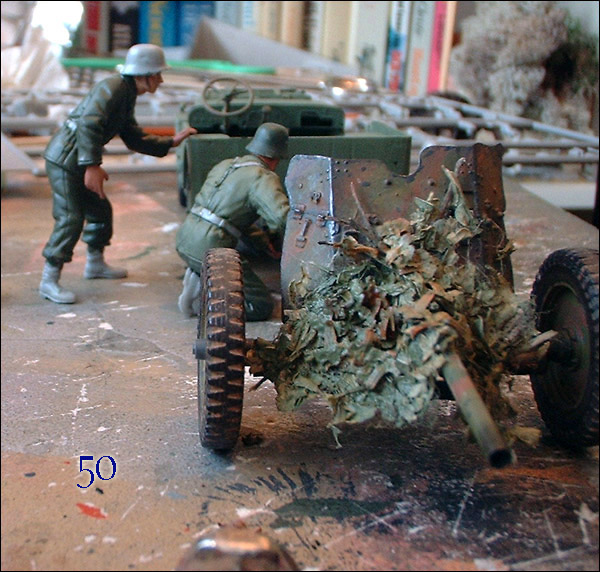
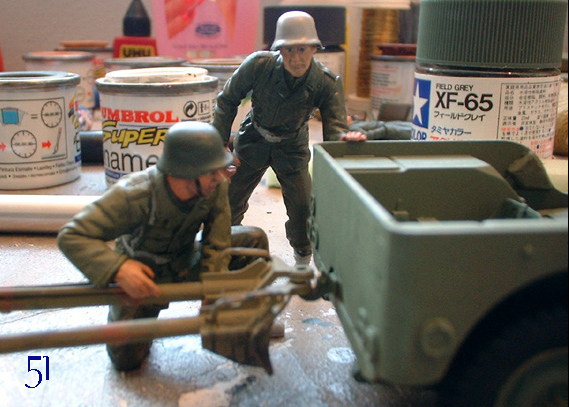
Since at the end of the war the German Luftwaffe was virtually not existing anymore and the skies above Europe were dominated by the Allies, the need for the German forces on the ground to camouflage themselves was enormous. So vehicles were hung with branches etc. The pictures that I was working from showed this detail very well and I wanted to add that too. I tried with branches but that didnt look that good and it was quite hard to make two convincing branches that were full off leaves. I tried a different approach to this. I took some medical gauze (not the netted type but more like a pressed fiber like gauze). I took a little part of this and tore it apart a bit until I had an irregular shape. I put this down on a piece of aluminium foil and brushed diluted white glue over it. After that I dipped it in a mix of dried parsley leaves that I crushed and birch seeds from the garden. When that was all added I folded the piece of gauze to the gun to shape it and let it dry there. When dry I added a couple of really thick washes to whole branches and leafs area. And last but not least I stuck 2 little piece of wood on top of it to create the ideas that it were 2 branches that were hung to the gun. See Images 45 through 50.Weathering and detail painting the Jeep
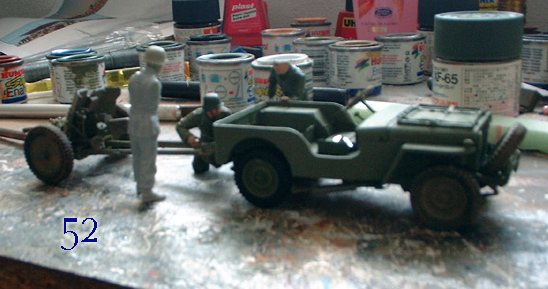
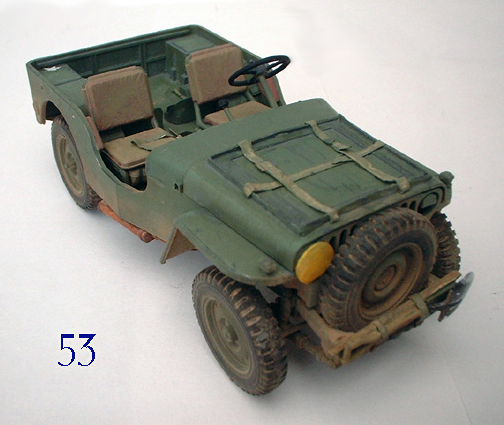
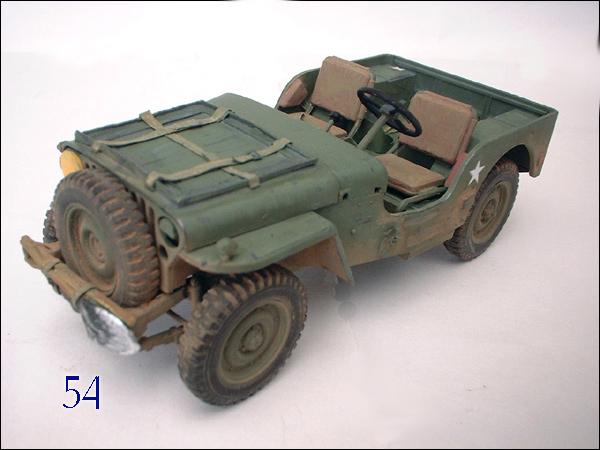
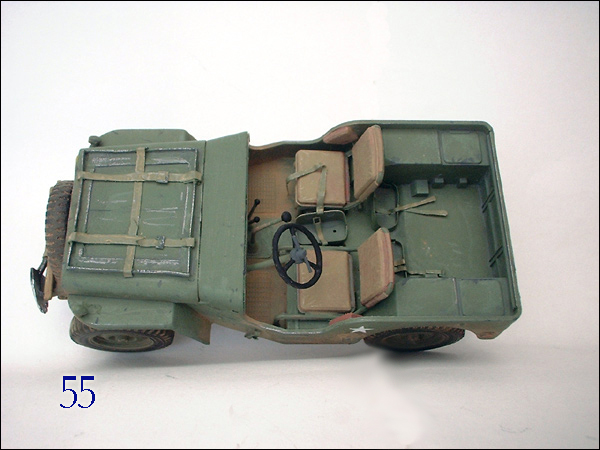
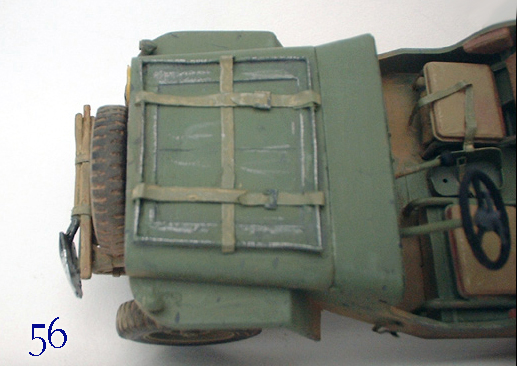
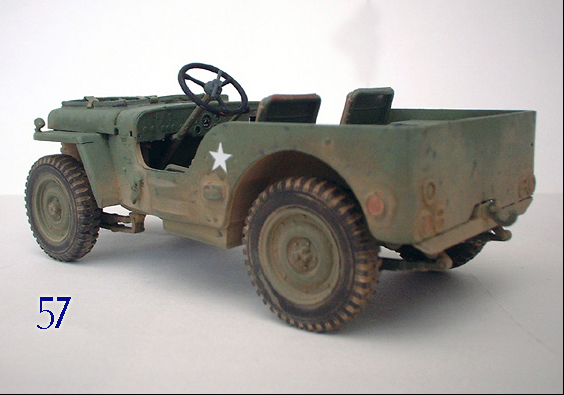
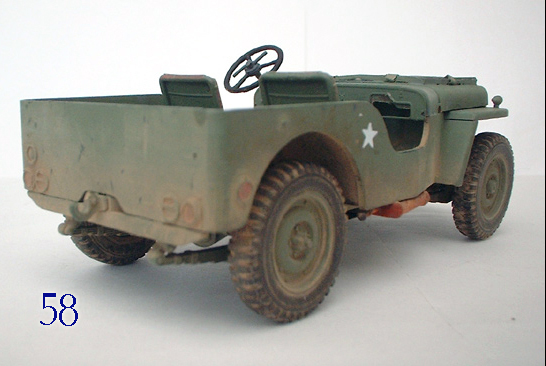
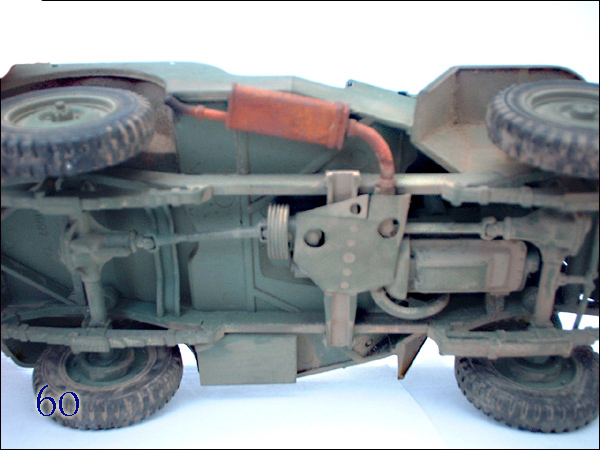
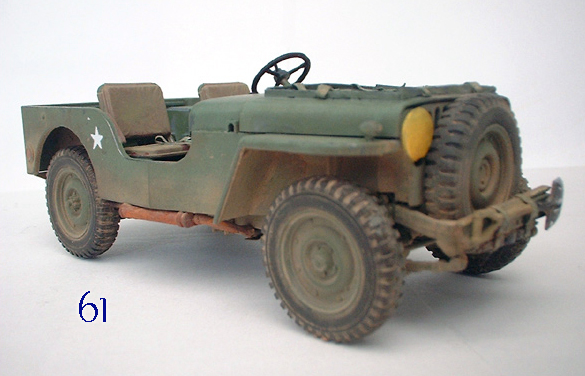
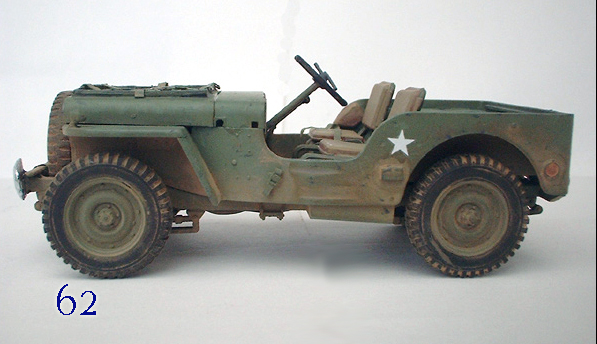
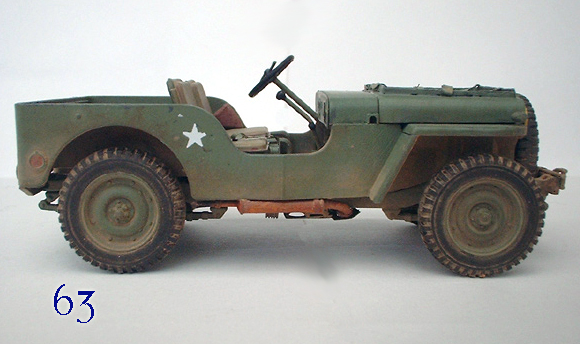
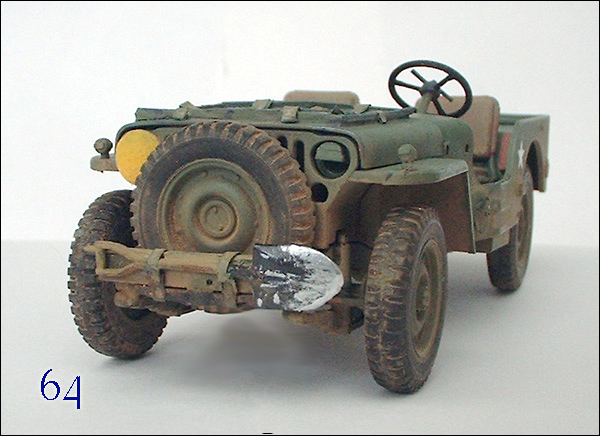
Well now everything received its basecoat it was time to do some weathering. Since the Airborne Jeeps entered the battlefield brand new and saw only short action during the battle for Arnhem there wasnt really time to get all beaten up. So I decided to keep the scratches, chips and bulletholes etc. to an absolute minimum. With a pencil I worked on the edges of the ammorack and show the places where munitions crates or boxes would have been added and taken off leaving their marks on the paint and metal. I added some washes to the inside of the vehicle and painted all the straps on both the Jerrycan holders and the ammorack with a mix of Khaki and green. The tools got painted and got their own treatment with some washes. I painted the bridging plate in signal yellow from Humbrol. With signal red I added the taillights and the seats were painted with a mix of Khaki with Brick red both from Humbrol. Next came the pigment job. I first added pigment both beneath the drivers and passenger seat to give the idea that they stepped in the vehicle with dirty boots. I applied this diluted in white spirit and brushed off the excess. I more or less did the same with the exterior of the vehicle and the wheels. First applying it diluted then when dry brush off the excess. I also added stars but later discovered that that was not really necessary. It was like the stars found out that fact at the same time as I did as they both fell off. I had not sealed them yet. The exhaust was first painted with Humbrol Brick red and while that was still wet I applied first Dark rust from MIG pigments and after that I added light rust to get some different colors into the rusty muffler. Because the paint is wet the pigments suck up the paint which makes it crumbly, this in the end gives you the rough rusty surface. The Pigments are brilliant stuff. There are several ways of applying them and they all generate the real McCoy. See images 53 through 64.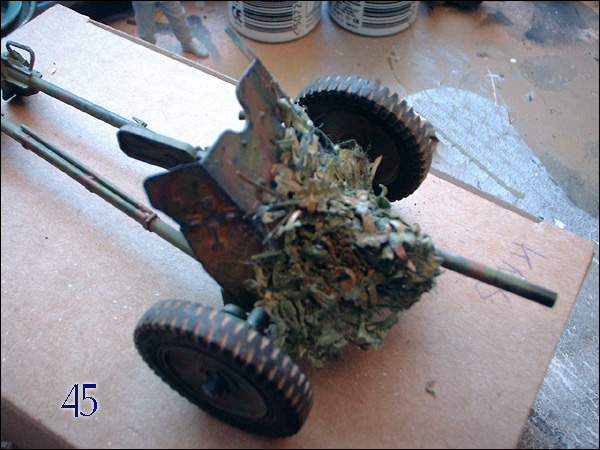

About the Author


FROM: NOORD-HOLLAND, NETHERLANDS
Started modelling when I was about 7 or 8 years old had a little break in between (school, girls partying) and eventually returned when finding this site in 2002. Main interest WW2 German army, wheeled vehicles and radio and communication troops or every other thing that manages to catch my interest...
Copyright ©2021 by Robert Blokker. Images and/or videos also by copyright holder unless otherwise noted. The views and opinions expressed herein are solely the views and opinions of the authors and/or contributors to this Web site and do not necessarily represent the views and/or opinions of Armorama, KitMaker Network, or Silver Star Enterrpises. All rights reserved. Originally published on: 2005-03-28 00:00:00. Unique Reads: 13690

WEB HOSTING BY


Copyright ©2021 Armorama and Kitmaker Network, a subsidiary of Silver Star Enterprises
All Rights Reserved. Please read our Conditions of Use and Privacy Policy.
All Rights Reserved. Please read our Conditions of Use and Privacy Policy.