1⁄35Borrowed Goods
Next Step: Tools.
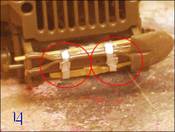
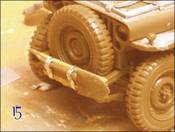
Now on an ordinary jeep you would find the tools on the side of the vehicle but again the glider comes in to play and the tools also move to a different place. And in this case, they move to the front bumper. Both the shovel and the pickaxe are attached with canvas straps with metal buckles. The Pickaxe head is detached from its stock and is attached to the bottom of the bumper while the shovel with the stock of the pickaxe is attached on top of the bumper. The shovel I used was the stock kit one and the pickaxe I got from the scrap box which was from a tankers set and the head was already loose from the stock see Image 13. The straps and buckles were made from aluminium pie lids see Images 14 and 15.The Munition rack
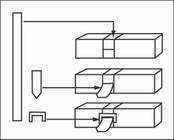
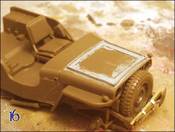
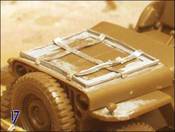
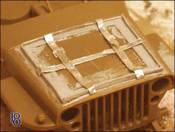
One of the biggest additions to make a normal jeep an Airborne Jeep is the ammunition rack. The ammunition rack is nothing more then a metal frame that is bolted to the bonnet of the car. I made a little diagram with the 1:1 dimensions in feet and inches (see the image of the diagram). Next step I did was cutting out eight strips of plasticcard with the correct dimensions according to the diagram. And glued them on to the bonnet. Since I had no dimensions about the height of the rack I made the sides about 3 to 4 millimetres high. The straps and buckles were again made from aluminium pie lids. See the image of tiedowns. I glued the strips onto the bonnet and added diluted putty to fill all the seams and gaps. See Image 16. Then I added the straps, see Images 17 and 18.Copyright ©2021 by Robert Blokker. Images and/or videos also by copyright holder unless otherwise noted. The views and opinions expressed herein are solely the views and opinions of the authors and/or contributors to this Web site and do not necessarily represent the views and/or opinions of Armorama, KitMaker Network, or Silver Star Enterrpises. All rights reserved. Originally published on: 2005-03-28 00:00:00. Unique Reads: 13690


