

1⁄35Foggy Morning at Krinkelt-Rocherath
14
Comments
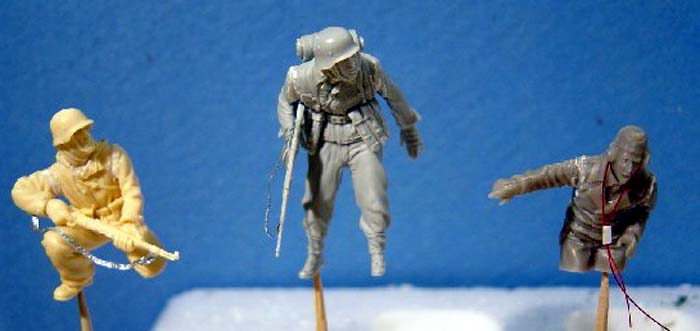
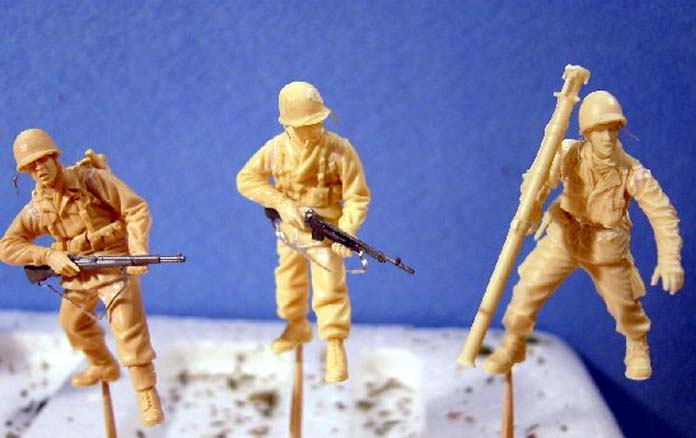
Assembling the Figures
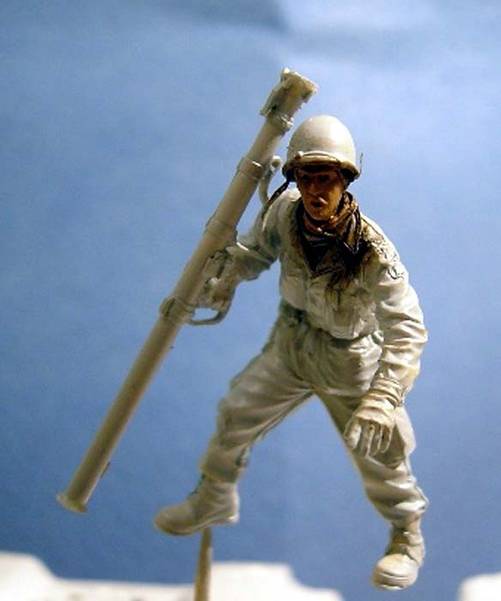
I first got out the three American figures and once again did a comparison to make certain that the 54mm Michael Roberts figure was not too large. I worked first on the Verlinden 1711 German tank commander. This figure is approximately a two-thirds figure leaning over the turret edge and pointing. As the figure stands too tall in the hatch, I sawed off approximately a third of an inch of his "legs". This got him where he fit appropriately in the Dragon turret hatch (which has no hole in the turret roof). Next I attached the head and arms. This figure was very easy to assemble and had only some small gaps to be filled.The remaining figures were then assembled. The most difficult were the two Warriors GIs. The BAR gunner was especially difficult as the BAR split while removing it from the pour blocks and it had to be replaced with a Tamiya BAR. It was also tricky getting the arms and BAR to fit together naturally. It was also difficult to get the legs properly glued as there were no guide pins. The kneeling Warriors SS infantryman and the Nemrod figure assembled without any difficulty. Once the figures were assembled, I added wiring to the tank commanders headphones as well as helmet and gun straps to the other figures. The straps were made from the foil tops of yogurt containers.
Painting the figures
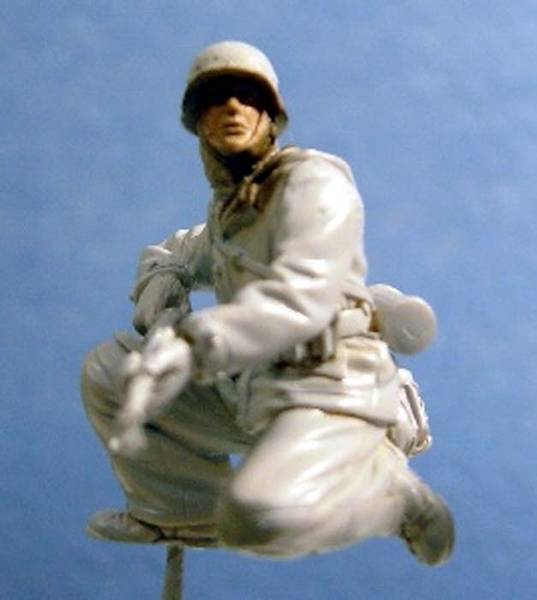
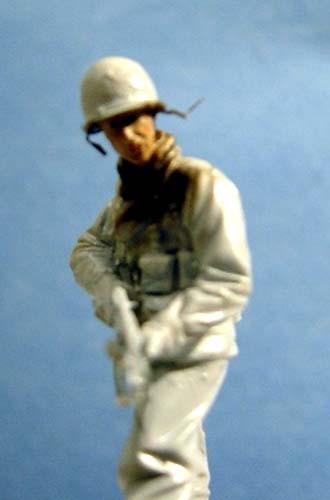
I painted the figures flesh using oil paints. Initially, I painted a base coat of PS Flesh and that was allowed to dry overnight. The next step is to apply a thick coat of Raw Umber which is then promptly removed using flat brushes. This adds a dark stain to the flesh areas. I then made my flesh mix using approximately 60/40 Flesh Hue to Yellow Ochre with a small amount of Cadmium Red and Titanium White added until it looked right to me. I applied this base flesh color to the faces and hands. A small amount was then separated out and I added more Titanium White. This lighter flesh color was then added to those areas of the face that would be lighter (such as cheekbones and noses) and that was blended into the surrounding base flesh color. To this highlight color, I added a very small amount of red and painted the lips. I decided the figures needed some additional shading so I went back with Raw Umber and added that to the appropriate shadow areas with a small brush and blended that in. The figures were then set aside so they could dry completely before moving on to paint the uniforms and equipment.The uniforms and equipment were painted using an assortment of acrylic paints from MM, PS and the craft type acrylics available at Michaels or Wal-Mart. My goal in this process is to vary the paints that I use so that the figures do not all look exactly the same. The primary colors used for the GIs were: MM Green Drab, MM Leather, Delta Creamcoat Timberline Green, MM Olive Drab, MM Field Drab, PS Scale Black.
For painting the German camouflage I find a specific color photograph or picture and use that as a reference, both for the pattern, and the colors to use. Dont be constrained to use only paints labeled as camouflage colors. For example, the base coats of my two pea pattern camouflage figures were painted using PS Dirt and PS Mud. My 2.5 Optivisor is invaluable in the whole process of painting the figures, especially the German camouflage.
If any one desires a complete list of the exact paints used and where they were used, send me a PM and I will be happy to send you that list.

About the Author


Comments


Awesome Job Keith!!!! Your article is excellent, very informative and well written. It is a great extension to the diorama it describes. The dio itself is wonderfully done as well. Congrats my friend. Excellent work Cheers Kevin
MAY 10, 2005 - 07:11 AM

Kevin -
Outstanding job. PzKpfw IV, figures, details, and the overall execution are all top rate. Very well suppoted theme. Special thanks on the Article as this was very informative and helpful. Hope my "Ardennes" diorama comes out half as good. Fantastic job.
Blade48mrd
MAY 10, 2005 - 07:18 AM

Thanks for the positive comments everyone. Sometimes being an obsessive note taker has its benefits!
Mike, I ordered the Heki Grass from Scenic Express in Pennsylvania. They have a website, but you have to call their 1-800 number to order. They offered great service. Check out this thread for more details than you probably wanted to know: LINK
Hope this helps.
Keith
MAY 10, 2005 - 08:06 AM

Keith:
Lovely work on that "Bulge" dio. And the article is first class as well, as so many other have said. But dude, your figs are really first class! I think those may be my favorite 1:35th scale figs I've seen on the Big A since I came aboard in April. Congratulations on very nice photos as well.
Keep 'em coming
MAY 10, 2005 - 08:08 AM

thx keith and excellent work once more.hope to see some more kick butt work with heki grass from you as well looks wonderful
MAY 11, 2005 - 10:08 AM
Great dio. I really like it. Panzer, building, figures and groundwork looks great.
MAY 11, 2005 - 05:31 PM

I must congratulate you on the detail of your diorama.
While I was looking at your building I thought about something that I wanted to do for a diorama. Create a building that has burnt down. Obviously smoke would have poured out of the windows, blackening the outside of the windows and the areas above the windows in a v-shape!
Dieter
MAY 11, 2005 - 06:01 PM

Your research is all very thorough, but if I may make a criticism? IMHO the grass is too green (it is mid-December), and the ground is not muddy or wet enough. It didn't snow much until after Christmas, but it was just mild enough to rain and drizzle constantly, making very messy conditions - especially where tanks were driving.
SEP 06, 2006 - 07:35 AM
Thank you for this in depth description of your dio.
I like the scene you made very much and it is well composed.
I would have loved to see some slates on the roof. I also agree about the colour of the grass. A bit more of a early winter look would be nice.
Thank you also for your construction tips for the Panzer IV. I seriously need to reread other reviews of it also, i was not aware that the kit has such problems.
Congratulations
Claude
SEP 06, 2006 - 11:19 AM
Copyright ©2021 by Keith Middleton. Images and/or videos also by copyright holder unless otherwise noted. The views and opinions expressed herein are solely the views and opinions of the authors and/or contributors to this Web site and do not necessarily represent the views and/or opinions of Armorama, KitMaker Network, or Silver Star Enterrpises. All rights reserved. Originally published on: 2005-05-10 00:00:00. Unique Reads: 22152

WEB HOSTING BY


Copyright ©2021 Armorama and Kitmaker Network, a subsidiary of Silver Star Enterprises
All Rights Reserved. Please read our Conditions of Use and Privacy Policy.
All Rights Reserved. Please read our Conditions of Use and Privacy Policy.