

1⁄35Foggy Morning at Krinkelt-Rocherath
14
Comments
The Base
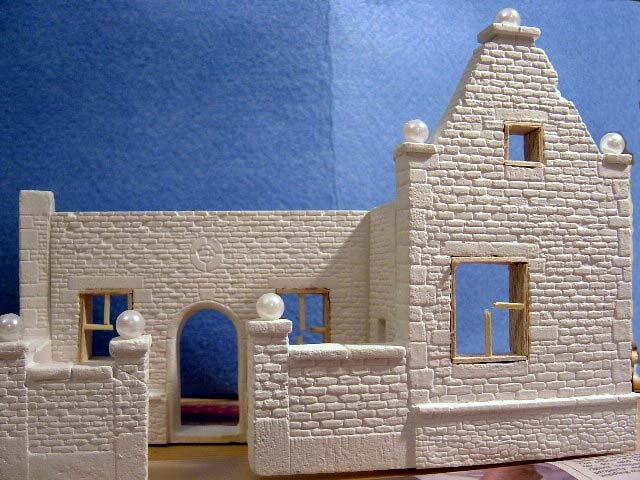
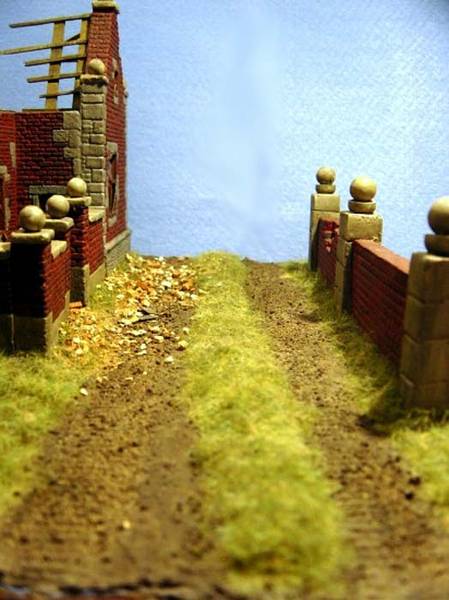
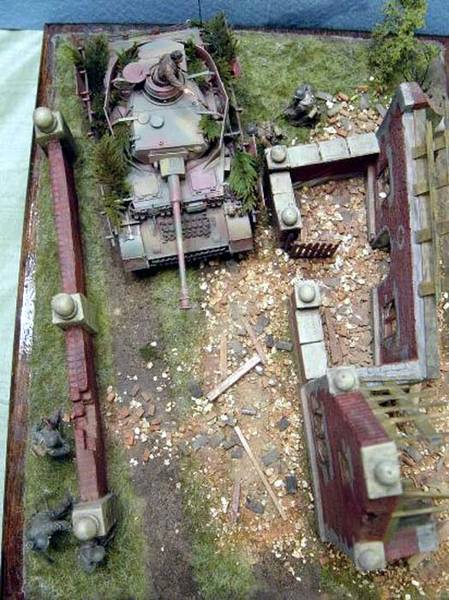
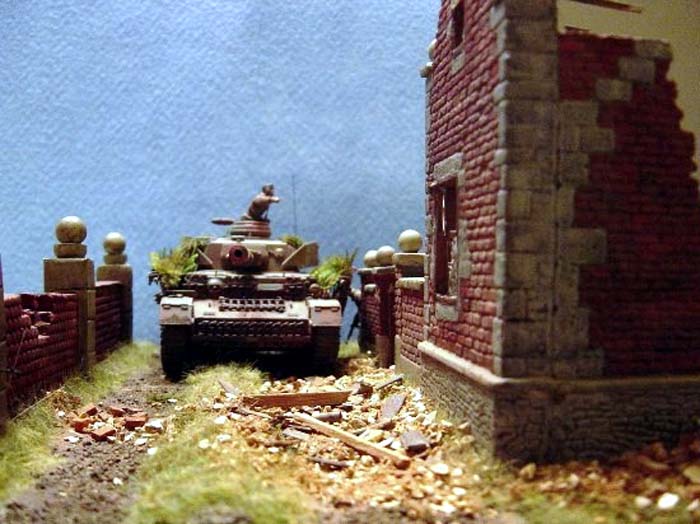
I used foam core board for adding elevation to the base for the following locations: the house, the stone wall, the center of the road and a corner of the base. This was all glued using Elmers white glue and allowed to completely dry. An Evergreen Tree Detour Originally I had wanted to place an evergreen tree on the diorama. So, I prepared a tree trunk using a trunk from Sweetwater Scenery. I drilled holes into the tree trunk for the branches as well as for a toothpick to go in the bottom of the trunk. The branches came from Bragdon Enterprises. First I sorted the branches into piles based on length. Then, using superglue and accelerator, I started attaching the limbs to the tree. The holes I drilled were frequently too small and the accelerator did not always work. Despite these set-backs, over the course of two evenings I assembled the evergreen tree. Once the tree was finished, I placed it on the base and immediately decided the tree was not going to work for two reasons: (1) with a destroyed house beside it, a tree was not going to survive the blast unscathed; and (2) the tree was simply too large for the diorama and would not look right in the available space. So, with that unsuccessful detour, I went back to finishing up the base. The Base Resumed I glued cork bricks down in the courtyard of the ruined house using Elmers. The cork bricks were made from a roll of cork that I had purchased at Michaels. (Being naturally thrifty, I love Michaels. Michaels is a treasure trove of diorama supplies and, if you plan ahead, you can usually catch items on sale or use their weekly 40% off coupon.) After the glue had dried, I spread spackle over the brick courtyard and allowed that to thoroughly dry. I then applied thick acrylic washes to the bricks: black and raw umber.Finally, it was time to add the groundwork to the base. I prepared the groundwork using a mix of Celluclay (70%), Durhams Water Putty (30%), Elmers white glue, water and acrylic black and raw umber paint. Be sure to add enough paint so that the groundwork mix is darker than you want as the groundwork will dry lighter than it appears when wet. The groundwork mix was then applied to the base using plastic oil painting pallet tools that I had also bought at Michaels. The groundwork was allowed to dry over several days. As it dried I noticed that I did not place enough of the groundwork in several areas around the edges of the foam core board. The result was that the squared edges were very noticeable and required the addition of a second layer of Celluclay mix in those areas.
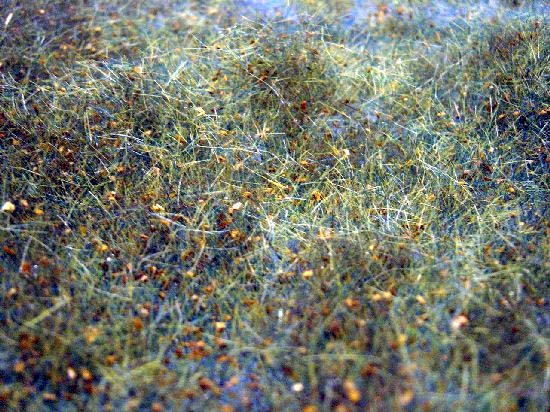
With the groundwork dry, I painted it by brush with a thinned mixture of craft acrylic raw umber and licorice (a grayish black color). After the paint had dried, I started adding a mixture of Woodland Scenics static grass. First I made a mix of water and Elmers glue at about a 50-50 ratio and brushed that on to small areas of the groundwork and sprinkled the grass over that area. This process was repeated until I had covered the entire base. Once the whole base was covered, I blew off the excess grass.
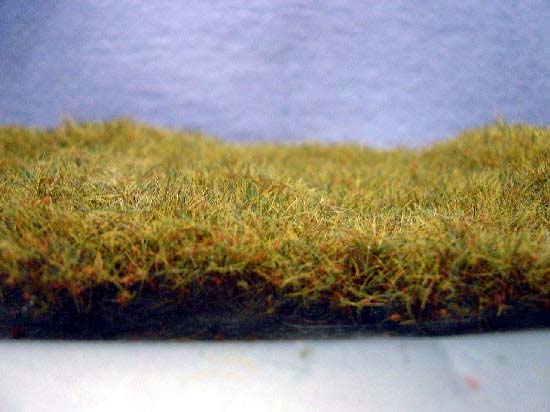
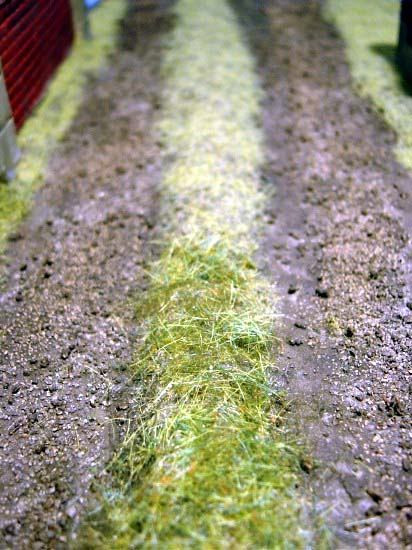
It was now time to add the Heki Grass. Heki Grass comes in a mat where the grass is attached to some type of loose netting.
For attaching the Heki Grass, I followed Hekis instructions found on the box, except I brushed on diluted Elmers white glue rather than used a spray adhesive. Once again working in small sections, I would brush the diluted glue onto the base, rip off a piece of the Heki mat, stretch it out to the proper size and then press it down onto the groundwork. Using this method it took about 2.5 hours to apply the grass to the entire base. With the Heki Grass in place, I inserted some bushes into the base using bare stems from dried flowers closest to the house and Woodland Scenics materials further away from the house. With the plant life in place, I painted the bare bushes with acrylic dark brown paint. I then dry-brushed the Heki Grass with light acrylic beige paint to get the coloration more in line with my concept of winter grass.
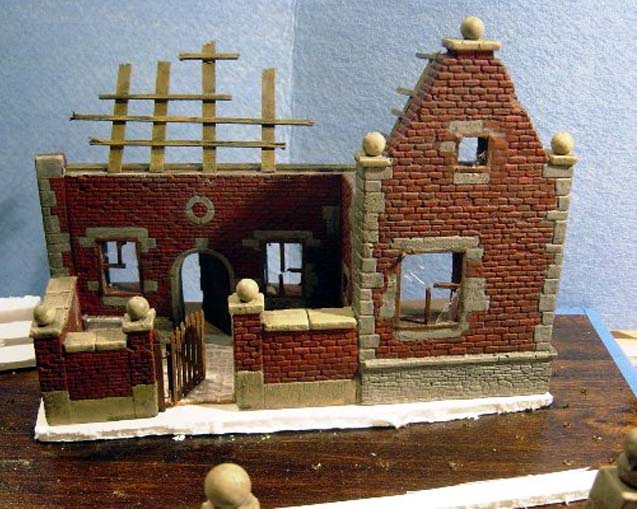
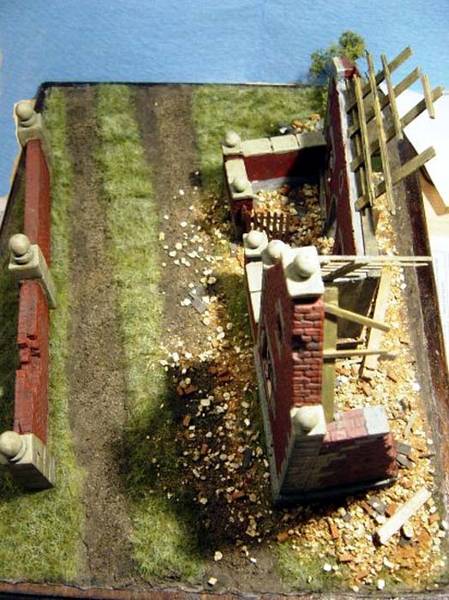
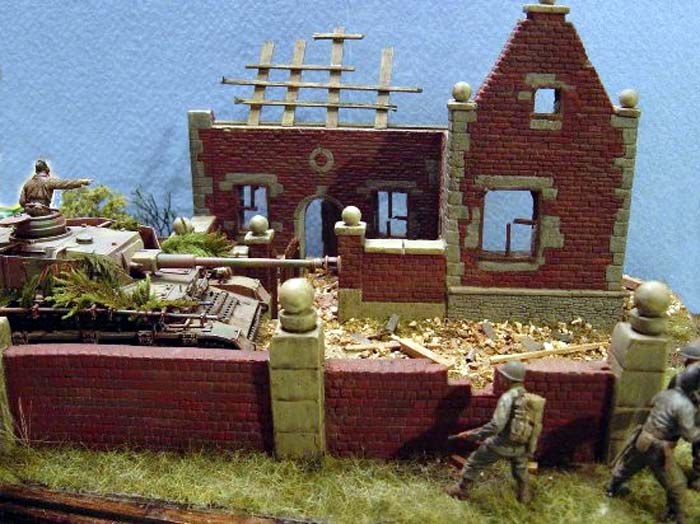
For the rubble I used Hudson & Allens Rubble mix. This comes in a bag with powdered glue included in the mix. I poured the rubble around the ruined house and then sprayed that with water per the instructions. I then allowed it to dry overnight to see if the powdered glue would be enough to hold the rubble to the base. It was not enough to hold all areas, so the next night I applied diluted white glue with a medicine dropper to the rubble, and once again let it dry over night. I then applied Terracotta Earth and Medium Earth MMP pigments to the rubble and house.
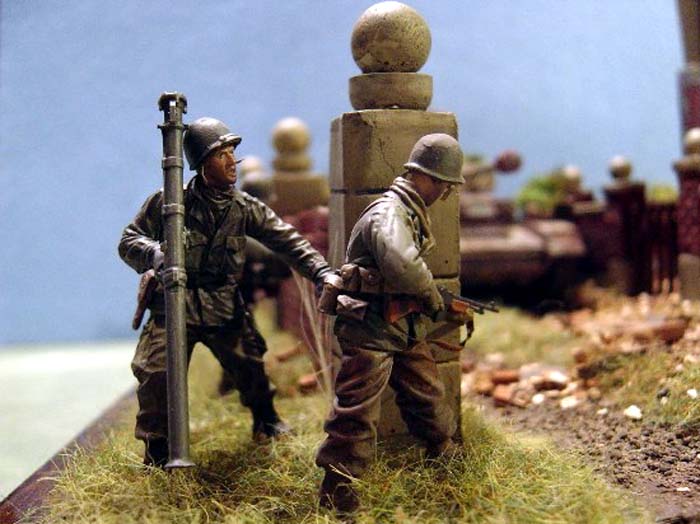
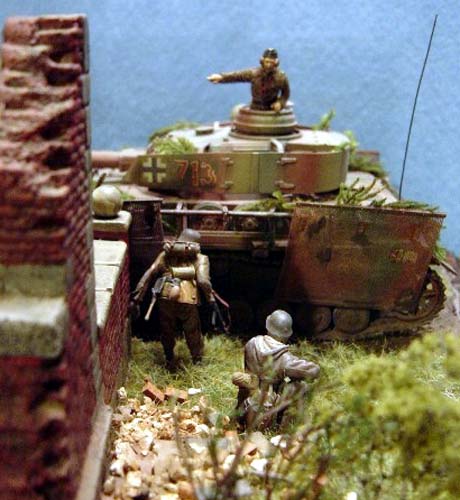
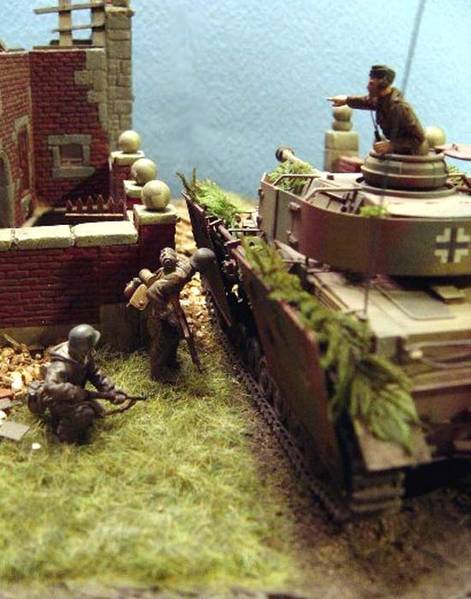
With the base finished, I worked out the locations for the three US GIs, drilled a hole for the peg in each figures leg and glued them to the base. This was a little more difficult than normal as I had to work the feet down into the Heki Grass. Once the three GIs were placed, I added the two German SS soldiers using the same process. Finally, I added evergreen branches to the Panzer IV. After my wife expressed the opinion that the branches were too bright green, I went back and added medium earth pigments to tone them down. I then took some pictures and posted them on Armorama.com. Based on recommendations from those pictures, I went back and added additional rubble to the base at the front of the building as well as beside the brick wall. The last thing I did was to add pigments to those areas of new rubble and the diorama was finished. This project took approximately four months to complete.

About the Author


Comments


Awesome Job Keith!!!! Your article is excellent, very informative and well written. It is a great extension to the diorama it describes. The dio itself is wonderfully done as well. Congrats my friend. Excellent work Cheers Kevin
MAY 10, 2005 - 07:11 AM

Kevin -
Outstanding job. PzKpfw IV, figures, details, and the overall execution are all top rate. Very well suppoted theme. Special thanks on the Article as this was very informative and helpful. Hope my "Ardennes" diorama comes out half as good. Fantastic job.
Blade48mrd
MAY 10, 2005 - 07:18 AM

Thanks for the positive comments everyone. Sometimes being an obsessive note taker has its benefits!
Mike, I ordered the Heki Grass from Scenic Express in Pennsylvania. They have a website, but you have to call their 1-800 number to order. They offered great service. Check out this thread for more details than you probably wanted to know: LINK
Hope this helps.
Keith
MAY 10, 2005 - 08:06 AM

Keith:
Lovely work on that "Bulge" dio. And the article is first class as well, as so many other have said. But dude, your figs are really first class! I think those may be my favorite 1:35th scale figs I've seen on the Big A since I came aboard in April. Congratulations on very nice photos as well.
Keep 'em coming
MAY 10, 2005 - 08:08 AM

thx keith and excellent work once more.hope to see some more kick butt work with heki grass from you as well looks wonderful
MAY 11, 2005 - 10:08 AM
Great dio. I really like it. Panzer, building, figures and groundwork looks great.
MAY 11, 2005 - 05:31 PM

I must congratulate you on the detail of your diorama.
While I was looking at your building I thought about something that I wanted to do for a diorama. Create a building that has burnt down. Obviously smoke would have poured out of the windows, blackening the outside of the windows and the areas above the windows in a v-shape!
Dieter
MAY 11, 2005 - 06:01 PM

Your research is all very thorough, but if I may make a criticism? IMHO the grass is too green (it is mid-December), and the ground is not muddy or wet enough. It didn't snow much until after Christmas, but it was just mild enough to rain and drizzle constantly, making very messy conditions - especially where tanks were driving.
SEP 06, 2006 - 07:35 AM
Thank you for this in depth description of your dio.
I like the scene you made very much and it is well composed.
I would have loved to see some slates on the roof. I also agree about the colour of the grass. A bit more of a early winter look would be nice.
Thank you also for your construction tips for the Panzer IV. I seriously need to reread other reviews of it also, i was not aware that the kit has such problems.
Congratulations
Claude
SEP 06, 2006 - 11:19 AM
Copyright ©2021 by Keith Middleton. Images and/or videos also by copyright holder unless otherwise noted. The views and opinions expressed herein are solely the views and opinions of the authors and/or contributors to this Web site and do not necessarily represent the views and/or opinions of Armorama, KitMaker Network, or Silver Star Enterrpises. All rights reserved. Originally published on: 2005-05-10 00:00:00. Unique Reads: 22152

WEB HOSTING BY


Copyright ©2021 Armorama and Kitmaker Network, a subsidiary of Silver Star Enterprises
All Rights Reserved. Please read our Conditions of Use and Privacy Policy.
All Rights Reserved. Please read our Conditions of Use and Privacy Policy.