1⁄35All Bout Da Bones
12
Comments
PAINT AND WEATHERING
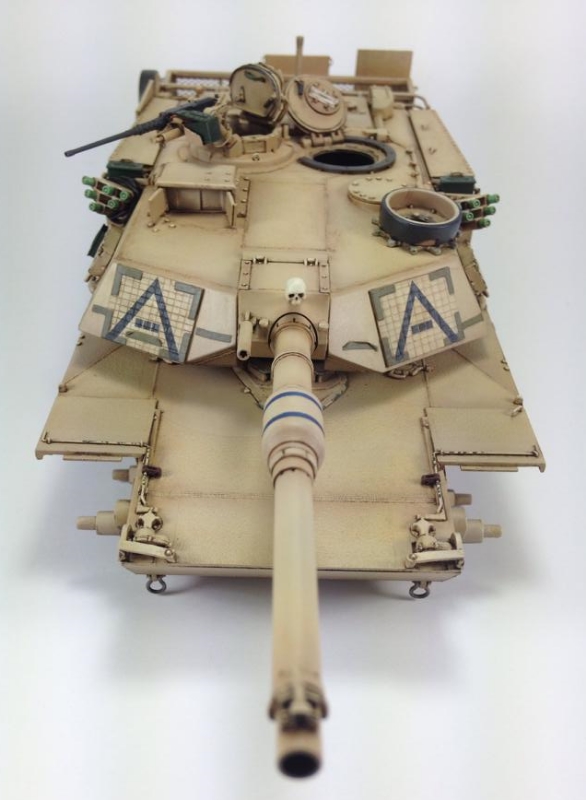
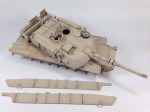
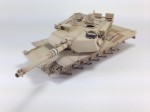
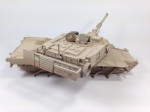
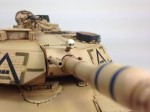
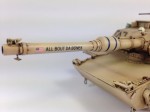
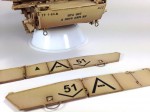
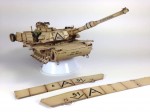
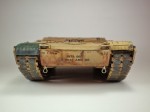
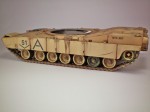
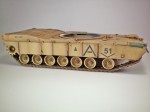
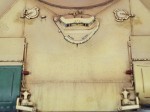
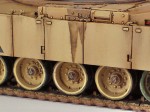
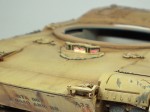
After fitting all of the major components into a complete assembly to verify that I had captured the proper look of All Bout Da Bones, I was ready for paint. The model was broken down into sub-assemblies, washed in warm soapy water and when fully dry, was primed using grey Tamiya Fine Surface Primer. After allowing the primer to cure for several days, a basecoat of Model Master Acryl Sand (FS33531) was sprayed on. This color was specified for all models in the group build to ensure some level of color consistency between the different painting techniques employed by various modelers in the group. In order to add some depth to the color, I chose to add a pre-shade to the panel lines and undersides using a 50:50 mix of MM Sand and MM Dark Tan (FS30219). Then, the upper surfaces and high points were sprayed with a 50:50 mix of MM Sand and MM Semi-Gloss White (FS27875). Parts that would have been replaced in the field such as the right front fender were represented by painting them in Vallejo Military Green (70.975). This also applied to one of the road wheels and the drive sprocket on the left side as shown in one of the reference photos I was using.An orange filter from SIN Industries was then applied to the sand colored parts of the modeland after curing was protected by a coat of Vallejo Satin Varnish. I then added some additional details such as the CIPís mounted to the front of the turret and small strips of Tamiya tape to represent Velcro mounting points used for training sensors. The front mounted CIPs were cut from cereal box cardstock, painted, decaled and then scored in a grid pattern to replicate the panels delaminating. Next, I painted the blue platoon markings around the main gun evacuator as well as the stenciled numbers on the rear battle board. I also picked out the various other colored details around the model at this time. Some light chipping of the sand color in specific places was added to reveal what would be the NATO green base color underneath. This was done around the driverís and loaderís hatches, around the TC weapon mount and on the edges of the smoke grenade storage boxes. Another coat of satin varnish was applied followed by the AK Interactive brown wash from their OIF & OEF weathering set.
The model was next given a couple of thin coats of Future and allowed to dry thoroughly before the application of decals. There is a mistake in the printing of the kit supplied decal for the battalion designation on the front hull. I fixed this by cutting apart the letters and rearranging them correctly along with the addition of a missing letter which was taken from a spare decal elsewhere on the decal sheet. Once dry, all of the decals were sealed with another thin coat of Future before the whole model received a third coat of satin varnish in preparation for the weathering stage.
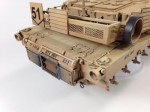
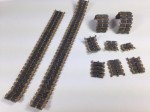
Some light streaking on the armored skirts, road wheels and from specific points on the turret was accomplished using the Streaking Effects enamel, again from the AK Interactive OIF & OEF weathering set. I did not wish to overpower the base color with too much of the dark grime streaking as it seemed much more realistic to have the tank dusted with sand as shown in the reference photos. To this end, I began by fading the black unit markings with an application of North Africa Dust nature effects enamel from Ammo of Mig Jiminez. This was then followed by an application of North Africa Dust enamel mixed with Middle East Dust pigment, also from Ammo of Mig. Mixing the two created a slurry which was painted onto the road wheels and tracks to simulate a heavy coating of sand that had worked its way into every nook and cranny of the running gear. I then used Windsor & Newton Artists White Spirit to remove the slurry from the track pad surfaces and around the track links leaving a well-worn and sandy appearance.
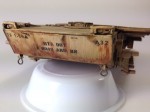
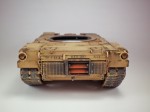
Final touches for weathering included black and rust color pigments applied around the main engine exhaust as well as to the interior of the exhaust deflector hanging from the right side of the turret. I also replicated the streaks and scarring on the lower front hull using a combination of oil paints and streaking effects enamel. Fuel stains around the fuel filler caps as well as an oil spill down the left side of the hull were the last elements of weathering to be added.
All of the vision blocks and sighting optics on the actual Abrams are treated with an anti-laser coating to protect them from enemy laser disruption. This results in the glass having a color-shifting effect that varies anywhere from green to blue to purple, red and even orange when viewed at different angles. To replicate this effect on the model, I applied chromatic stickers from AFV Club which were designed for the Dragon M1 kit. Each lens was first painted with Citadel Mithril Silver and allowed to dry. I then applied the AFV Club stickers and burnished them into place with a burnishing tool. I have to say that these may have been one of the coolest things about this build as they really add an interesting color effect to the model and also replicate the actual lenses almost perfectly.
Comments
Modern stuff is not my usual area of modelling interest, but I too doff my hat to you in recognition of a superbly completed model. True "museum quality" and great that it is going to be displayed there.
- Steve
NOV 24, 2014 - 08:22 PM
Dang that is one sweet build! Especially love the wear and tear and overall attention to detail, really outstanding sir!
NOV 24, 2014 - 09:49 PM
Great looking build and a very well article, congrats on your medals as well!
NOV 25, 2014 - 02:48 AM
This one is clearly a labour of love, all that detail work is paying off and the finish is amazing. A exellent piece of work,very acurate and precise to the real thing.
Congratulations, you did a great job. Are you an artist.
Greetings and respect,
Walter
NOV 25, 2014 - 12:27 PM
Hi Mario, Hi Don,
Don, you have provided a great article with useful reference pics, and definitely you made a great job !
I like very much the stowage arrangement and the weathering.
Thanks for posting !
DEC 04, 2014 - 12:26 PM
Outstanding build Sir...love it and the information you've provided will be very helpful to me.....thank you
FEB 16, 2015 - 08:17 PM
Copyright ©2021 by Don Haney. Images and/or videos also by copyright holder unless otherwise noted. The views and opinions expressed herein are solely the views and opinions of the authors and/or contributors to this Web site and do not necessarily represent the views and/or opinions of Armorama, KitMaker Network, or Silver Star Enterrpises. All rights reserved. Originally published on: 2014-11-25 01:46:10. Unique Reads: 16849


