1⁄35All Bout Da Bones
12
Comments
CREW AND STOWAGE
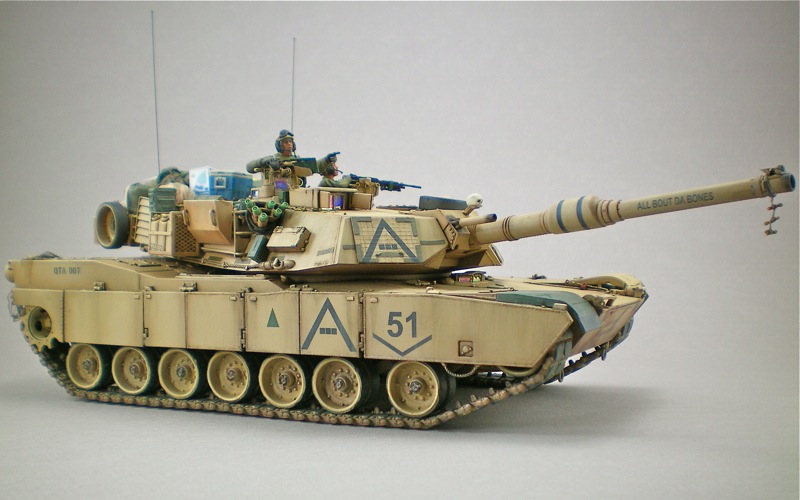
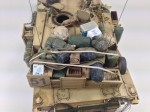
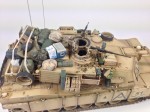
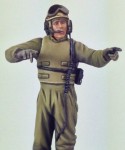
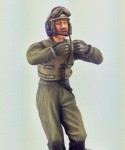
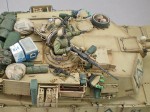
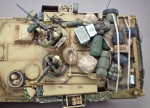
For the crew figures I used a combination of parts from MasterBox, Verlinden and Alpine. Unlike Bradley crews who usually wore the Desert Camouflage Uniform (DCUs) and Interceptor Body Armor (IBA) vests, the Abrams crews wore green Nomex jumpsuits and smaller, less restrictive armored vests known as Spall vests during the TR. Master Box had released a new set of US tankers dressed in this fashion so I used them as a starting point but added bits from other manufactures to get more dynamic poses and finer features in the faces. For the loader, I wanted to show him firing the M240 so I used wire armatures for his arms and added hands from Alpine Miniatures. I then bent the arms into the position I needed and sculpted sleeves using A+B Epoxy Putty. Both figures were given boom mics made from brass rod and intercom cords made from fine copper wire. The figures were painted using Vallejo paints.Stowage was represented primarily by resin parts from the Legend M1 Stowage set along with a cooler and water bottles from DEF Models and sleeping cots from Tamiya. With the exception of the bright blue Igloo cooler, all of the stowage was painted in camouflage or in various shades of military green using Vallejo paints. MRE boxes were made by printing out MRE box templates onto a brown grocery bag and then cutting, folding and gluing the boxes together. A similar method was used for the Gulfa water cartons. I created a tarp from A+B Putty and used it to enhance the layout of the stowage items in the turret bustle that otherwise might look like a bunch of LEGO bricks stacked together. Once everything was in place I made tie down straps using strips cut from textured cloth medical tape combined with PE ratchet handles and hooks from CSM Designs. A final dusting of Middle East Dust pigment was used to give all of the gear a suitably dusty appearance and to tie it all together.
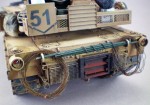
Fence pickets made from styrene angle stock along with PE razor wire from Eduard were painted and added to the rear of the tank. I also added flexible carbon fiber aerials from Accurate Armour which were incorporated into the stock aerial bases. The final touch was to add a large pile of expended .50 caliber shells and clips around the TC station to indicate the heavy amount of firing the TC engaged in during the unit’s advance up the highway into Baghdad. Interestingly, no shells are shown around the loader’s station because the expended shells for this weapon were actually caught in the hopper below the gun. So, with the final details in place, the model was now complete.
Comments
Modern stuff is not my usual area of modelling interest, but I too doff my hat to you in recognition of a superbly completed model. True "museum quality" and great that it is going to be displayed there.
- Steve
NOV 24, 2014 - 08:22 PM
Dang that is one sweet build! Especially love the wear and tear and overall attention to detail, really outstanding sir!
NOV 24, 2014 - 09:49 PM
Great looking build and a very well article, congrats on your medals as well!
NOV 25, 2014 - 02:48 AM
This one is clearly a labour of love, all that detail work is paying off and the finish is amazing. A exellent piece of work,very acurate and precise to the real thing.
Congratulations, you did a great job. Are you an artist.
Greetings and respect,
Walter
NOV 25, 2014 - 12:27 PM
Hi Mario, Hi Don,
Don, you have provided a great article with useful reference pics, and definitely you made a great job !
I like very much the stowage arrangement and the weathering.
Thanks for posting !
DEC 04, 2014 - 12:26 PM
Outstanding build Sir...love it and the information you've provided will be very helpful to me.....thank you
FEB 16, 2015 - 08:17 PM
Copyright ©2021 by Don Haney. Images and/or videos also by copyright holder unless otherwise noted. The views and opinions expressed herein are solely the views and opinions of the authors and/or contributors to this Web site and do not necessarily represent the views and/or opinions of Armorama, KitMaker Network, or Silver Star Enterrpises. All rights reserved. Originally published on: 2014-11-25 01:46:10. Unique Reads: 16849


