Bit more progress
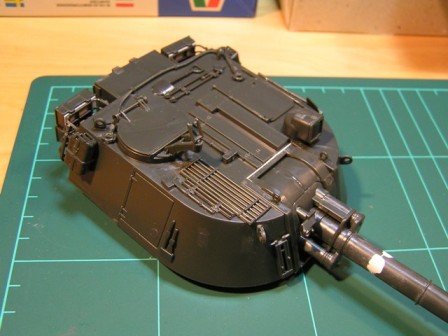
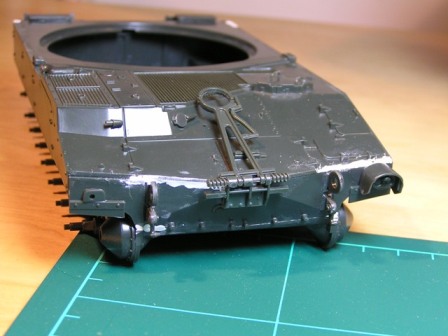
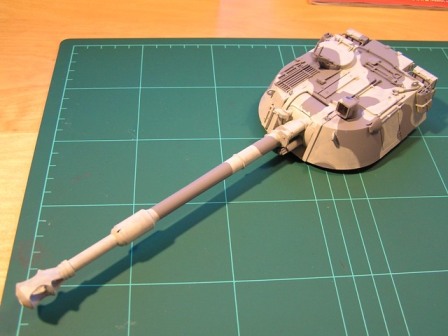
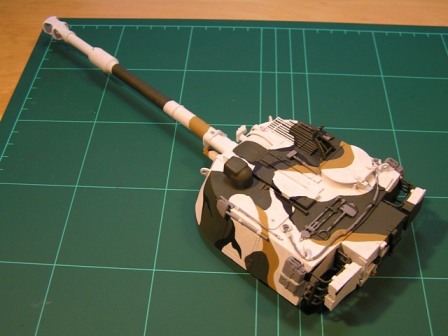
A couple more desultory evenings work and you get this. The turret is now fully assembled and ready for painting. The hull lacks one headlight, the rear mudguards (which wont go on until the tracks and I have decided whos won), and of course the running gear. The only other missing part is the machine-gun for the turret roof. So either Im getting better at this sticking-things-together lark, or Ive made a horrible mistake that will come back to bite me.
The white on the gun barrel is filler well, correcting fluid. I realised too late that the spigot that attaches the barrel to the breech end is off-centre. Good filling practice if nothing else. The other bit of white at the back of the mantlet is a little strip of plasticard to fill a surprising gap. Mounting that mantlet was definitely not the easiest part of the story. The glass on the sight is 35mm negative, which is every bit as useful as they say it is. Unfortunately with these ere diggital cameras, it may be in short supply in future.
A new headlight is on the way courtesy of a very nice chap called Mike Griffin who picked up my plea for help after I lost the other one. (Dont ask how; just look in the bins behind Sainsburys in Guildford.) This man is a saint and we should all emulate him.

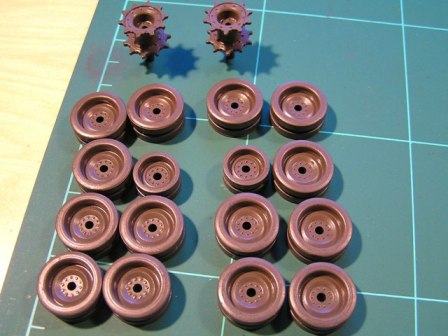
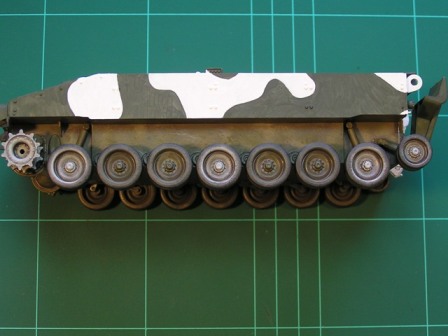
Stage one in painting the running gear: a solid coat of very dark brown. Its Humbrol 98, chocolate brown. With a coat of Klear (you may know it as Future) it has just the right satin sheen to look like wet mud.
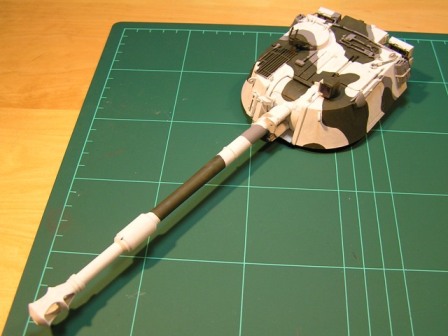
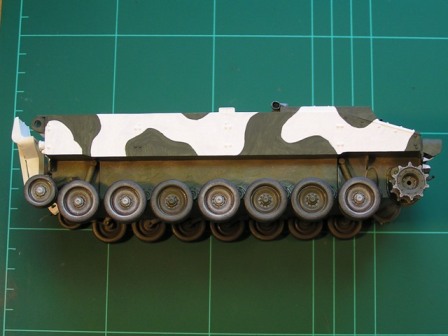
Stage one in painting the camouflage: the lightest colour first, which will be white but at the moment is ivory (actually Humbrol 28, which is camouflage grey from the old USAF SE Asia colour scheme). Primer is Halfords plastic primer. The camouflage scheme is MERDC snow, temperate climate with trees. Obtained from a site called The Bunker, which took a while to find but is invaluable for almost every MERDC pattern you could want.
Stage two in the MERDC scheme: not the next lightest colour, but the other main one (two cover 45% each and the other two cover 5% each). This is forest green, or Humbrol 116, which is also (oddly enough) recommended for the SE Asia scheme.
The ivory is now overlaid with white and it still looks pretty ropey. Thats brushes for you. I plan to leave it like this and cover up the worst with weathering, then blag something like it was repainted in a hurry for an exercise, you cant expect perfection.
Third colour is 5% of sand (Humbrol 93, desert yellow) and it doesnt look nearly enough. But the Italeri instructions agree with the MERDC guide and both roughly agree with photos, so it must be about right. The guide also says that colour three, whether sand or earth, is generally mixed to match local conditions, which at least gives you some leeway.
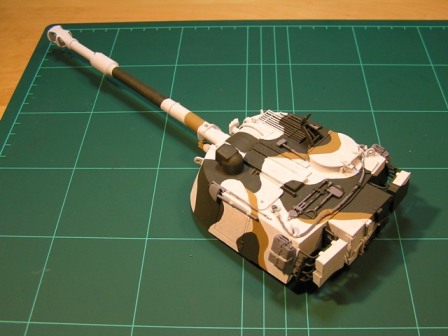
And finally, 5% of black. Ordinarily Id use deep grey but against the dark green, yer actual black stands out better. Its all a bit gaudy now but some weathering will eventually sort that out.
This is how the wheels turn out after all the weathering, which Ive forgotten to illustrate on the way through. Essentially, dry-brush it to hell matt khaki drill for the dried mud, then light grey followed by ivory (no white) for the white wheels, and olive drab followed by forest green for the green ones. The tyres are then Panzer grey followed by black, which when dry-brushed isnt as starkly black. A final layer of earth (for dry dust) may follow later.
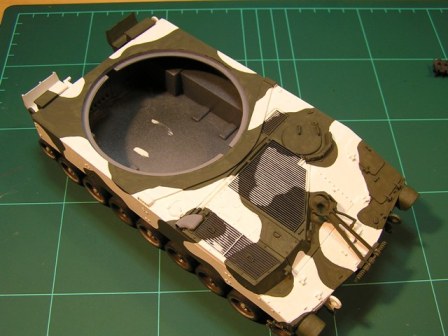
Heres the rest of the hull. You cant see just how bad the white coat is. I thought my trusty Humbrol white was getting a bit tired so I decided to try Revell. That has only two problems: its not white, and its even more unpleasant than the other stuff. Never again. I eventually recovered by rubbing down some of the worst brush strokes and going over it again with a fresh tin of Humbrol. From now on, its Halfords Appliance White for me.


 That way the wife will know I,am doing another kit