

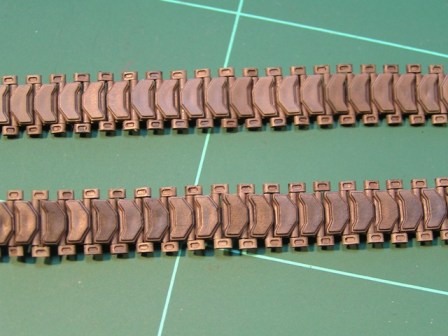
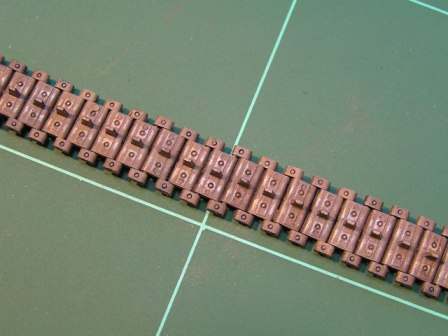
I've used Brass tubing & have soldered them with a small strip of brass top & bottom.
still need cleaning up. 1st time I've done soldering on a model kit.


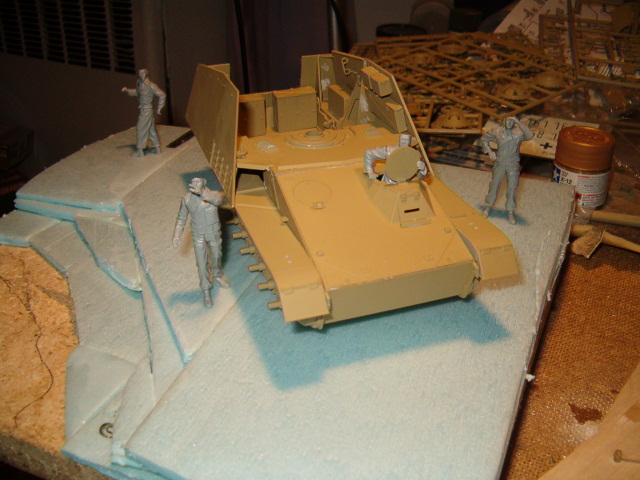
once these are cleaned up I'll start building the framework.


as for sean i see that you had the same problem wtiht the m109 that i am having with the m108 in the left front corner a samll gap thier.


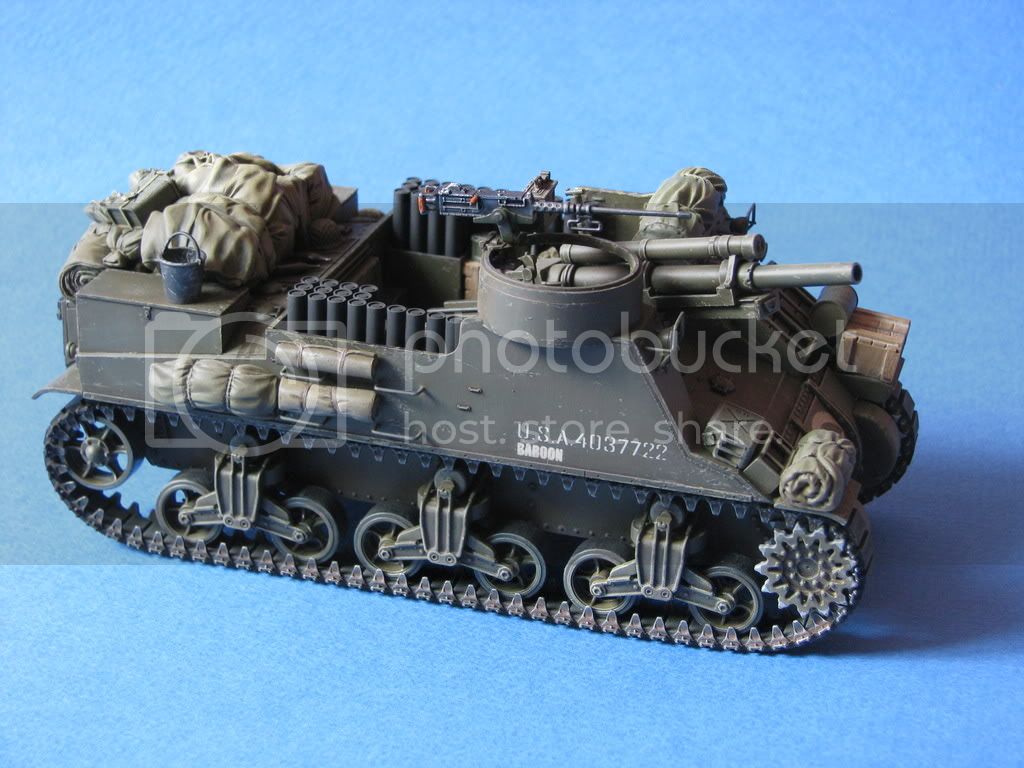
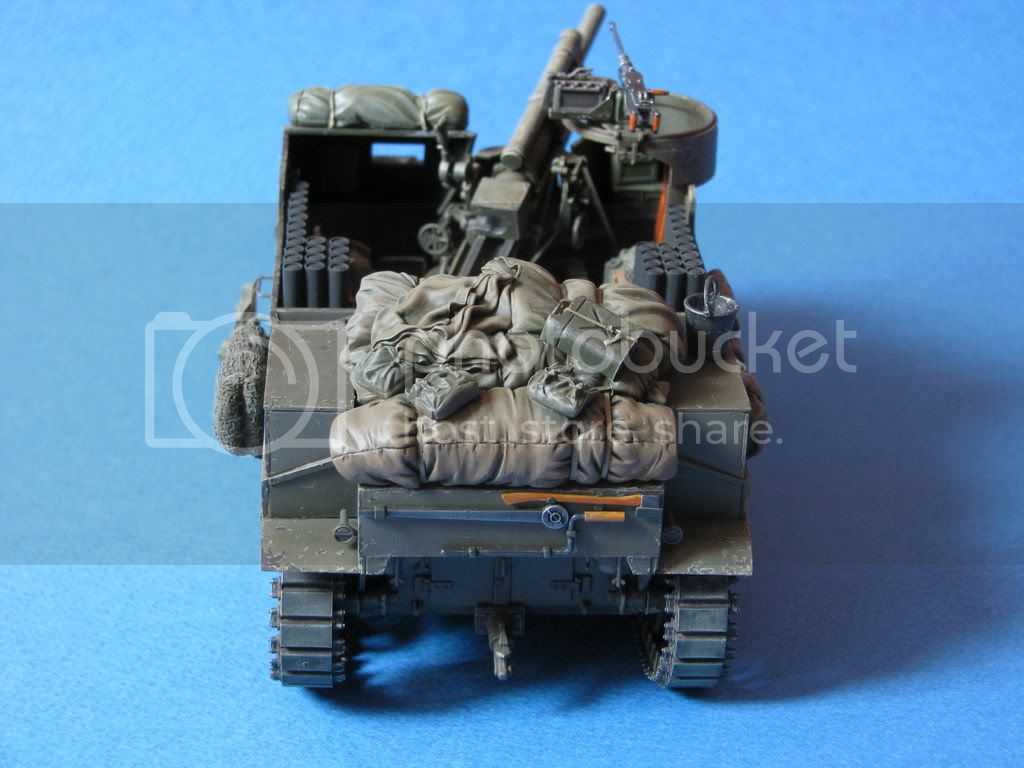
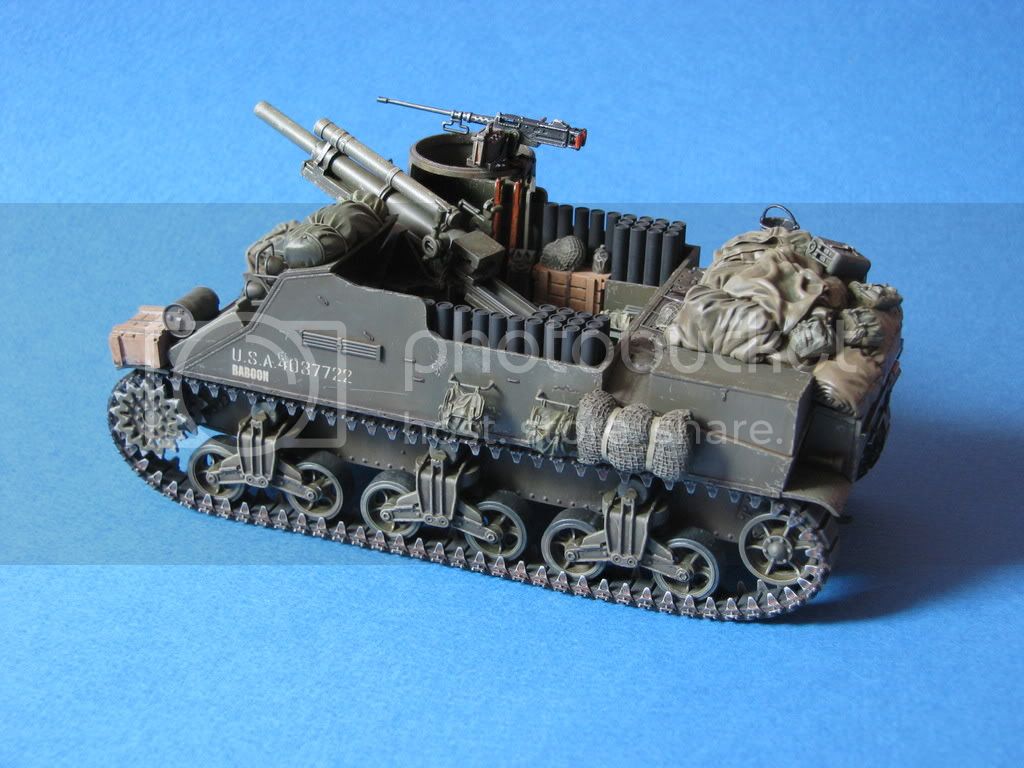


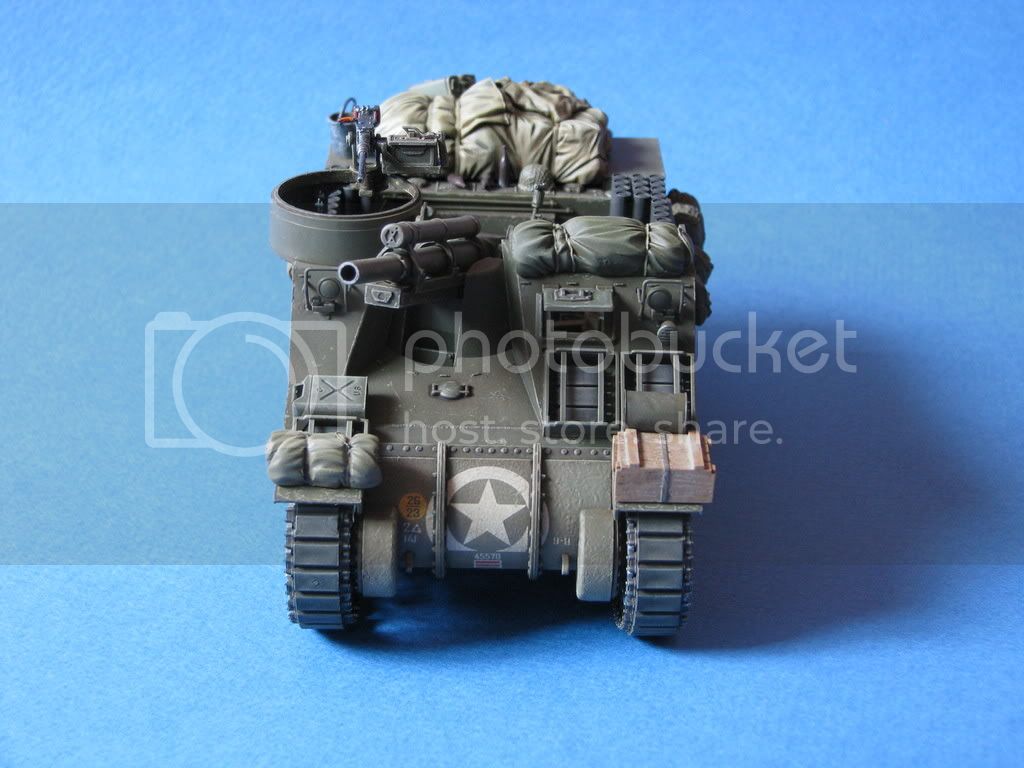


Wow, built & finished in under 10 days.
I think Brett should get a Gold Medal for the Campaign Olympics!
Quoted TextWow, built & finished in under 10 days.
I think Brett should get a Gold Medal for the Campaign Olympics!
Well, I am free everyday at the moment and also I used a couple of shortcut weathering techniques that saved me some time. Finally, it's hard to see from the photos, but a lot of the knockout marks and sinkholes were not filled in, especially in the interior.
I think the Gold should go to that Jesper character; he's like a model factory. Seems like he churns one out every week.

I'm still wondering about the wespe or brummbar... and these guys are finishing their models..
I call it modelers on Steroids...
Just went to pick some paint and ended up deciding on my old Tamyia Brummbar, I picked a Zimmerit coat from Eduard and a Gun barrel from Lion Roar.
Next Weekend the Brummbar will be on my workbench...
 You're doing a Mid Production and I'm doing an Early Brummbar!


 |


