Quoted Text
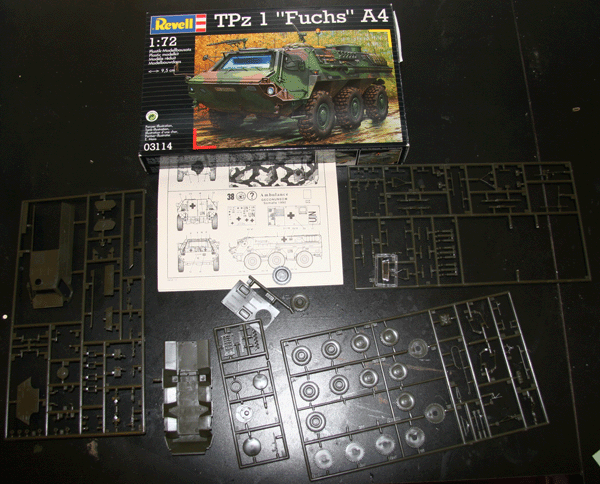
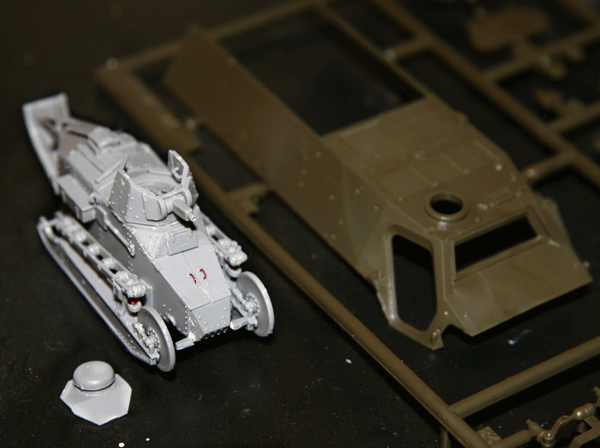
SSgtWhite - As Matthew (our XO) has kindly pointed out, your first objective would be to enlist. After enlarging the picture that you provided I see that the left large sprue has about thirty or so parts removed from its lower centre section. I presume that those are the tiny suspension wheels that appear to be in the plastic bag residing in the upper right.
If I really wanted to be anal and stick to the letter of the rules I would say that removing parts from a sprue was "starting" the kit. However, I believe more in the "spirit" of a rule(s). In this case, and with the photo evidence provided, I am leaning toward this being a "new" build providing that as Matthew stated, glue has not met plastic. Could you please show a picture of the parts in the plastic bag and particularly the frame parts that were parts 42 and 43 in the instructions. BTW, I have sent you a private message about enlisting, just click on the "Inbox" link at the top left of a Kitmaker page to view it.
***************************************************************************
Cheers,
Jan

No worries at all. I don't want any special considerations.
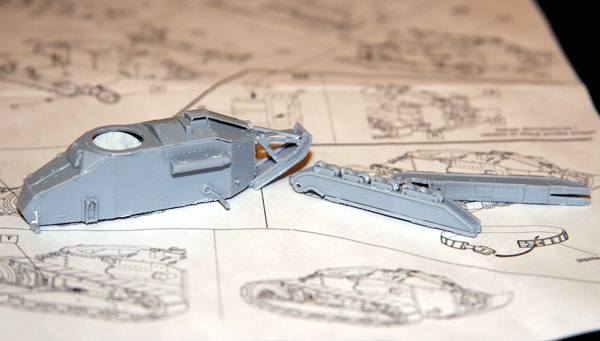
After taking the pieces out of the bag I see I glued the wheel halves together too.
Please consider me as a two-kit campaigner as I will add my TPz 1 "Fuchs" A4 kit. I plan to build this one as the UN ambulance version.
I didn't receive the instant message, but I will follow the link to enlist. This looks like a lot of fun!
~Dillon