Hi Folks,
I have made a start on my little Polish Vickers E MkB. It is a Mirage kit and the quality is really superb, the casting and fit of parts excellent. It will eventually end up in a small vignette with the IBG Polski Fiat and a few figures, however for this campaign I am just finishing it in the 1936 style camouflage as it would appear in 1939 at the time of the German invasion.
Here are some photos of my progress:

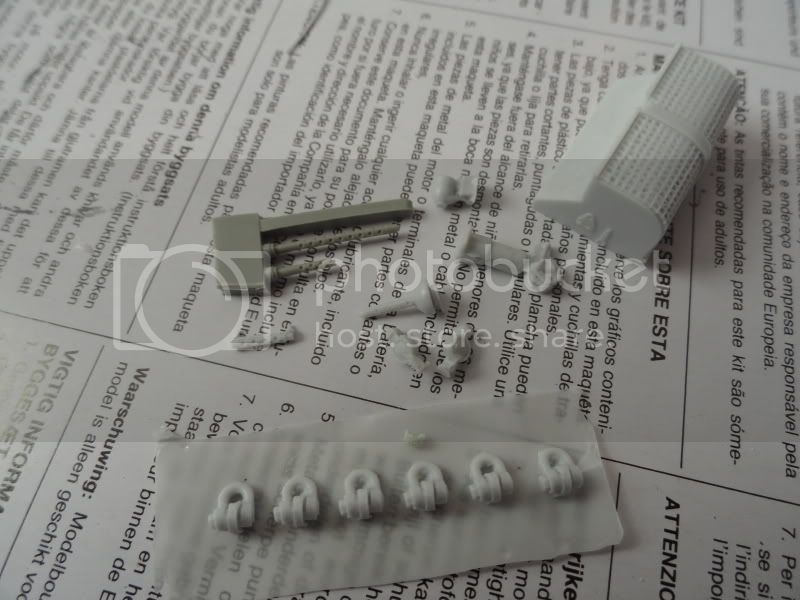
The initial parts for the hull...

This shows the high quality of the Mirage mouldings...

The lower hull constructed...


The upper hull constructed...

The upper and lower hull with front glacis plate awaiting joining together...


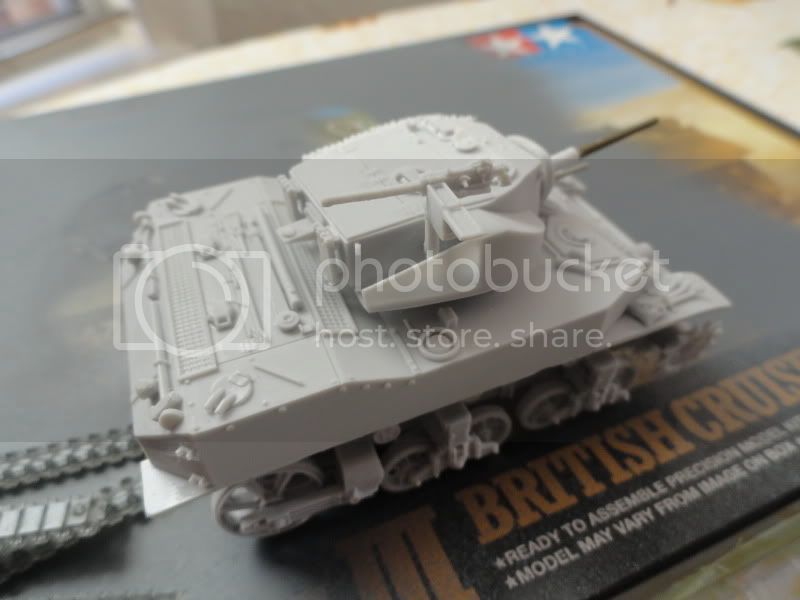
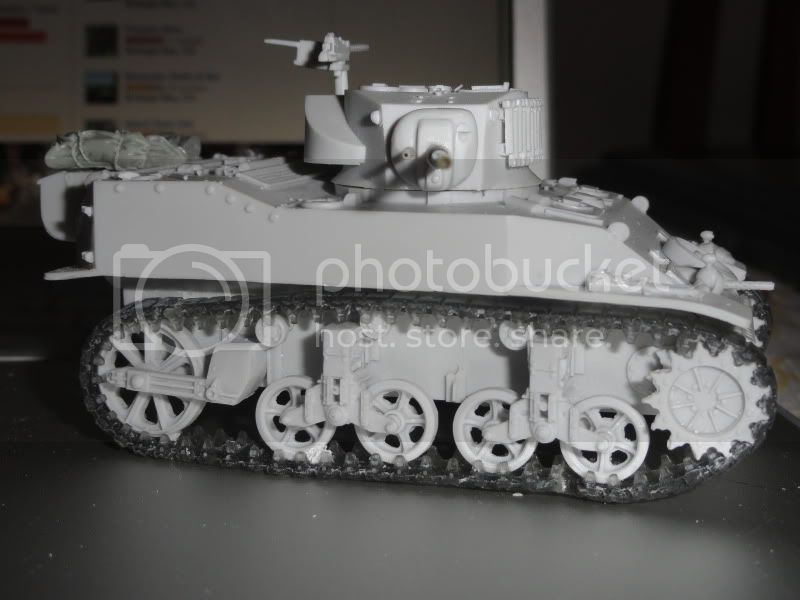
The three components joined up and the tank takes shape...

The driver's hatches fitted...

The rear plates fitted...

The large air intake cover is fitted...

From the front...


The exhaust system fitted...

The grilles fitted to the openings...
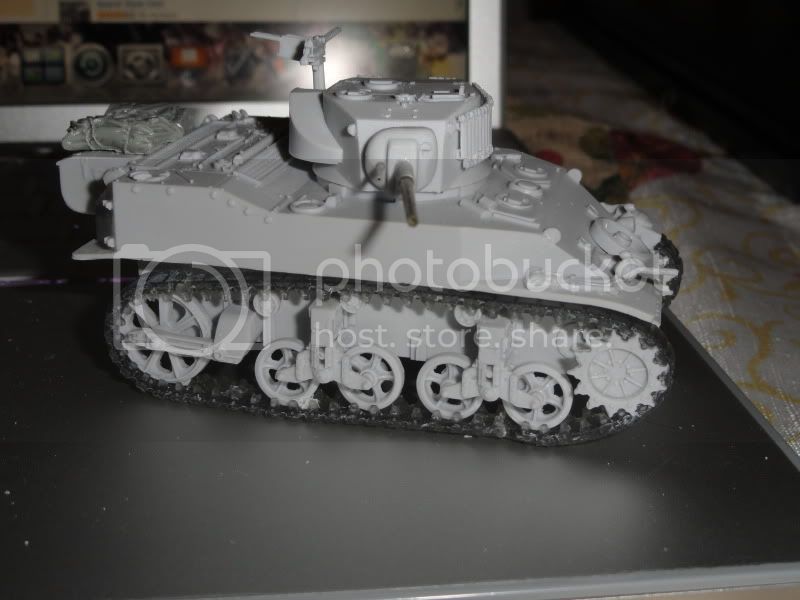
Well that's it so far, the running gear next. I am still waiting for the PE tracks so that will determine how much further I will get. I have other 1/72 light tanks I can get on with while I am waiting. I will post again when the running gear is fitted.
All the best,
Paul


