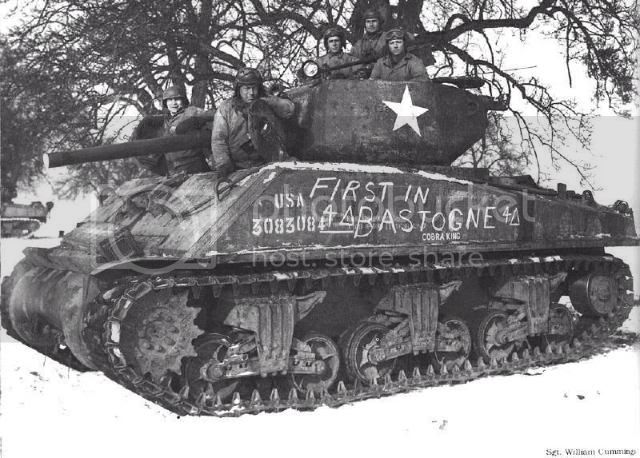
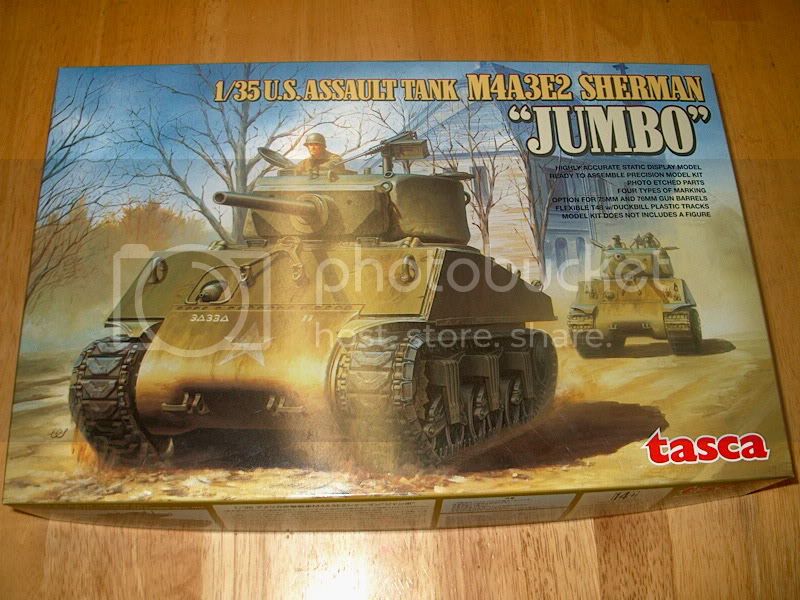
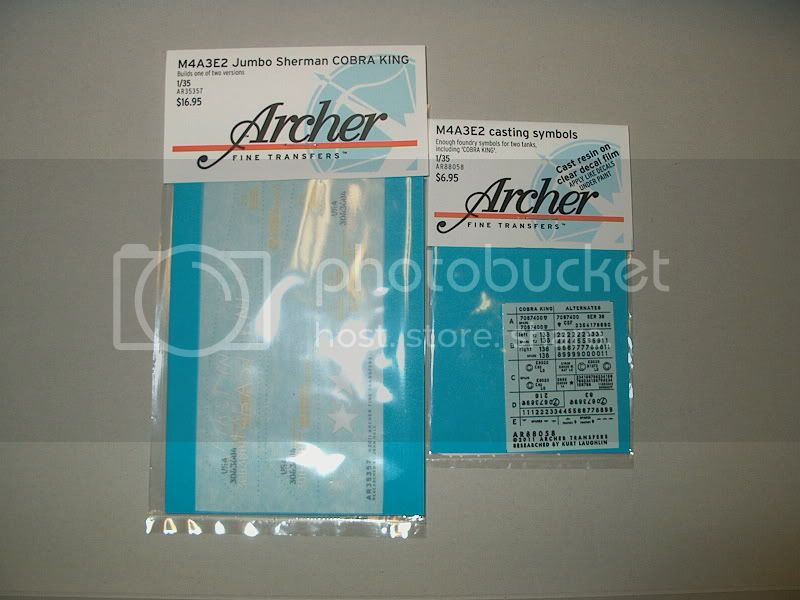
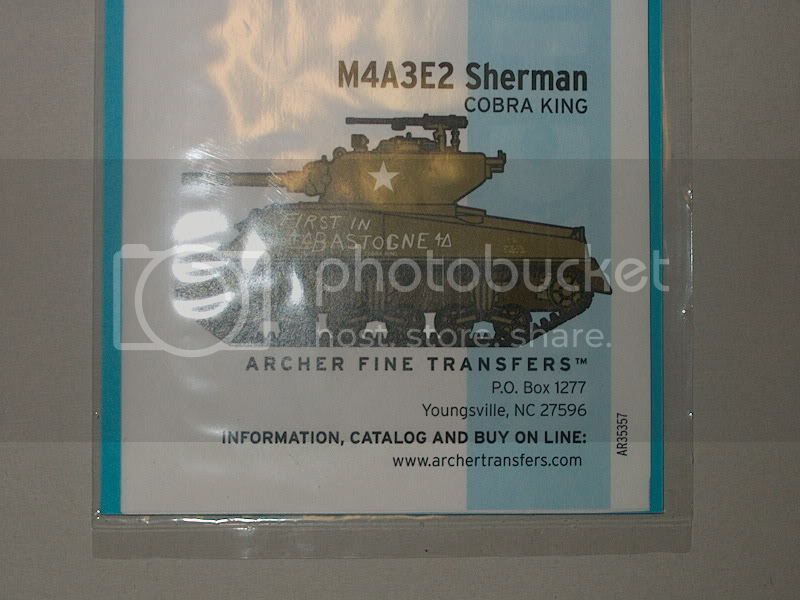
Tasca M4A3E2 Sherman Jumbo COBRA KING build
Ohio, United States
Joined: August 12, 2010
KitMaker: 731 posts
Armorama: 711 posts
Posted: Saturday, August 20, 2011 - 09:57 AM UTC
New York, United States
Joined: September 20, 2005
KitMaker: 12 posts
Armorama: 11 posts
Posted: Saturday, August 20, 2011 - 01:24 PM UTC
Heres my Cobra King done a couple of years ago using the Blast cnversion Hope it helps with your model Got the Tasca kit to and preassebled T-48 (with EECs) modelkasten tracks Cheers Mark
barkingdigger
 Associate Editor
#013
England - East Anglia, United Kingdom
Joined: June 20, 2008
KitMaker: 3,981 posts
Armorama: 3,403 posts
Posted: Sunday, August 21, 2011 - 07:23 AM UTC
Hi John,
Nice kit - I've got one in the stash! Any reason why the Panda tracks? I thought the Tasca ones looked pretty good, and will sure take less time...
I'll be watching with interest!
Tom
"Glue, or Glue Not - there is no Dry-Fit" - Yoda (original script from Return of the Jedi...)
Ohio, United States
Joined: August 12, 2010
KitMaker: 731 posts
Armorama: 711 posts
Posted: Sunday, August 21, 2011 - 08:52 AM UTC
Hi Tom,
Iím not 100% certain about using Panda tracks yet. It all depends on how well the kit tracks work for me.
So far it looks like this is pretty much an OOB build. Iím even going as far as using the 2 pc barrelÖÖÖÖ..LOL
One nice thing about this kit is you sure get a lot of extra road wheels for the parts box.
England - West Midlands, United Kingdom
Joined: January 24, 2009
KitMaker: 144 posts
Armorama: 143 posts
Posted: Sunday, August 21, 2011 - 09:00 AM UTC
The jumbo kit is fabulous. If you want, the solid wheel inners from the jumbo kit are an exact fit inside the dragon sherman outers and use them outside in, if you know what i mean - i have used them as described on another kit - they look great and everyone has loads of dragon sherman wheels left over! stevie.
Ohio, United States
Joined: August 12, 2010
KitMaker: 731 posts
Armorama: 711 posts
Posted: Sunday, August 21, 2011 - 09:37 AM UTC
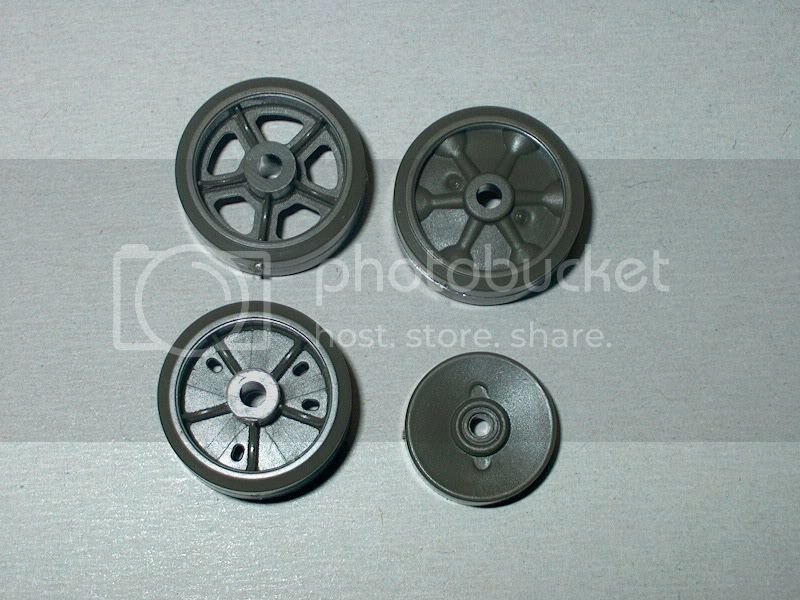
For those that havenít seen the kit yet, you get 3 different road wheels in the kit, plus a dished center to install in the back of the pressed spoke wheel to model a 4th type of wheel. I will be using the late spoke wheel (lower left). There are 2 complete sets of wheel s left for the parts box. Plus a set of spoked idler wheels.
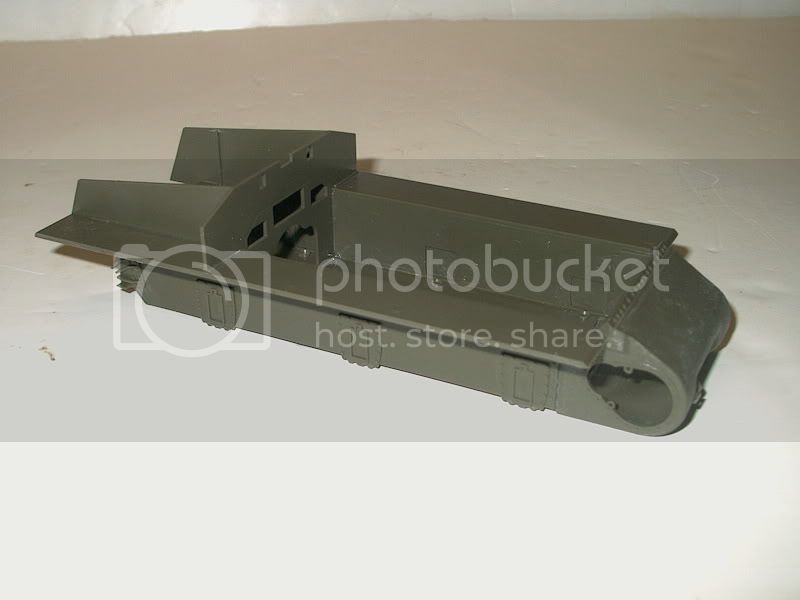
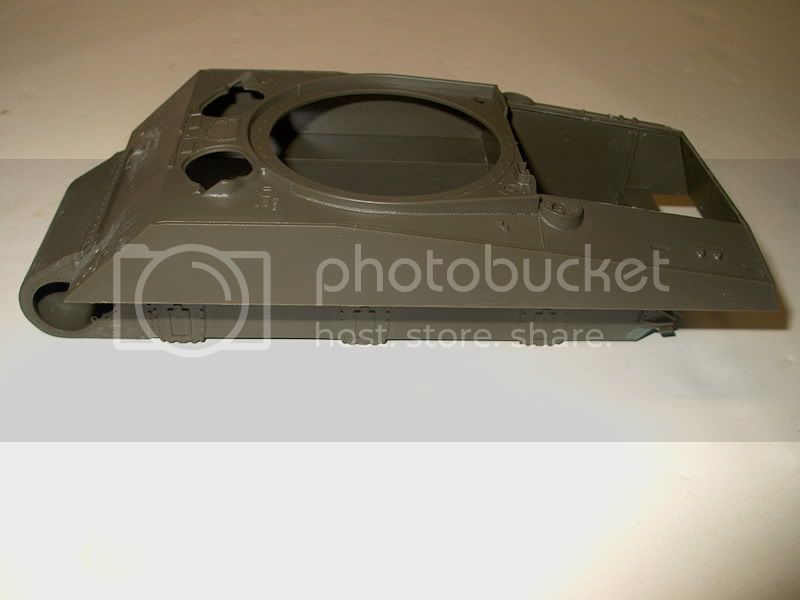
I started building last night. I started with the lower hull panels and didnít stop until I made sure every thing lined up well with the upper hull. This is no problem with the Tasca kits as they fit together very well.
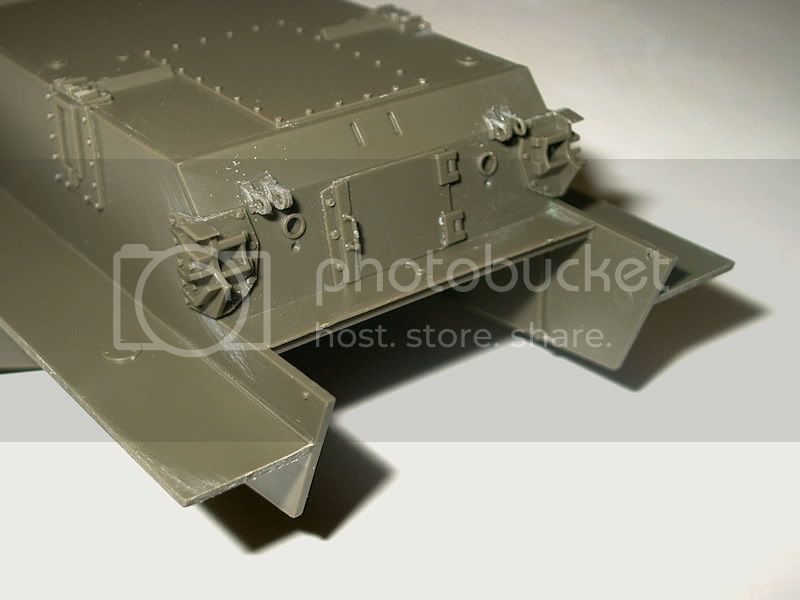
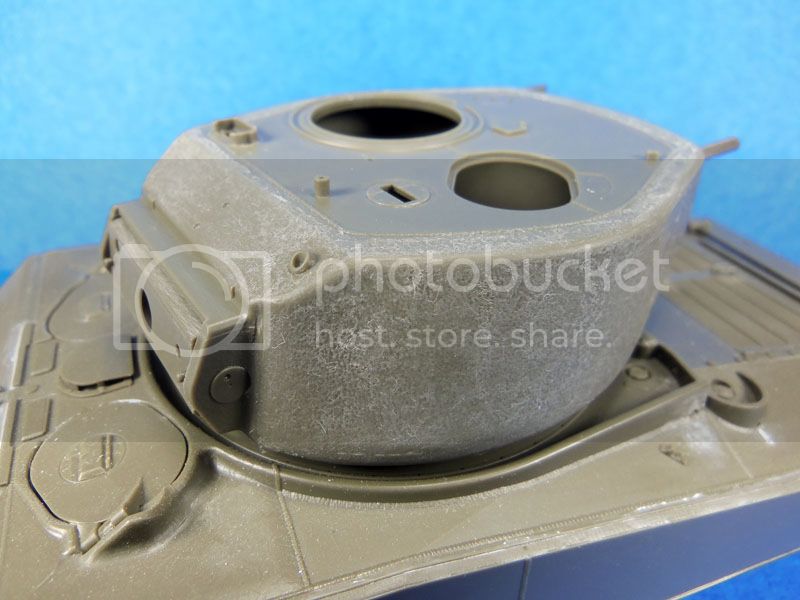
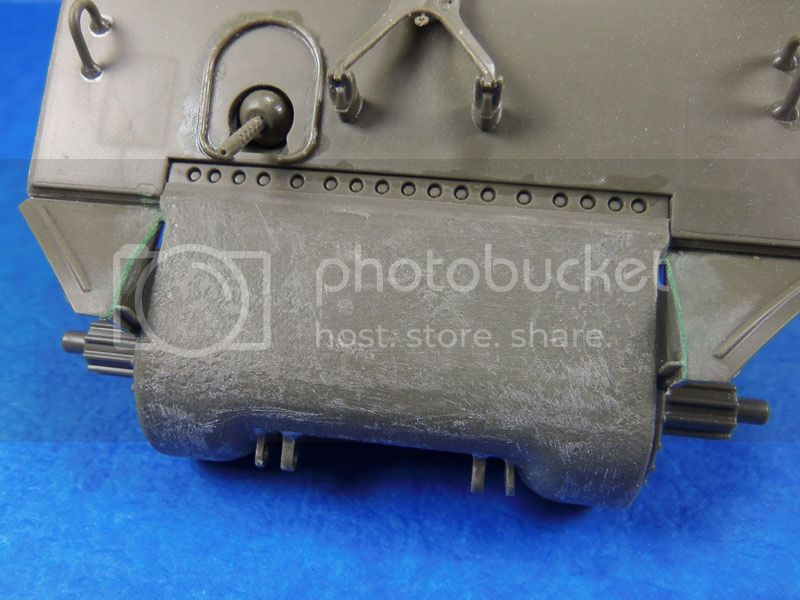
I gave the Trans housing my cast texture treatment.
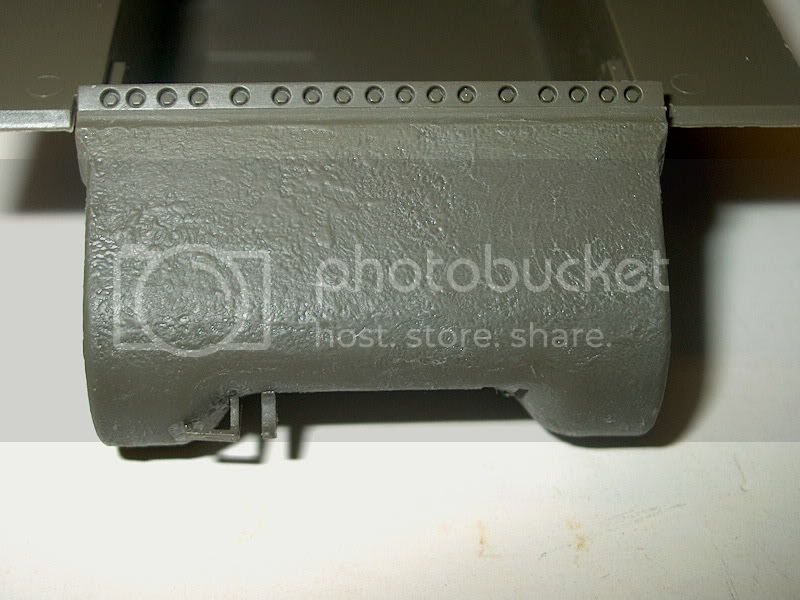
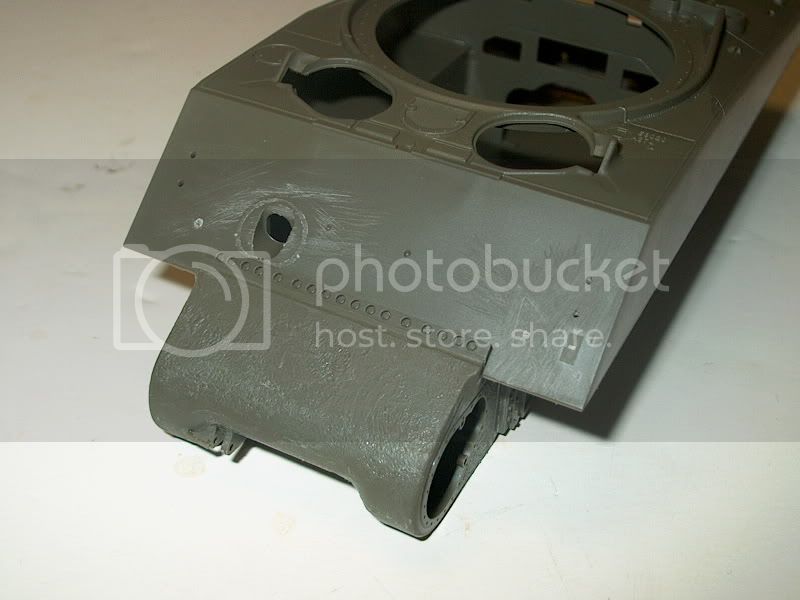
The only fit problem so far was the front armor plate. Itís hollow on the back side so it will go over the headlight mounts on the front hull. It didnít sit flat, so I filed away the mounts so it will sit flat.

#045
South Carolina, United States
Joined: September 23, 2005
KitMaker: 362 posts
Armorama: 350 posts
Posted: Monday, August 22, 2011 - 01:25 PM UTC
Hey John!
I'll be watching this for sure. Just love that overweight Sherman

I really like the cast texture method that you came up with! I'll be giving that a shot on a future build.

Eric Rains
Greenwood, SC, USA
Ontario, Canada
Joined: February 04, 2009
KitMaker: 743 posts
Armorama: 549 posts
Posted: Monday, August 22, 2011 - 02:17 PM UTC
John,
Going for another Shermy I see. Awesome!
LIke Eric said the texturing looks great.
I will be following this one as well. Hope to see more soon.
http://ghmicro.wix.com/twis-first-cut
British Columbia, Canada
Joined: June 06, 2008
KitMaker: 402 posts
Armorama: 393 posts
Posted: Friday, December 09, 2011 - 11:52 AM UTC
Hi,
Any updates on this project? I am very interested in doing this as my next project and would like to know how the Archer transfers work out for the slogan of "First in Bastogne" works for you.
Thanks
Brad
Ohio, United States
Joined: August 12, 2010
KitMaker: 731 posts
Armorama: 711 posts
Posted: Friday, December 09, 2011 - 12:41 PM UTC
Hi Brad,
I just started back on this a couple of nights ago. No real progress as of yet. I did the research for Archer on the Cobra King markings, so I hope they work out well.
Iím glad to here that you want to do Cobra King as your next project. I would just go for it!
Thanks, John
Ohio, United States
Joined: August 12, 2010
KitMaker: 731 posts
Armorama: 711 posts
Posted: Saturday, February 25, 2012 - 03:45 AM UTC
Ohio, United States
Joined: August 12, 2010
KitMaker: 731 posts
Armorama: 711 posts
Posted: Saturday, February 25, 2012 - 03:46 AM UTC
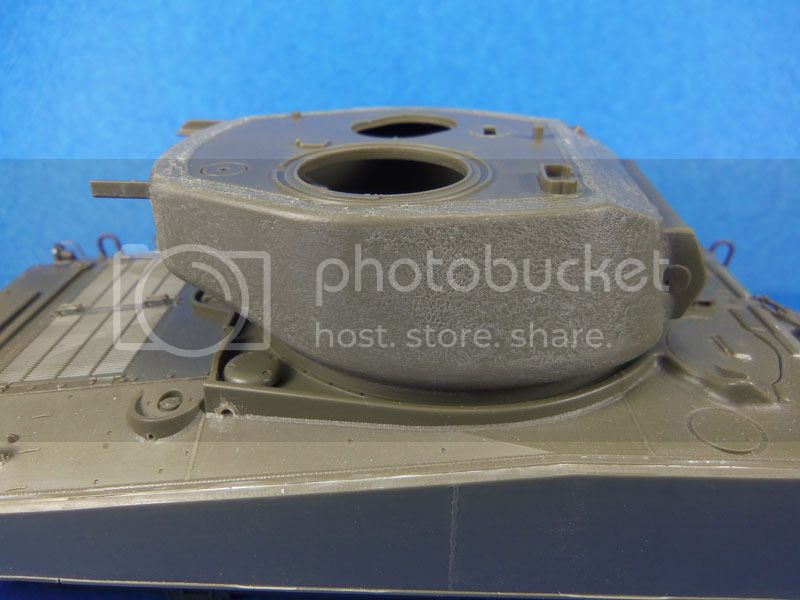
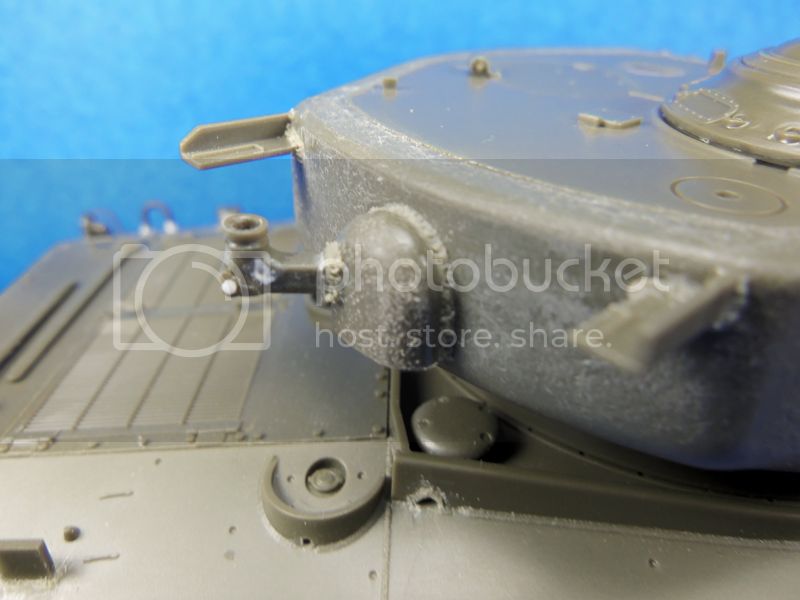
I detailed the Gun Mantle, it was constructed in two pieces with the inner part being cast. Tasca render both halves smooth with a straight square molding as the weld bead. I gave the inner part a cast texture, and reworked the molding to represent the weld bead.
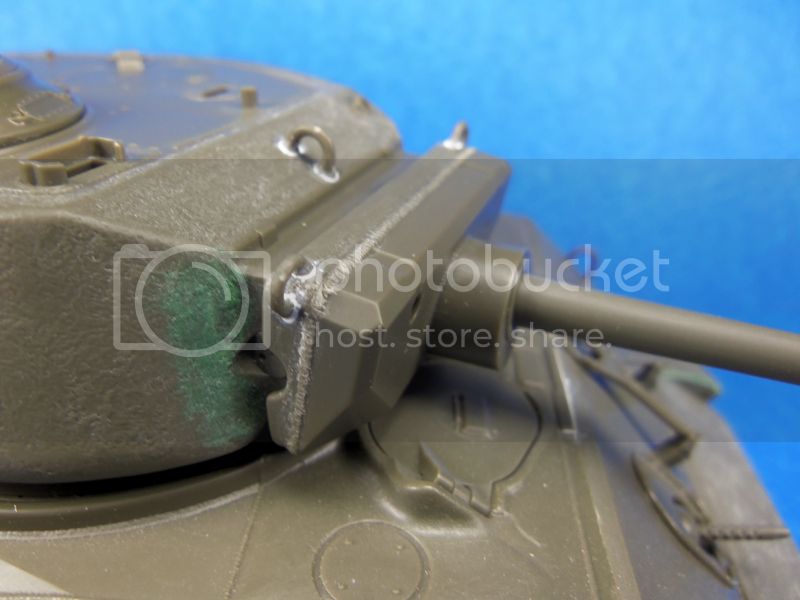
To the rear of the turret, I have added some weld beads and refined some parts.
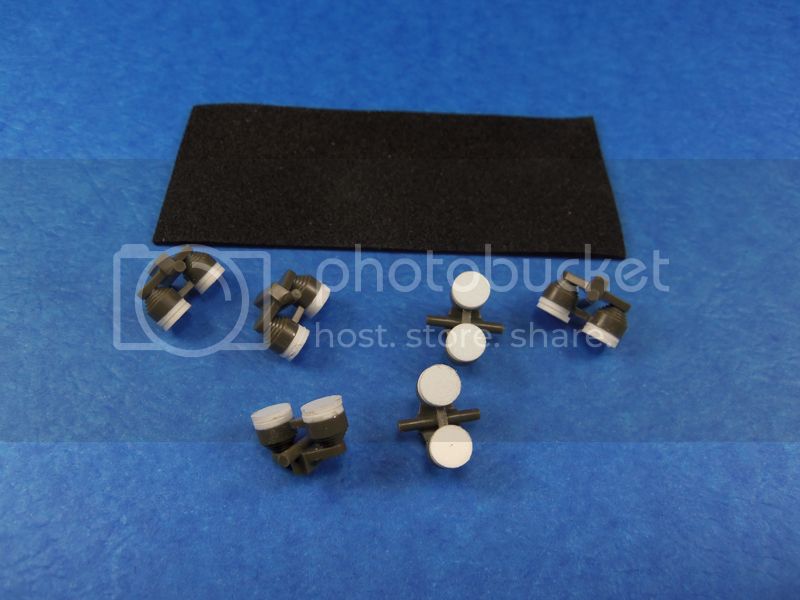
Tasca supplies a foam rubber pad that needs to be cut into squares for a workable suspension. Iím not real crazy on the workable suspension, so I cut my own spaces from sheet stock using a punch and die. All this will be trapped inside the bogie housing and will not be seen.
Georgia, United States
Joined: January 31, 2010
KitMaker: 2,191 posts
Armorama: 1,814 posts
Posted: Saturday, February 25, 2012 - 04:25 AM UTC
John,
Looking awesome. Have you taken care of the casting symbols yet?
Did you taper the thickness of the pads front to rear for the VVSS since it's a Jumbo?
Join AMPS.
http://www.amps-armor.org/ampssite
Ohio, United States
Joined: August 12, 2010
KitMaker: 731 posts
Armorama: 711 posts
Posted: Saturday, February 25, 2012 - 04:41 AM UTC
Thanks Jesse,
The casting symbols will be the last thing I put on before paint. I will wash the model real well to remove grease and dust, and don't want to wash the casting mark decals off.
I thought about tappering the shims, but I could see my self getting them mixed up, so I decided to just make them all the same.
Thanks for checking in!
Georgia, United States
Joined: January 31, 2010
KitMaker: 2,191 posts
Armorama: 1,814 posts
Posted: Saturday, February 25, 2012 - 09:10 AM UTC
By the way... I see that you skipped the "fun" part of building the suspension until after the hull and turret.

Join AMPS.
http://www.amps-armor.org/ampssite
Ohio, United States
Joined: August 12, 2010
KitMaker: 731 posts
Armorama: 711 posts
Posted: Saturday, February 25, 2012 - 09:31 AM UTC
Quoted Text
By the way... I see that you skipped the "fun" part of building the suspension until after the hull and turret. 
LOL, guilty as charged.
Iíve been down that road before with tasca suspensions. I wonít be able to put it off much longer now.

Michigan, United States
Joined: October 28, 2002
KitMaker: 4,021 posts
Armorama: 3,947 posts
Posted: Saturday, February 25, 2012 - 10:16 AM UTC
That's funny. For my Tasca projects, I go for the suspension first -- to get it out of the way.
Roy Chow
Join AMPS!
www.amps-armor.org
Ho Chi Minh City, Vietnam
Joined: January 26, 2012
KitMaker: 19 posts
Armorama: 12 posts
Posted: Saturday, February 25, 2012 - 02:16 PM UTC
your tank with hight detail on part,modet kit of Tasca,same versions of Italeri made.
Ontario, Canada
Joined: February 04, 2009
KitMaker: 743 posts
Armorama: 549 posts
Posted: Saturday, February 25, 2012 - 03:12 PM UTC
John,
Nice welding work there. They really look the part.
I don't have this kit but being a Tasca kit it looks great.
Looking forward to seeing more from you.
Dave.
http://ghmicro.wix.com/twis-first-cut
British Columbia, Canada
Joined: June 06, 2008
KitMaker: 402 posts
Armorama: 393 posts
Posted: Sunday, March 25, 2012 - 03:58 AM UTC
Great work, Will be looking forward to seeing how you get on with painting. What's your thoughts on the front portion of the tank's sloping armour colour? Is that worn off white wash or just weathered OD? I am leaning towards just weathered OD paint. As for the markings, we have a choice of the dry transfers that you have and a set of decals by Echelon IIRC. What made you go with the dry transfers?
Keep up the great work.
Brad
Ohio, United States
Joined: August 12, 2010
KitMaker: 731 posts
Armorama: 711 posts
Posted: Sunday, March 25, 2012 - 05:29 AM UTC
Hi Brad, Thanks for having a look.
I belive that the paint on the front sloping armor is just dirty OD.
As for the dry transfers, I did the research work for archer on this one.
British Columbia, Canada
Joined: June 06, 2008
KitMaker: 402 posts
Armorama: 393 posts
Posted: Tuesday, March 27, 2012 - 01:12 AM UTC
Excellent, thanks John!
Brad
Ohio, United States
Joined: August 12, 2010
KitMaker: 731 posts
Armorama: 711 posts
Posted: Sunday, May 20, 2012 - 06:37 AM UTC
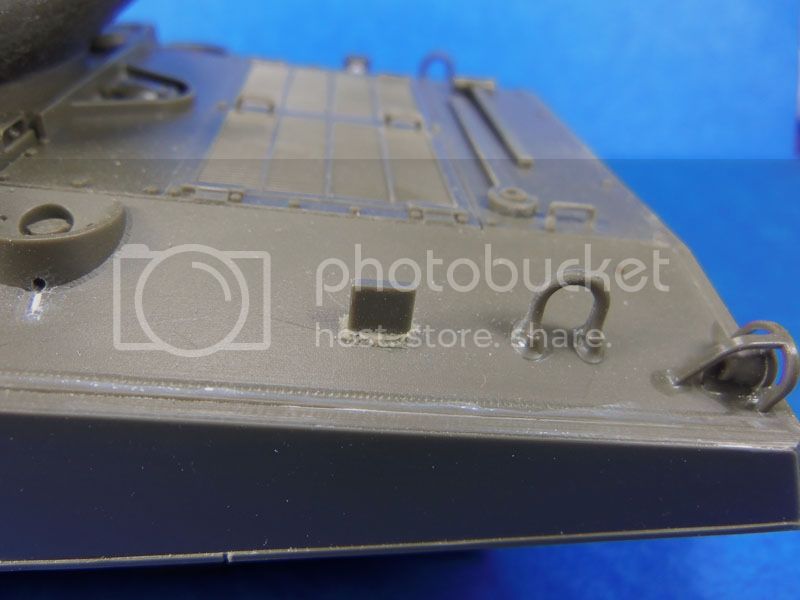
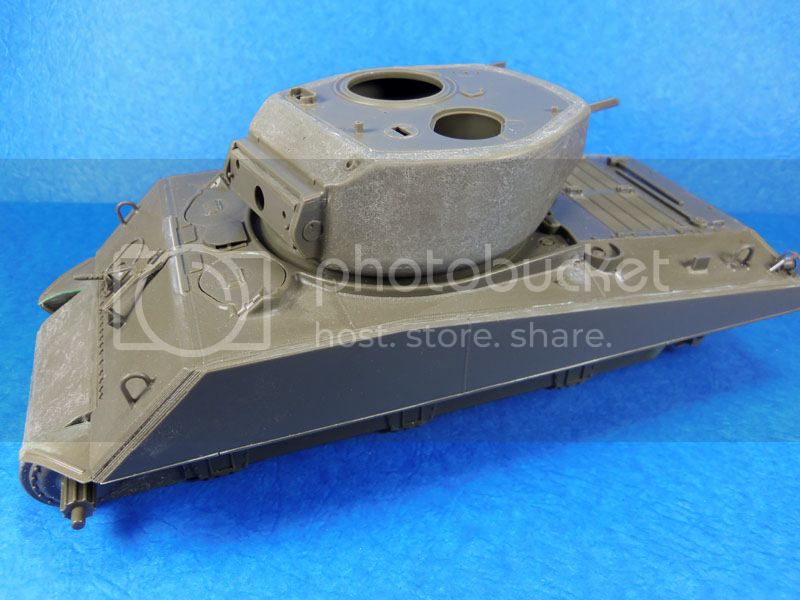
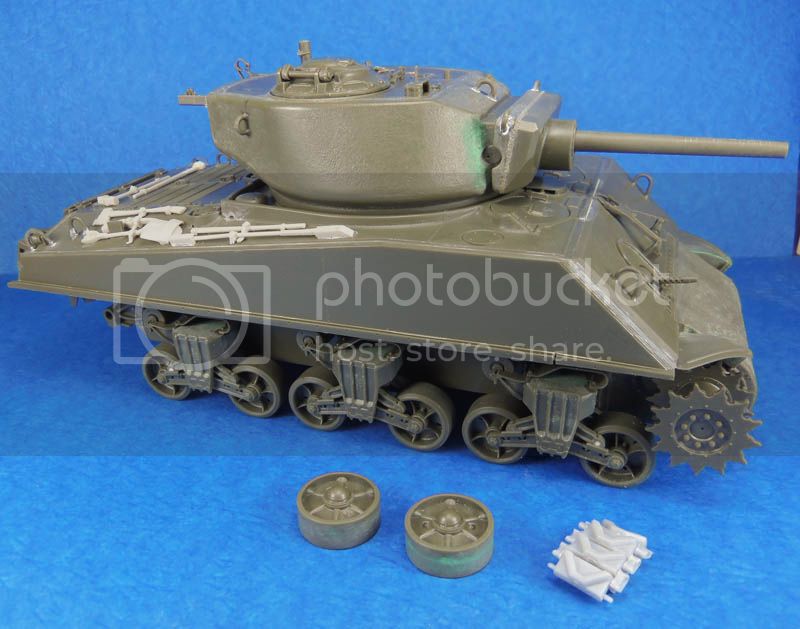
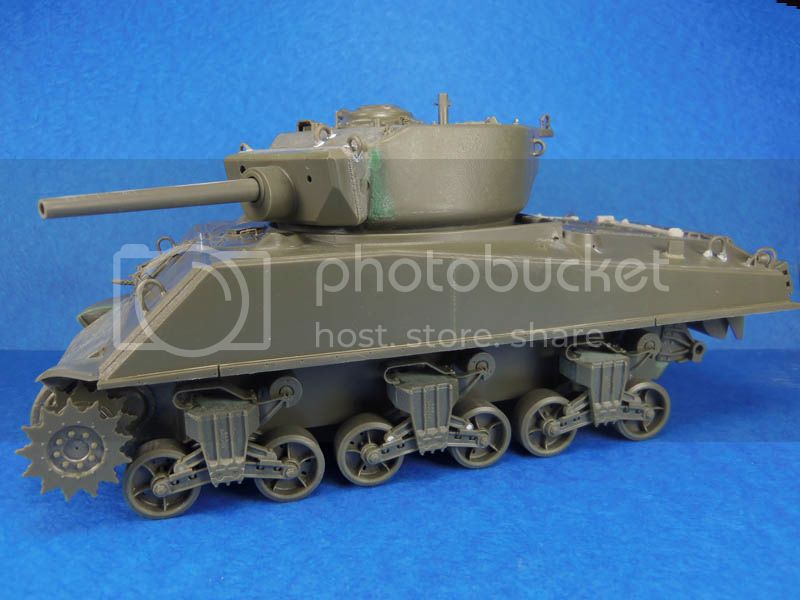
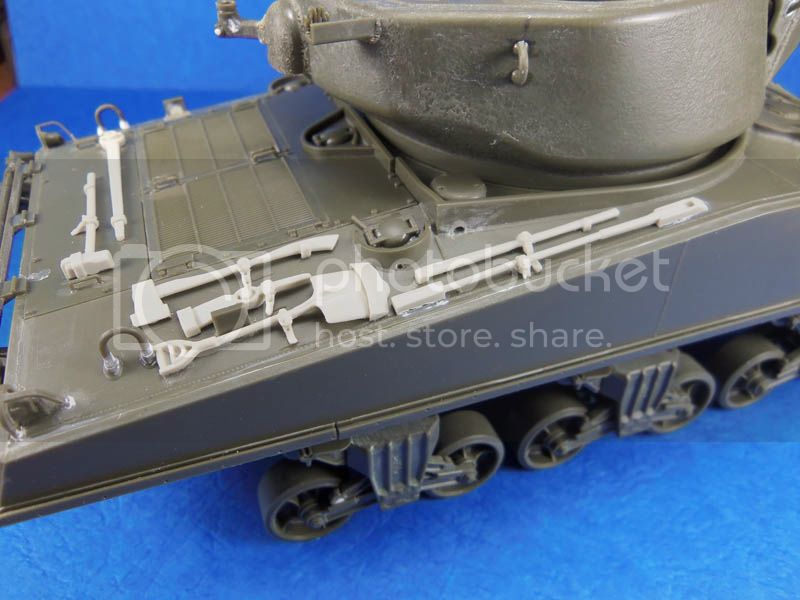
I now have the majority of the hull and turret completed. Just a few small bits to go, Then do a final clean up, wash, and place the Archer casting marks.
I ordered some brass aerial mounts, The kit mount didnít come out to good after cleaning the mold seam from it.
I need to scrounge a spot light as the kit did not come with one. Add the step bars around the front towing shackles, then its pretty much ready for paint. I still have the Panda Plastic tracks to clean up and assemble, but I will do this as I am waiting on layers of the weathering to dry.
Here are a few pics of where itís at. The next update will most likely be with paint.
Texas, United States
Joined: March 08, 2010
KitMaker: 2,465 posts
Armorama: 2,383 posts
Posted: Sunday, May 20, 2012 - 10:03 AM UTC
Hi John,
Very nice clean build and the tools look sweet! Im curious how the panda tracks will go, have you ever used them? Well done John!

Gary

#045
South Carolina, United States
Joined: September 23, 2005
KitMaker: 362 posts
Armorama: 350 posts
Posted: Sunday, May 20, 2012 - 10:23 AM UTC
Hey John! Great to see this mighty Jumbo back on the work bench! Awesome work as usual!!

Eric Rains
Greenwood, SC, USA
