Well, I've learned a few things in working on this building.
1. Plaster won't stick to foamboard all by itself
2. Plaster will soak through the foamboardf and make it very wet and hard to work with
3. Plaster is easily removed from foamboard when not glued down...
I also learned that I'm awful at putting the stuff on, ha!
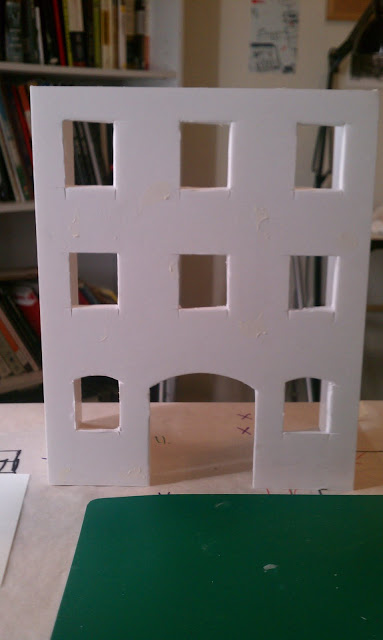
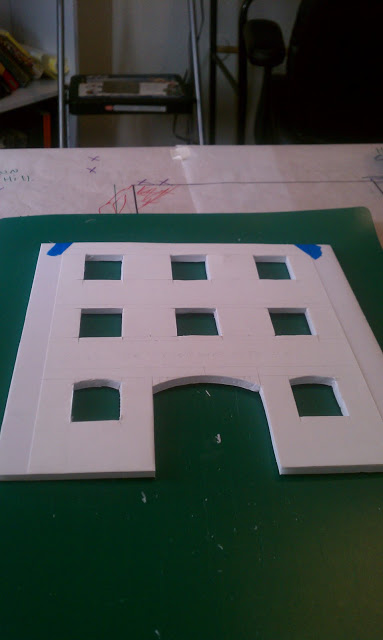
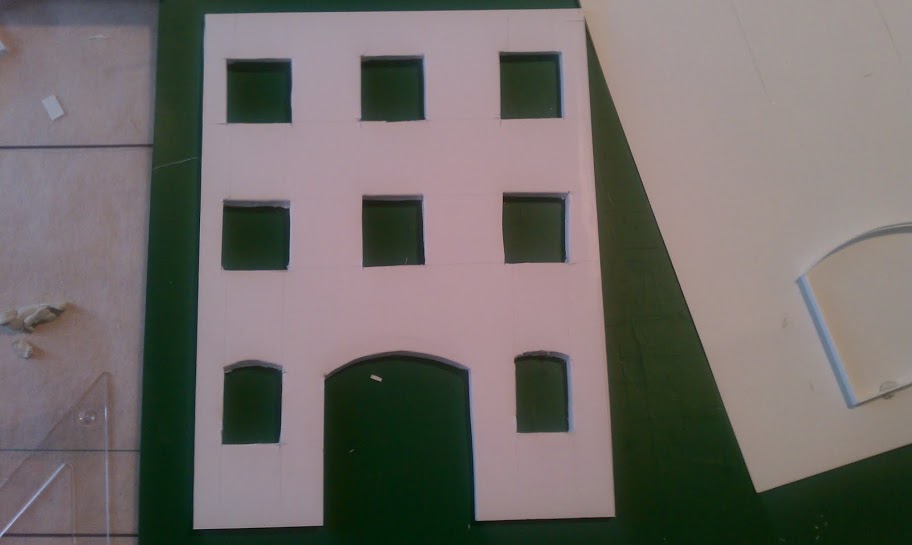
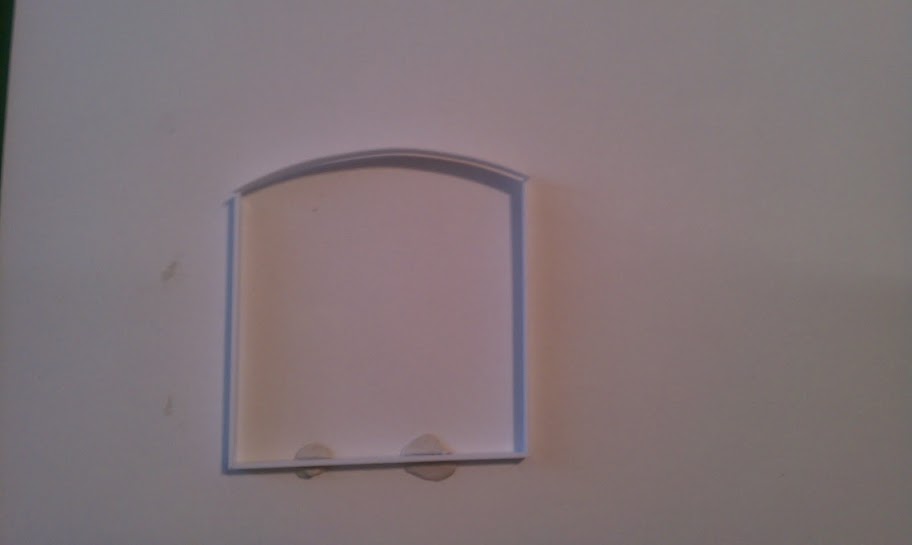
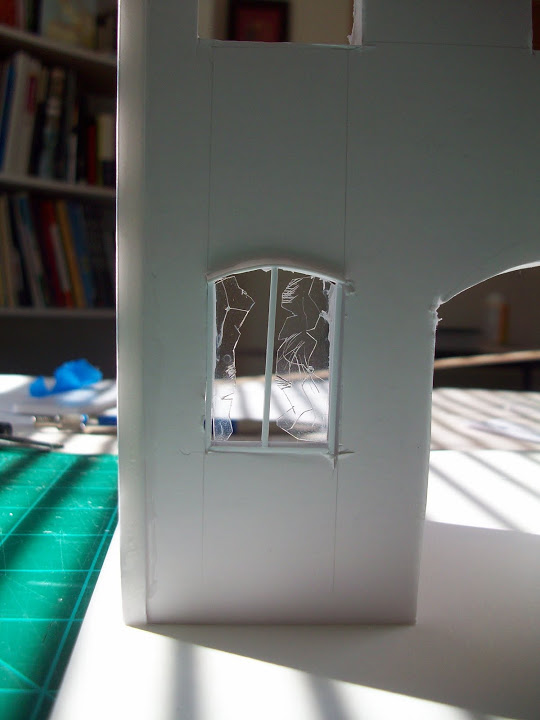
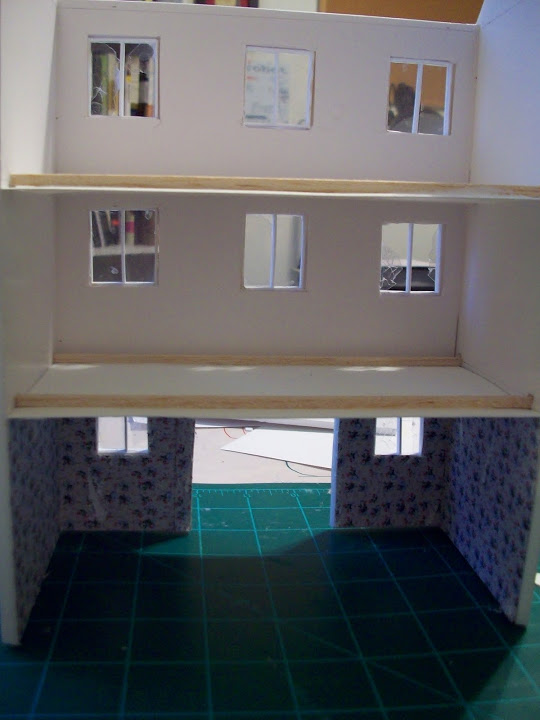
So, I had to undo it all. I was worried I would have to start the building all over again, but luckily, I do not. I have decided to redo the window panes, though, as they all got kind of messed up while adding plaster/varnish.
So, here we are with some photos and the update that's long past due. Sorry about that!
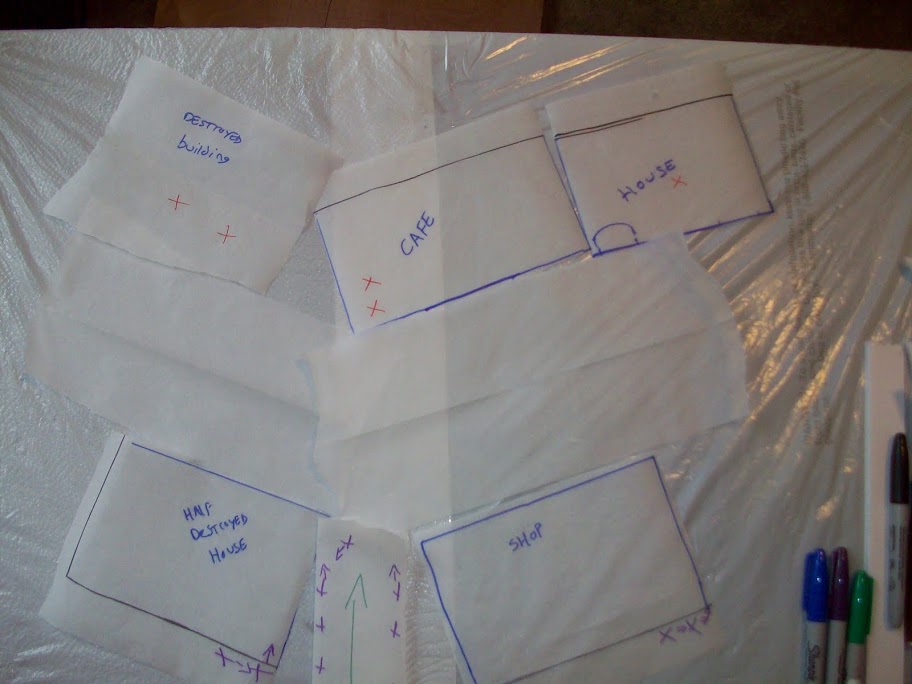
I finally laid out the final plan of all final plans (subject to some last minute changes, of course) and had to change up the Cafe a bit. Let the journey begin:
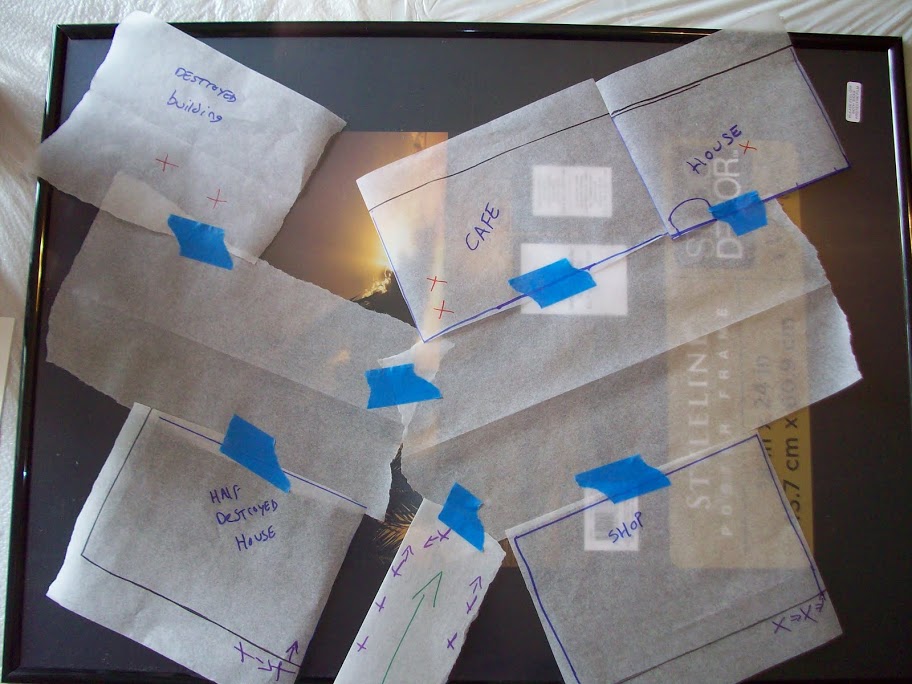
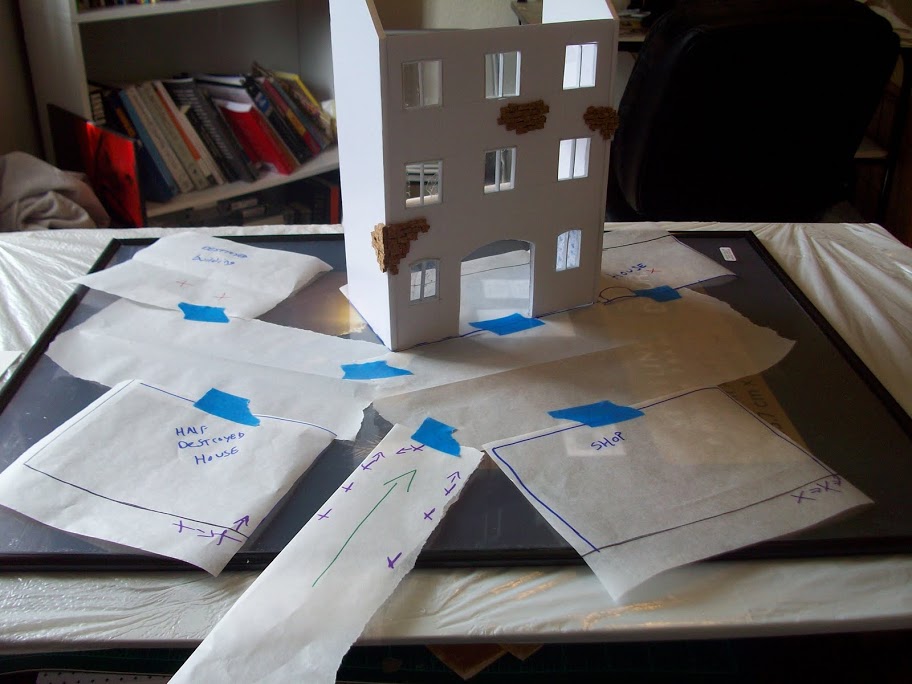
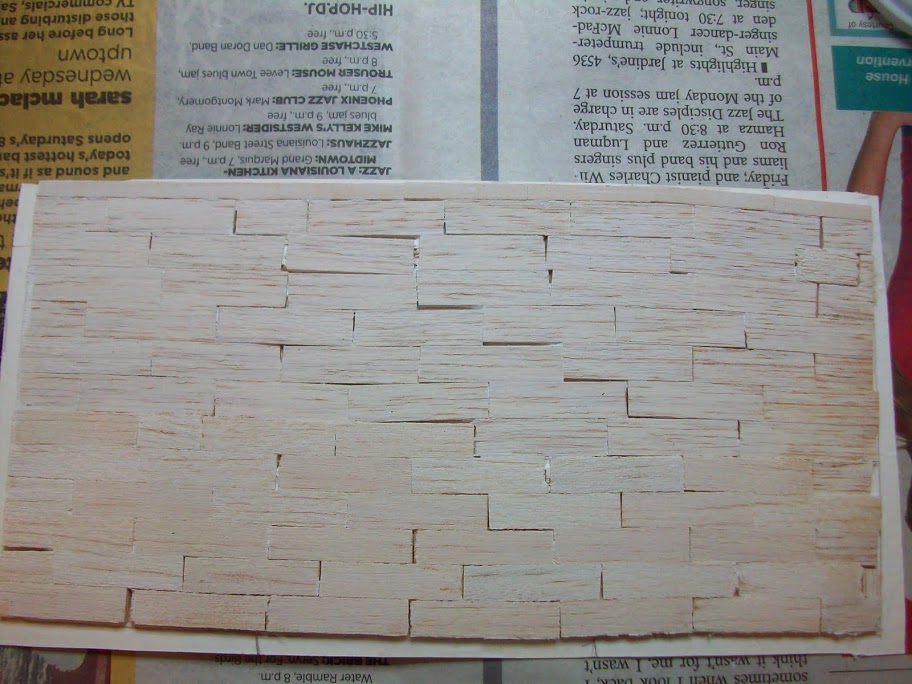
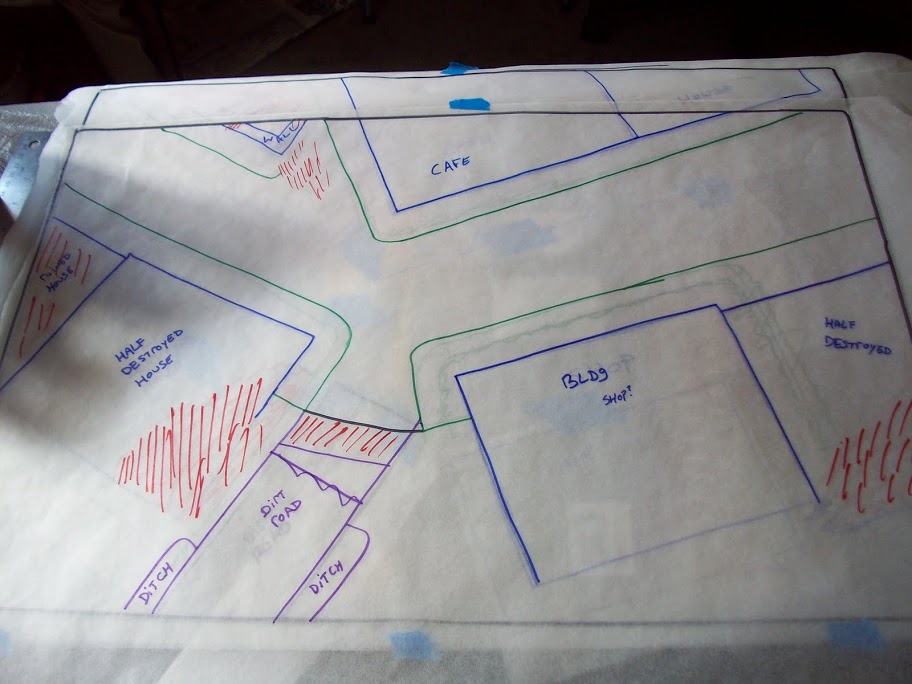
Here's the plan. Blue=buildings, Green=sidewalk, Red=rubble/ruins, Purple=dirt road, transitioning to cobblestone...the white spaces between buildings=road.
Here's the base of the poster frame I'm building on. I thought I would need to do some modification to it to make it more sturdy, but the board it came on is quite sturdy itself and the only real movement of the dio I see is taking it to my mom's basement when it's down, or while in process for craft days.

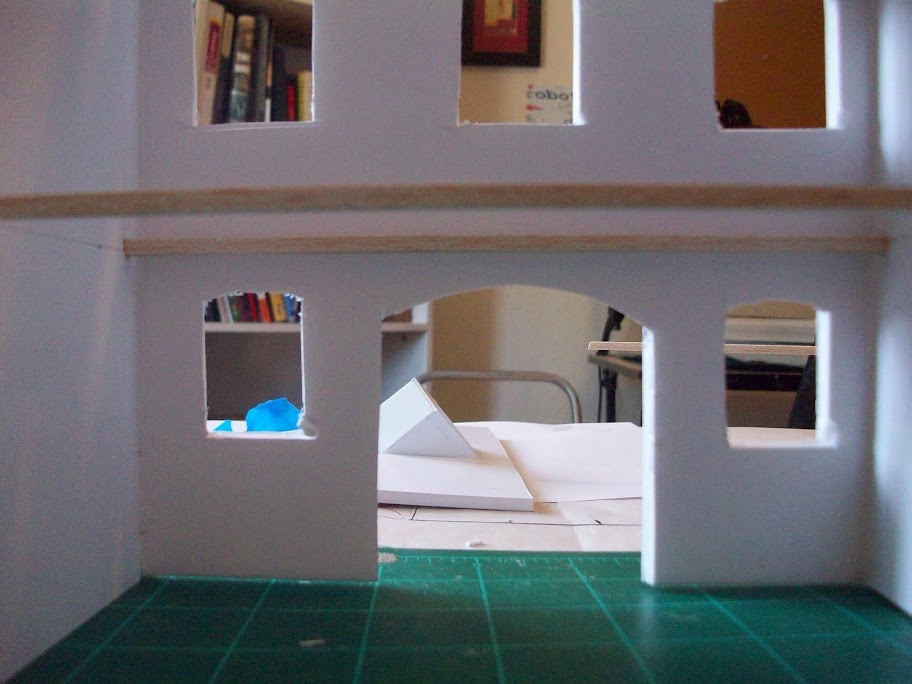
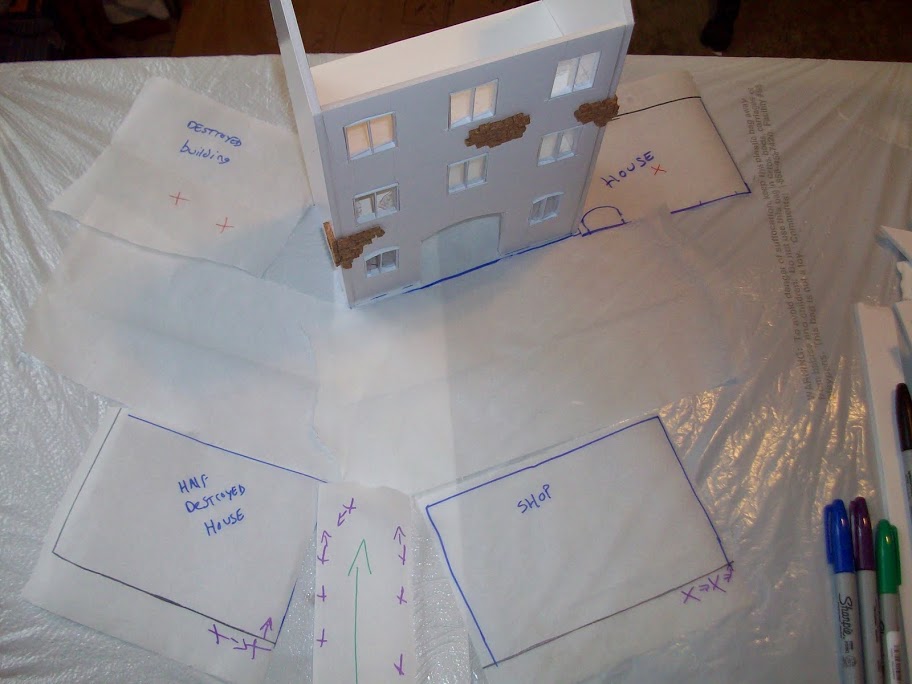
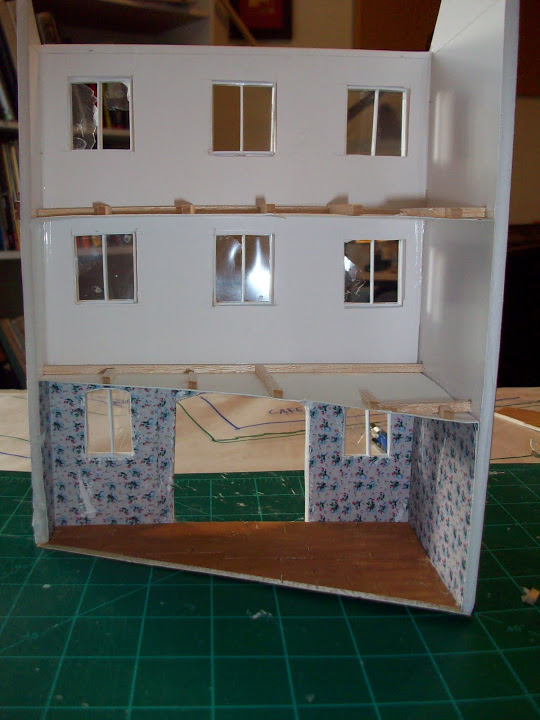
So, because of the change from a T axis to a Y axis, I had to change my Cafe a bit. I chopped it, which was sad, and the joists took a bit of damage, as did the ceilings/floors that were already in place, but the actual hardwood floors I had laid out were easy to cut with my new Mat Knife tool (which is like, 100 times better than an Xacto blade!) Here's the chopped up building before floor install:
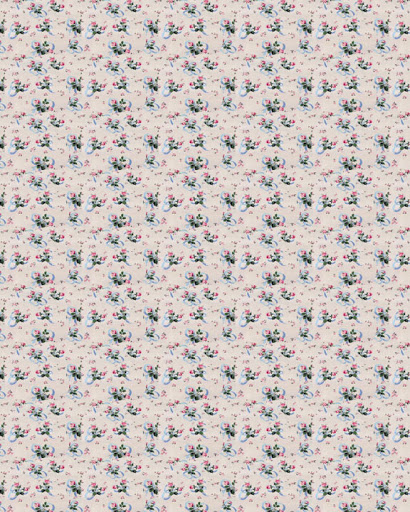
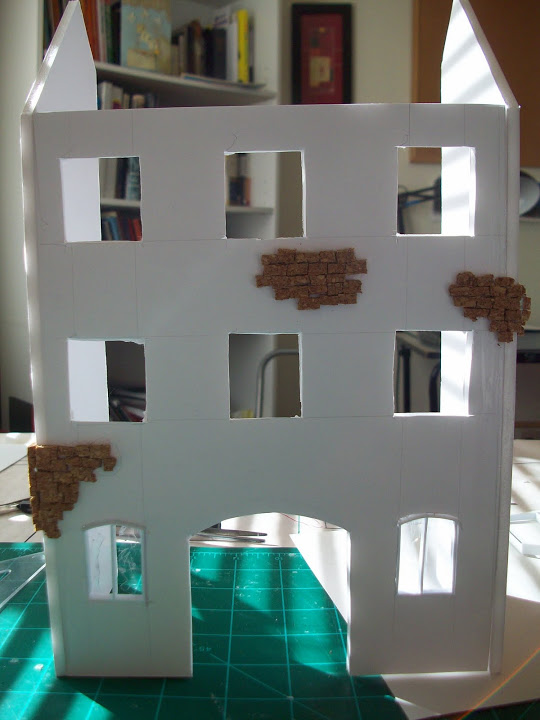
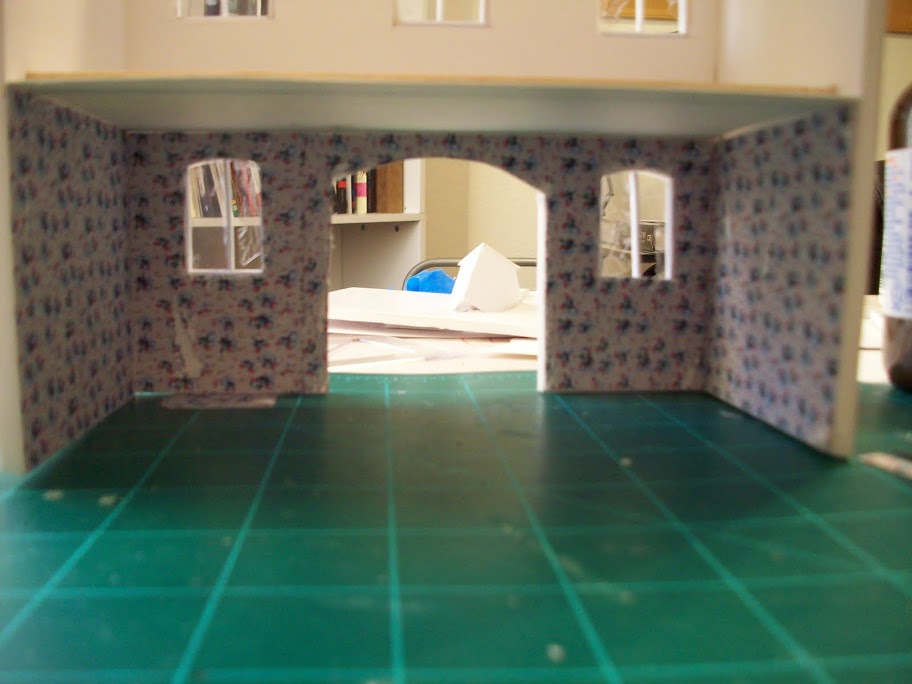
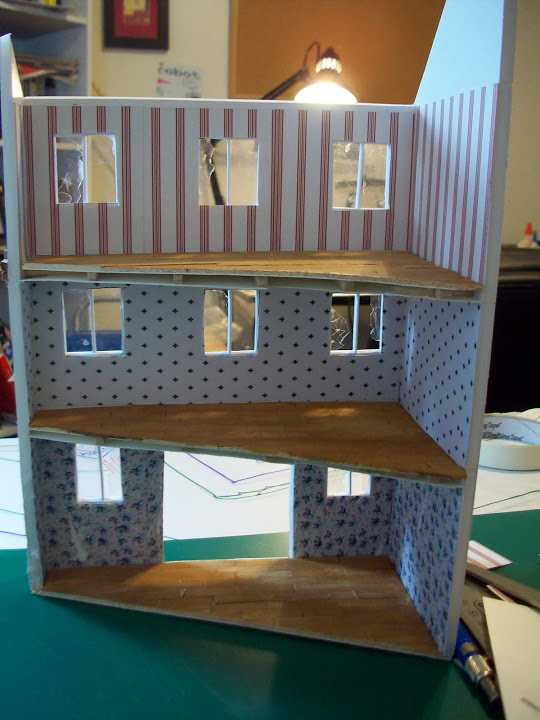
Here's the Cafe with floors installed in the new angle, with wallpaper up and not yet worn with my blades and sandpaper:
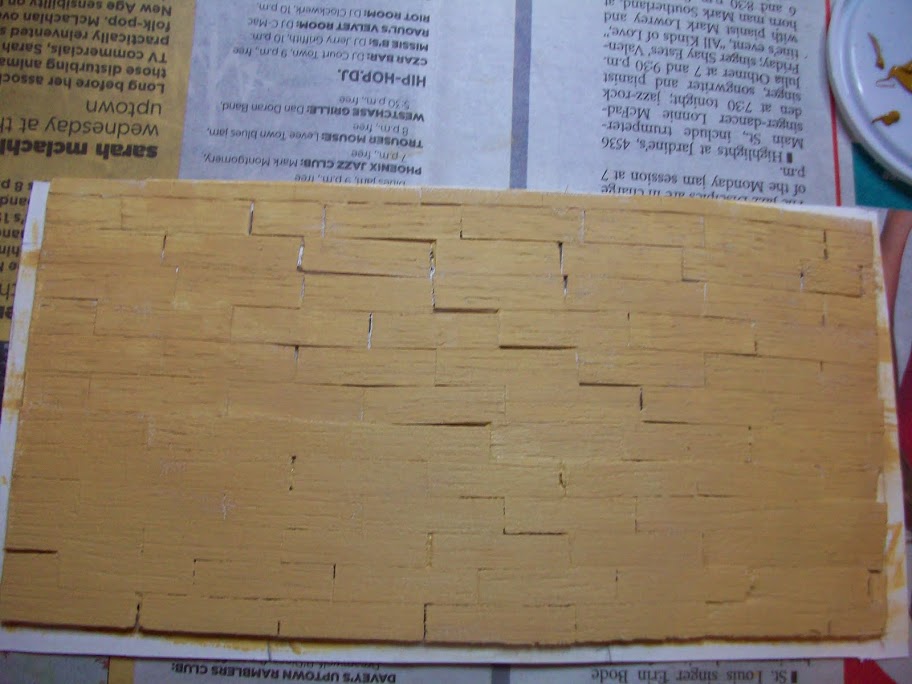
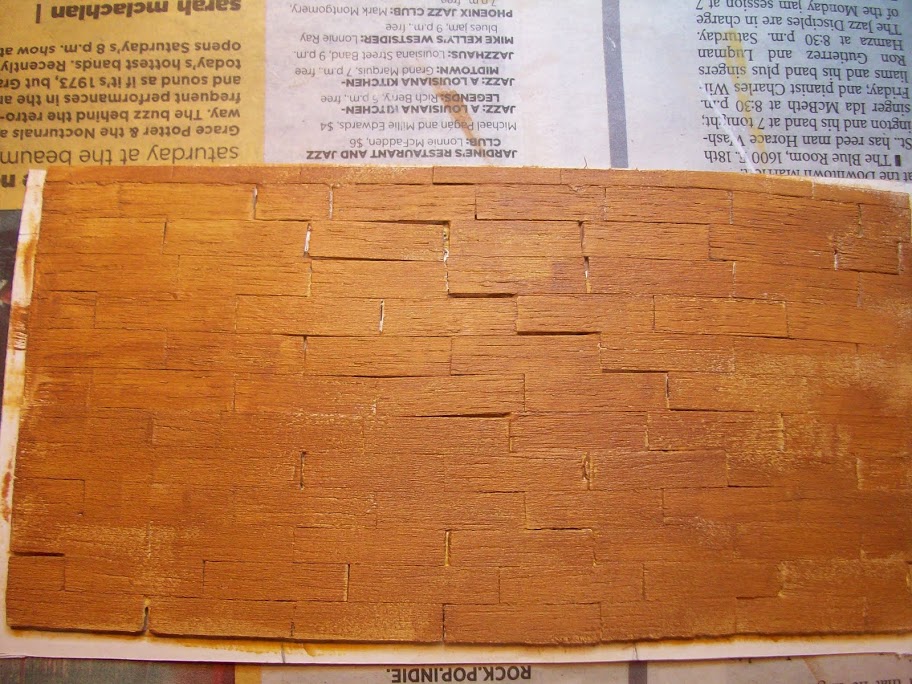
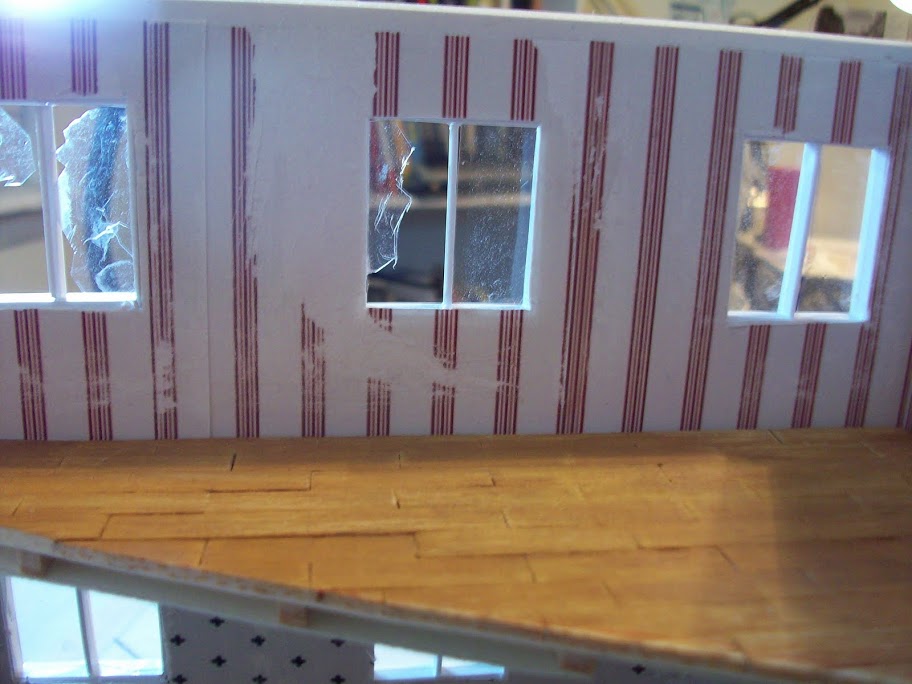
The wallpaper "weathered"
Here's the stack I'm pulling from with 1 more kit on the way. Not shown here, but in a photo below are the HobbyFan resin figs.
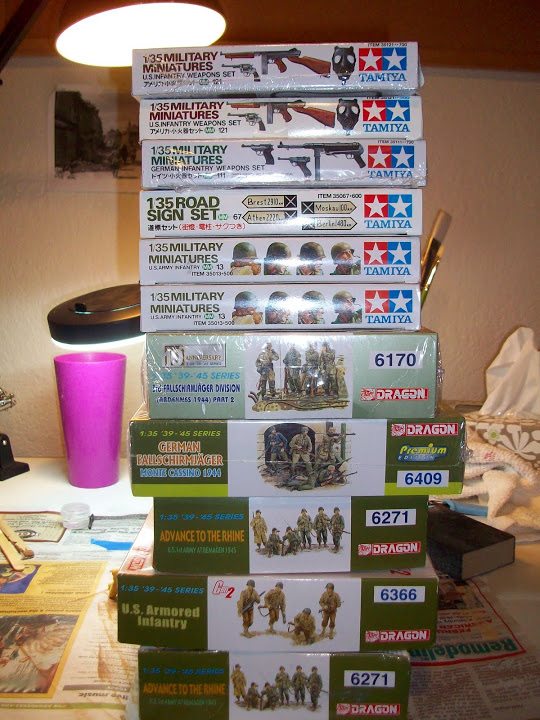

The set of figs I am most excited about, though, is the Dragon Fallschirmjager kit, premium Gen 2 edition. Check out these awesome heads!!!!!

And now, for some surgery:
So, there was this German fig that I really liked, but his leg placement was all sorts of weird. This is one of the figs from the HobbyFan kit that I modded. This is my first ever figure conversion and while it's not cream of the proverbial crop, I'm quite proud of myself!
Here's the process: (sorry for the blurry photos)
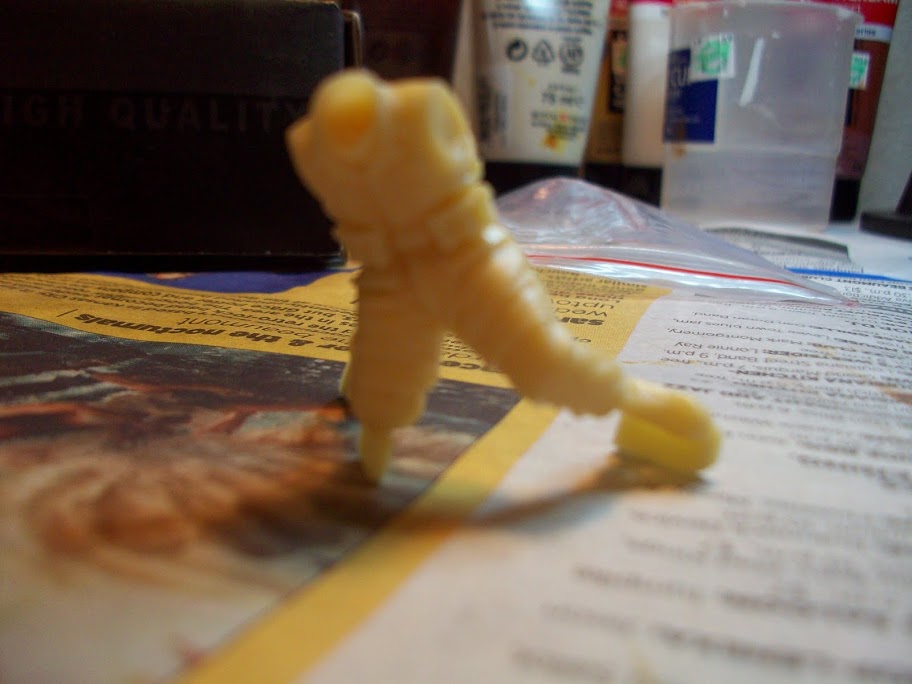
See how he's leaning all weird and his leg is in a funky position? WHO could sit like that for any length of time? These guys, in my dio, will be waiting for the Allies to come up that road, so naturally, they'll be in a more comfortable position while waiting...not like this, whatever this is: (sorry for the fuzzy photo)
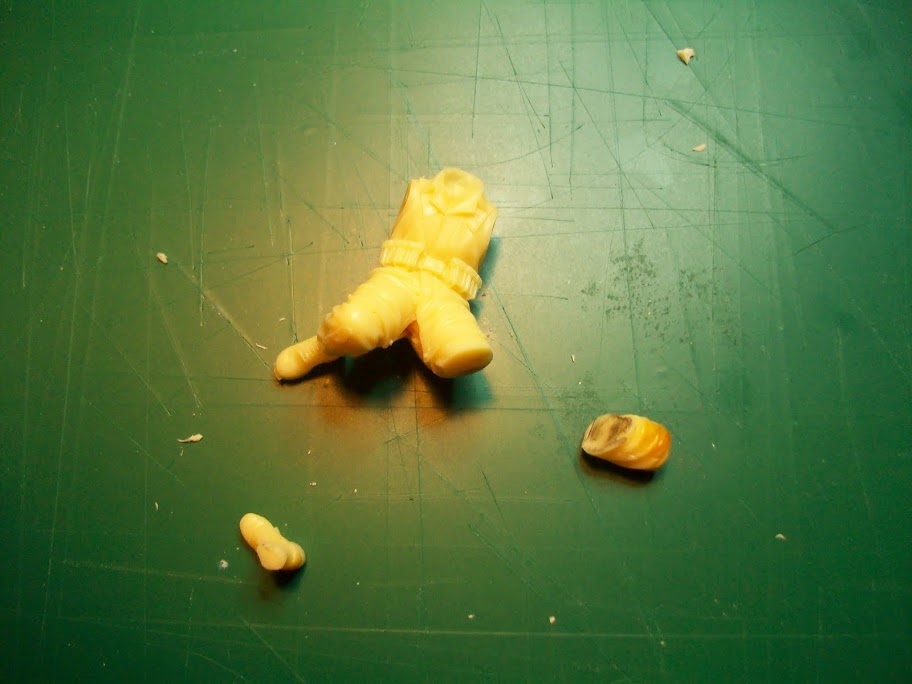
So, while his one leg was perfect, the other leg needed some help. So, I chopped it off with my knife. I know, I know. But don't fret! He's going to be fine!
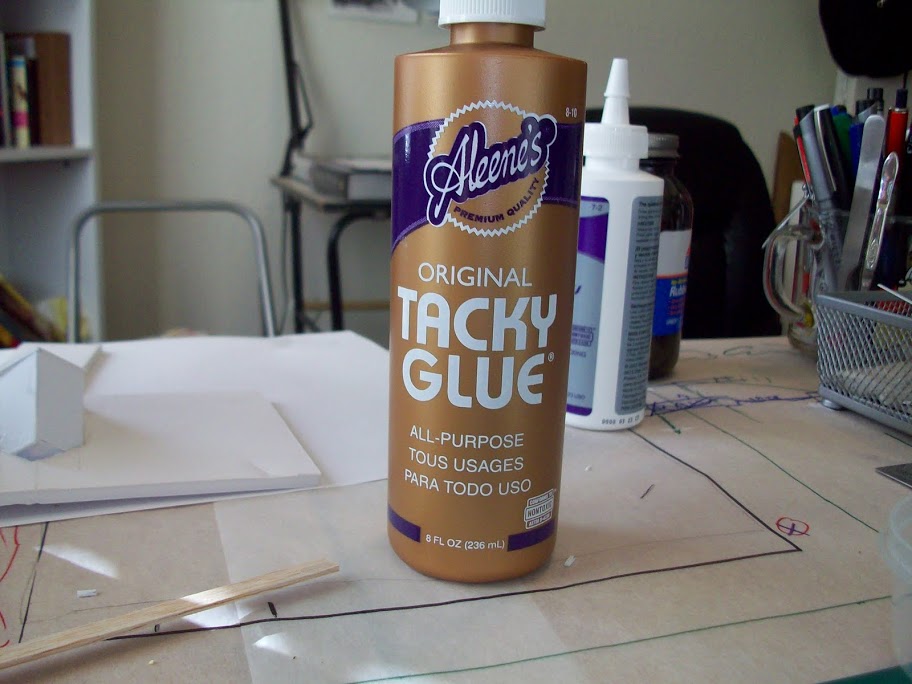
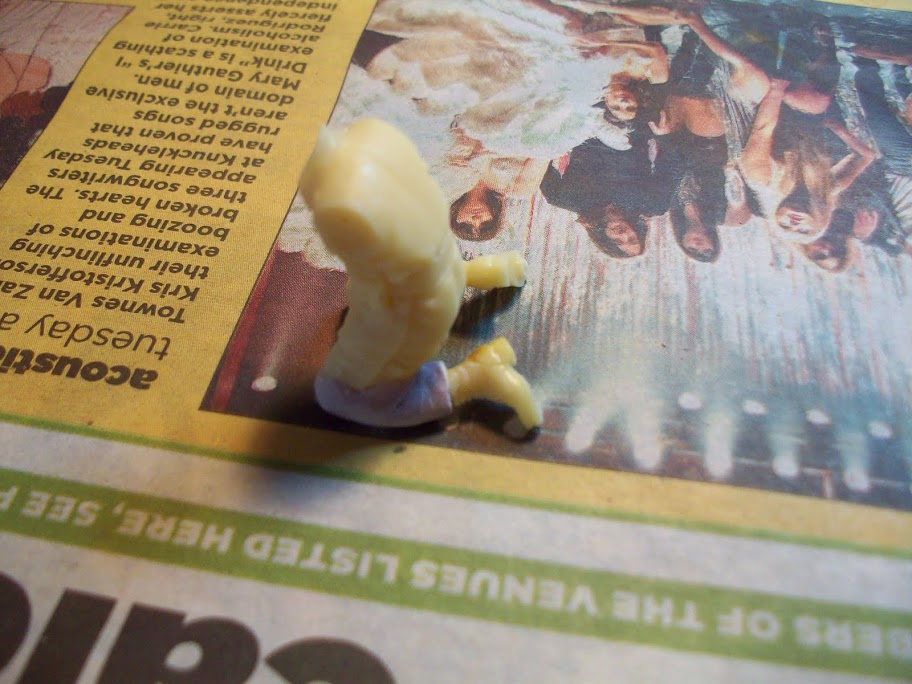
So now, here we have his new leg made out of Aileen's Epoxy Putty. This stuff was great. Easy to work with, thick and sticky, stuck to the table, I finally had to put the fig on some painter's tape so it wouldn't get stuck and dry to anything.
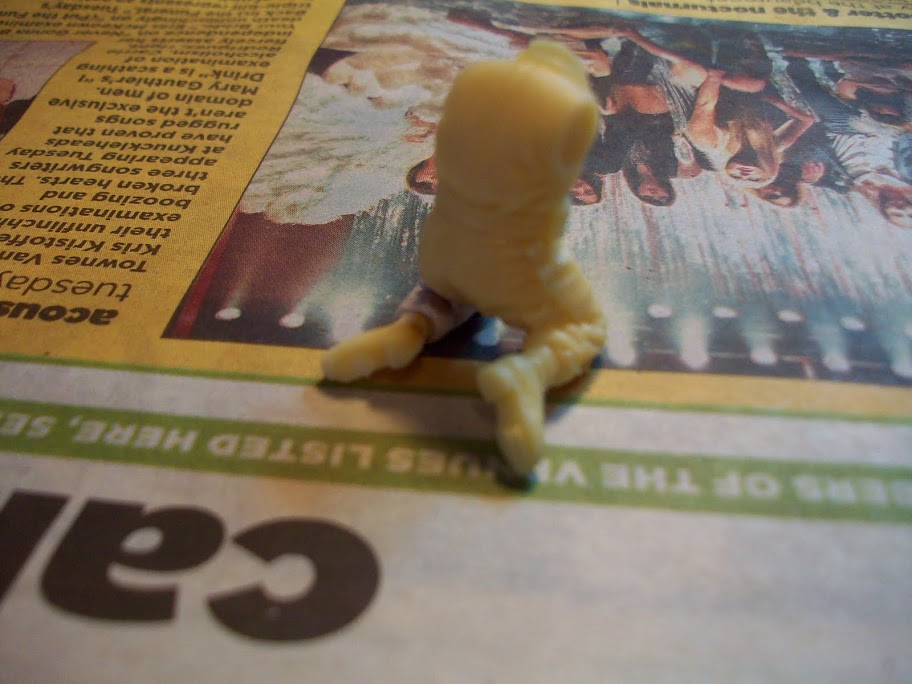
And there we have it! That's what I'm up to. I'll be back shortly with another update.
Anyone have any ideas for some US paratroopers? I could use a dead one, and a couple that are crouching down (or at least in a somewhat easier position to modify). If you have any ideas or suggestions, please let me know. I hope to get better at building as I build.