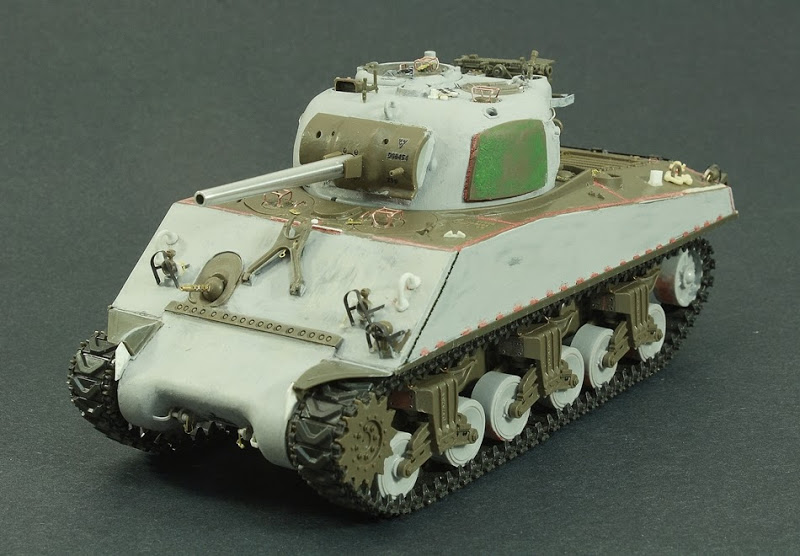
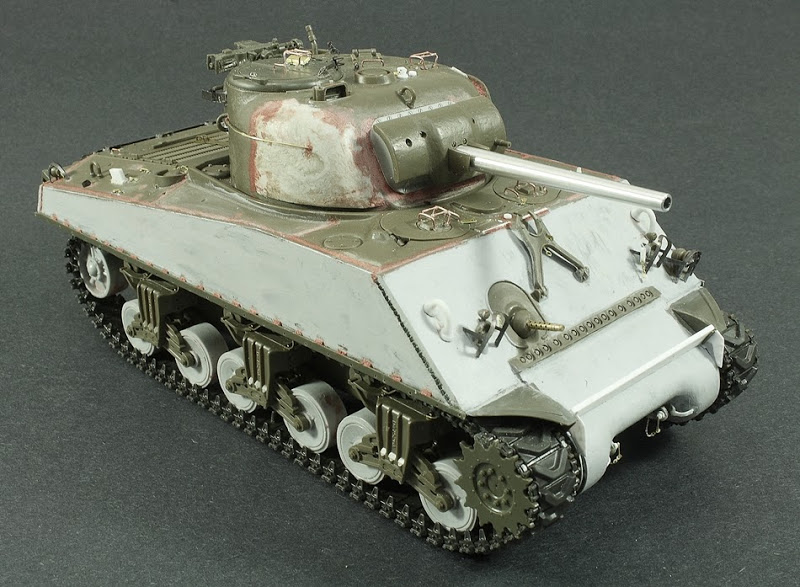
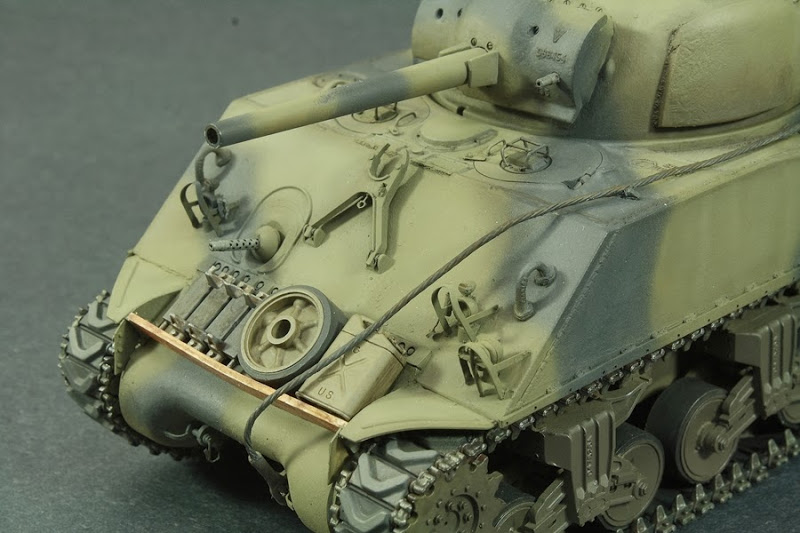
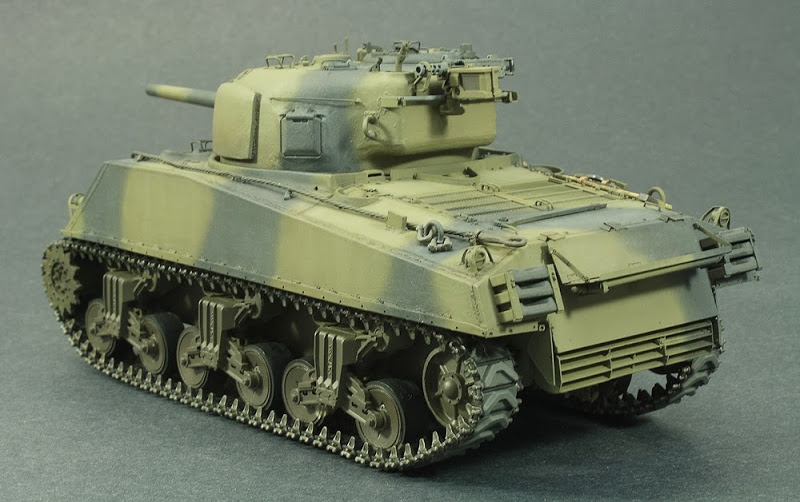
Building an older kit like this had it challenges no doubt. Probably the biggest two issues for me was the fact that the gun mount is incorrect for an M4A3(75)W as well as the loaders hatch. For the gun mount Tamiya includes one with the bolt strips along the left side of the mount when in fact the gun mount for this tank (as well as the 105mm versions) did not have this strip of bolts. Consequently, the opening for the mount was too wide for the correct mount. To correct this I added widening strips as seen in Steve Zalogas book modelling the M4(75) and finished it off with some automotive filler. I then scrounged the correct mount from one of my Dragon kits which you can see in the pictures and added this part to the kit. I am pretty pleased with the result but let me know what you think.
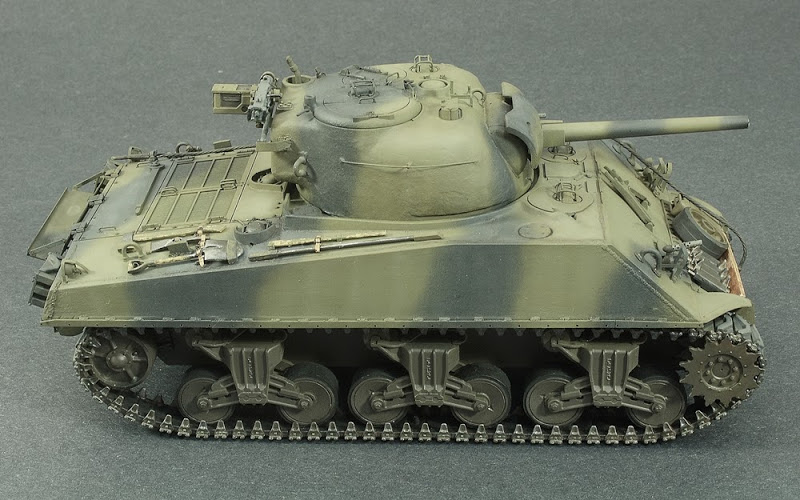
As for the oval loaders hatch it is too big for this kit. The hatch represents the 24 inch version that was seen on the T23 turrets (M4A1(76W), M4A3(76)W, M4A3E8) while the M4A3(75)W had its own 20 inch hatch. In terms of scale this roughly equates to a 2-3mm differential. While for some this is a big deal I decided I could live with the loaders hatch as is as it doesnt look out of place. If you wish to correct this minor issue then you would have to get a resin turret or a Dragon or Italeri turret. The Italeri turret has the correct loaders hatch size but apparently lacks the detail of the Tamiya kit part.
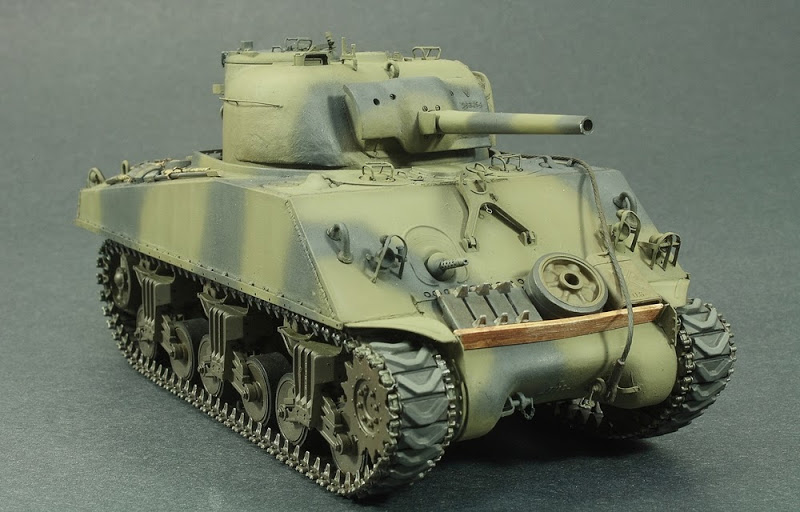
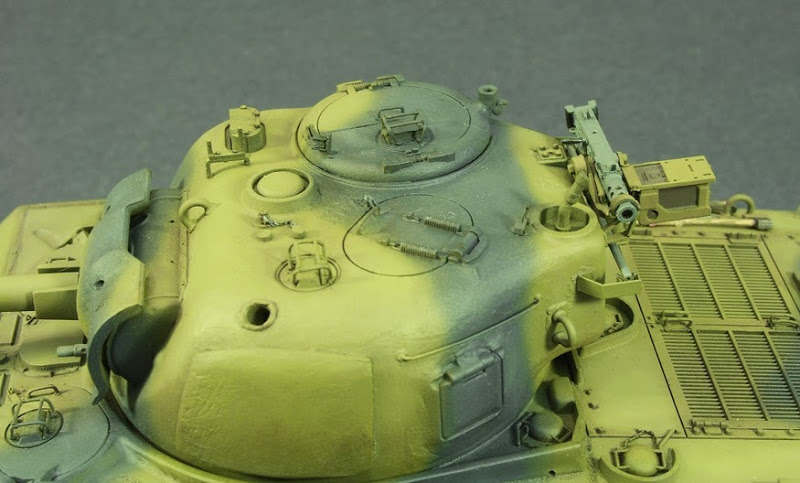
The Tamiya turret also does not have the cast in cheek armour. To model this I used Herve Charbonneaus diagram for modelling the cast in cheek armour as well as Steves Zalogas technique.
Heres the link via Tim Streeters excellent site Modelling the U.S. Army in World War II.
http://www.usarmymodels.com/ARTICLES/Sherman%20Corner/turretcheekarmor.jpgIf you do not wish to do this you can source a resin turret. Tiger Models make a nice high bustle turret with loaders hatch and cast in cheek armour.
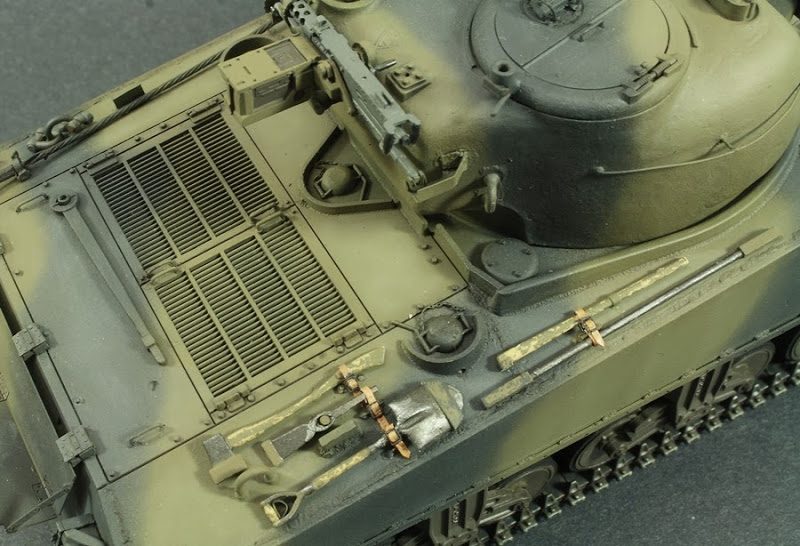
Another minor annoyance with the Tamiya kit is that it does not have the tow cable retainer hook/clamp that is typically located on the front left of the tank near the drivers hatch and casting marks. Tasca also does not include this which I find odd since these were standard on Shermans. I would normally use a resin part for this but formations are the only one that I am aware of that offered these and they are no longer available. So, I simply fashioned one out of apoxie sculpt.
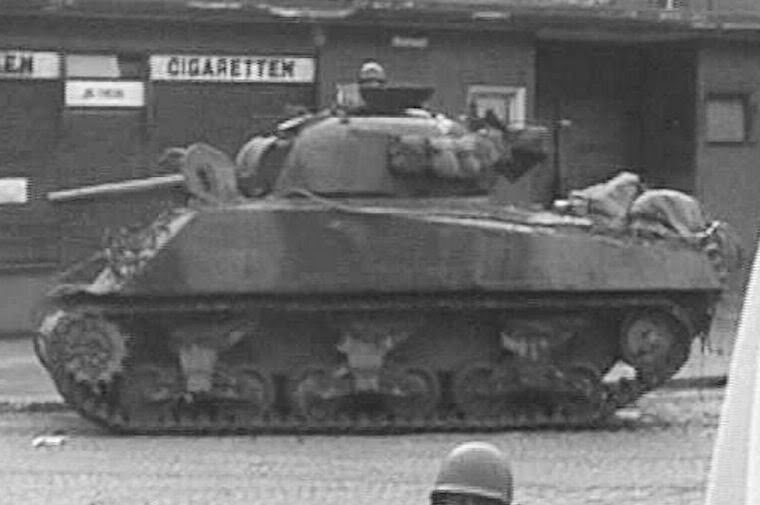
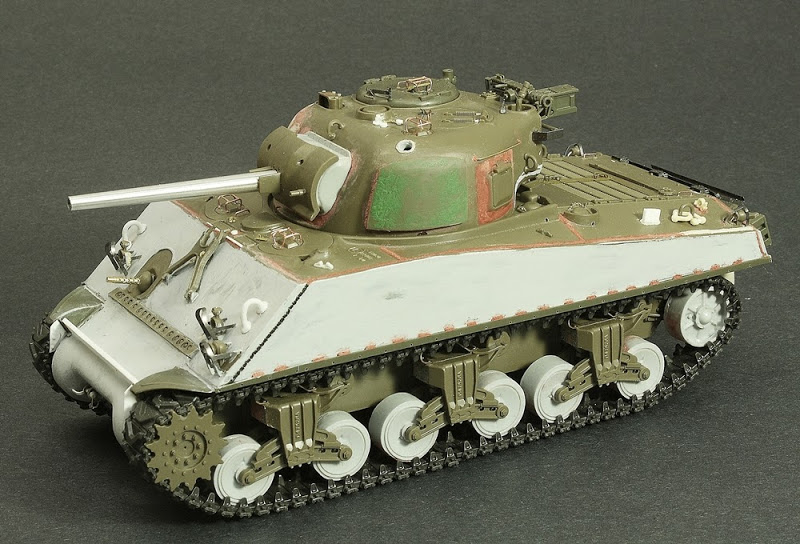
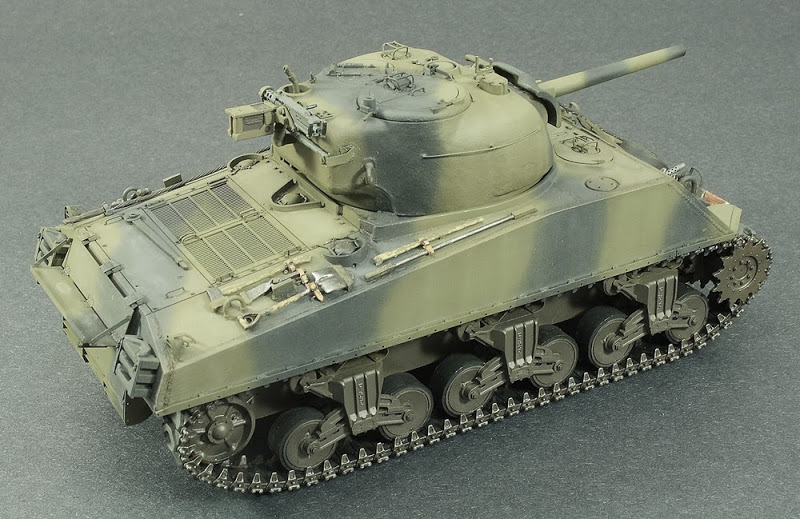
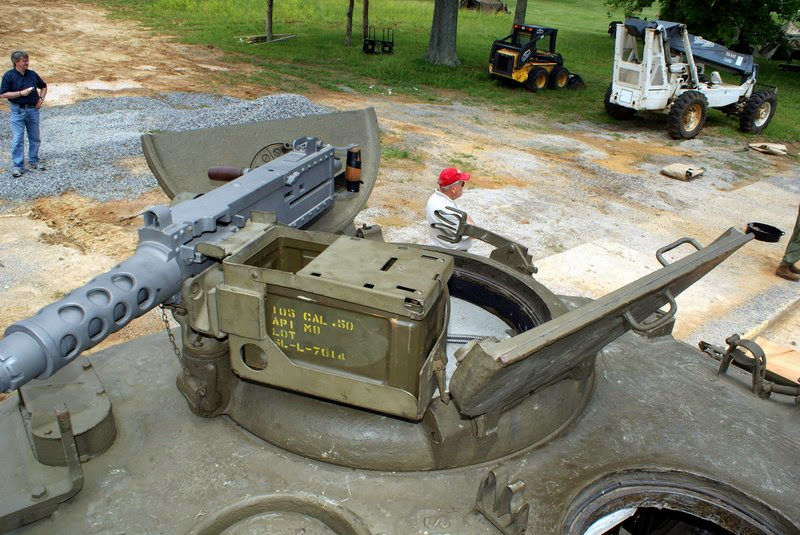
I have always wanted to model a Sherman with a stowed MG and given the opportunity with this project I went for it. This particular tank has the late MG stowage configuration with the Barrel holding clamps located on either side of the turret. The more common configuration I believe was the earlier type with the clamps located on the turret top with one on the bustle and the other between the commanders and loaders hatches. The new Dragon M4A3(75)W has this configuration.
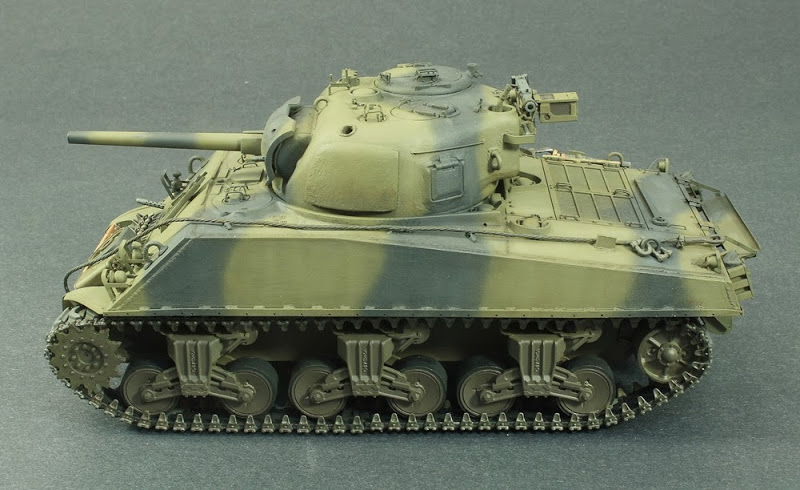
I benerally do not like the PE periscope guards on the market today and Eduard's are no exception as they are all flat metal while in reality the actual periscope guards were metal bars. So, I decided to fashion my own out of copper rod. Talk about a pain the butt to do but in my view they look much better than the PE ones.
For the applique armour add-on that was common on 3rd Armoured Division tanks I used an old Tamiya Sherman turret and cut it up for this purpose.
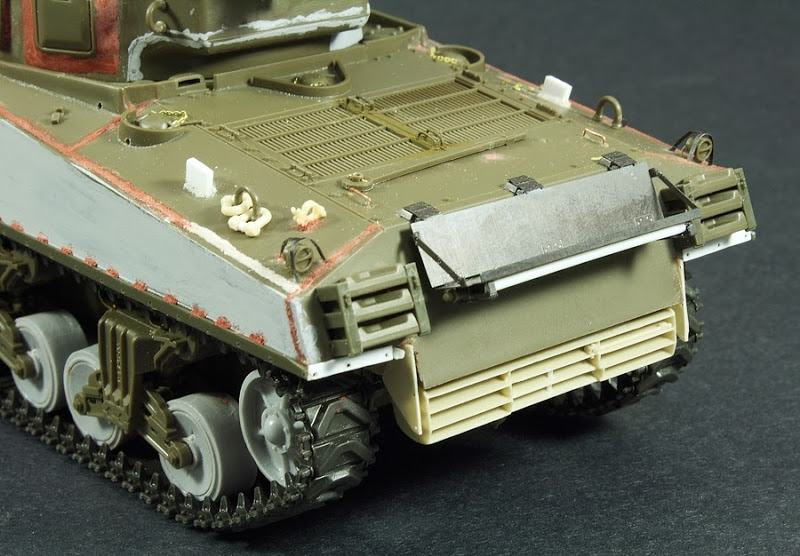
M4A3(75)W tanks had ptroduing metal bars near the rear lifting rings to act as supports for the heavy engine doors on the deck when opened. The Tamiya kit of course does not have them so I added some from Plastic stock. I tried a change of pace for the welds and used apoxie sculpt instread of automotive putty. You can see where I also tried it on the rear left of the tank for the welds but decided the automotive putty would be faster to do so I switched.
As is common the shell ejector port on the Tamiya tanks requires the area around it be built up. Here again I used my trust automotive putty. FInally, I added some stowage bars to either side of the tank from brass rod. Many Sherman's depict this infield modication for stowing haversacks etc.
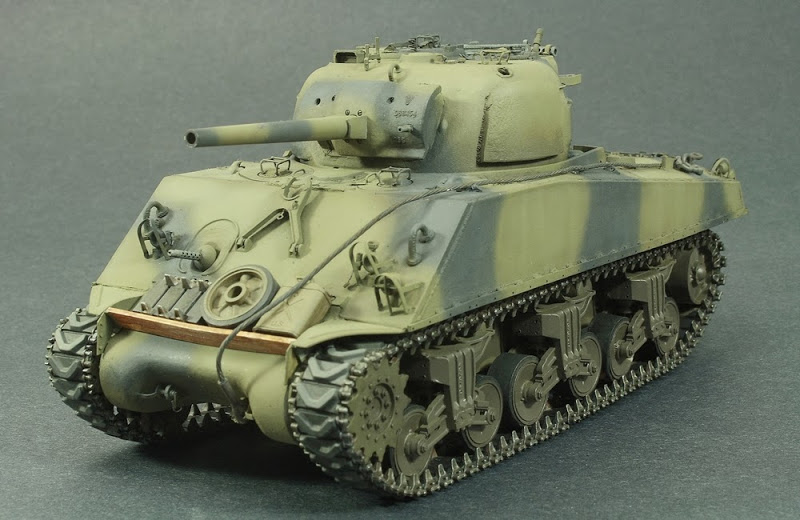
I still have to add the tow cable but will do that next.
In terms of add-ons here's my list.
Dished Wheels: Tank Workshop
Towing shackles on rear port lifting ring: Formations
Exhaust Deflector and Sponsons: Formations
Photo Etch: Eduard M4 Sherman Photo Etch set
Sand Shield Strips: Tasca Spares from my Tasca M4A3E8 kit. For the rear strips i scatched these from Evergreen plastic card.
Front Fenders: Tasca spares from my Tasca M4A3E8 kit
Late Style Sherman Split Hatch Cupola: Tasca Spares
Stowed MG: Tasca MG set
Sighting vane: Tasca spares.
Front Lifting rings: The new Tiger Models 47 degree lifting rings
Barrels: .30 Cal and 75mm Gun are from RB Model
Welds: Automotive putty, the red stuff.
Casting symbols: Archer Transfers
Bolts on vvss suspension: Grandt line
Front right drive sprocket. Tasca Spares. During a hamfisted moment I snapped off some of the teeth from the Tamiya part rendering it useless.