Dioramas: Beginners
A good place to look if you are just starting out.
Hosted by Darren Baker
First Diorama Step by Step
keenan
Visit this Community
Indiana, United States
Joined: October 16, 2002
KitMaker: 5,272 posts
Armorama: 2,844 posts
Posted: Sunday, March 25, 2012 - 09:58 AM UTC
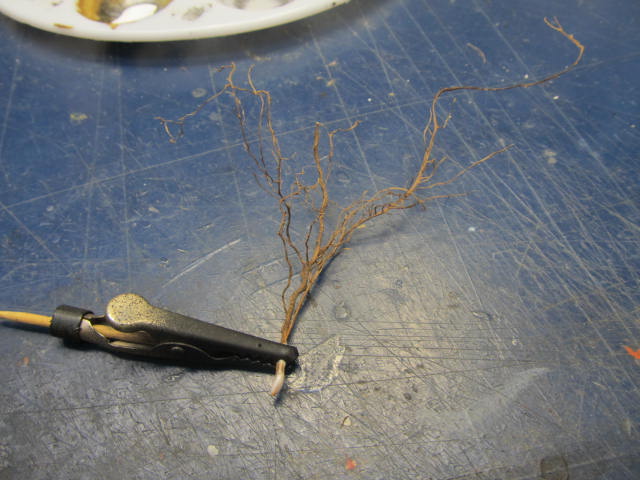
Sapling teaser:


Cheers
didgeboy
Visit this Community
Washington, United States
Joined: September 21, 2010
KitMaker: 1,846 posts
Armorama: 1,509 posts
Posted: Sunday, March 25, 2012 - 11:47 AM UTC
Shaun;
what are you using for your spring sapling there? Is this just small branches from the yard? Do you treat it with sealer? Cheers.
max_meeki
Visit this Community
Tasmania, Australia
Joined: December 19, 2011
KitMaker: 92 posts
Armorama: 88 posts
Posted: Sunday, March 25, 2012 - 07:17 PM UTC
Me's thinks its a tree root.....

panzerconor
Visit this Community
Massachusetts, United States
Joined: February 08, 2012
KitMaker: 1,271 posts
Armorama: 1,253 posts
Posted: Monday, April 02, 2012 - 04:24 PM UTC
I saw earlier your warning about using a bunch of armor/vehicles in one diorama. My quick question is this: I'm planning a late war diorama, and the battle I'm replicating calls for FIVE tanks, a KT and 4 tigers. That's without any other IFV's or AT guns. It is going to be big feat for me. Any smart way of accomplishing that? It shouldn't be as crowded at one would think, but any advice on how to do it (or if I even should)? It could be great but I want to get some opininions here among the experts first. Thanks for any help.
Sorry for rambling...
-Conor

PS I still have to say that this really is a helpful build log
keenan
Visit this Community
Indiana, United States
Joined: October 16, 2002
KitMaker: 5,272 posts
Armorama: 2,844 posts
Posted: Tuesday, April 03, 2012 - 10:14 AM UTC
Conor, my best advise would be to do a quick GIS (google image search) and see if you can actually find a picture of one Soviet tank and five tigers. I have been working on a diorama titled "When the Tiger Met the Bear" for about two years featuring one Tiger one and one wrecked T-34 and am having trouble. I would keep it simple.
Shaun
keenan
Visit this Community
Indiana, United States
Joined: October 16, 2002
KitMaker: 5,272 posts
Armorama: 2,844 posts
Posted: Tuesday, April 03, 2012 - 10:27 AM UTC
Sorry for the delay. Some 1/1 scale plumber tasks this weekend. Thanks for your patience.

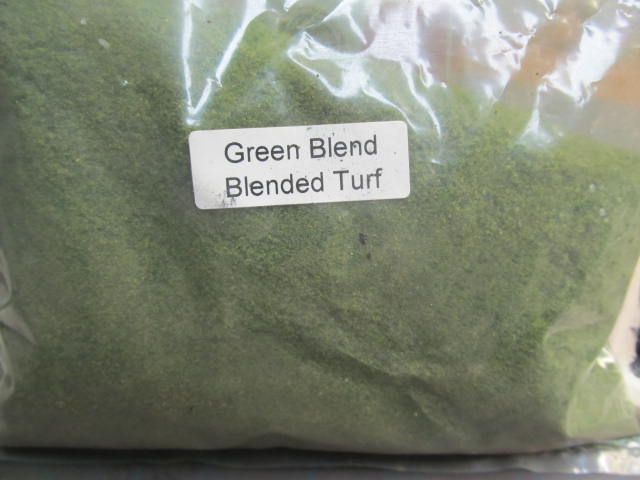
Okay, we have the moss down. Now we need to add some of the weeds and other stuff that always jumps up as soon as it gets warm. I am using Woodland Scenics turf. I think I got this giant bag in a box of stuff at an auction:


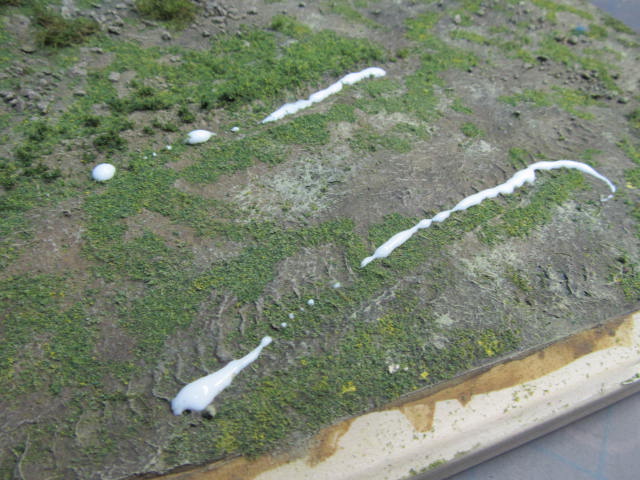
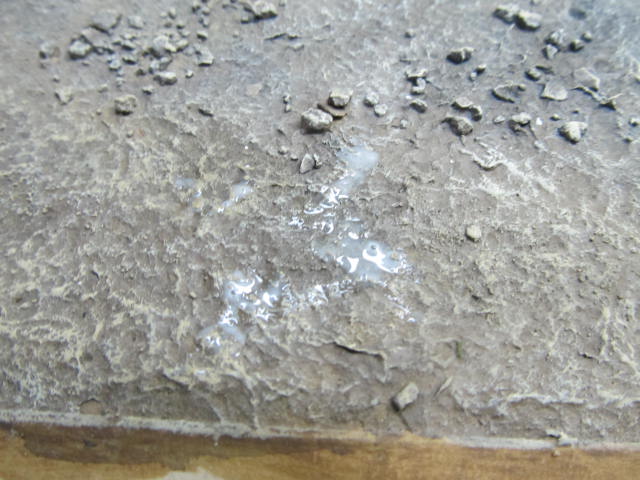
Using the same paint pan, mix up the ever popular white glue and water and lay on some random spots:


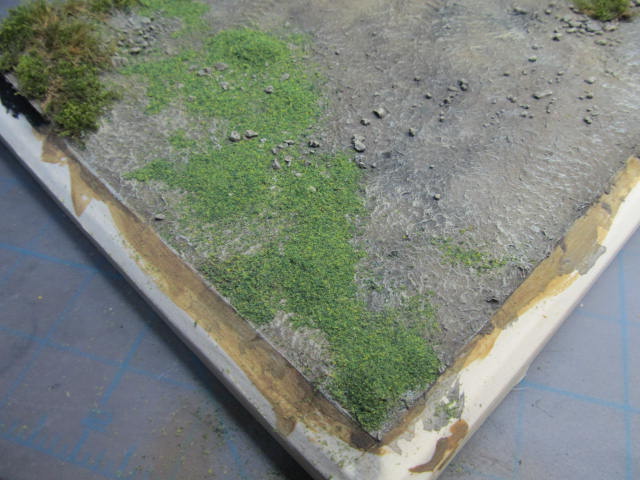
I have one corner cut off the huge bag of turf. Then just puff it out on your base where you put the white glue and water. You should try to put on as little as possible but it doesn't really matter.

You will end up with something that looks like this:


Wait a couple of minutes and grab a paper plate. Lift the base and tap the excess turf onto the plate. This does two things; lets you know what your base looks like so far and doesn't waste the excess turf.
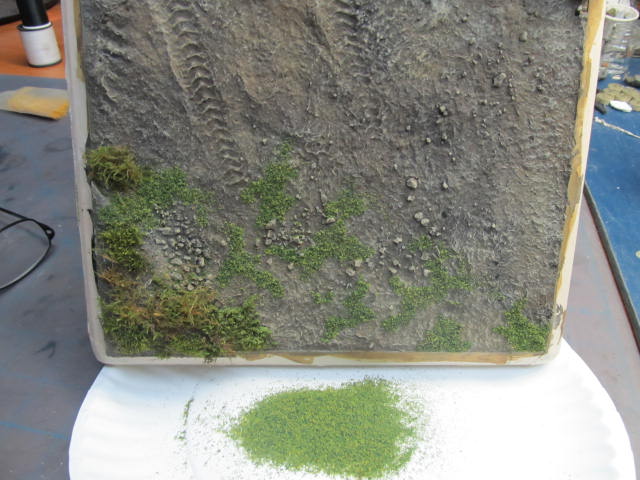


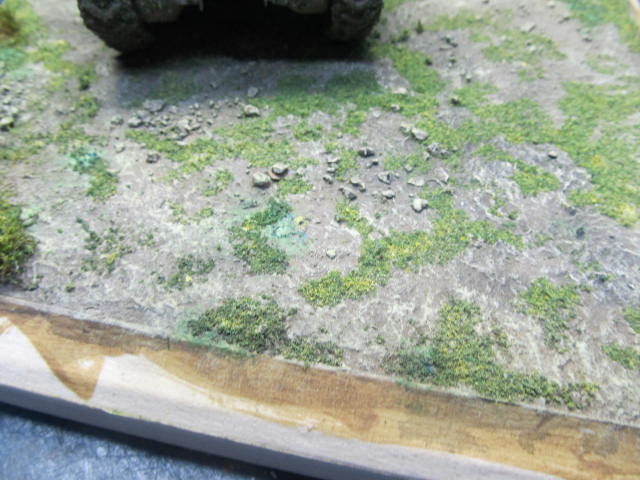
You will end up with random spots, like this, which is what you want:
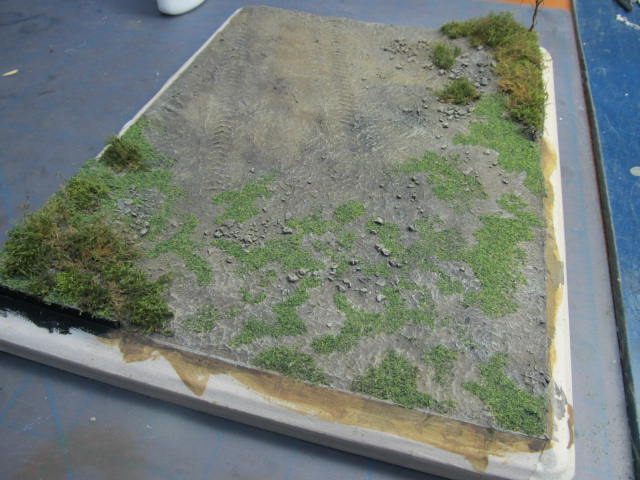


It will take a couple of sessions to get all the turf on your base. Remember that you really can not do a bad job. Channeling my inner Bob Ross, it is your little world here.

Close up of one of the corners with the moss and the turf:
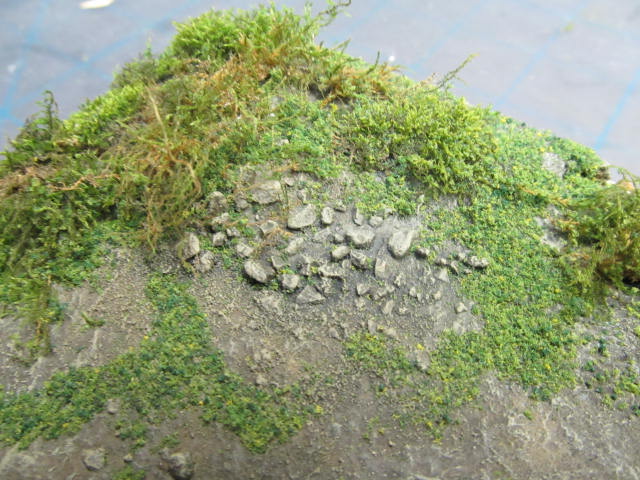


I am having a great time actually taking in progress photos of a project. I am also really enjoying the questions. Don't hesitate to ask.

Thanks once again for following along.

I am not much of a fan of static grass but I may actually have to use some.

Thanks again,
Shaun

panzerconor
Visit this Community
Massachusetts, United States
Joined: February 08, 2012
KitMaker: 1,271 posts
Armorama: 1,253 posts
Posted: Tuesday, April 03, 2012 - 02:34 PM UTC
The battle I'm looking into was The Battle of Halbe. I posted about it to get some info on it too, and that's where I found out about the 5 tanks... My wallet says it's a bad idea, but it's opinion doesn't matter. Getting all the opinions from experts like yourself is definitely a plus. I'll be sure to take any & all of your advice into consideration. Now it's research time and finding a job time...
Thanks for the advice & the build log!
-Conor
BBD468
Visit this Community
Texas, United States
Joined: March 08, 2010
KitMaker: 2,465 posts
Armorama: 2,383 posts
Posted: Tuesday, April 03, 2012 - 03:10 PM UTC
Hey Shaun,

Im still taking notes so keep it coming man! Lovin every bit of this SBS. I plan on useing every thing im learning here on my base for a dio for my sd.kfz.250"Greif" with Rommel im going to do after my panther build. Thanks Shaun!

Gary
keenan
Visit this Community
Indiana, United States
Joined: October 16, 2002
KitMaker: 5,272 posts
Armorama: 2,844 posts
Posted: Wednesday, April 04, 2012 - 10:06 AM UTC
Desert is really easy. Again, don't tell anyone. Just a bunch of Celluclay, sand and Kitty Litter.
Thanks for following along. Have seen some of your armor builds and am amazed.
Shaun
keenan
Visit this Community
Indiana, United States
Joined: October 16, 2002
KitMaker: 5,272 posts
Armorama: 2,844 posts
Posted: Tuesday, April 10, 2012 - 10:08 AM UTC
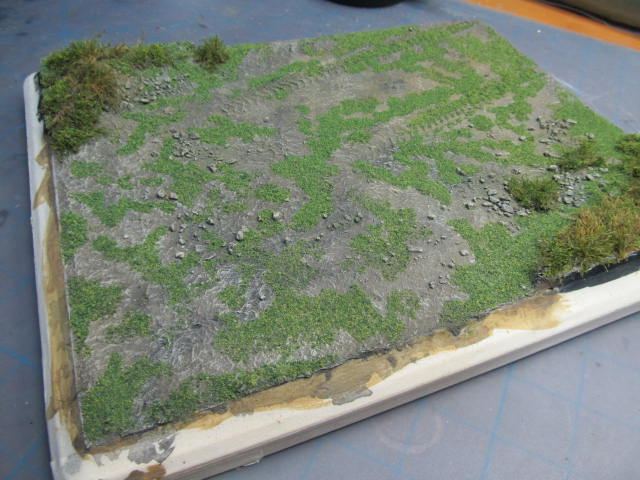
Whole base splotchy turfenated. Like I said, random is better and you really cannot do a bad job here.


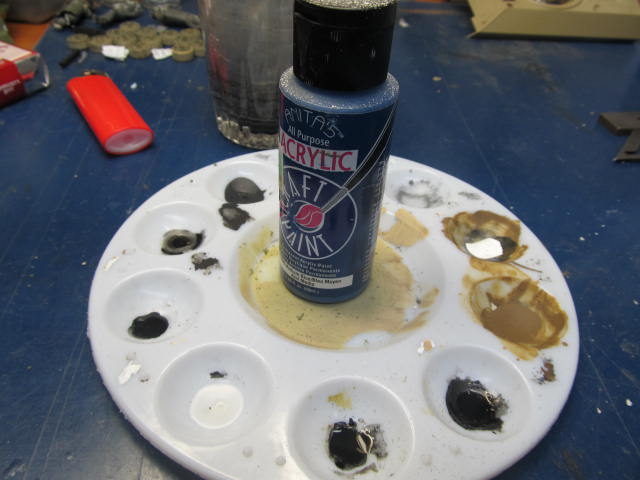
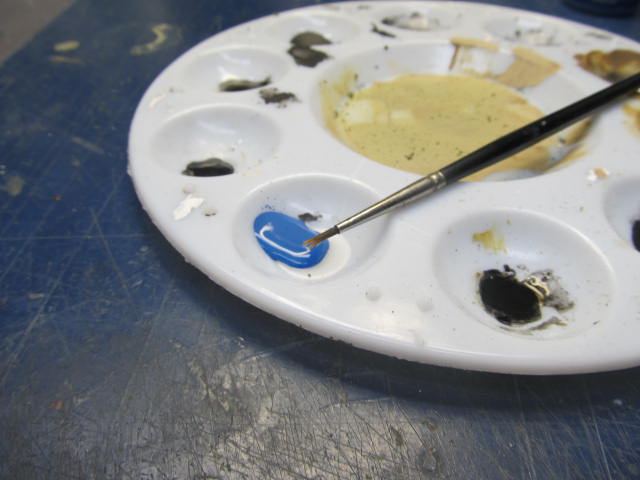
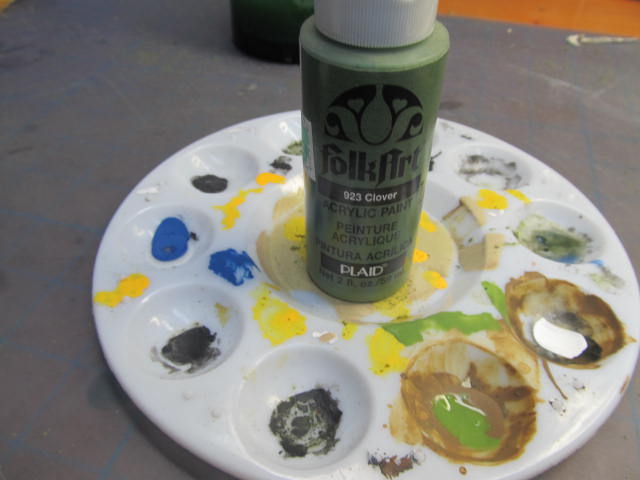
The next steps are a lesson in what not to do. I wanted, and still want to, add some color to the base, preferably some bright yellows and blues, like the wild flowers around Central Indiana this time of year. So, I thinned some blue craft paint in the same well pan:


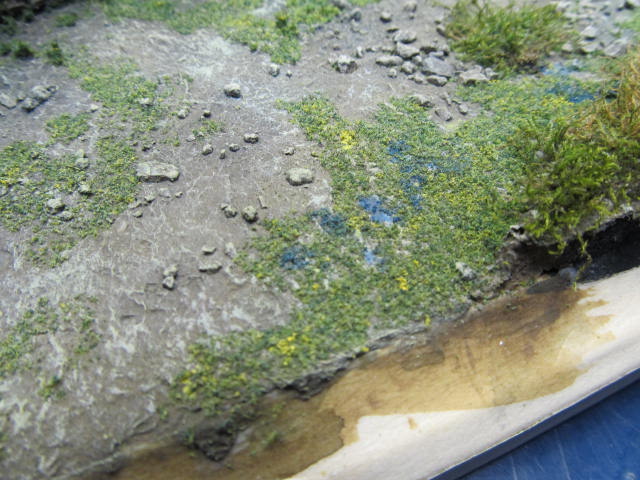
So I got in a hurry, thinned the paint and tried to pick out the high points on the turf with the yellow and blue paints. The original plan was to do what I have always done; Go to a flower store, buy some brightly colored dried flowers, pick them apart and glue petals on the base to add the color. Instead, I ended up with this:


Some of the yellow highlights look okay but the overall effect makes like some areas of the base look like an Easter egg, which is ironic but appropriate. My dad used to tell me if you haven't made any mistakes it pretty much proves you aren't trying hard enough.

Update middle of this week on how to fix the Easter Egg Effect.
Next gluing down the Shermy and the figures and making them look like they belong there.

Preview picture:


Again, I am flattered by the views and the replies. Don't hesitate to ask questions. That is why I am doing this.
Cheers, Shaun
keenan
Visit this Community
Indiana, United States
Joined: October 16, 2002
KitMaker: 5,272 posts
Armorama: 2,844 posts
Posted: Saturday, April 14, 2012 - 12:09 PM UTC
Repairs:
Grabbed some light green craft paint:

Then I dabbed the light green paint over the Easter egg colors.

Problem solved.

keenan
Visit this Community
Indiana, United States
Joined: October 16, 2002
KitMaker: 5,272 posts
Armorama: 2,844 posts
Posted: Saturday, April 14, 2012 - 12:29 PM UTC
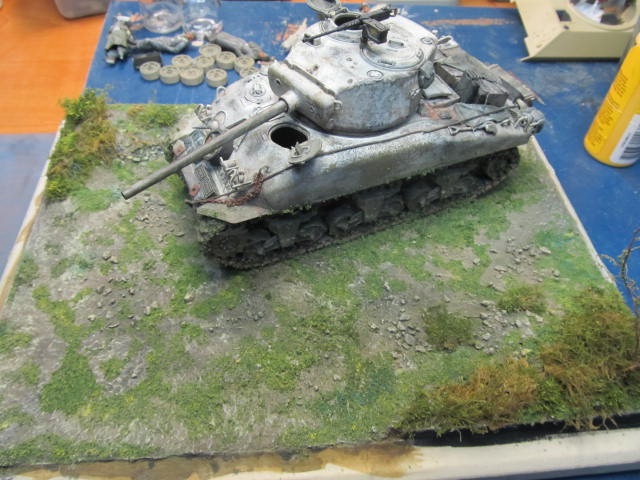
I have the Shermy glued down. It did not fit exactly where I put the track marks in the Celluclay.


Even if you aren't going to take your first diorama to a contest, you need to make sure your vehicles aren't "floating."
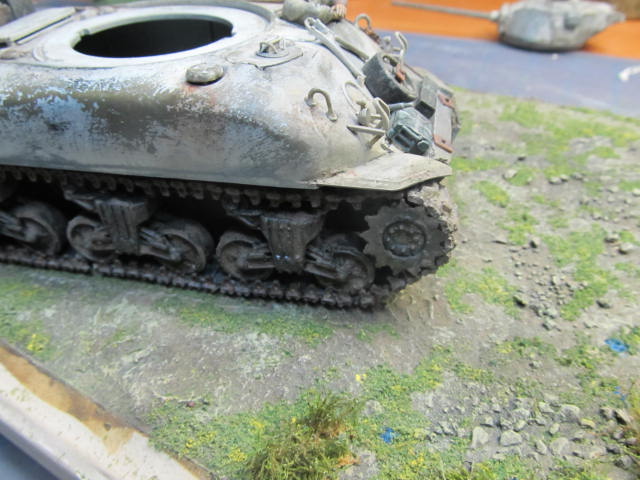
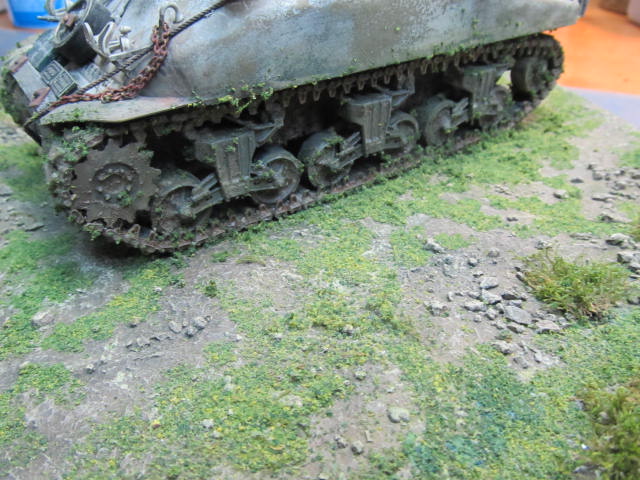
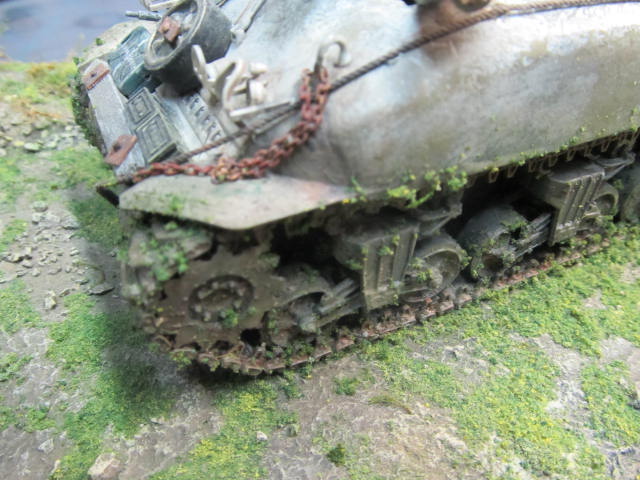
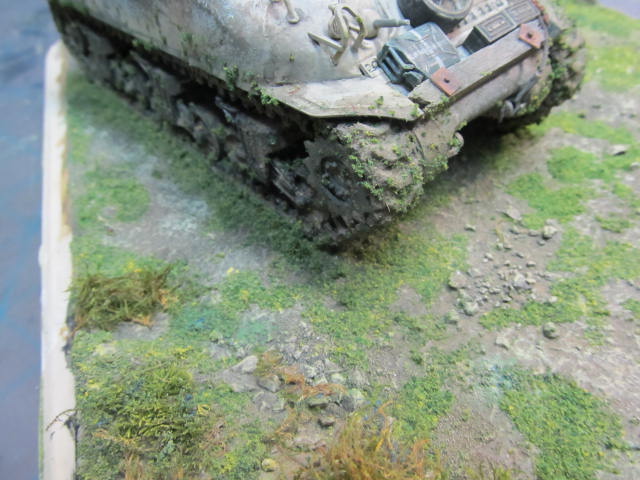
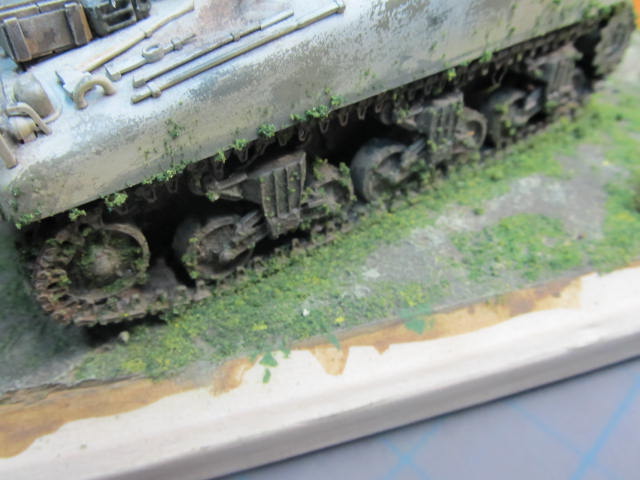
I usually take care of this by whipping up some more Celluclay and tucking it under the tracks and airbrushing it and throwing on some turf. Since I promised not to AB anything I used turf.


As long as you have the turf out, take some of the now famous white glue and water mixture and put some of the turf where a tank driving through spring grass would throw it.


The Shermy is planted. Figures need to be reviewed before we glue those down.

Again, questions and comments more than welcome.
Cheers,
Shaun
Darkowski
Visit this Community
Quebec, Canada
Joined: April 13, 2012
KitMaker: 20 posts
Armorama: 18 posts
Posted: Sunday, April 15, 2012 - 01:34 AM UTC
Hello mates!

This is my first post.
Found this thread by searching info on how to build dioramas as I'm in the process to build my first one.

Really amazing work Shaun - exactly the SBS that I needed to get me started!
May I tag along?

About the turf; do you know if you used fine turf or coarse turf or a mix of the two?

Darek
BBD468
Visit this Community
Texas, United States
Joined: March 08, 2010
KitMaker: 2,465 posts
Armorama: 2,383 posts
Posted: Sunday, April 15, 2012 - 06:38 AM UTC
Hi Shuan,

I have just started a base for my T-62 based on your SBS. Thanks man! I feel pretty confident about going forward. If i have an issue may i call upon your assistance?

Thanks,
Gary
keenan
Visit this Community
Indiana, United States
Joined: October 16, 2002
KitMaker: 5,272 posts
Armorama: 2,844 posts
Posted: Wednesday, April 18, 2012 - 03:49 AM UTC
@ Darek, fine. That stuff goes everywhere.
@ Gary, You bet!
Update forthcoming directly.
Shaun
Pops53
Visit this Community
United States
Joined: November 05, 2011
KitMaker: 100 posts
Armorama: 98 posts
Posted: Wednesday, April 18, 2012 - 06:49 AM UTC
I like the memorable quote from President Ford and I'm very much looking forward to all the "tips and tricks" you can lay on us. Count me in!
keenan
Visit this Community
Indiana, United States
Joined: October 16, 2002
KitMaker: 5,272 posts
Armorama: 2,844 posts
Posted: Wednesday, April 18, 2012 - 11:25 AM UTC
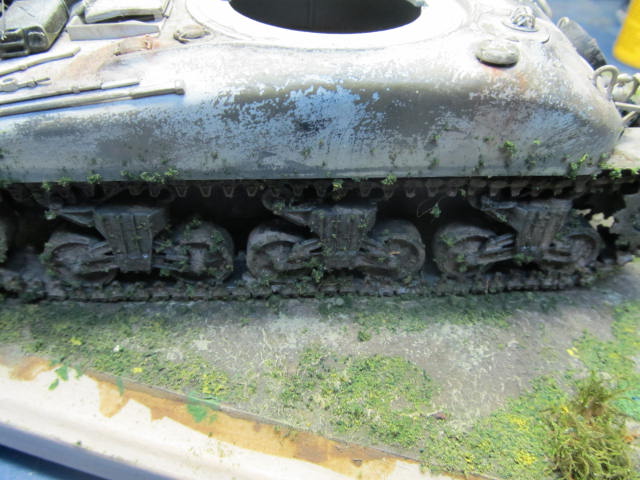
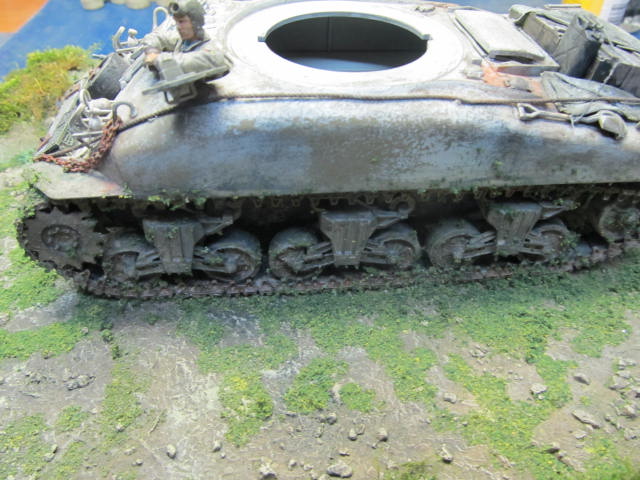
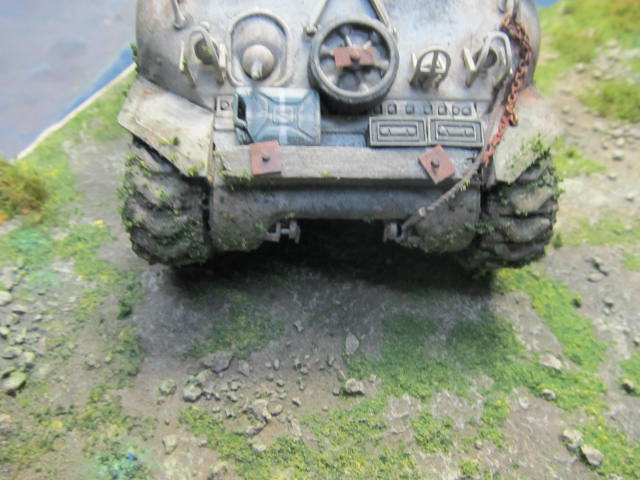
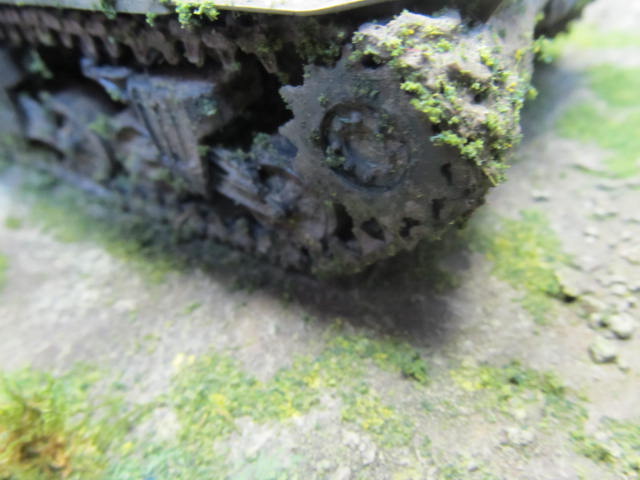
We are about two steps away from this thing being done. The vehicle is glued down and the ground work has been "tucked" in around it to make it looks like it drove in there. Some thinned white glue and water on the under carriage and some of the same fine turf we used everywhere does the trick:


So, now all we need are the figures.
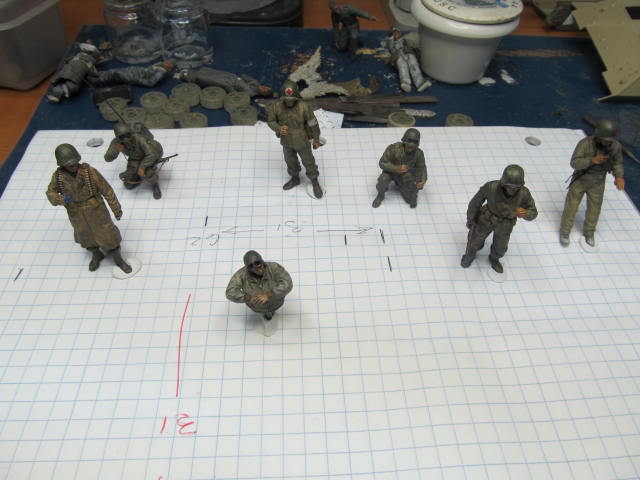
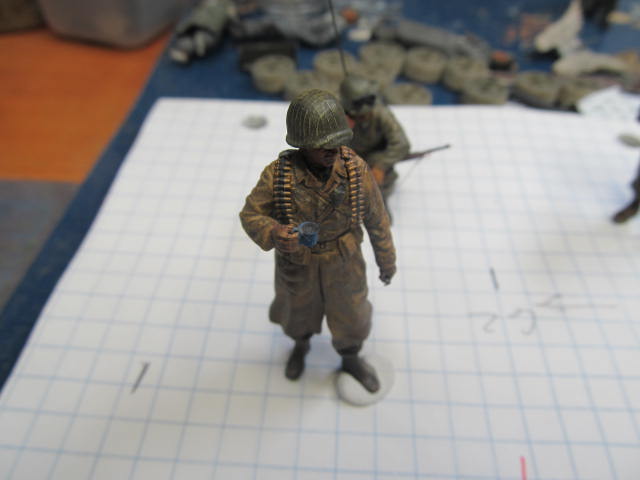
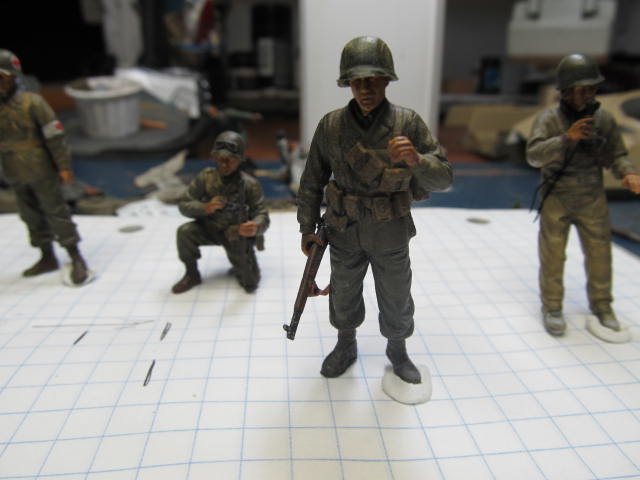
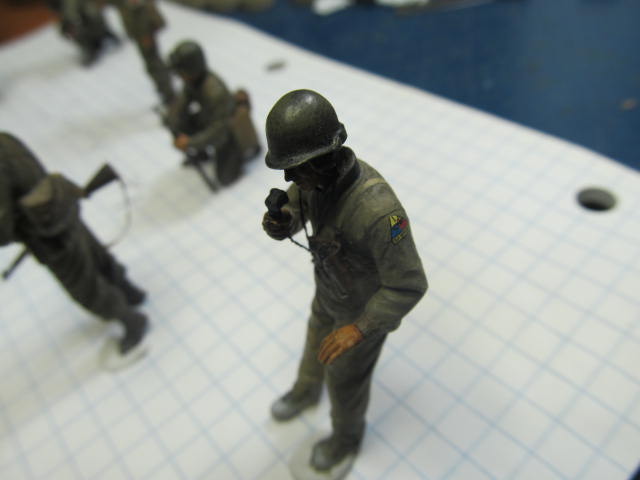
We need to make sure that the figures are ready before we place them on the base. This it what I do before I put them anywhere; Take the crew out of the vehicle and the ground troops and gather them up. Use silly putty and tooth picks to stand them up and look them over. Make any modifications you need to before you place them on the base.


If you look at the pictures I have a light mg gunner with no gun, goggles w/o straps, etc. I will make that right before I glue them down.

Rather big "chunk" of update.
Any questions will be happily answered.
Thanks for following along.
Shaun
camper66
Visit this Community
South Carolina, United States
Joined: August 09, 2010
KitMaker: 53 posts
Armorama: 36 posts
Posted: Wednesday, April 18, 2012 - 12:23 PM UTC
I would love to know how you paint the figures. Mine seem to always come out one dimensional. The blend of colors looks great.
panzerconor
Visit this Community
Massachusetts, United States
Joined: February 08, 2012
KitMaker: 1,271 posts
Armorama: 1,253 posts
Posted: Wednesday, April 18, 2012 - 12:37 PM UTC
My question is basically the same as Mr. Smith's. Your technique?
BBD468
Visit this Community
Texas, United States
Joined: March 08, 2010
KitMaker: 2,465 posts
Armorama: 2,383 posts
Posted: Thursday, April 19, 2012 - 04:40 AM UTC
Hi Shaun,

Q? - I apllied 2 coats of clear satin on my base and let it dry 2 days. i sanded and apllied the Cell-u-clay and white glue mix and added some cat litter and dirt. Once dry my base board has warped. It Warped upward in the middle. what did I do wrong? Is there anything i can do to make it settle back down some? thanks.

Gary
asmodeuss
Visit this Community
Quebec, Canada
Joined: November 19, 2011
KitMaker: 1,389 posts
Armorama: 1,388 posts
Posted: Thursday, April 19, 2012 - 09:39 AM UTC
If you have not sealed the back of th plank, do it. It will lessen the warp. That is the first thing you need to do with any plank of wood prior to any type of finish. The other possibility is that it wasn't dry enough and you exposed it to some kind of heat that have dryied it. Sorry again mate should have told you this at the begining.

Phil.
keenan
Visit this Community
Indiana, United States
Joined: October 16, 2002
KitMaker: 5,272 posts
Armorama: 2,844 posts
Posted: Friday, April 20, 2012 - 09:19 AM UTC
@Gary: Don't know if you can undo the warp or not. I never sand mine after I put the clear coat on. You probably broke the seal between the wood and the Celluclay and the base soaked up water. The warp may get better as the wood dries. Sorry you had the issue. I will update my "base basics" post.
@Tyler and Conor: My figures sort of suck. They are good enough for dioramas but I am no match for the real figure painters. Maybe I can talk one of the figure guys into doing a SBS.

Thanks for following along everyone.
Shaun
Tanksami
Visit this Community
Victoria, Australia
Joined: August 06, 2011
KitMaker: 1,314 posts
Armorama: 1,217 posts
Posted: Friday, April 20, 2012 - 10:28 AM UTC
Hi Shaun,

Great looking work & really informative

@ Gary I always put 2-3 thick coats of varnish / ploy on my bases & never sand them. Just a differnet idea I also you plaster bandage on my bases over the top of polystrene shapes

Cheers Mike
zontar
Visit this Community
Hawaii, United States
Joined: August 27, 2006
KitMaker: 1,646 posts
Armorama: 1,557 posts
Posted: Friday, April 20, 2012 - 10:30 AM UTC
Gary: you might be able to get the warp out by putting the base on top of a couple layers of plywood and using a screw or two to suck the warped area down onto the plywood. For the plywood, I think at least 3/4" thick, 1 1/8 even better (but not as attainable), and orient the face grain perpendicular between the pieces. Also, be careful of your screw length. It will need to be long enough to catch the base, but not so long that it comes out the top. No guarantees, but it might work. Also of concern is the possibility that the celluclay cracks as the base is un-warped. HTH.

Shaun: I disagree with your assessement of your figures. I think many of us would be satisfied to have figures that are "good enough for dios", and not necessarily prize winning figures. Any process or tips you have would be helpful.

Happy Modeling, -zon
keenan
Visit this Community
Indiana, United States
Joined: October 16, 2002
KitMaker: 5,272 posts
Armorama: 2,844 posts
Posted: Saturday, April 21, 2012 - 06:05 AM UTC
Thanks for the compliments about the figures everyone. I paint them with the same cheap craft paint everything else with.
I think will do a basic acrylic figure painting SBS or feature after I get done with this one.

You guys are amazing. I cannot believe I have gotten almost 13K views. It is such a pleasure being able to help out new folks learn to do something I have loved doing for 30 years.

Figure update tomorrow. We need to get those guys ready to get glued down.

Thanks again,
Shaun