I've been making progress on my build. Here is a quick report.
Tascas instructions begin with track assembly. These are rubber band-style tracks. The tracks come in four pieces, two for each side. The quality of the tracks look good and the connecting points look like they will be well-hidden. However, I opted to delay this step as Ive heard some reports that the tracks are a little too long and nothing is pressing me to get them done now.

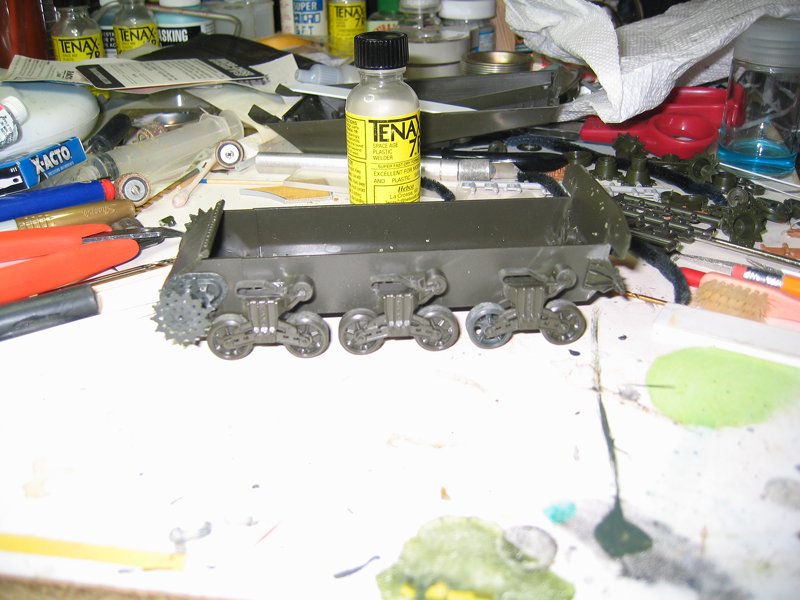
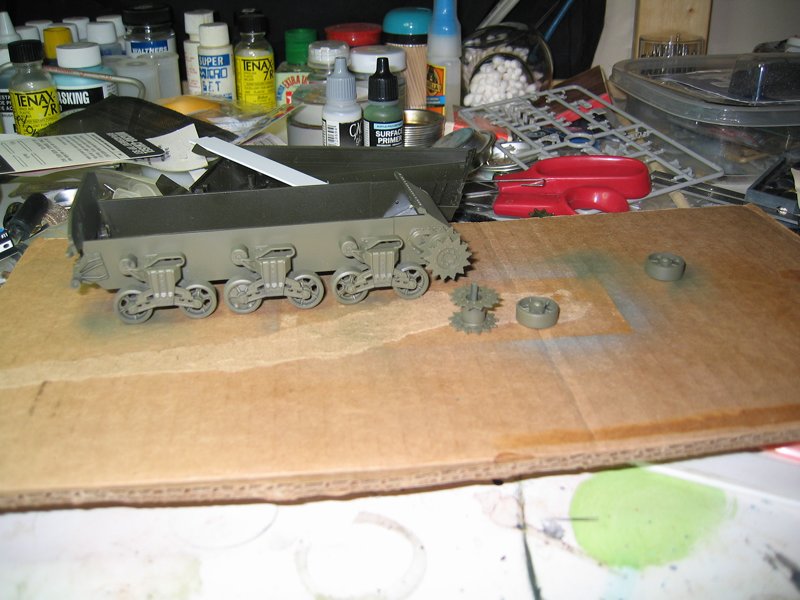
Now, my attention turned to the lower hull. Rather than provide a molded tub, Tasca provides eight flat pieces which need to be carefully assembled to create the lower hull. Fortunately, the parts fit together very well and the instructions provide a suggested order of assembly which greatly eases construction, keeping everything square. While the glue was still wet, I placed (not cemented) the upper hull to the lower hull to ensure proper fit.
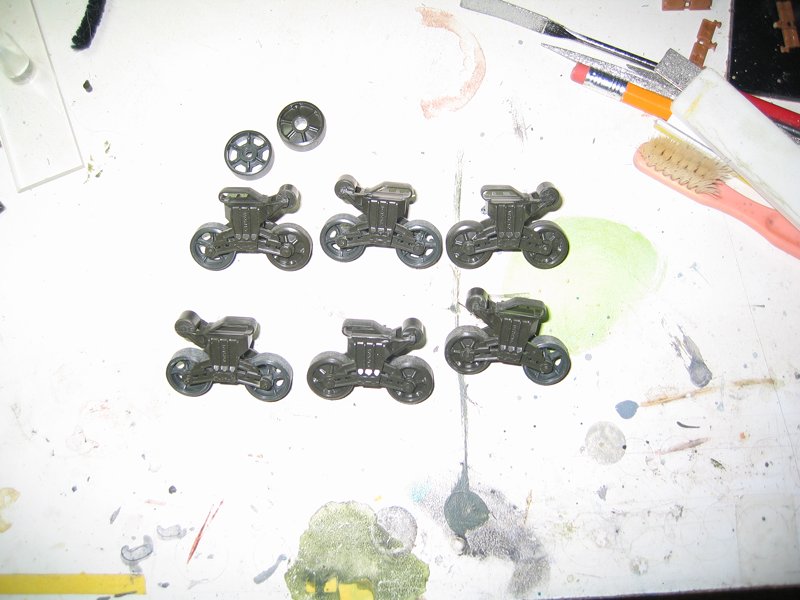
When the cement cured, it was time to detail the lower hull. This meant adding air cleaners (Tasca provides two options), engine doors, axles for the idler wheels, and various tow hooks and lifting rings.

The early M4A1s used a three-piece transmission cover. Like the Dragon kit, the Tascas transmission cover is one piece with groves to mount the riveted lips that connect the three pieces together in real life. However, Tasca each lip is made of two pieces, each with rivets on one face.
One lip has a locating pin that attaches to the transmission cover. I decided to mount this piece, then with the cement still wet marry the second piece to its counterpart and the transmission cover.

In my next post, Ill cover construction of the upper hull and turret as we drive towards final assembly.