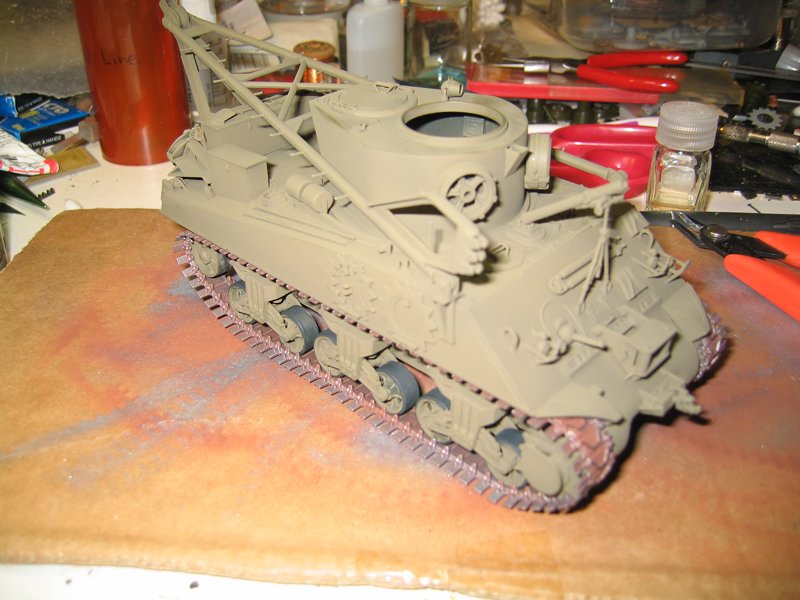
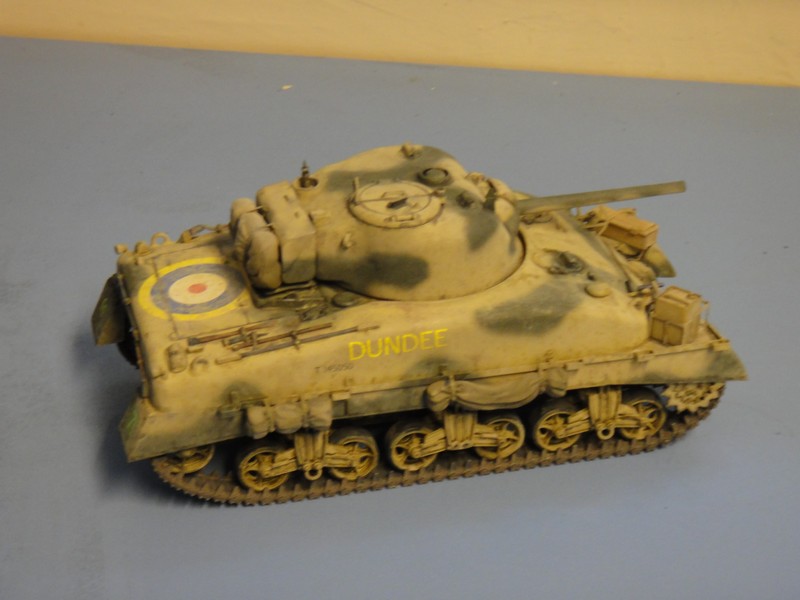
Like many U.S. Army Shermans, this tanks paint job is simply olive drab. To add variation to the one-color paint scheme, I decided to try a three-layer method first described by Doogs over at Doogs Models and further promoted by Jon B at The Combat Workshop. Here is how this technique was applied to this Sherman:
I started by priming the model with Vallejo Surface Primer Black. While my photos show the hull, it shoud be noted that everything was painted with black primer but only the hull, turret and main gun would get the three-layer method applied.

Next, I sprayed white on surfaces which I wanted to highlight. I primarily emphasized the upper surfaces. I used Vallejo Model Color White and ran into a problem with paint splatter. It turns out that the tip of my airbrush needle had gotten bent. When I replaced it, the brush started shooting normally again. Still, when I first saw the splatter, I freaked out but then I realized that it helped emphasize the cast texture of the hull and the turret.

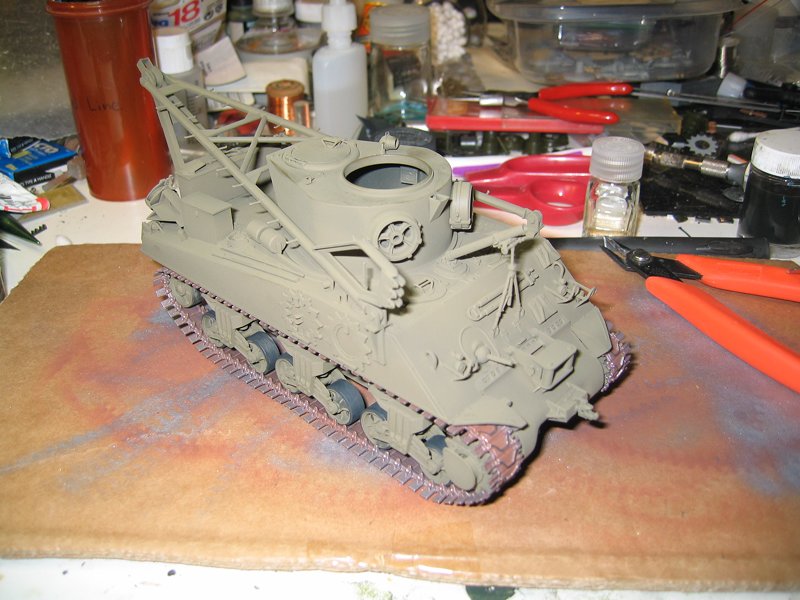
Next, I applied several highly-thinned layers of Vallejo Model Color U.S. Olive Drab. I was a little disappointed with the end result. I did not get the tonal variation that I was looking for and the color itself was much darker than I was expecting.

Rather than strip the model and try again, I decided to provide apply additional tonal variation by airbrushing a lighter color on the horizontal surfaces. Here, I used Vallejo Model Color Brown Violet. Whereas I used a 4:1 thinner to paint ratio for the olive drab, I used an 10:1 ratio for the brown violet. I applied a few coats, each pass covered a little smaller area than the previous. I was effectively building up layers like you do when using acrylics on figures.

The photos still look a bit dark but in real life, Im very happy with the results.
With that behind me, I turned my attention to the turret. The Dixie Belle wore a yellow stripe, along with a yellow star and yellow company identification markings on the turret. Tasca provides decals for the stars and markings but asks you to paint the stripe.
For this stripe, I cut a ~3mm wide piece of tape and carefully wrapped it around the turret where I wanted the stripe to be.

Then, I took 6mm tape and butted it against the 3mm stripe. Once in place, I pulled off the 3mm tape and burnished the wide pieces. Then, I blocked off certain areas of the stripe where decals would be applied.

I wrapped wide blue tape around the 6mm tape to protect exposed areas of the turret. Then, I sprayed Vallejo Model Color Flat Yellow and removed the tape.

I was surprised by the amount of bleeding that I had. Tamiya tape has proved an effective masking tape for me, which is what I used; however, I think I thinned the yellow did come out of the gun runnier than I expected. So, I wont blame the tape.
Nevertheless, Ive simply pulled out the 3mm tape that I used for the stripe, carefully reapplied it over the yellow tape and airbrushed the problem areas with thinned olive drab. The results were very good:

(Yes, there is still a small spot of yellow on the gun mantle but it will be covered by the gun shield once installed.)
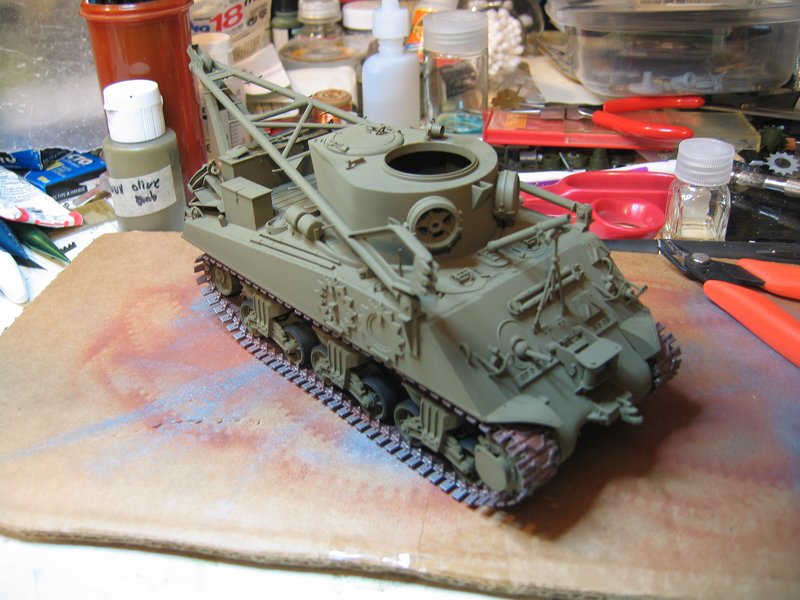
Now, its on to final assembly where Ill paint the accessories, add some decals and bring all the pieces together!


 new work schedule and such.


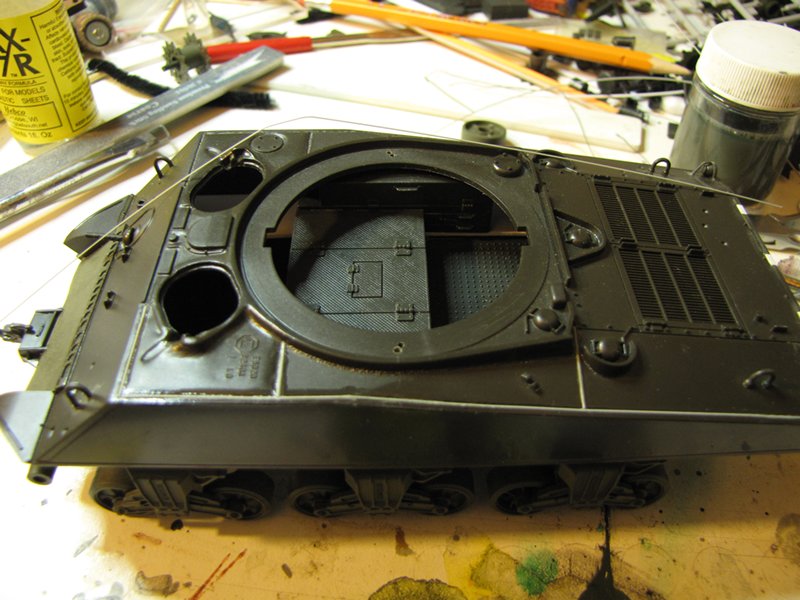
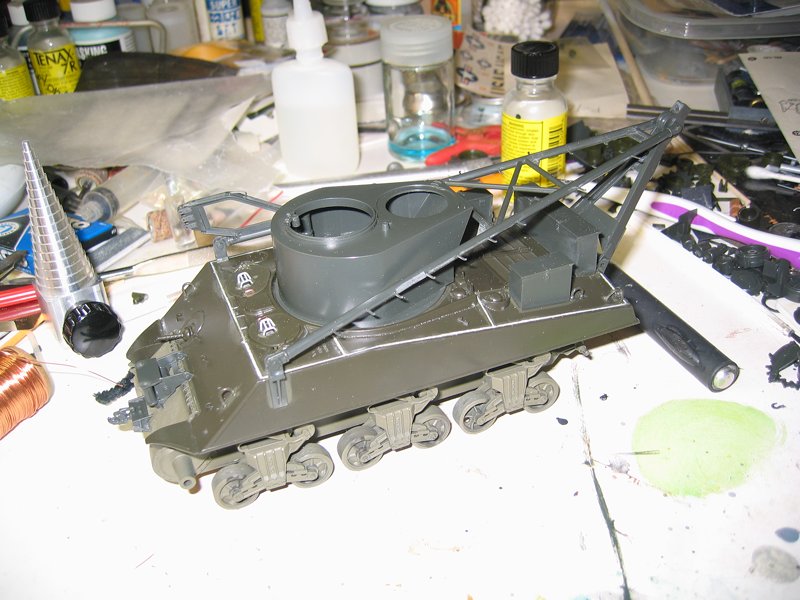
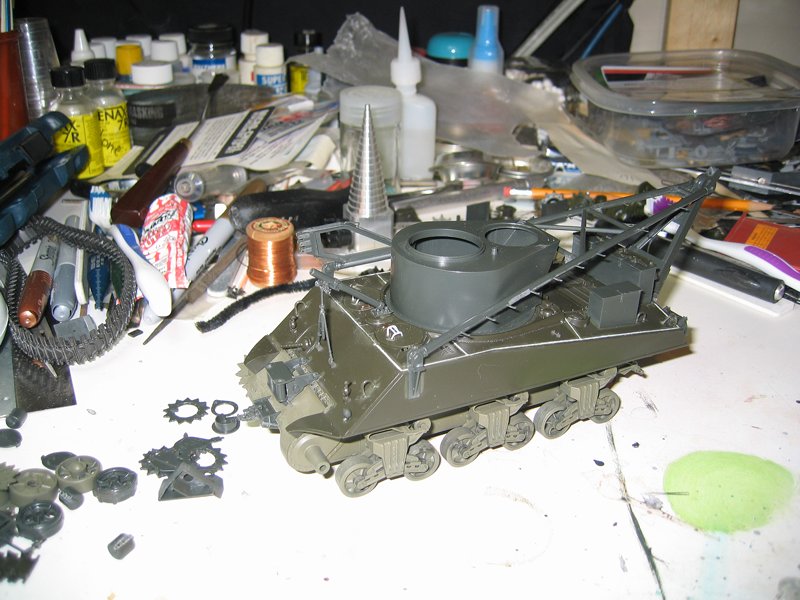
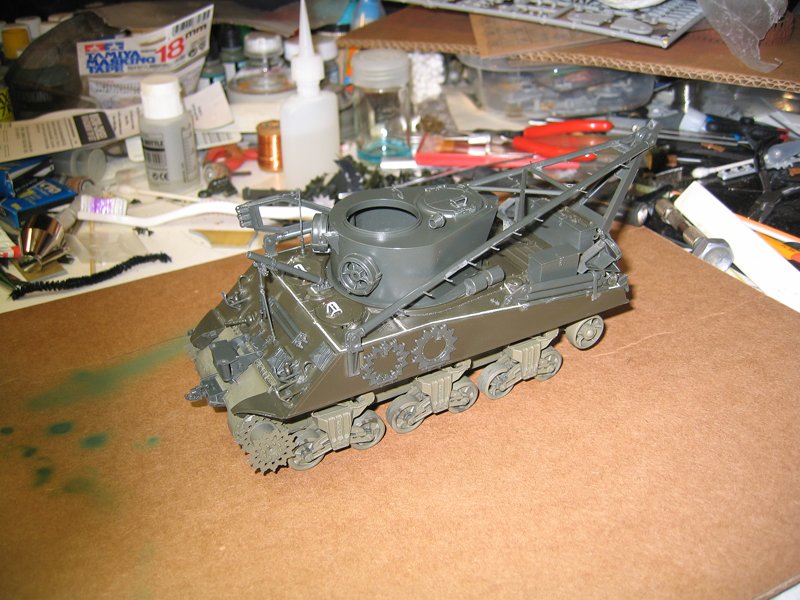
 then some grab handles were made some guards thinned and some from the spares box added,there was still a fair amount of parts cleaning left and a few holes that needed drilling but I think I can add pait in the morning before I go to work.