


In order to break a bit the weathering routine I've gotten myself in, I started a new project for diversity's sake.
This is Cyber Hobby's Orange Box Pz.III Ausf.G from North Africa. In order to spice up a bit the work on all stages, I decided to go for a battle damaged tank. The time frame is Operation Crusader from Nov./Dec. 1941. The goal is to depict a Pz.III damaged during the British offensive which nevertheless got patched up by the crew and is limping slowly back home. As Crusader was primarily a German retreat, many of the crews fought defensive/delaying actions with their belongings strapped in to the tanks (unlike offensive operations when the bulk of the external loads was left behind at the staging areas).
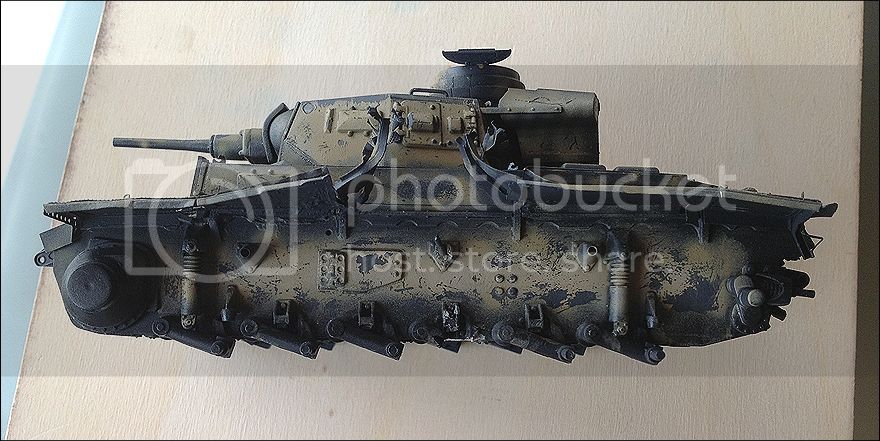
The damage inflicted is primarily on the left side of the suspension and fender. It is to represent the result of an anti-tank mine detonation under the tracks (or, perhaps, medium-caliber shell explosion in a very near miss -- still wondering what back story to have in my head
 ).
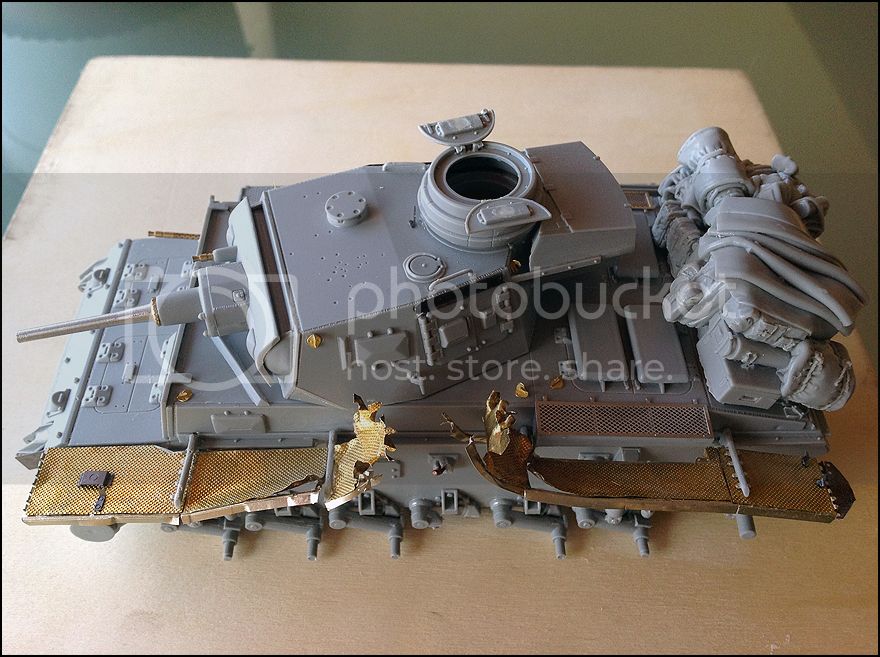
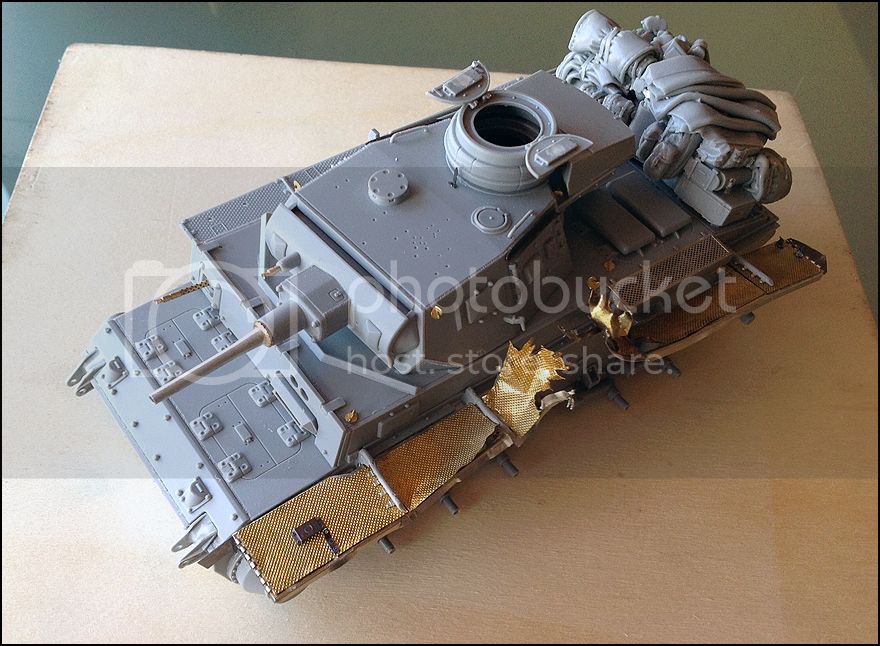
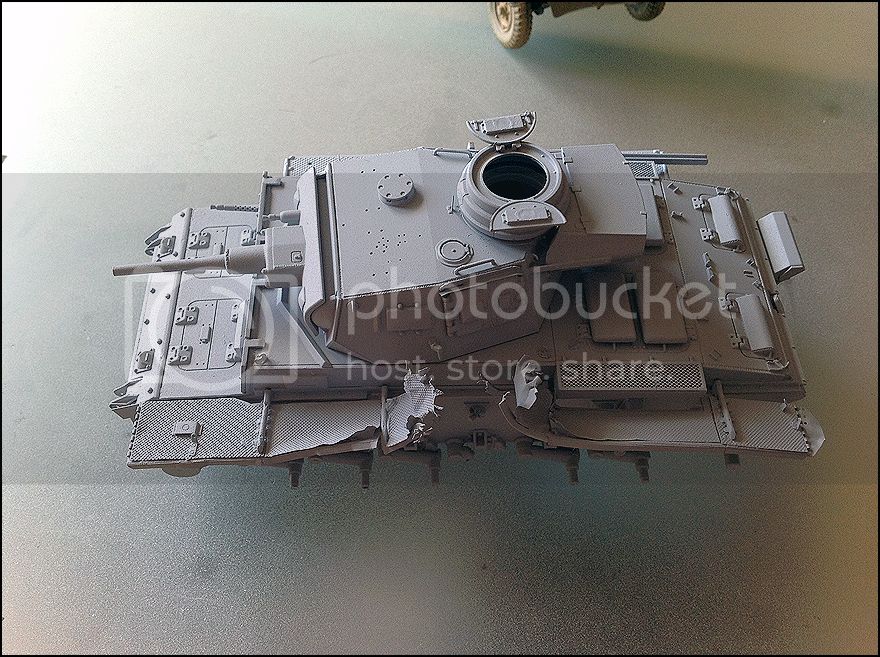
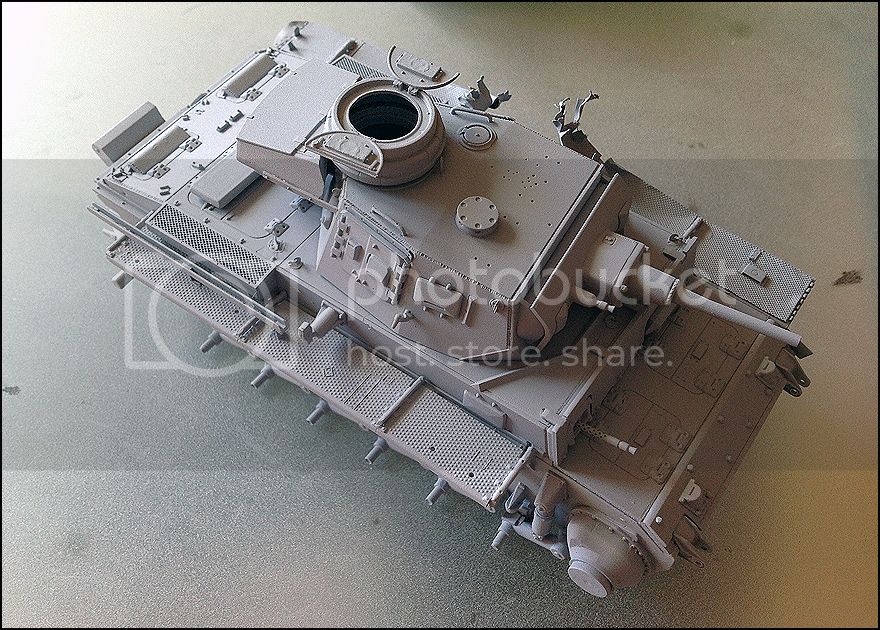
).I started the basic assembly of the model. Besides the kit itself, I used 50-mm KwK L/42 metal barrel, turret MG metal barrel, and hull MG barrel from RB (I'll also use an antenna rod from RB). I used some of Eduard's photo etch for the needed areas -- with the exception of the lifting hooks. I am very happy with Part's German lifting hook two-piece set, and prefer these over Eduard's. For the damaged fender, I used a mix of Aber and Elephant: Aber for the framing, and Elephant for the plates. The damage to the fender was done by much cutting, bending, and twisting in the corresponding directions as to indicate clearly the velocity of the explosion blast (used a few reference images to get all the twisting right -- or so I hope
 ). Finally, I'll use some assorted pieces of external storage stuff as well as the big bulk of resin at the back which is from Black Dog's Pz.III set.
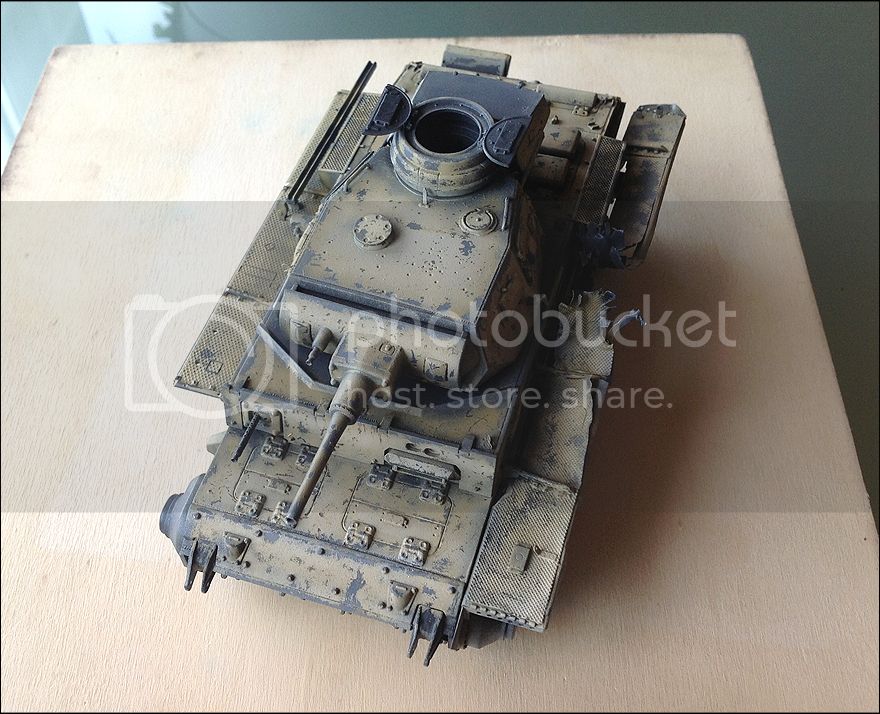
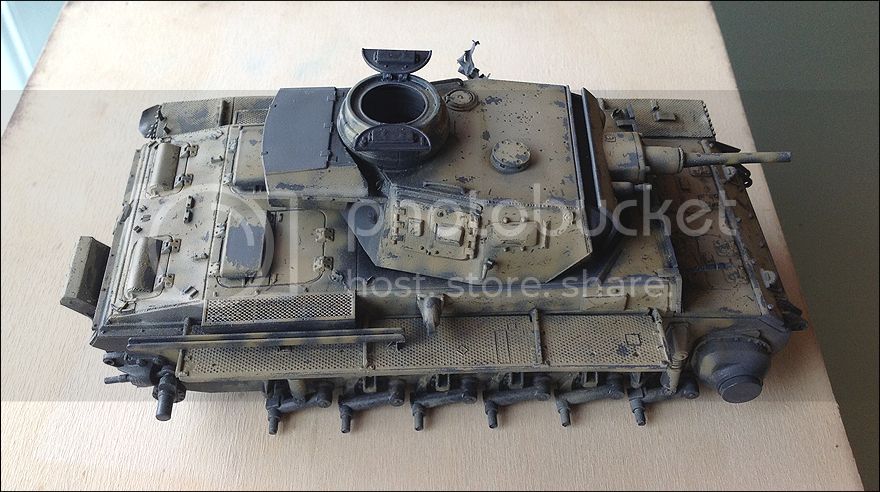
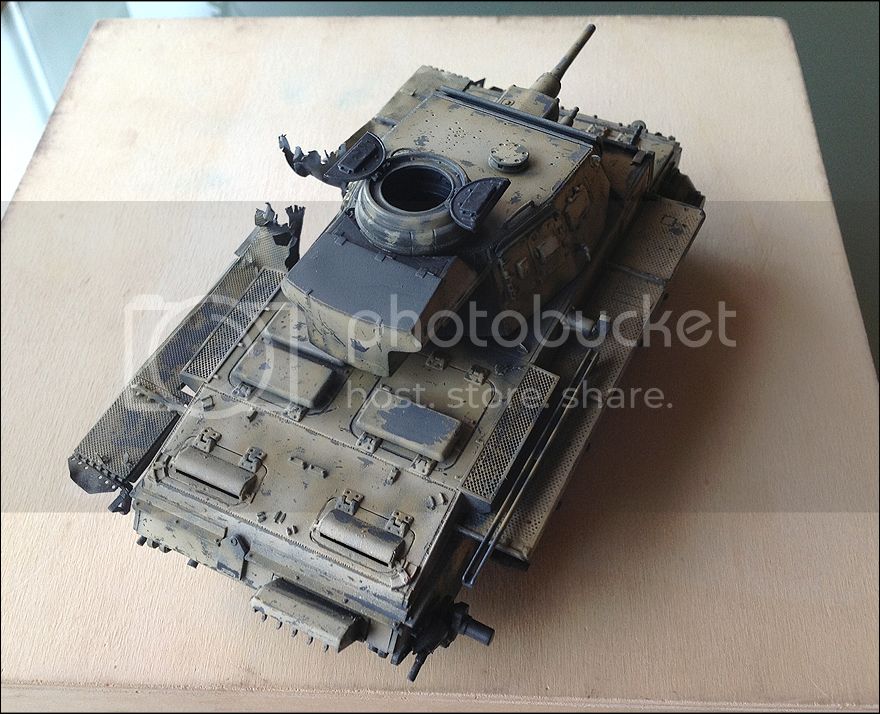
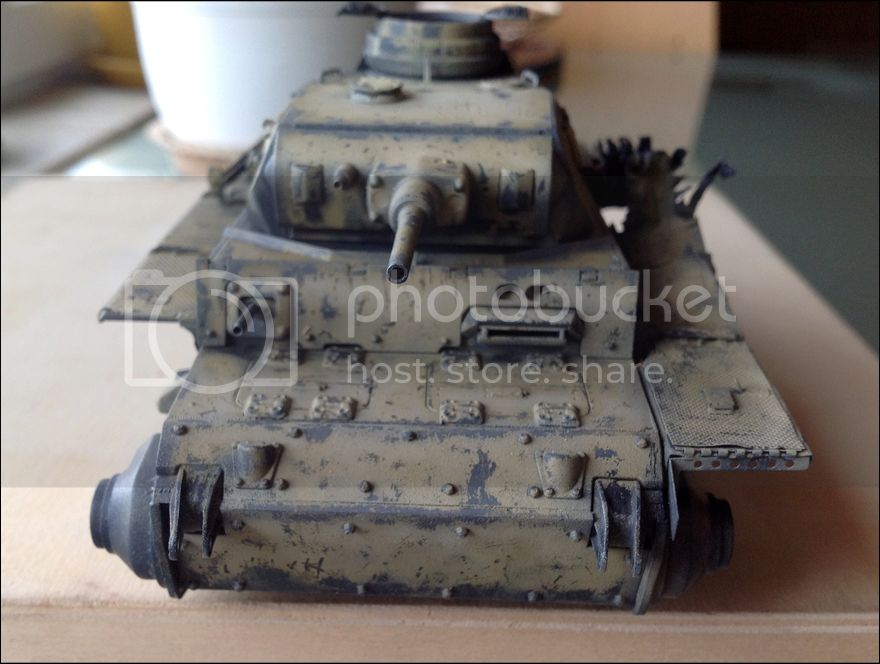
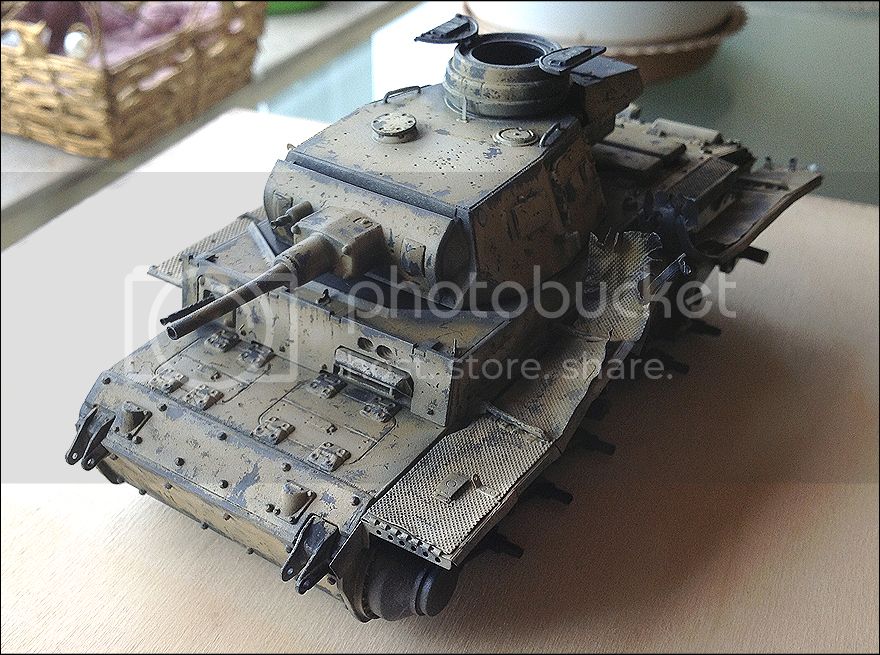
Here are a few pictures of the initial assembly:


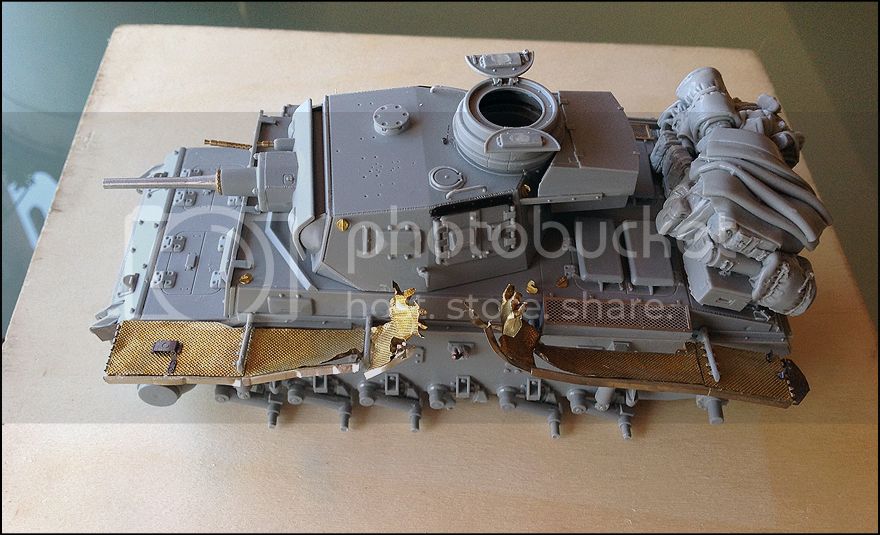

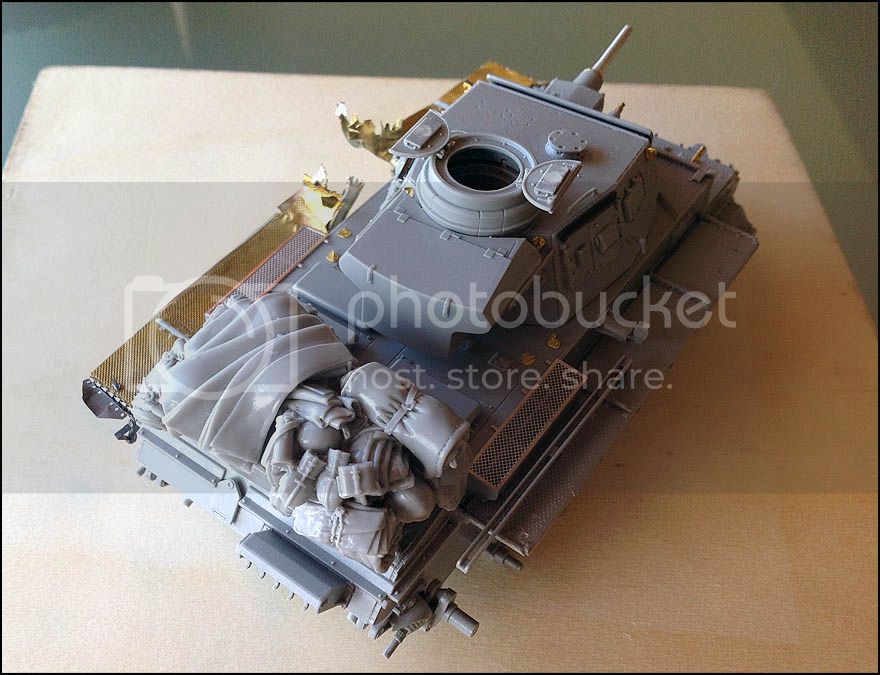


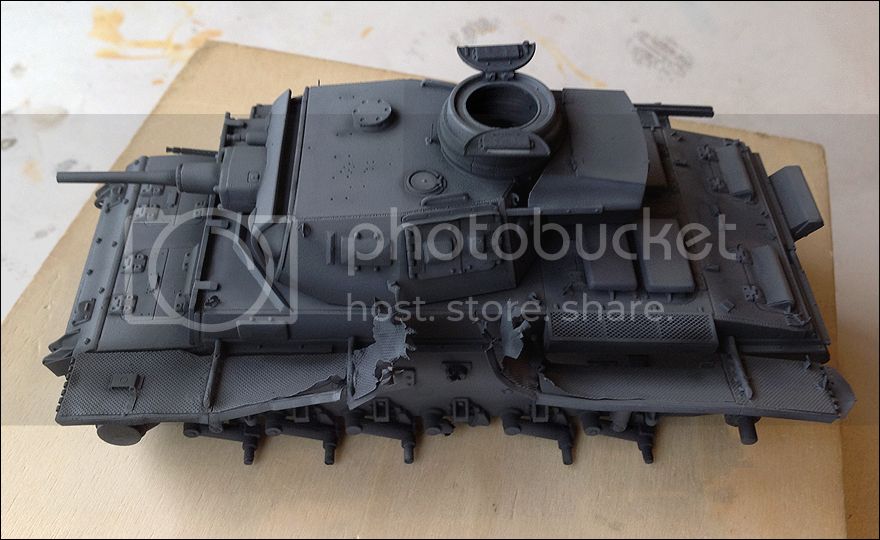
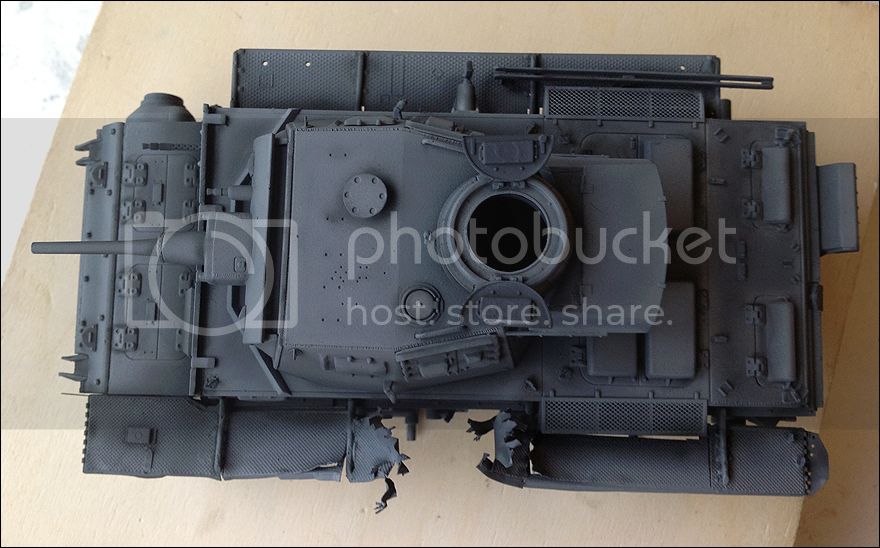
Then, I sprayed the whole model with Gunze's Mr. Surfacer 500 to homogenize the look and make the assembly errors to pop out in order to do some additional sanding/filling wherever needed. This is the current stage of the project:

Will keep you updated on the progress as it goes.
Thank you very much for your time and any comments you may have!
Ivan


