Figures
Military figures of all shapes and sizes.
GI gun crew 1944
jrutman
Visit this Community
Pennsylvania, United States
Joined: April 10, 2011
KitMaker: 7,941 posts
Armorama: 7,934 posts
Posted: Monday, September 02, 2013 - 08:41 AM UTC
You will recall this:


It now looks like this:
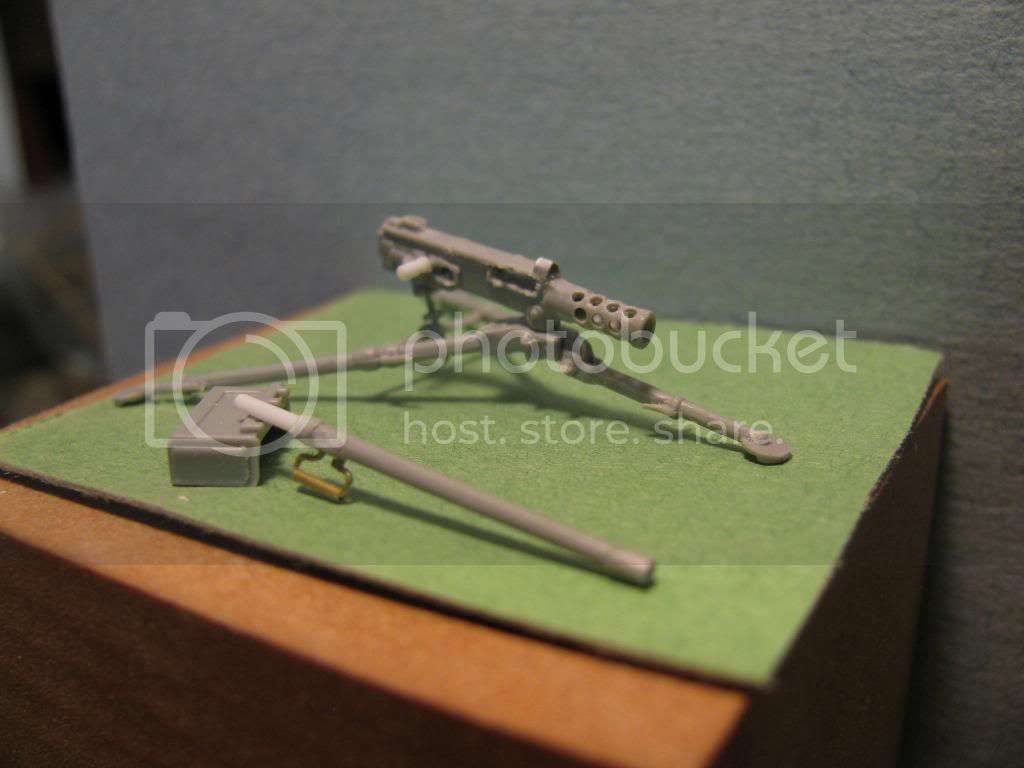

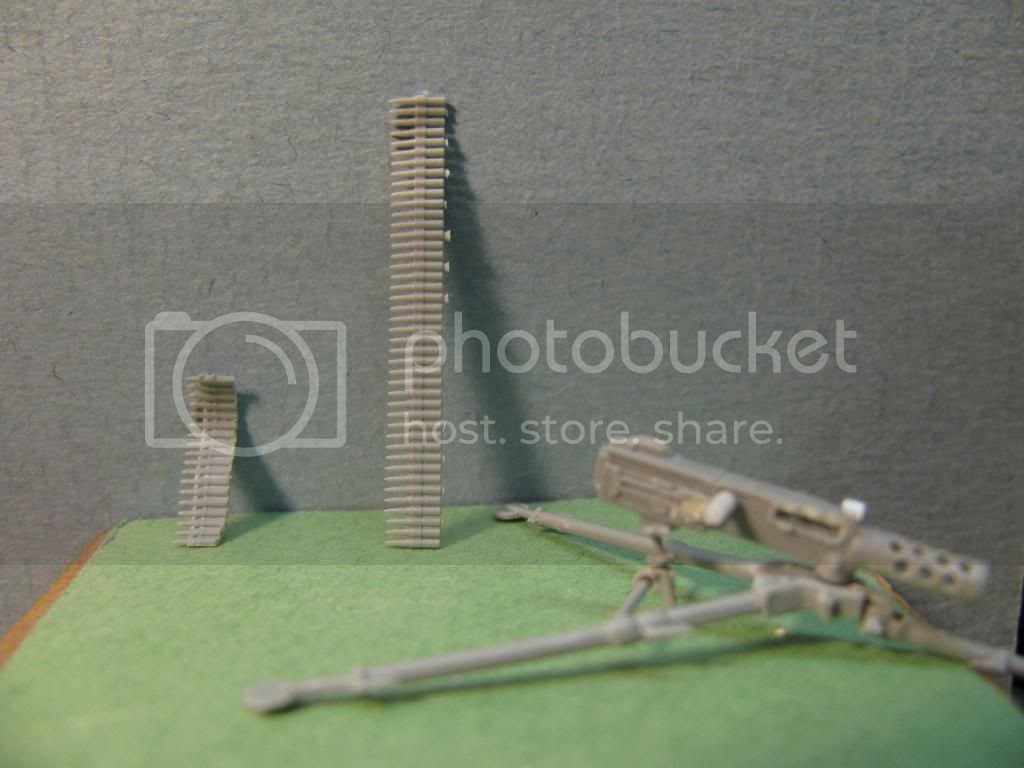
I cleaned up and undercut the mount and T&E. Opened up the pass through for the ammo belt,drilled out the barrel extension and then the cooling holes on its' sides. Put a metal guard for the front sight,made a bolt retractor handle and cut the lines where the feed tray goes. I have to clean up the ejector slot on the side as well as the retractor slide hole as I got a little too ambitious when opening them up. I also drilled out the end of the barrel and made a barrel changing handle from brass rod and tube. The barrel will fit right into the barrel extension now. It's not as nice as the K59 or Live Resin versions but it looks fair for a poor mans' solution. Or at least I think so,
I just realized by looking at these pix that I didn't correct the retracting handle and its' slide. The handle should be all the way forward as the gun is firing!! Back to the drawing board.
J
panzerconor
Visit this Community
Massachusetts, United States
Joined: February 08, 2012
KitMaker: 1,271 posts
Armorama: 1,253 posts
Posted: Monday, September 02, 2013 - 12:50 PM UTC
Wow. You always manage to take figures and accessories and what not that already look okay and make them a work of art. Awesome stuff, sir.

-Conor
jrutman
Visit this Community
Pennsylvania, United States
Joined: April 10, 2011
KitMaker: 7,941 posts
Armorama: 7,934 posts
Posted: Tuesday, September 03, 2013 - 01:58 AM UTC

Quoted Text

Wow. You always manage to take figures and accessories and what not that already look okay and make them a work of art. Awesome stuff, sir.

-Conor


Thanks Conor,
I enjoy doing that a lot more than buying a new shake and bake model and just assembling it and then painting.
Old habits never die,
J
jrutman
Visit this Community
Pennsylvania, United States
Joined: April 10, 2011
KitMaker: 7,941 posts
Armorama: 7,934 posts
Posted: Tuesday, September 03, 2013 - 04:22 AM UTC
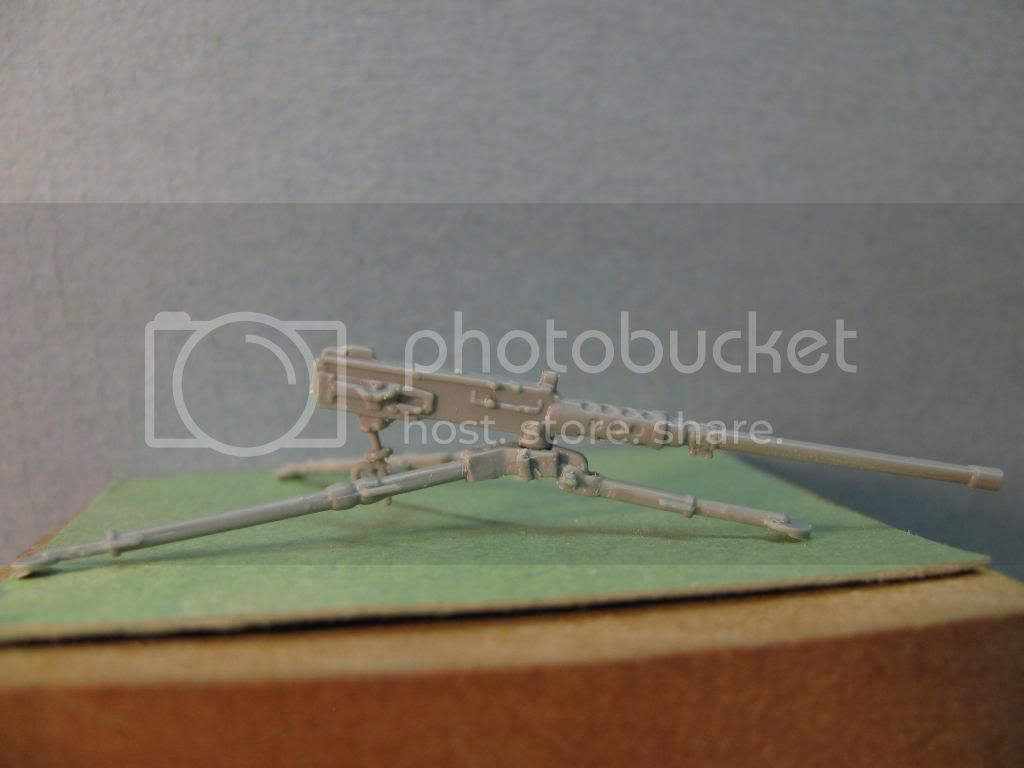
I touched up my issues with the 50cal reciever and here you can see the kits' ammo belt on the left and a belt from Dragons' P-51D kit on the right. The P-51 belt is worlds better IMHO.


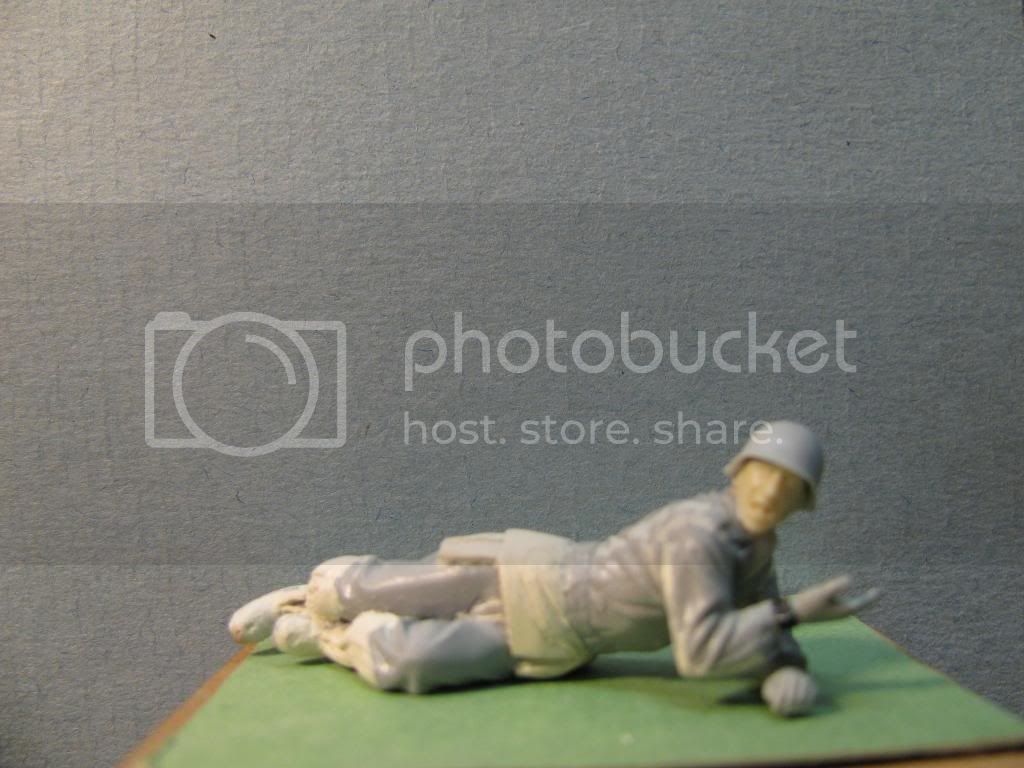
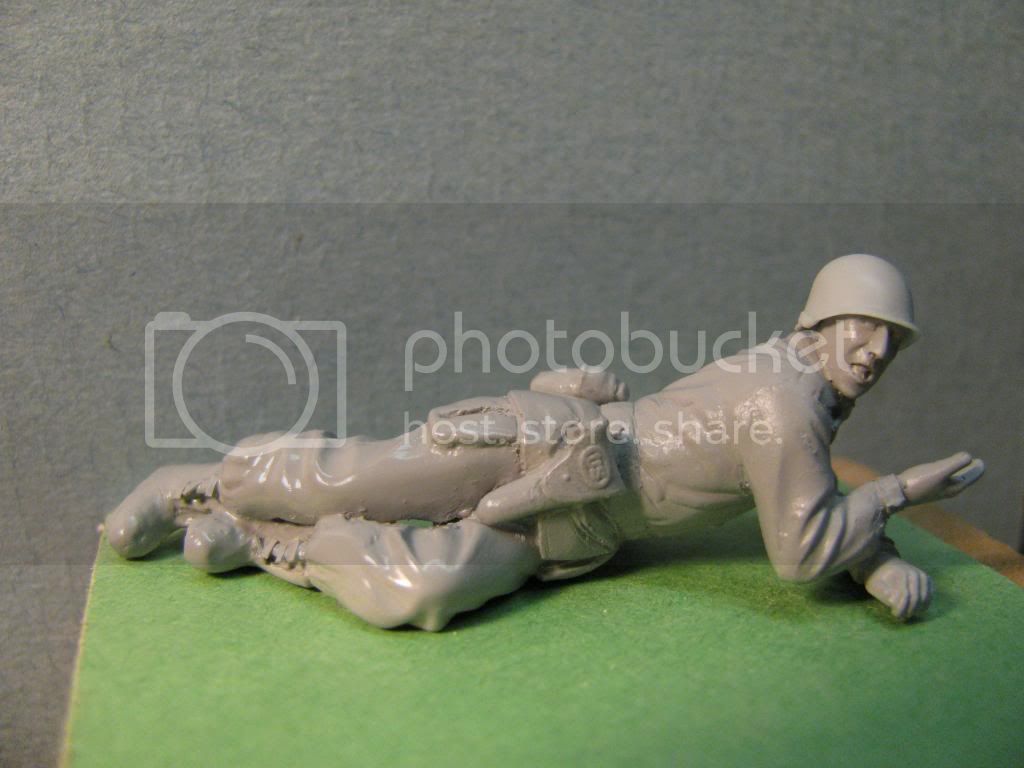
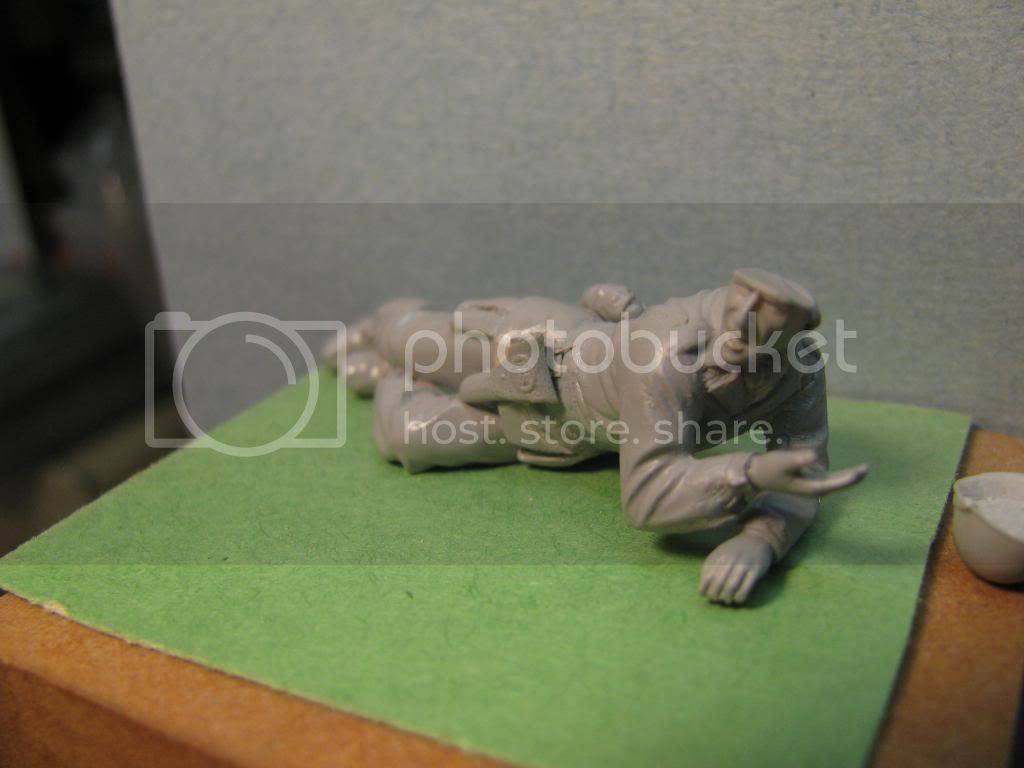
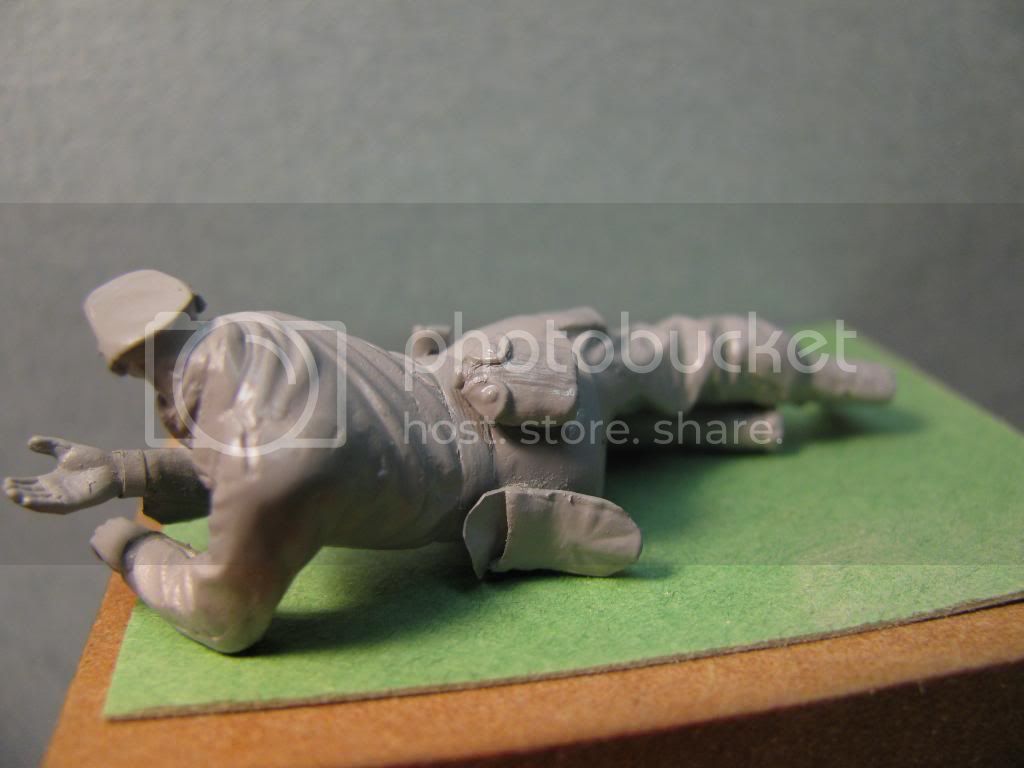
The asst gunner is born. I have started to convert his uniform to the 1943 OD version and have decided to give him some opened rubber overshoes. The Abn divisions were re equipped with new uniforms when they were withdrawn to England after their Normandy combat. The khaki jump suits that they previously had been issued were deemed too light in color for night ops,and for European terrain in general, still lots to do.


This guy has a Warriers head from a german dude and an Alpine helmet. I gave him a nice scarf as well. Can't see it,crappy pic. I can't seem to get good close-ups any more.
J

J
jrutman
Visit this Community
Pennsylvania, United States
Joined: April 10, 2011
KitMaker: 7,941 posts
Armorama: 7,934 posts
Posted: Wednesday, September 04, 2013 - 09:02 AM UTC
More done on the asst gunner. made the buckle flat parts for his overshoes and snuggled down his gear,pistol,canteen,etc.


If you look closely you can see the wire hanger for the holster where it hooks on to the pistol belt


Emptied out his e-tool carrier by adding a flap from lead foil. I see now I forgot the snap stud on the lower part though. It's always nice to see these huge enlargements to find stuff that was missed first go around.
Haven't done American dudes in a great while so how am I doing?


J
panzerconor
Visit this Community
Massachusetts, United States
Joined: February 08, 2012
KitMaker: 1,271 posts
Armorama: 1,253 posts
Posted: Wednesday, September 04, 2013 - 10:24 AM UTC
All looks great my friend. This may be a silly or obvious question, but where do you get lead foil from? It seems to work wonders. And you're GI's look just as great as your Germans, just with different helmets of course

-Conor
jrutman
Visit this Community
Pennsylvania, United States
Joined: April 10, 2011
KitMaker: 7,941 posts
Armorama: 7,934 posts
Posted: Wednesday, September 04, 2013 - 11:12 AM UTC

Quoted Text

All looks great my friend. This may be a silly or obvious question, but where do you get lead foil from? It seems to work wonders. And you're GI's look just as great as your Germans, just with different helmets of course

-Conor


Several armor aftermarket guys sell different thicknesses of foil or if you are cheap like me,I use the foil from the tops of higher grade wine bottles. Come to think of it,I am not really saving any money that way,am I?
J
SdAufKla
Visit this Community
South Carolina, United States
Joined: May 07, 2010
KitMaker: 2,238 posts
Armorama: 2,158 posts
Posted: Wednesday, September 04, 2013 - 12:16 PM UTC
Looking good, Jerry!

I like that e-tool carrier detail. I saw a great picture the other day of a GI stuffing K-rations into his like it was just another great big belt pouch.

Hey, don't forget to adjust the head space and timing when you put that barrel back on yer Ma Duce!

Keep your feet and knees together...
jrutman
Visit this Community
Pennsylvania, United States
Joined: April 10, 2011
KitMaker: 7,941 posts
Armorama: 7,934 posts
Posted: Wednesday, September 04, 2013 - 12:56 PM UTC

Quoted Text

Looking good, Jerry!

I like that e-tool carrier detail. I saw a great picture the other day of a GI stuffing K-rations into his like it was just another great big belt pouch.

Hey, don't forget to adjust the head space and timing when you put that barrel back on yer Ma Duce!

Keep your feet and knees together...


Heeheehee. I was actually thinking about making a set of gauges to hang from his pocket button but didn't think anyone would get it if I went to the trouble.
But if the CSM is lookin,then maybe so!!
Thanks buddy.
J
jrutman
Visit this Community
Pennsylvania, United States
Joined: April 10, 2011
KitMaker: 7,941 posts
Armorama: 7,934 posts
Posted: Friday, September 06, 2013 - 08:58 AM UTC
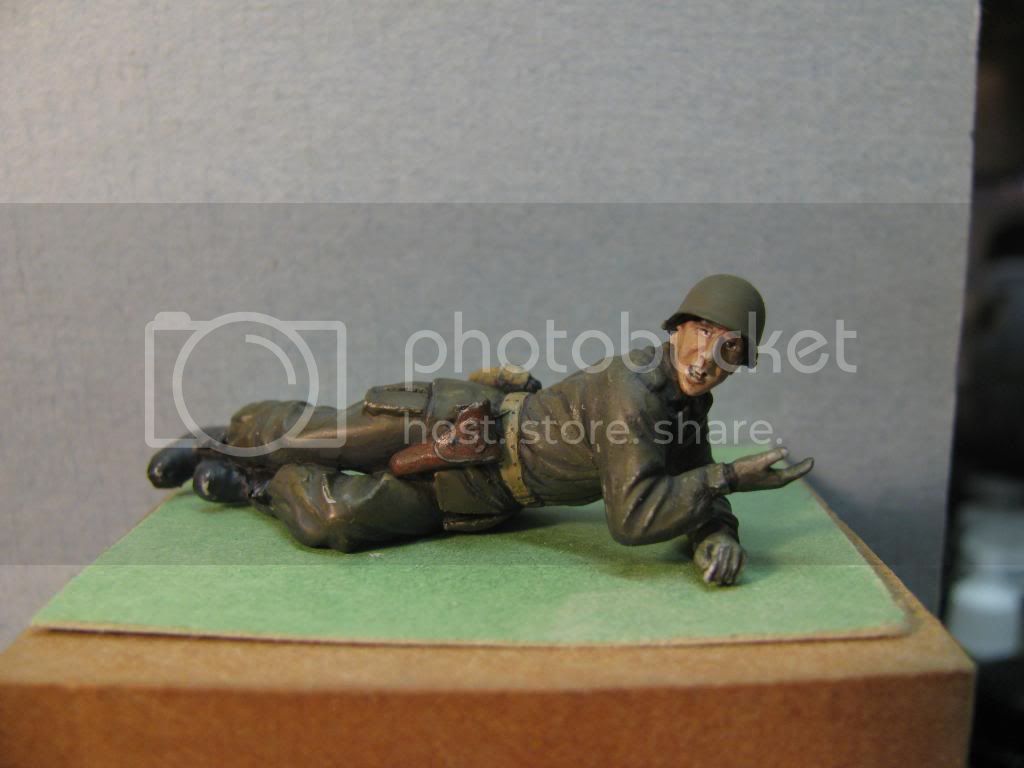
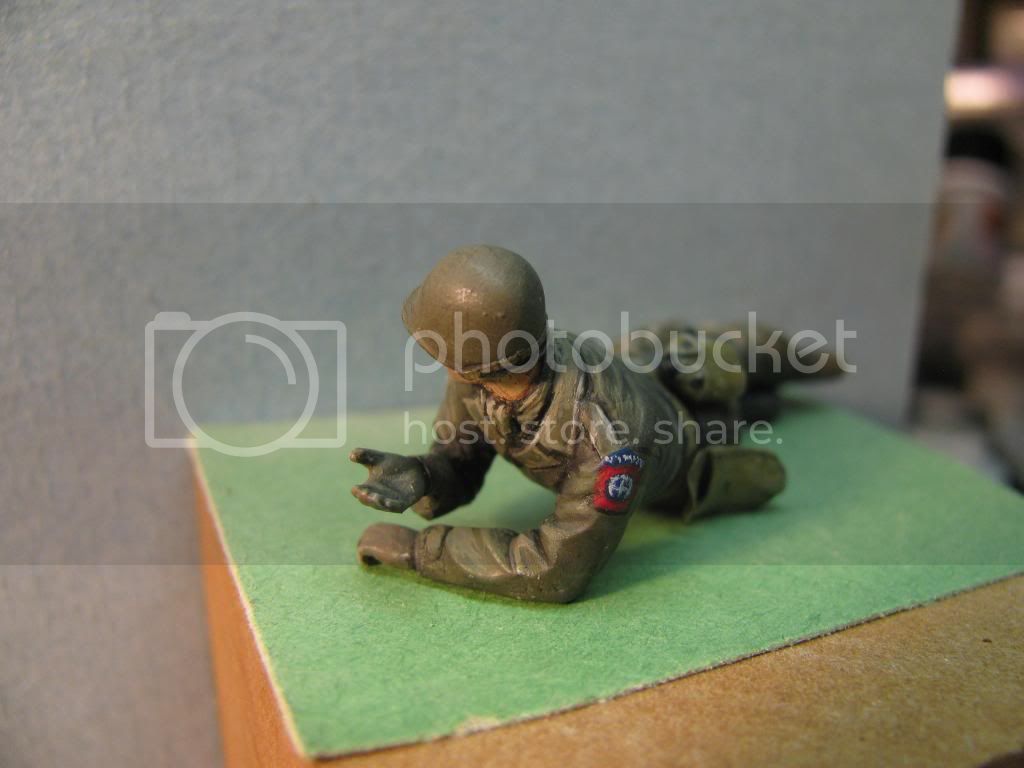
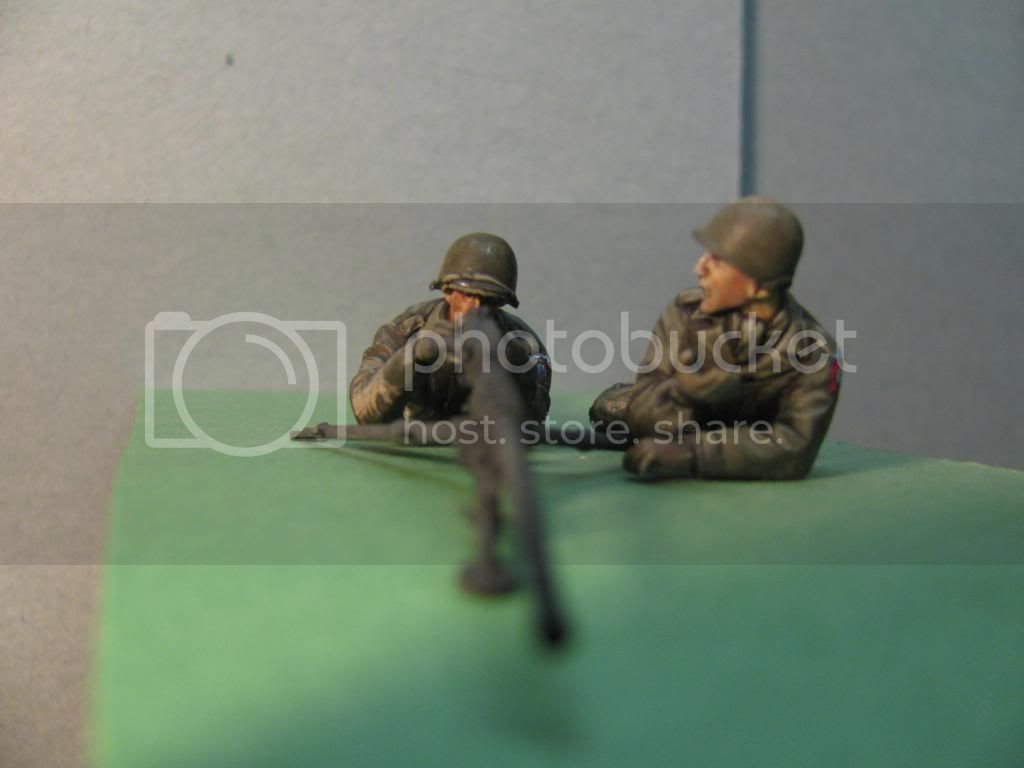
Got a little painting done. This guy is the furthest along so I thought I'd put him on the board and check for errors. There are still a lot of layers left to do but I am happy with the basic colors. More shading around the eyes maybe.
jrutman
Visit this Community
Pennsylvania, United States
Joined: April 10, 2011
KitMaker: 7,941 posts
Armorama: 7,934 posts
Posted: Saturday, September 07, 2013 - 02:23 PM UTC
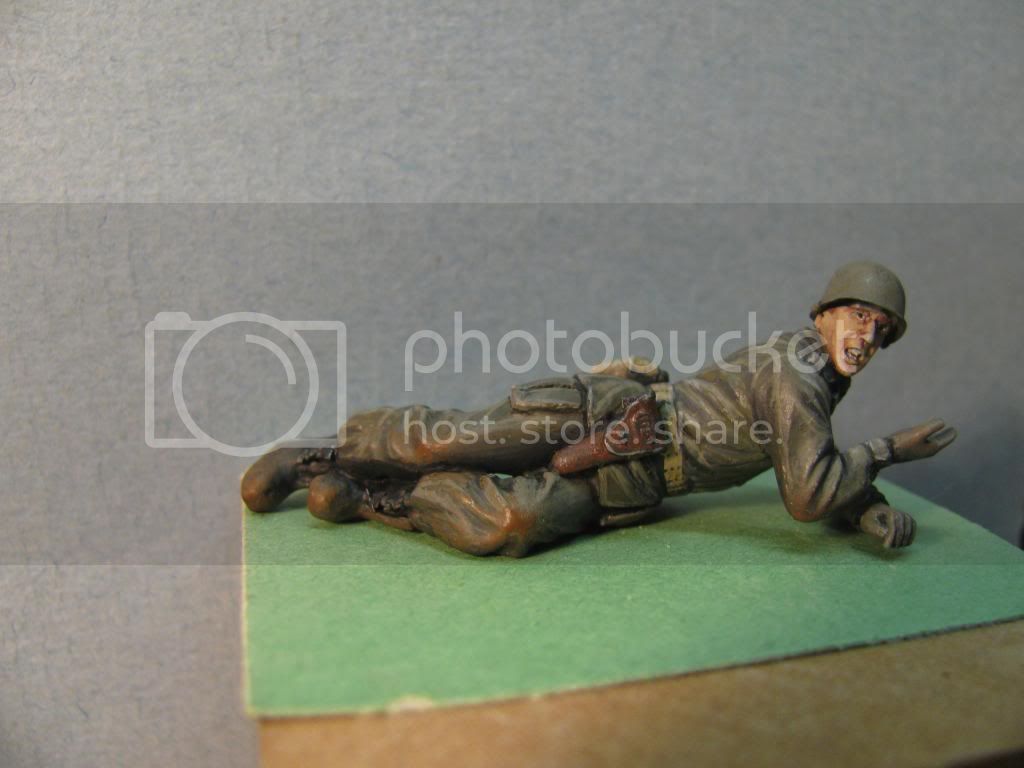
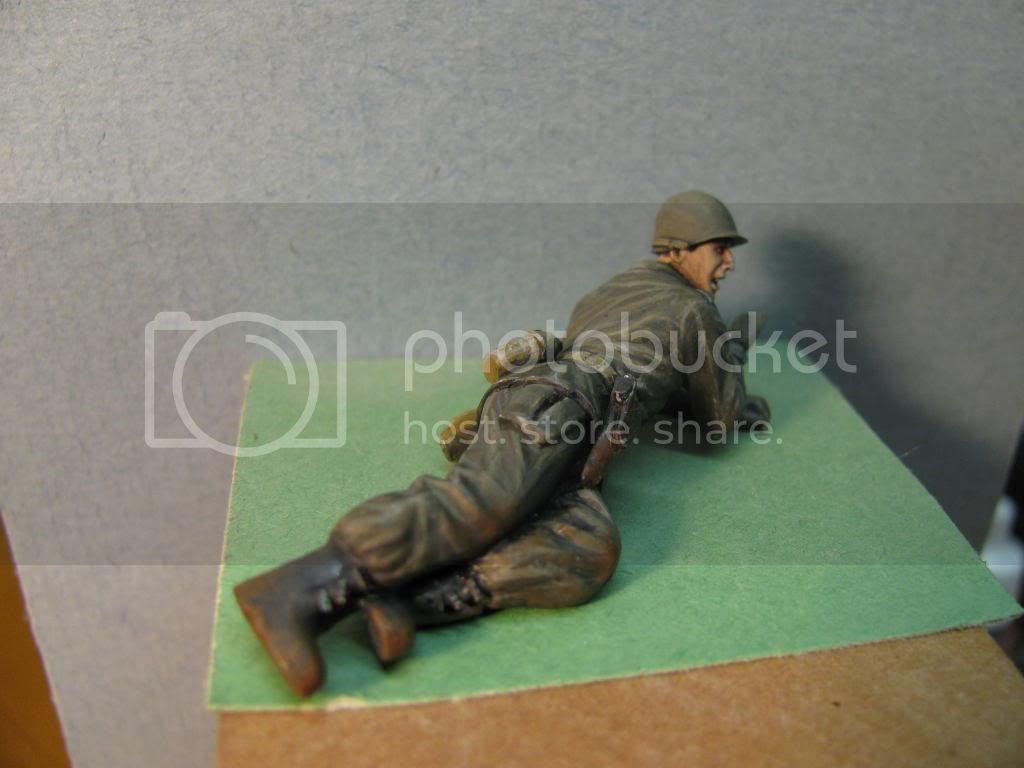
Got some more layers of paint on the asst gunner. He is almost there.


I still cringe when I see the huge magnification but it still helps me find mistakes.
J
1stjaeger
Visit this Community
Wien, Austria
Joined: May 20, 2011
KitMaker: 1,744 posts
Armorama: 1,727 posts
Posted: Saturday, September 07, 2013 - 09:51 PM UTC
Superb, just superb!!

I started to look at this thread..and couldn't stop until the end!

Jumping out of planes (and being a jumpmaster) turns you into a more meticulous person, doesn't it! You understand that carelessness does not give you a second chance!

Your attention to detail is thus remarkable!! Most of us would certainly have forgotten the retracting handle thing f.ex.!!

You have a real talent for figures (but not only ) and this clearly helps you to convey your plans and ideas.

If I may I would just suggest you create a little more "variety" in your ODs.
Jacket and trousers, gloves, helmet (and the chin strap), scarf, all the elements look a bit alike (or maybe it's just the photos!!??).
They might benefit from slight tone variations (working on my HUE dio I am constantly painting Marines and their gear ), what do you think???

No SS-camo patterns here to bring colour in!

And I can see the shattered tree stump and the slight ditch behind the crest from here..!!! Go Jerry go!!!


I am so glad I went into "figures" instead of "dioramas" for once!! I might have missed this...and it would have been a real pity!!

Great job as always!!

Kudos m8!!

Cheers

Romain


SdAufKla
Visit this Community
South Carolina, United States
Joined: May 07, 2010
KitMaker: 2,238 posts
Armorama: 2,158 posts
Posted: Saturday, September 07, 2013 - 10:24 PM UTC
Jerry,

I love this guy!

The pose is about as perfect as it could get - very natural and "weighty." I'm really looking forward to seeing the rest of the scene coming together.
jrutman
Visit this Community
Pennsylvania, United States
Joined: April 10, 2011
KitMaker: 7,941 posts
Armorama: 7,934 posts
Posted: Sunday, September 08, 2013 - 02:47 AM UTC

Quoted Text

Superb, just superb!!

I started to look at this thread..and couldn't stop until the end!

Jumping out of planes (and being a jumpmaster) turns you into a more meticulous person, doesn't it! You understand that carelessness does not give you a second chance!

Your attention to detail is thus remarkable!! Most of us would certainly have forgotten the retracting handle thing f.ex.!!

You have a real talent for figures (but not only ) and this clearly helps you to convey your plans and ideas.

If I may I would just suggest you create a little more "variety" in your ODs.
Jacket and trousers, gloves, helmet (and the chin strap), scarf, all the elements look a bit alike (or maybe it's just the photos!!??).
They might benefit from slight tone variations (working on my HUE dio I am constantly painting Marines and their gear ), what do you think???

No SS-camo patterns here to bring colour in!

And I can see the shattered tree stump and the slight ditch behind the crest from here..!!! Go Jerry go!!!


I am so glad I went into "figures" instead of "dioramas" for once!! I might have missed this...and it would have been a real pity!!

Great job as always!!

Kudos m8!!

Cheers

Romain


Thanks again for the uber kind words my good buddy.
I got the idea to fix the 50cal a little bit then I saw the great article on the armor forum covering all the major versions of the 50cal in 1/35 kit form. So I went a little further but almost did miss the incorrect position of the charging handle. Believe me,this is a heavy duty weapon. It has to be charged twice before firing and it is hard to do from a prone position. You can't be weak,for sure. The retraction spring is very stout and when compressed it will really push the bolt back home so there is no way it would be"half cocked" unless there was a radical stoppage inside the reciever. Having sais all that,I didn't have the money or time to get a M59 version in resin. This is supposed to be a short fun build so I can feel like I accomplished something as my zack zack dio is dragging on and on.
I hear what you say about the monotone of the uniform items. I had considered what to do about it and then realized the 82nd was in reserve before this action and actually staying in warm dry barracks. I think most of their gear was pretty new at this point and they also had a lot of"new guys".
Maybe I will give the variation theme a go for the "older" squad leader(in this war he may have been as old as 22!)
Thanks again for valuable advice my friend.
How did I do with the conversion,rubber boots and unit patch ?
J
jrutman
Visit this Community
Pennsylvania, United States
Joined: April 10, 2011
KitMaker: 7,941 posts
Armorama: 7,934 posts
Posted: Sunday, September 08, 2013 - 02:54 AM UTC

Quoted Text

Jerry,

I love this guy!

The pose is about as perfect as it could get - very natural and "weighty." I'm really looking forward to seeing the rest of the scene coming together.


Thanks Mike,
That has become a thing of mine lately,the gear hanging thing. I always noticed the difference in real pics of the guys at the front and how it never looked like the scale figs. Recent resin figs are of course,way better now but I still like to make my own as it gives you a lot more flexibility.
And yes,I think these guys would love to leave that tripod in place if they had to do a "relief".
I saw a pic last week of a ground pounder squad carrying a 50cal and the gunner was a giant stout guy and was carrying the receiver with barrel attached!!
I have a pic of me in Germany holding the same thing and looking non chelont. Of course after the pic was taken I put that thing down right quick!
Thanks for keeping with this thread buddy,
J
jrutman
Visit this Community
Pennsylvania, United States
Joined: April 10, 2011
KitMaker: 7,941 posts
Armorama: 7,934 posts
Posted: Sunday, September 08, 2013 - 02:55 AM UTC

Quoted Text

Superb, just superb!!

I started to look at this thread..and couldn't stop until the end!

Jumping out of planes (and being a jumpmaster) turns you into a more meticulous person, doesn't it! You understand that carelessness does not give you a second chance!

Your attention to detail is thus remarkable!! Most of us would certainly have forgotten the retracting handle thing f.ex.!!

You have a real talent for figures (but not only ) and this clearly helps you to convey your plans and ideas.

If I may I would just suggest you create a little more "variety" in your ODs.
Jacket and trousers, gloves, helmet (and the chin strap), scarf, all the elements look a bit alike (or maybe it's just the photos!!??).
They might benefit from slight tone variations (working on my HUE dio I am constantly painting Marines and their gear ), what do you think???

No SS-camo patterns here to bring colour in!

And I can see the shattered tree stump and the slight ditch behind the crest from here..!!! Go Jerry go!!!


I am so glad I went into "figures" instead of "dioramas" for once!! I might have missed this...and it would have been a real pity!!

Great job as always!!

Kudos m8!!

Cheers

Romain


Thanks again for the uber kind words my good buddy.
I got the idea to fix the 50cal a little bit then I saw the great article on the armor forum covering all the major versions of the 50cal in 1/35 kit form. So I went a little further but almost did miss the incorrect position of the charging handle. Believe me,this is a heavy duty weapon. It has to be charged twice before firing and it is hard to do from a prone position. You can't be weak,for sure. The retraction spring is very stout and when compressed it will really push the bolt back home so there is no way it would be"half cocked" unless there was a radical stoppage inside the reciever. Having sais all that,I didn't have the money or time to get a M59 version in resin. This is supposed to be a short fun build so I can feel like I accomplished something as my zack zack dio is dragging on and on.
I hear what you say about the monotone of the uniform items. I had considered what to do about it and then realized the 82nd was in reserve before this action and actually staying in warm dry barracks. I think most of their gear was pretty new at this point and they also had a lot of"new guys".
Maybe I will give the variation theme a go for the "older" squad leader(in this war he may have been as old as 22!)
Thanks again for valuable advice my friend.
How did I do with the conversion,rubber boots and unit patch ?
J
1stjaeger
Visit this Community
Wien, Austria
Joined: May 20, 2011
KitMaker: 1,744 posts
Armorama: 1,727 posts
Posted: Sunday, September 08, 2013 - 06:26 AM UTC
the rubber boots look great. As far as I remember, they are spot on!
The shoulder patch is fantastic!! Definitely not easy to paint.

The .50 retraction system can indeed be quite tricky, especially so in prone position as you should give the retracting movement a slight downward angle. Not easy when your centre of gravity lies below the handle!

I must agree that selfmade enhancements provide far more satisfaction (beside saving money).

you are certainly right about the "brand new/unused" status of the 82nd. After all, casualties had been quite heavy in Holland!

What I meant is that items like chin straps or gloves can be slightly modified in colour (more khaki f,ex,) and helmets can be in a very dark OD (like the old Humbrol OD!)

But forget it! It will be a beauty anyway!!

Cheers m8!!

Romain

jrutman
Visit this Community
Pennsylvania, United States
Joined: April 10, 2011
KitMaker: 7,941 posts
Armorama: 7,934 posts
Posted: Sunday, September 08, 2013 - 11:45 AM UTC

Quoted Text

the rubber boots look great. As far as I remember, they are spot on!
The shoulder patch is fantastic!! Definitely not easy to paint.

The .50 retraction system can indeed be quite tricky, especially so in prone position as you should give the retracting movement a slight downward angle. Not easy when your centre of gravity lies below the handle!

I must agree that selfmade enhancements provide far more satisfaction (beside saving money).

you are certainly right about the "brand new/unused" status of the 82nd. After all, casualties had been quite heavy in Holland!

What I meant is that items like chin straps or gloves can be slightly modified in colour (more khaki f,ex,) and helmets can be in a very dark OD (like the old Humbrol OD!)

But forget it! It will be a beauty anyway!!

Cheers m8!!

Romain


I also read that there was a shortage of web gear before the bulge. Ammo and equipment as well. No one was expecting the offensive(Hitler finally caught on to Enigma)so they left in a hurry.
Good point about the chin straps and stuff like that. Check in and see what I do with the gunner and maybe I can get some contrast going there.
I wonder where I can get some decent frag grenades? None came in the 3 kits I just bought.
J
1stjaeger
Visit this Community
Wien, Austria
Joined: May 20, 2011
KitMaker: 1,744 posts
Armorama: 1,727 posts
Posted: Monday, September 09, 2013 - 12:30 AM UTC
Hej m8!

I cannot think of (nor find) any frag grens worth the denomination, BUT..
..you mention shortages and captured german equipment....why not give the guys a couple of potato-mashers?? Those at least are available, and in good quality too!!
And they look cooler than the pineapples, don't they!!!

Cheers

Romain

P.S.: I just noticed I got the rank of corporal The Airborne Regiment for my posts......brings back strong memories!
jrutman
Visit this Community
Pennsylvania, United States
Joined: April 10, 2011
KitMaker: 7,941 posts
Armorama: 7,934 posts
Posted: Monday, September 09, 2013 - 02:20 AM UTC

Quoted Text

Hej m8!

I cannot think of (nor find) any frag grens worth the denomination, BUT..
..you mention shortages and captured german equipment....why not give the guys a couple of potato-mashers?? Those at least are available, and in good quality too!!
And they look cooler than the pineapples, don't they!!!

Cheers

Romain

P.S.: I just noticed I got the rank of corporal The Airborne Regiment for my posts......brings back strong memories!


That is a great idea. I know the 504 had a large stock of panzerfausts at this time and so also probably had some stick grenades as well. In fact,for this attack they used 2 SdKfz 251/9 for support that they had captured recently during the Lienne creek ambush of Obersturmf. Preuss PzGrenKompanie while Preuss was looking for a way forward for Peiper. Great idea brother.
I am jealous of your new icon! Very cool. I hadn't noticed mine until you mentioned it and I am wondering why do I have to be an officer? I work for a living!!!
J
1stjaeger
Visit this Community
Wien, Austria
Joined: May 20, 2011
KitMaker: 1,744 posts
Armorama: 1,727 posts
Posted: Monday, September 09, 2013 - 09:00 AM UTC

I know it's hard to believe, but there are officers who (used to) work for a living as well

Cheers

Romain
jrutman
Visit this Community
Pennsylvania, United States
Joined: April 10, 2011
KitMaker: 7,941 posts
Armorama: 7,934 posts
Posted: Tuesday, September 10, 2013 - 02:05 AM UTC

Quoted Text


I know it's hard to believe, but there are officers who (used to) work for a living as well

Cheers

Romain


Haha,yes!
I was just pulling your leg buddy. In my long years of service I did come across some of those officers that did actually work. I had a few company commanders and one of my platoon leaders at Bragg that were exemplary officers and I would follow them timbuck-too if they led me there.
Then there were the other guys that were just there punching their ticket for the next pay grade. Problem is,those kind of guys usually got promoted ahead of the good combat leaders.
J
1stjaeger
Visit this Community
Wien, Austria
Joined: May 20, 2011
KitMaker: 1,744 posts
Armorama: 1,727 posts
Posted: Tuesday, September 10, 2013 - 03:00 AM UTC

Quoted Text


Quoted Text


I know it's hard to believe, but there are officers who (used to) work for a living as well

Cheers

Romain


Haha,yes!
I was just pulling your leg buddy. In my long years of service I did come across some of those officers that did actually work. I had a few company commanders and one of my platoon leaders at Bragg that were exemplary officers and I would follow them timbuck-too if they led me there.
Then there were the other guys that were just there punching their ticket for the next pay grade. Problem is,those kind of guys usually got promoted ahead of the good combat leaders.
J


Oh yes, I know exactly the type believe me!
Unfortunately those guys are not confined to the armed forces alone. They have a tendency to spread..!

Cheers

Romain
jrutman
Visit this Community
Pennsylvania, United States
Joined: April 10, 2011
KitMaker: 7,941 posts
Armorama: 7,934 posts
Posted: Tuesday, September 10, 2013 - 06:37 AM UTC
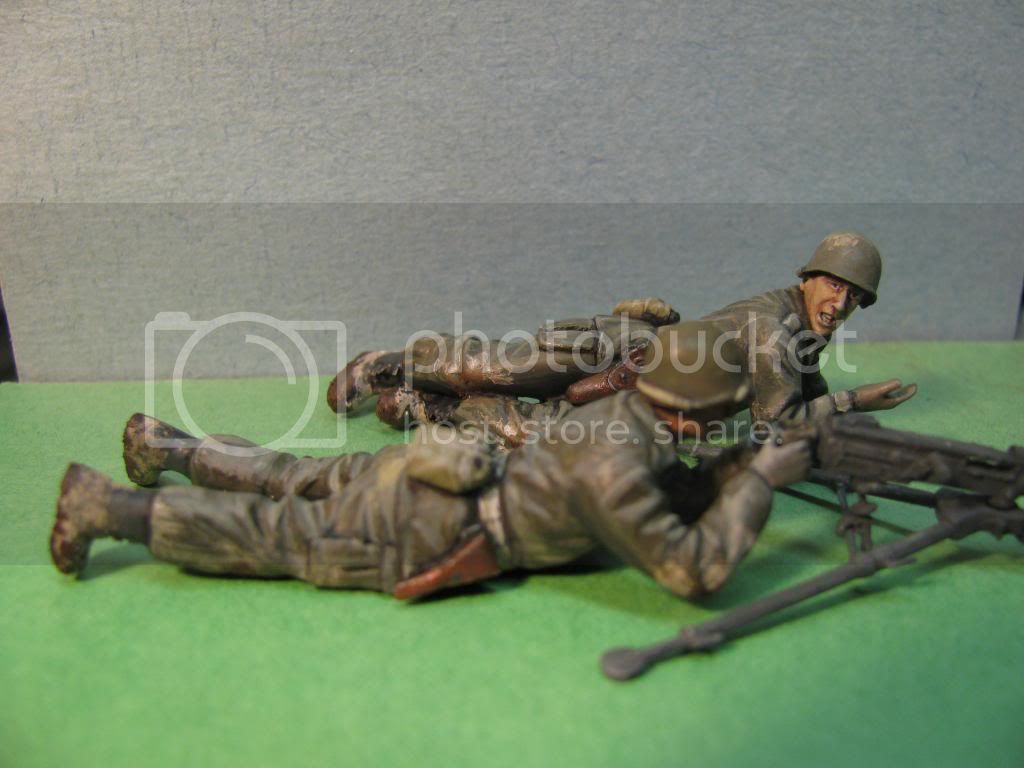
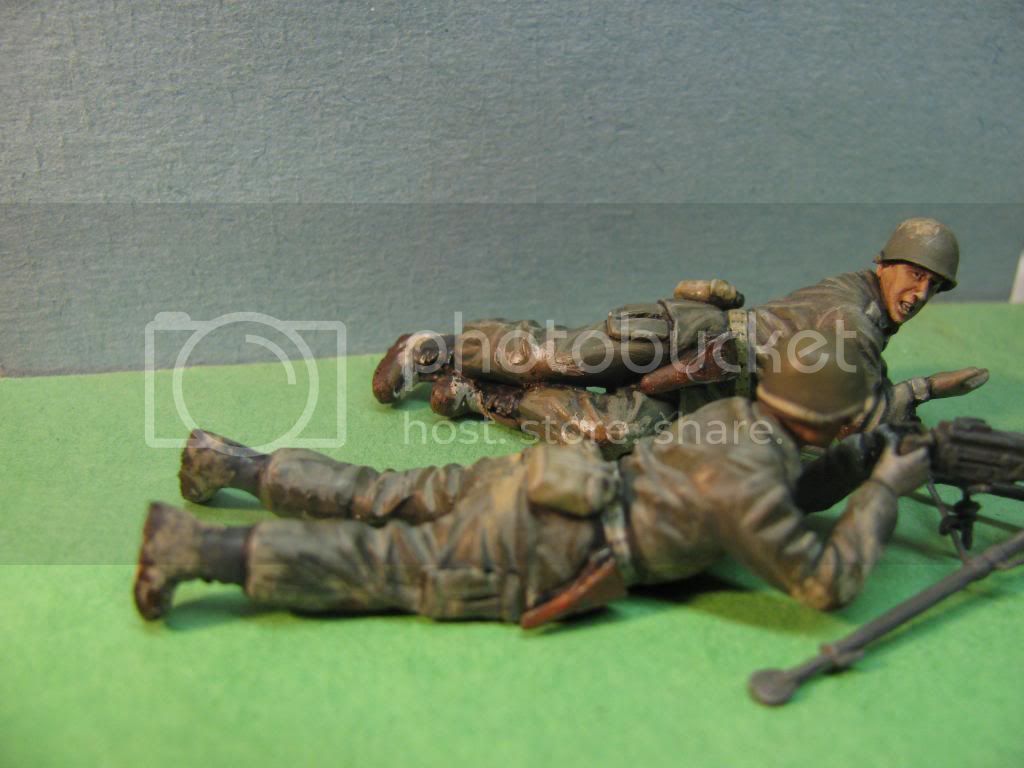
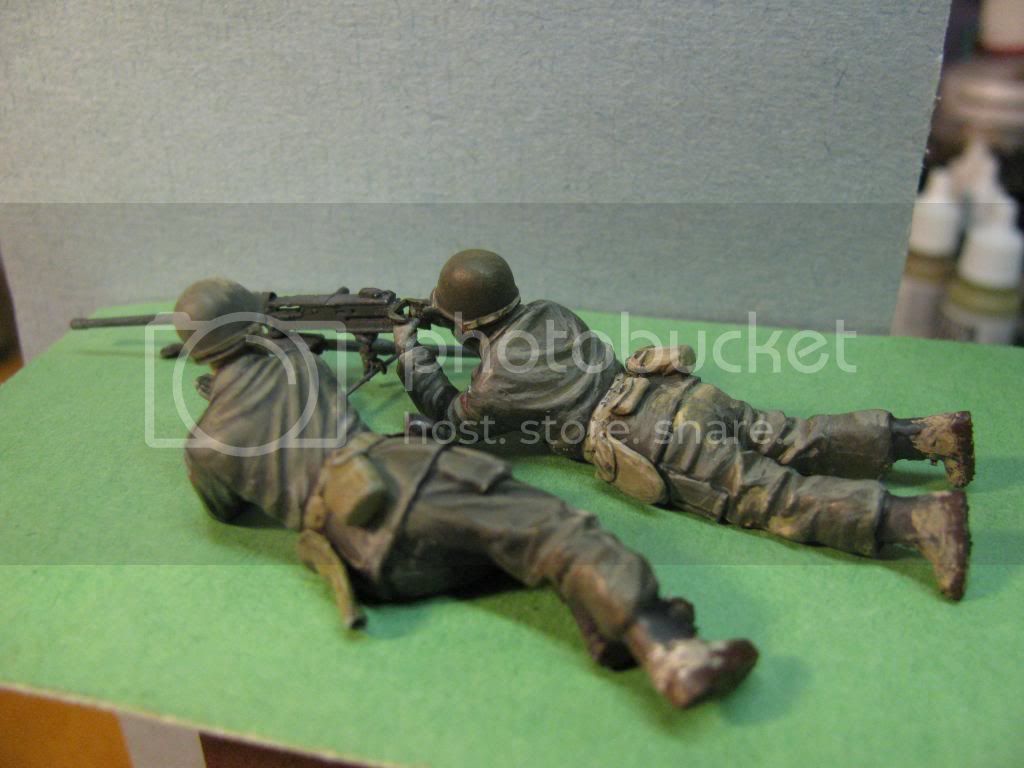
OK cool,back to business. Got some painting done on the gunner dude. Added some nice terrain effects to the guys as it was misty and muddy in this battle.


Right on target Ted!! Keep it goin"!!


1stjaeger
Visit this Community
Wien, Austria
Joined: May 20, 2011
KitMaker: 1,744 posts
Armorama: 1,727 posts
Posted: Tuesday, September 10, 2013 - 09:17 AM UTC

Yes!!!!!!!

That's going to be super!!!
The 2 figs really "belong" together..if you see what I mean!
Contrast is good too!!

Weather was indeed bad, so mud is a must!

Kudos m8!!

Cheers

Romain