.
.
Paul

 .
. 

I'm sorry Paul, i don't know what is the problem...
Now i try again
 .
. 

 Hi all,
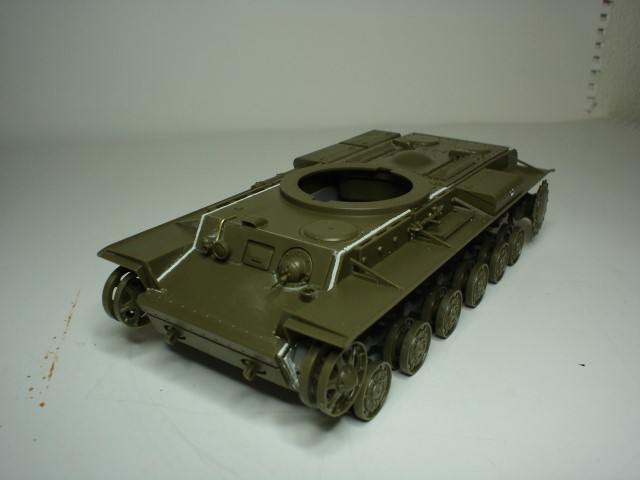
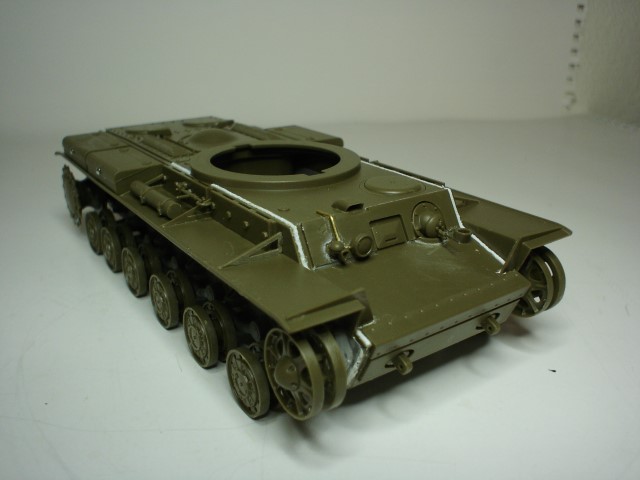
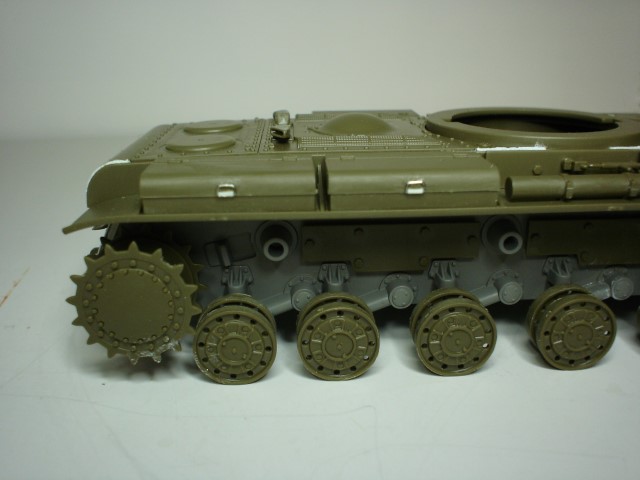
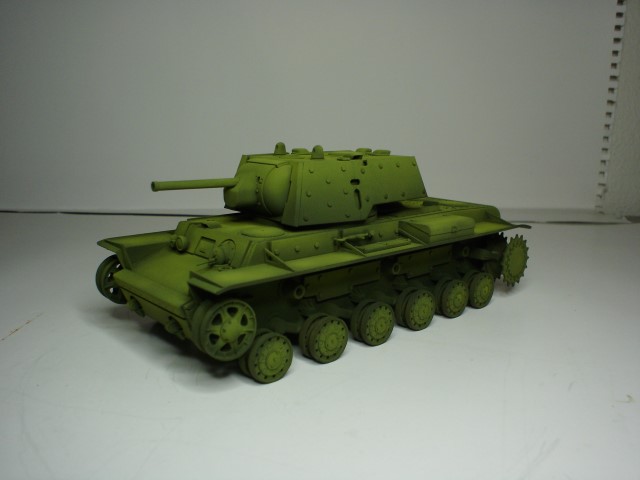
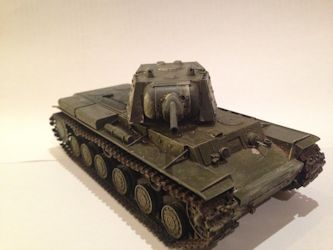
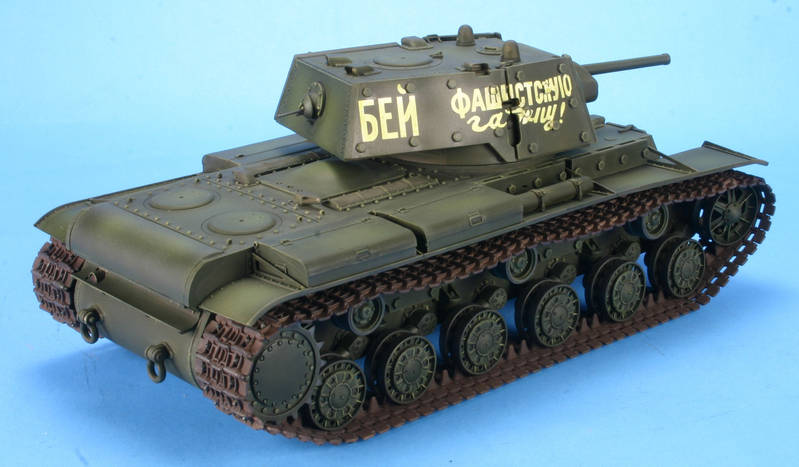
 , no scale, so here's my interpretation of one of the KV family:


 , this is a nice addition you're bringing along , looking forward to seeing her completed
 . I think everyone learns sooner or later about the "less is more" thing.
 Don't forget to post in the campaign Gallery and a happy weekend all


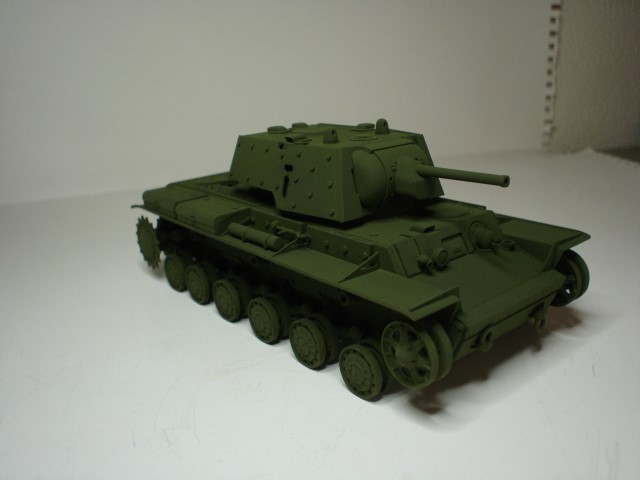
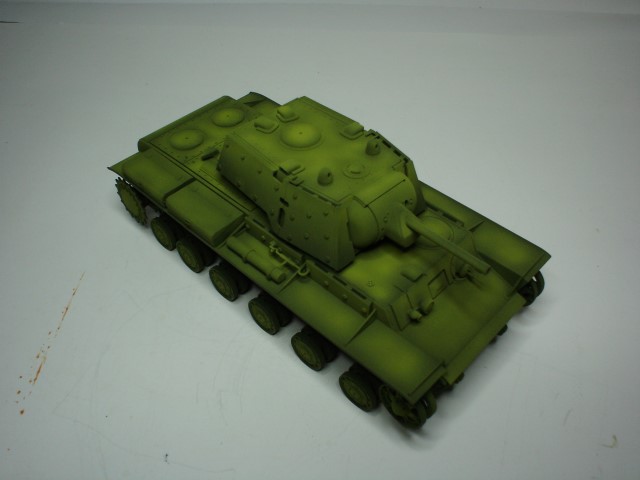
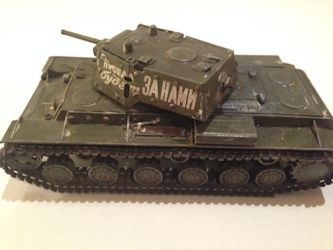
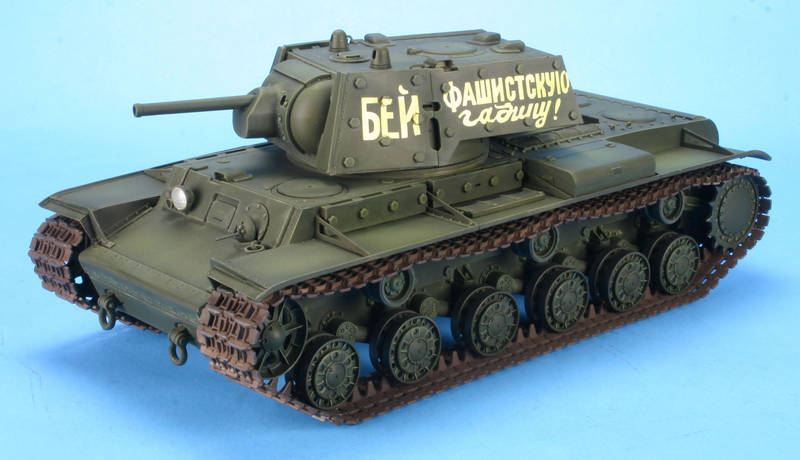
 . Now all she needs is a drop of paint
  , at some point in time we all lose the mojo
  . But it comes back and you can continue . , the chalking looks very authentic and the ground work is also coming along nicely.


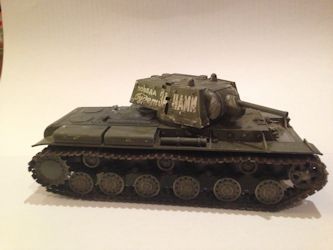
 . , it matches up very well to pics I have seen. , now to get those decals on . And then go batshit on the weathering


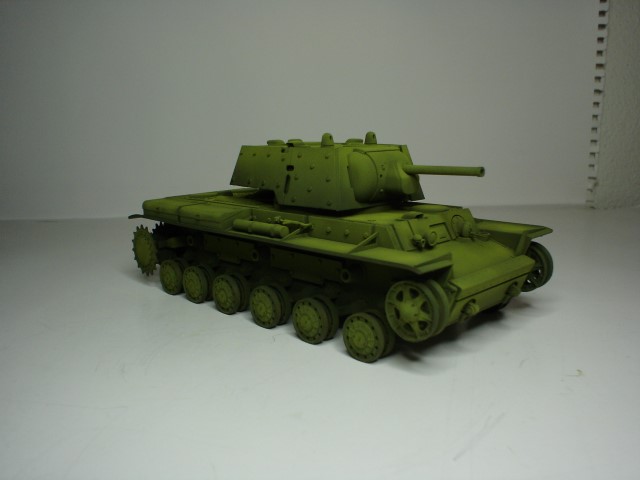
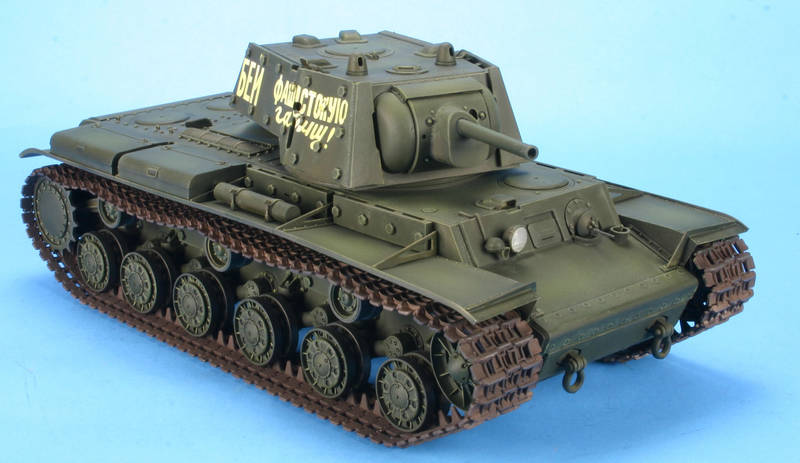
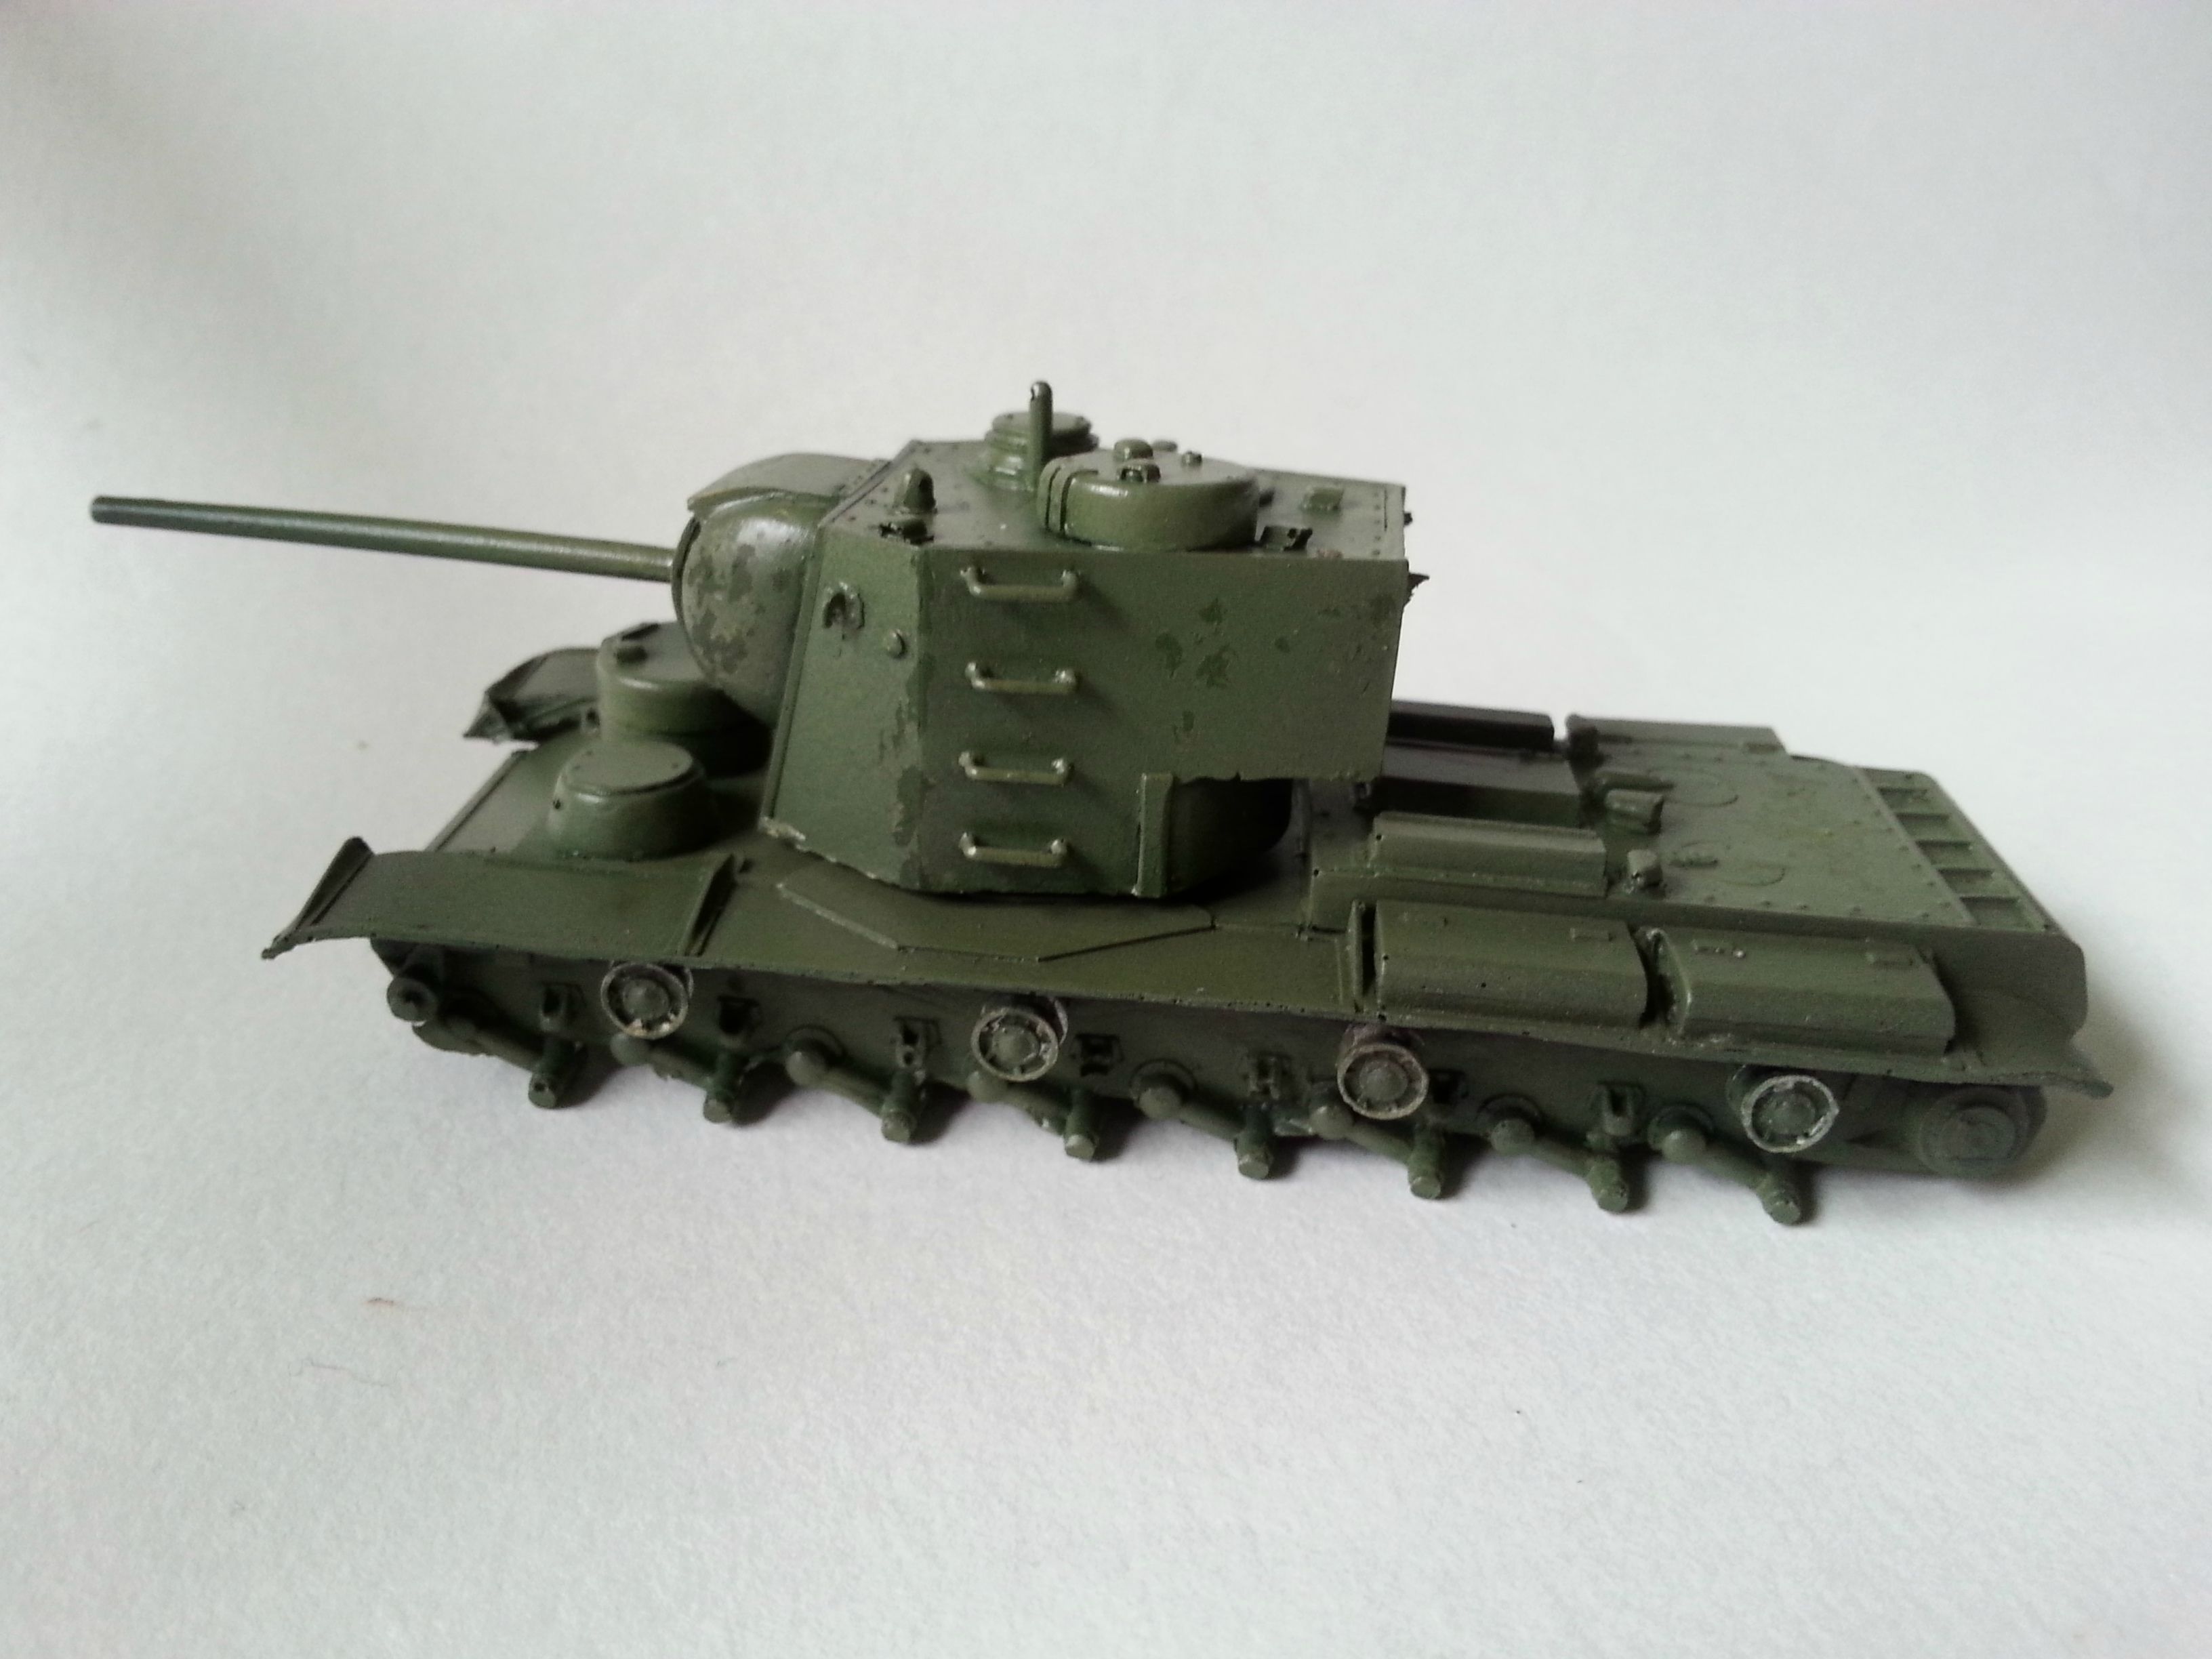
@Matthew: as Paul stated, nice model and the weathering looks like real dust. What was your process?
Bob


My completed KV-1. Not entirely happy with it but found it to be a learning experience.
don't be so harsh on yourself . and the main thing is that you have . Quoted TextMy completed KV-1. Not entirely happy with it but found it to be a learning experience.
Come on Pricklehead
She looks just great
also learned some new things here too
Now go get that StuG built, and apply all you have learned here into that build and you'll have a cracker
Thanks for playing and maybe I'll see you in another of my campaigns later
Paul


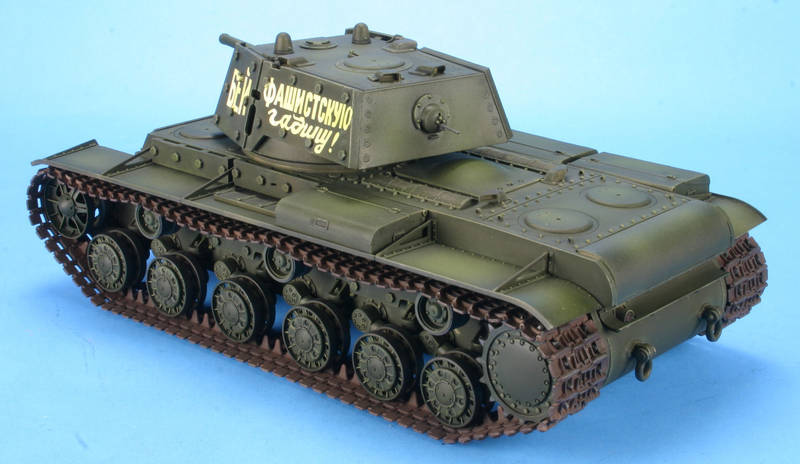
 , and pay attention to the end of this post , how long do you think you need ? , the decalling looks like it was painted, or was it painted?
  (After cleanup.)
 |