Hi Andrewthanks buddy


Try this short SBS of mine
for getting the pics loaded up:
Now to the Gallery thing, I have never tried to talk anyone through this before, so here is how I load pictures:
1. Shrink your picture using an image changing website, I use this place doesn't cost anything and the pics are downloaded straight from and to your pc, after an hour they erased from the site:
http://www.resizeyourimage.com/2. Shrink the image to ca. 389 in width and 292 in height,
after you have shrunk it and downloaded to your pc, you must take the image from "downloads" and place it a normal file.
There is a limit to the size of your picture, but I am not sure what it is any more.
3. Go to the Gallery page:
https://gallery.kitmaker.net/showgallery.php/cat/290284. Click the "choose image" image button and add the pictures.
5. hit the upload button at the bottom of the page, this should then go through to the next step.
6. now you can add some info about your build, if you wish to.
7. click the "submit" button and that is it.
I have just done a test run and and added a StuG to the gallery .
If anyone knows an easier method then please let us know.
You should try some larger sizes, I managed to get 594 x 446 px on this time.
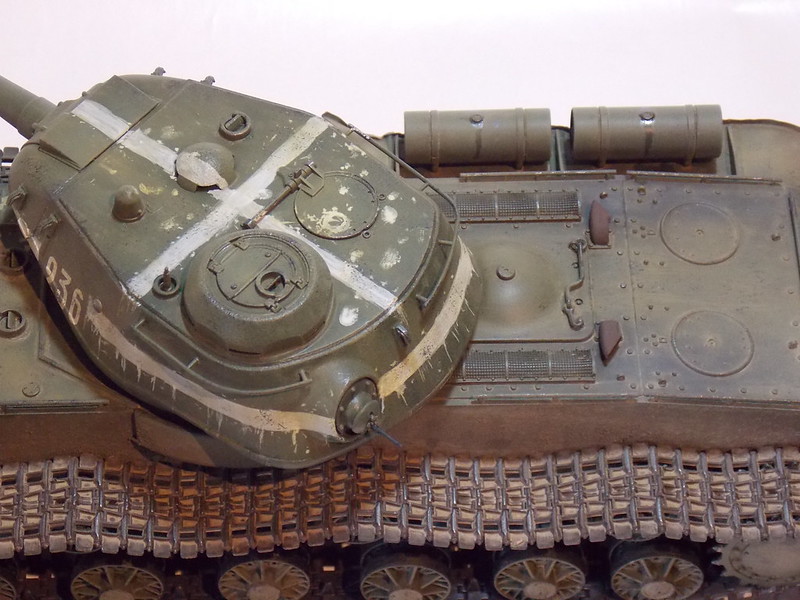
Sal a very nice finish indeed bro


. This really shows what you can do when you take your time my friend
ComradeMP shes coming along nicely there
,I really like the weld beads - the ones I forgot to add


-. This will good under a coat of paint
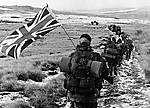
I won't be very active this week on the forum as I am back home in the UK for a short break. I am now going to my local
watering hole "the Bull" in Market Deeping, fear not Sal I shall have a pint of Everards "Old Original Ale" for you too (two)


Paul


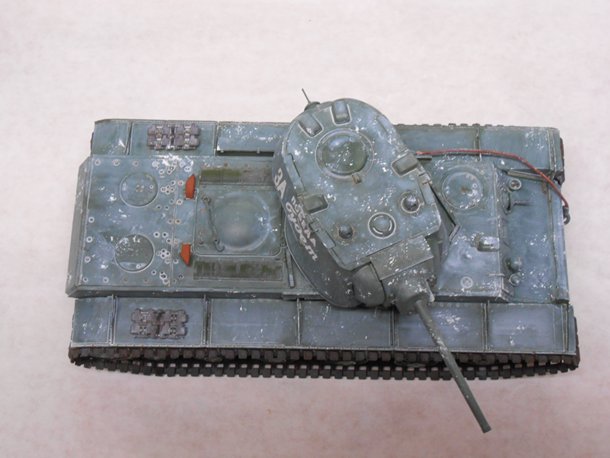
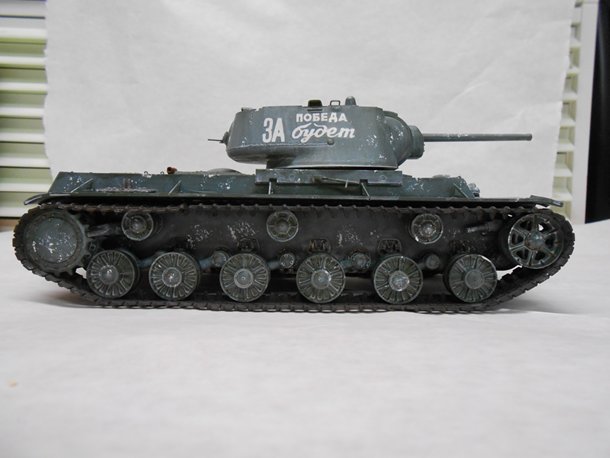

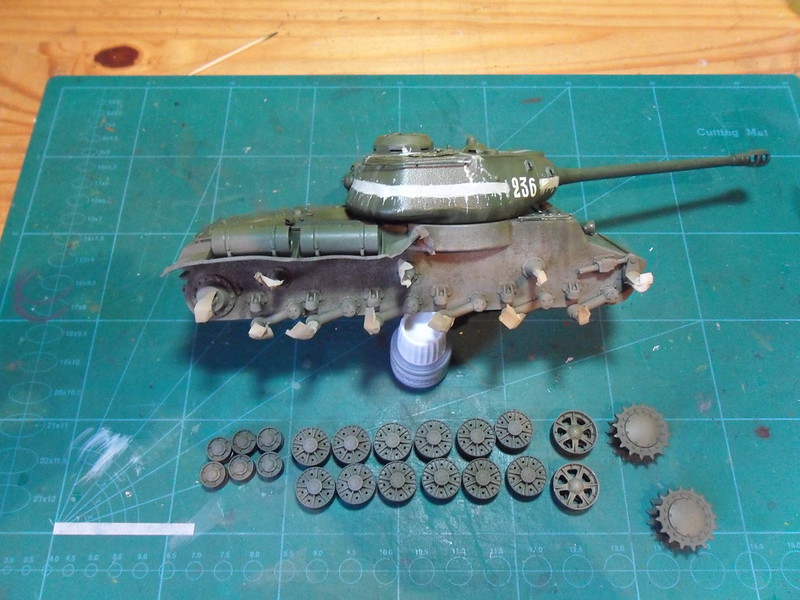


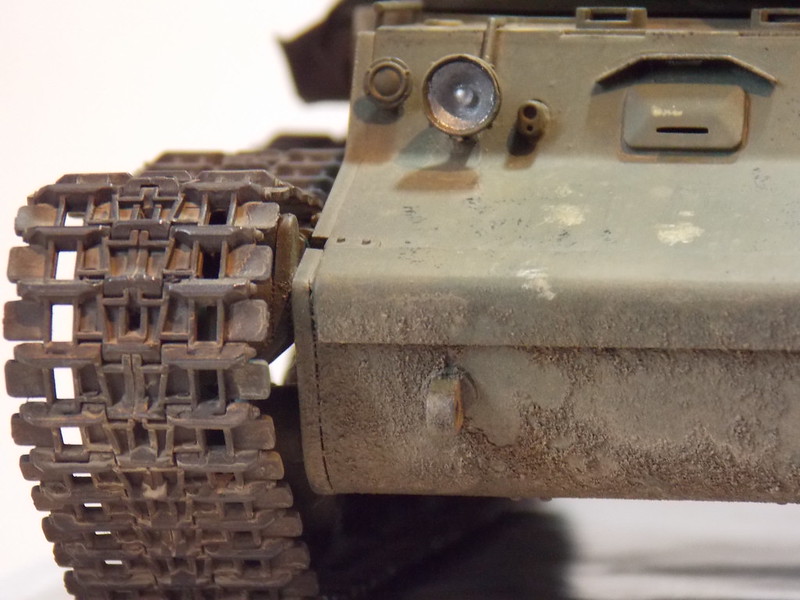

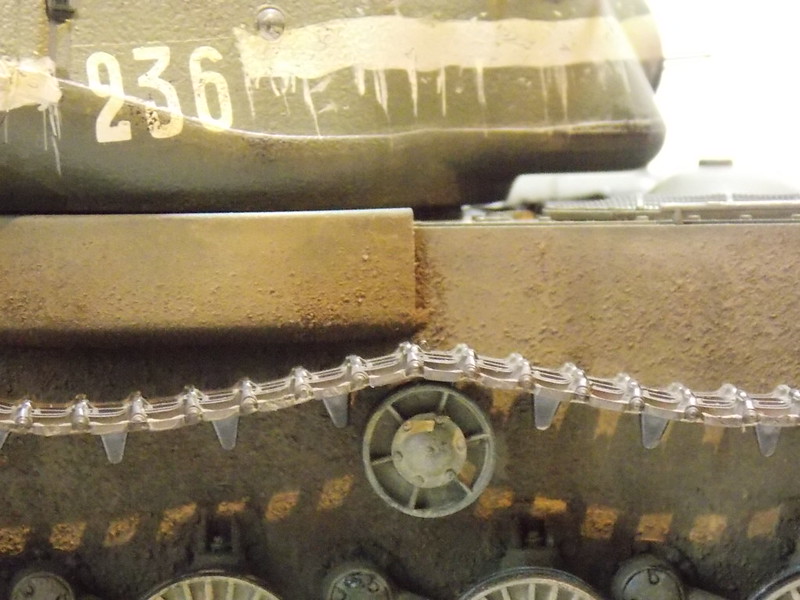


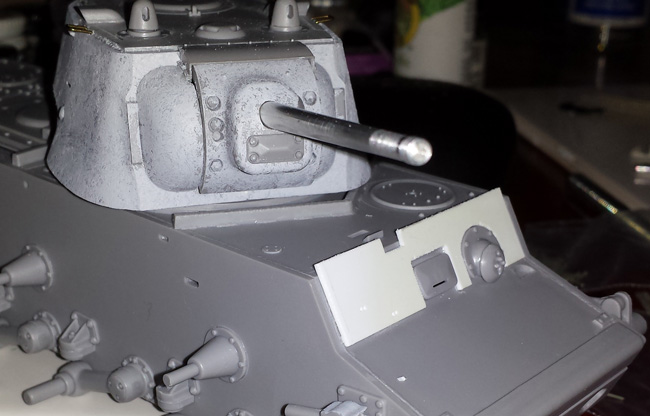 On the same vehicle, I have elected to replace the usual hull front applique armor with an extra tall section. Why? because I like the feature! I'd like to be able to answer that I found a picture of a particular vehicle incorporating it, but the truth is this will be a speculative vehicle, not based on any photo, but with only a generic tactical marking. That way, I can add all the features I like piecemeal, and not worry about one of you lot coming along and saying "hang on a second, you got THIS wrong!"
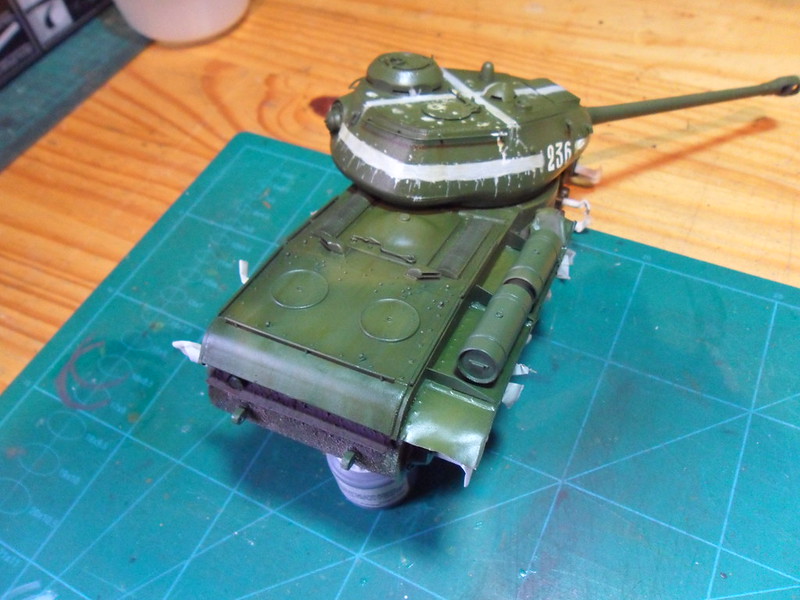
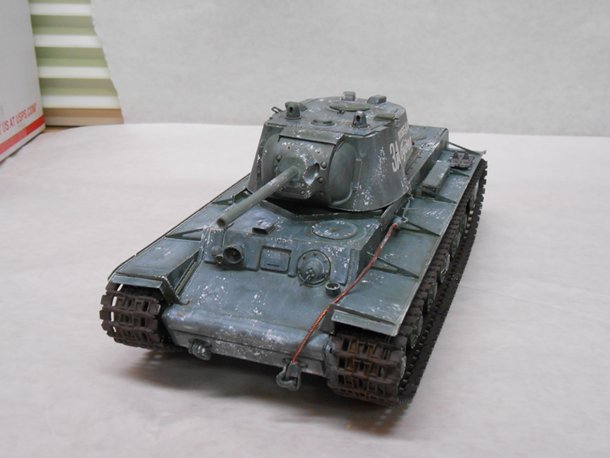
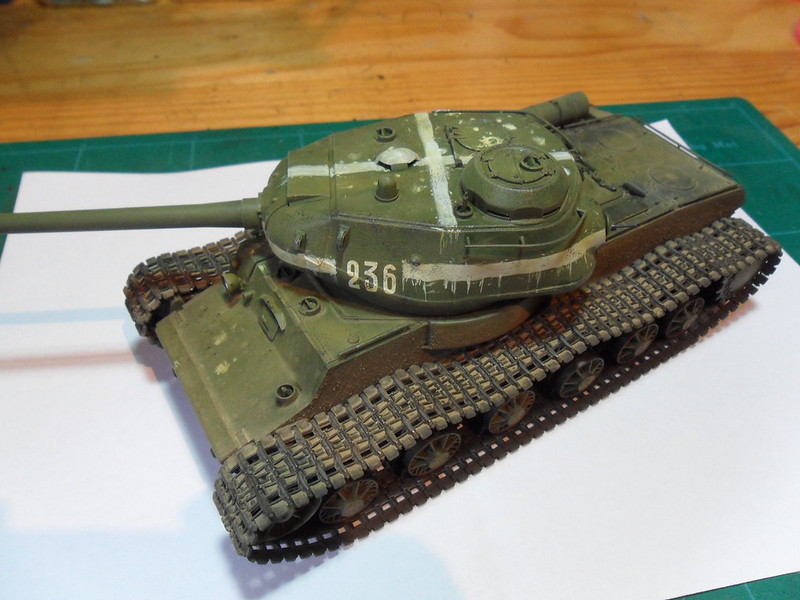
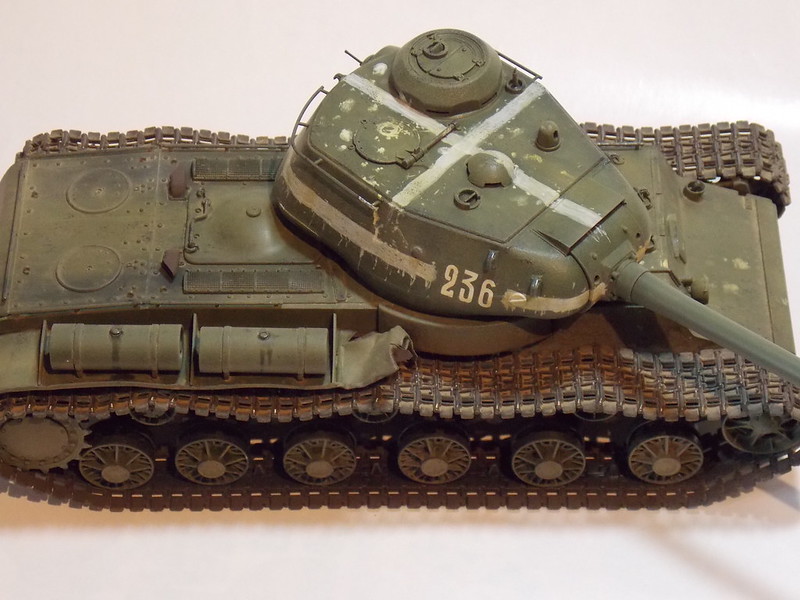
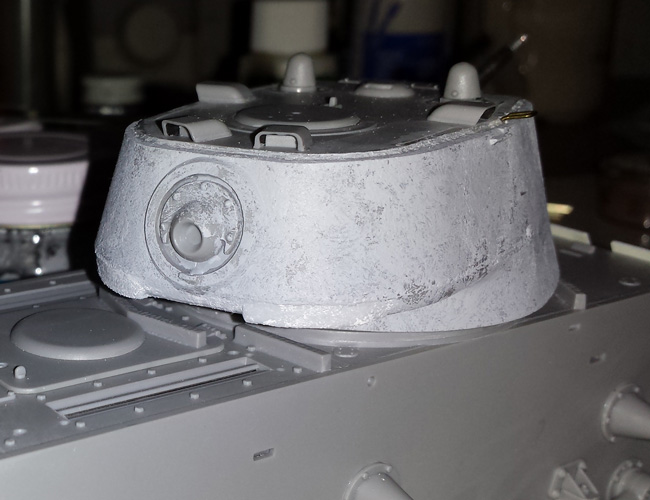
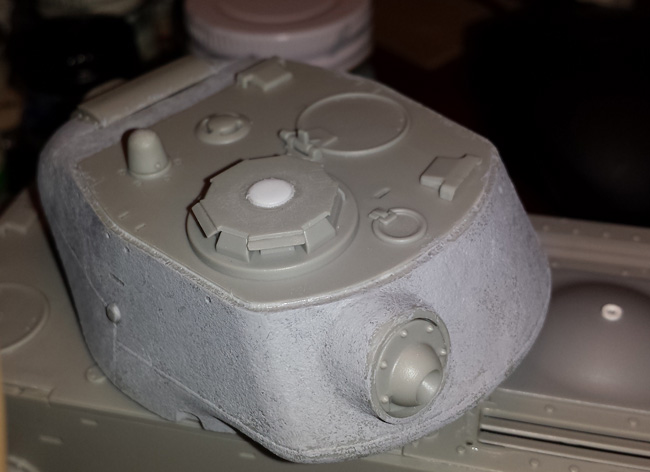 Speaking of the KV-1S, here is the turret, re-textured in all its glory, along with the new shallow dome on top the cupola, including a fine weld bead.
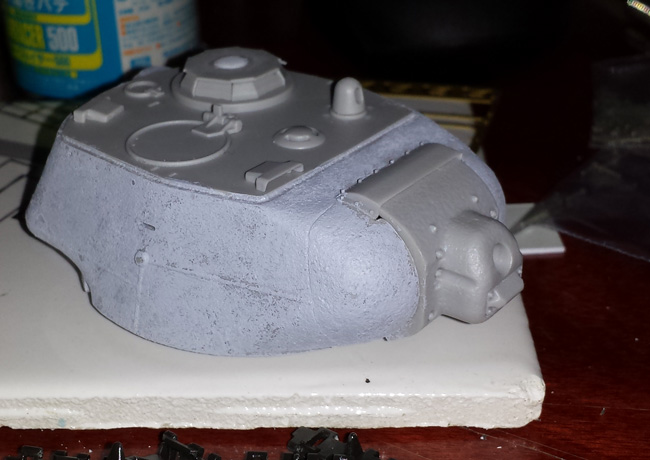 The "step" at the upper corners behind the trunions is now gone, too.
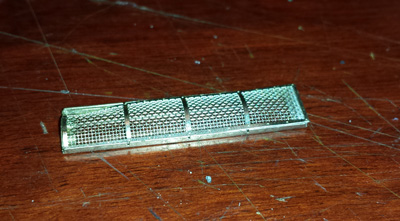 I wound up really not liking the etched intake covers from Jordi Rubio once built-up, so I elected to ditch them, and replace them with a set of the tried and true Eduard covers I have used before with great success. Looks like I will have to order ANOTHER set! Can't have a KV without etched intake covers!