Victoria, Australia
Joined: October 11, 2013
KitMaker: 160 posts
Armorama: 152 posts
Posted: Friday, May 02, 2014 - 09:49 PM UTC
trying to decide on the following:
1 - Panzer IV Ausf.D Afrika Korps
2 - Panzer IV Wirbelwind
3 - Panzer III Ausf. N with winterketten
Will have a think about it tonight and decide which one

Currently building:
Italeri M60A1 Patton - what if 4 challenge
Revell 1/25 32 Ford rat rod
Italeri 1/48 Junkers JU-87B Stuka
Bronco 1/35 Hungarian Zrinyi assault gun

#330
Queensland, Australia
Joined: July 15, 2011
KitMaker: 175 posts
Armorama: 72 posts
Posted: Saturday, May 03, 2014 - 04:12 PM UTC
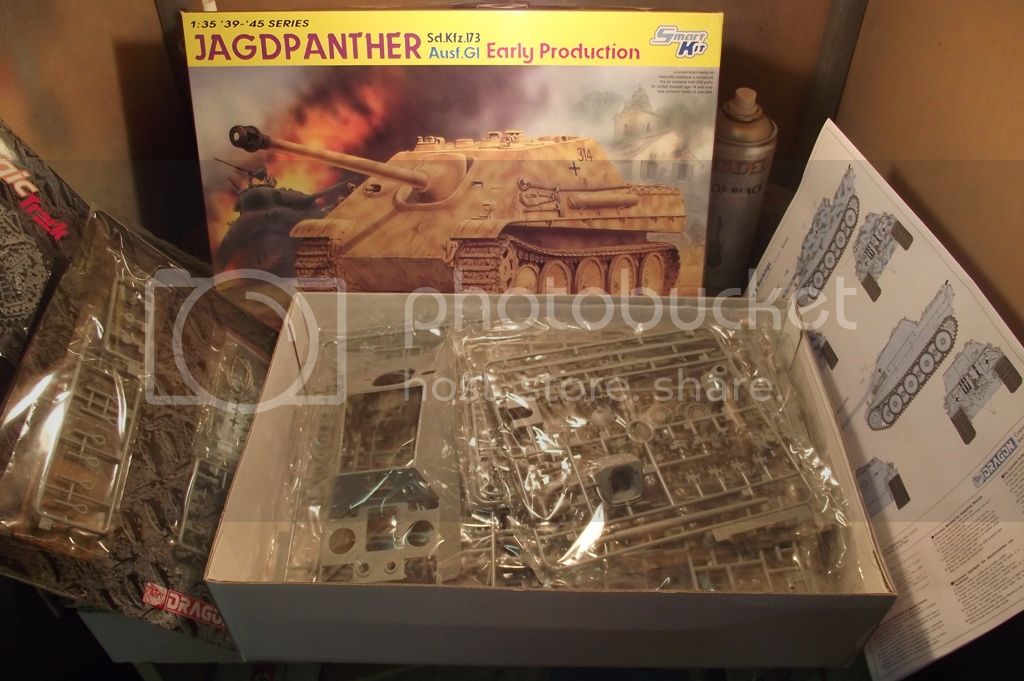
I'm in with a Jagdpanther Early - Smart Kit.
Buenos Aires, Argentina
Joined: January 24, 2013
KitMaker: 112 posts
Armorama: 105 posts
Posted: Thursday, May 08, 2014 - 10:18 AM UTC
Choose this one.
Raul

Connecticut, United States
Joined: November 02, 2003
KitMaker: 984 posts
Armorama: 846 posts
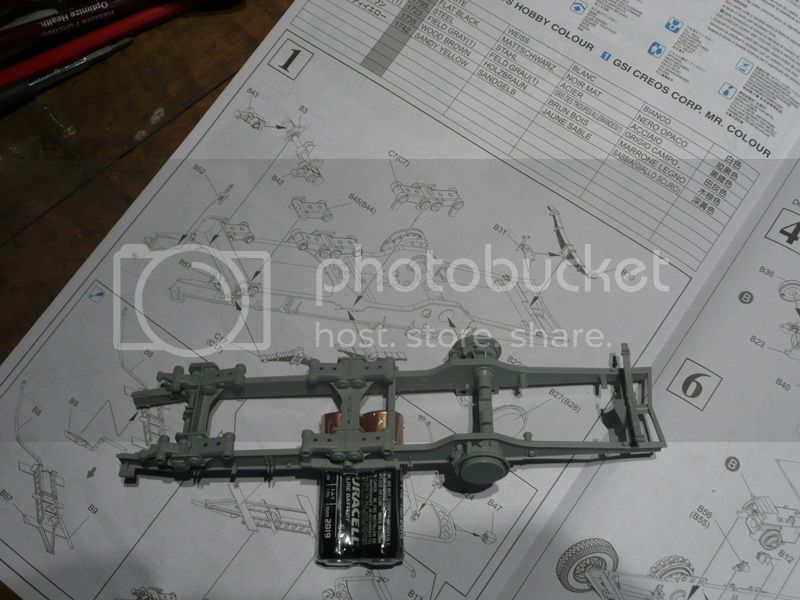
Posted: Friday, May 09, 2014 - 01:00 PM UTC
I did some building last weekend, But i have been too lazy to upload the pics and post. After getting rid of my web site, i now need new photo hosting.
Trying photo bucket at the moment
Steps 1 and 2 are done. So far everything is fitting nice.
There are some sprue attachment points that require careful removal though.
Let's see if this works.
Lisboa, Portugal
Joined: March 04, 2008
KitMaker: 5,386 posts
Armorama: 4,727 posts
Posted: Friday, May 09, 2014 - 01:56 PM UTC
I haven't picked mine yet.
Will do this weekend

Active Builds: 0
Active Campaigns: 0
Connecticut, United States
Joined: November 02, 2003
KitMaker: 984 posts
Armorama: 846 posts
Posted: Friday, May 09, 2014 - 03:06 PM UTC
Crap, noticed 3 pic is a repeat. should be this.
Lisboa, Portugal
Joined: March 04, 2008
KitMaker: 5,386 posts
Armorama: 4,727 posts
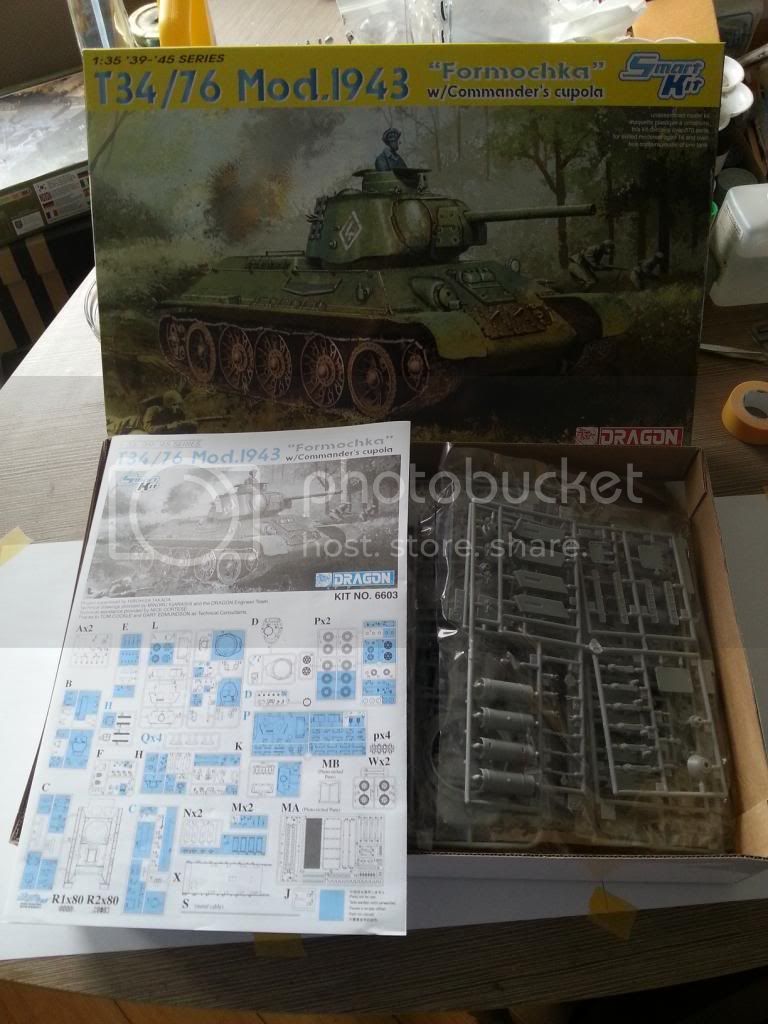
Posted: Saturday, May 10, 2014 - 07:17 AM UTC
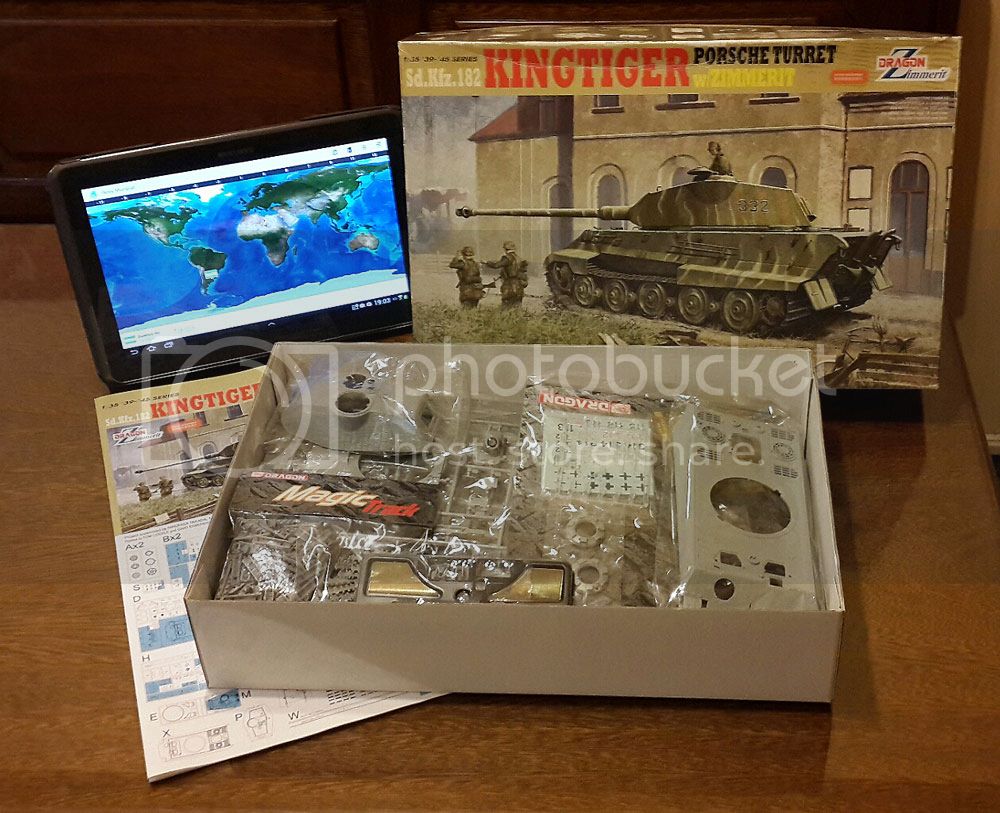
I'm going in with this one:
Active Builds: 0
Active Campaigns: 0
Arkansas, United States
Joined: June 29, 2009
KitMaker: 11,610 posts
Armorama: 7,843 posts
Posted: Sunday, May 11, 2014 - 08:08 AM UTC
Ideals are peaceful. History is violent.
Western Australia, Australia
Joined: December 31, 2013
KitMaker: 338 posts
Armorama: 121 posts
Posted: Sunday, May 11, 2014 - 04:29 PM UTC
In the Hangar:
- 1/48 Hasegawa P-38J/L
In the Workshop
-1/35 Tamiya Mobelwagen
Arkansas, United States
Joined: June 29, 2009
KitMaker: 11,610 posts
Armorama: 7,843 posts
Posted: Monday, May 12, 2014 - 03:09 AM UTC
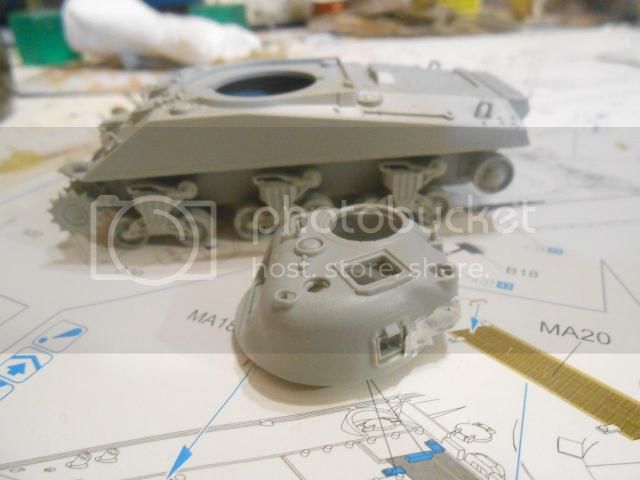
With the exception of two damaged pieces and one that was missing entirely, she's ready for paint.


Here's the turret. I still need to seal the decals. I should be able to do that an apply a couple of filters, today.

My color settings are off, slightly. Too much blue.
I have to admit, this is the fastest I have build a Dragon kit. No regrets about my shelf queens, as they have simply honed my build skills to a razor's edge(at least with Dragon Pz.IIIs and IVs).
Ideals are peaceful. History is violent.
Namabiiru
 Associate Editor
#399
Rhode Island, United States
Joined: March 05, 2014
KitMaker: 2,888 posts
Armorama: 1,920 posts
Posted: Sunday, May 18, 2014 - 09:46 PM UTC
So this is a really lame entry for this campaign, but I have several campaigns going on already, and didn't want to miss out on this campaign. Plus I needed something that was not going to drive me insane without any scratchbuilding, and the only way to do that is start simple and keep it simple. So without further ado:
Besides I don't have a single US vehicle from WWII in my collection yet, if you can believe that.
United Kingdom
Joined: September 17, 2012
KitMaker: 462 posts
Armorama: 417 posts
Posted: Tuesday, May 20, 2014 - 07:18 PM UTC
I will build this
.

Cheers
Matthew
Virginia, United States
Joined: October 17, 2011
KitMaker: 237 posts
Armorama: 235 posts
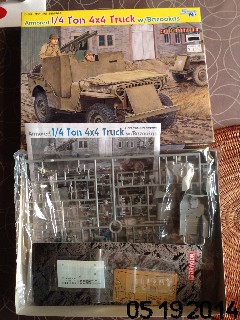
Posted: Thursday, May 22, 2014 - 03:25 PM UTC
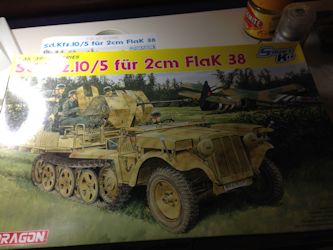
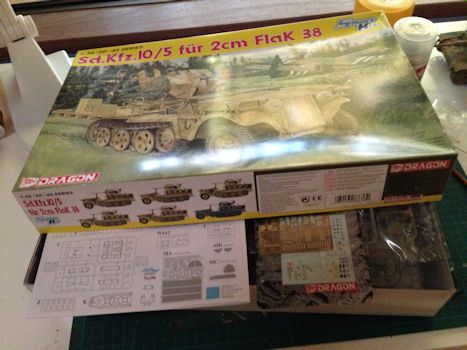
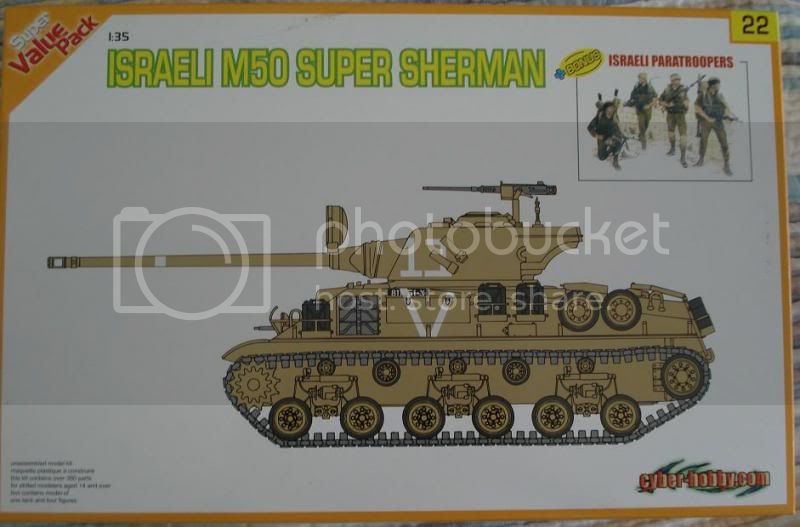
Hello all! I am almost (but not quite) done with builds for the armored car and big cats campaigns, so instead of finishing those off I am starting a new one! This arrived today and I had to start:
Queensland, Australia
Joined: December 19, 2012
KitMaker: 74 posts
Armorama: 68 posts
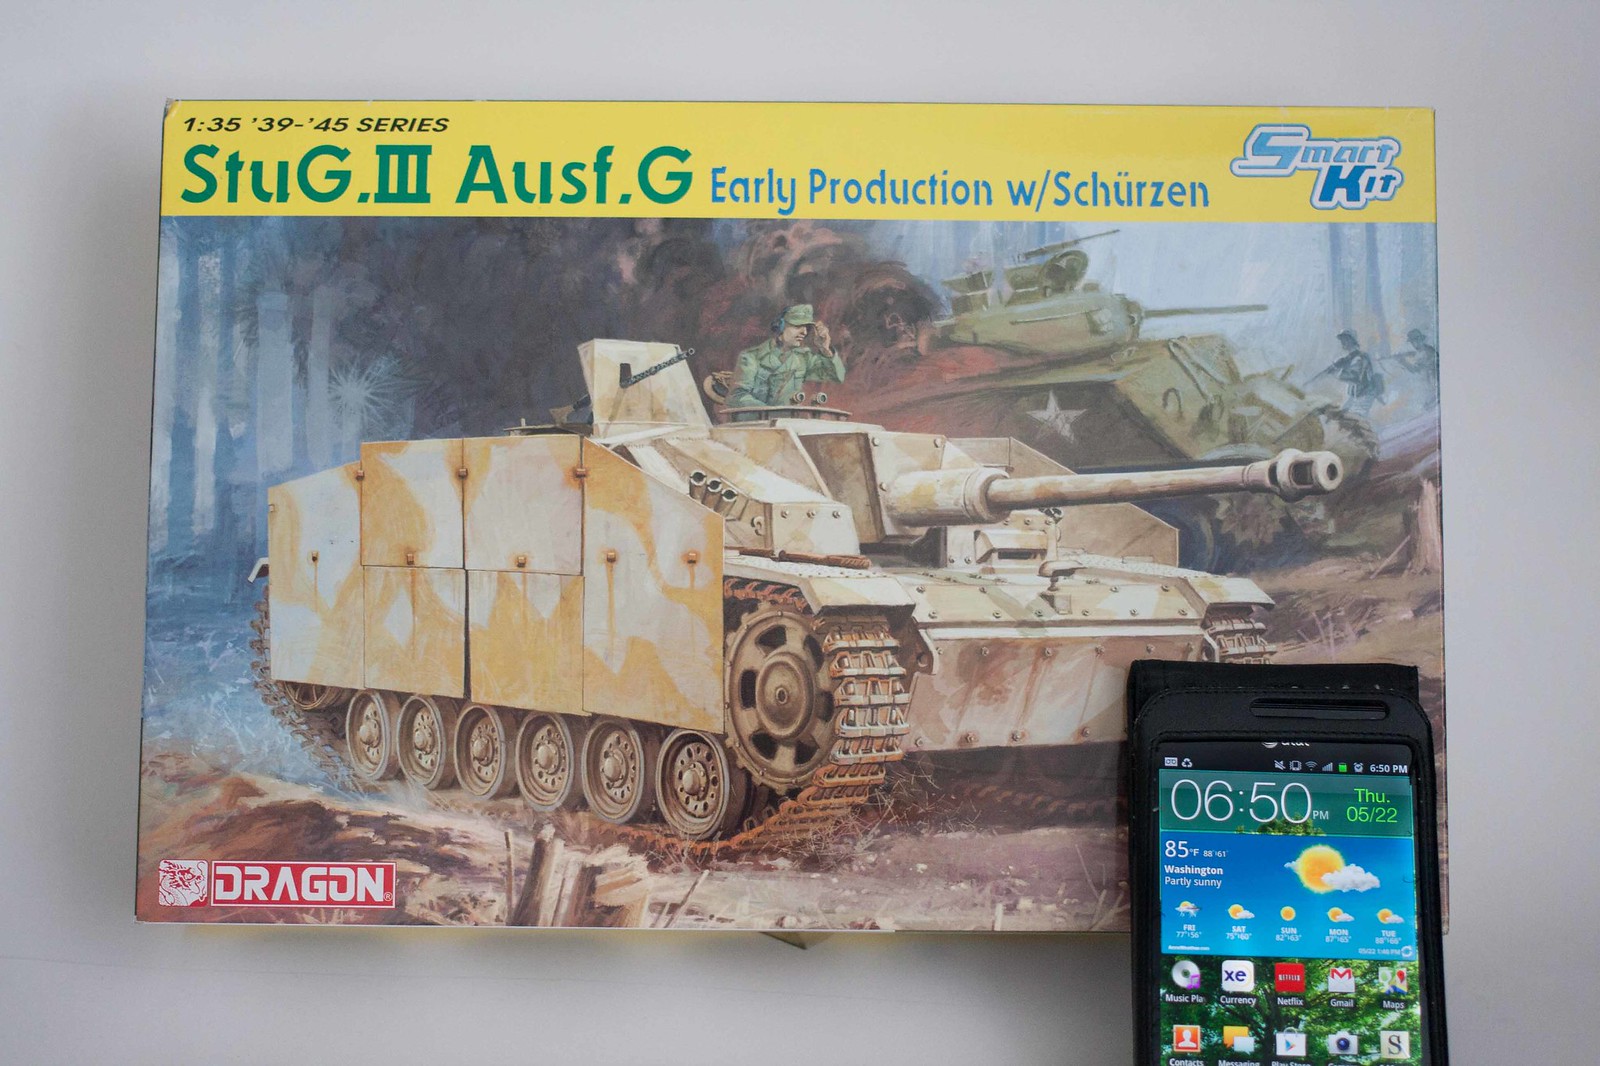
Posted: Friday, May 23, 2014 - 06:25 PM UTC
This is the kit I have chosen. Will probably get started today, hopefully!
"Allow me to be the first to offer Dr. Johnson my most sincere contrafibularities! I am anaspeptic, frasmotic, even compunctuous to have caused him such pericombobulation." - BlackAdder
Connecticut, United States
Joined: November 02, 2003
KitMaker: 984 posts
Armorama: 846 posts
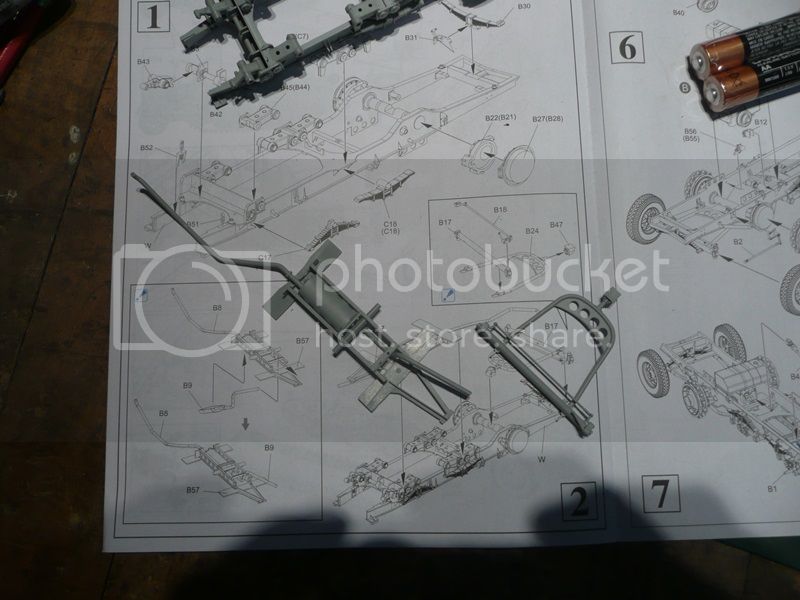
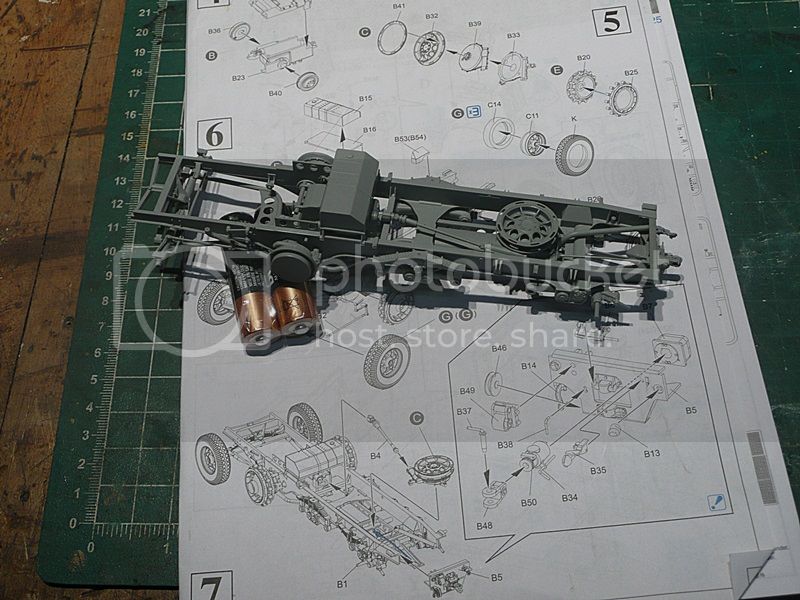
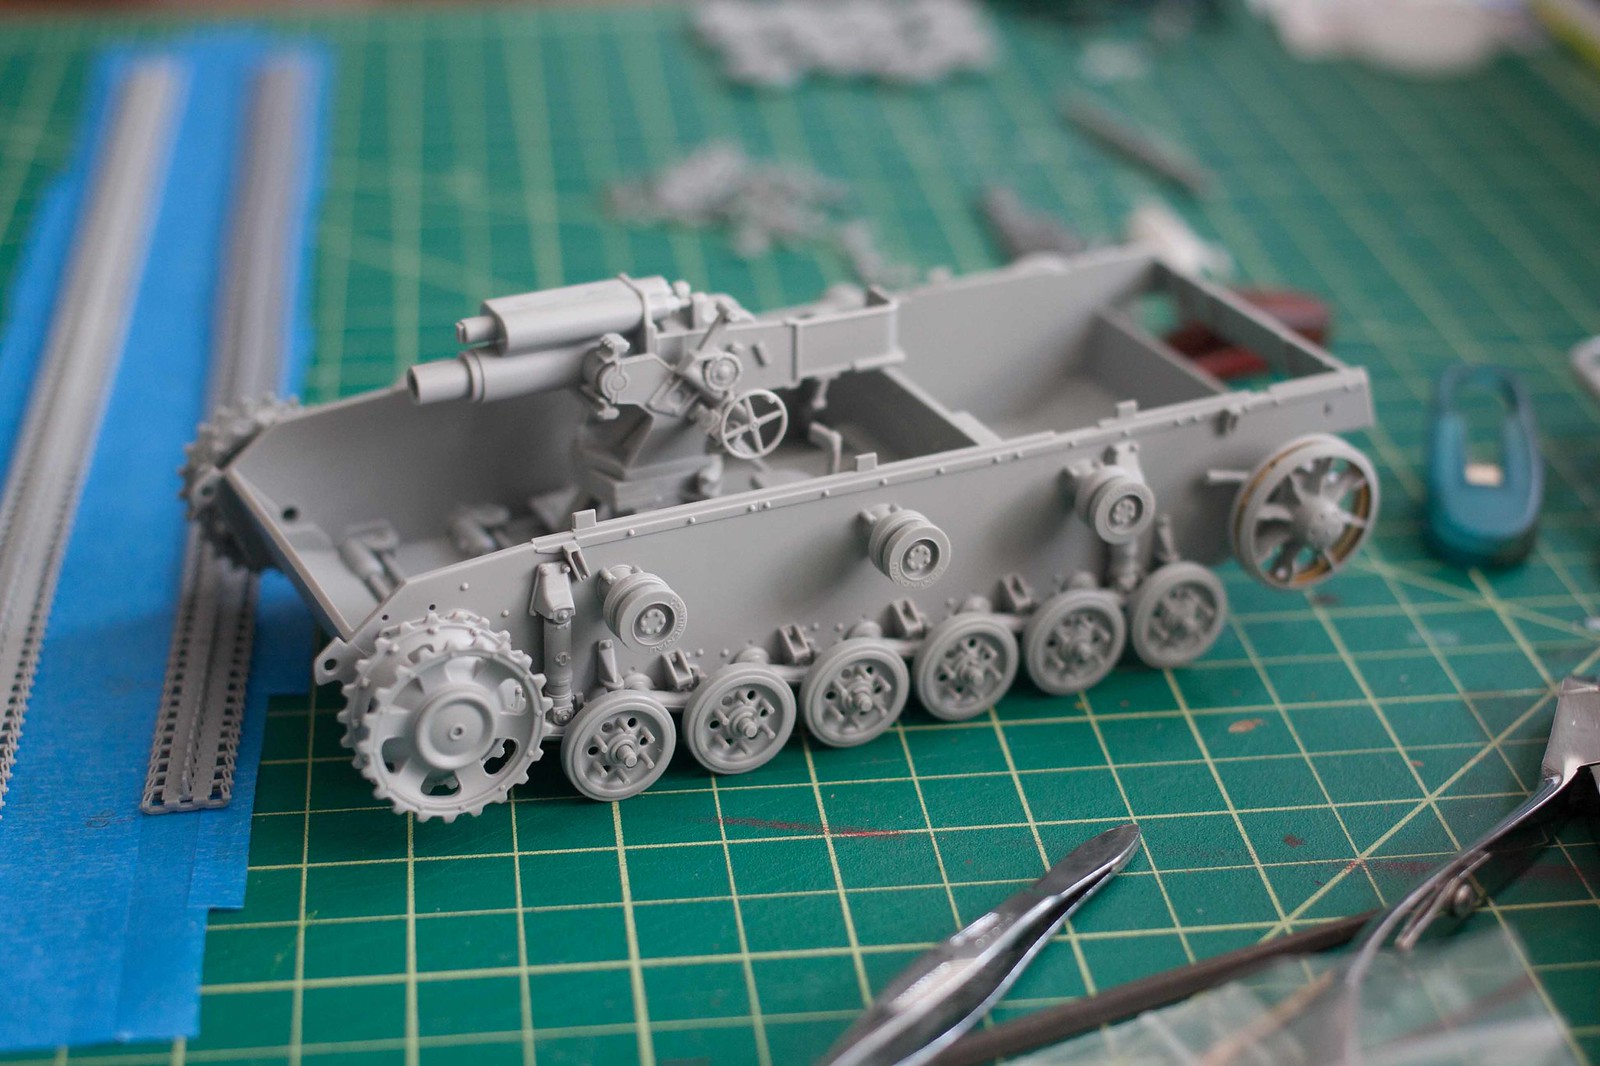
Posted: Sunday, May 25, 2014 - 01:43 AM UTC
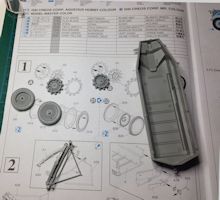
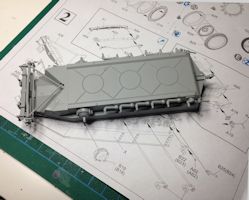
My recent couple of weeks progress.
I skipped the engine build for now. i moved on to more of the chassis and drive train.
For the most part it falls together, though you do need to pay attention as some parts need to be fed up and underneath frame supports. The instructions do not clarify that on all parts.
There are also some small parts in tight spots that have to be added that drive clumsy fingers batty!

Virginia, United States
Joined: October 17, 2011
KitMaker: 237 posts
Armorama: 235 posts
Posted: Monday, May 26, 2014 - 09:17 AM UTC
Well, I've gotten quite a bit of work in over the weekend.
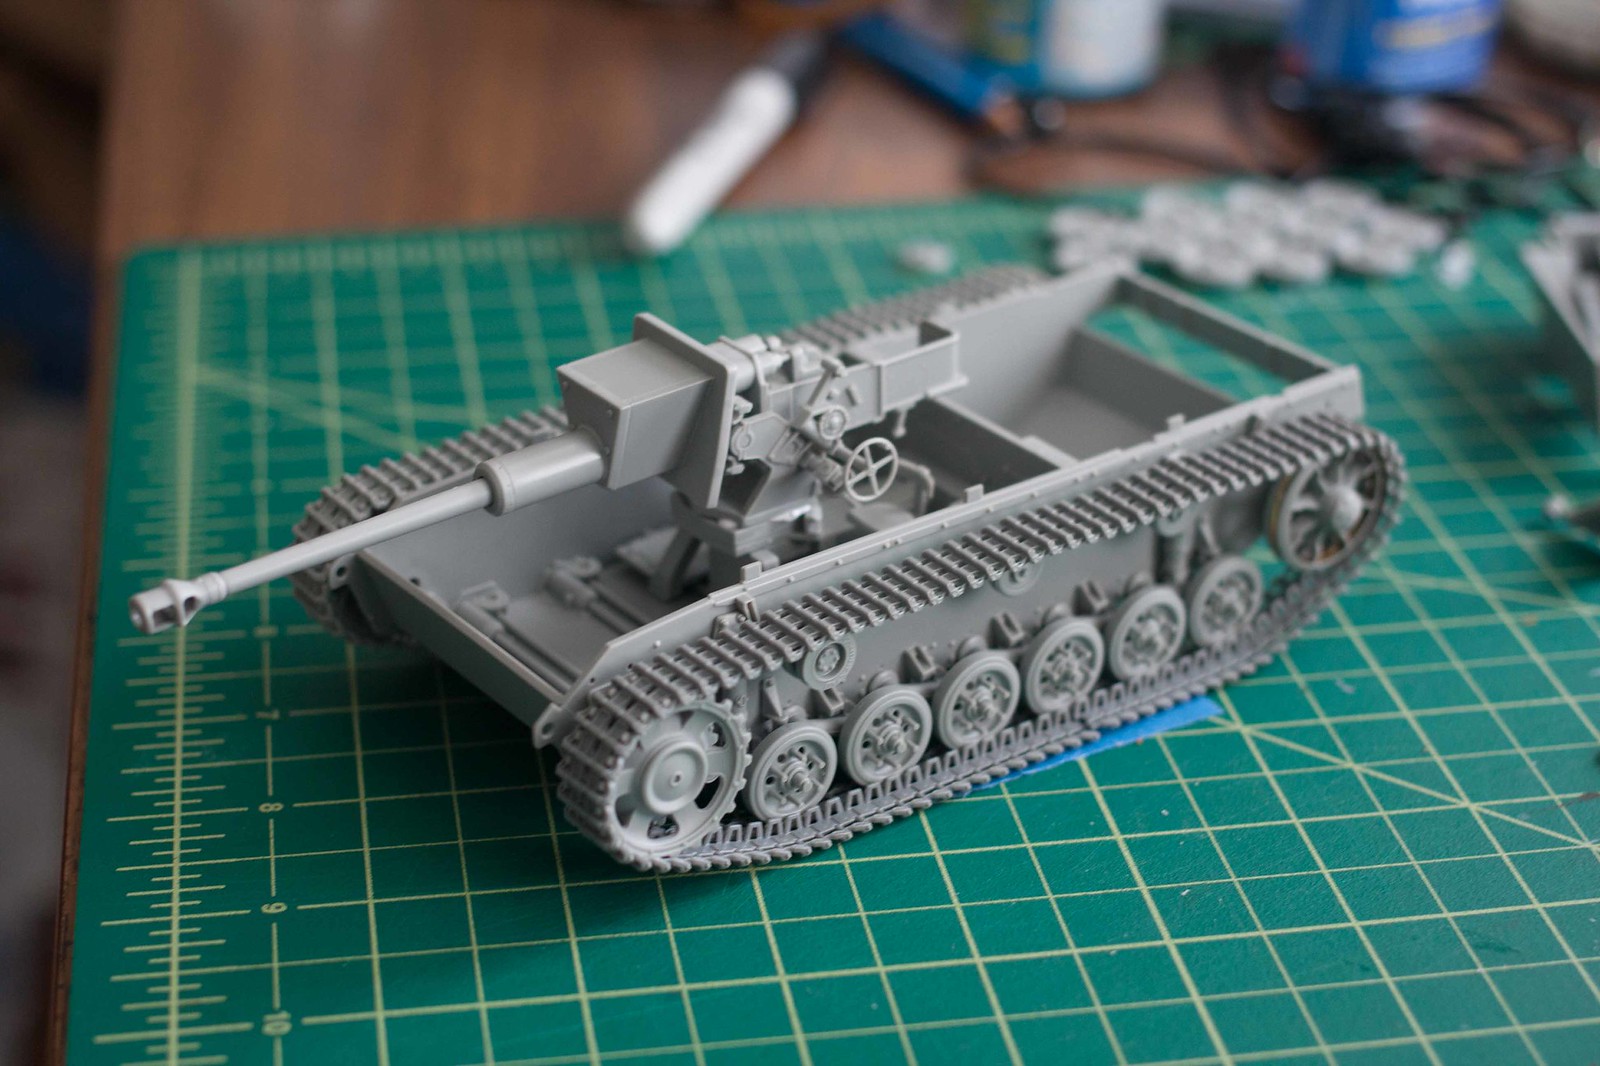
Most of the running gear is only dryfit so I can get the track run together. It'll all be removed and painted separately.
England - North East, United Kingdom
Joined: June 22, 2010
KitMaker: 1,224 posts
Armorama: 1,207 posts
Posted: Tuesday, May 27, 2014 - 08:08 PM UTC
hadnt noticed that this one had started... some great work. I am off building the AFV 251 so, until that hits the paint shop, will focus on that .. may then do Bronco or Dragon campaign next .. not sure... but will keep an eye on this one and try to get my Pz III build in before the end
Lisboa, Portugal
Joined: March 04, 2008
KitMaker: 5,386 posts
Armorama: 4,727 posts
Posted: Wednesday, May 28, 2014 - 12:44 AM UTC
Oh... so many builds are getting ready, I'm late for this one too, I will start it soon, but slowly, I have many Campaigns to work on...
Active Builds: 0
Active Campaigns: 0
Buenos Aires, Argentina
Joined: May 21, 2012
KitMaker: 765 posts
Armorama: 438 posts
Posted: Sunday, June 01, 2014 - 06:53 AM UTC
Those Radial Fighters Campaign: 1/72 FW 190 A5
Delta 2 Campaign: 1/48 Hobby Boss Mirage IIIC
Navy Boys on those Postage Stamps 1/72 Airfix Sea Harrier FA2
Working: Trumpeter A-5 Vigilante
Waiting: Phantom 60 Campaign
California, United States
Joined: August 10, 2012
KitMaker: 1,510 posts
Armorama: 1,443 posts
Posted: Sunday, June 01, 2014 - 07:55 AM UTC
I like how everyoje seems to have gone for a 'Smart' kit or Premium.

What cheek! Let them have it!
Buenos Aires, Argentina
Joined: May 21, 2012
KitMaker: 765 posts
Armorama: 438 posts
Posted: Sunday, June 01, 2014 - 03:35 PM UTC
A little advance....
Those Radial Fighters Campaign: 1/72 FW 190 A5
Delta 2 Campaign: 1/48 Hobby Boss Mirage IIIC
Navy Boys on those Postage Stamps 1/72 Airfix Sea Harrier FA2
Working: Trumpeter A-5 Vigilante
Waiting: Phantom 60 Campaign
Arkansas, United States
Joined: June 29, 2009
KitMaker: 11,610 posts
Armorama: 7,843 posts
Posted: Tuesday, June 03, 2014 - 07:54 AM UTC
Nice progress, guys. I should have my replacement parts in a week. I'm really looking forward to the paint shop.
Ideals are peaceful. History is violent.
Namabiiru
Associate Editor #399
Rhode Island, United States
Joined: March 05, 2014
KitMaker: 2,888 posts
Armorama: 1,920 posts
Posted: Tuesday, June 03, 2014 - 08:48 AM UTC
Just to confirm, adding snow and/or mud is fair game, right?
Arkansas, United States
Joined: June 29, 2009
KitMaker: 11,610 posts
Armorama: 7,843 posts
Posted: Wednesday, June 04, 2014 - 07:49 AM UTC
All weathering is fair game.
Ideals are peaceful. History is violent.
Virginia, United States
Joined: October 17, 2011
KitMaker: 237 posts
Armorama: 235 posts
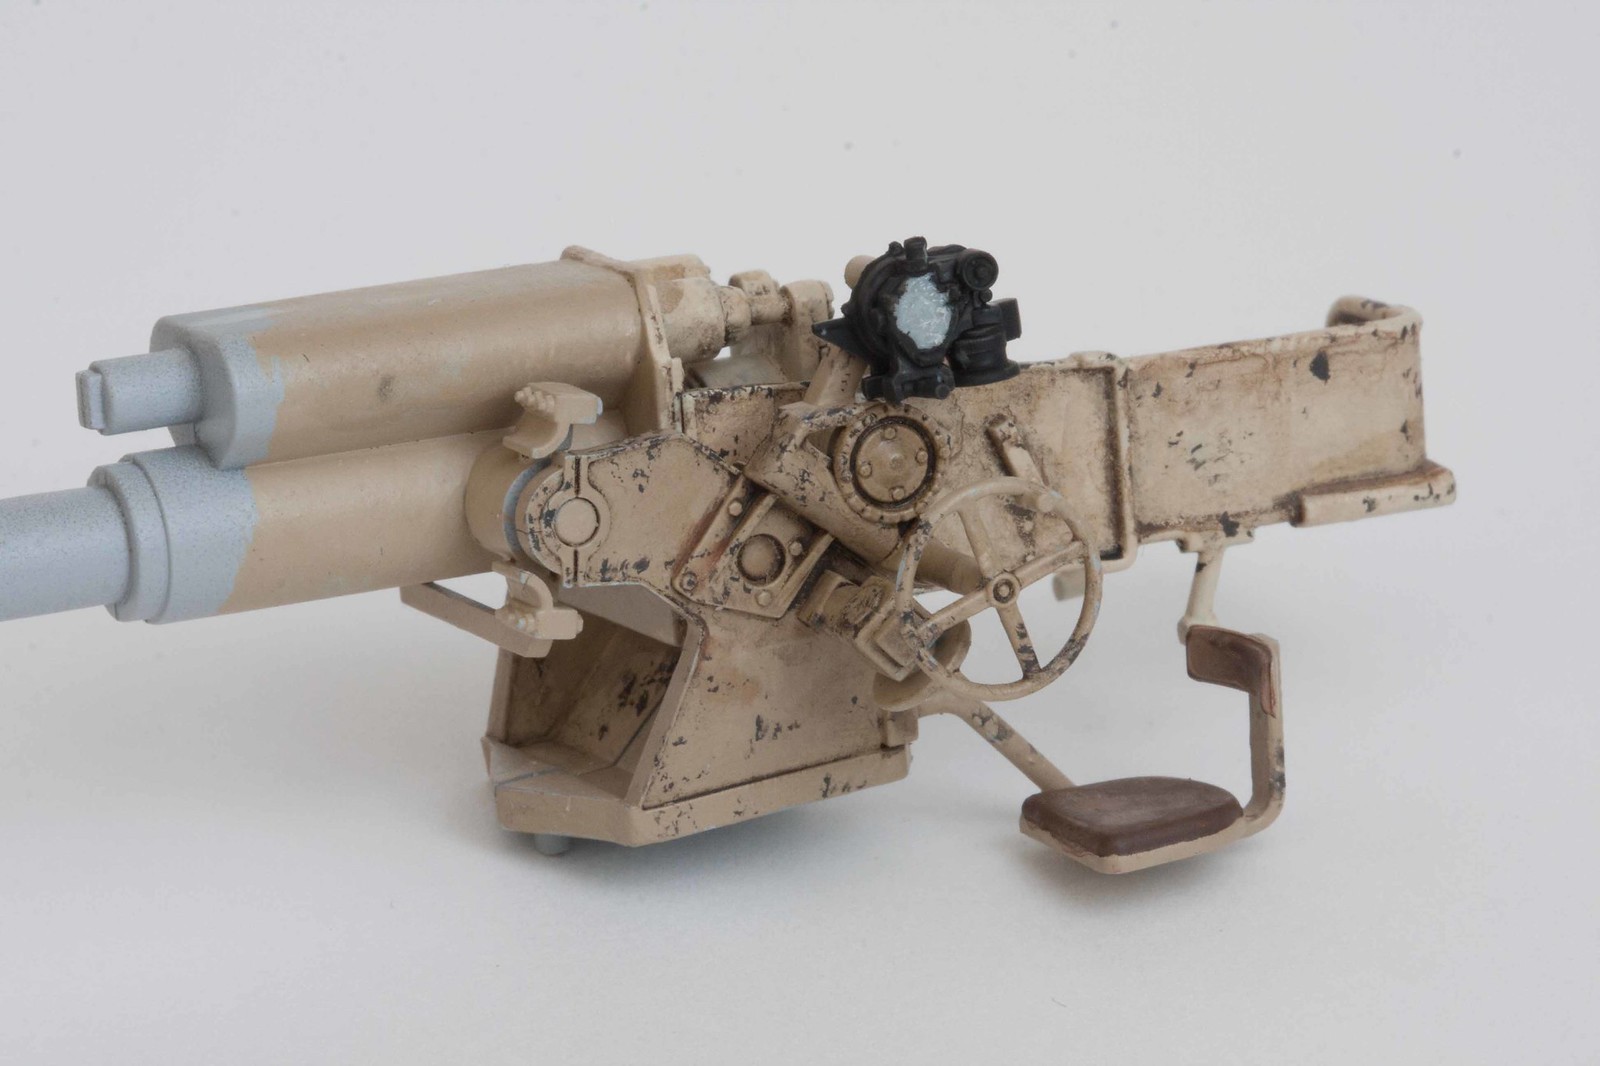
Posted: Saturday, June 07, 2014 - 01:29 PM UTC
Progress!
All the sub assemblies laid out. I've left off many small detail parts so as to make it easier to get these together.
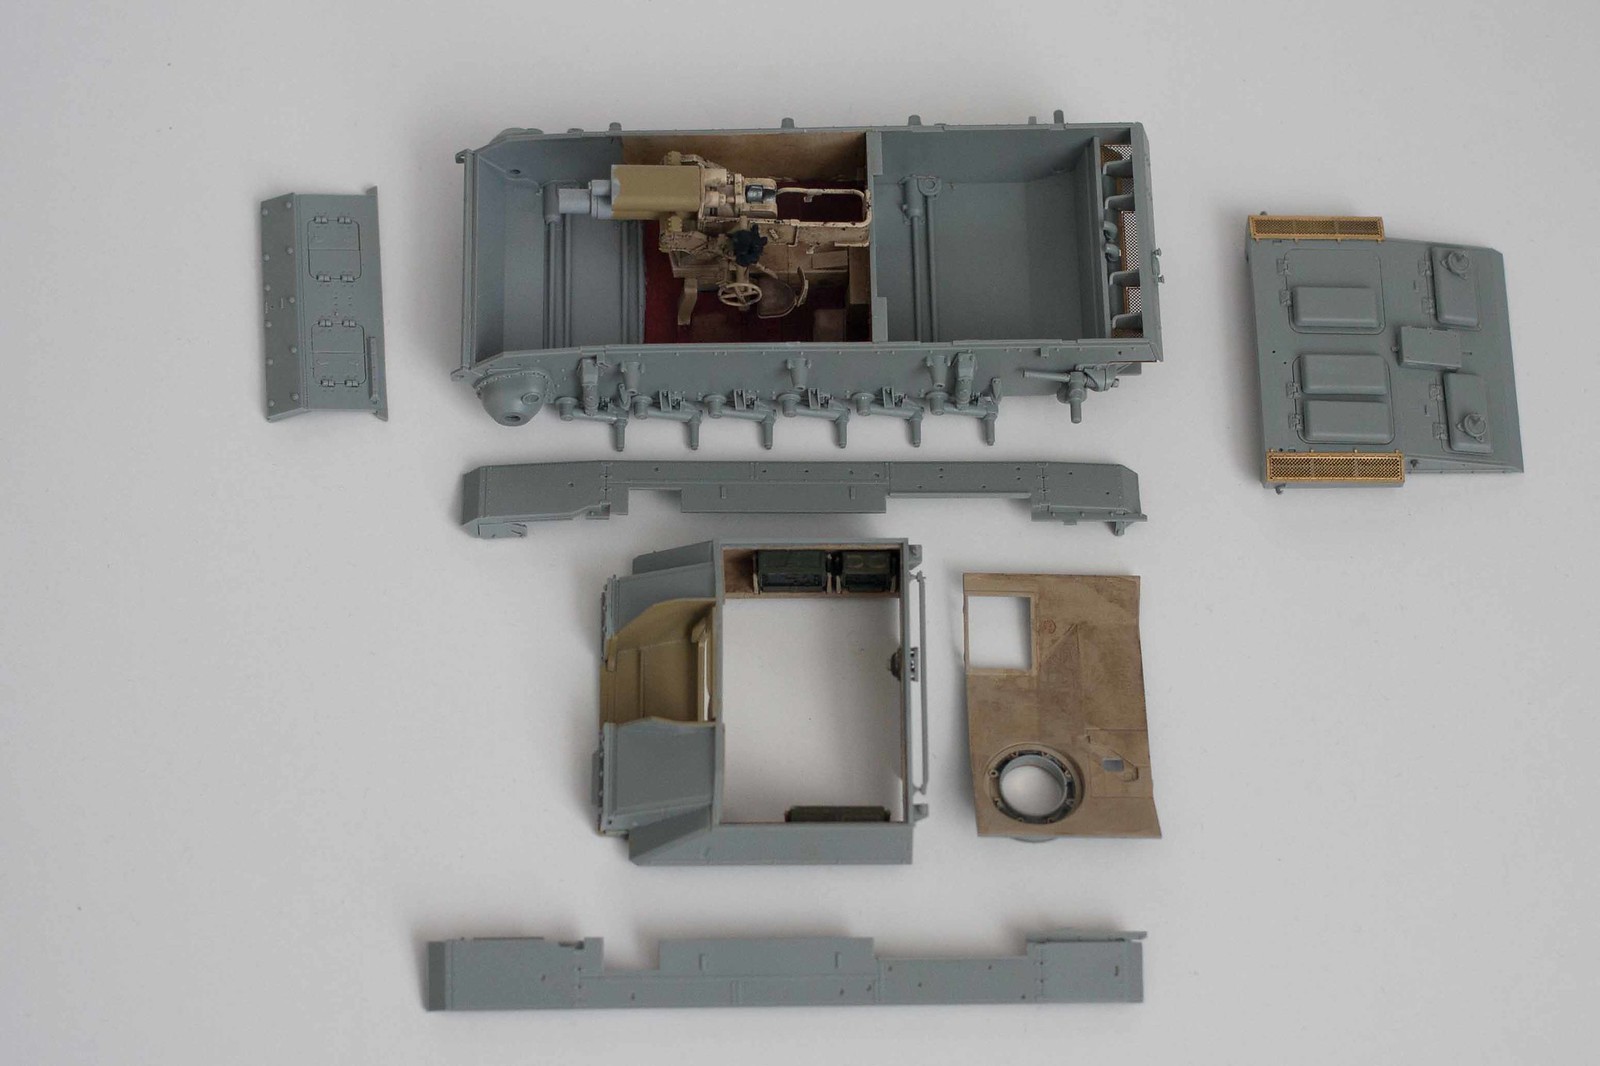
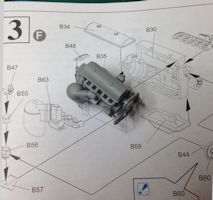
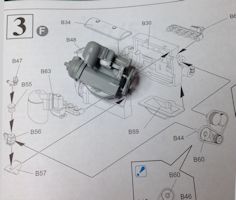
Close up of the gun assembly. I've tried chipping with a bit of sponge, my first attempt at the technique. Not too bad, though the chips are larger than I'd like.
Fenders joined to center part.
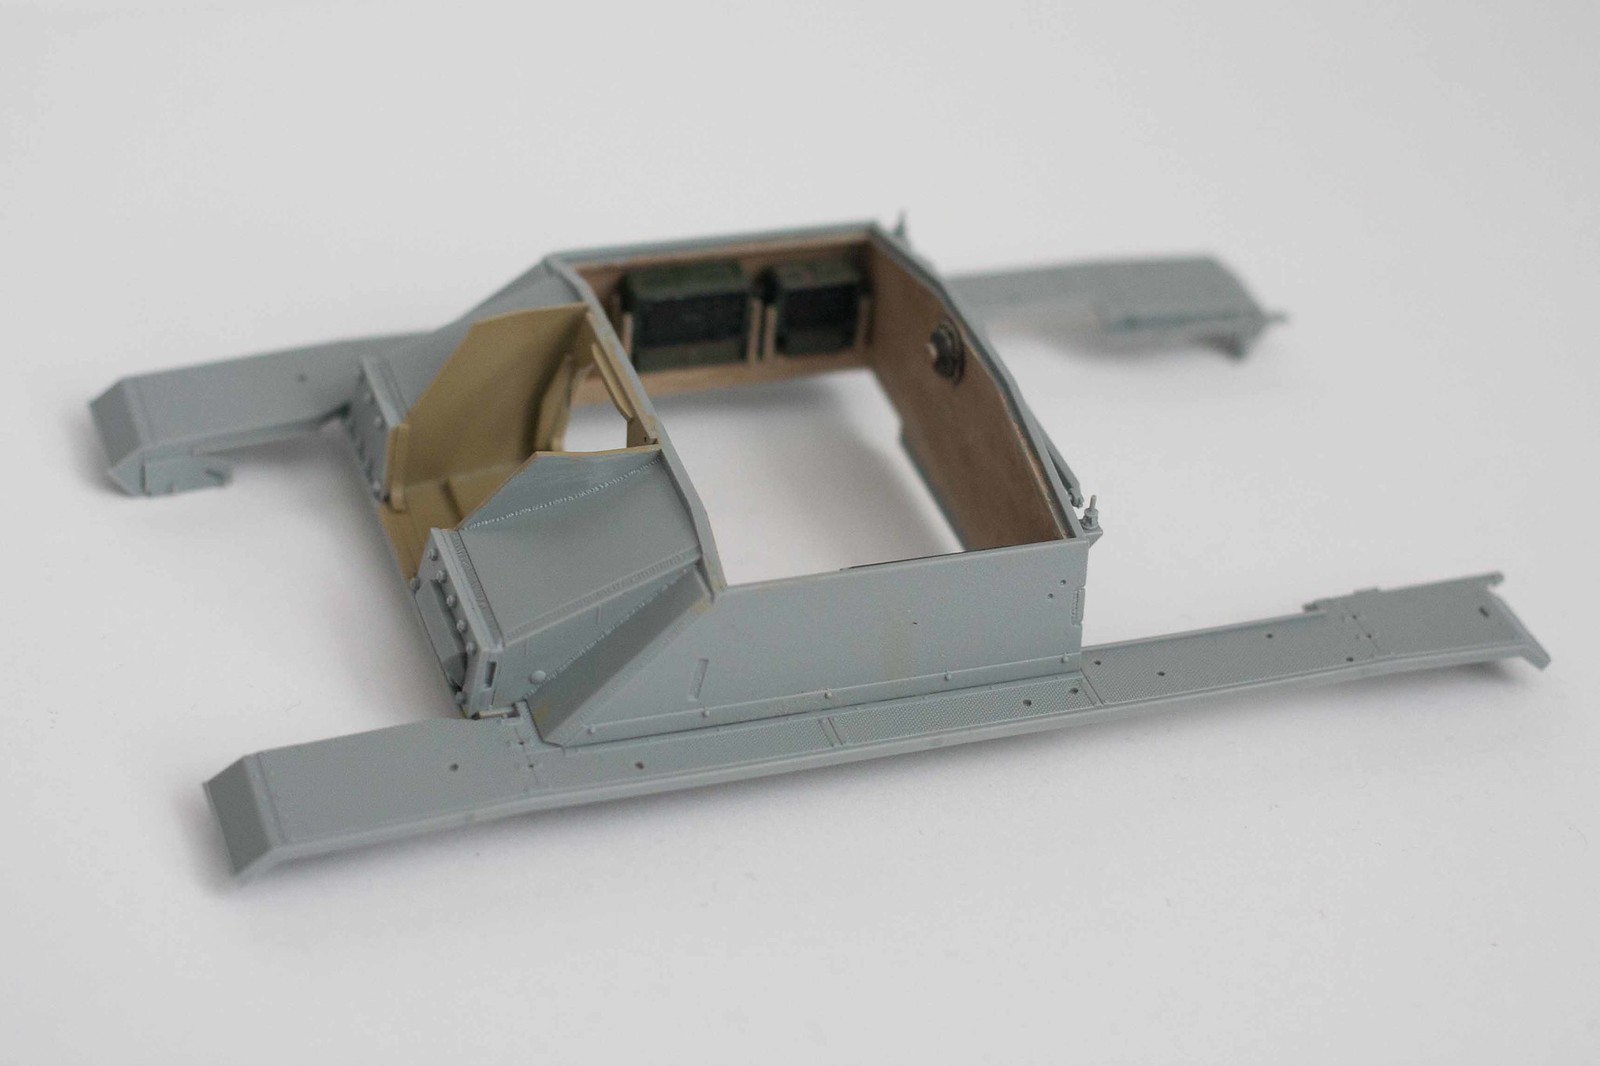
The front plate was glued first, then the assembly above was glued, after the gun was fitted. This whole procedure pretty tricky but I managed it, despite the gap you can see above the firewall. The rear deck fits well and the gap will be filled and painted and probably not visible through the hatches.
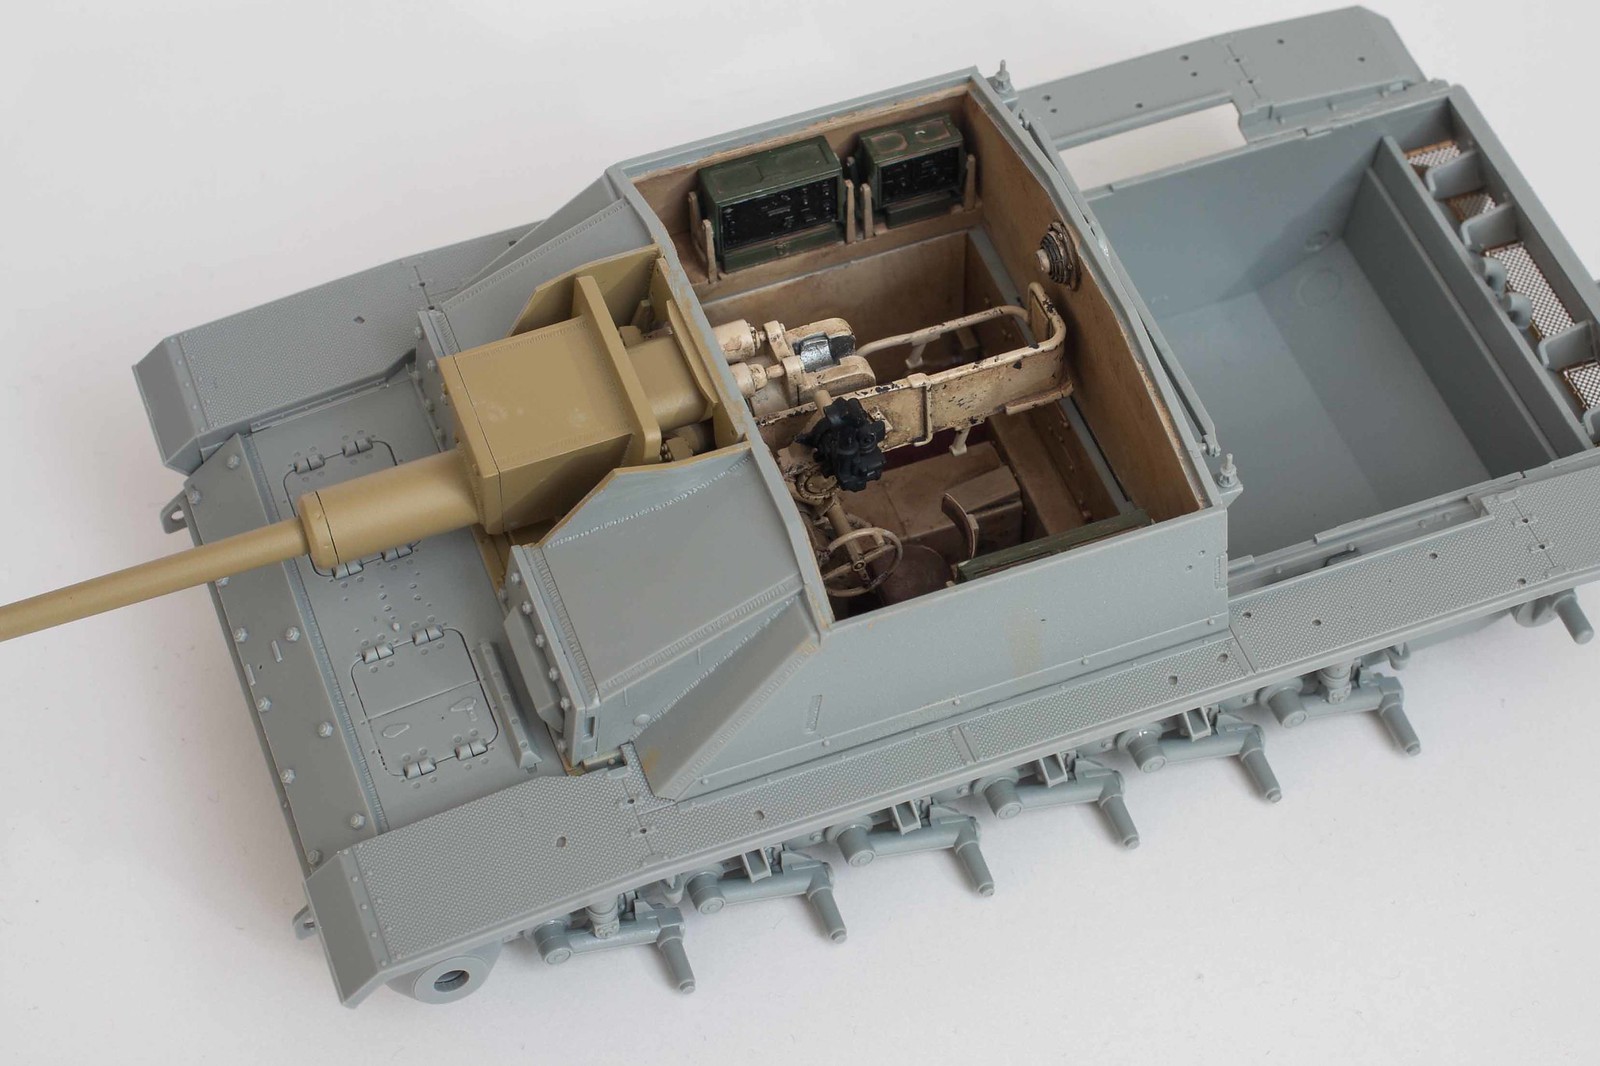
Given past experience with dragon kits I was expecting more fit problems than I had. I didn't immediately realize though, that there were three tabs on each side of the hull tub that need removing. They're not mentioned in the instructions.