Puerto Rico
Joined: December 05, 2013
KitMaker: 314 posts
Armorama: 253 posts
Posted: Friday, July 11, 2014 - 12:40 AM UTC
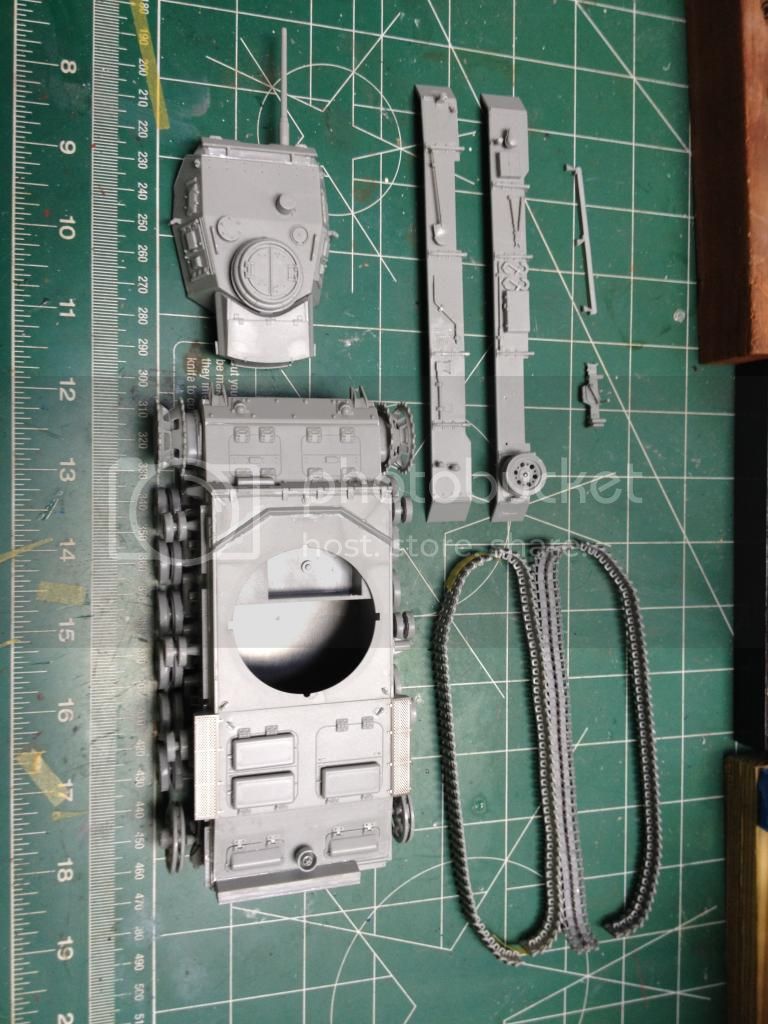
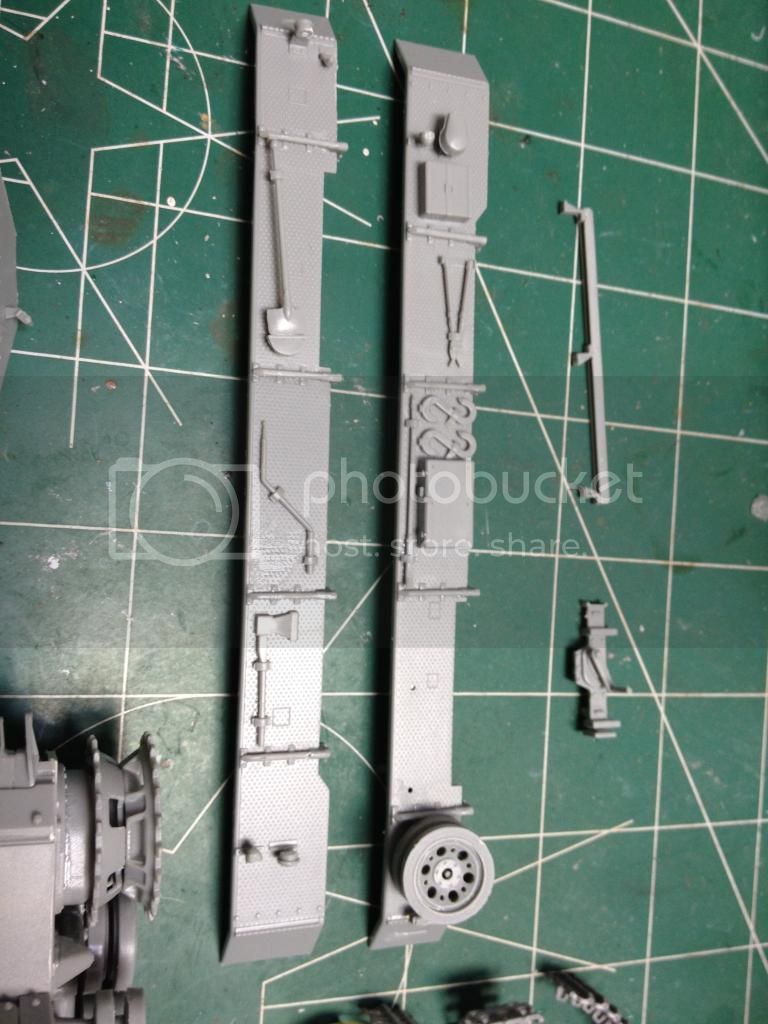
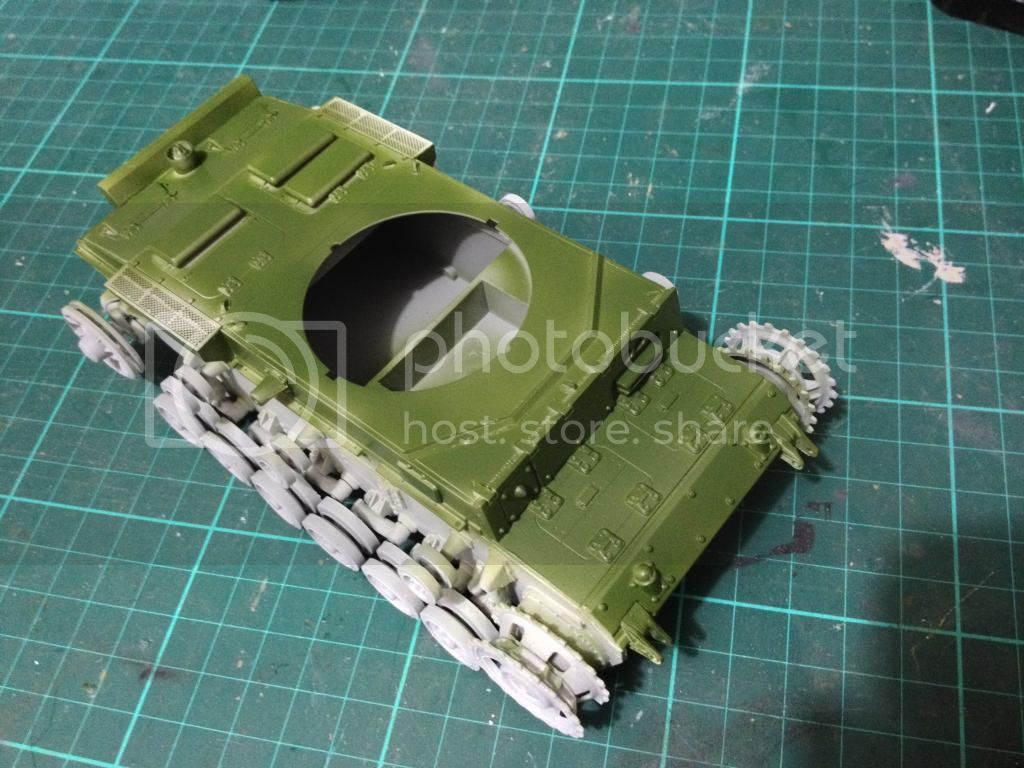
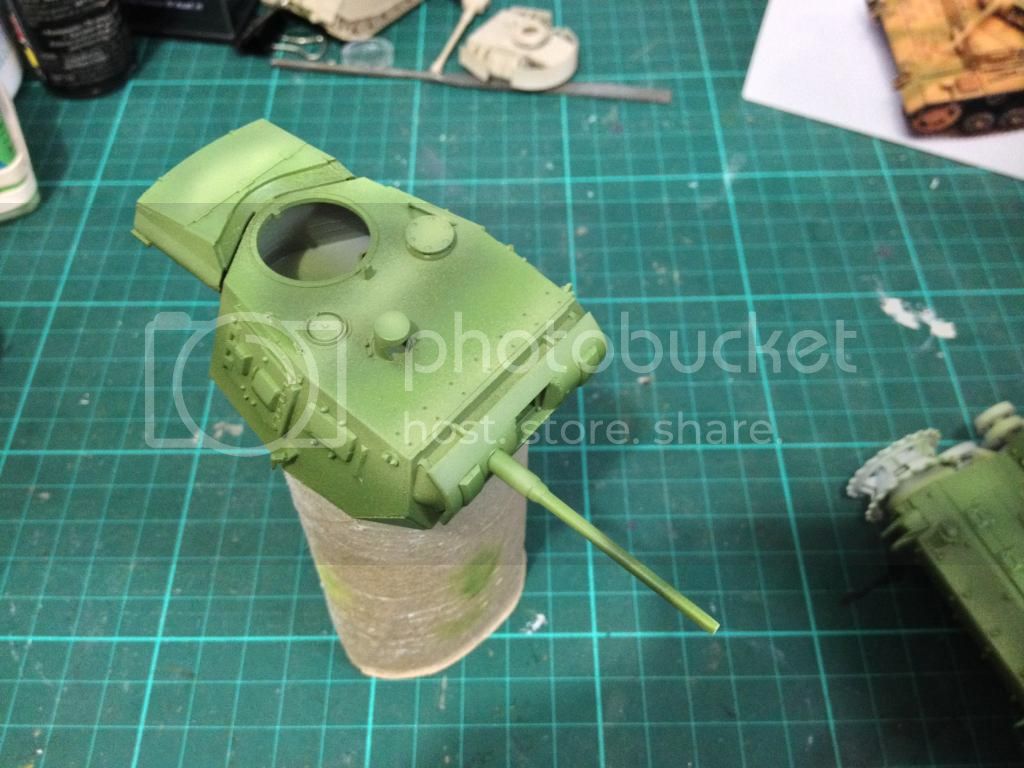
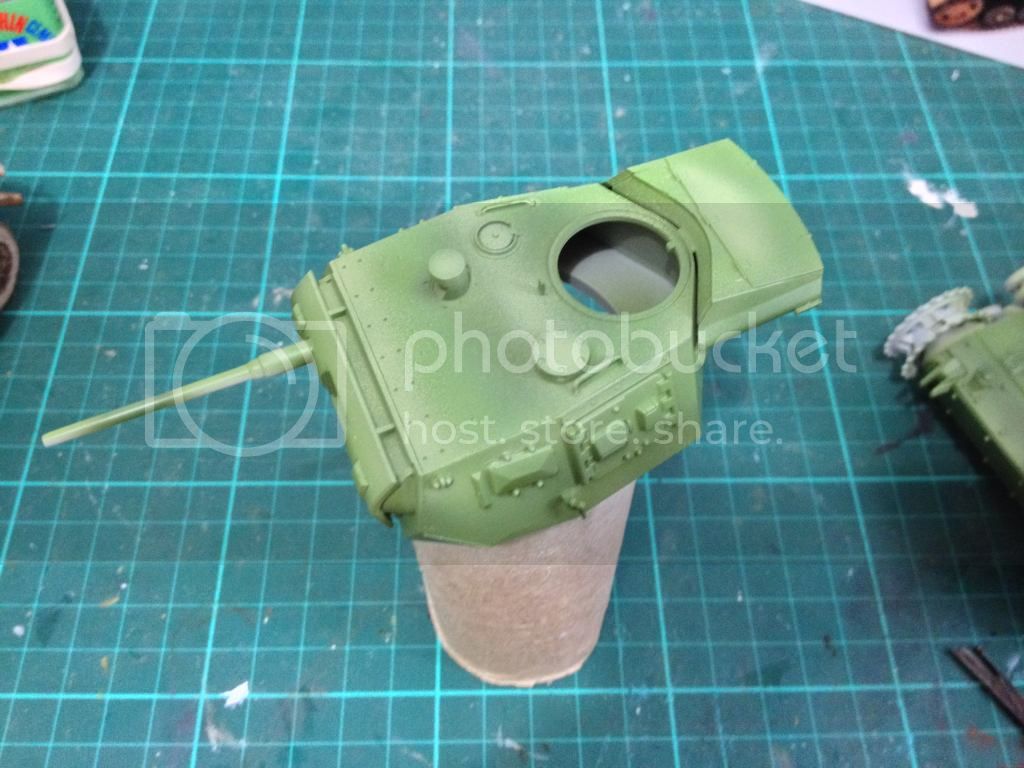
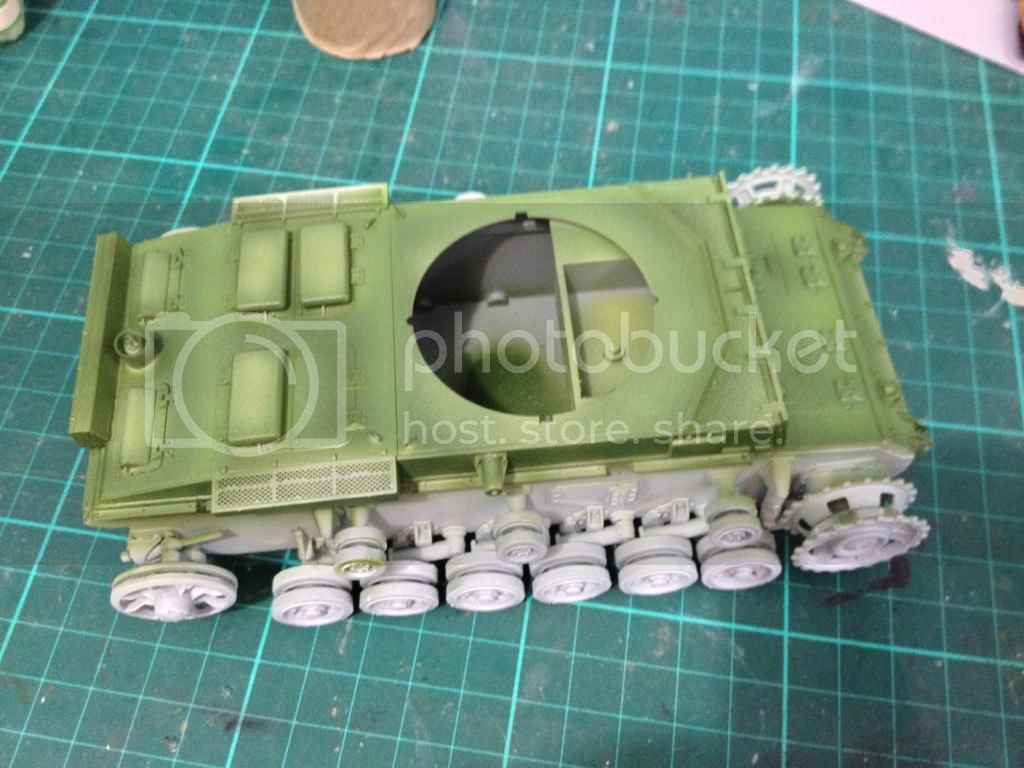
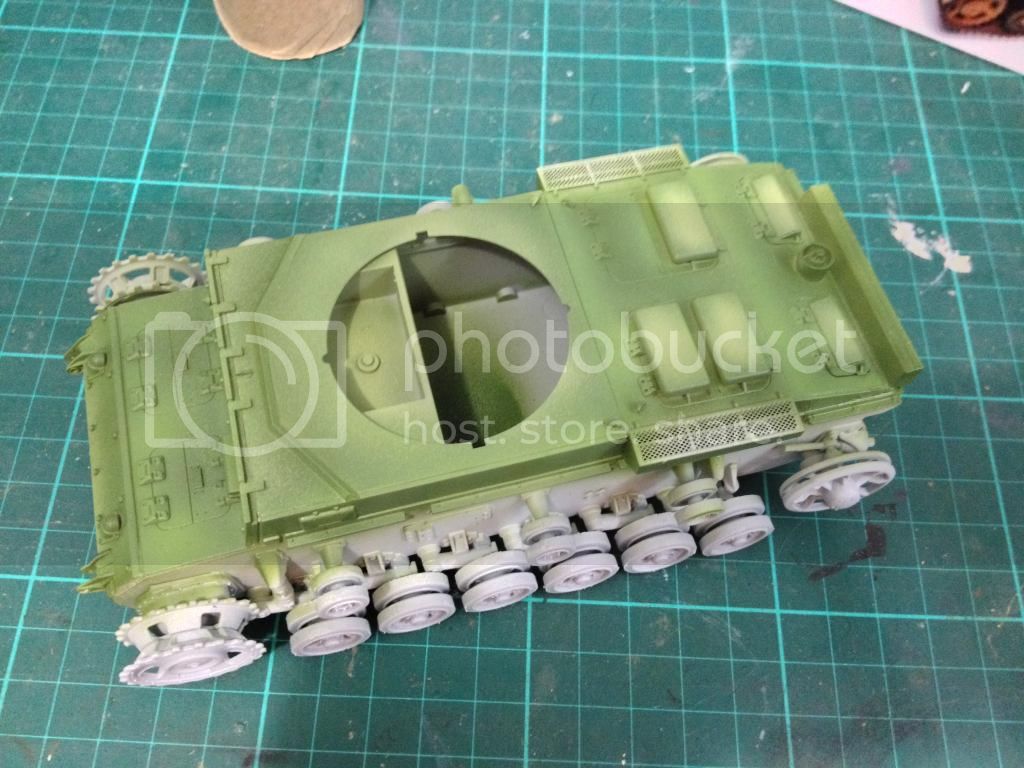
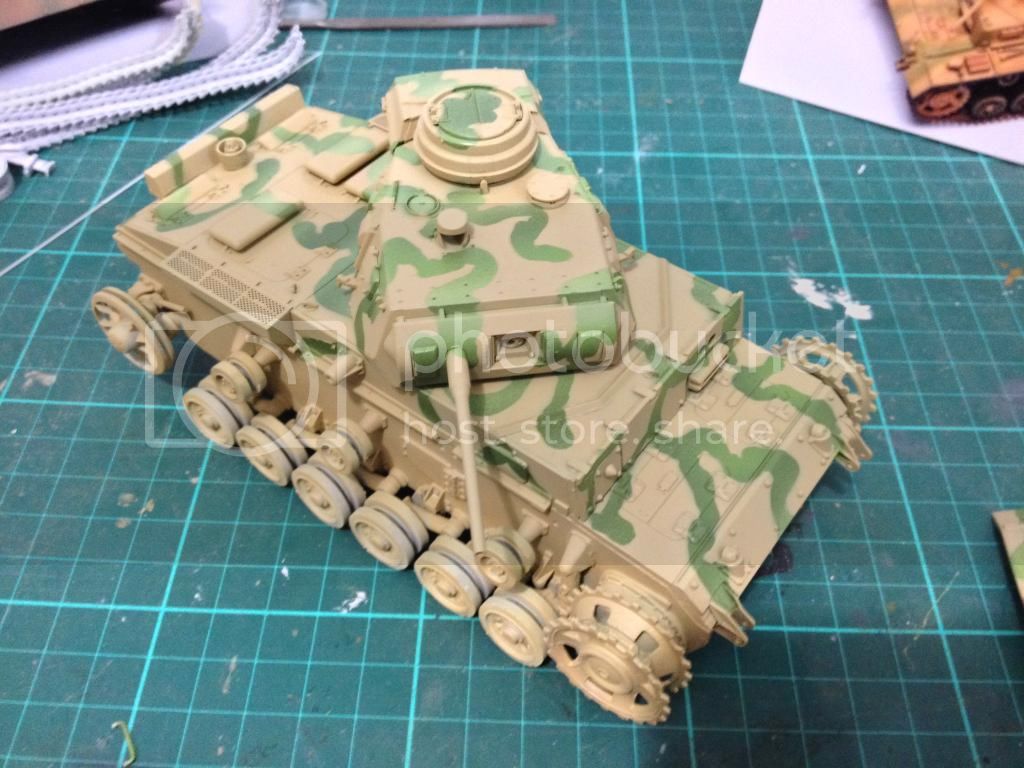
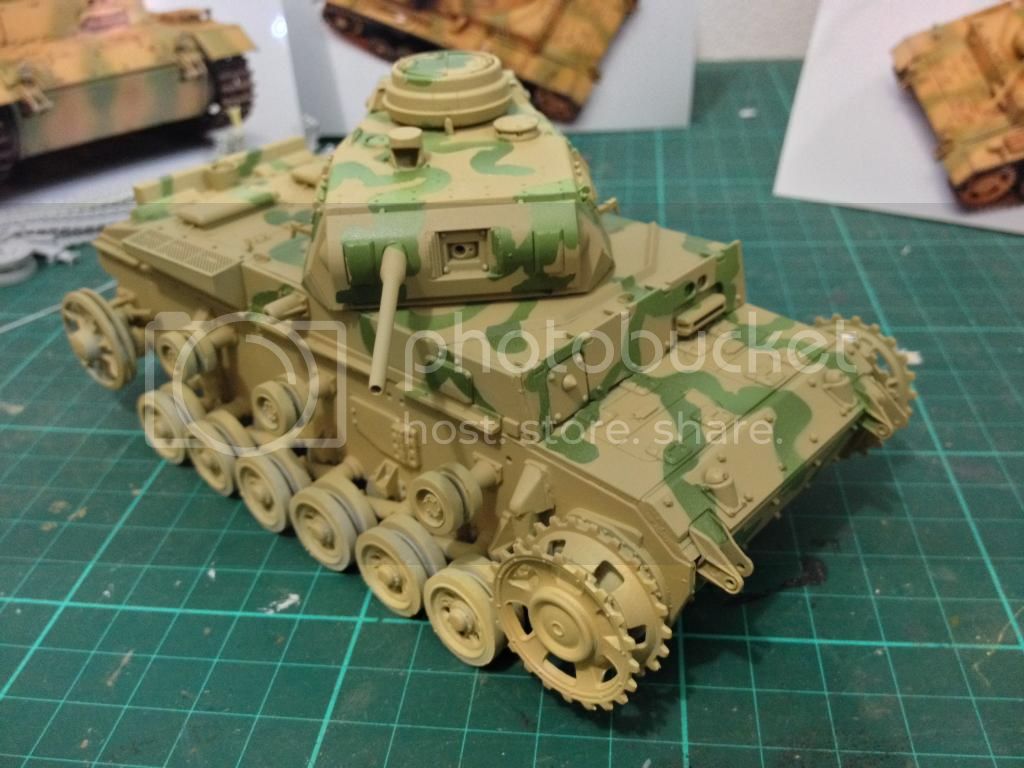
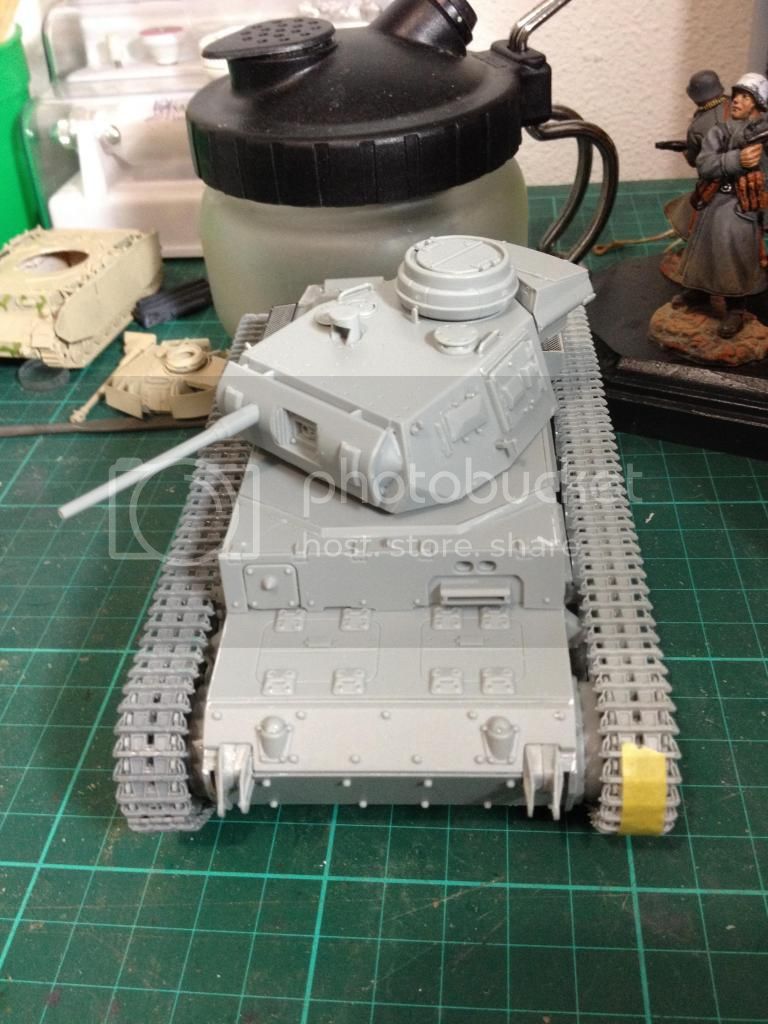
Well last night I work just two more hours, so with that little time I finished all the details of the turret. I just left apart the machine gun barrel so I can paint it easily.
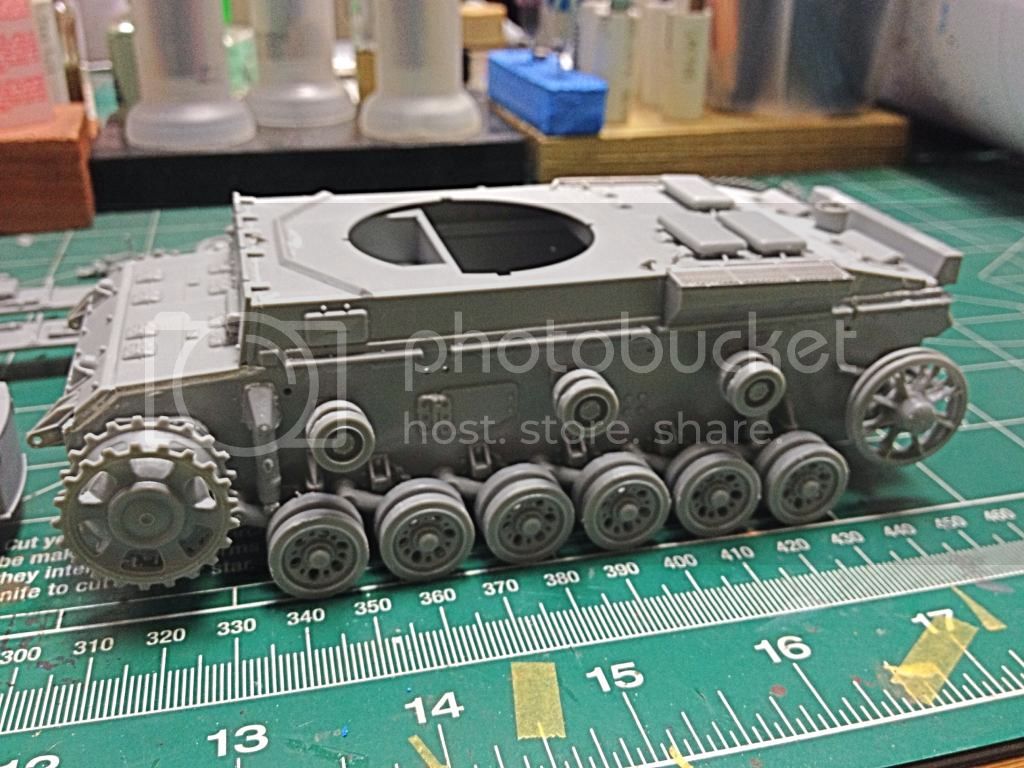
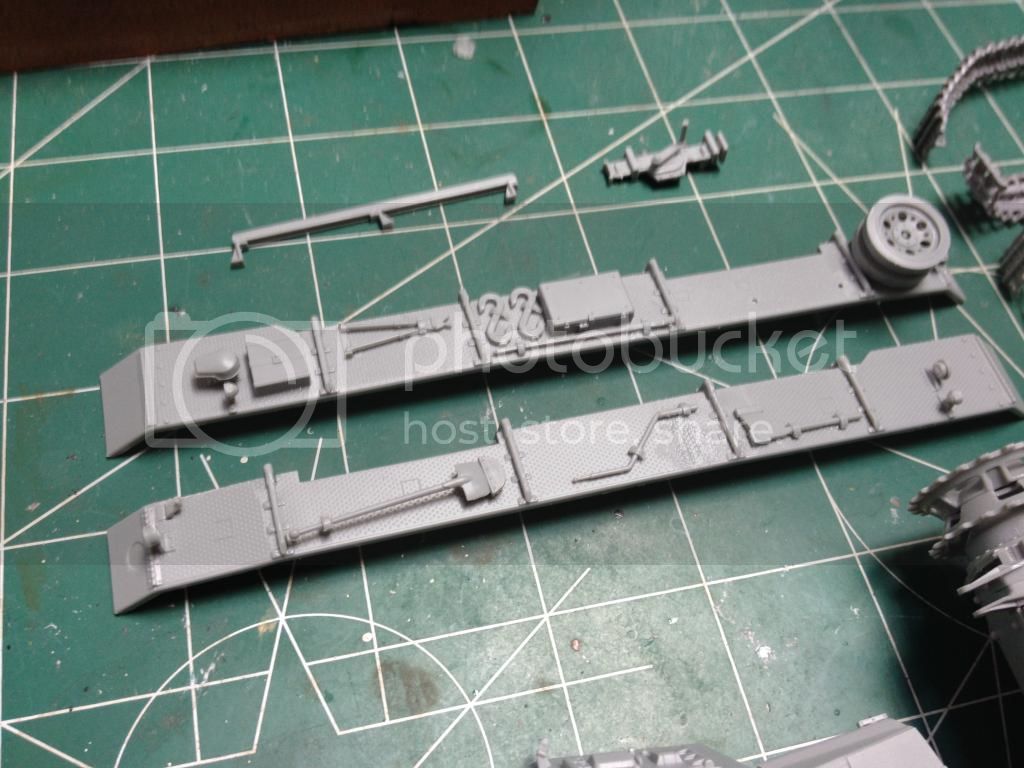
Next the fenders and constructions is done.

Visit our site and learn more about our Club:
www.ipmsborinqueneers.com
England - North East, United Kingdom
Joined: June 22, 2010
KitMaker: 1,224 posts
Armorama: 1,207 posts
Posted: Friday, July 11, 2014 - 12:56 AM UTC
nice work.. just 1 question, have you got the tracks on the right side? my plans (at least how I read them) as the very small point bit on the outside of the tracks... dont know if that is a moulding flaw or how they were designed...
could be me - in which case "damn & blast I have the tracks on the wrong way round"....
Puerto Rico
Joined: December 05, 2013
KitMaker: 314 posts
Armorama: 253 posts
Posted: Friday, July 11, 2014 - 07:15 AM UTC
Quoted Text
nice work.. just 1 question, have you got the tracks on the right side? my plans (at least how I read them) as the very small point bit on the outside of the tracks... dont know if that is a moulding flaw or how they were designed...
could be me - in which case "damn & blast I have the tracks on the wrong way round"....
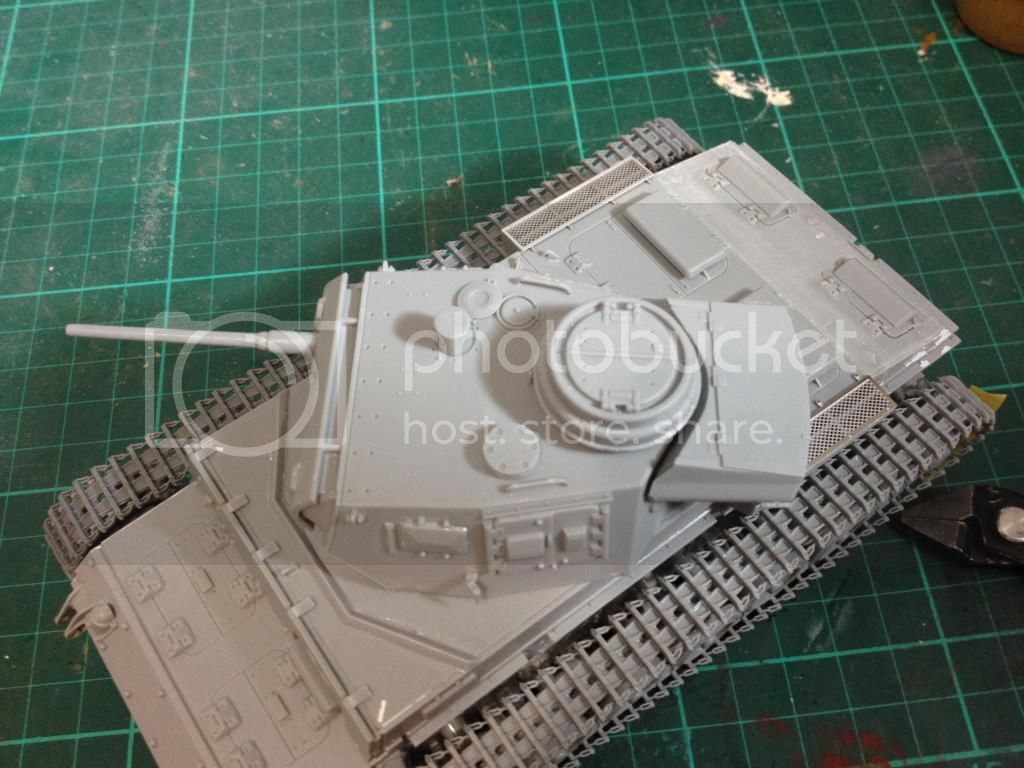
Well I used the next images on the instruction were you can see the way of the tracks, but also compare with museum pictures to make sure, you know Dragon is famous to bring error in the instructions.
Hope this picture help you solve your question.
Visit our site and learn more about our Club:
www.ipmsborinqueneers.com
Illinois, United States
Joined: February 22, 2013
KitMaker: 15 posts
Armorama: 12 posts
Posted: Friday, July 11, 2014 - 10:32 AM UTC
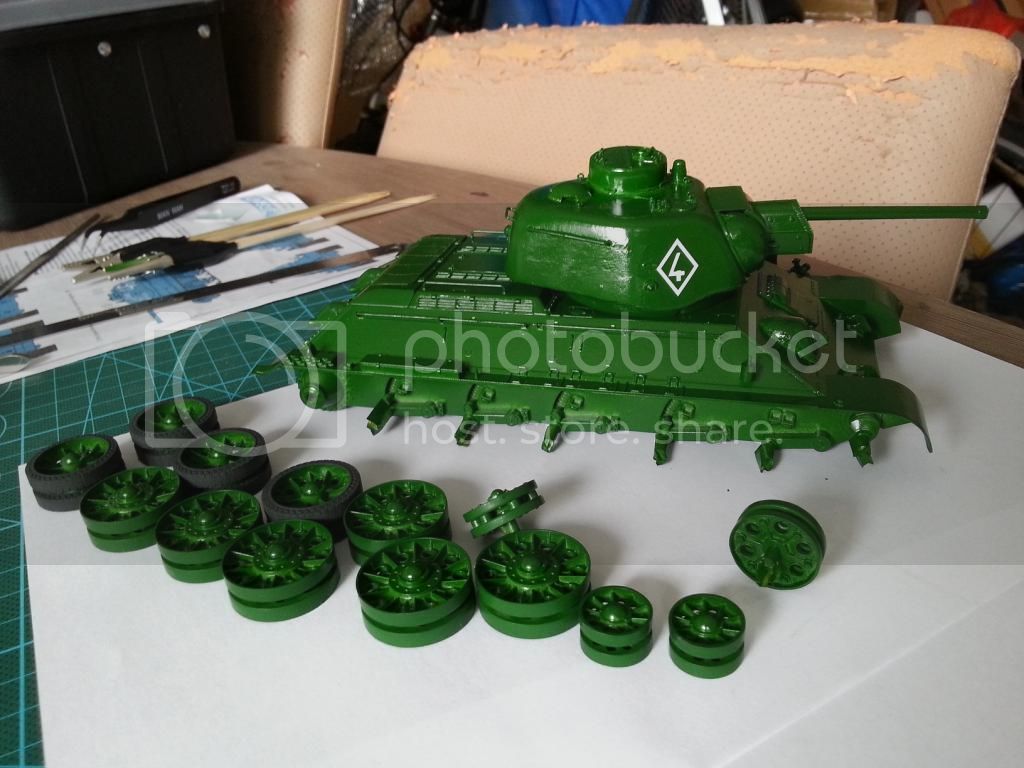
Hi everybody, just joined this campaign. I will build either T-34/76 or a Jagdtiger, I haven't decided yet. Hopefully I can finish before deadline

Queensland, Australia
Joined: December 19, 2012
KitMaker: 74 posts
Armorama: 68 posts
Posted: Saturday, July 12, 2014 - 04:49 PM UTC
Paint is on, rather bright though. I will use several dark washes to tone it down.
"Allow me to be the first to offer Dr. Johnson my most sincere contrafibularities! I am anaspeptic, frasmotic, even compunctuous to have caused him such pericombobulation." - BlackAdder
Arkansas, United States
Joined: June 29, 2009
KitMaker: 11,610 posts
Armorama: 7,843 posts
Posted: Sunday, July 13, 2014 - 12:57 AM UTC
Marcin, glad to have you on board.
Ideals are peaceful. History is violent.
Puerto Rico
Joined: December 05, 2013
KitMaker: 314 posts
Armorama: 253 posts
Posted: Sunday, July 13, 2014 - 01:45 PM UTC
Visit our site and learn more about our Club:
www.ipmsborinqueneers.com
Washington, United States
Joined: February 04, 2006
KitMaker: 302 posts
Armorama: 300 posts
Posted: Sunday, July 13, 2014 - 08:18 PM UTC
Quoted Text
Hi guys:
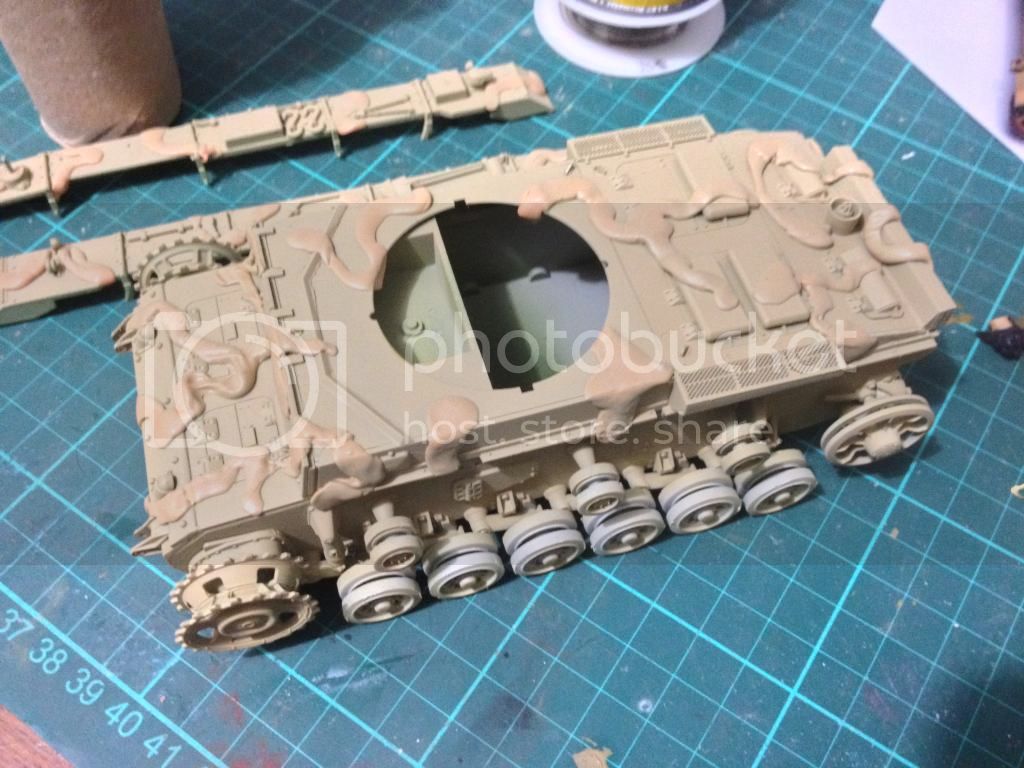
Constructions done on Friday Night, Primed on Saturday and today (Sunday) started with the green color of the Camo.
I wanted to make some shadows and lights with the green so started with the darker one. Pictures coming soon.
I will be following this one since I am building the same kit over in constructive feed back. Ohh the #&$&#@ tracks with the two sink holes....why dragon why???

Puerto Rico
Joined: December 05, 2013
KitMaker: 314 posts
Armorama: 253 posts
Posted: Monday, July 14, 2014 - 01:18 AM UTC
Visit our site and learn more about our Club:
www.ipmsborinqueneers.com
Washington, United States
Joined: February 04, 2006
KitMaker: 302 posts
Armorama: 300 posts
Posted: Monday, July 14, 2014 - 02:37 AM UTC
Quoted Text
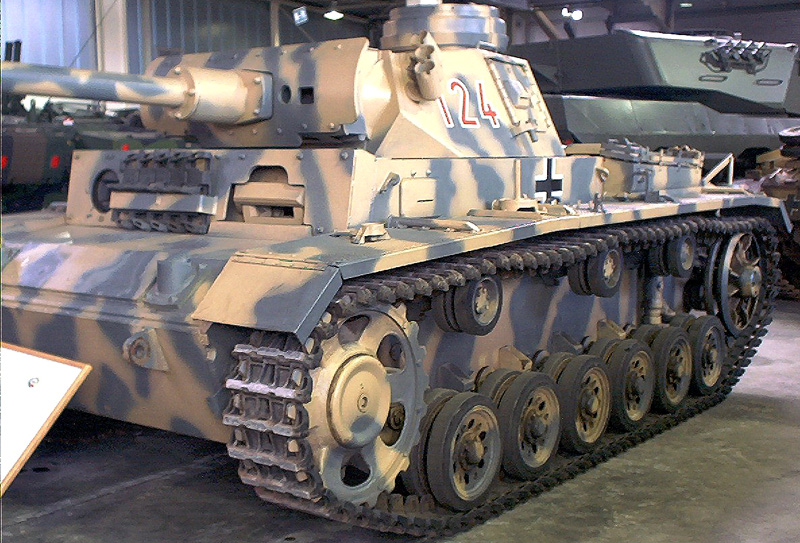
Hi Easy8!
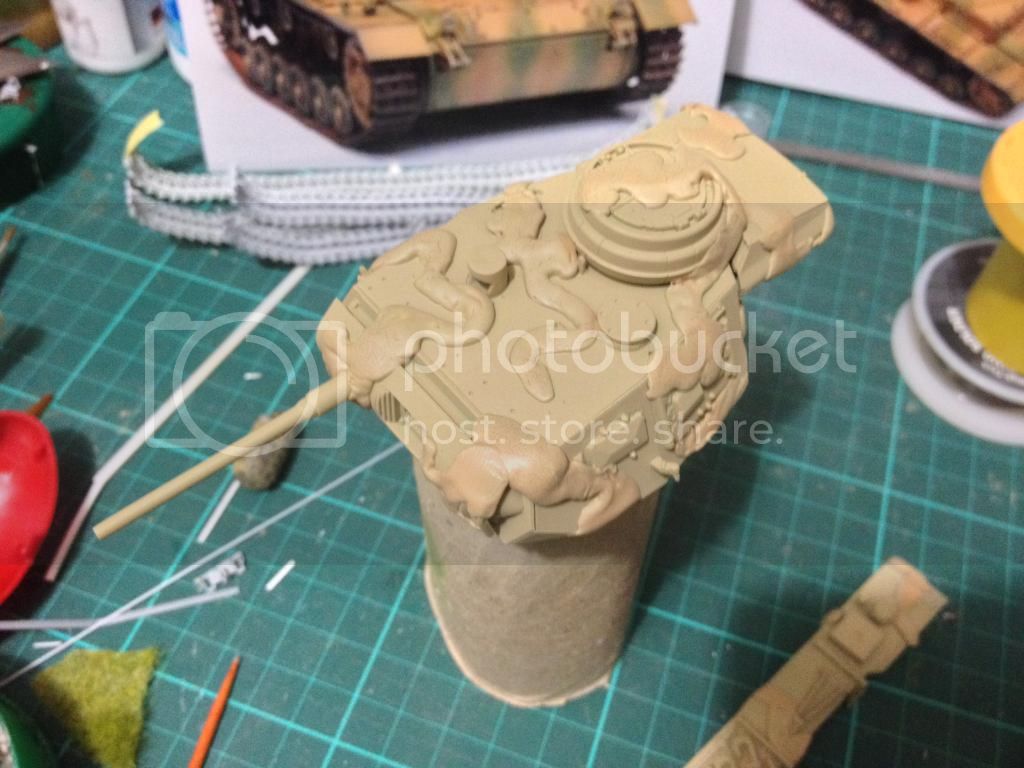
I saw your work on your panzer 3! I must say this kit is not included in the seven wonders of the World list but, its a chance to make a simple tank Out of the box and try out new ideas for painting. I just primed the model in white, but instead of going to the base color I started with the camo color in the darkest color first, then today I will go again with a less darker until I achieve some light on it. So let see if this work for me. 

Have never done a german camo this way so I will keep my fingers crossed. BTW you lost a crew handle on the turret in that last shot. Hope the carpet monster did not get it.
Puerto Rico
Joined: December 05, 2013
KitMaker: 314 posts
Armorama: 253 posts
Posted: Monday, July 14, 2014 - 03:09 AM UTC
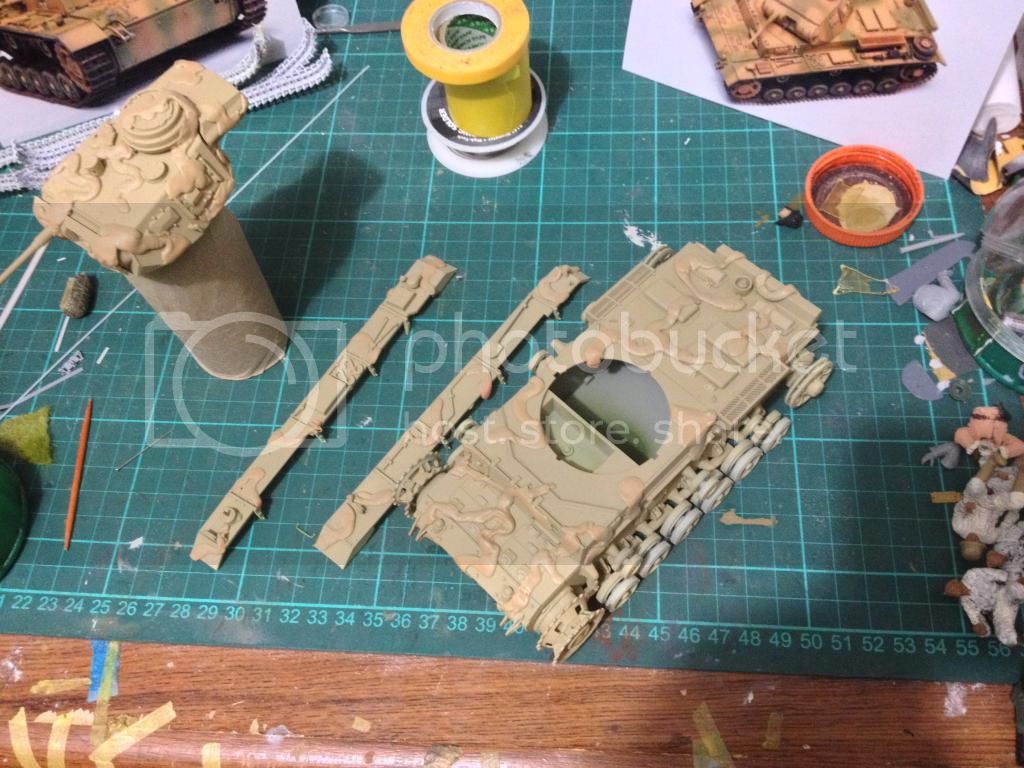
Well its my second attempt doing these method. You can see my first try here:
https://armorama.kitmaker.net/forums/223232&page=1Thanks for pointing out the missing handle, I didn't see!! probably in the Fifth Dimension by now..so I grab a spare one from the box.
Visit our site and learn more about our Club:
www.ipmsborinqueneers.com
Puerto Rico
Joined: December 05, 2013
KitMaker: 314 posts
Armorama: 253 posts
Posted: Wednesday, July 16, 2014 - 12:39 AM UTC
Visit our site and learn more about our Club:
www.ipmsborinqueneers.com
Arkansas, United States
Joined: June 29, 2009
KitMaker: 11,610 posts
Armorama: 7,843 posts
Posted: Wednesday, July 16, 2014 - 12:41 AM UTC
All of these builds are looking great! I started out ahead, but rain has put me out of service. I am going to rebuild the lower hull, as some dust got mixed in with the gloss coat. It is not in an area easily sanded. Glad I purchased a spares kit.
Ideals are peaceful. History is violent.
Illinois, United States
Joined: February 22, 2013
KitMaker: 15 posts
Armorama: 12 posts
Posted: Friday, July 18, 2014 - 09:29 AM UTC
Here is my entry. Decided to do T-34/76 because I would probably not finish Jagdtiger on time.

Puerto Rico
Joined: December 05, 2013
KitMaker: 314 posts
Armorama: 253 posts
Posted: Sunday, July 20, 2014 - 03:16 AM UTC
Hi guys, more progress on my PZBEOB WG III Ausf H.
I applied silly putty on all the model to cover the areas were the green camo will stay.
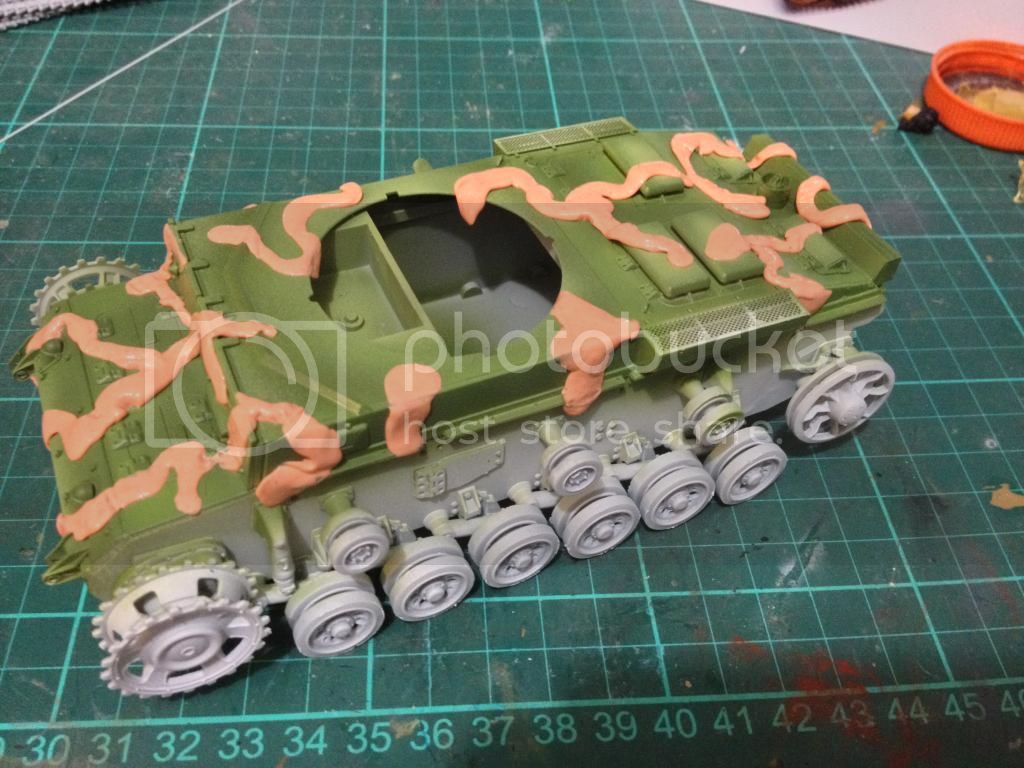
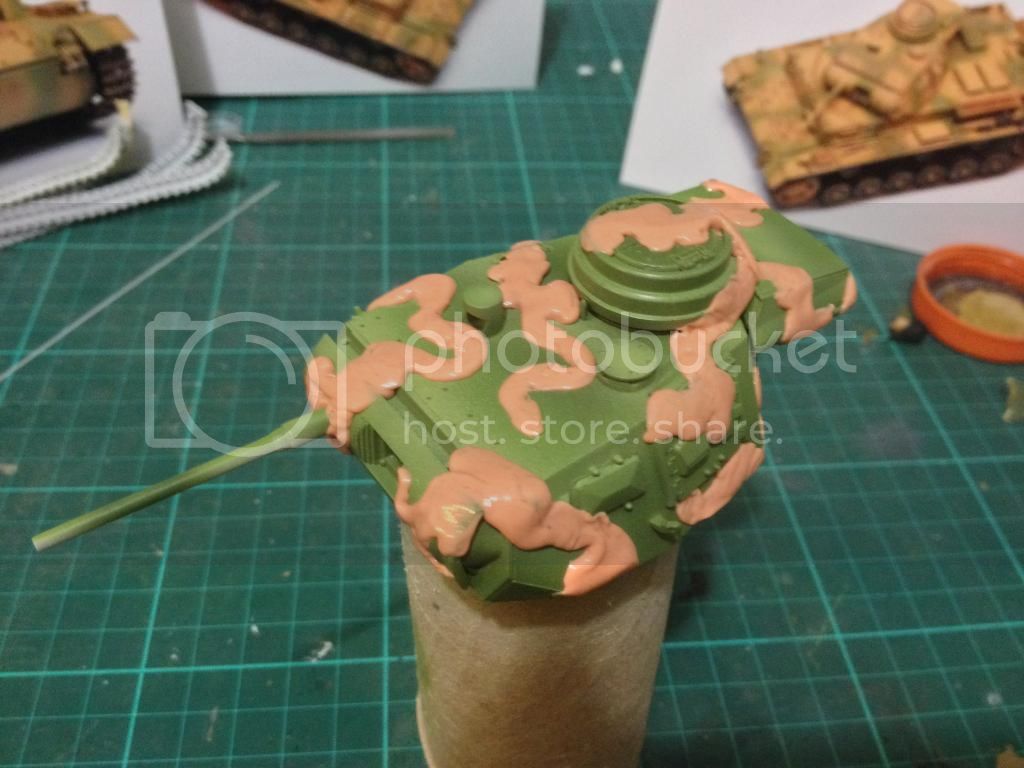
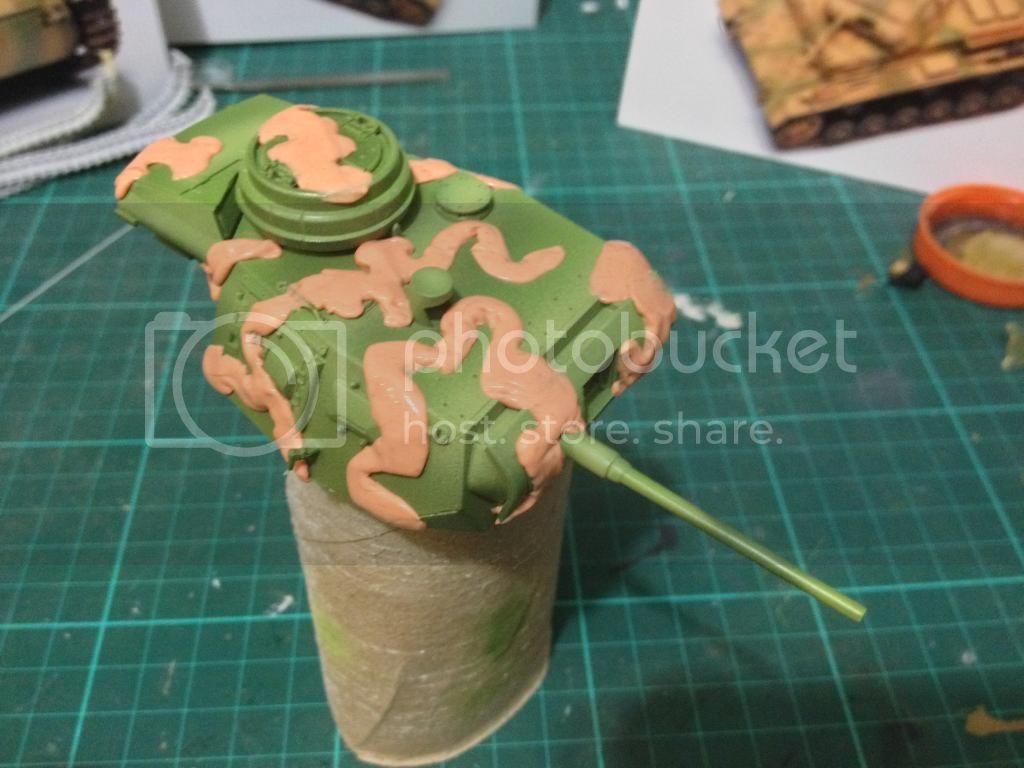
Visit our site and learn more about our Club:
www.ipmsborinqueneers.com
Puerto Rico
Joined: December 05, 2013
KitMaker: 314 posts
Armorama: 253 posts
Posted: Sunday, July 20, 2014 - 03:19 AM UTC
Visit our site and learn more about our Club:
www.ipmsborinqueneers.com
Puerto Rico
Joined: December 05, 2013
KitMaker: 314 posts
Armorama: 253 posts
Posted: Sunday, July 20, 2014 - 03:22 AM UTC
Visit our site and learn more about our Club:
www.ipmsborinqueneers.com
Washington, United States
Joined: February 04, 2006
KitMaker: 302 posts
Armorama: 300 posts
Posted: Sunday, July 20, 2014 - 03:28 AM UTC
Looks nice! having never done that does it destroy the silly putty? Just have to knw
Puerto Rico
Joined: December 05, 2013
KitMaker: 314 posts
Armorama: 253 posts
Posted: Sunday, July 20, 2014 - 11:58 AM UTC
Quoted Text
Looks nice! having never done that does it destroy the silly putty? Just have to knw
Not at all, just play with it in your hands and goes back as good as new.
Visit our site and learn more about our Club:
www.ipmsborinqueneers.com
Puerto Rico
Joined: December 05, 2013
KitMaker: 314 posts
Armorama: 253 posts
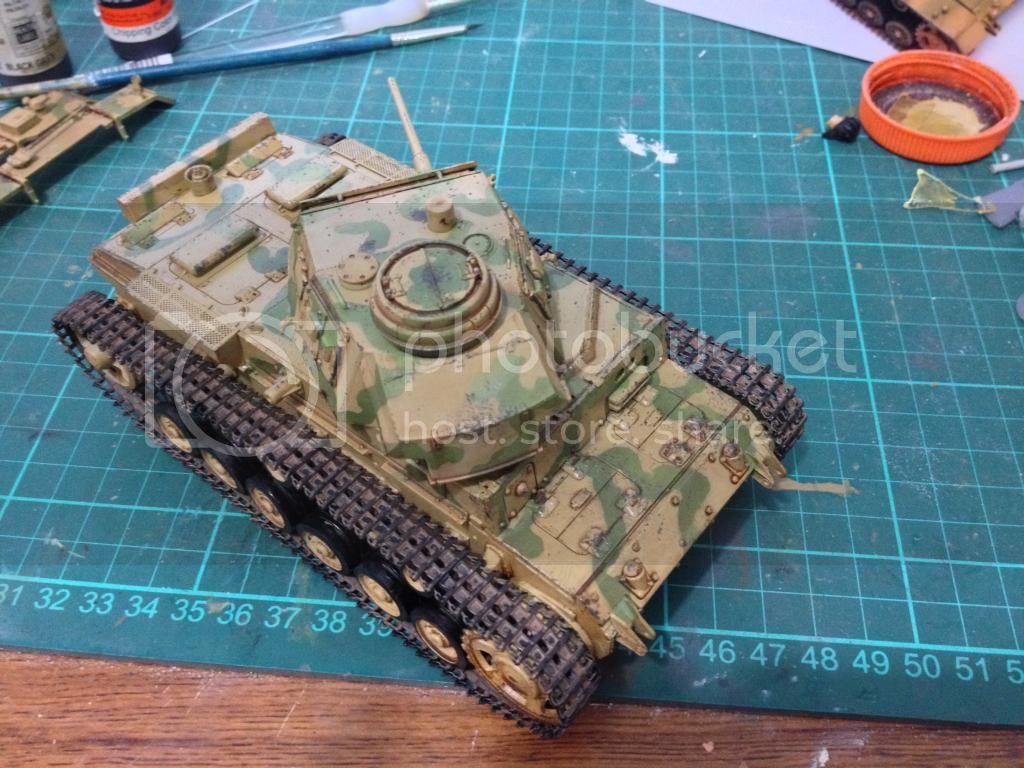
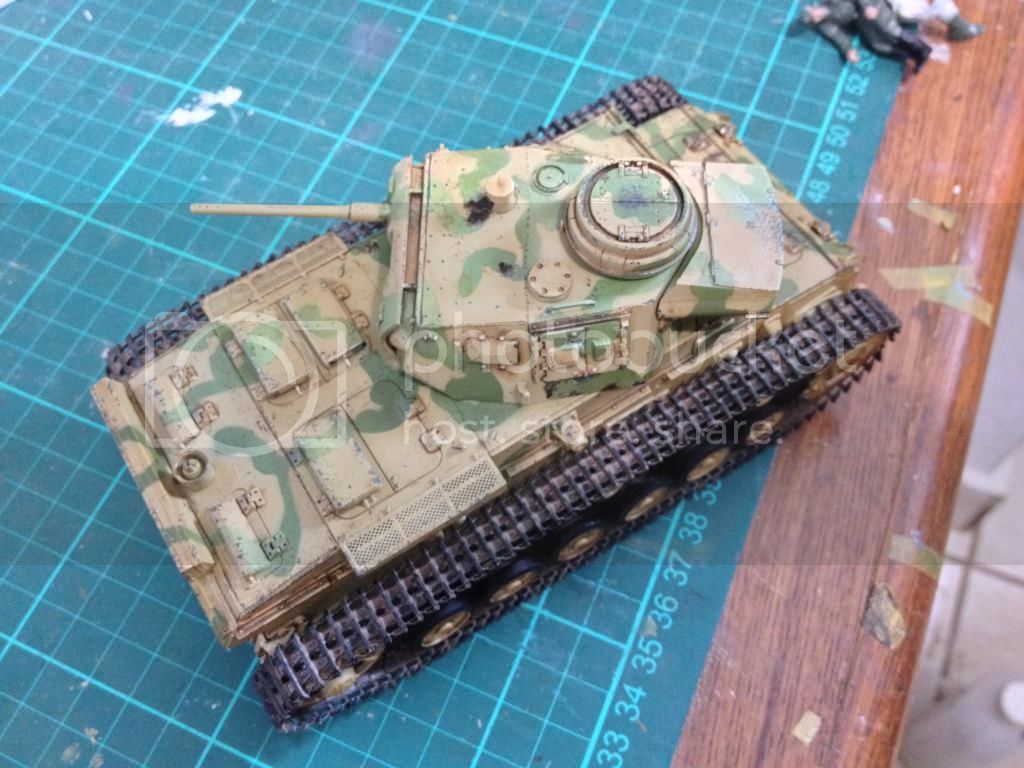
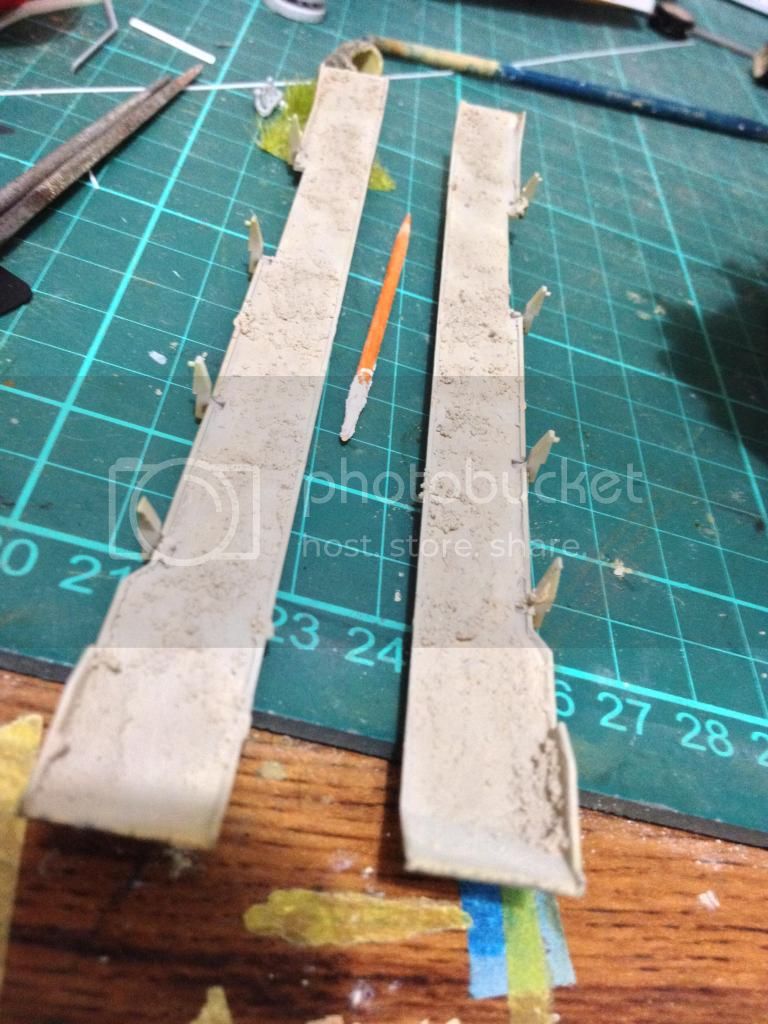
Posted: Monday, July 21, 2014 - 02:03 PM UTC
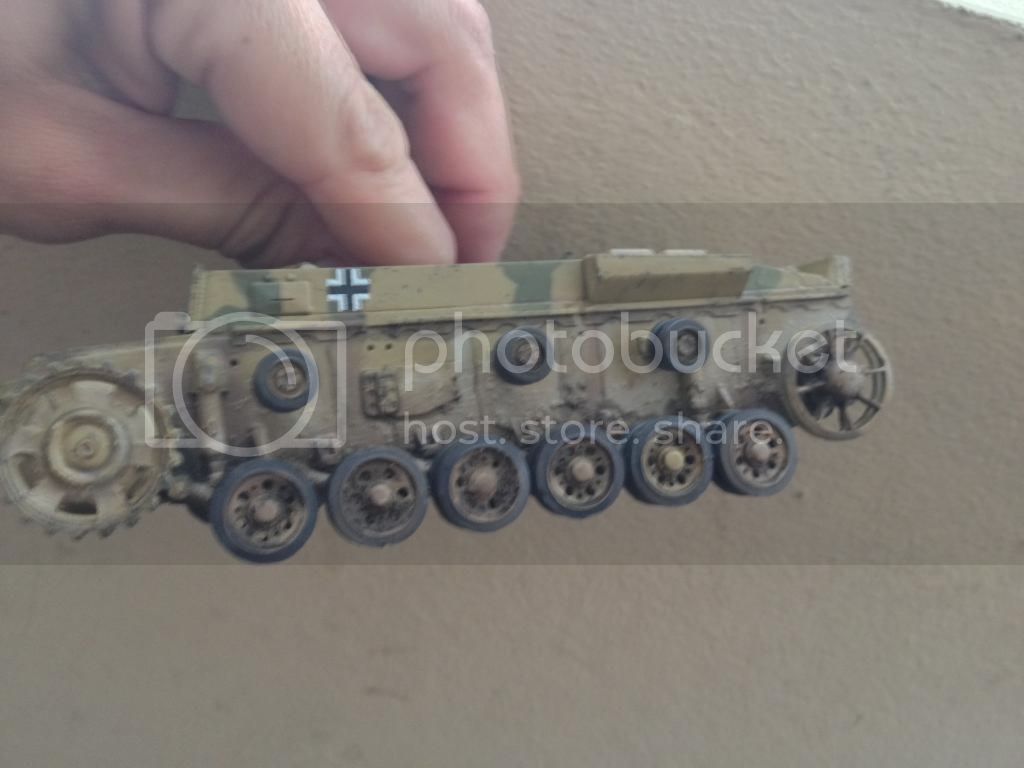
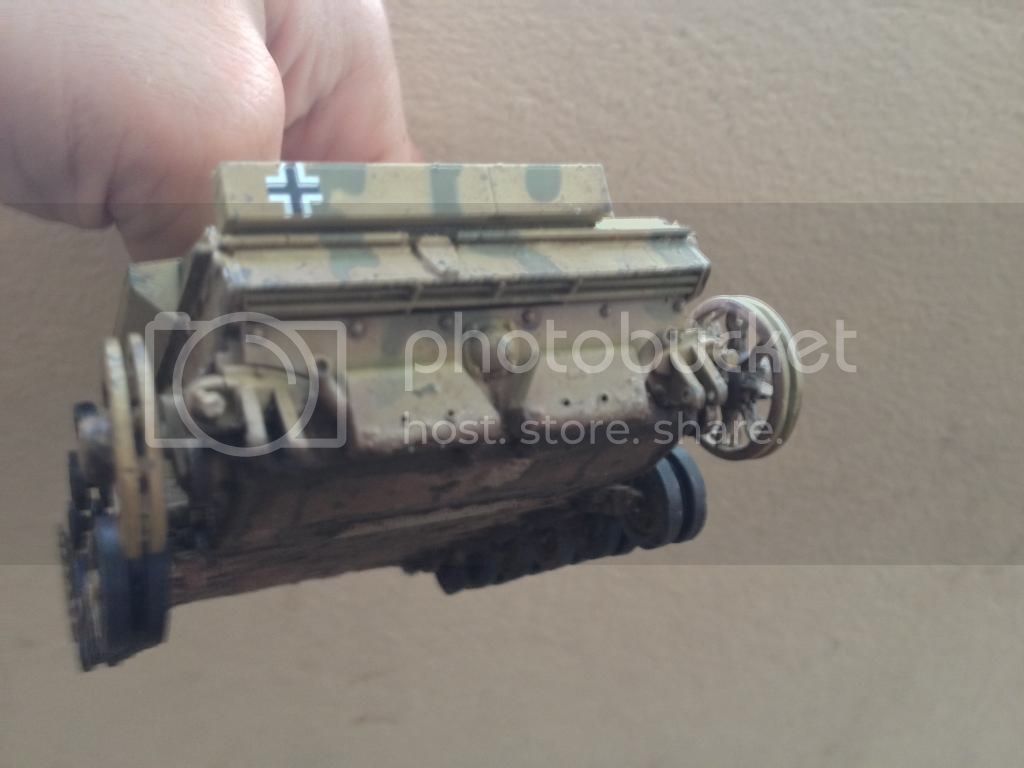
Well this is my update of this weekend.
First,Painted the wheels black, seal with clear matt the whole kit, then the next day I put some chipping using acrylics colors, then I put a filter using oils (Burnt umber) this will warm the base color.
Its very important to seal your base color, because when you apply the filter using thinner, if not well covered, the paint will start to peel off. Happens to me on the turret. What I do? just put some dark chipping color to dissimulate it the best I could. Here my results so far. Still a lot of work to do.
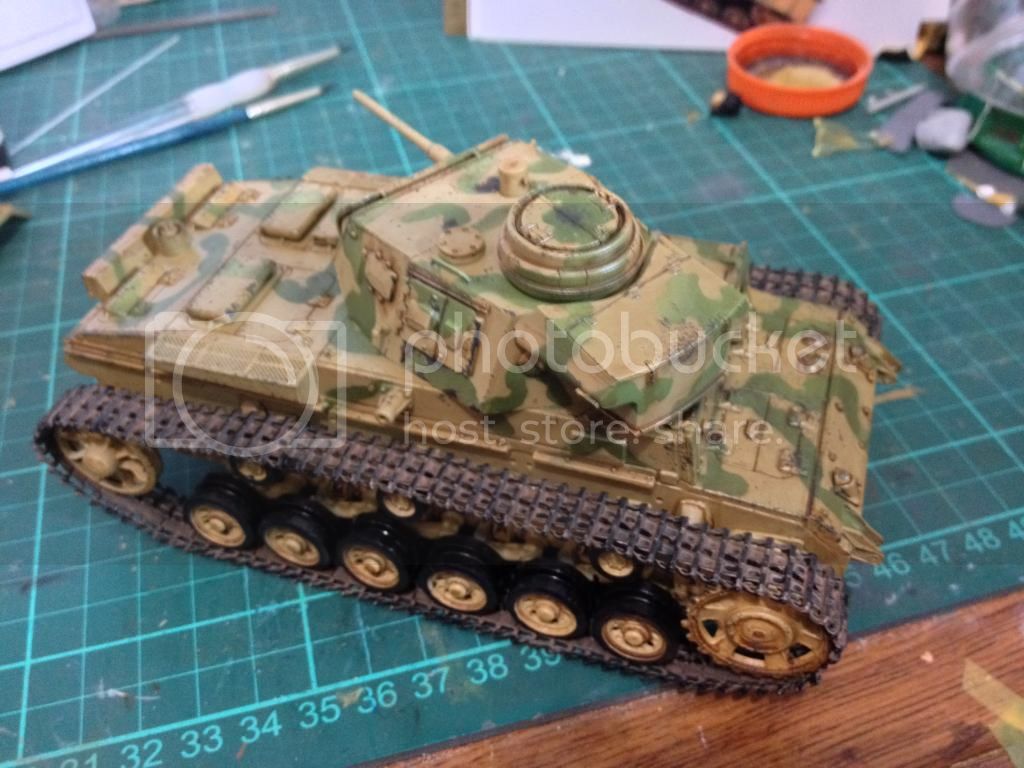
Tracks, some wash applied using earth tone some tamiya, diluted.
Visit our site and learn more about our Club:
www.ipmsborinqueneers.com
Puerto Rico
Joined: December 05, 2013
KitMaker: 314 posts
Armorama: 253 posts
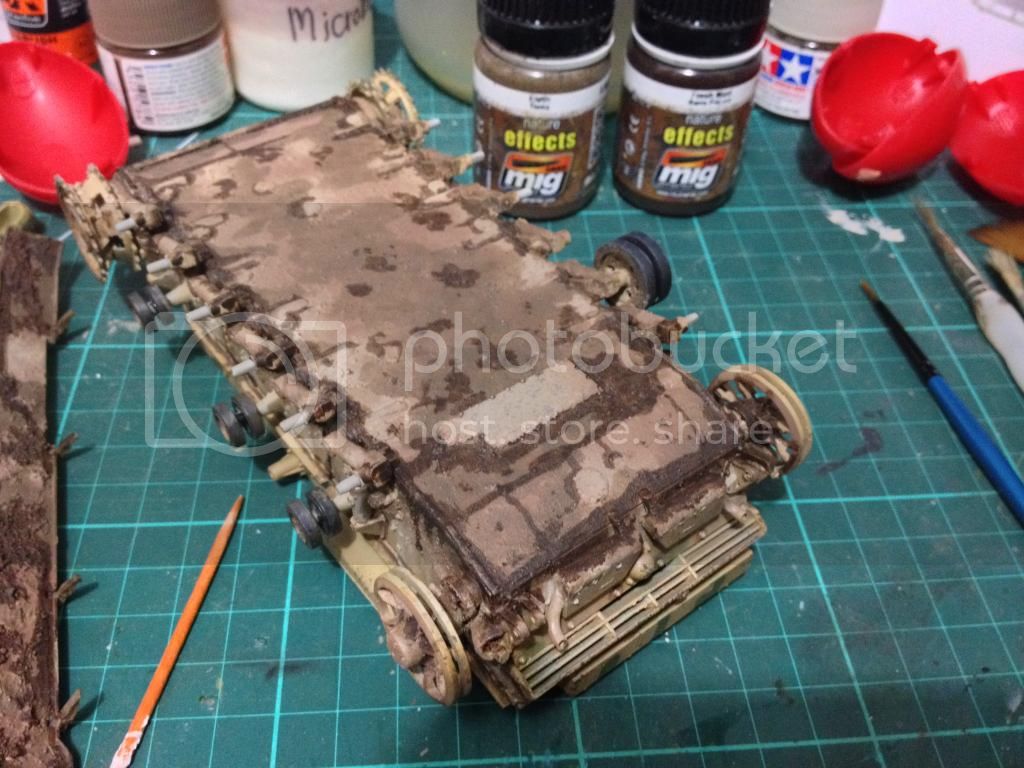
Posted: Thursday, July 24, 2014 - 02:28 AM UTC
Hi!
Well, after decals I started with the mud part, for this I use a mix of microballoons, white wood glue, maybe a small spoon of white sand, water and color. The last part is not that important yet, because later when its get dry I will airbrush a clear mud color, in this case I use Tamiya Deck tan.
Next Day, after all is dried, I airbrush first the Deck Tan,and an hour later a mix of deck tan with a few drops of flat earth and respray the zone. So tonight I will continue making more layers in earth tones then to seal the work again to add oils details.
Visit our site and learn more about our Club:
www.ipmsborinqueneers.com
Removed by original poster on 07/26/14 - 02:41:01 (GMT).
Puerto Rico
Joined: December 05, 2013
KitMaker: 314 posts
Armorama: 253 posts
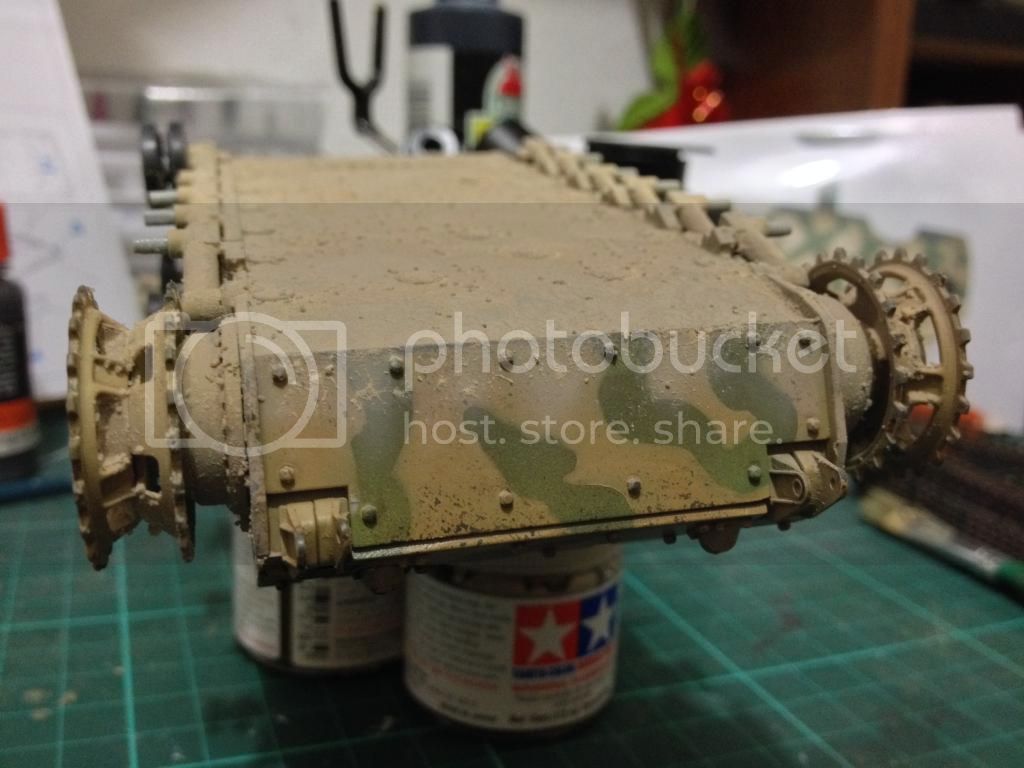
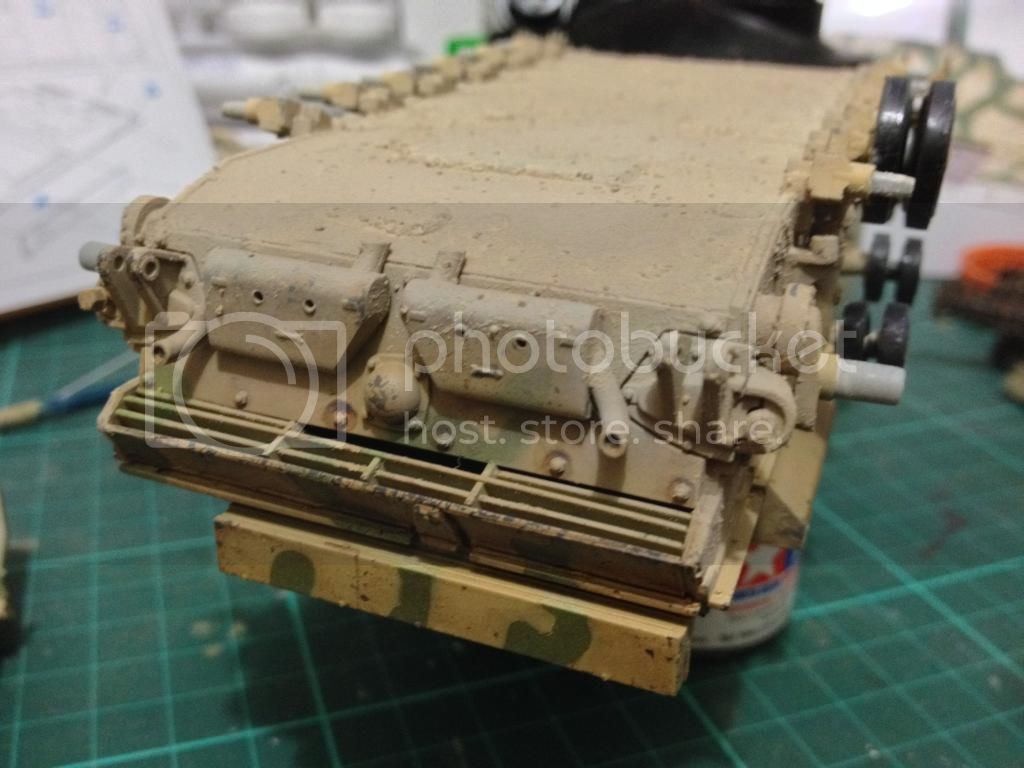
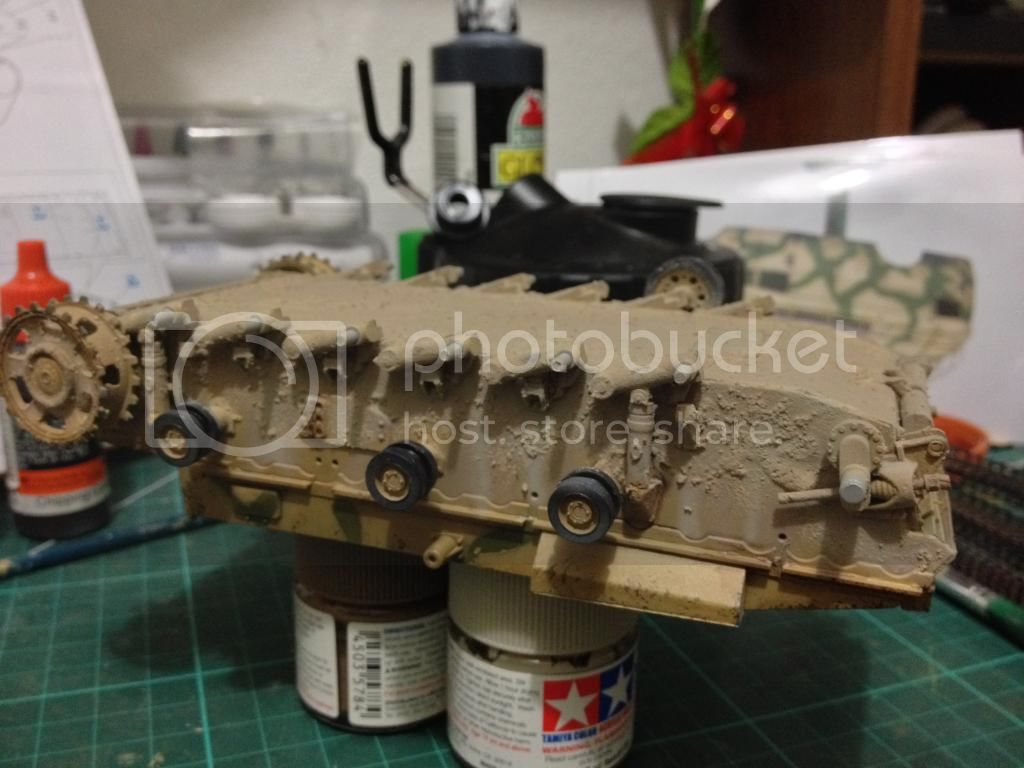
Posted: Sunday, July 27, 2014 - 05:14 AM UTC
Last Friday I went on weathering the belly of the tank.
Visit our site and learn more about our Club:
www.ipmsborinqueneers.com
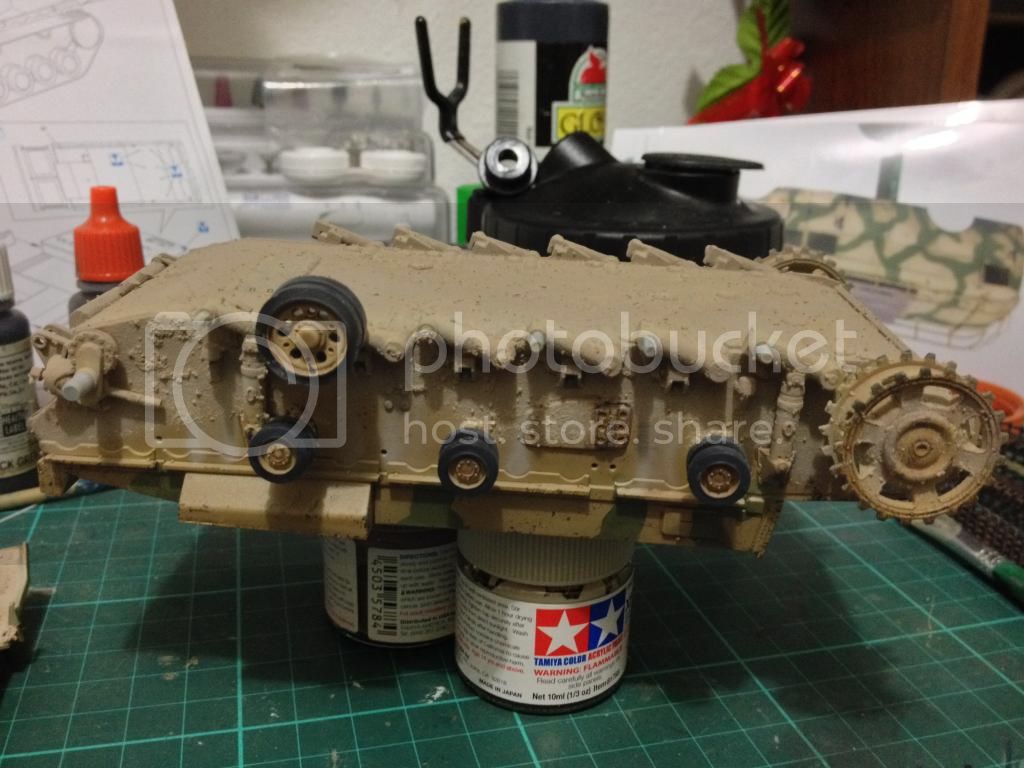
Puerto Rico
Joined: December 05, 2013
KitMaker: 314 posts
Armorama: 253 posts
Posted: Sunday, July 27, 2014 - 05:16 AM UTC
Visit our site and learn more about our Club:
www.ipmsborinqueneers.com
Arkansas, United States
Joined: June 29, 2009
KitMaker: 11,610 posts
Armorama: 7,843 posts
Posted: Sunday, July 27, 2014 - 12:07 PM UTC
Pedro:

Ideals are peaceful. History is violent.