Lisboa, Portugal
Joined: March 04, 2008
KitMaker: 5,386 posts
Armorama: 4,727 posts
Posted: Saturday, June 07, 2014 - 02:34 PM UTC
Quoted Text
They're not mentioned in the instructions.
Matt, Dragon usually leaves us some creativity and room for improvement..

Using sponge for chipping, I cut several small blocks of sponge in different shapes and sizes and tryout on a chunk of plastic from the spare box
Nice work so far, clean build too.
I'm afraid that even with all the hatches opened we won't be able to see all that detailing.
Keep us posted with your updates !!!

Active Builds: 0
Active Campaigns: 0
Connecticut, United States
Joined: November 02, 2003
KitMaker: 984 posts
Armorama: 846 posts
Posted: Sunday, June 08, 2014 - 03:54 AM UTC
Quoted Text
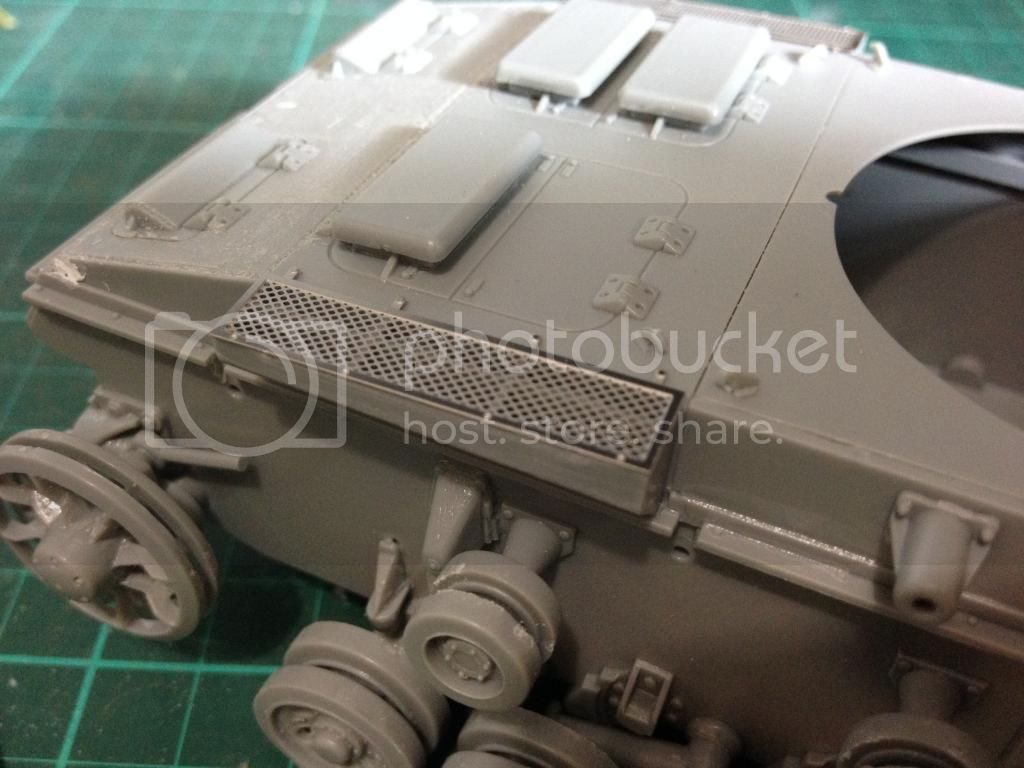
I didn't immediately realize though, that there were three tabs on each side of the hull tub that need removing. They're not mentioned in the instructions.
I ran into that with the Dragon Initial brummbar with zimmerit.
Virginia, United States
Joined: October 17, 2011
KitMaker: 237 posts
Armorama: 235 posts
Posted: Sunday, June 08, 2014 - 06:18 AM UTC
The funny thing is, the very first dragon kit I built was a Panzer III years ago with, of course, the same issue. I was at my wits end back then until I noticed the tabs shouldn't be there.
The interior is nice if not particularly complete, but at some point I'm going to have to do a Stug build with a fully detailed interior. What is here should make the view through the hatches nice, though.
MichaelSatin
 Campaigns Administrator
Colorado, United States
Joined: January 19, 2008
KitMaker: 3,909 posts
Armorama: 510 posts
Posted: Sunday, June 08, 2014 - 08:59 AM UTC
Quoted Text
The funny thing is, the very first dragon kit I built was a Panzer III years ago with, of course, the same issue. I was at my wits end back then until I noticed the tabs shouldn't be there.
This is kind of wild. When I read your posts about the tabs I thought I'd better drag out my Orange Series Pz.III E/F to mark the need to get rid of those tabs on the instructions, since I know it's a re-release of the old molds. Oddly, those tabs don't seem to be there any more! They were on the top of the sides of the tub, right?
Michael

On the bench:
Sorta depends on your definition of "on the bench"...
Virginia, United States
Joined: October 17, 2011
KitMaker: 237 posts
Armorama: 235 posts
Posted: Sunday, June 08, 2014 - 02:03 PM UTC
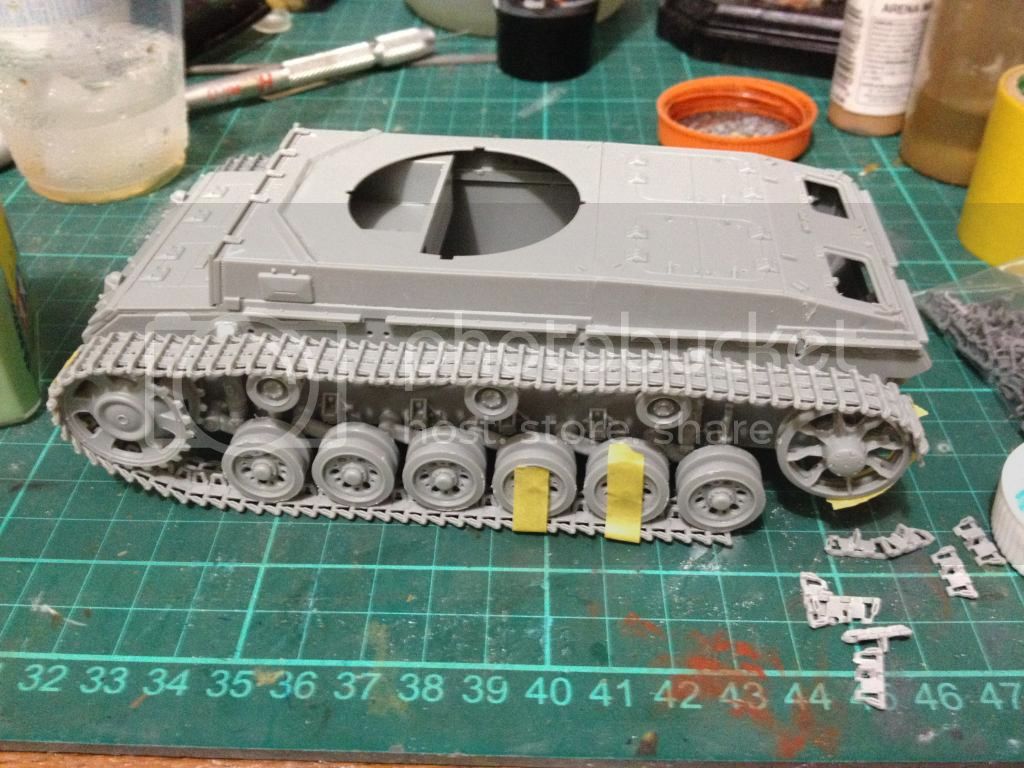
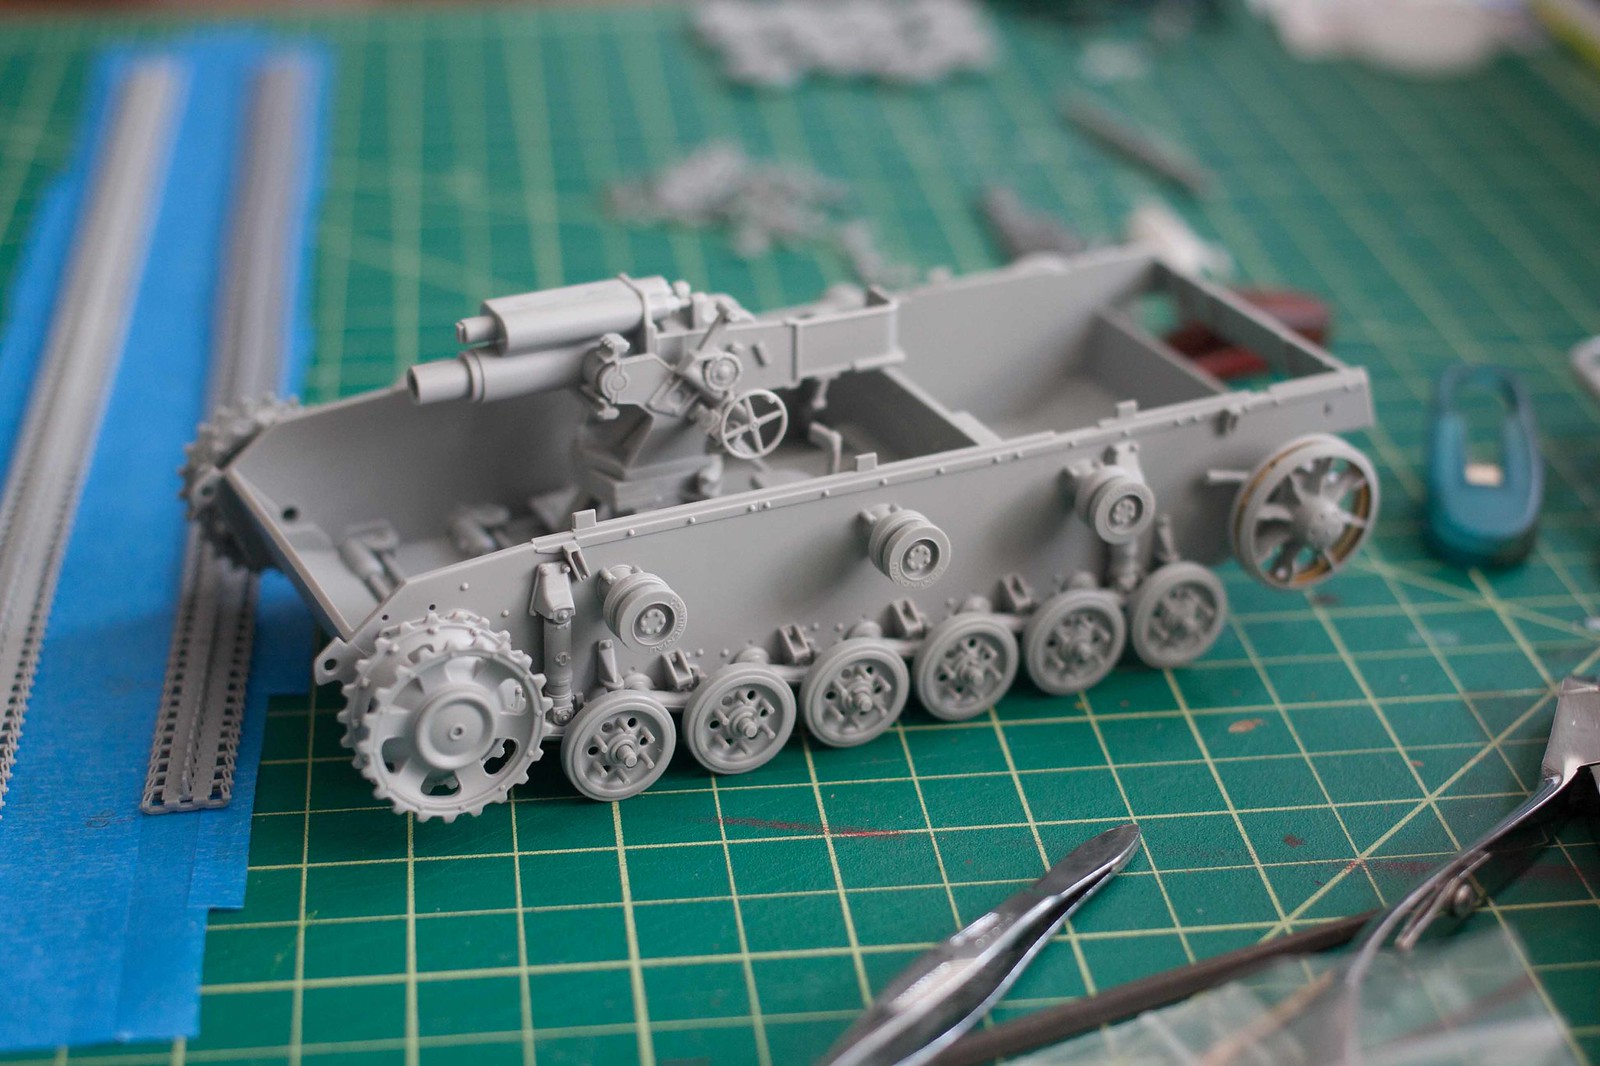
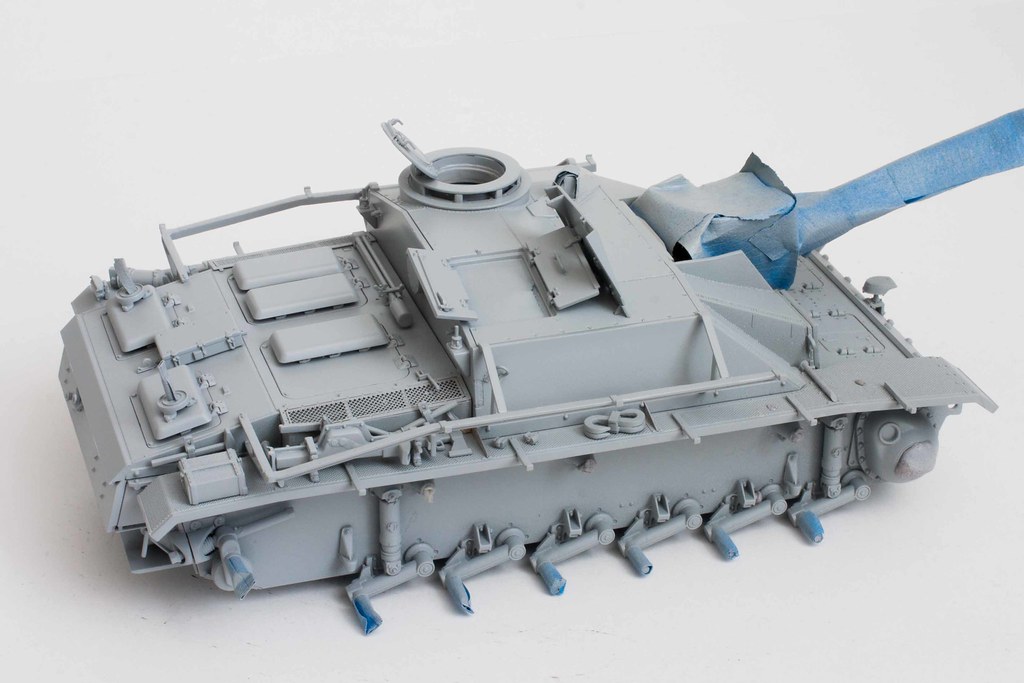
You can see them in this photo. The first two are almost directly above the first two return rollers, the third a bit behind the third roller.
MichaelSatin
Campaigns Administrator Colorado, United States
Joined: January 19, 2008
KitMaker: 3,909 posts
Armorama: 510 posts
Posted: Monday, June 09, 2014 - 12:53 AM UTC
Yep, they're gone on the orange series kit. Whadda ya know! Nice work, by the way!
Michael
On the bench:
Sorta depends on your definition of "on the bench"...
England - North East, United Kingdom
Joined: June 22, 2010
KitMaker: 1,224 posts
Armorama: 1,207 posts
Posted: Monday, June 09, 2014 - 01:13 AM UTC
as my SD.KFZ 251 is at the painting & weathering stage it is start to look at the next build.... and that will be the C-H Pz III Beob Ausf H. plan is to (I think) do it russian summer camo (dark yellow/green and then hairspray white wash to try that technique again...
will get the starting piccies up soon.....
Arkansas, United States
Joined: June 29, 2009
KitMaker: 11,610 posts
Armorama: 7,843 posts
Posted: Monday, June 09, 2014 - 07:15 AM UTC
The postal worker brought me a present, today. Expect to see the results, tomorrow.
Ideals are peaceful. History is violent.
England - North East, United Kingdom
Joined: June 22, 2010
KitMaker: 1,224 posts
Armorama: 1,207 posts
Posted: Wednesday, June 11, 2014 - 07:03 AM UTC
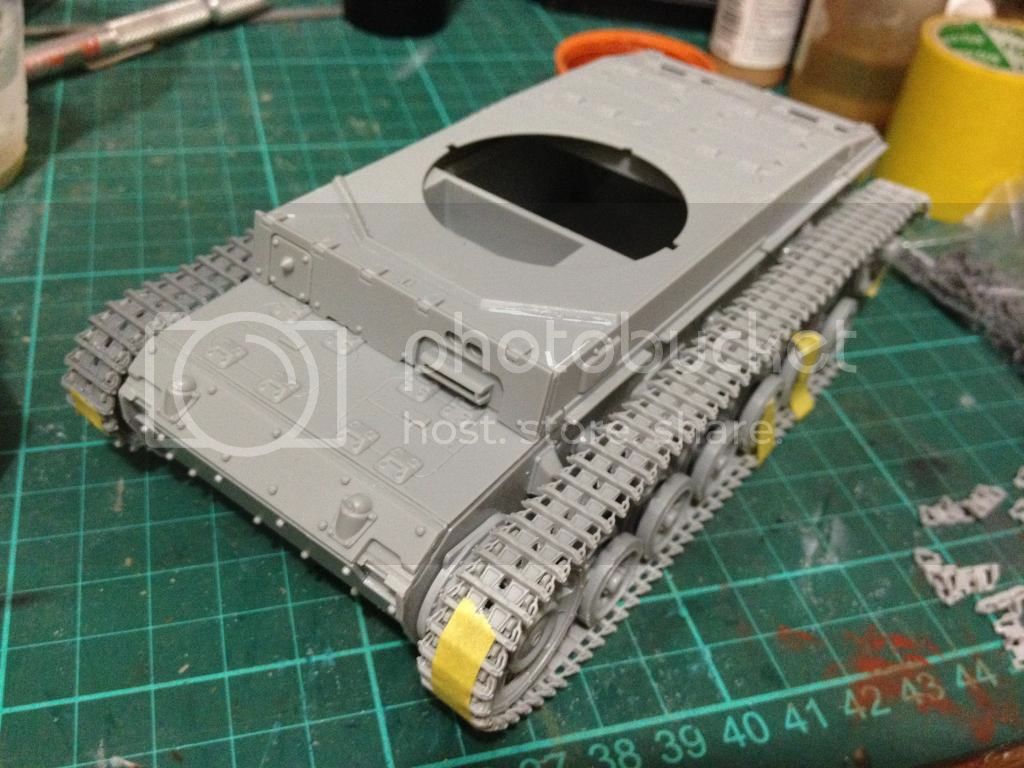
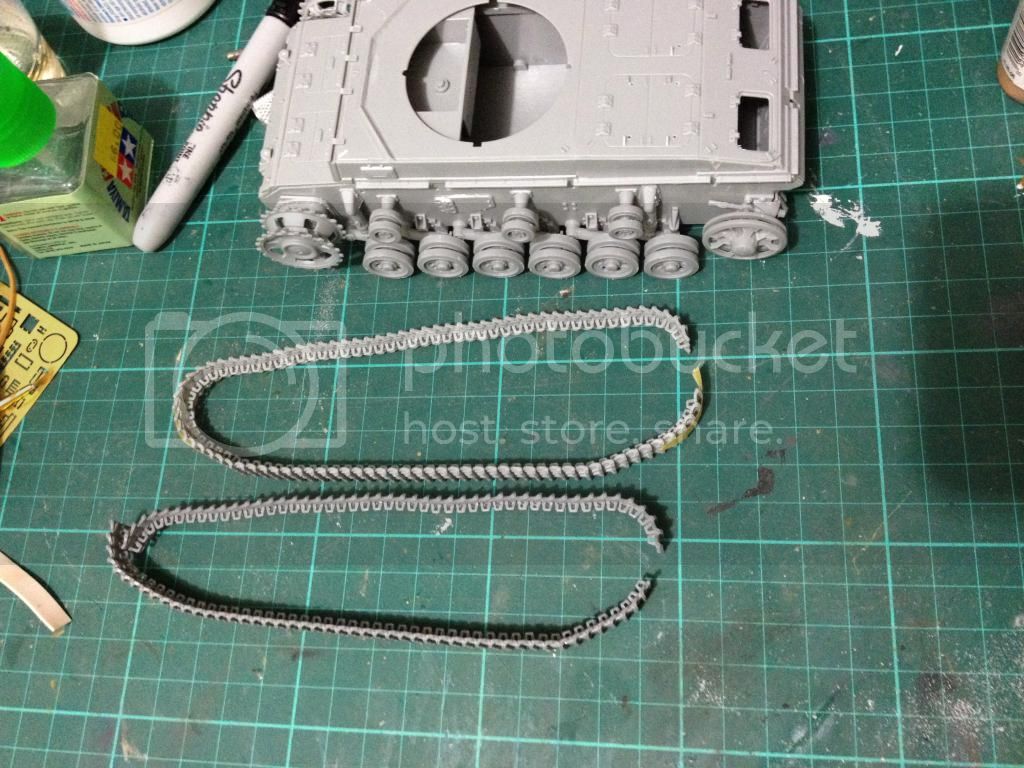
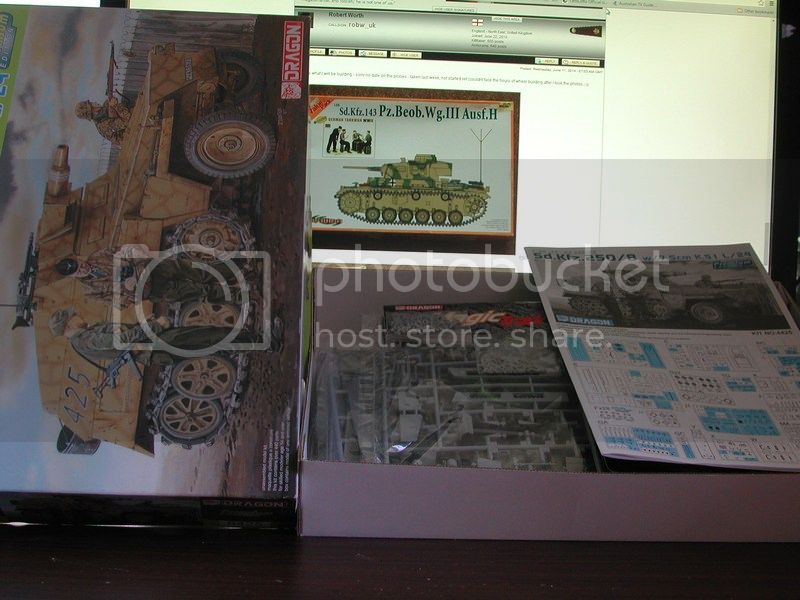
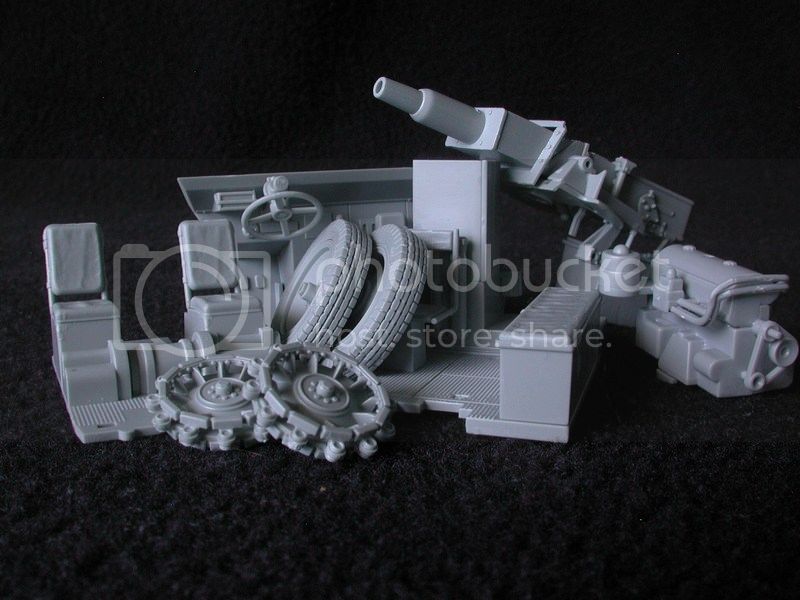
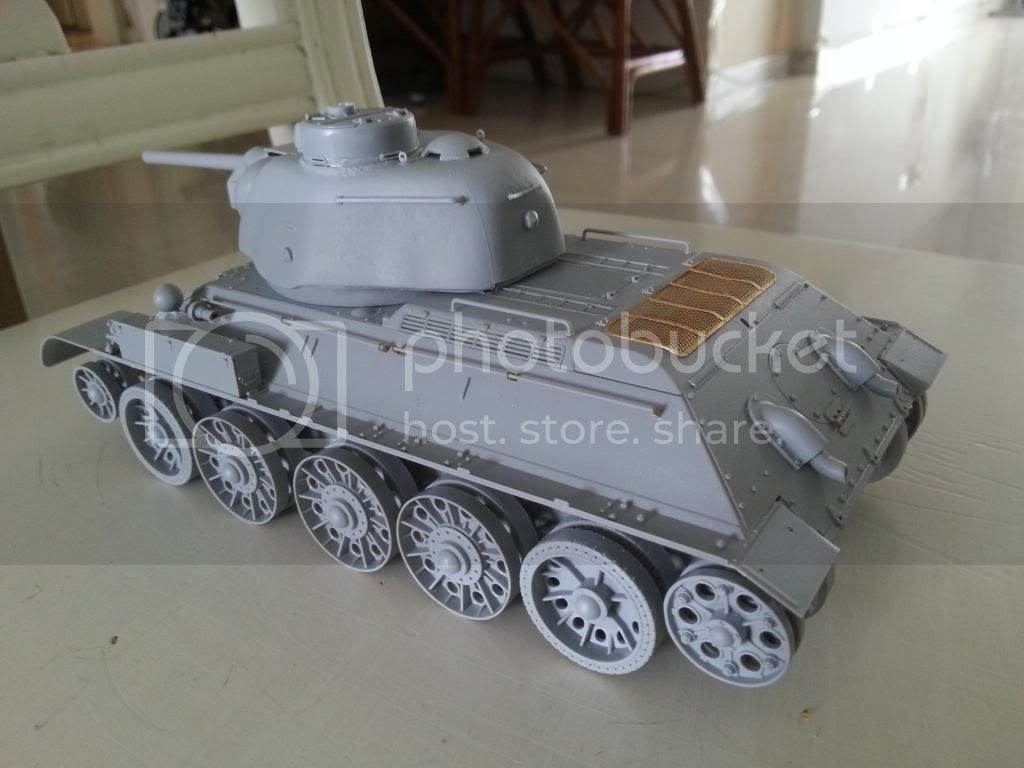
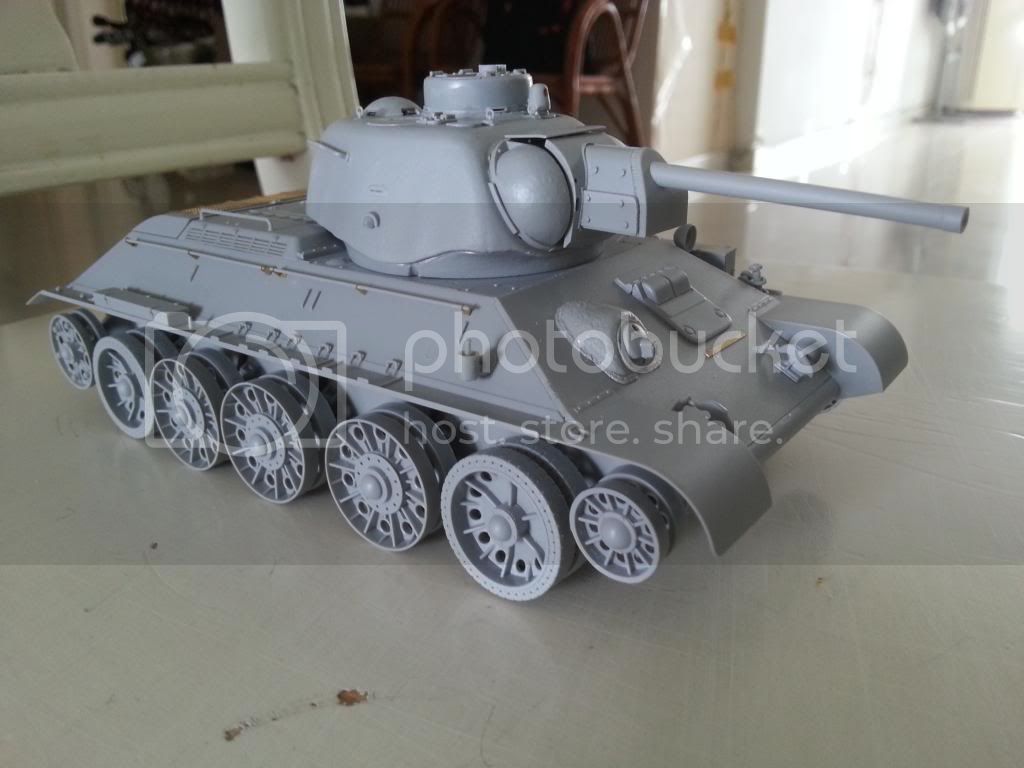
this is what I will be building - sorry no date on the piccies - taken last week, not started yet (couldnt face the hours of wheel building after I took the photos ;-))
 P6070066
 by
Rob Worth, on Flickr
 P6070067
 by
Rob Worth, on Flickr
Tasmania, Australia
Joined: December 19, 2011
KitMaker: 92 posts
Armorama: 88 posts
Posted: Friday, June 13, 2014 - 03:00 PM UTC
Start pic

#152
Texas, United States
Joined: December 07, 2002
KitMaker: 487 posts
Armorama: 441 posts
Posted: Saturday, June 14, 2014 - 10:27 AM UTC
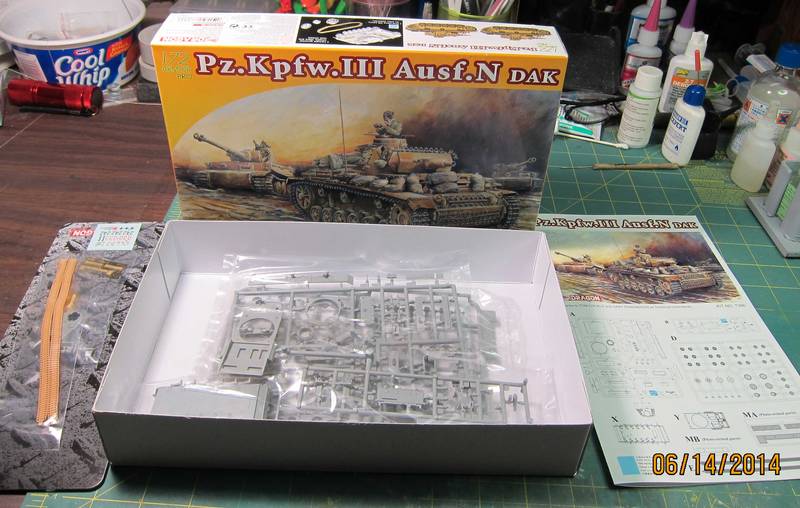
Here is my start up photo for the campaign.
It will be a Pz III Ausf N DAK
Tom
Long time modeller. Starting when I was a teenager, then I found out about girls and college and work and kids. But now that I have one girl, no school, no work and the kids are grown, I'm back to full time modelling. My prime area of interest is armor, b
Virginia, United States
Joined: October 17, 2011
KitMaker: 237 posts
Armorama: 235 posts
Posted: Tuesday, June 17, 2014 - 07:28 AM UTC
Time to post some progress!
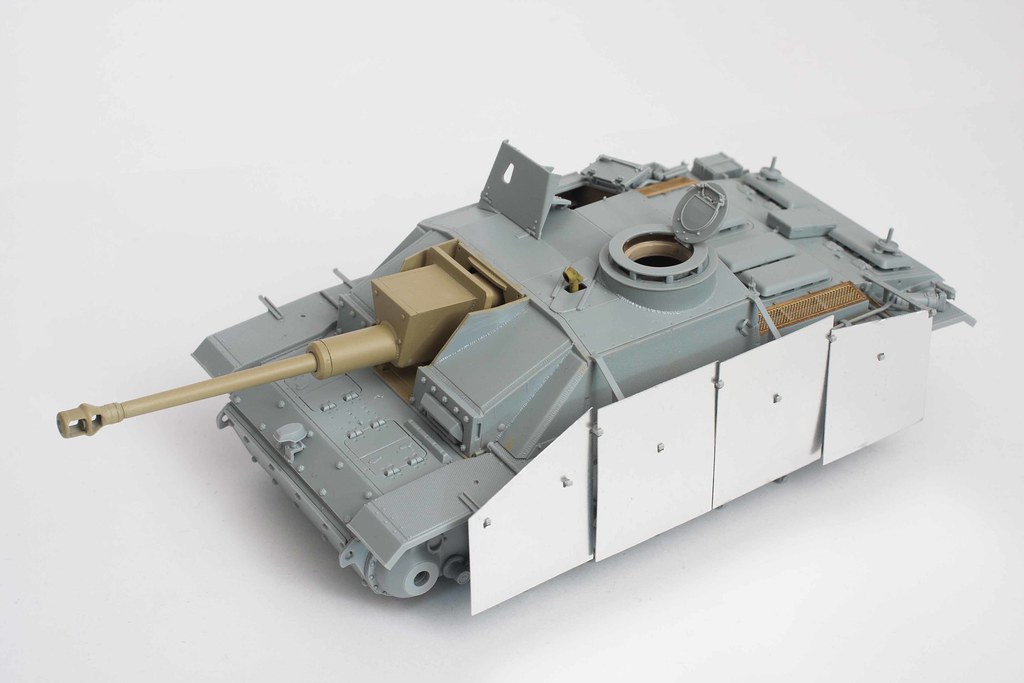
Assembly mostly complete and ready for painting, with schurzen test fitted to make sure I've got all the mounting brackets lined up properly, looks like I'm good. This is the first model I've built that has schurzen plates, and these metal ones Dragon has included look pretty good.
Painting the tools is going to be interesting. I had intended to paint them off the vehicle but forgot as I was assembling. Oh well.
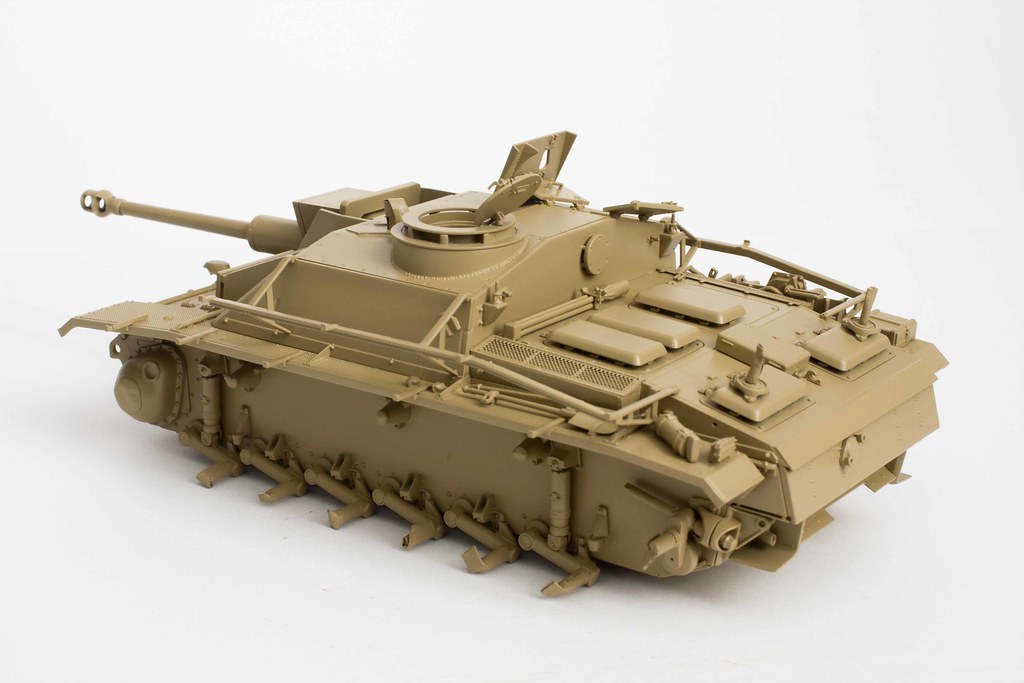
Dark yellow base sprayed on. I'm undecided at this point- I don't have an airbrush and I'd like to find a good hard edged scheme but my research isn't turning up much. I could leave the vehicle yellow, after all plenty of them were but that isn't very interesting to look at.
Tasmania, Australia
Joined: December 19, 2011
KitMaker: 92 posts
Armorama: 88 posts
Posted: Tuesday, June 17, 2014 - 01:57 PM UTC
Made a start on some of the sub-assemblies.
Maine, United States
Joined: February 11, 2011
KitMaker: 1,654 posts
Armorama: 1,565 posts
Posted: Wednesday, June 18, 2014 - 07:19 PM UTC
Good morning Matt. I was wondering if I could build one of these little beauties for this Campaign?
I know it's smaller than the rules allow and if you say no it's O.K.I will find something else. Thanks, Jeff T.
The building lamp is lit.Build'em if you got'em.
Queensland, Australia
Joined: December 19, 2012
KitMaker: 74 posts
Armorama: 68 posts
Posted: Monday, June 23, 2014 - 04:26 PM UTC
This is where I am up to. Still have the tracks to deal with and several mistakes to fix! I should have some paint on the T 34 by the weekend.
"Allow me to be the first to offer Dr. Johnson my most sincere contrafibularities! I am anaspeptic, frasmotic, even compunctuous to have caused him such pericombobulation." - BlackAdder
Puerto Rico
Joined: December 05, 2013
KitMaker: 314 posts
Armorama: 253 posts
Posted: Wednesday, July 09, 2014 - 07:28 AM UTC
Great kit the panzer 3, but be careful with the instructions and studied every piece before glueing. Also some ejector pins are visibles in the tracks, so take care of it.
Quoted Text
this is what I will be building - sorry no date on the piccies - taken last week, not started yet (couldnt face the hours of wheel building after I took the photos ;-))
P6070066 by Rob Worth, on Flickr
P6070067 by Rob Worth, on Flickr
Visit our site and learn more about our Club:
www.ipmsborinqueneers.com
Puerto Rico
Joined: December 05, 2013
KitMaker: 314 posts
Armorama: 253 posts
Posted: Wednesday, July 09, 2014 - 07:34 AM UTC
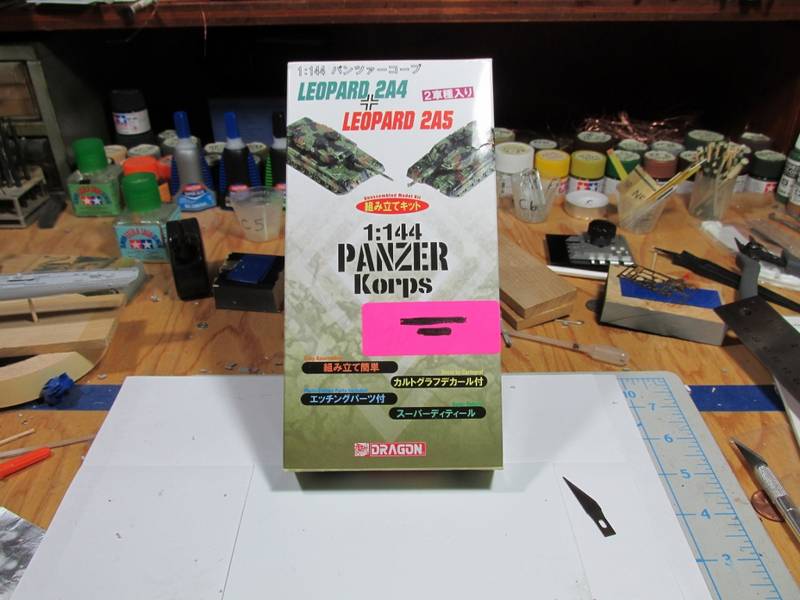
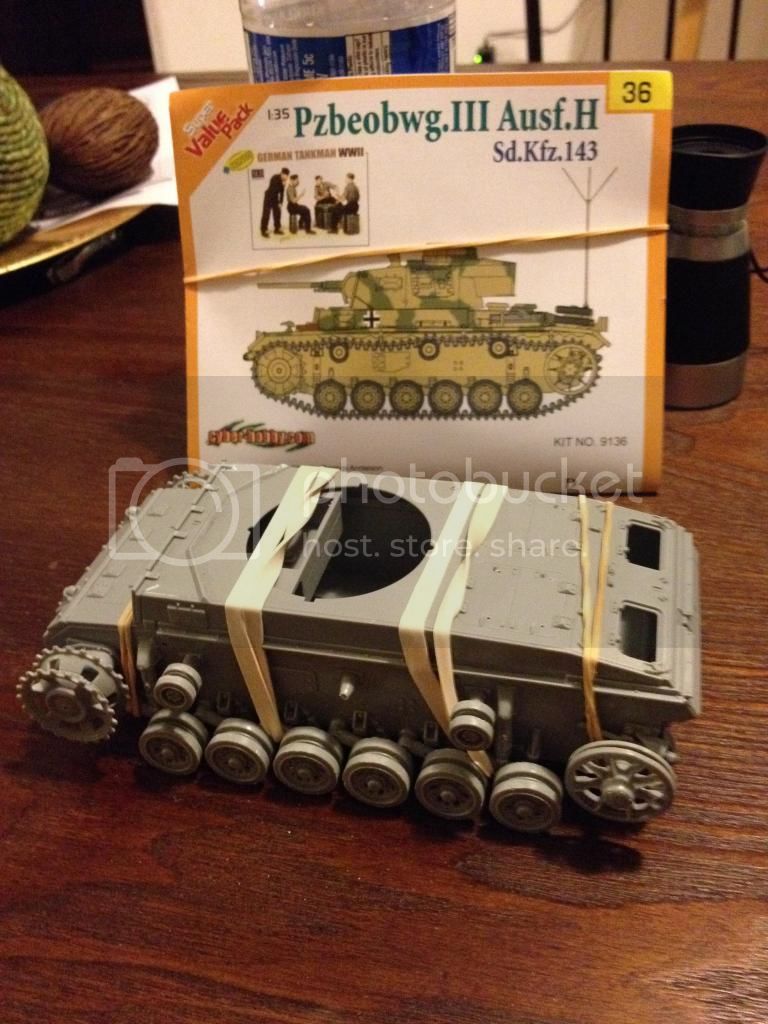
Well This is my entry, the Orange box for the PZ.Beob.WG III Ausf H. I started it on July 4!
The wheels fitting is a little loose, so make sure you double test the alignment and that all the wheels touch ground before making final fitting.

The hull is a little warped, at least in my case. Have to heated in water in order to achieve a decent one. Here my result so far.
Visit our site and learn more about our Club:
www.ipmsborinqueneers.com
Puerto Rico
Joined: December 05, 2013
KitMaker: 314 posts
Armorama: 253 posts
Posted: Wednesday, July 09, 2014 - 07:40 AM UTC
Visit our site and learn more about our Club:
www.ipmsborinqueneers.com
Puerto Rico
Joined: December 05, 2013
KitMaker: 314 posts
Armorama: 253 posts
Posted: Thursday, July 10, 2014 - 01:02 AM UTC
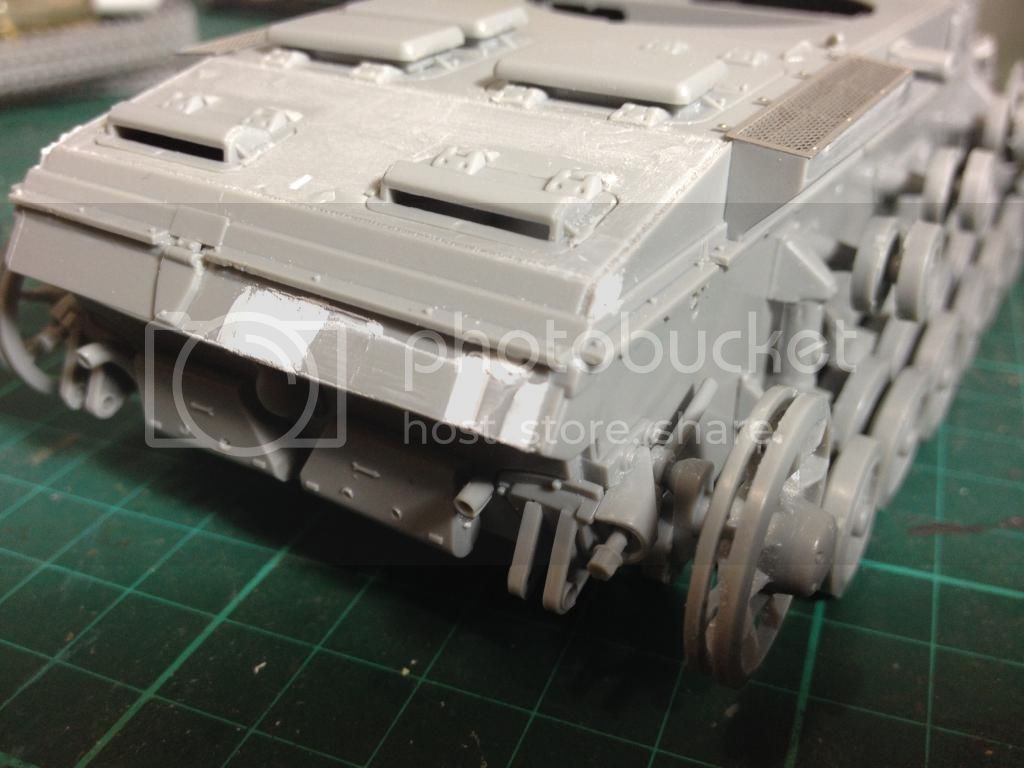
More work in progress, hull and turret near complete. both have some plastic line to let you know where to put some pieces, remember to removed it first.
Also some plastic putty used here and there to fill some seams lines an other parts on the rear.


Visit our site and learn more about our Club:
www.ipmsborinqueneers.com
Puerto Rico
Joined: December 05, 2013
KitMaker: 314 posts
Armorama: 253 posts
Posted: Thursday, July 10, 2014 - 01:03 AM UTC
The Only PE Parts, I just glued it with Carpenter's white glue. Works fine for me, just use a small amount.
Visit our site and learn more about our Club:
www.ipmsborinqueneers.com
Puerto Rico
Joined: December 05, 2013
KitMaker: 314 posts
Armorama: 253 posts
Posted: Thursday, July 10, 2014 - 01:04 AM UTC
Visit our site and learn more about our Club:
www.ipmsborinqueneers.com
Connecticut, United States
Joined: November 02, 2003
KitMaker: 984 posts
Armorama: 846 posts
Posted: Thursday, July 10, 2014 - 09:15 AM UTC
Looking cool cat dude.
Myself, i have been slacking.ANy free time i have been devoting to Clash of clans. Addicting game.
England - North East, United Kingdom
Joined: June 22, 2010
KitMaker: 1,224 posts
Armorama: 1,207 posts
Posted: Thursday, July 10, 2014 - 10:32 PM UTC
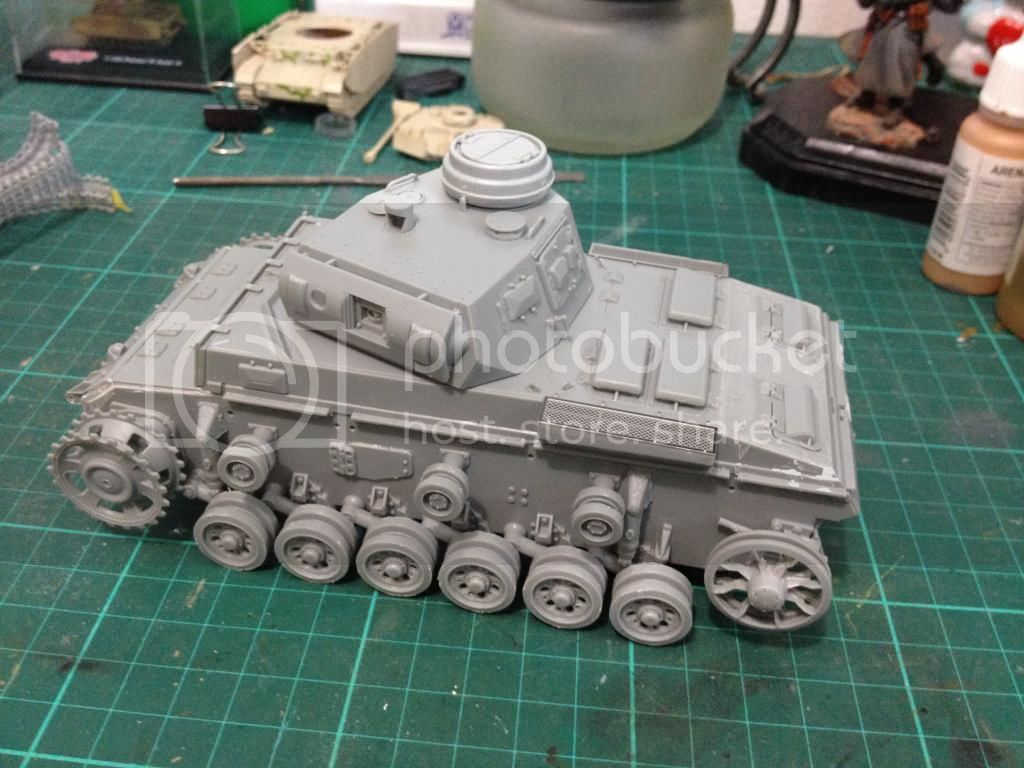
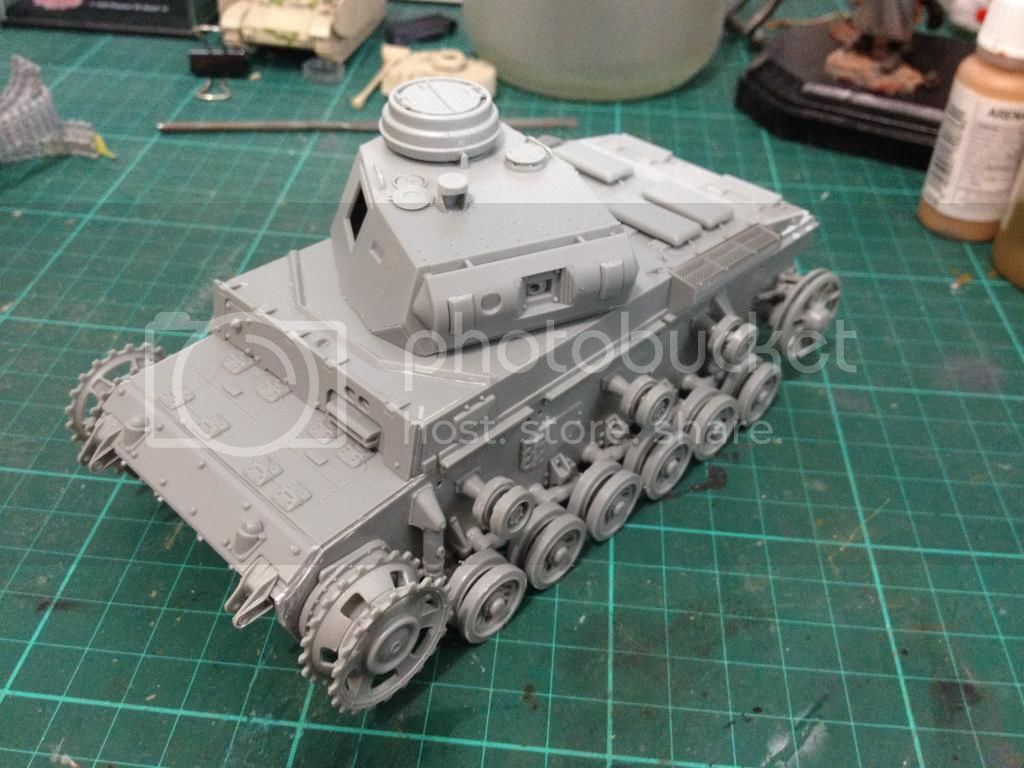
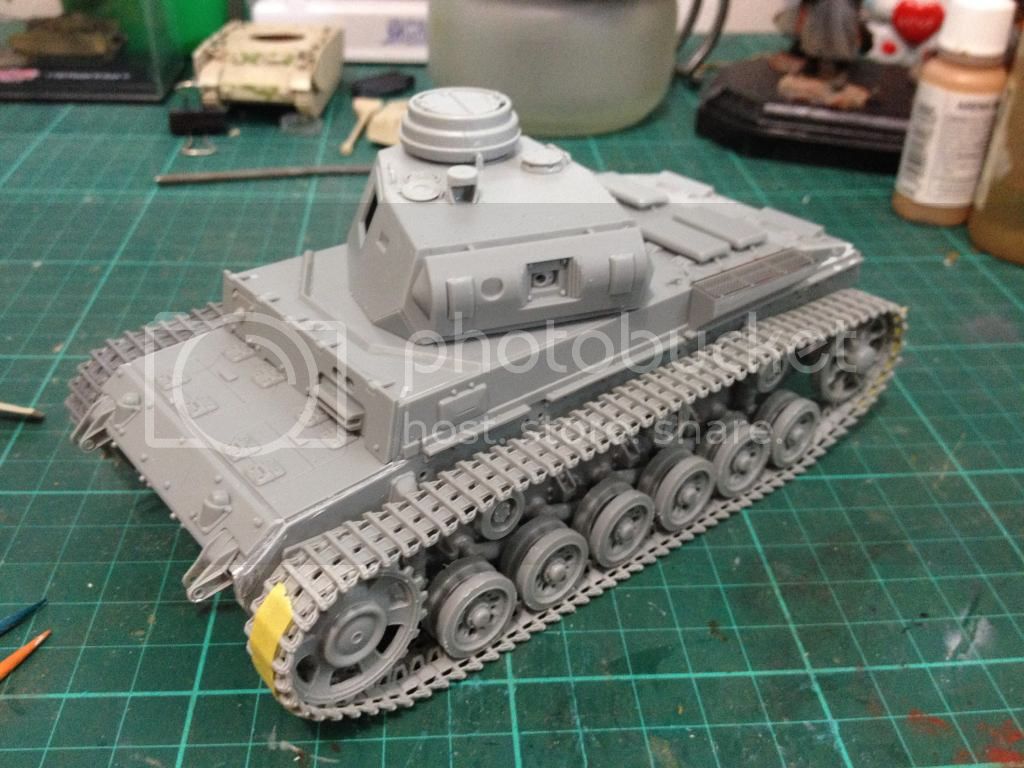
progress on my Pz III...
 P7110203
 by
Rob Worth, on Flickr
 P7110204
 by
Rob Worth, on Flickr
 P7110205
 by
Rob Worth, on Flickr
Puerto Rico
Joined: December 05, 2013
KitMaker: 314 posts
Armorama: 253 posts
Posted: Friday, July 11, 2014 - 12:20 AM UTC
Very clean construction, I Like it! Plastic look a bit dark than my version, maybe is the light.

Visit our site and learn more about our Club:
www.ipmsborinqueneers.com
Puerto Rico
Joined: December 05, 2013
KitMaker: 314 posts
Armorama: 253 posts
Posted: Friday, July 11, 2014 - 12:21 AM UTC
Quoted Text
Looking cool cat dude.
Myself, i have been slacking.ANy free time i have been devoting to Clash of clans. Addicting game.
Thanks Petro, I just have the Ipms National Fever activated!

Visit our site and learn more about our Club:
www.ipmsborinqueneers.com