


Campaigns
Where Armorama group builds can be discussed, organized, and updates posted.
Where Armorama group builds can be discussed, organized, and updates posted.
Hosted by Darren Baker, Richard S.
Dragon OOB Pt. II

catdude01

Joined: December 05, 2013
KitMaker: 314 posts
Armorama: 253 posts
Posted: Sunday, July 27, 2014 - 02:37 PM UTC
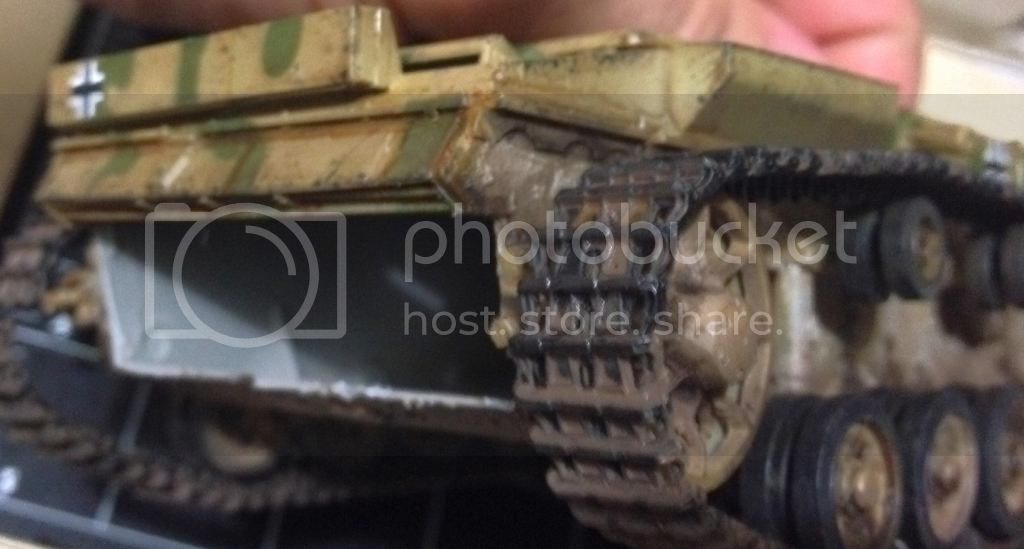
Hmm, looks like I put something the wrong way!

retiredyank

Joined: June 29, 2009
KitMaker: 11,610 posts
Armorama: 7,843 posts
Posted: Sunday, July 27, 2014 - 02:52 PM UTC
Quoted Text
Hmm, looks like I put something the wrong way!
I didn't even catch it, until the last photo. Hopefully, with a little surgery and heavy weathering you can fix it.


panzerbob01
Joined: March 06, 2010
KitMaker: 3,128 posts
Armorama: 2,959 posts
Posted: Sunday, July 27, 2014 - 04:49 PM UTC
I guess Pedro did get something on a bit wrongly...(And it probably, as Matt says, can get readily fixed with a little surgery and some (heavy) weathering)...
But so did the guys putting that museum III Matt posted together! They, too, were consistent in their error on both sides!
Bob
But so did the guys putting that museum III Matt posted together! They, too, were consistent in their error on both sides!
Bob

M4A3E8Easy8
Joined: February 04, 2006
KitMaker: 302 posts
Armorama: 300 posts

Posted: Sunday, July 27, 2014 - 06:01 PM UTC
I would call it a field mod and go with it... tearing that off may be ugly. Mud looks nice, looks like you are getting close to being done.
retiredyank
Joined: June 29, 2009
KitMaker: 11,610 posts
Armorama: 7,843 posts
Posted: Sunday, July 27, 2014 - 07:01 PM UTC
Quoted Text
I would call it a field mod and go with it... tearing that off may be ugly. Mud looks nice, looks like you are getting close to being done.
There is no way that it could be a field modification. The engine can't exhaust from the bottom of the vehicle and you would have two open exhaust ports where they should be.
M4A3E8Easy8
Joined: February 04, 2006
KitMaker: 302 posts
Armorama: 300 posts
Posted: Sunday, July 27, 2014 - 07:06 PM UTC
Yeah, you are right but you have to look at the level of damage against the minor mistake. It's his call but I would let it be. Just myou two cents worth (and it's not even wOrth two cents)

Namabiiru

#399
Joined: March 05, 2014
KitMaker: 2,888 posts
Armorama: 1,920 posts

Posted: Monday, July 28, 2014 - 10:10 AM UTC
Simply have it facing forward on the shelf: "Make sure to get my good side" 

catdude01
Joined: December 05, 2013
KitMaker: 314 posts
Armorama: 253 posts
Posted: Monday, July 28, 2014 - 01:08 PM UTC
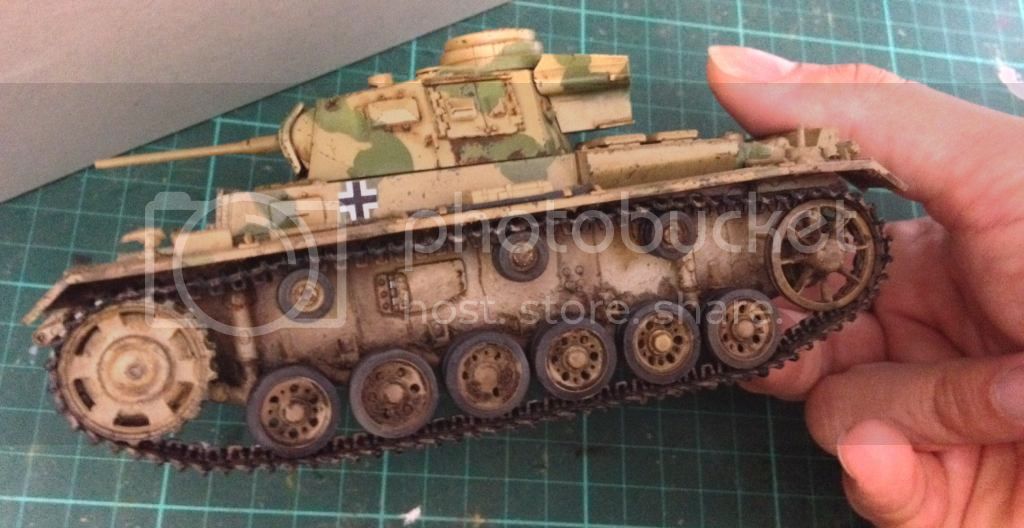
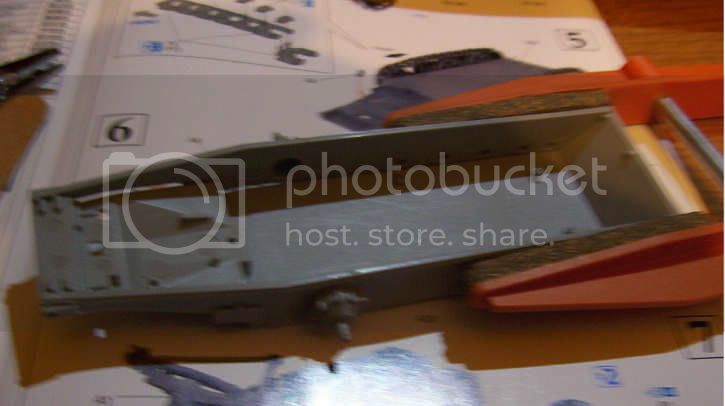
Thank you guys for all your tips and support. I really done it this time. I know Dragon's instructions sucks big time, but this? I have to say its was my fault.
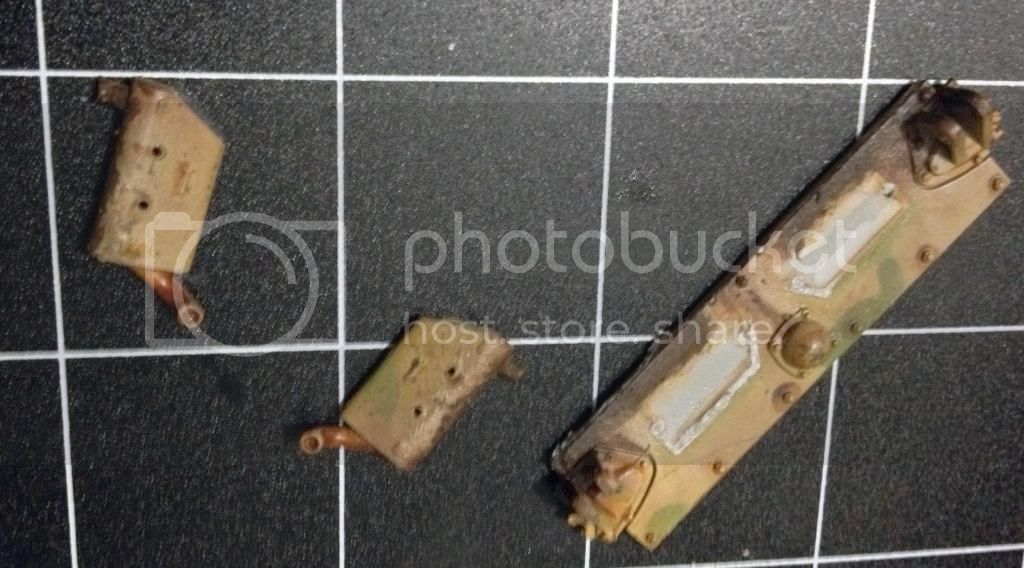
After a close examination I found that the whole piece what place backwards. Removing the exhaust won't solve the problem, so I tried with a new and very sharp xacto knife to release the whole piece.
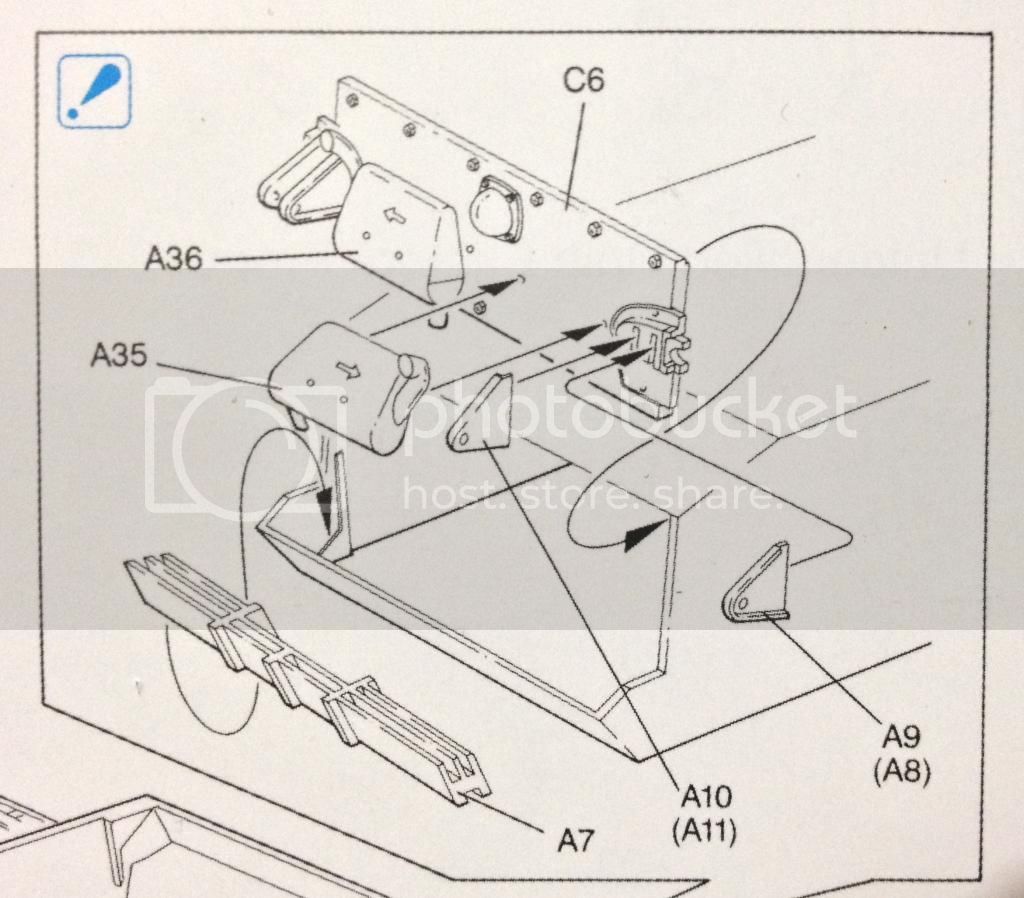
After a close examination I found that the whole piece what place backwards. Removing the exhaust won't solve the problem, so I tried with a new and very sharp xacto knife to release the whole piece.
catdude01
Joined: December 05, 2013
KitMaker: 314 posts
Armorama: 253 posts
Posted: Monday, July 28, 2014 - 01:10 PM UTC
Success!!!!!!!  I was really lucky this time.
I was really lucky this time. 
ColinEdm


Joined: October 15, 2013
KitMaker: 1,355 posts
Armorama: 1,229 posts
Posted: Monday, July 28, 2014 - 02:04 PM UTC
Did the exact same thing with my Stug IIIB, but luckily caught it before upper hull or paint went on. so easy to fix. Dragons instructions DO leave a lot to be desired on many occasions! Should be OK once you get it back together, some mud and weathering will cover that right up.

justsendit
Joined: February 24, 2014
KitMaker: 3,033 posts
Armorama: 2,492 posts
Posted: Monday, July 28, 2014 - 02:14 PM UTC
Oooooh ... I remember that step! Dragon should have a note at the top of that page: Before starting next step, walk away, take a nap, come back with fresh eyes.
Nice work, so far!
--mike
Nice work, so far!
--mike
Namabiiru
#399
Joined: March 05, 2014
KitMaker: 2,888 posts
Armorama: 1,920 posts
Posted: Tuesday, July 29, 2014 - 10:28 AM UTC
Quoted Text
Did the exact same thing with my Stug IIIB, but luckily caught it before upper hull or paint went on. so easy to fix. Dragons instructions DO leave a lot to be desired on many occasions! Should be OK once you get it back together, some mud and weathering will cover that right up.
No lie! The instructions for the Bazooka Jeep I'm building for this campaign are horrible, not to mention a number of errors with the kit itself (alignment pins too big for the holes or holes missing altogether, etc.)
catdude01
Joined: December 05, 2013
KitMaker: 314 posts
Armorama: 253 posts
Posted: Wednesday, July 30, 2014 - 12:29 AM UTC
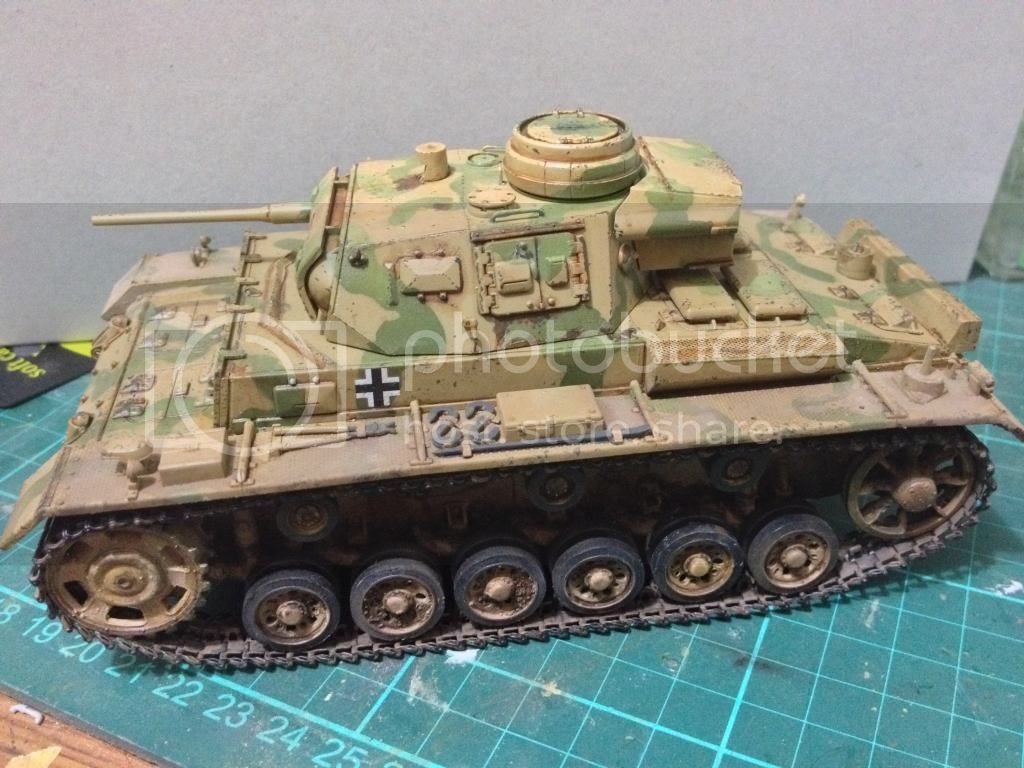
Hi guys! Ipms Nationals are almost there! Better hurry up with this little fella.
Here the picture with the back fixed and retouched.
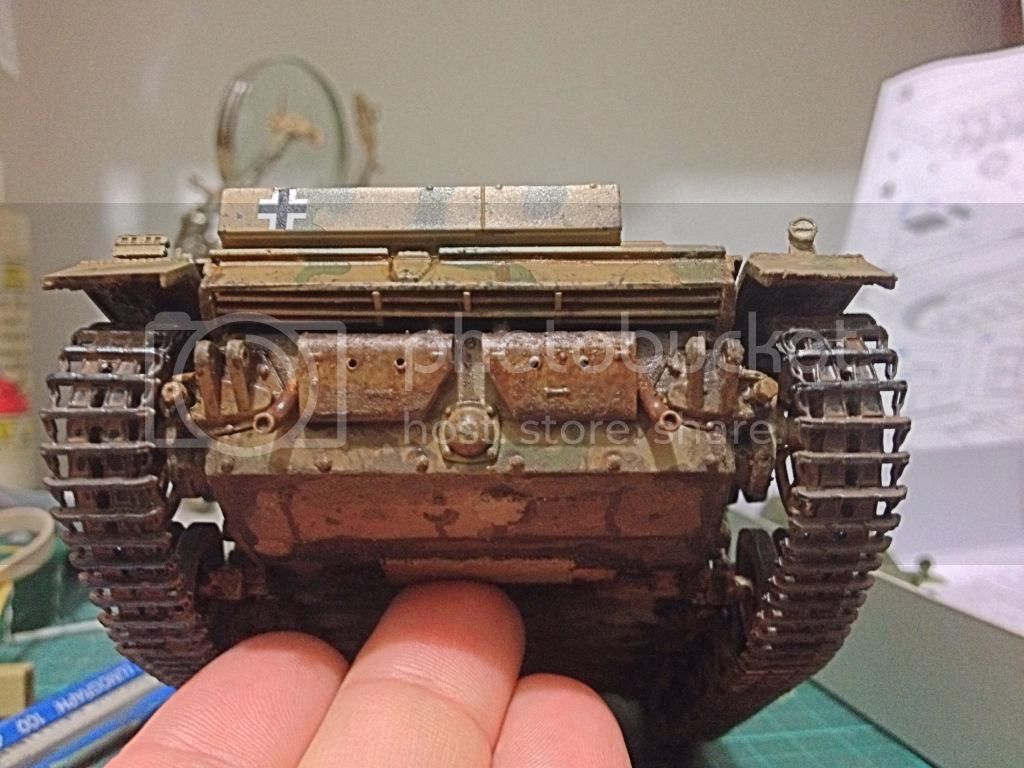
Here the picture with the back fixed and retouched.
catdude01
Joined: December 05, 2013
KitMaker: 314 posts
Armorama: 253 posts
Posted: Wednesday, July 30, 2014 - 12:31 AM UTC
some more picture of the progress yesterday. Fenders installed too.
M4A3E8Easy8
Joined: February 04, 2006
KitMaker: 302 posts
Armorama: 300 posts
Posted: Wednesday, July 30, 2014 - 01:32 AM UTC
Nice work fixing the back plate, the dirt looks good to me. Are you taking this one to Nats?
retiredyank
Joined: June 29, 2009
KitMaker: 11,610 posts
Armorama: 7,843 posts
Posted: Wednesday, July 30, 2014 - 03:12 AM UTC
Pedro: You pulled that one off perfectly! I can't even tell that it was ever on upside down.
catdude01
Joined: December 05, 2013
KitMaker: 314 posts
Armorama: 253 posts
Posted: Wednesday, July 30, 2014 - 05:40 AM UTC
Quoted Text
Nice work fixing the back plate, the dirt looks good to me. Are you taking this one to Nats?
Hi, yes I will also with this other little fella
catdude01
Joined: December 05, 2013
KitMaker: 314 posts
Armorama: 253 posts
Posted: Wednesday, July 30, 2014 - 05:41 AM UTC
Quoted Text
Pedro: You pulled that one off perfectly! I can't even tell that it was ever on upside down.
thanks! I was really lucky to remove that part clean. The retouching and weathering was the easy part.

Bluestab
Joined: December 03, 2009
KitMaker: 2,160 posts
Armorama: 1,906 posts
Posted: Thursday, July 31, 2014 - 08:08 AM UTC
I'll be in with a CyberHobby sd.kfz. 253. It should be arriving next week.
catdude01
Joined: December 05, 2013
KitMaker: 314 posts
Armorama: 253 posts
Posted: Friday, August 01, 2014 - 06:25 AM UTC
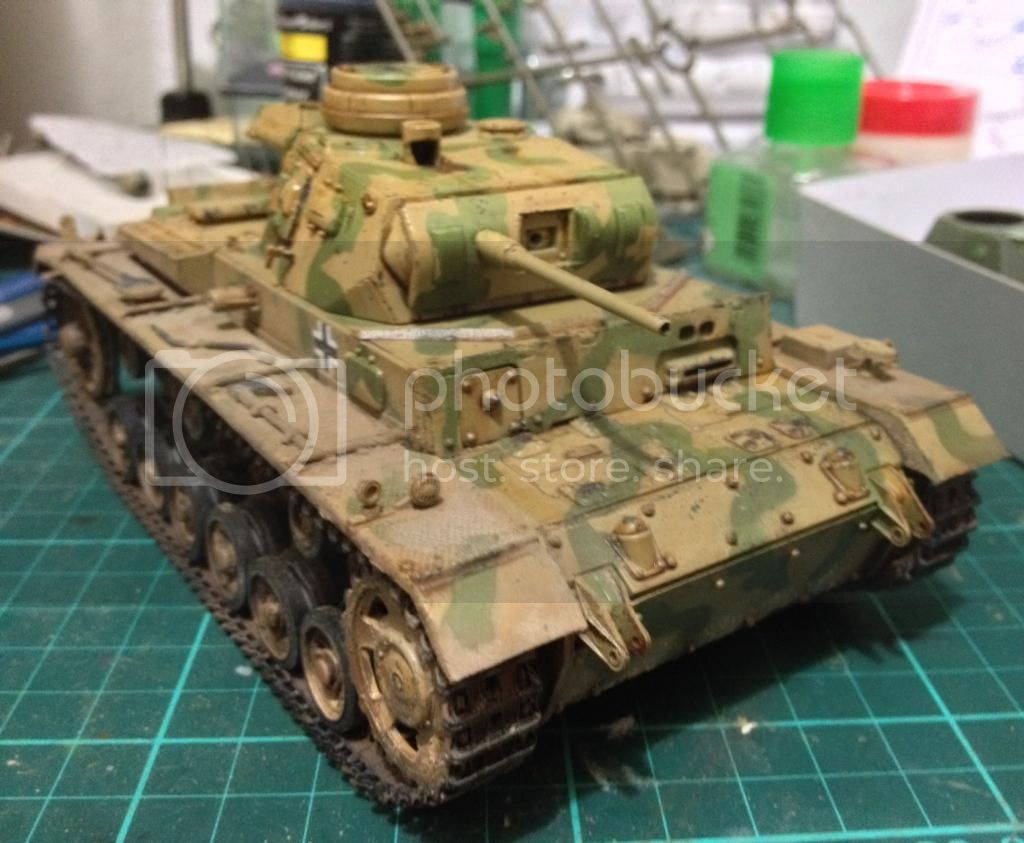
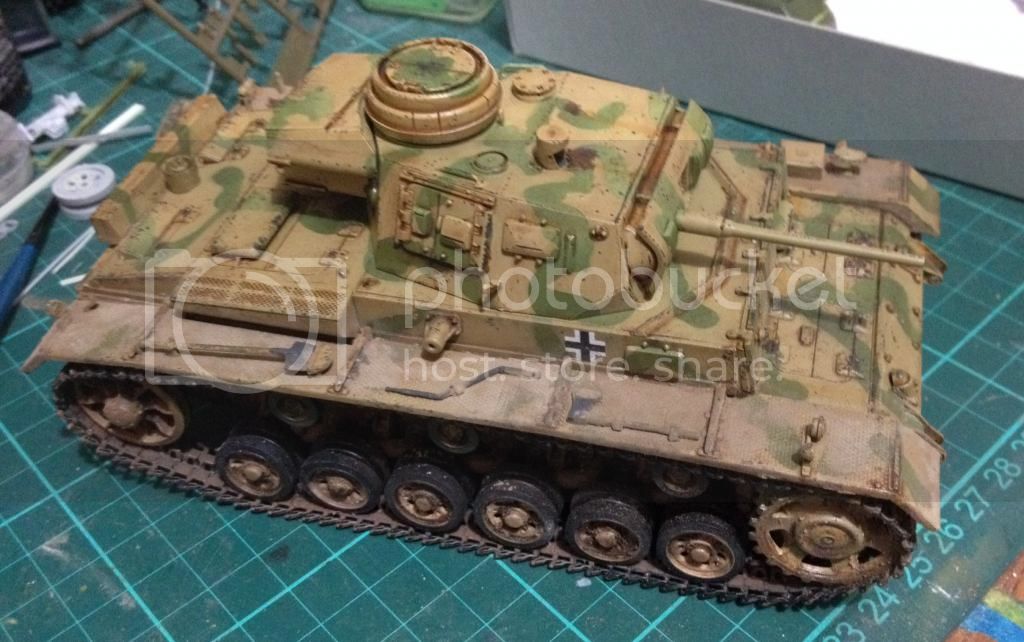
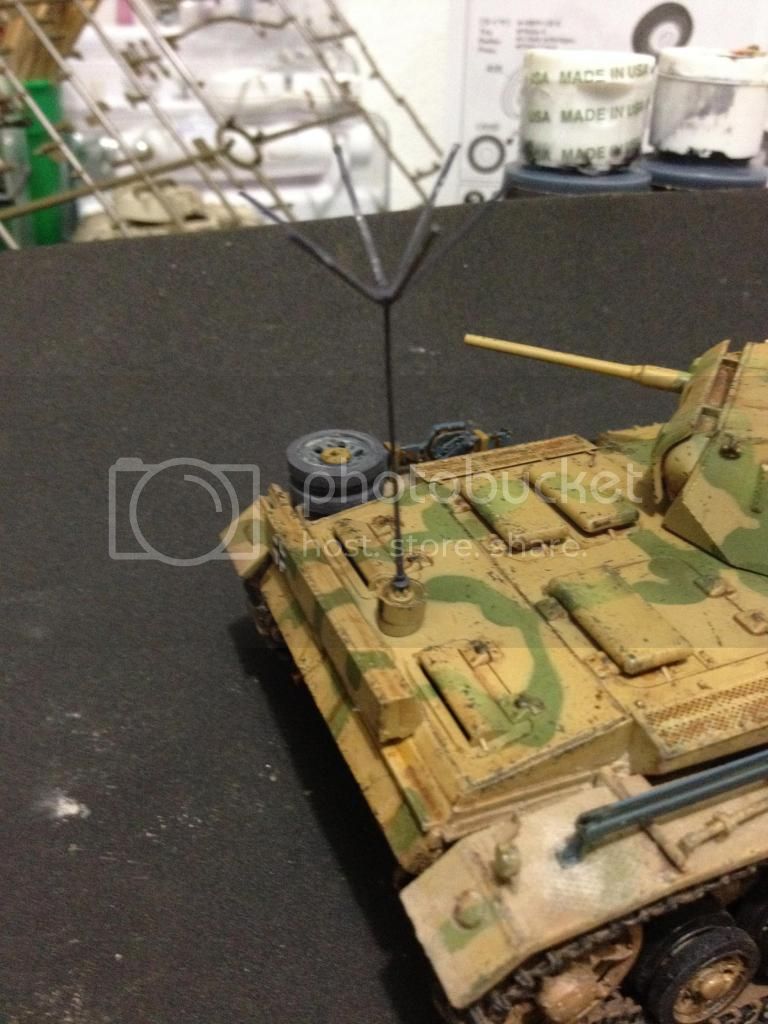
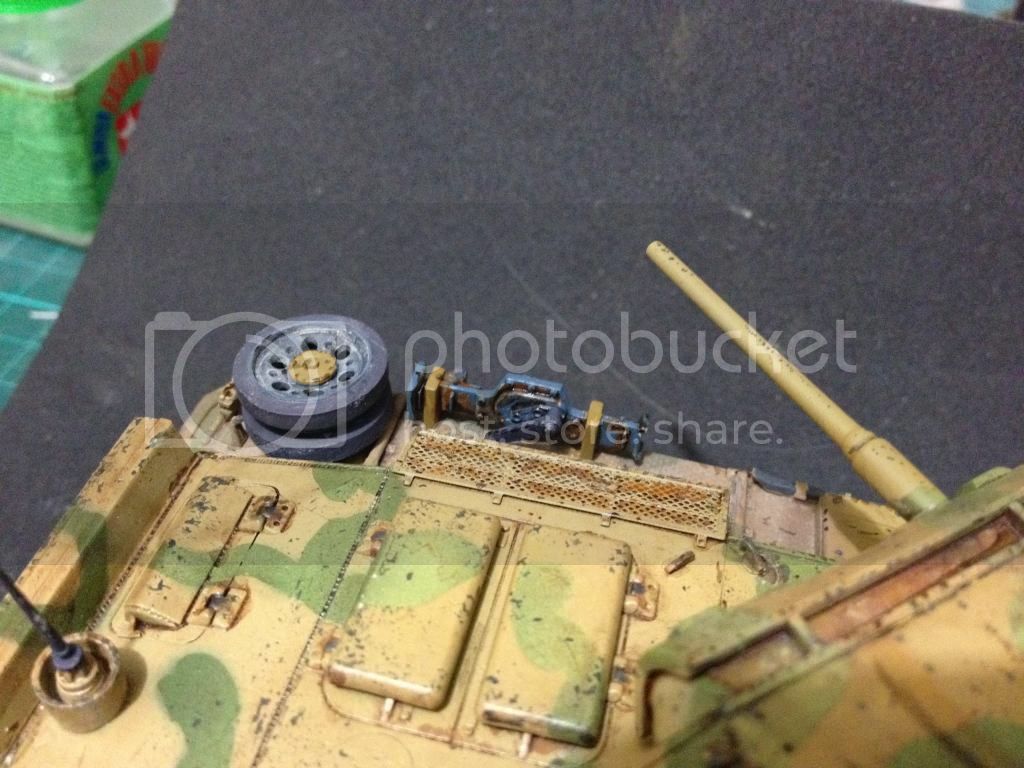
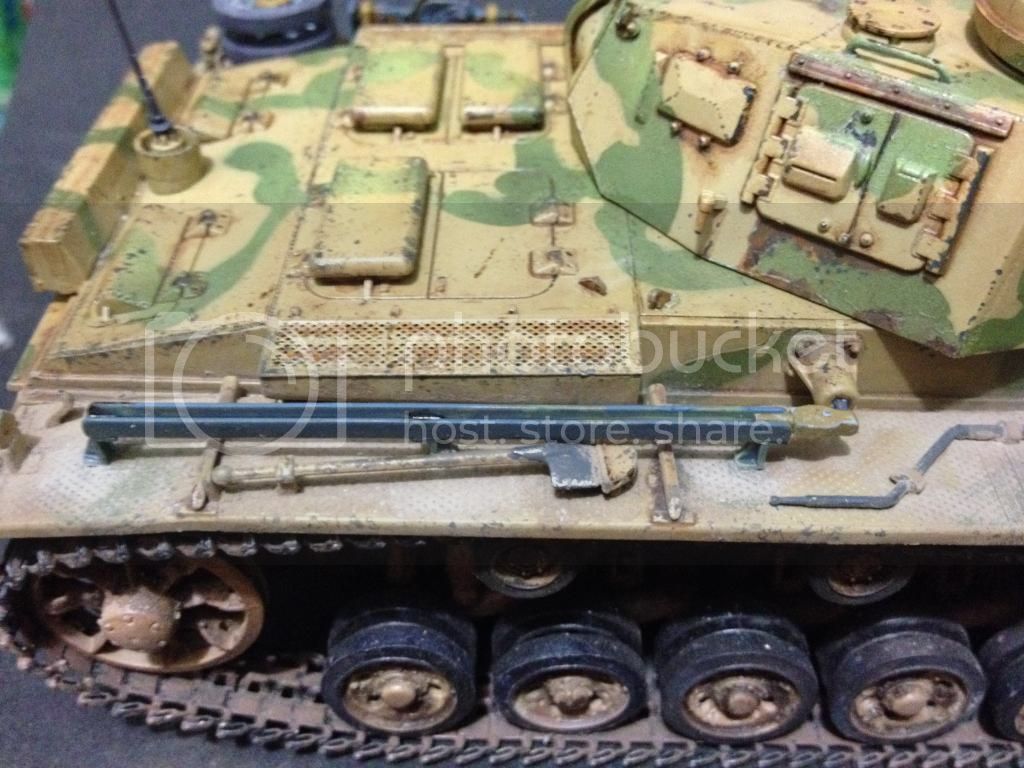
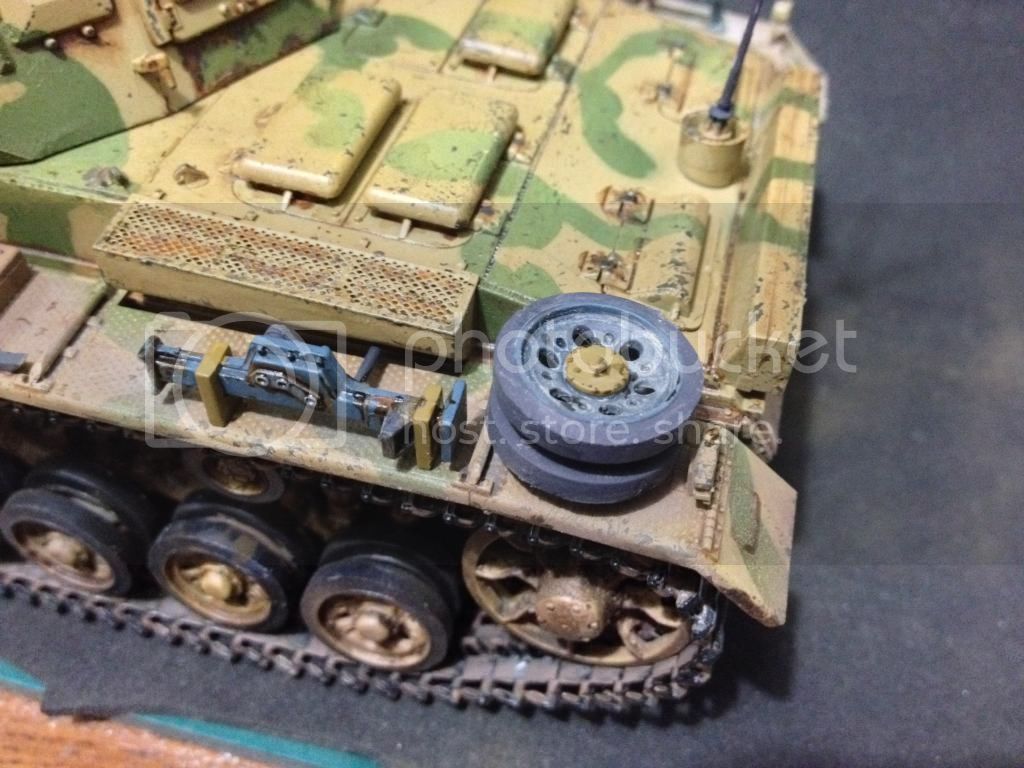
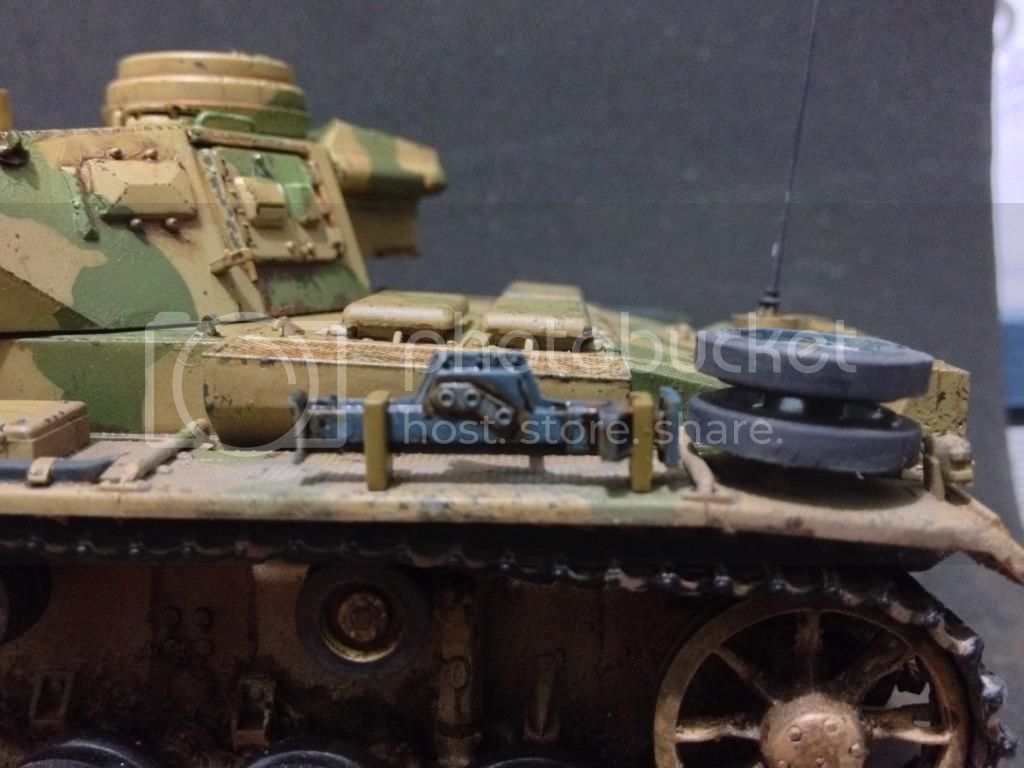
I wanted to paint in a different color some parts to make the kit more attractive, so I use Tamiya German Grey and Medium Blue , here more or less the results.
Bluestab
Joined: December 03, 2009
KitMaker: 2,160 posts
Armorama: 1,906 posts
Posted: Thursday, August 07, 2014 - 09:57 AM UTC
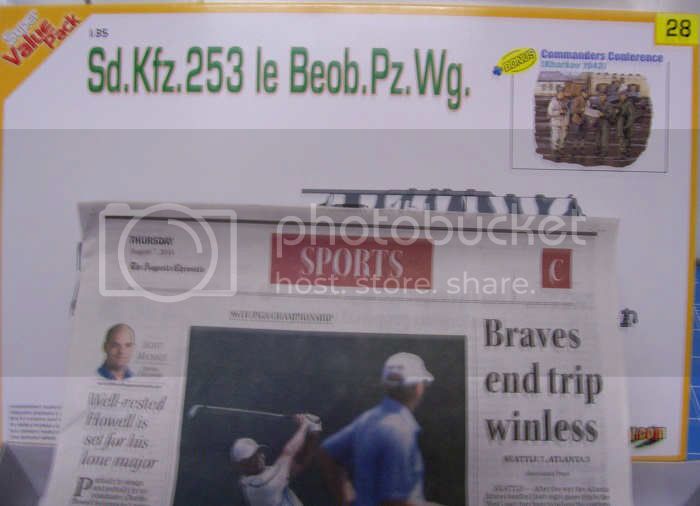
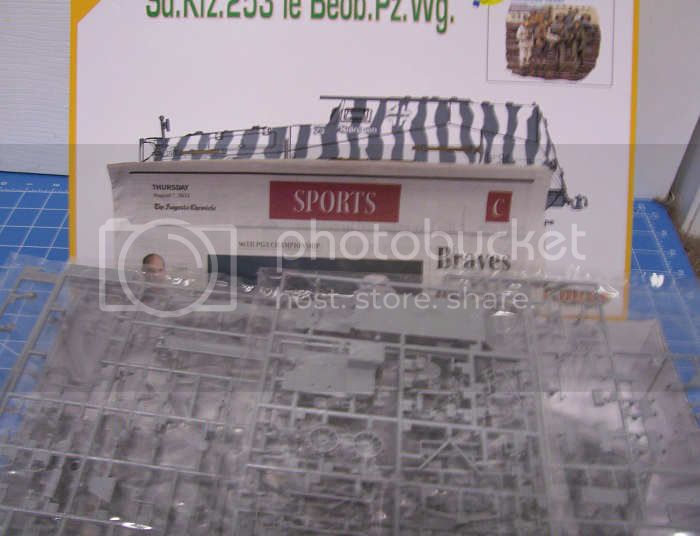
My sdkfz 253 arrived so starter pictures. I should get started on this one by this weekend. I've been wanting this kit for a while. I have a StuG waiting for a spotter.
Namabiiru
#399
Joined: March 05, 2014
KitMaker: 2,888 posts
Armorama: 1,920 posts
Posted: Thursday, August 07, 2014 - 10:18 AM UTC
Looking good, Pedro. You may want to consider getting some dust on that jack. Seems to stand out as a little too clean compared to the fender.

Steel_Spektor

Joined: December 19, 2012
KitMaker: 74 posts
Armorama: 68 posts

Posted: Friday, August 08, 2014 - 10:06 PM UTC
I've finished my T34/76 and it is a bloody disaster! Will post pics tomorrow. My question is can we build more than 1 kit for this campaign?
retiredyank
Joined: June 29, 2009
KitMaker: 11,610 posts
Armorama: 7,843 posts
Posted: Friday, August 08, 2014 - 10:26 PM UTC
Quoted Text
I've finished my T34/76 and it is a bloody disaster! Will post pics tomorrow. My question is can we build more than 1 kit for this campaign?
Of course you can.
Bluestab
Joined: December 03, 2009
KitMaker: 2,160 posts
Armorama: 1,906 posts
Posted: Sunday, August 10, 2014 - 10:08 AM UTC
I started on the CH sdkfz 253 artillery observation halftrack. I built one of these back in the 90s with Tamiya's Greif and a conversion set by Airwaves (I think). I've had this kit on my wishlist for a bit and I recently saw it in stock so I grabbed it.
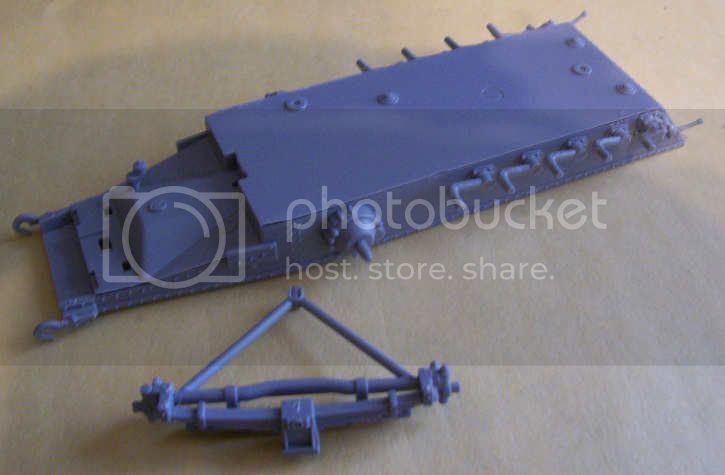
Like its 251 cousin, this one has a multi-piece hull. I tend to dislike these type hulls but this one went together well.
Added the arms and assembled the front suspension. The front suspension was more simplified than the 251's. The arms are keyed but you'll have to make sure they set up straight.
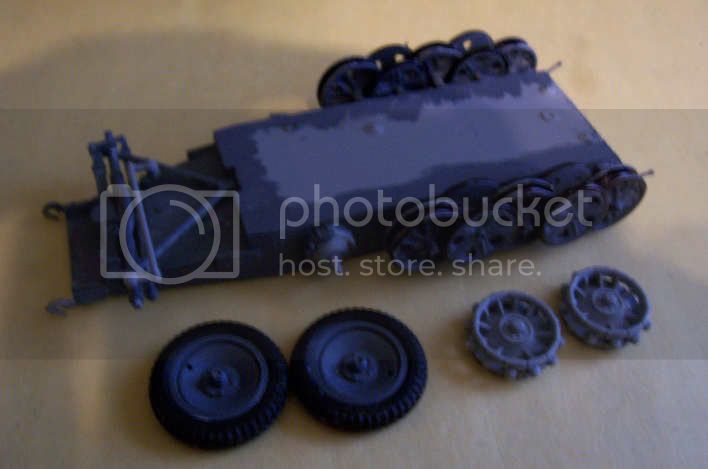
I went ahead and pre-painted the lower hull, roadwheels, front wheel hubs, and suspension. The wheels were added and had to be fiddled with to get everything to line up.
Assembled some of the interior. Those will be put aside for a coat of interior buff. I still have some more of the interior to assemble.
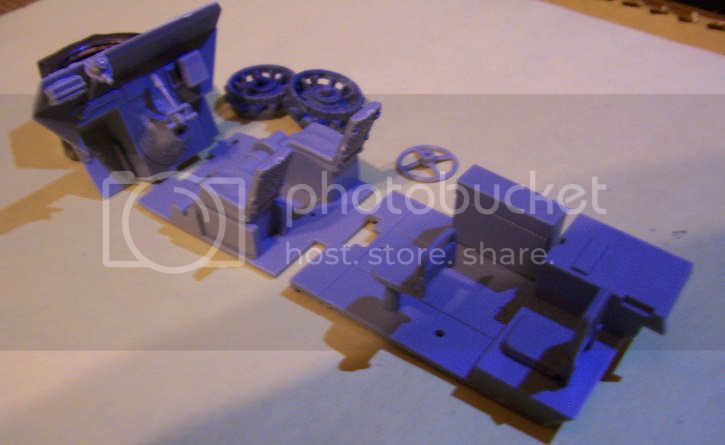
And that's where I am right now.
Like its 251 cousin, this one has a multi-piece hull. I tend to dislike these type hulls but this one went together well.
Added the arms and assembled the front suspension. The front suspension was more simplified than the 251's. The arms are keyed but you'll have to make sure they set up straight.
I went ahead and pre-painted the lower hull, roadwheels, front wheel hubs, and suspension. The wheels were added and had to be fiddled with to get everything to line up.
Assembled some of the interior. Those will be put aside for a coat of interior buff. I still have some more of the interior to assemble.
And that's where I am right now.
 |

WEB HOSTING BY


Copyright ©2021 Armorama and Kitmaker Network, a subsidiary of Silver Star Enterprises
All Rights Reserved. Please read our Conditions of Use and Privacy Policy.
All Rights Reserved. Please read our Conditions of Use and Privacy Policy.