Campaigns: Completed Campaigns
Campaigns that are completed should be grouped here.
Hosted by Richard S.
IDF Campaign
bison126
Visit this Community
Correze, France
Joined: June 10, 2004
KitMaker: 5,329 posts
Armorama: 5,204 posts
Posted: Friday, October 31, 2014 - 01:26 AM UTC
Hi all,
things will begin to get serious... at least for me.
Here is my project :


I'll build it without major mods. I intend to add the antislip coating and use the excellent tow cables from Eureka XXL.

My week-end will be busy and will keep me away from my workbench most of the time but hopefully I'll able to glue some bits anyway.

Olivier
Nito74
Visit this Community
Lisboa, Portugal
Joined: March 04, 2008
KitMaker: 5,386 posts
Armorama: 4,727 posts
Posted: Sunday, November 02, 2014 - 07:16 AM UTC
Joining with the Centurion,


Starting with the turret


mvaiano
Visit this Community
Sao Paulo, Brazil
Joined: January 24, 2012
KitMaker: 1,054 posts
Armorama: 1,050 posts
Posted: Sunday, November 02, 2014 - 07:58 AM UTC
Hi guys!

A big update (I want show this model at IPMS Brazil in late november)

It's read to paint. I just add some wiring and another antenna.


Now, let's start the paint job using VA Primer.

Cheers!

Marco
Nito74
Visit this Community
Lisboa, Portugal
Joined: March 04, 2008
KitMaker: 5,386 posts
Armorama: 4,727 posts
Posted: Sunday, November 02, 2014 - 11:44 AM UTC
Update,


Hi Marco,

Great work so far !! That's fast work, I can see why you have some vitamins at your workbench(1st photo)
Another masterpiece for your shelf.

Dragon164
#226
Visit this Community
British Columbia, Canada
Joined: February 20, 2012
KitMaker: 1,909 posts
Armorama: 1,066 posts
Posted: Sunday, November 02, 2014 - 12:03 PM UTC
Marco,
Looks like there is a small hair by the rear light.
Looking good otherwise!

Cheers Rob.
mvaiano
Visit this Community
Sao Paulo, Brazil
Joined: January 24, 2012
KitMaker: 1,054 posts
Armorama: 1,050 posts
Posted: Sunday, November 02, 2014 - 09:55 PM UTC
Hi guys!

@John: Man, if you know how I like the Centurion... I have an Australian one and NEED almost one IDF. The model is fantastic. About the vitamins, after the 45 you need! And about the Achzarit, it's so easy to build and paint. The big issue are the tracks. I sended an e-mail to Meng about it. Let's see the answer.

@Rob: I saw man . It's an hair of the brush that I use to apply glue. I also just saw this in the photo.

Thank you both!

Cheers!

Marco
rfbaer
Visit this Community
Texas, United States
Joined: June 12, 2007
KitMaker: 1,866 posts
Armorama: 1,696 posts
Posted: Monday, November 03, 2014 - 04:41 AM UTC
Rob, Marco: Looking good!
I've got the "bad girl" in the stash, so I'm all over this one. I'm planning on using either Friuls or SpadeAce tracks, glad I won't have to mess with the kit parts there.
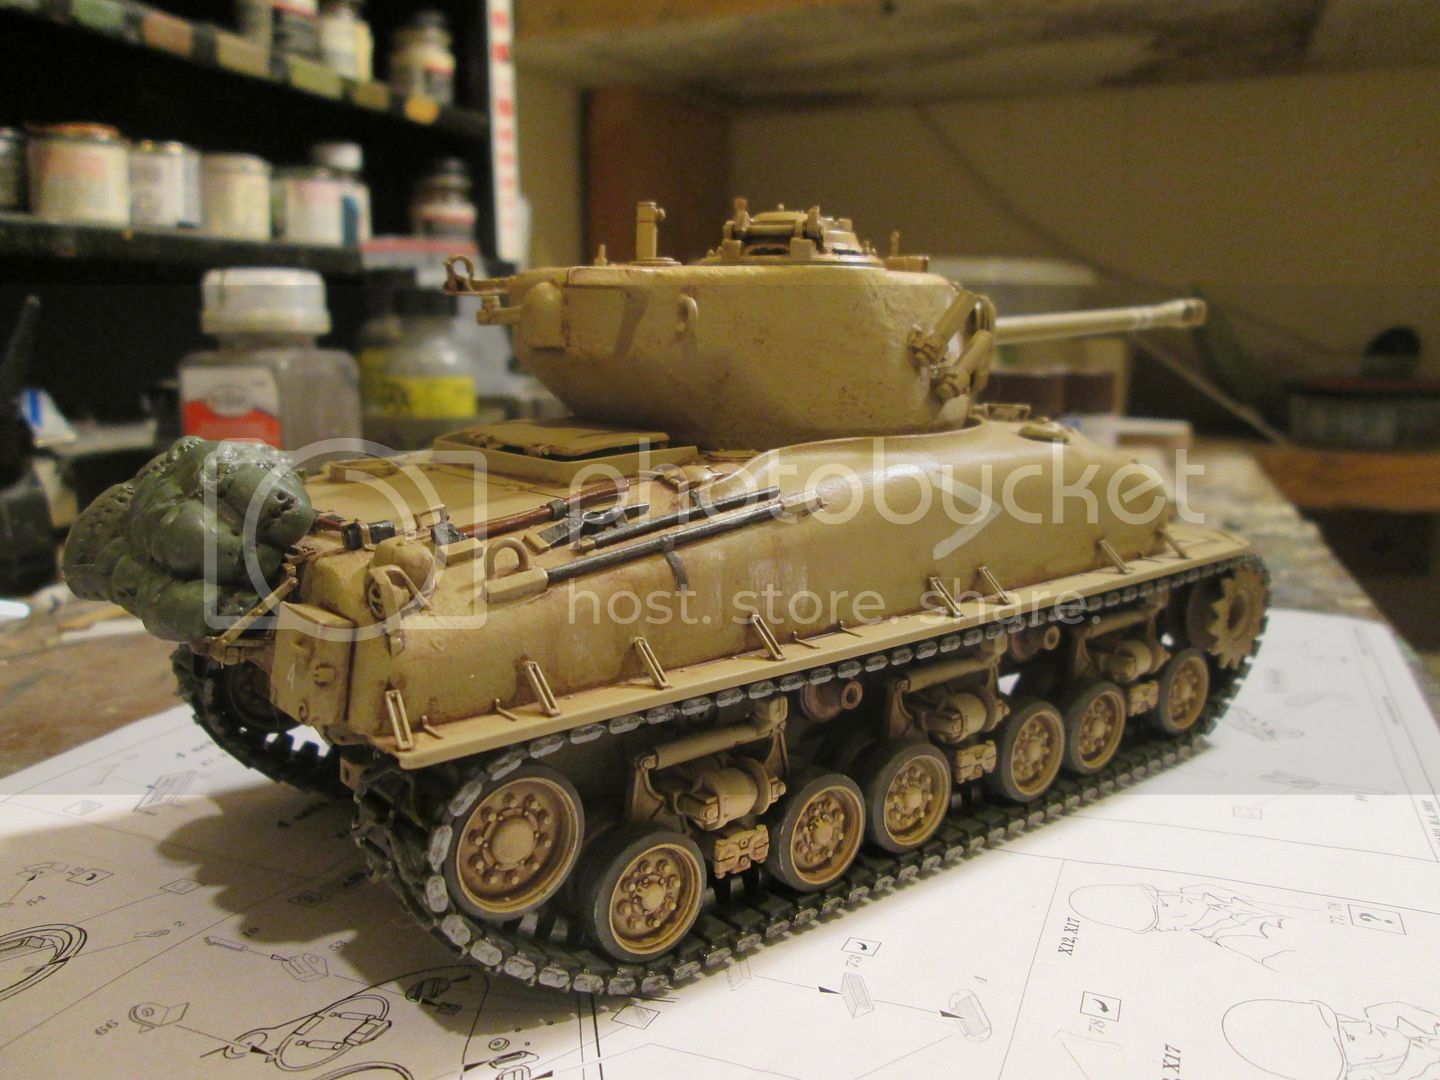
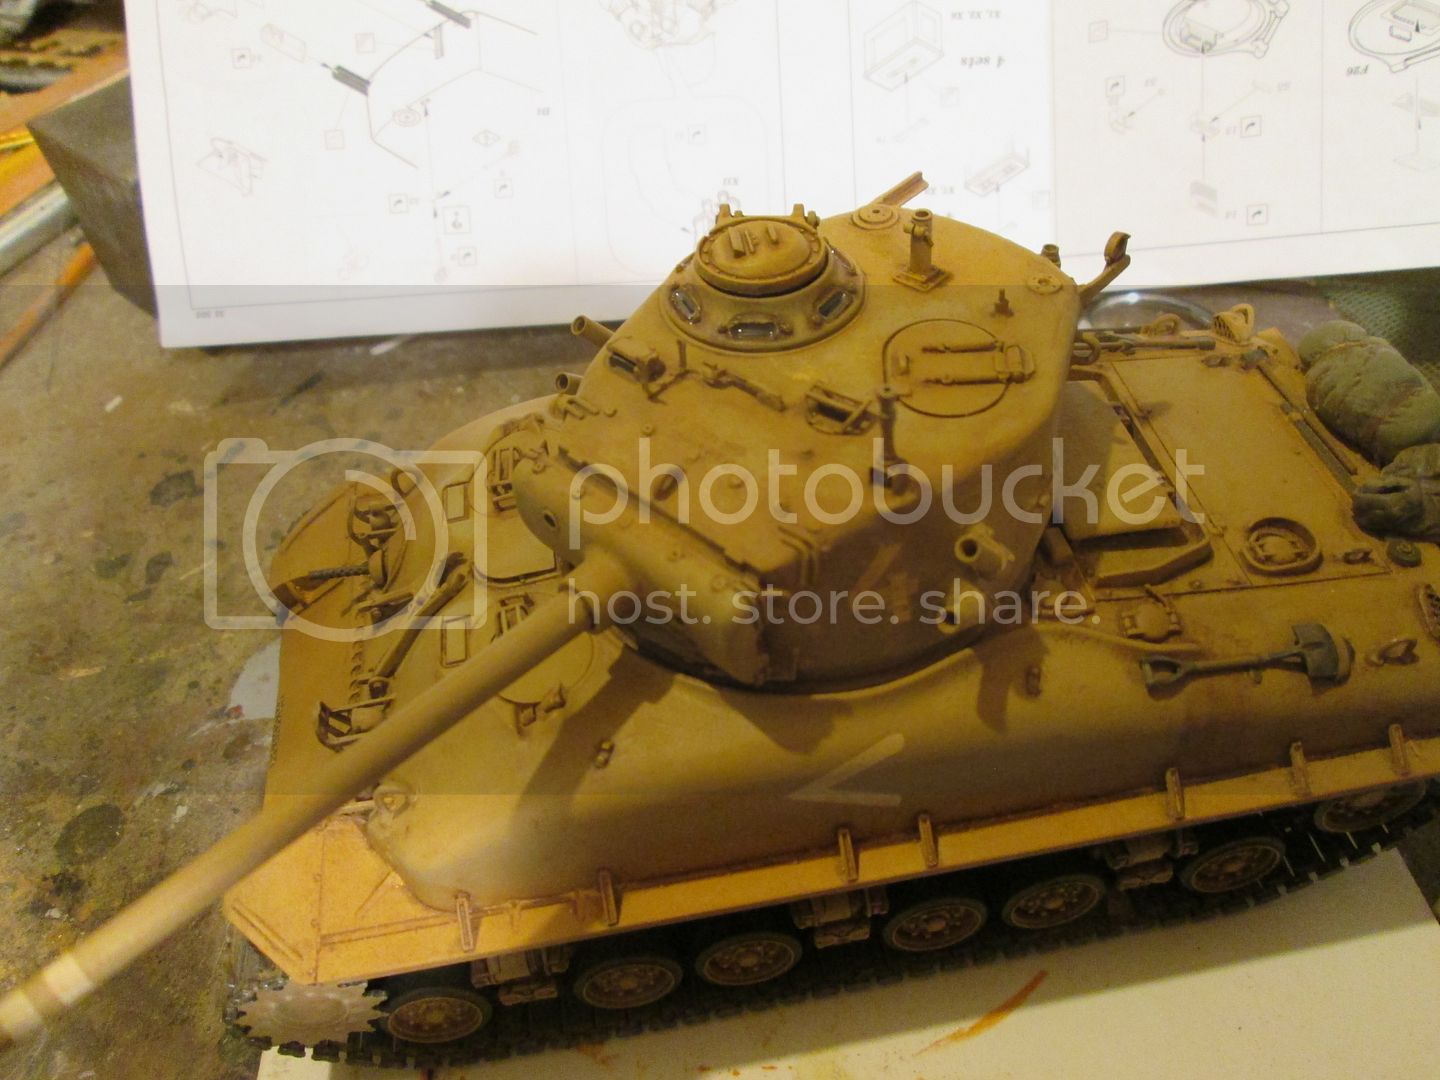
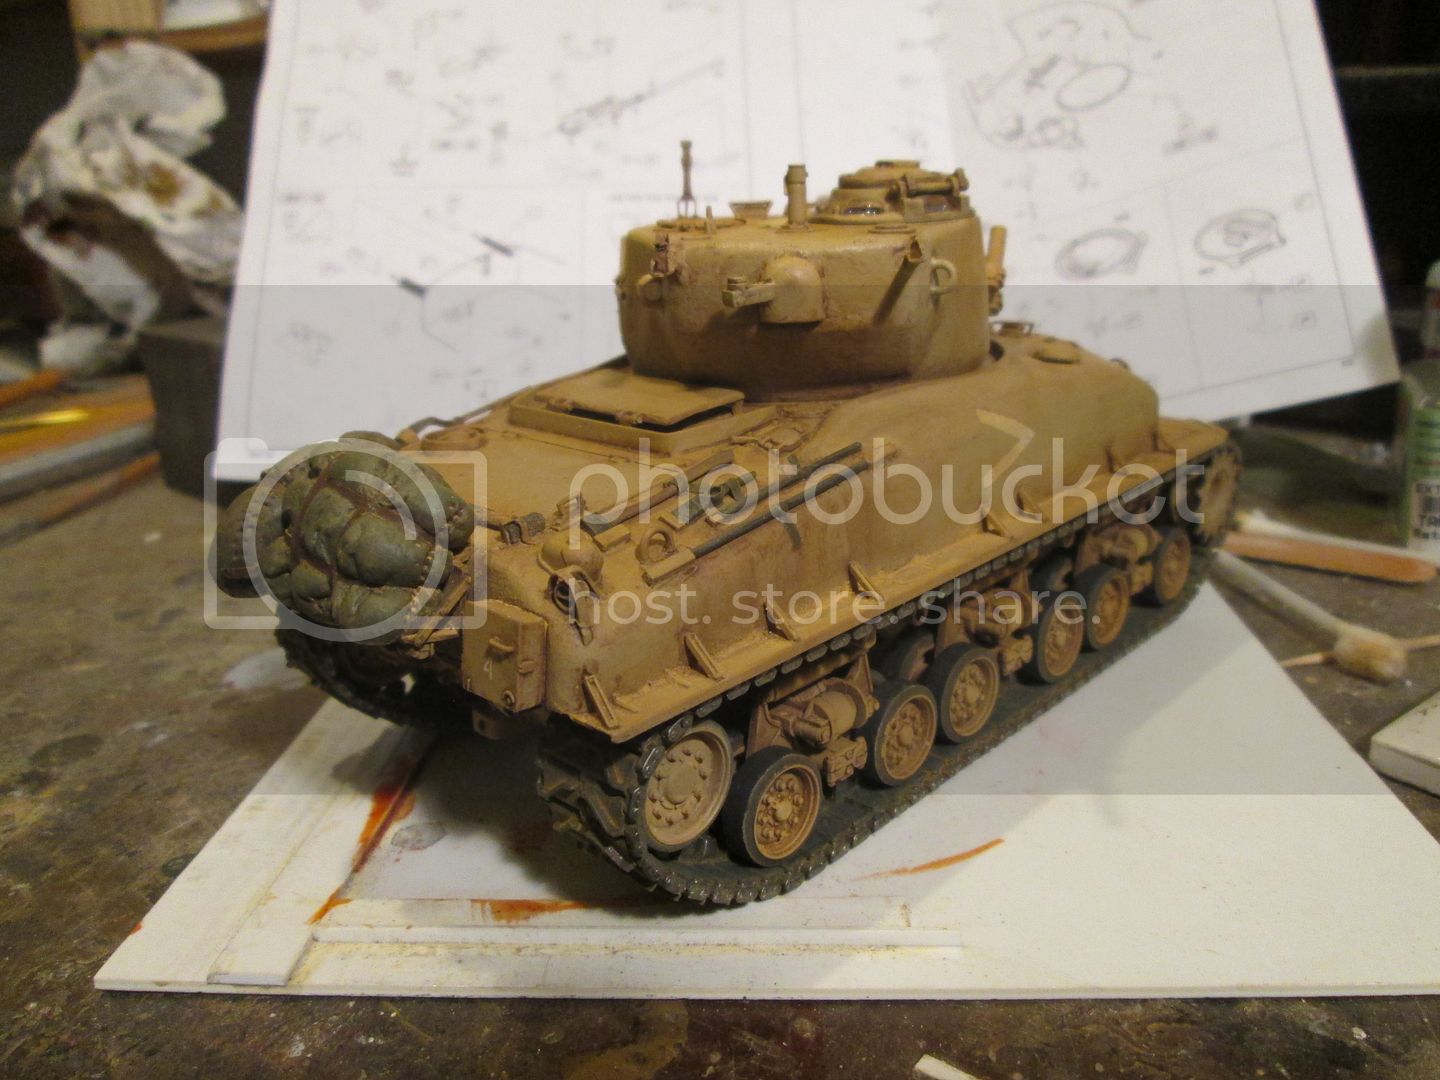
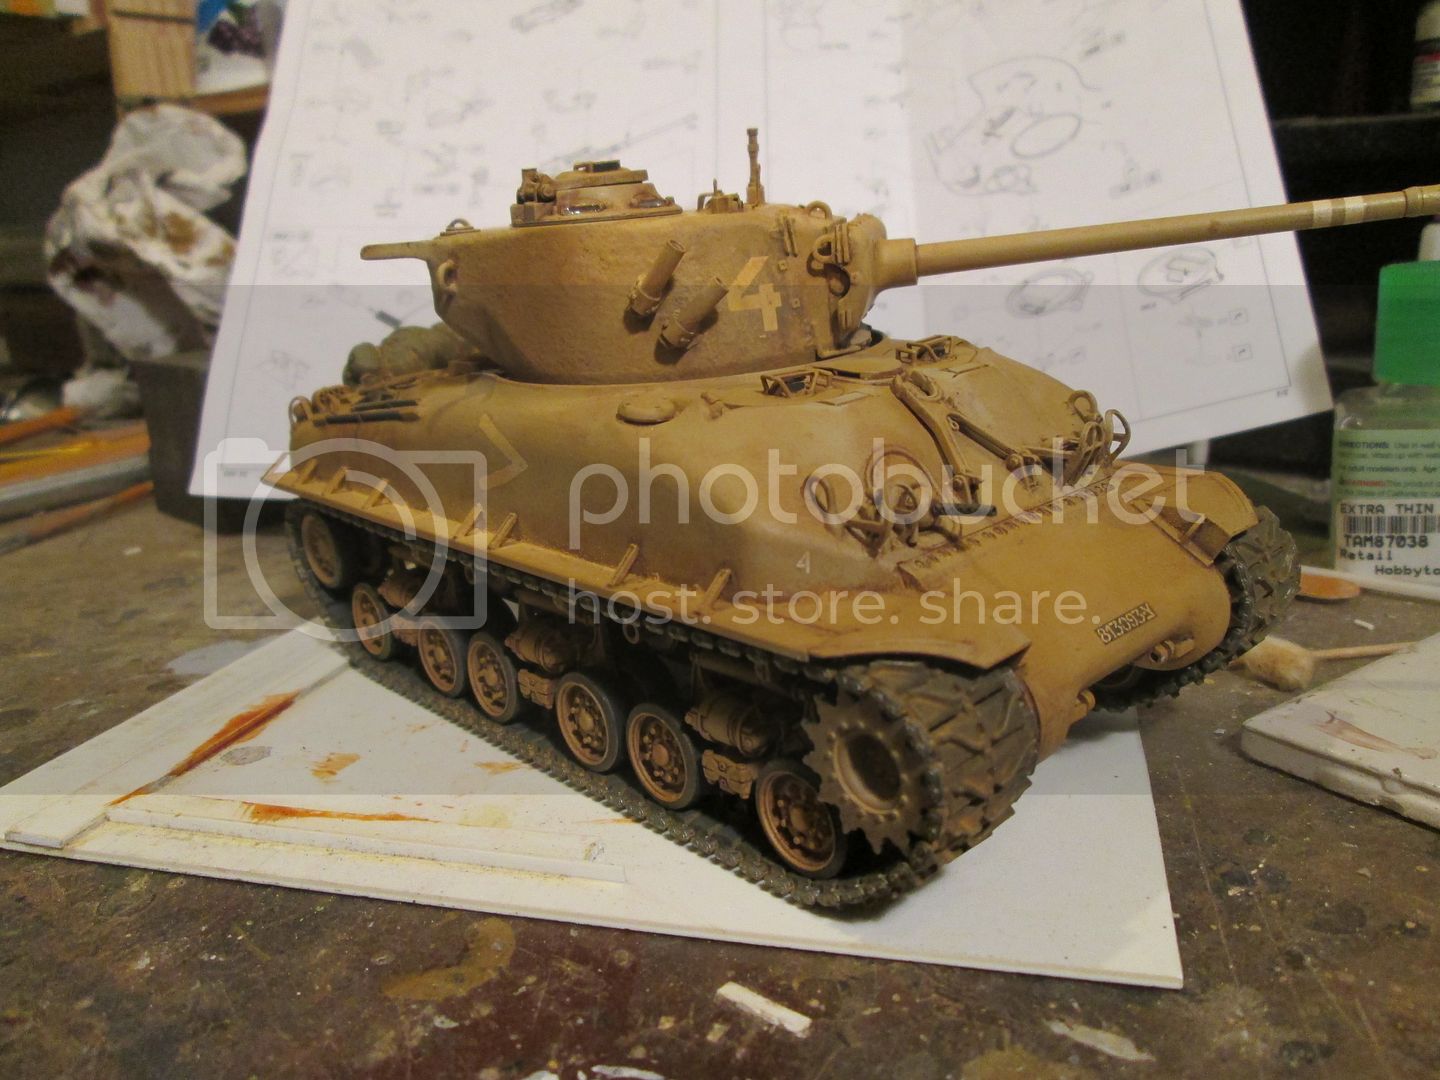
My Sherman got a wash this weekend, and some detail painting.
Tracks are fitted for the pics, will come back off for further weathering.


I haven't decided yet if I want a TC fig, but other than that, moving along nicely.
Nito74
Visit this Community
Lisboa, Portugal
Joined: March 04, 2008
KitMaker: 5,386 posts
Armorama: 4,727 posts
Posted: Tuesday, November 04, 2014 - 04:59 AM UTC
Update:

Step 19


Step 20 (not completed yet)


mvaiano
Visit this Community
Sao Paulo, Brazil
Joined: January 24, 2012
KitMaker: 1,054 posts
Armorama: 1,050 posts
Posted: Tuesday, November 04, 2014 - 06:06 AM UTC
Hi guys!

Russel, the Sherman looks great. I "need" to see it finnished.

John I'll follow your Centurion with a lot of interest. As I said, I want one. Nice and clean work.

Cheers!

Marco
rfbaer
Visit this Community
Texas, United States
Joined: June 12, 2007
KitMaker: 1,866 posts
Armorama: 1,696 posts
Posted: Wednesday, November 05, 2014 - 07:52 AM UTC
Thanks, Marco. I'm out of town for a bit, hope to get back on this one later next week.
Northern_Lad
Visit this Community
United Kingdom
Joined: September 17, 2012
KitMaker: 462 posts
Armorama: 417 posts
Posted: Wednesday, November 05, 2014 - 11:38 PM UTC
@John: Are you enjoying the AFV club kit? I found I had to scrape around the inside of the small poly caps inside the wheels to get them to fit on the axles (removed them again after test fit for easier painting). Other than that it went together nicely...

Finished building the Centurion. Now to get it primed...


cheers

Matthew
rfbaer
Visit this Community
Texas, United States
Joined: June 12, 2007
KitMaker: 1,866 posts
Armorama: 1,696 posts
Posted: Thursday, November 06, 2014 - 04:43 AM UTC
Looks good, Matthew.
I have dust applied, but had to re-do the turret numbers since I saw decal film under the dust. Surprising, since I used plenty of setting solution, and had no issues elsewhere with the other decals from the same sheet. Anyway, now it looks like it's had the turret numbers changed, which I can live with.


Antenna masts and one mount, MG and maybe a TC should finish it.
Nito74
Visit this Community
Lisboa, Portugal
Joined: March 04, 2008
KitMaker: 5,386 posts
Armorama: 4,727 posts
Posted: Thursday, November 06, 2014 - 06:35 AM UTC
Hi Matthew,

Yes, so far it's a great kit, tons of extras and so far it's been a great build.
I'm doing the turret first, so I can't comment on the wheels, as soon as I get there I'll let you know !

Great work by the way !!!

Here's my update:


ArtyG37B
Visit this Community
British Columbia, Canada
Joined: August 13, 2009
KitMaker: 420 posts
Armorama: 416 posts
Posted: Thursday, November 06, 2014 - 08:26 AM UTC
Here's the progress on my Merk IIID. it's been a great kit to put together. I'm almost at the paint stage, just have the tracks to do. I might be taking a brief pause to finish a model for another campaign.


bison126
Visit this Community
Correze, France
Joined: June 10, 2004
KitMaker: 5,329 posts
Armorama: 5,204 posts
Posted: Saturday, November 08, 2014 - 01:55 PM UTC
My Merkava 3D is coming along nicely too.
I'm a bit disappointed with the thickness of many mold lines though. I know this was the very first Meng kit but I really didn't expect this.
In addition, the gun muzzle has a weird V shape ! For some reason some plastic is missing. Won't be an easy fix.

Here is the muzzle

Nice paint job Russel
Olivier
mvaiano
Visit this Community
Sao Paulo, Brazil
Joined: January 24, 2012
KitMaker: 1,054 posts
Armorama: 1,050 posts
Posted: Sunday, November 09, 2014 - 02:57 AM UTC
Hi guys!

Russel, John and Olivier, really nice work.

My God, I have an update here, but I'm afraid to show...

Paint and decals are in place , look.


Cheers!

Marco
bison126
Visit this Community
Correze, France
Joined: June 10, 2004
KitMaker: 5,329 posts
Armorama: 5,204 posts
Posted: Sunday, November 09, 2014 - 02:57 PM UTC
Nice build and paint job Marco. The only thing you should consider it the bent antenna. The angle of the aerial does not match the one of the spring base.
I know it's a bit tricky to depict this so I moved to resin antenna basis which are far easier to bend once they are heated.

Keep up the good work and good luck for the weathering step.
Olivier
mvaiano
Visit this Community
Sao Paulo, Brazil
Joined: January 24, 2012
KitMaker: 1,054 posts
Armorama: 1,050 posts
Posted: Sunday, November 09, 2014 - 05:03 PM UTC
Hi guys!

Thanks Olivier! I'll try to fix this aerial problem, for sure.

Lets see the final result.

Cheers!

Marco
retiredyank
Visit this Community
Arkansas, United States
Joined: June 29, 2009
KitMaker: 11,610 posts
Armorama: 7,843 posts
Posted: Sunday, November 09, 2014 - 05:08 PM UTC
Olivier: Nice choice. Hopefully, we can benefit from each other's build. There are some excellent builds, here. I'm looking forward to my postman, this week.
ArtyG37B
Visit this Community
British Columbia, Canada
Joined: August 13, 2009
KitMaker: 420 posts
Armorama: 416 posts
Posted: Monday, November 10, 2014 - 04:15 AM UTC

Quoted Text

Here's the progress on my Merk IIID. it's been a great kit to put together. I'm almost at the paint stage, just have the tracks to do. I might be taking a brief pause to finish a model for another campaign.


Had to reload the pics, they got lost in the crash.


mvaiano
Visit this Community
Sao Paulo, Brazil
Joined: January 24, 2012
KitMaker: 1,054 posts
Armorama: 1,050 posts
Posted: Monday, November 10, 2014 - 06:44 PM UTC
Yes!

Nice and clean Merk Ian. Really fast too!

Cheers!

Marco
bison126
Visit this Community
Correze, France
Joined: June 10, 2004
KitMaker: 5,329 posts
Armorama: 5,204 posts
Posted: Monday, November 10, 2014 - 07:46 PM UTC
nice build Ian. You've gone a bit farther than I. My lower hull is complete. I'm still struggling with the tracks to give them the right bend.
Moreover, whereas my floor is a plain plastic one, it looks like a carpet monster managed to capture one of the turret laser sensors. It's pure mis(t)ery.
Anyway, I'll post pics of my WIP later in the afternoon.

Olivier
MichaelSatin
Staff MemberCampaigns Administrator
AEROSCALE
Visit this Community
Colorado, United States
Joined: January 19, 2008
KitMaker: 3,909 posts
Armorama: 510 posts
Posted: Monday, November 10, 2014 - 09:51 PM UTC
Looks like I'm the only wingy thingy builder in this group of tread heads. Great work so far, by the way!

I've started on the F-15D. I've got the base dark gull gray in the cockpit and white on the wheel wells, intake trunks, etc. Here's a couple of in progress shots.

The canopy and windscreen are among the parts that Great Wall remolded due to shape issues with the original parts. This gives me the opportunity to show a before and after shot of the mold line along the top. It's hard to photograph but you can see it at the rear of the bottom canopy:

 photo 2014-11-09_12-43-57_822_zps746fd2aa.jpg

These lines are inevitable when they have to mold a bubble canopy that curves in at the bottom. You just need to have the right tools to clean it off, which I did with the top one in the picture. Here are my tools:

 photo 2014-11-09_12-44-41_268_zps60c11301.jpg

You need to be careful handling the parts so as not to crack them when sanding and polishing. I tried to be but still broke off one of the hinges at the back. Happily, I was able to cut the same hinge off the old part and glue it on to the new one.

I also had to clean up a couple of pin marks inside the intakes that I was afraid would be seen:

 photo 2014-11-09_11-00-15_167_zps185da990.jpg

 photo 2014-11-09_11-07-19_259_zps7ceff8aa.jpg

I didn't do some of them further back as they won't be seen and I'm lazy.

Finally the kit seats looked a little anemic so I'm substituting a set from a Revell F-15E that I didn't use on that kit. The Revell seats are on the left and I think look much better.

 photo Seatcomparisonfront-left_zpscbcd9322.jpg

That's all for now. My office is closed today for Veterans' Day so I may get some more work done later.

Michael

By the way, my trip to Israel was inspiring indeed! We visited Latrun and I had a hard time not building armor for this campaign, but I need to build this F-15 for a review. On the other hand, while staying at a hotel by the Dead Sea three F-15s buzzed us very close, so there ya go!

M.
ArtyG37B
Visit this Community
British Columbia, Canada
Joined: August 13, 2009
KitMaker: 420 posts
Armorama: 416 posts
Posted: Tuesday, November 11, 2014 - 07:16 AM UTC

Quoted Text

nice build Ian. You've gone a bit farther than I. My lower hull is complete. I'm still struggling with the tracks to give them the right bend.
Moreover, whereas my floor is a plain plastic one, it looks like a carpet monster managed to capture one of the turret laser sensors. It's pure mis(t)ery.
Anyway, I'll post pics of my WIP later in the afternoon.

Olivier


Thanks Olivier. I'm struggling with the tracks too, seriously contemplating getting the Spade ace tracks. same here with the carpet monster, he got the muzzle reference device ( hence the white "replacement")
bison126
Visit this Community
Correze, France
Joined: June 10, 2004
KitMaker: 5,329 posts
Armorama: 5,204 posts
Posted: Tuesday, November 11, 2014 - 08:53 PM UTC

Quoted Text

Thanks Olivier. I'm struggling with the tracks too, seriously contemplating getting the Spade ace tracks. same here with the carpet monster, he got the muzzle reference device ( hence the white "replacement")


Well concerning the tracks I decided to do them at a slow pace to avoid mistakes. I found it boring, to say the least, to clean all the links.
I assembled the links by 4 or 5 and let them set a bit before assembling longer lengths in order to have enough links to go around the lower half of the sprockets. Then I did the upper run. I used the same process with the idlers. Finally I will just have to assemble the intermediate parts and glue them all after they are painted and partly weathered.

This morning my wife found the lost part in another room !! The part fell on my tool box and rebounced 5 meters far from it. It was just incredible that it was not definitely lost as my wife used the vaccum cleaner in this very room.

Will try to post pics tonight.