Armor/AFV
For discussions on tanks, artillery, jeeps, etc.
For discussions on tanks, artillery, jeeps, etc.
Hosted by Darren Baker, Mario Matijasic
My first HEMTT - the Italeri LHS
Taylornic

Joined: January 10, 2005
KitMaker: 337 posts
Armorama: 332 posts

Posted: Saturday, August 20, 2016 - 06:07 AM UTC
I like it, great job!
Posted: Saturday, August 20, 2016 - 08:51 AM UTC
I have seen only one picture of a real HEMTT were the davit was carried fully assembled. A few had the elbow with the hand winch installed but only one where the arm was in place. Probably a smart move unless you weld them on because otherwise they would vibrate apart and then wouldn't be there when you needed them.
My question: Where/how are these items stowed when not in use?
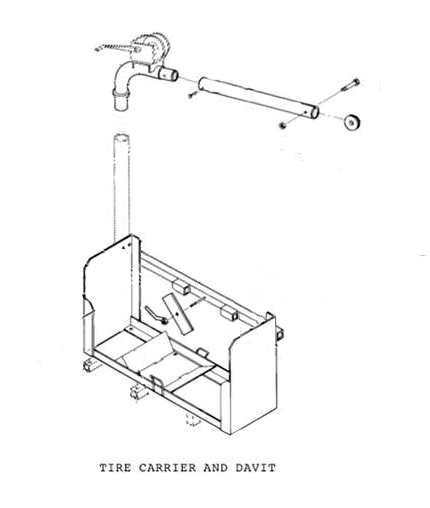
My question: Where/how are these items stowed when not in use?

Thirian24

Joined: September 30, 2015
KitMaker: 2,493 posts
Armorama: 2,344 posts

Posted: Saturday, August 20, 2016 - 09:08 AM UTC
Everyone I ever worked on, had it in place with the cable/hook wrapped around and through the wheel.
Posted: Saturday, August 20, 2016 - 09:56 AM UTC
Well I just answered my own stowage questions but I suspect both these photos where taken stateside. Since every truck you worked on Dustin had the davit fully assembled I suspect in combat conditions an extra 10 minutes to put the davit together could make all the difference.
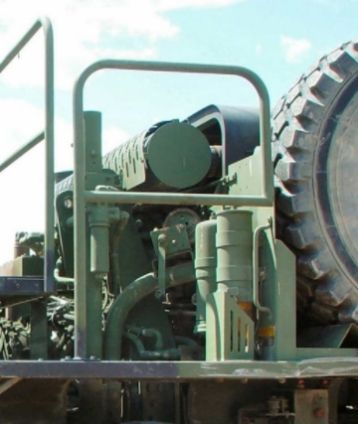
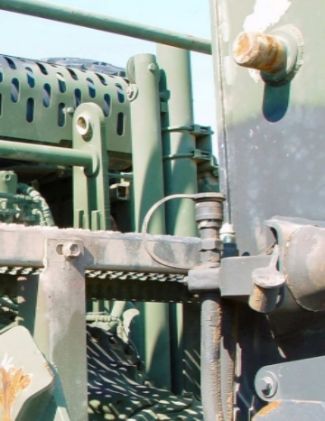
The elbow and crank winch are stowed next to the davit standard on the right side of the vehicle behind the
spare tire and the davit arm is bolted to the upright standard on it's left side.


The elbow and crank winch are stowed next to the davit standard on the right side of the vehicle behind the
spare tire and the davit arm is bolted to the upright standard on it's left side.
Posted: Saturday, August 20, 2016 - 08:14 PM UTC
Posted: Saturday, August 20, 2016 - 08:46 PM UTC
Posted: Saturday, August 20, 2016 - 11:52 PM UTC
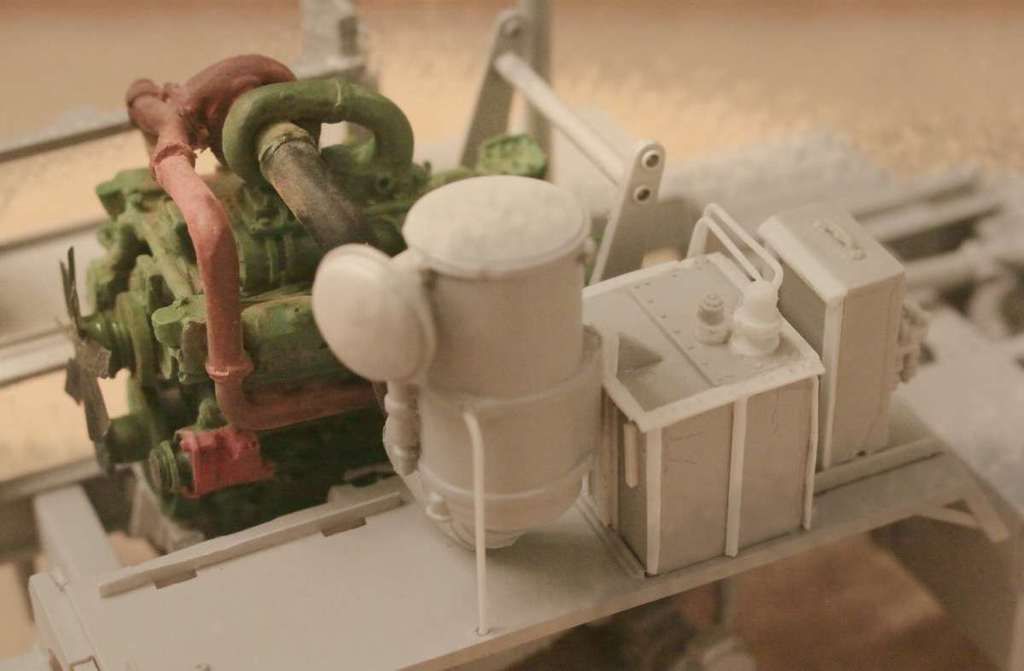
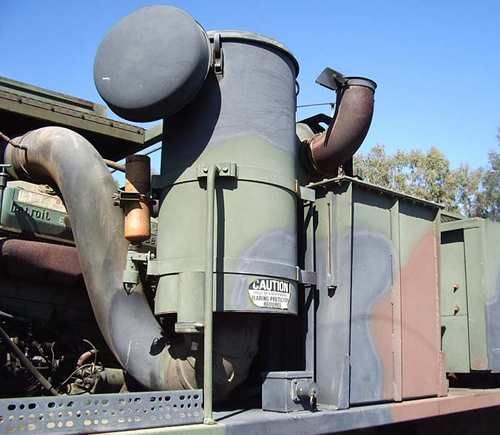
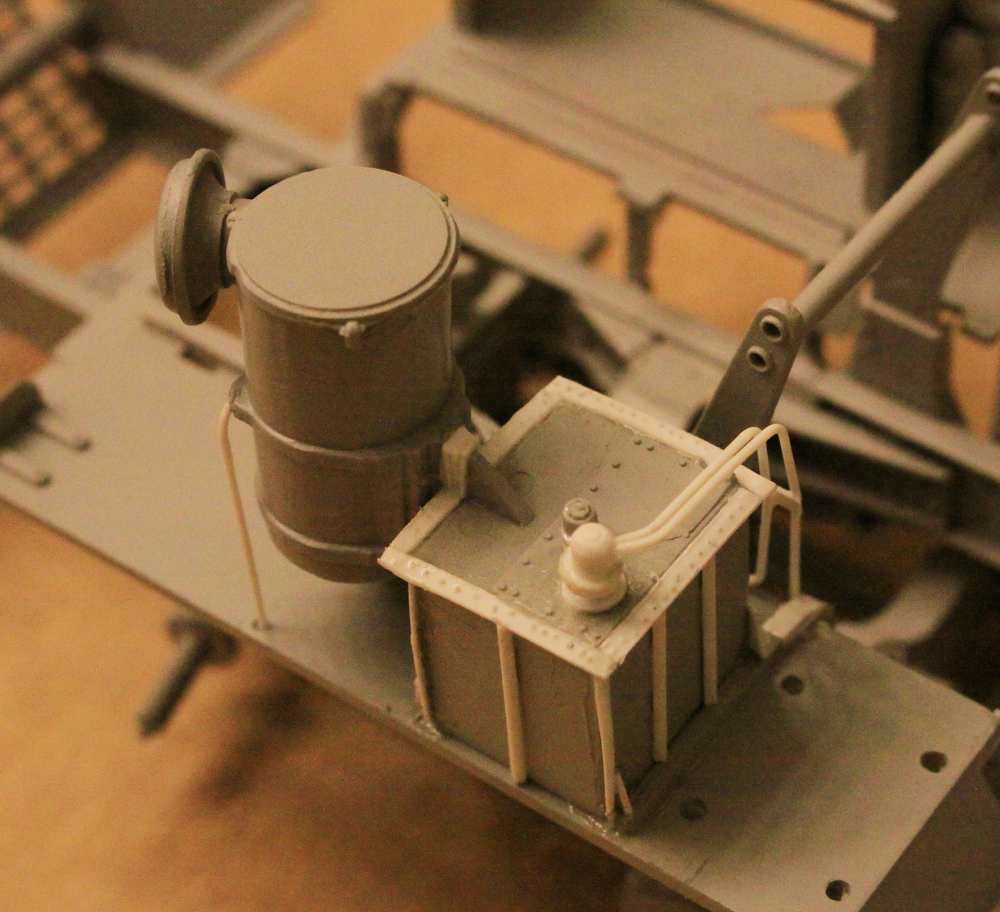
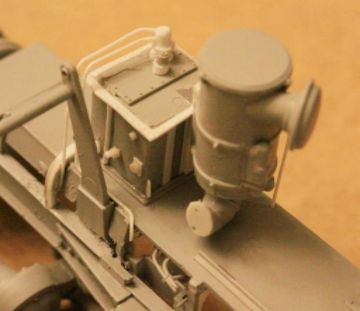
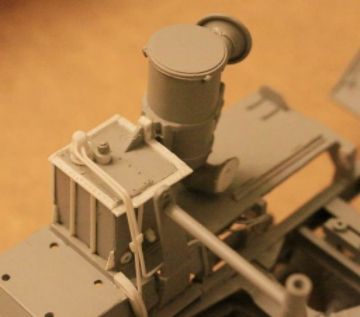
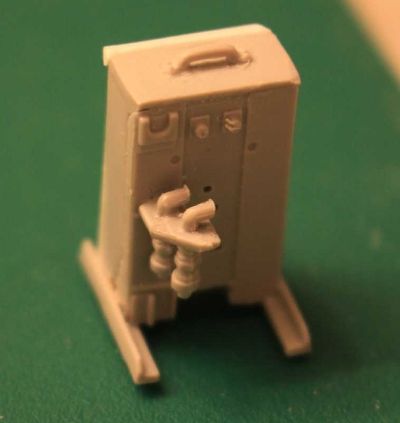
There seem to have been two types of hydraulic reservoirs: an earlier more complex structure and then a simplified later design. While the Italeri HEMTT uses the simplified version, of course I had to choose the more complex design on the right!
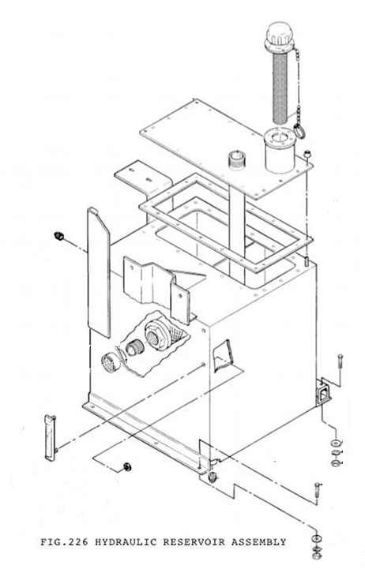
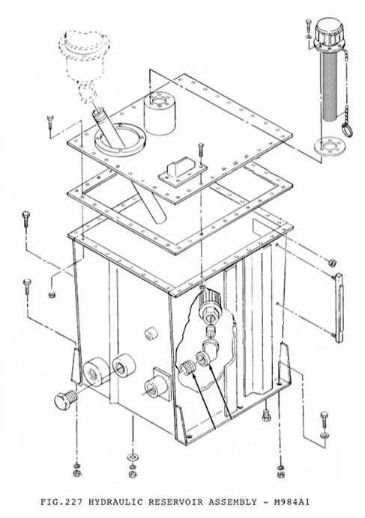
. . . . . . . . . . . . . . . . LATE VERSION . . . . . . . . . . . . . . . . . . . . . . . . . . . EARLY VERSION . . . . . . . . . . . . . . . .
More on this in a few minutes.


. . . . . . . . . . . . . . . . LATE VERSION . . . . . . . . . . . . . . . . . . . . . . . . . . . EARLY VERSION . . . . . . . . . . . . . . . .
More on this in a few minutes.
Posted: Sunday, August 21, 2016 - 08:33 AM UTC
Posted: Sunday, August 21, 2016 - 08:36 AM UTC
Nice work so far Mike! 
I plan on making a Mk48 with a LVS16 towing a M1000 trailer.

Cheers Rob.

I plan on making a Mk48 with a LVS16 towing a M1000 trailer.


Cheers Rob.
Posted: Sunday, August 21, 2016 - 09:06 AM UTC
Rob, I would love to follow that build! Would really like to learn how that truck is put together.
Posted: Sunday, August 21, 2016 - 07:33 PM UTC
I assume that massive hinge in the middle of the Mk48 flexes left and right but not up and down which in theory gives it the ride and stability of a ridged frame truck but the manuverability more like a front end loader???
Here is an interesting photo of just the rear LHS portion of the vehicle:
https://www.google.com/search?q=mk+48+usmc&client=safari&hl=en-us&prmd=isnv&source=lnms&tbm=isch&sa=X&ved=0ahUKEwjnm82QodXOAhUIFh4KHeJODM4Q_AUIBygB&biw=1024&bih=704#imgrc=9Re51XC13m7jGM%3A
And a cool photo of the center portion of the truck articulating:
https://www.google.com/search?q=mk+48+usmc&client=safari&hl=en-us&prmd=isnv&source=lnms&tbm=isch&sa=X&ved=0ahUKEwjnm82QodXOAhUIFh4KHeJODM4Q_AUIBygB&biw=1024&bih=704#imgrc=Kw7UZnunvro7dM%3A
Posted: Sunday, August 21, 2016 - 10:12 PM UTC
Back to HEMTTs
(But don't let that stop you from talking about the USMC Mk48's - I want to learn a lot more there!)
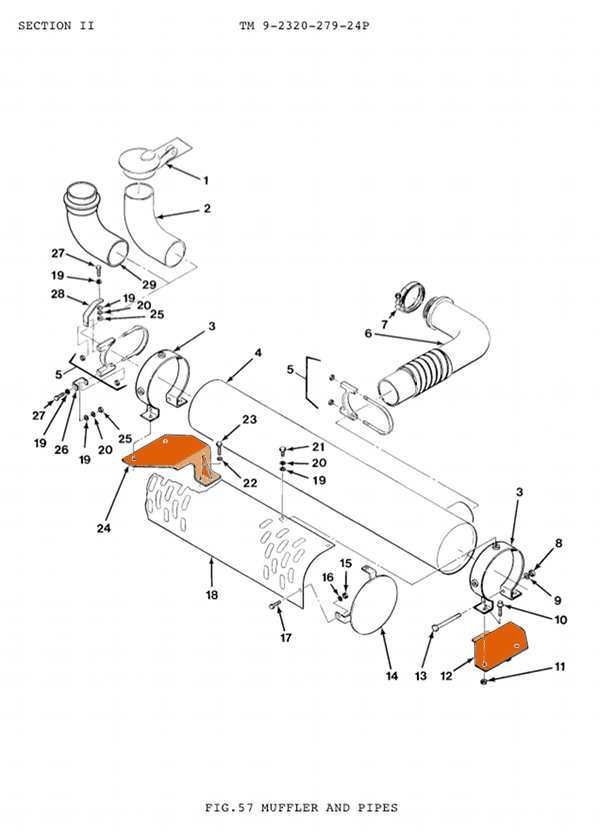
The Real Models kit has you install the muffler mounting brackets on the rear corners of the engine just behind the valve covers. (Kinda makes the engine look like it has wings - Red Bull gives em to you!) But this drawing clearly shows that the brackets mount much wider than that b/c they bolt on right at the very ends of the muffler, way too wide to be mounted to the engine.
Again the TM manual is frustrating b/c it illustrates the sub-assemblies but never gives you an overall view of anything so that you can see where and how things go together!
Anybody out there work with HEMTTs to know the answer?

Posted: Monday, August 22, 2016 - 01:25 AM UTC
If interested I found the HEMTT engine manual #TM-9-2815-224-34-P. It can be viewed at:
https://www.nsncenter.com/Library/TM/TM-9-2815-224-34-P
https://www.nsncenter.com/Library/TM/TM-9-2815-224-34-P
Posted: Monday, August 22, 2016 - 05:50 AM UTC
Posted: Monday, August 22, 2016 - 06:17 AM UTC
Posted: Monday, August 22, 2016 - 06:35 AM UTC
youngtiger1

Joined: May 14, 2008
KitMaker: 534 posts
Armorama: 344 posts

Posted: Monday, August 22, 2016 - 10:30 AM UTC
Mike, I have applaud your will and determination with this project. I sure would have tossed most of the kit by now and moved on to Trumpeter offering. However, you are doing what true modellers should do...build it and use the opportunity to sharpen one skills.
Again, this tread is becoming a gold mine for Hemtt lover. I'm truly diggin' it. So, keep up the good work sir.

Again, this tread is becoming a gold mine for Hemtt lover. I'm truly diggin' it. So, keep up the good work sir.

Posted: Monday, August 22, 2016 - 10:52 AM UTC
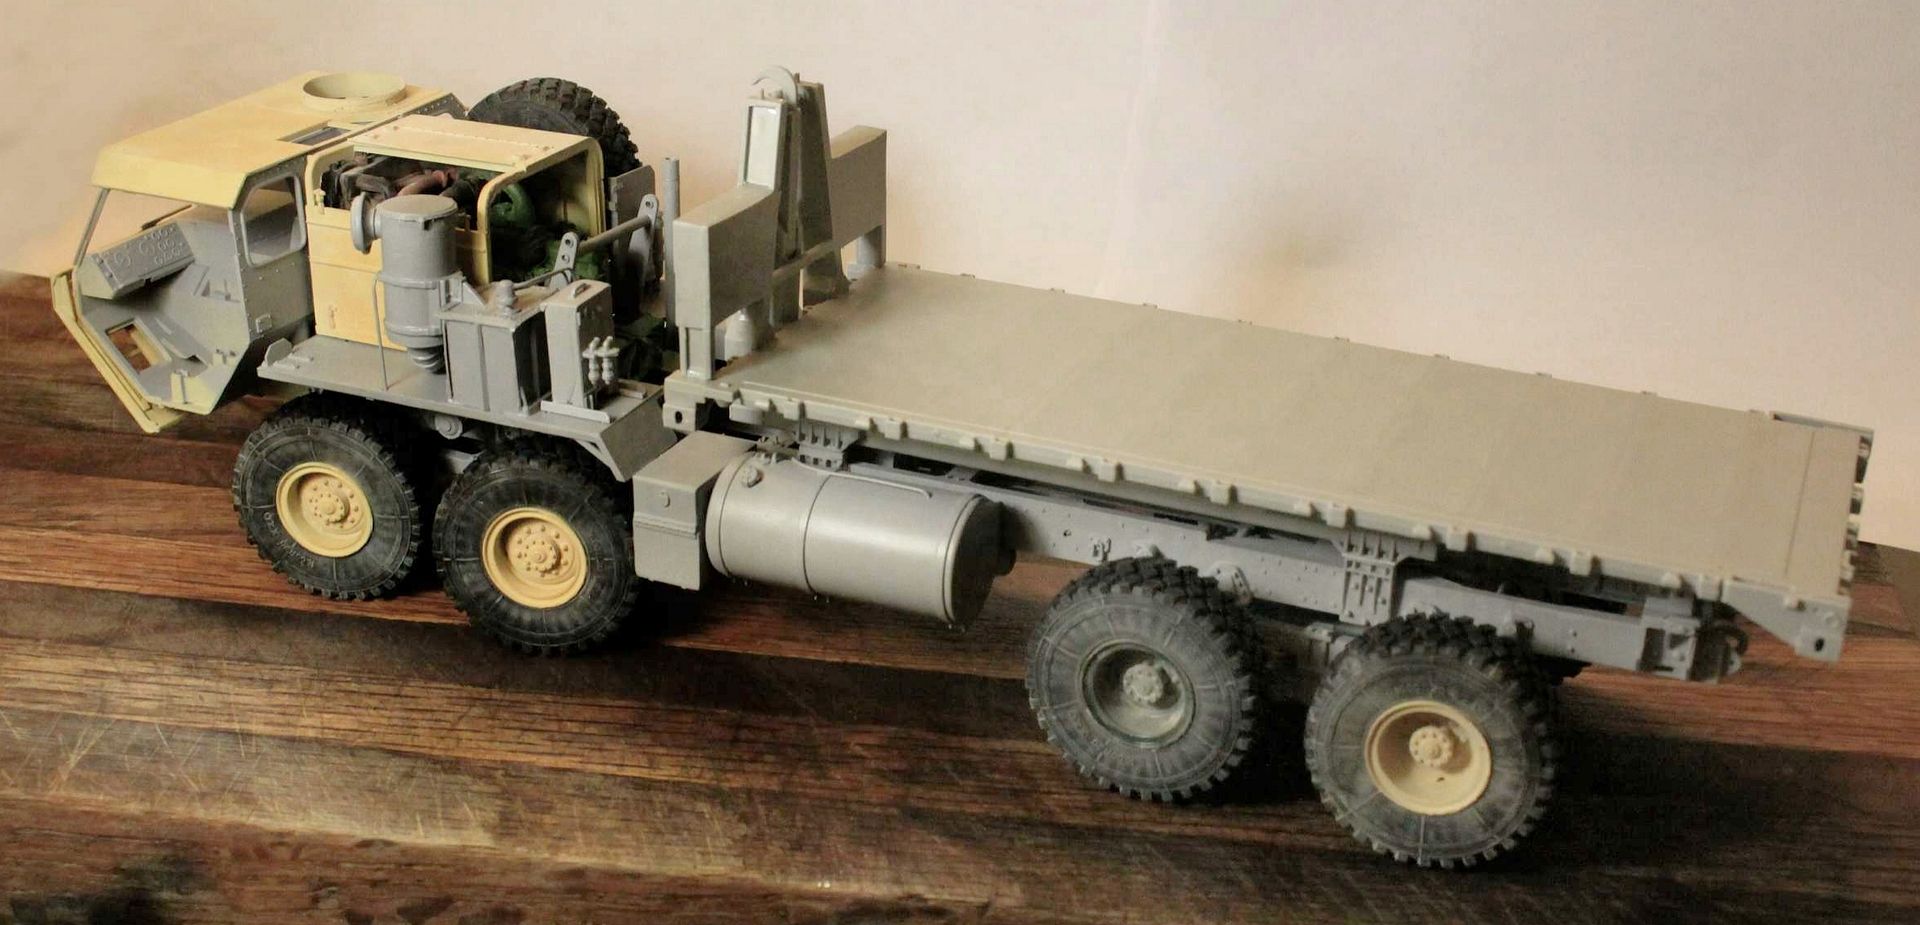
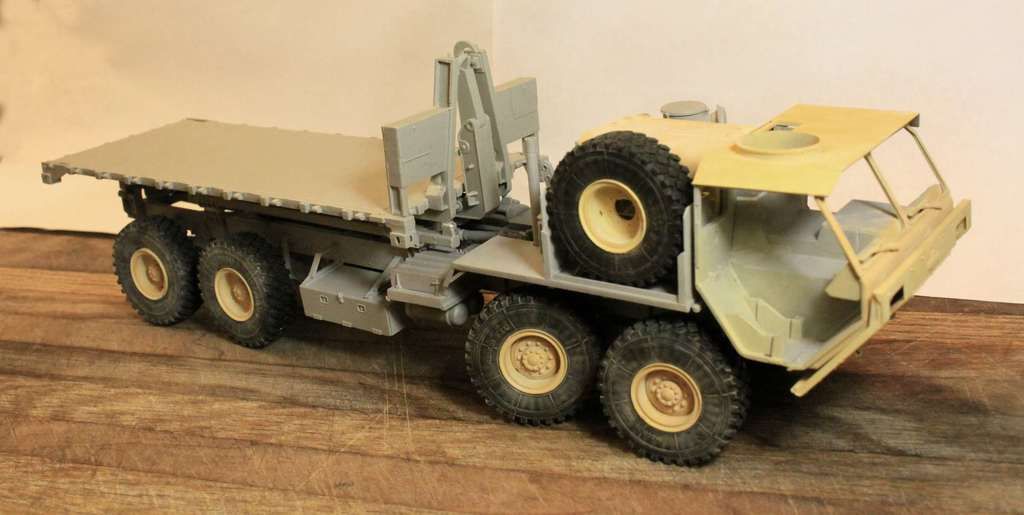
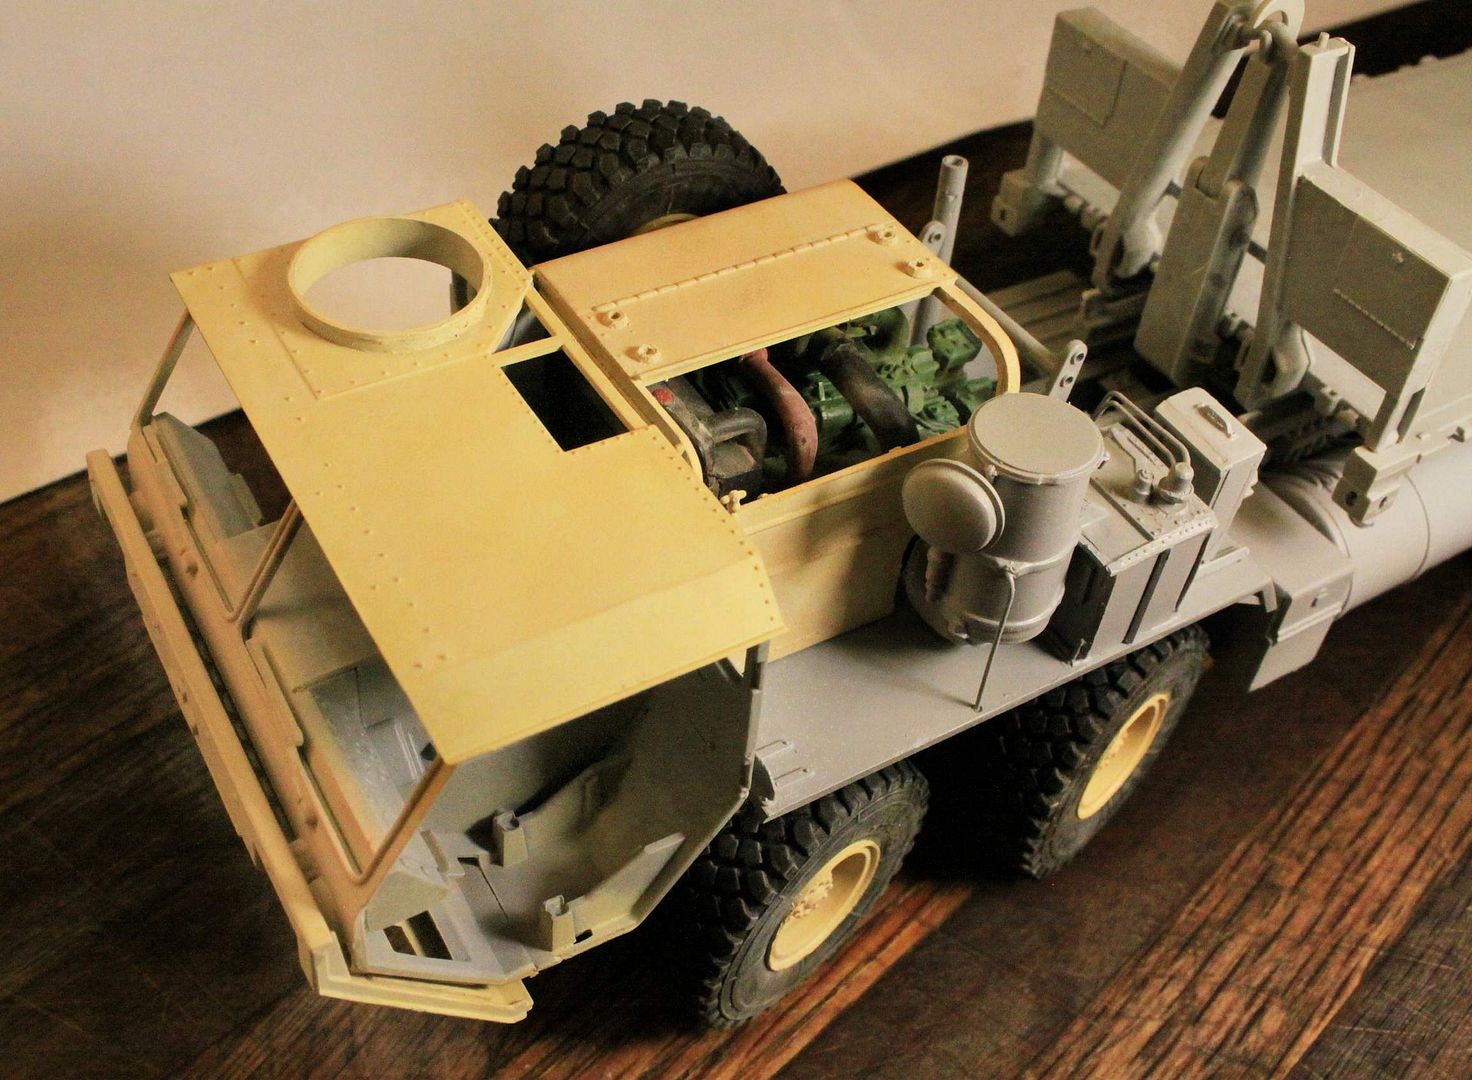
I was complaining about the Model Masters "Modern Desert Sand" being too yellow but then it occurred to me; I was using the pastel shaders for my Detroit Diesel engine, why not try it on the entire vehicle?
I started by warming things up and darkening the tone with some light brown and orange/yellow colors and then finished off with straight white to lighten and blend everything together.
I know this photo does not do it justice but the tones and colors are very pleasing now with some slight variations to give the feel of desert weathering.
p.s. Pastels adhere much better to flat paints that have a bit of a surface "tooth" to them. Also it doesn't hurt to do your applications shortly after the paint has been laid down fresh. In these cases I am picking up the pastel "dust" with a somewhat wide (1/4 inch) soft bristle straight edge brush and scrubbing the surface with it.
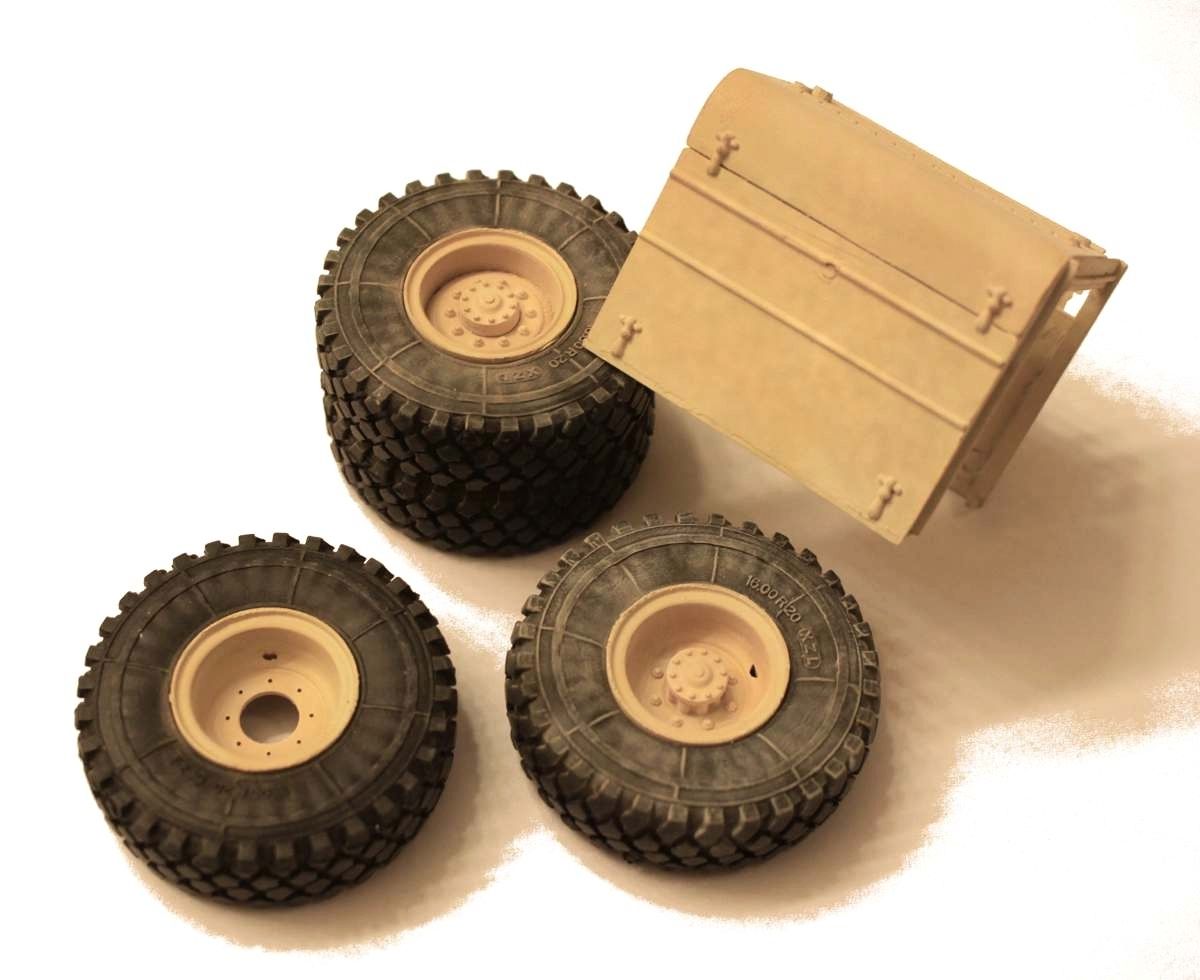
p.s. The pastels also serve to give the vehicle an overall rather dusty desert look as you might imagine.
I started by warming things up and darkening the tone with some light brown and orange/yellow colors and then finished off with straight white to lighten and blend everything together.
I know this photo does not do it justice but the tones and colors are very pleasing now with some slight variations to give the feel of desert weathering.
p.s. Pastels adhere much better to flat paints that have a bit of a surface "tooth" to them. Also it doesn't hurt to do your applications shortly after the paint has been laid down fresh. In these cases I am picking up the pastel "dust" with a somewhat wide (1/4 inch) soft bristle straight edge brush and scrubbing the surface with it.

p.s. The pastels also serve to give the vehicle an overall rather dusty desert look as you might imagine.
Posted: Monday, August 22, 2016 - 12:03 PM UTC
Thanks Mike for your words of encouragement. The Trumpeter kit might have been easier in some areas such as when adding the engine but even Trumpy did not incline the differentials and transfer case and their kit has the same problem with the gear head differentials. Just like Italeri, Trumpeter makes all four differentials the same when in reality the #1 & #4 axles should be simple differentials without the gear heads.
With Trumpeter you do get the rear brakes but without actually seeing the kit I can't say what other advantages their newer kit might offer.
With Trumpeter you do get the rear brakes but without actually seeing the kit I can't say what other advantages their newer kit might offer.
M4A1Sherman

Joined: May 02, 2013
KitMaker: 4,403 posts
Armorama: 4,078 posts

Posted: Monday, August 22, 2016 - 04:35 PM UTC
Quoted Text
Thanks Mike for your words of encouragement. The Trumpeter kit might have been easier in some areas such as when adding the engine but even Trumpy did not incline the differentials and transfer case and their kit has the same problem with the gear head differentials. Just like Italeri, Trumpeter makes all four differentials the same when in reality the #1 & #4 axles should be simple differentials without the gear heads.
With Trumpeter you do get the rear brakes but without actually seeing the kit I can't say what other advantages their newer kit might offer.
Following along VERY CLOSELY, Mike- GREAT WORK!!! All of You Guys are the US Soft-skins GURUS!!!

M4A1Sherman

Joined: May 02, 2013
KitMaker: 4,403 posts
Armorama: 4,078 posts

Posted: Monday, August 22, 2016 - 04:41 PM UTC

C_JACQUEMONT

Joined: October 09, 2004
KitMaker: 2,433 posts
Armorama: 2,325 posts

Posted: Monday, August 22, 2016 - 04:49 PM UTC
Quoted Text
is there anyone who buy italeri kit encounter problem ?
when applying enamel wash,the italeri plastic plastic become solf and snap.
I had suspension breaks on their AB-41 and other wheeled vehicles kits after oil paint and mineral spirits washes.
Seems the glue bond with their plastic is not as strong as other brands like Tamiya or Dragon (I'm using Tamiya extra thin liquid cement).
I tend to reinforce the fragilest joints with superglue and accelerator, and try and use acrylic washes (less agressive) on the suspension parts.
Cheers,
Christophe
Posted: Monday, August 22, 2016 - 06:21 PM UTC
Posted: Monday, August 22, 2016 - 06:25 PM UTC
Posted: Monday, August 22, 2016 - 06:53 PM UTC
I will post a thread here when I start. 
I also have the new Trumpeter kit on the way!
Cheers Rob.

I also have the new Trumpeter kit on the way!

Cheers Rob.
 |


