Thanks Clayton,
It was a fun build but tiny pieces tough on the eyes.
Hosted by Richard S.
Artillery Campaign 2017

andyman

Joined: October 11, 2002
KitMaker: 142 posts
Armorama: 134 posts

Posted: Monday, April 10, 2017 - 07:04 PM UTC

bison126

Joined: June 10, 2004
KitMaker: 5,329 posts
Armorama: 5,204 posts

Posted: Wednesday, April 12, 2017 - 09:57 PM UTC
Hi all
my K9 is nearly complete as I decided for a OOTB build. As you can see on the pics, the barrel is huge! It is even longer than the hull.


Considering the thickness of Academy baskets rods, this should be some stand-off armor

Nearly time for some paint. Does anybody have an idea of a close match in the Tamiya range for the green, the brown and the sand colors?
TIA
Olivier
my K9 is nearly complete as I decided for a OOTB build. As you can see on the pics, the barrel is huge! It is even longer than the hull.


Considering the thickness of Academy baskets rods, this should be some stand-off armor


Nearly time for some paint. Does anybody have an idea of a close match in the Tamiya range for the green, the brown and the sand colors?
TIA
Olivier
Posted: Thursday, April 13, 2017 - 03:29 AM UTC
Here are some in process photos of the sIG 33 before the paint booth.
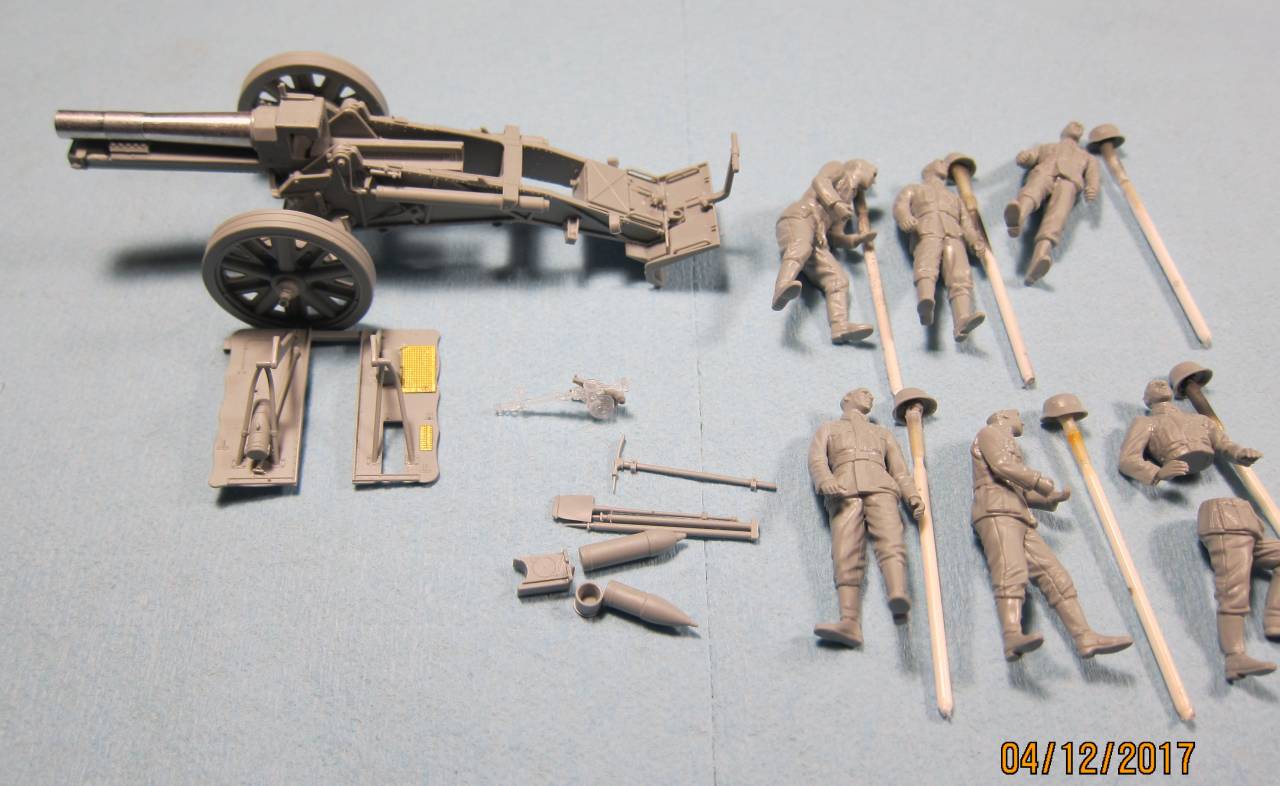
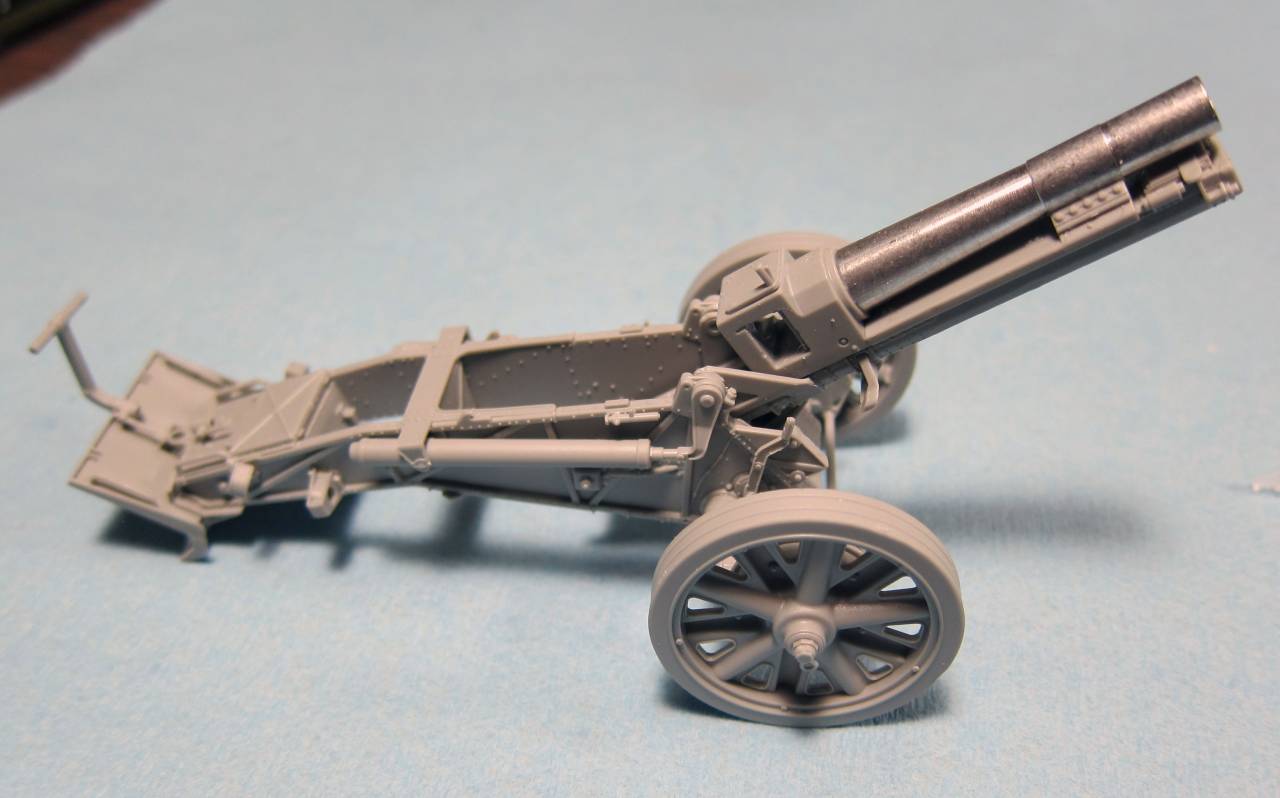


Posted: Thursday, April 13, 2017 - 01:17 PM UTC
Olivier, nice build. It is definitely a beast!
Tom, a little cool gun. Are you making a diorama with the crew?
Looking forward to see more with colors on
Tom, a little cool gun. Are you making a diorama with the crew?
Looking forward to see more with colors on


bison126

Joined: June 10, 2004
KitMaker: 5,329 posts
Armorama: 5,204 posts

Posted: Thursday, April 13, 2017 - 02:20 PM UTC
Quoted Text
Olivier, nice build. It is definitely a beast!
Yes, I wonder if my "photo studio" tent will be large enough to make the pictures of the finished model

Posted: Friday, April 14, 2017 - 05:26 AM UTC
Quoted Text
Tom, a little cool gun. Are you making a diorama with the crew?
I'm making the crew to practice painting figures. They came with the kit, but were originally from the Karl Gerat crew. They came with some extra arms, but in no way do they represent the figures on the box top.
thedutchie

Joined: February 01, 2005
KitMaker: 1,299 posts
Armorama: 919 posts

Posted: Saturday, April 15, 2017 - 06:12 AM UTC
Made some more progress and hopefully will make some more progress tomorrow.
I manage to figure out how the the tracks go together. They are very nice little tracks with lots of detail.

Here they are on the back of the hull.

Here is the elevation mechanism mounted to the hull.

Here is the other side

Another shot of the back of the hull

Hopefully more tomorrow
Cheers
I manage to figure out how the the tracks go together. They are very nice little tracks with lots of detail.

Here they are on the back of the hull.

Here is the elevation mechanism mounted to the hull.

Here is the other side

Another shot of the back of the hull

Hopefully more tomorrow
Cheers
Posted: Monday, April 17, 2017 - 02:34 AM UTC
thedutchie

Joined: February 01, 2005
KitMaker: 1,299 posts
Armorama: 919 posts

Posted: Monday, April 17, 2017 - 05:33 AM UTC
Here is my latest progress.
Nicely detailed ammo crate with a shell. Picture do not do it justice. Nice wood grains.


Gun barrel assembled. Some filler put into one of the small spaces.


Superstructure assembled.

Test fitting of upper and lower hull


Perhaps tomorrow I will start tackling the tracks.
Cheers
Nicely detailed ammo crate with a shell. Picture do not do it justice. Nice wood grains.


Gun barrel assembled. Some filler put into one of the small spaces.


Superstructure assembled.

Test fitting of upper and lower hull


Perhaps tomorrow I will start tackling the tracks.
Cheers


ColinEdm


Joined: October 15, 2013
KitMaker: 1,355 posts
Armorama: 1,229 posts

Posted: Sunday, April 23, 2017 - 09:16 AM UTC
Brian, that Sturnmorser looks like it would fall over backwards!
Got the camo on my Morser, chipping, overall wash and pin wash done, some more oil work, dirt and decals to come. Also have to add the pads on the wheels.

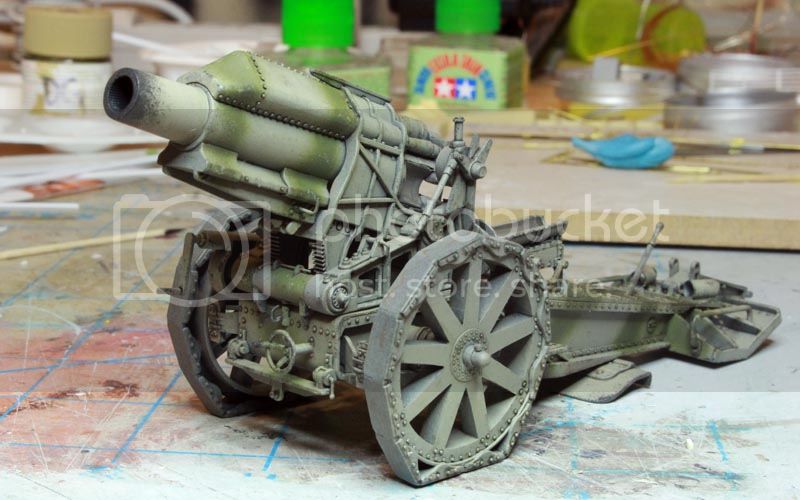
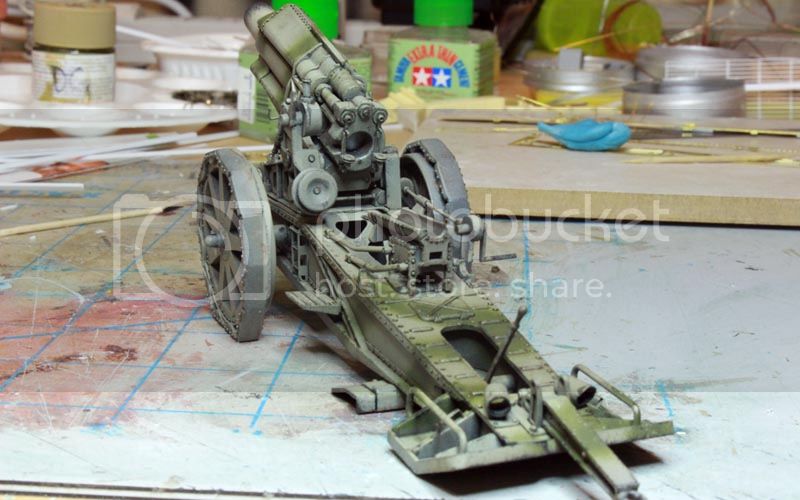
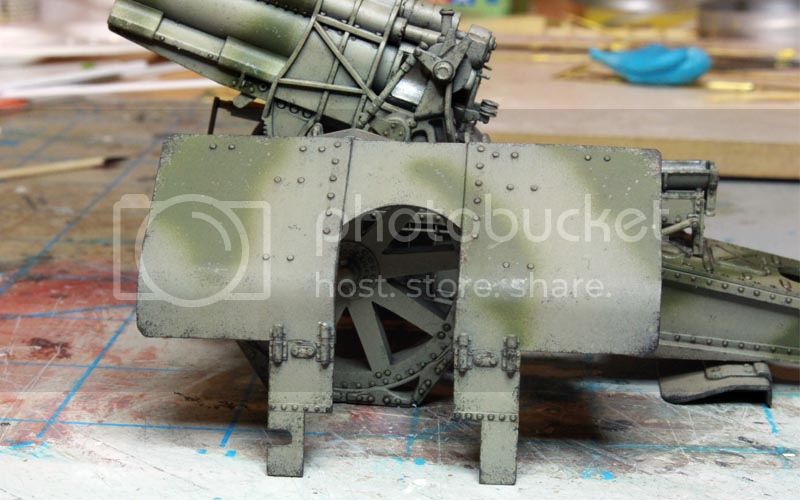
Got the camo on my Morser, chipping, overall wash and pin wash done, some more oil work, dirt and decals to come. Also have to add the pads on the wheels.


Posted: Sunday, April 23, 2017 - 09:33 AM UTC
Beautiful paintwork, Colin!
Posted: Sunday, April 23, 2017 - 07:32 PM UTC
Looks great, Colin!
Posted: Tuesday, April 25, 2017 - 07:32 PM UTC
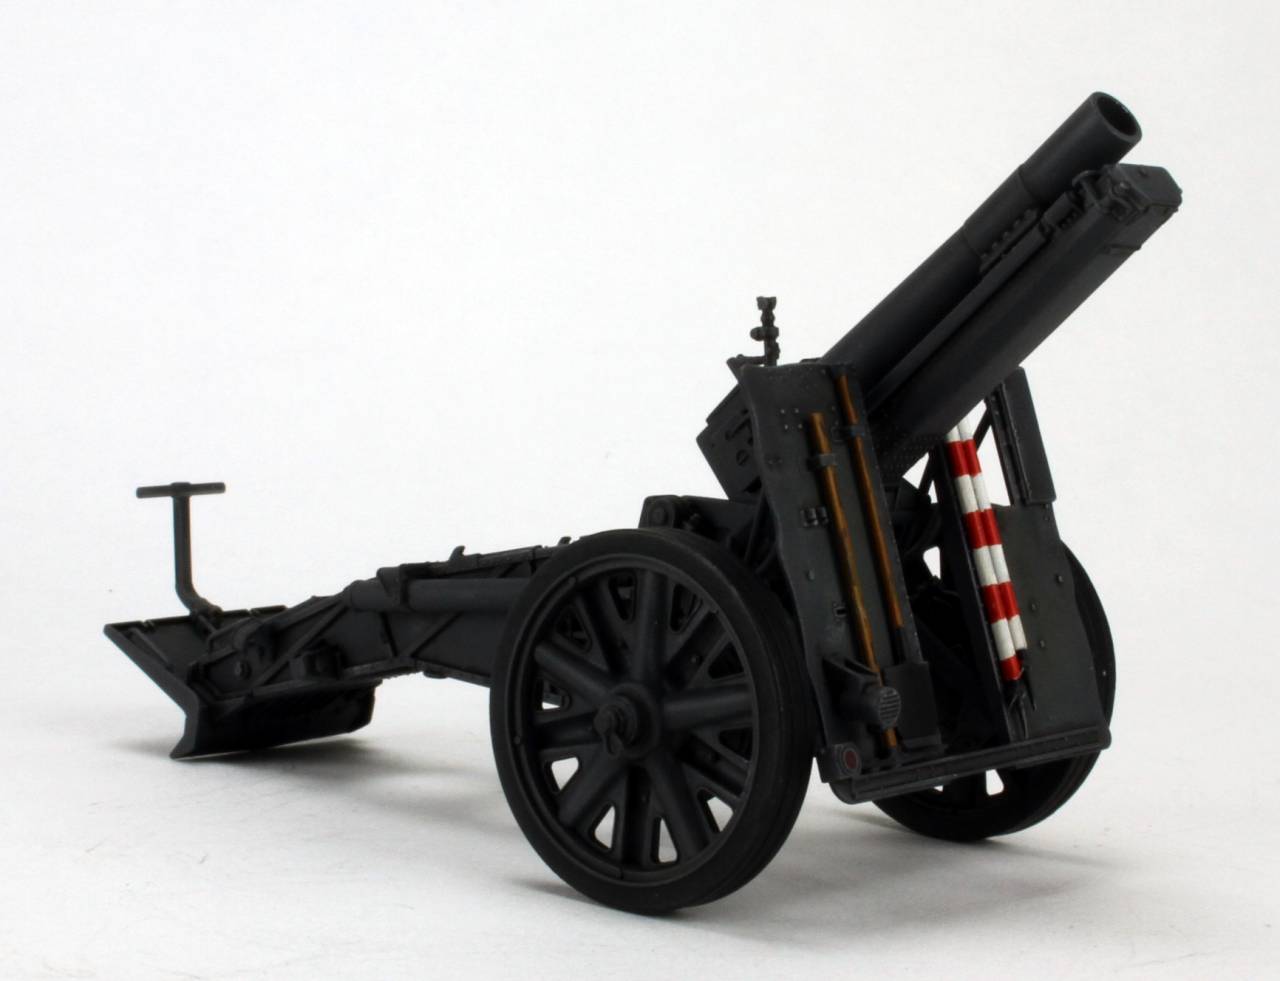
Here are my finished photos of the sIG 33 Infantry Gun.
I'm going to a figure painting class and the end of May. After I finish the figures I'll add photos of them as well.
Great Campaign, there are a lot of great models and I'm sure there are more to come.
Tom
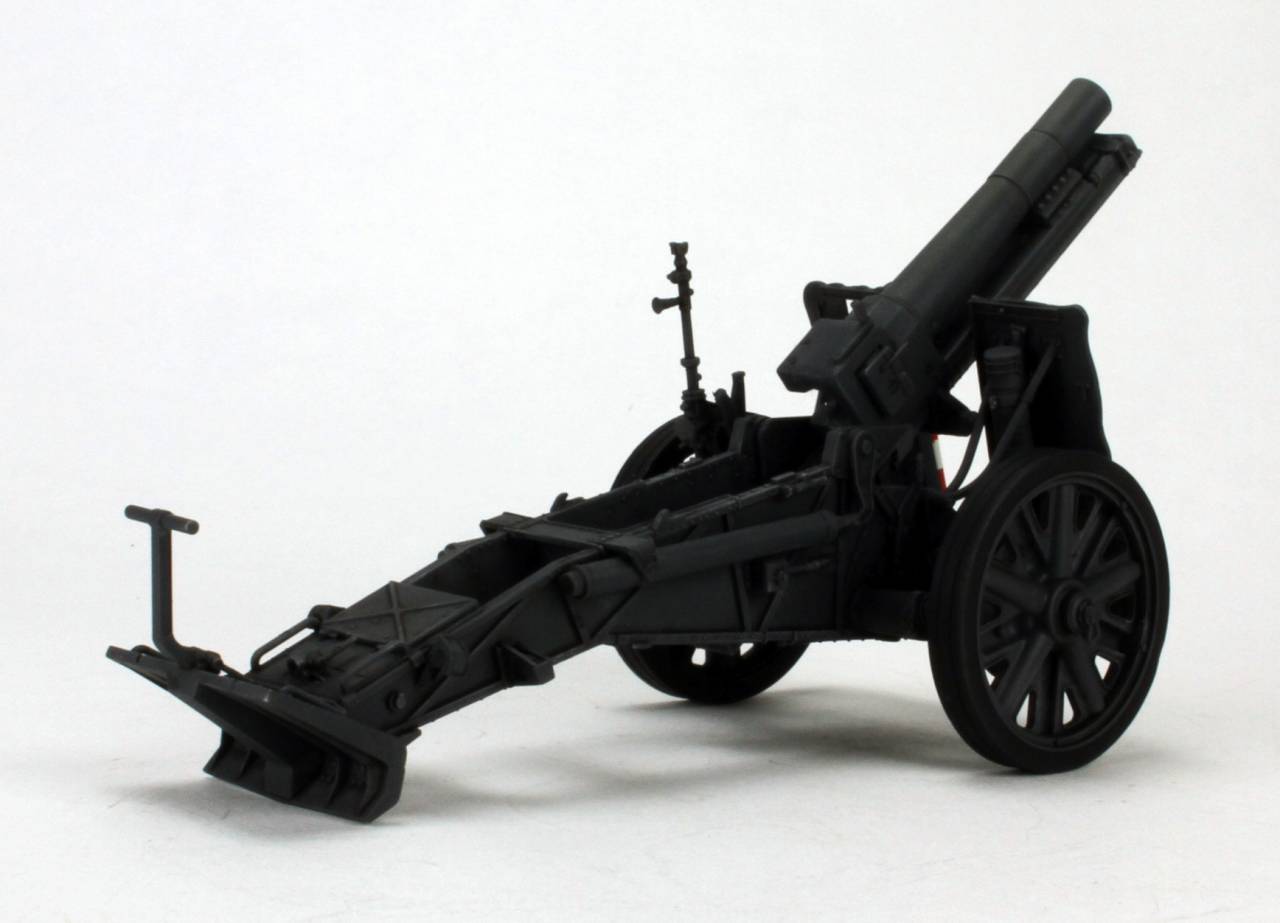
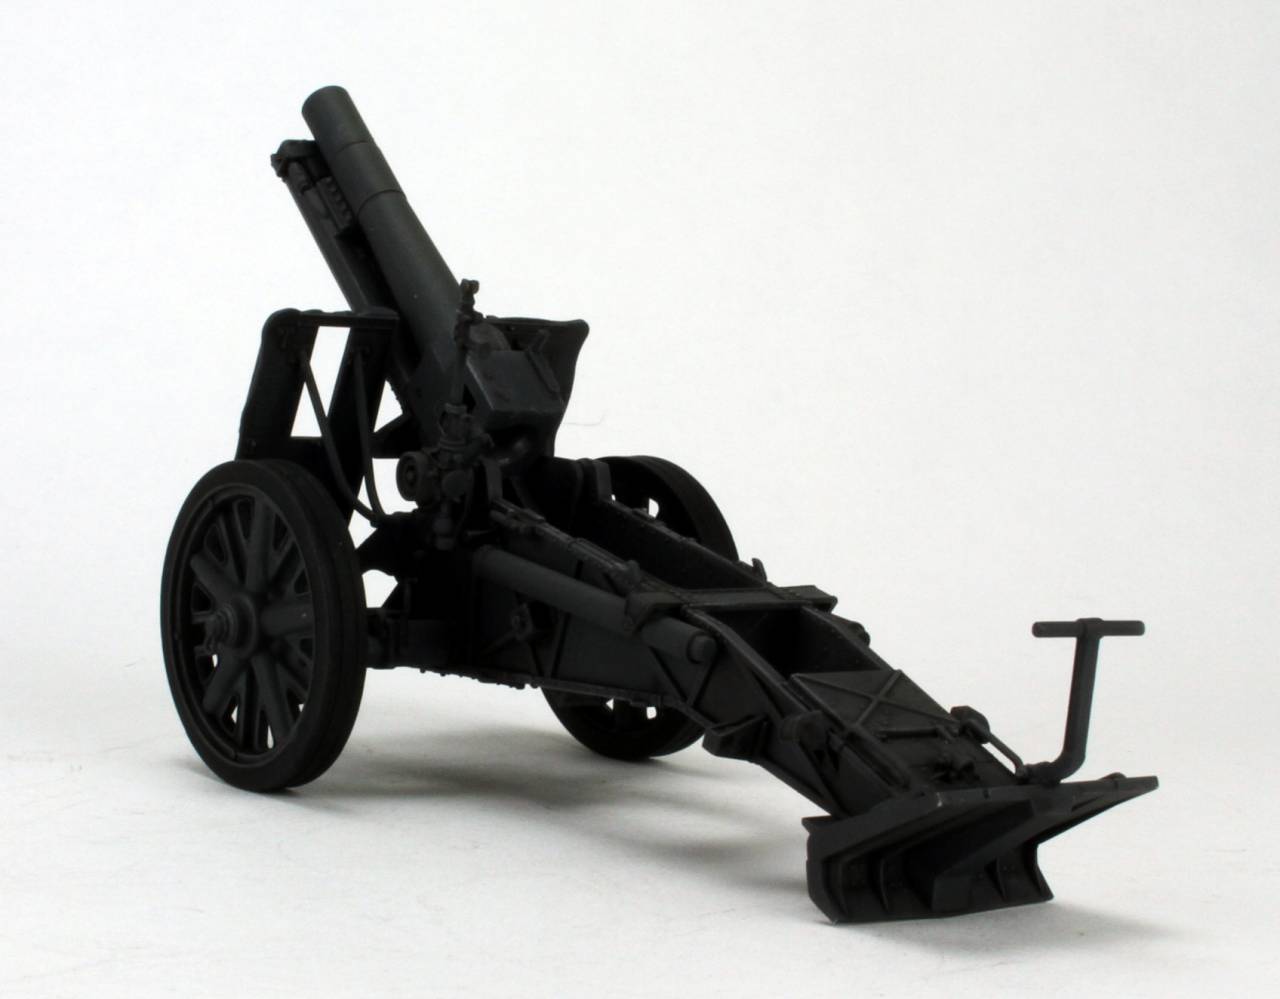
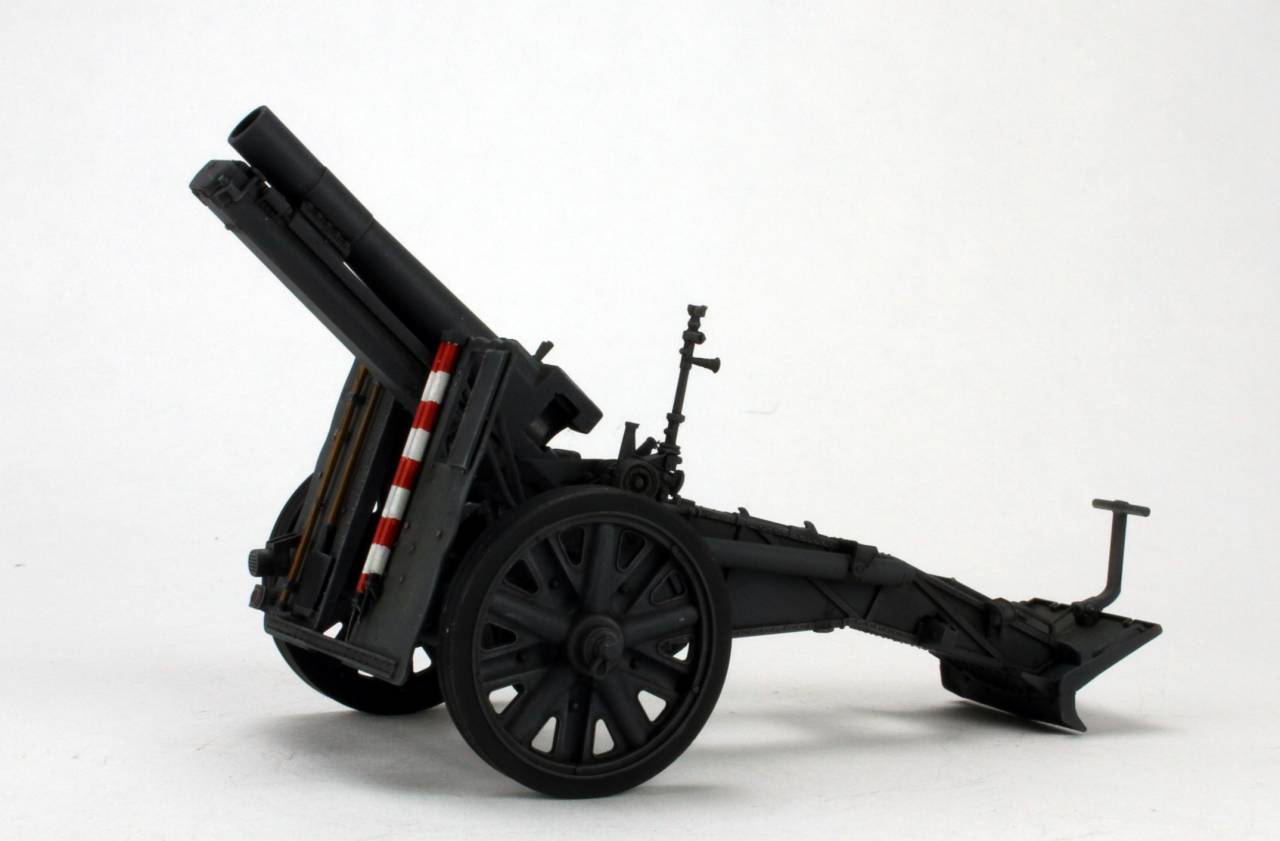
I'm going to a figure painting class and the end of May. After I finish the figures I'll add photos of them as well.
Great Campaign, there are a lot of great models and I'm sure there are more to come.
Tom


Posted: Saturday, April 29, 2017 - 11:40 AM UTC
Posted: Saturday, April 29, 2017 - 06:42 PM UTC
My Lord, Jesper,  That's amazing!
 That's amazing!
 Posted: Saturday, April 29, 2017 - 11:05 PM UTC
Thanks, Clayton. It is quite a beast 


ColinEdm


Joined: October 15, 2013
KitMaker: 1,355 posts
Armorama: 1,229 posts

Posted: Saturday, April 29, 2017 - 11:26 PM UTC
Very cool Jesper!
Posted: Sunday, April 30, 2017 - 04:02 PM UTC
Wow, some very cool stuff taking shape here! Except for the tracks, I've finished my PLZ05 - some springtime balcony shots for you guys:
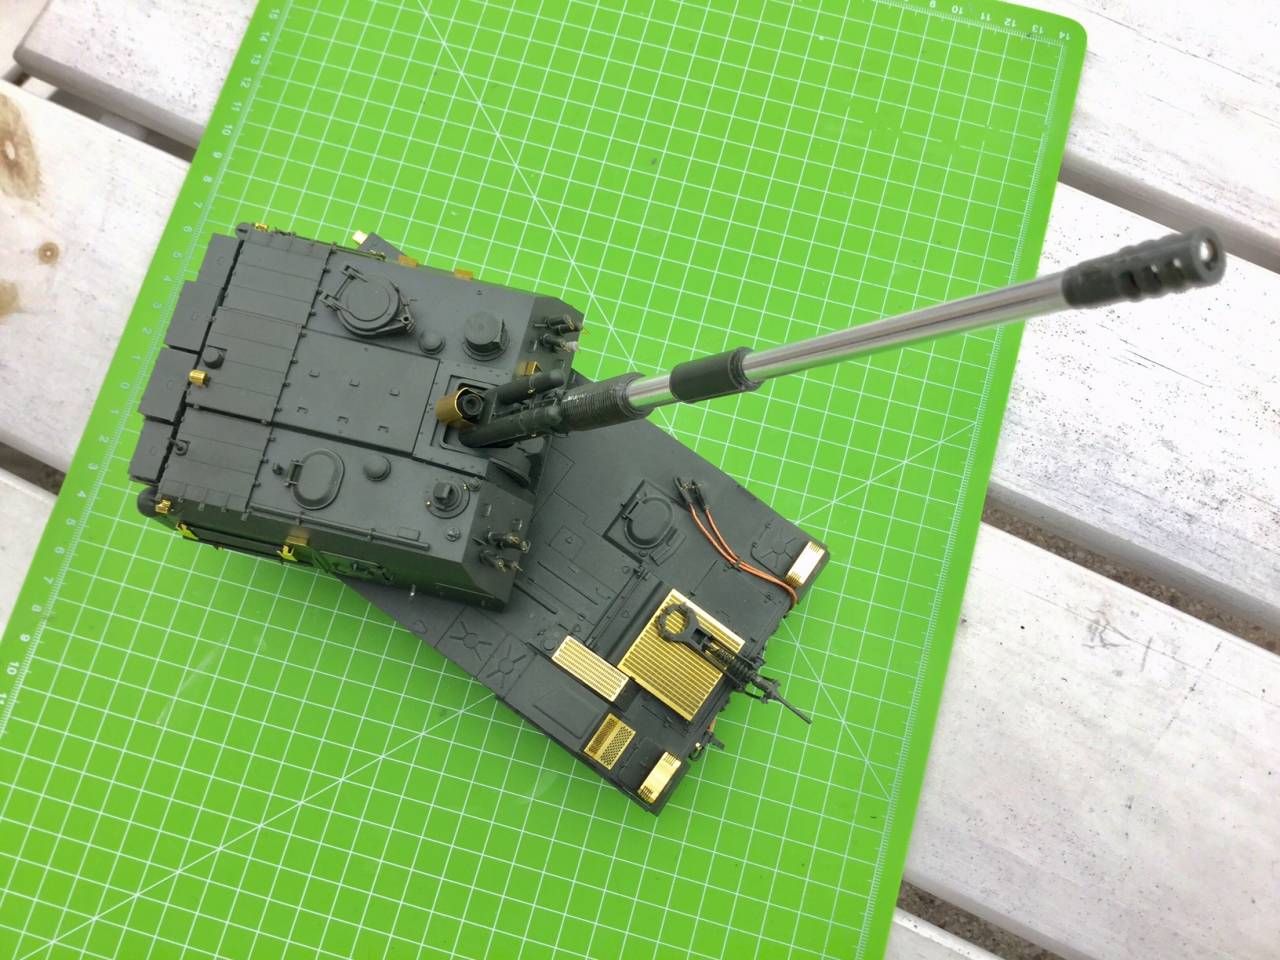
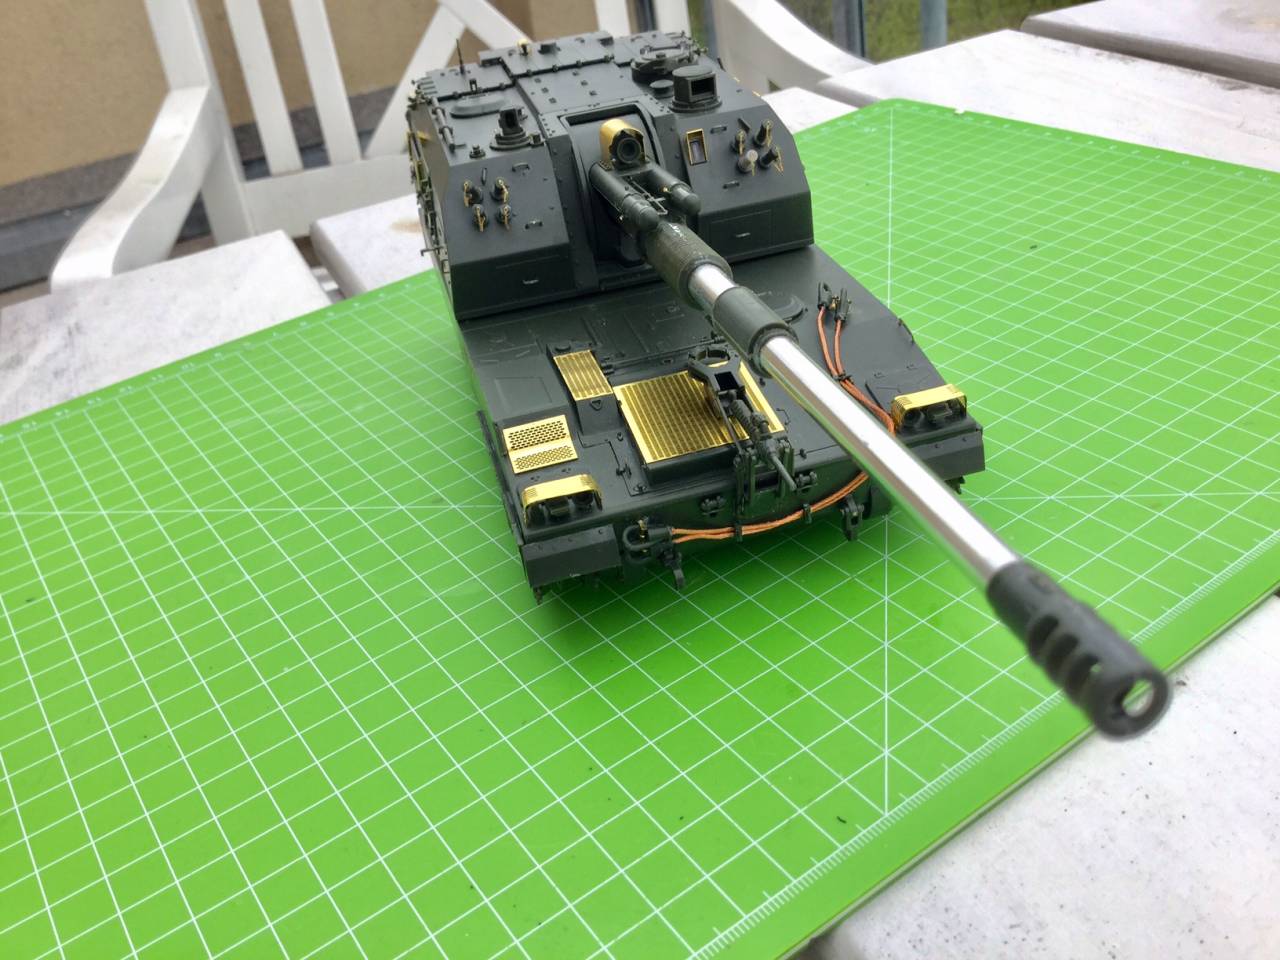
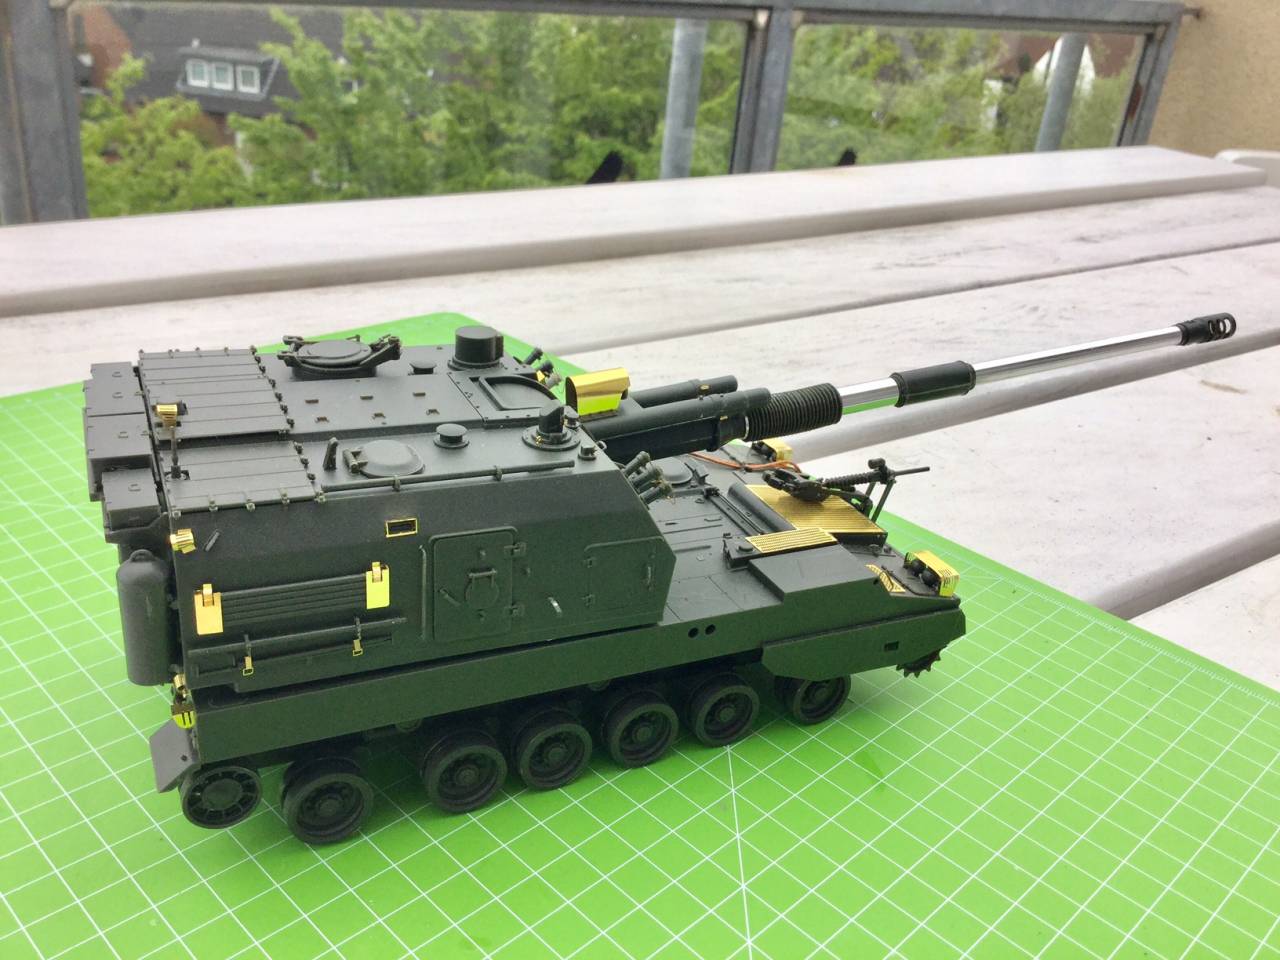
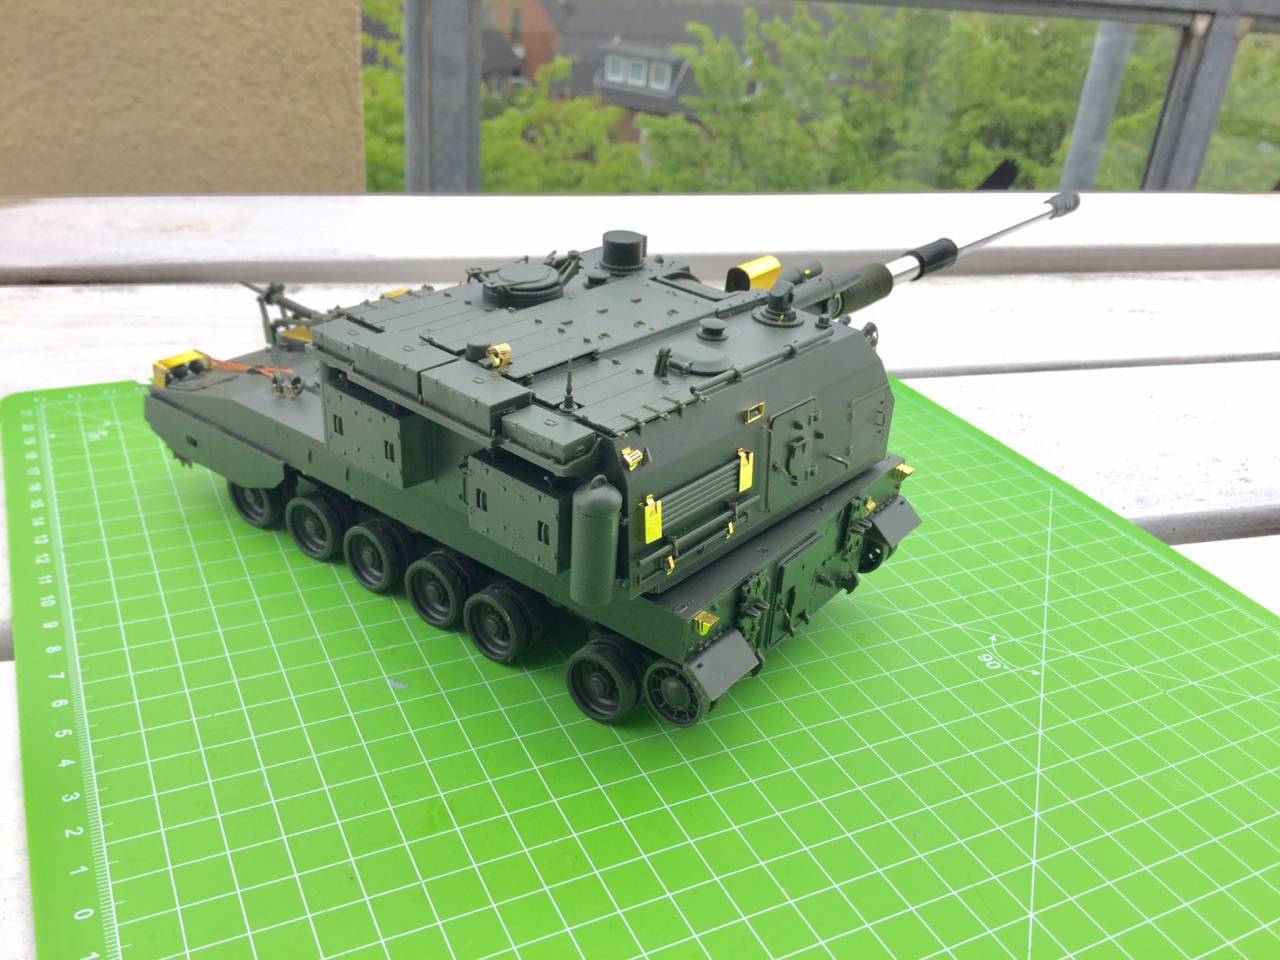
More pics to come once I get the basecoat and camouflage on.
Have fun,
Jerry


More pics to come once I get the basecoat and camouflage on.
Have fun,
Jerry
Posted: Friday, May 05, 2017 - 11:58 AM UTC
Posted: Friday, May 05, 2017 - 06:59 PM UTC
That is one of the wildest things I've ever seen, Jesper! 
Awesome paint work, especially the metal parts, they look completely convincing!

Awesome paint work, especially the metal parts, they look completely convincing!
Posted: Friday, May 05, 2017 - 07:15 PM UTC
Clayton, Thanks a lot. I really appreciate it. I am also very satisfied with the end result.
Chaman911

Joined: August 28, 2015
KitMaker: 319 posts
Armorama: 308 posts
Posted: Tuesday, May 09, 2017 - 02:04 AM UTC
Very good work everyone! I just finished moving from California to Michigan and managed to find a little time for an update. This is the AFV Club lefh18/40. Pretty complicated little gun with a lot of fiddle bits that are easy to break. I launched one of the spin handles across the living room the other day but luckily my wife was able to spot it and saved the day.


Posted: Tuesday, May 09, 2017 - 02:40 AM UTC
I started on my first of 2 or 3 projects for this build... the first two are almost identical kits. Renwals M-55 SPG in 1/32nd scale. The kit is as OOB as I can make it, but there are a fair amount of parts missing. This has led me to opening another identical kit, a Revell repop in the "History Makers" series. This still leaves me with the challenge of not having those parts for the second build, but I am hoping to either find parts somewhere or get good and just scratchbuild and pour molds for the parts I need (mostly road wheels and return rollers).

Here you can see a couple of the cross kitted parts and a piece of rod I have to use in place of one of the other parts


Seriously doubting these decals are going to work for me, but they have been coated twice with Microscale decal bonder, so hopefully they will make it through their water bath when the time comes

Fair enough to say this simple build is going to be challenging to finish from a parts standpoint
The second M-55 will have extensive scratchbuilding done to it as soon as I finish the first. As I build the first I can see alot of areas that can be improved or accurized.

Here you can see a couple of the cross kitted parts and a piece of rod I have to use in place of one of the other parts


Seriously doubting these decals are going to work for me, but they have been coated twice with Microscale decal bonder, so hopefully they will make it through their water bath when the time comes

Fair enough to say this simple build is going to be challenging to finish from a parts standpoint
The second M-55 will have extensive scratchbuilding done to it as soon as I finish the first. As I build the first I can see alot of areas that can be improved or accurized.
Posted: Tuesday, May 09, 2017 - 03:14 AM UTC
Bryan- Wow, must be nice to have a wife looking after your carpet monster, 
Brian- Gotta love those ancient kits, you find 'em for $5 at a yard sale, and you never know what you'll get,
PS- "M" Scale??? Never heard of that term before!!!

Brian- Gotta love those ancient kits, you find 'em for $5 at a yard sale, and you never know what you'll get,

PS- "M" Scale??? Never heard of that term before!!!
Posted: Tuesday, May 09, 2017 - 07:17 AM UTC
Quoted Text
Bryan- Wow, must be nice to have a wife looking after your carpet monster,
Brian- Gotta love those ancient kits, you find 'em for $5 at a yard sale, and you never know what you'll get,
PS- "M" Scale??? Never heard of that term before!!!
Yeah, this box had almost no pieces on sprues (which doesnt matter because all parts have numbers ON them) and when I started trying to inventory I quickly realized there was another kit in there, an M-41 Walker Bulldog (neither kit has a complete parts count but I have plannnns)
 |


