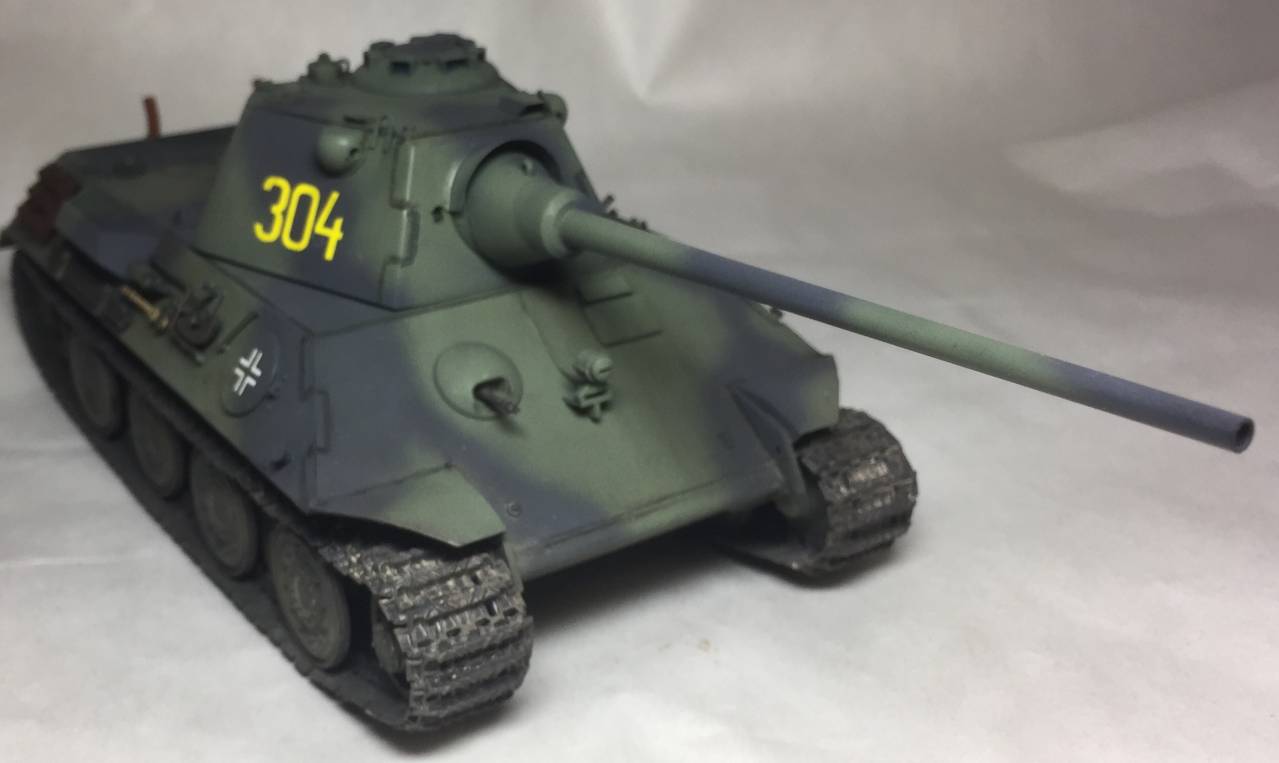
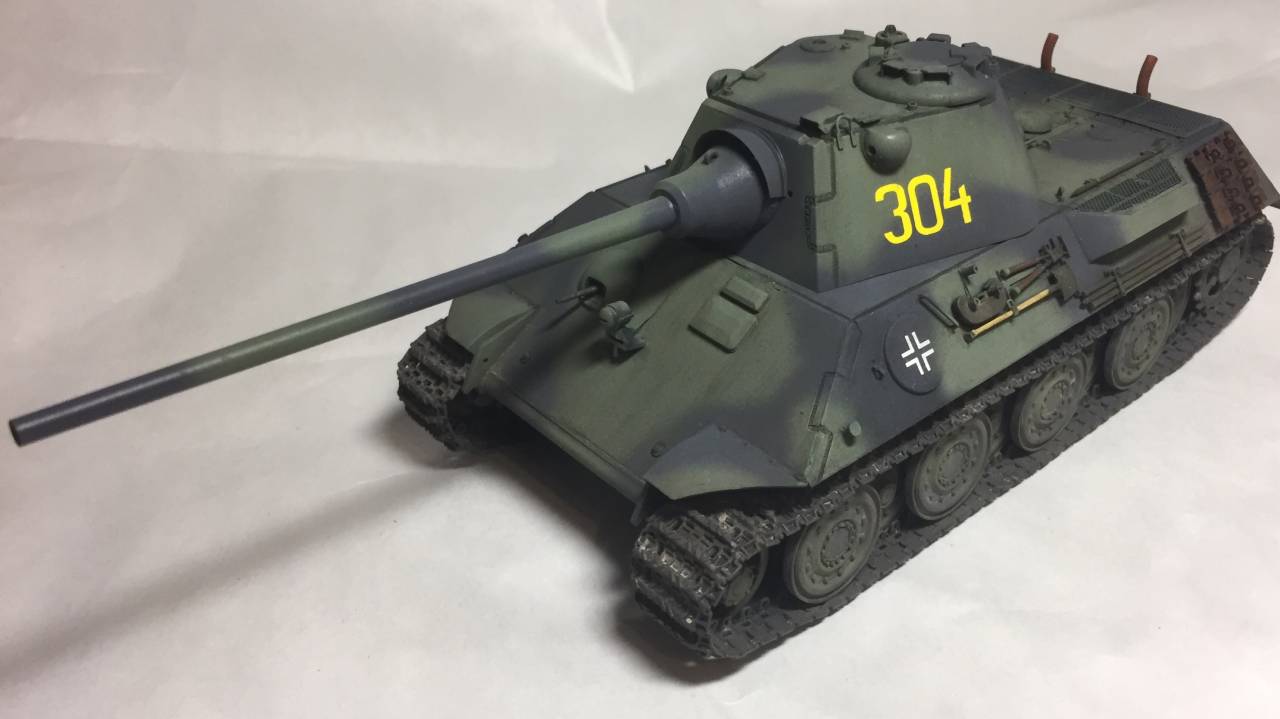
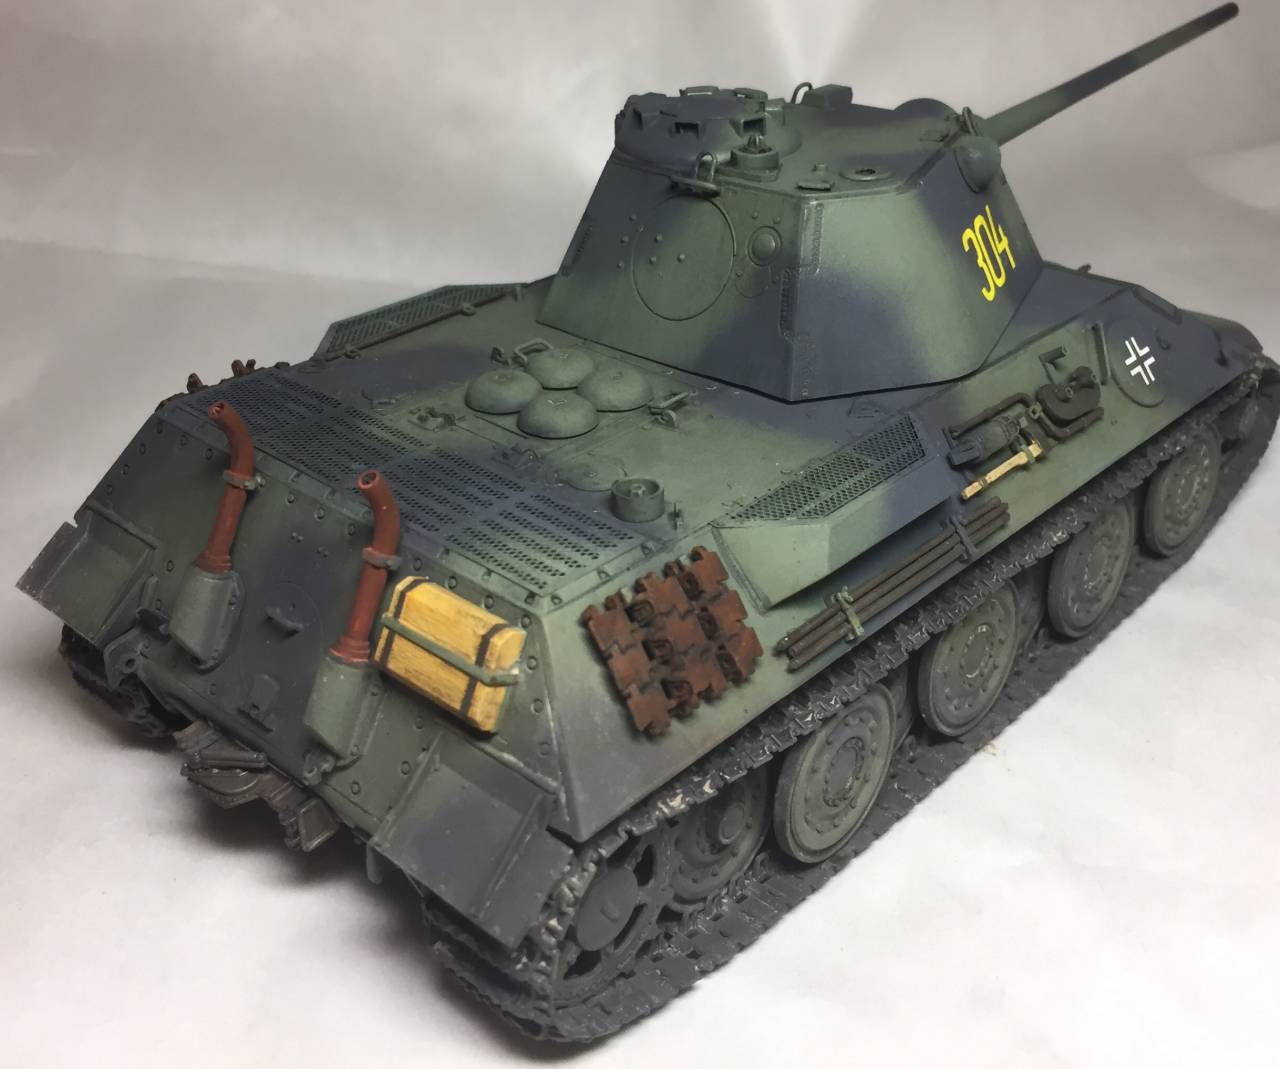
Joining this campaign quite late, but hopefully still enough time for me to squeeze in an entry. I recently got back into the hobby after about 3 years away from my workbench. My current build is a Tamiya P-51B (starting out easy!) but for this campaign I'm going to finally paint my Tamiya Flakpanzer Gepard that I built 5 years ago. Here's my
build log, for anyone who's interested to see what I was working with.
TLDR: I had a lot of trouble airbrushing and only a month or so free to build, so I made my Gepard completely OOB, not even putty allowed (my Squadron Green tube had dried up). As a result, I had a fully articulate model but with a good number of seam lines and gaps.

First things first. This model feels way too light in my hands. It's entirely a personal issue and won't affect the model in any way on the shelf, but it just bugged the hell out of me. Made "patties" of metal BBs and duct tape that I'll stash in the hull once I'm done painting.

I pulled off the wheels, drive sprockets, and side skirts. I also knocked off the antenna blocks, and the grenade launchers fell off on their own. I was careful to keep each side's parts isolated.

Bundeswehr Gepards didn't wear their side skirts. This model is already technically inaccurate for a number of reasons, so I'll be including the side skirts to hide some track and hull issues. Plus they look cool. The Gepards I saw that did have skirts tended to have notches cut out towards the drive sprockets, so I did that too.

I also cut out the handles, which were actually raised rectangles originally...doesn't make much sense, but whatever. It's fixed now.

Other modifications that I neglected to photograph include:
--filling in gaps with Tamiya putty (infinitely better than Squadron putty)
--placing sheet styrene over significant holes along the suspension (I think intended for RC components?)
--sealing up the rear instrument cabinet (very ugly seam if left movable, and I never saw a real Gepard open up like that...again I suspect it's for RC stuff)
--my goodness, so much sanding...
After all the above was complete, I primed it all with Testors gray rattle can.

Up next will be spraying NATO camo. This is a huge step for me, as my past experiences with airbrushing have been abysmal, to put it mildly

5 years later, here's hoping that with age comes talent!


