Hosted by Richard S.
TAKOM - Campaign
JSSVIII

Joined: March 28, 2007
KitMaker: 1,169 posts
Armorama: 1,067 posts

Posted: Monday, October 16, 2017 - 04:06 PM UTC
Thanks for mentioning the detail about the right track Tom, now at least the rest of us "know beforehand".
Posted: Tuesday, October 17, 2017 - 04:59 PM UTC
All part of the service! 
BTW, this is how the track "unit" works out. It's a bit fragile, and will remain so until final assembly when all the wheels are on their axles permanently, but it's a lot easier than doing the track in segments...
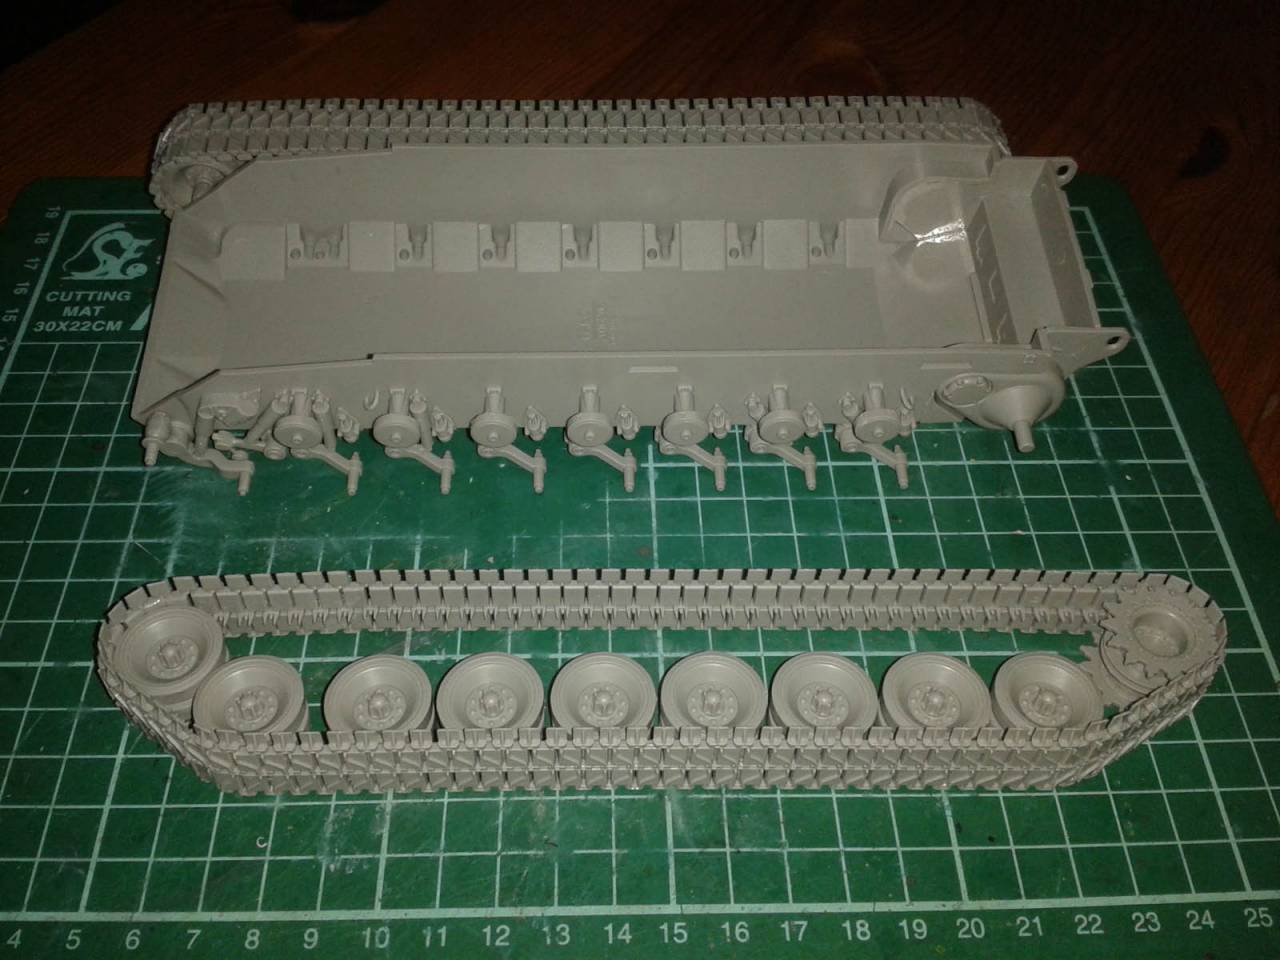

BTW, this is how the track "unit" works out. It's a bit fragile, and will remain so until final assembly when all the wheels are on their axles permanently, but it's a lot easier than doing the track in segments...


JSSVIII

Joined: March 28, 2007
KitMaker: 1,169 posts
Armorama: 1,067 posts

Posted: Wednesday, October 18, 2017 - 02:34 AM UTC
I was wondering how you were going to get those over the return rollers Tom, but then I noticed that you only mounted the inner return wheels, sneaky...
Posted: Wednesday, October 18, 2017 - 03:21 AM UTC
Yep - I'm brighter than I look! (Hard not to be...  )
)
I'll leave off the side skirts too, until after the paint and final assembly.
 )
)I'll leave off the side skirts too, until after the paint and final assembly.
petbat

Joined: August 06, 2005
KitMaker: 3,353 posts
Armorama: 3,121 posts

Posted: Wednesday, October 18, 2017 - 08:45 AM UTC
Quoted Text
I was wondering how you were going to get those over the return rollers Tom, but then I noticed that you only mounted the inner return wheels, sneaky...
Now if Tom was really clever, he would have also glued the outer return rollers to the top track segments


Seriously, looking good Tom. I do Blu-tack the wheels to the kit and build the tracks around them in a similar fashion, but I can't trust my hand to be steady enough to paint the road wheels like that. The tracks would end up Rubber coloured at the join. Have to take my hat off to you.
Posted: Friday, October 20, 2017 - 01:15 AM UTC
Ah, that's what "mud" and road dust are for! 
I thought about gluing those rollers to the track, but it seemed easier to just add the outer halves after the track is in place. I toyed with doing the roadwheels that way too, but got a better solid connection the way I did it.
Proof of my own stupidity will be posted soon - I'm wrestling with interior details based on poor images and sketchy drawings...
Posted: Saturday, October 21, 2017 - 08:54 PM UTC
...and here's that proof!
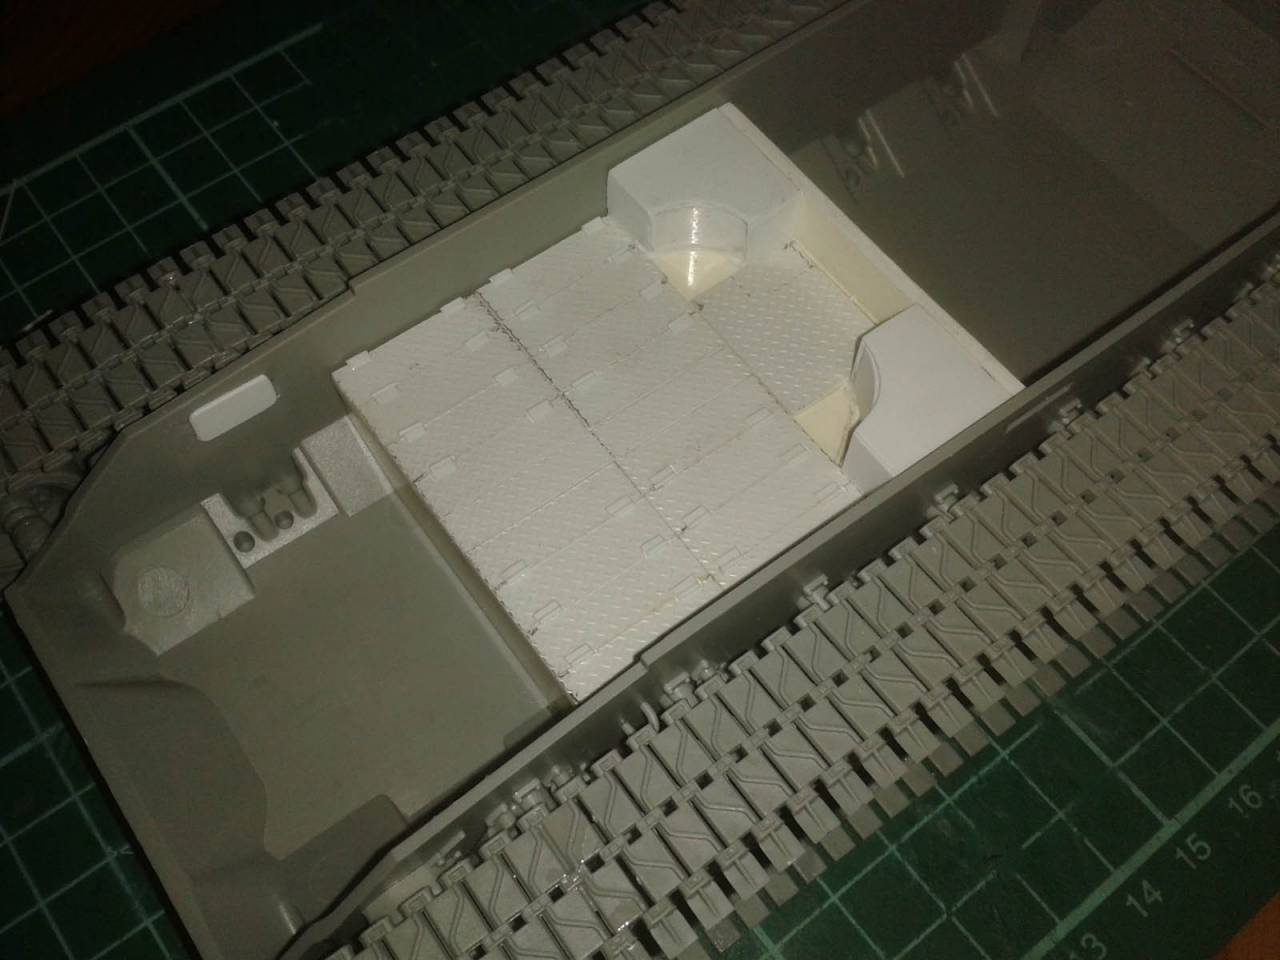
I used the interior profile and plan drawings that I believe came from a Hunnicutt book (I found them on the web...)and a precious few interior shots from a tech manual and a walkaround, and designed the interior of the driver's area for 3D printing. The fighting compartment floor was scratched from 2mm plastic sheet, detailed with some treadplate and strips/rod for hinges on the ammo lockers. It will be hard to see through the open turret hatches, but I'll know it's in there!
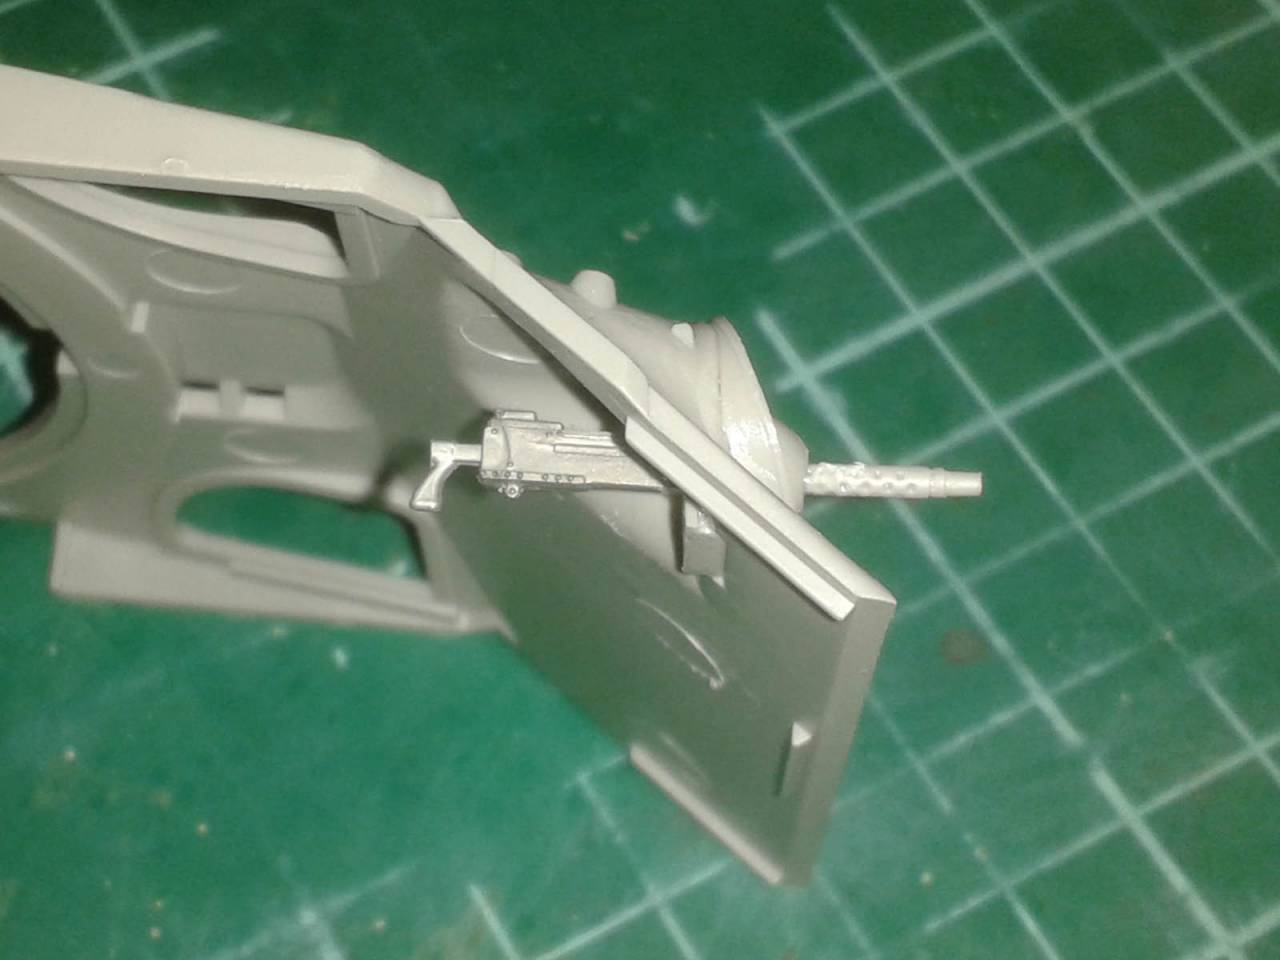
The .30cal came as a barrel and ball-joint, so I had to add a receiver from the old Tamiya set. Pity, as even the ?40-year-old Italeri M47 has a complete gun in the hull!
When the cockpit arrives I can paint and put on the "lid" before cracking on with exterior details. The turret is a whole 'nuther story...
I used the interior profile and plan drawings that I believe came from a Hunnicutt book (I found them on the web...)and a precious few interior shots from a tech manual and a walkaround, and designed the interior of the driver's area for 3D printing. The fighting compartment floor was scratched from 2mm plastic sheet, detailed with some treadplate and strips/rod for hinges on the ammo lockers. It will be hard to see through the open turret hatches, but I'll know it's in there!

The .30cal came as a barrel and ball-joint, so I had to add a receiver from the old Tamiya set. Pity, as even the ?40-year-old Italeri M47 has a complete gun in the hull!

When the cockpit arrives I can paint and put on the "lid" before cracking on with exterior details. The turret is a whole 'nuther story...

JSSVIII

Joined: March 28, 2007
KitMaker: 1,169 posts
Armorama: 1,067 posts

Posted: Sunday, October 22, 2017 - 06:23 AM UTC
As far as the turret goes, I wish there were some photos of the rangefinder doors open. That would be a nice detail to add.
Posted: Saturday, October 28, 2017 - 10:55 PM UTC
My T29E3 interior arrived from Shapeways, and I just got it installed! It is a kit of sprued parts, so after the usual cleaning I cut it apart before assembling it into several lumps for painting.
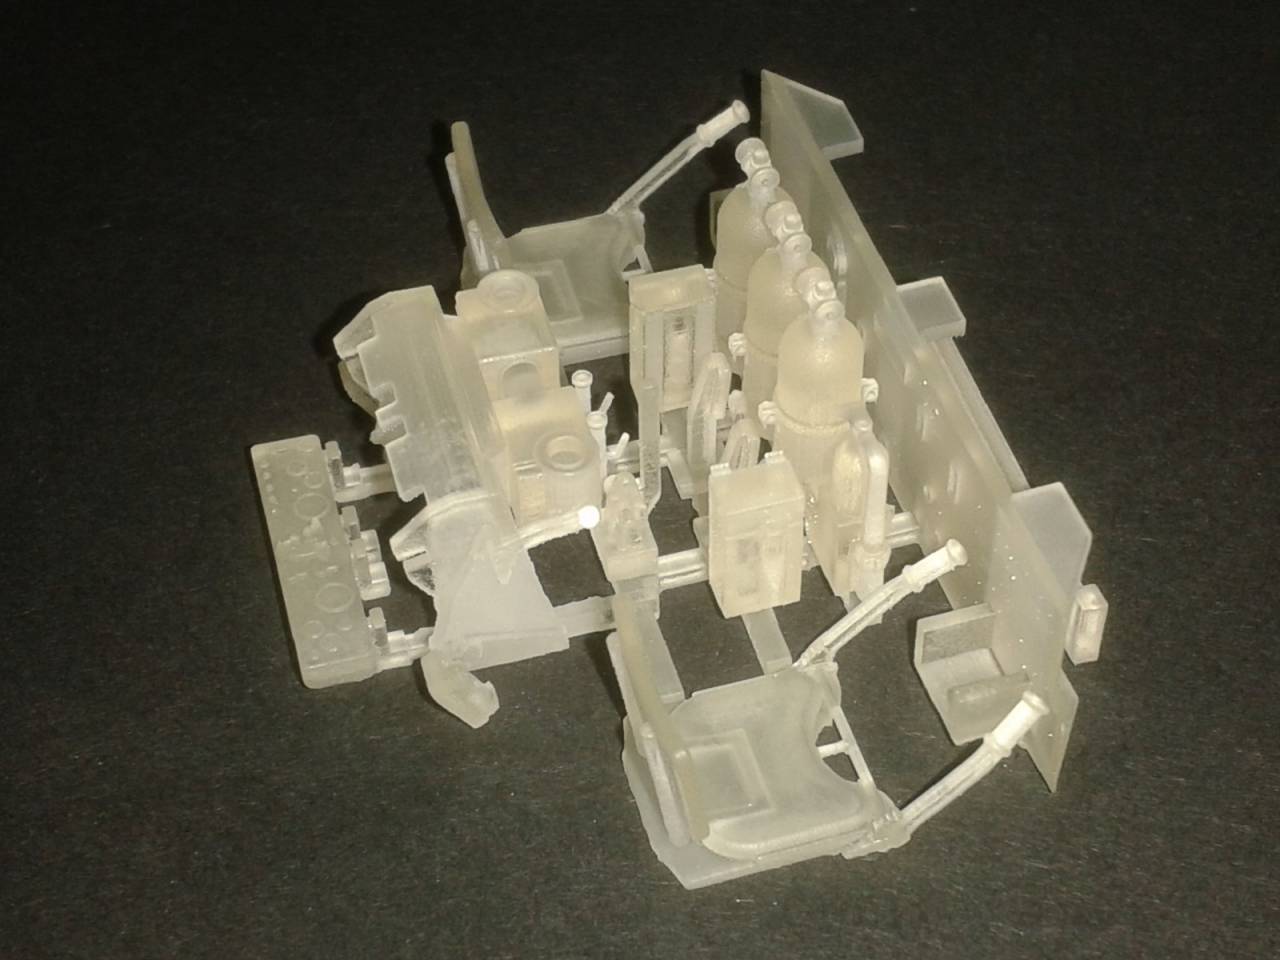
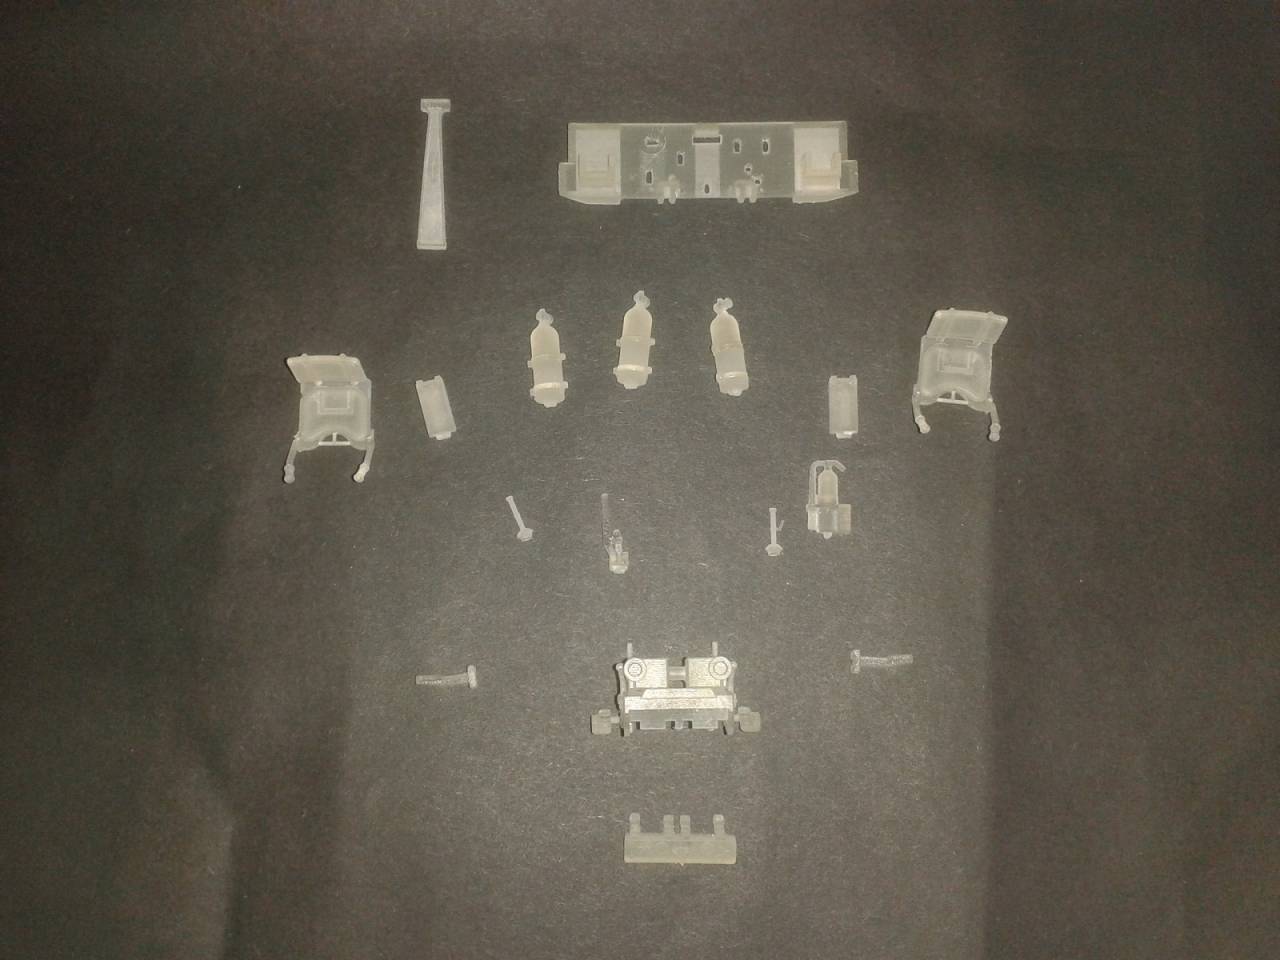
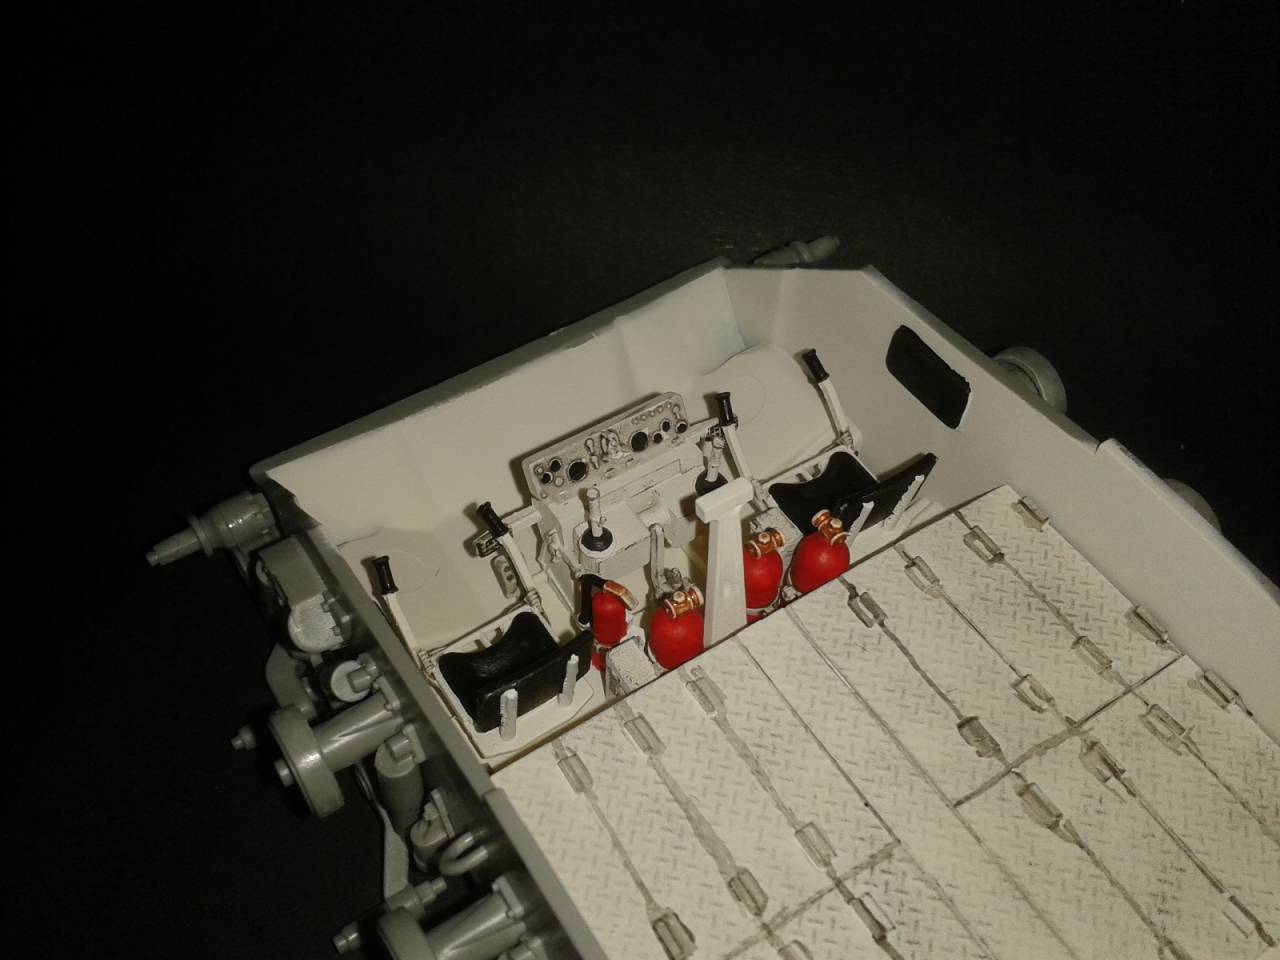
What it looks like installed:
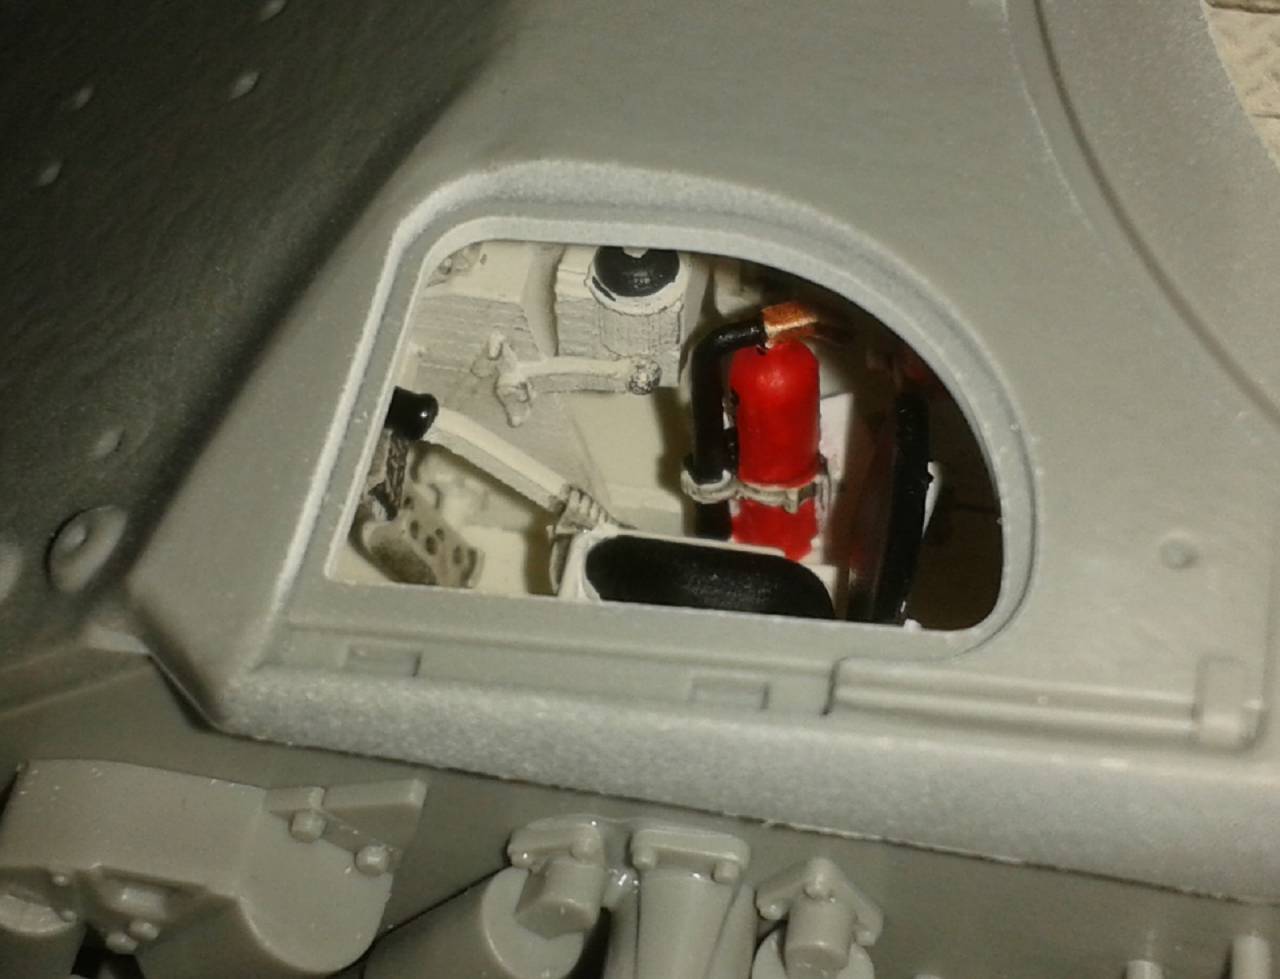
...and a view through the driver's hatch:
I'm stoked - on with the build!


What it looks like installed:

...and a view through the driver's hatch:

I'm stoked - on with the build!
Posted: Sunday, October 29, 2017 - 02:11 AM UTC
Looks awesome, sweet details!

JSSVIII

Joined: March 28, 2007
KitMaker: 1,169 posts
Armorama: 1,067 posts

Posted: Sunday, October 29, 2017 - 05:57 AM UTC
Looks really nice Tom, great job!
Thirian24

Joined: September 30, 2015
KitMaker: 2,493 posts
Armorama: 2,344 posts

Posted: Tuesday, October 31, 2017 - 06:44 AM UTC
Looking great, Tom!
imransz

Joined: July 10, 2007
KitMaker: 38 posts
Armorama: 37 posts

Posted: Monday, November 06, 2017 - 10:47 AM UTC
petbat

Joined: August 06, 2005
KitMaker: 3,353 posts
Armorama: 3,121 posts

Posted: Monday, November 06, 2017 - 01:08 PM UTC
That interior does set it off nicely Tom. Great work so far.
and Imran that is very... Blue. Looks like a crisp build from here.
Well, my replacement Leopard tracks are still on order. I might to cancel them and order from somewhere else. Going to try something a little radical over the weekend...
and Imran that is very... Blue.
 Looks like a crisp build from here.
Well, my replacement Leopard tracks are still on order. I might to cancel them and order from somewhere else. Going to try something a little radical over the weekend...
MichaelSatin

Joined: January 19, 2008
KitMaker: 3,909 posts
Armorama: 510 posts

Posted: Sunday, November 12, 2017 - 06:10 AM UTC
OK, I've been lurking long enough. I'm not an armor guy normally, but I do love my IDF, and when I saw this bad boy I had to go for it (and it's companion):
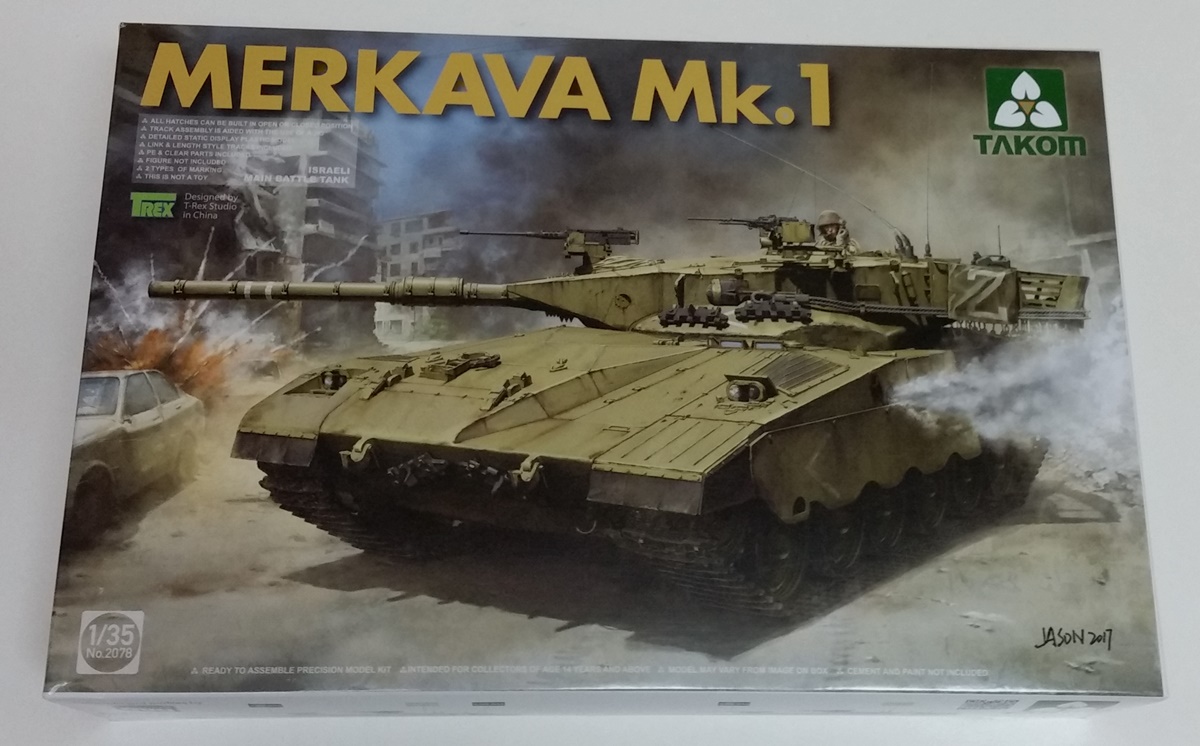
Here's the obligatory start photo (unnecessary in this case since the kit wasn't released until this campaign had started):
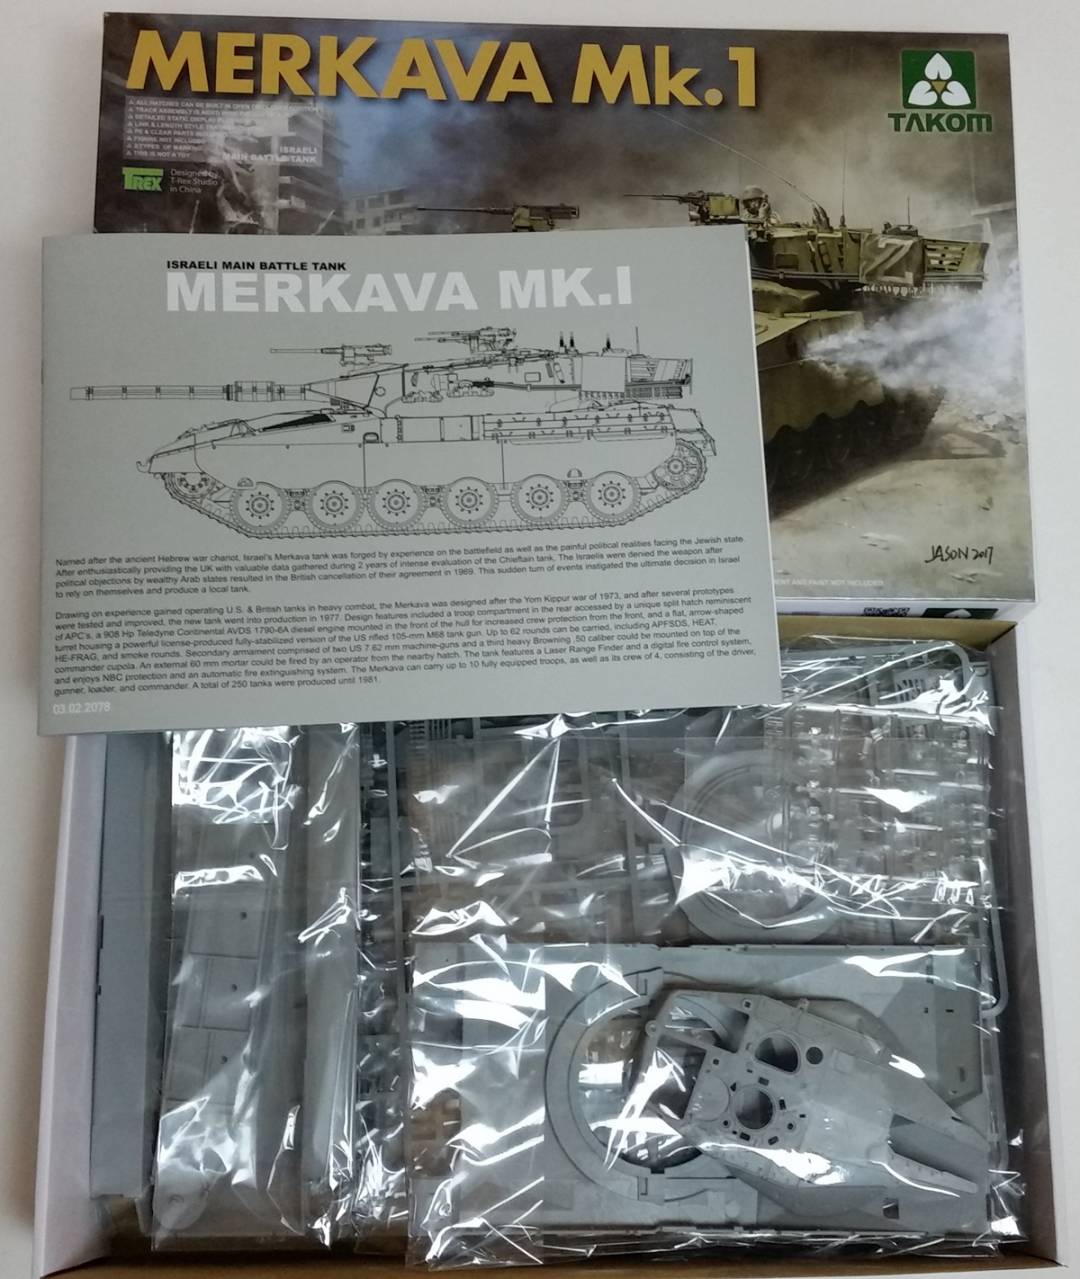
And here's where I am at the moment:
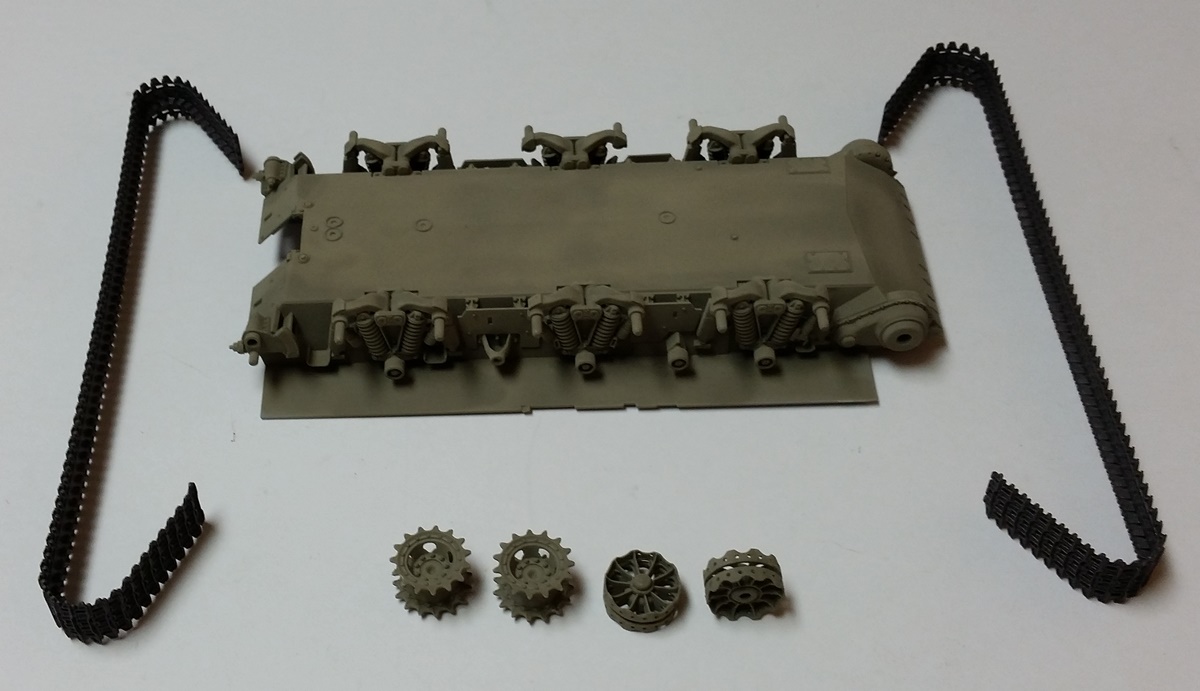
Be kind!
Michael

Here's the obligatory start photo (unnecessary in this case since the kit wasn't released until this campaign had started):

And here's where I am at the moment:

Be kind!
Michael

Thirian24

Joined: September 30, 2015
KitMaker: 2,493 posts
Armorama: 2,344 posts

Posted: Sunday, November 12, 2017 - 07:19 AM UTC
Welcome aboard Michael! Looks like a sweet kit!
imransz

Joined: July 10, 2007
KitMaker: 38 posts
Armorama: 37 posts

Posted: Monday, November 13, 2017 - 10:36 PM UTC
petbat

Joined: August 06, 2005
KitMaker: 3,353 posts
Armorama: 3,121 posts

Posted: Tuesday, November 14, 2017 - 12:15 AM UTC
Welcome to the Dark Side Michael. Less undercarriage breaks over here. 
Looking sweet Imran. Subtle and not overdone.

Looking sweet Imran. Subtle and not overdone.
Posted: Tuesday, November 14, 2017 - 02:05 AM UTC
Quoted Text
Welcome to the Dark Side Michael. Less undercarriage breaks over here.
Yeah, welcome, Michael - except that some of us (me this time) manage to break undercarriages from time to time, like my Gepard here in its base coat:
I drilled holes in both sides of the affected torsion bar arms and inserted wire so you can't really tell and it is stable enough, but dropping it was still one of those sinking-feeling-of-doom moments.
I'm also not entirely happy with the shade of green - not olive enough for Gelboliv, but it is NATO green (from Mig Ammo), but that’s what filters are for, I guess….I had a Gelboliv shade from AK that I sprayed on first, but it was just colored water with hardly any pigment that just beaded up on the model (a fairly frequent problem with their paints, apparently), so out came the rubbing alcohol and I scrubbed it off.
Just some modeling mishaps so you don’t have all the fun with your destroyed tracks, Peter!

Anyway, great builds, everyone -
Tom, fabulous work on your T29E3 - that interior is stunning!
Peter, your Gepard is coming along very nicely.
Michael, same with your Merkava. I just got this kit and will be following your progress closely.
Imran and Ronnie, great job on your respective T-55s.
And Linus, good progress on your AMX-13 (Omar, I've already commented on yours in another post.)
Jerry
Thirian24

Joined: September 30, 2015
KitMaker: 2,493 posts
Armorama: 2,344 posts

Posted: Friday, November 17, 2017 - 03:13 AM UTC
Looking very nice, Imran!
Coming along very nicely, Jerry!
Coming along very nicely, Jerry!
petbat

Joined: August 06, 2005
KitMaker: 3,353 posts
Armorama: 3,121 posts

Posted: Friday, November 17, 2017 - 10:41 AM UTC
Very Nice Jerry. Some weathering will definitely change the colour, better to be lighter than darker when you start off.
Broke my share of torsion bars over the time. Usually a drive sprocket or idler when trying to fit the rubber band tracks. Don't use them too often these days.
Nice to see a full set of completed tracks.
Broke my share of torsion bars over the time. Usually a drive sprocket or idler when trying to fit the rubber band tracks. Don't use them too often these days.
Nice to see a full set of completed tracks.

Posted: Sunday, November 19, 2017 - 10:18 PM UTC
There's some pretty exciting stuff going on here! Jerry that Gepard is impressive! And Imran that Russkie tank is looking great. And Michael I'm looking forward to the top-side of your Merkava...
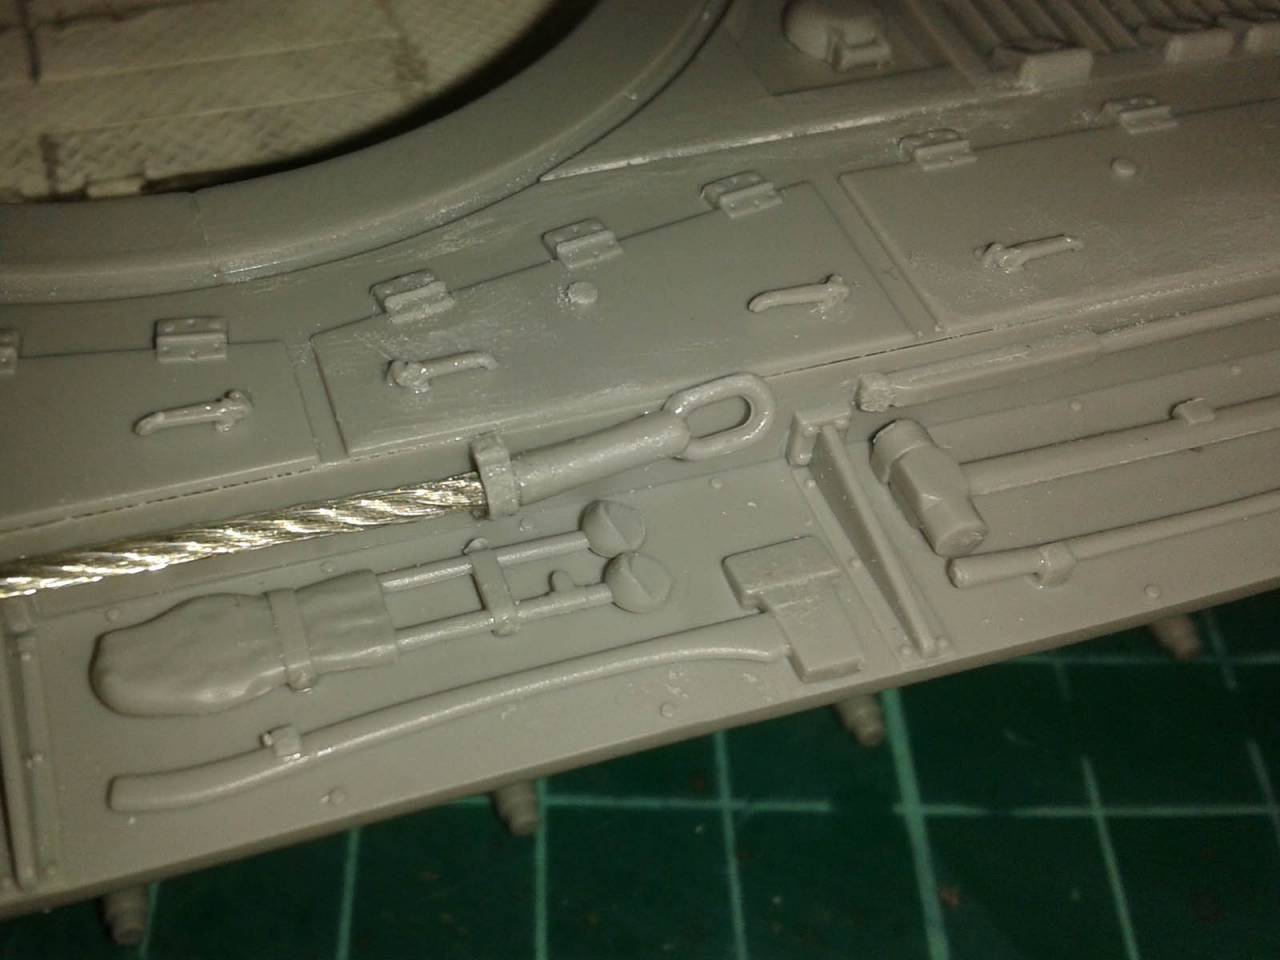
I grabbed a little time this weekend to finish the hull of my T29E3. Mostly it went according to instructions, but there were a few things needing fixed, and of course I disregarded the assembly sequence and started by getting the hull tops and fenders in place while they weren't covered in breakable details!
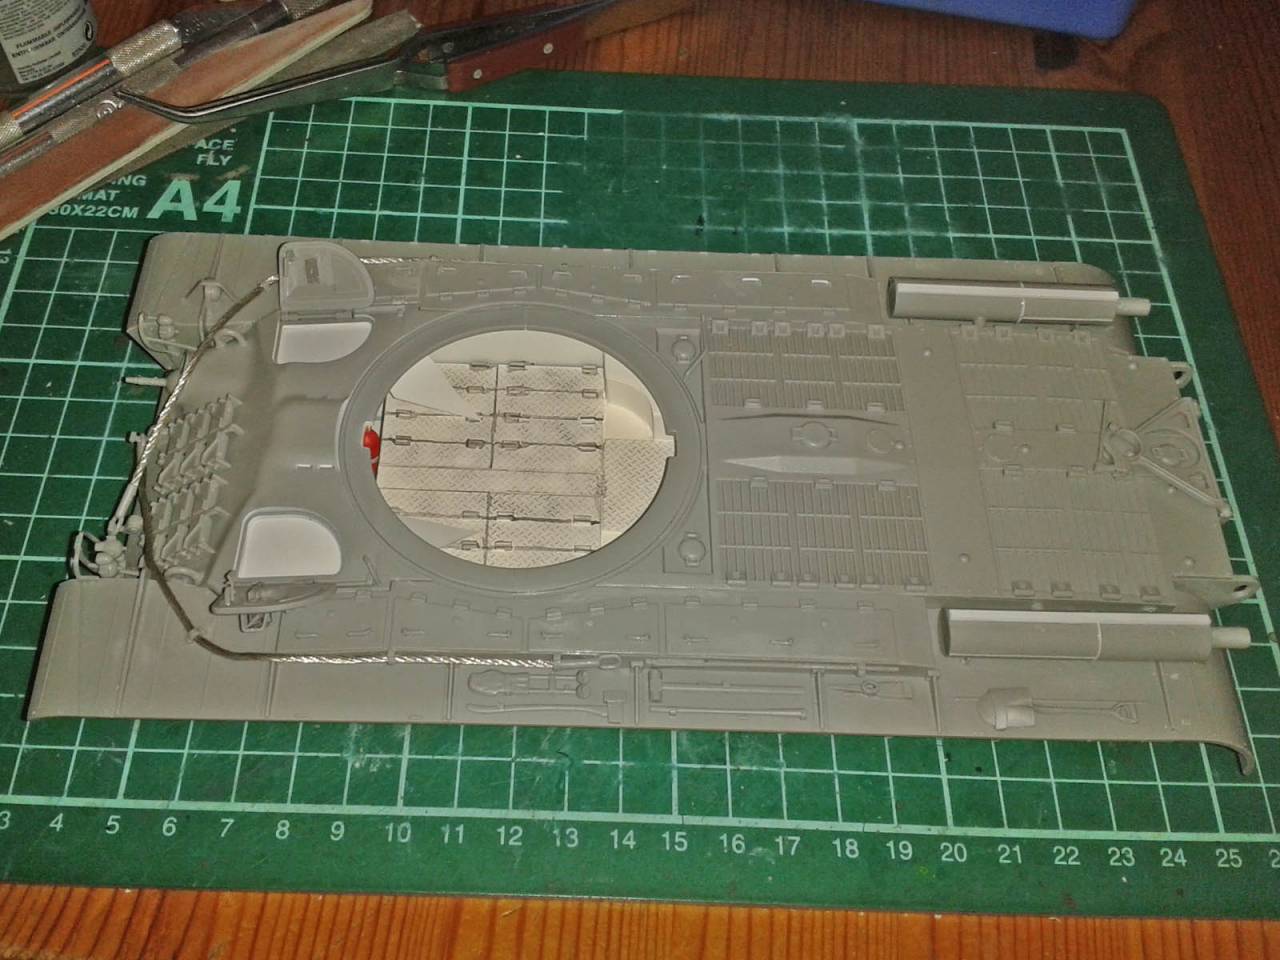
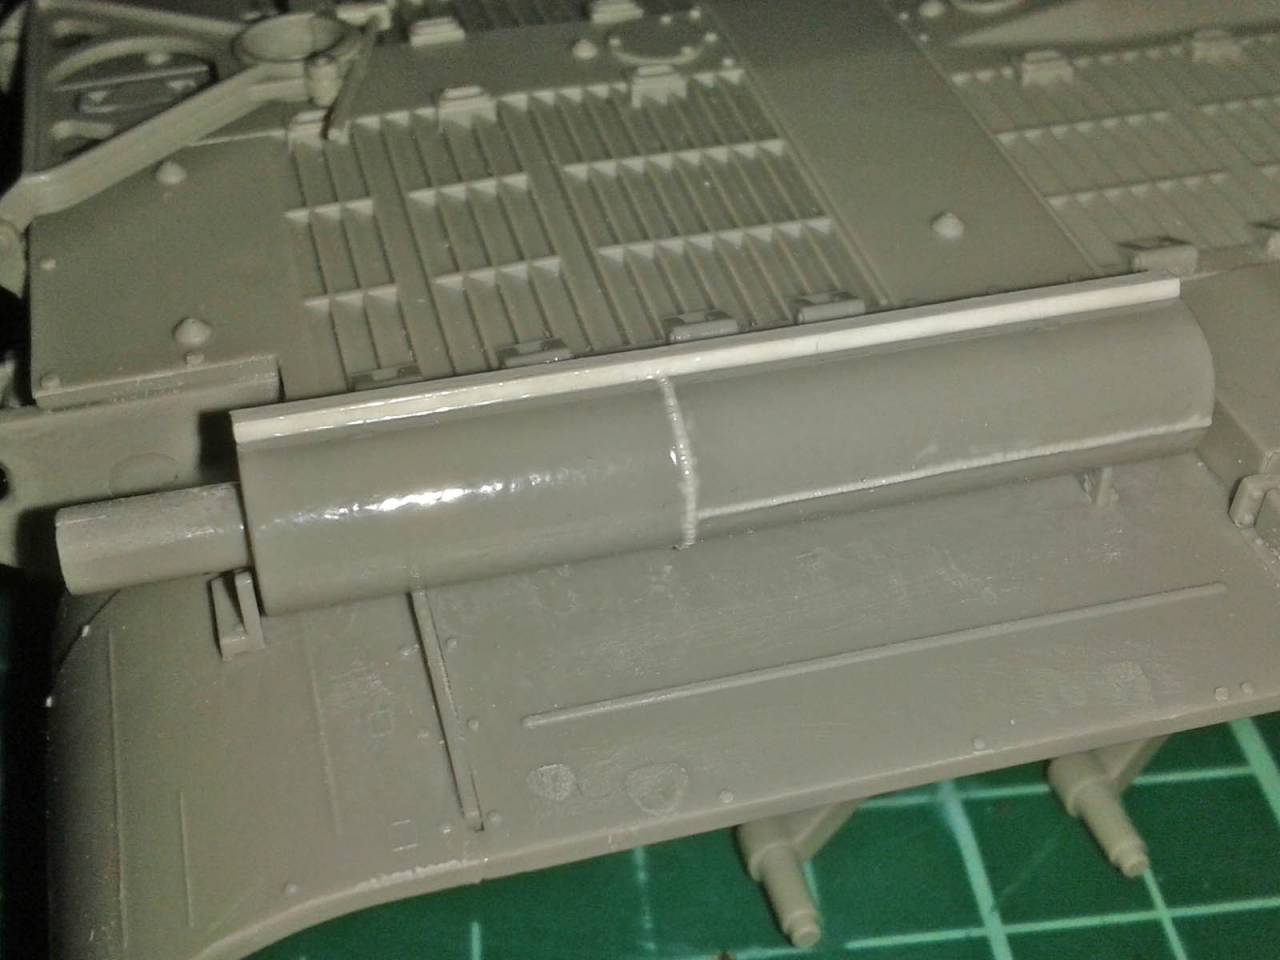
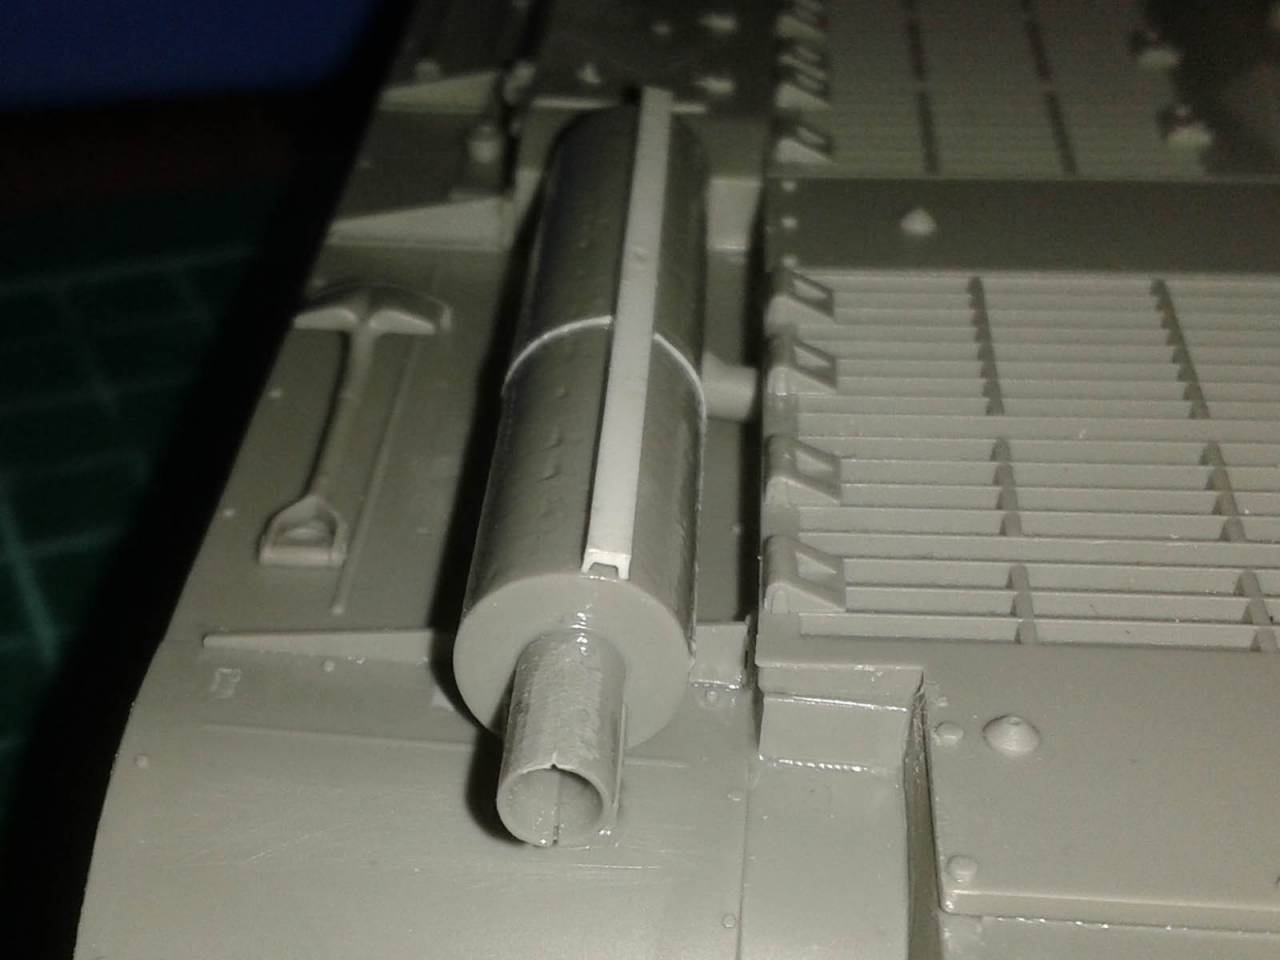
First hiccup are the exhausts, where the prominent welds are missing - Plastruct 0.010" rod to the rescue! The square ridge at the top needs to lean inwards, but on the kit parts it leans out - some channel stock sorted that out.
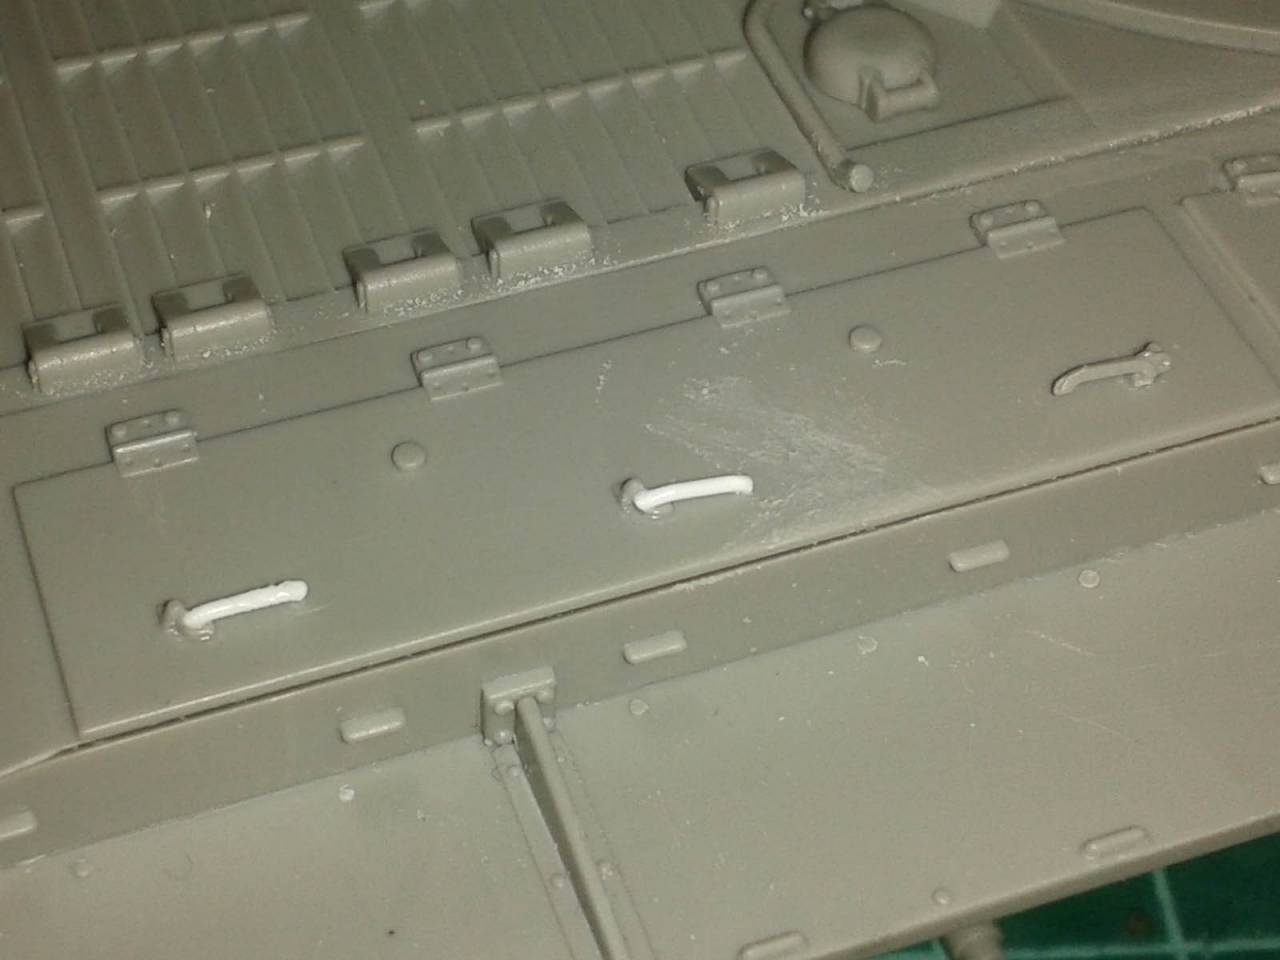
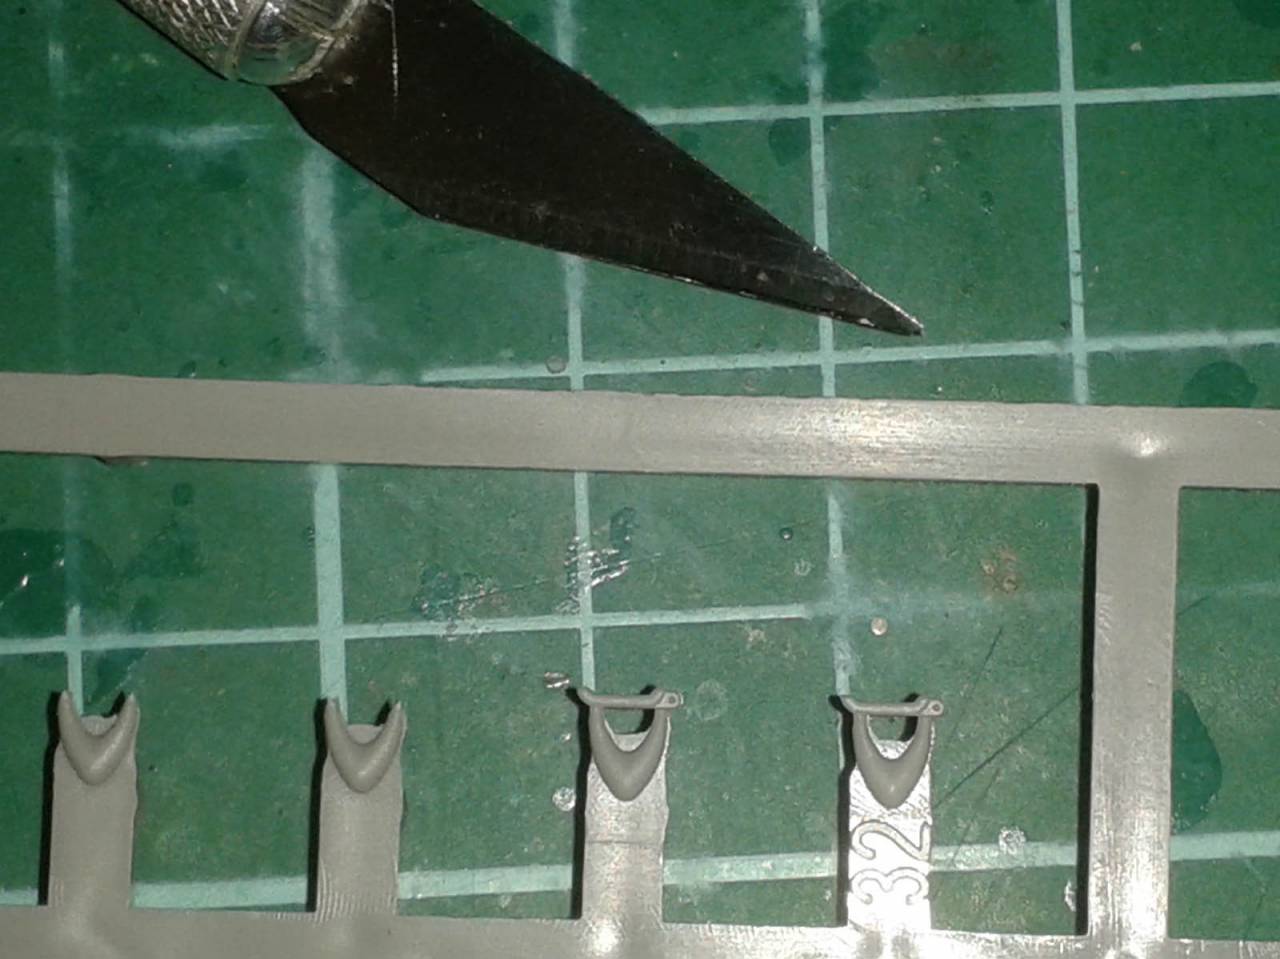
The storage box handles are a hoot to add - I lost two of these micro-parts to the ravenous Carpet Monster and had to use plastic rod instead. (If they are too visible at the end I might add a convenient tarp...) It does not help that Takom gives only the exact number needed (no spares!) and attaches them to the sprue in a way that defies removal.
The tow cables are best assembled with both ends, then mounted starting at the front, where one end loops over the T-shaped towing hook - then the three clamps can be added to pin it to the fender. Another minor issue is the lack of tool straps - Takom follows the popular trend of assuming US pioneer tools were held on by wishful thinking. I'll need to make straps from plastic strip...
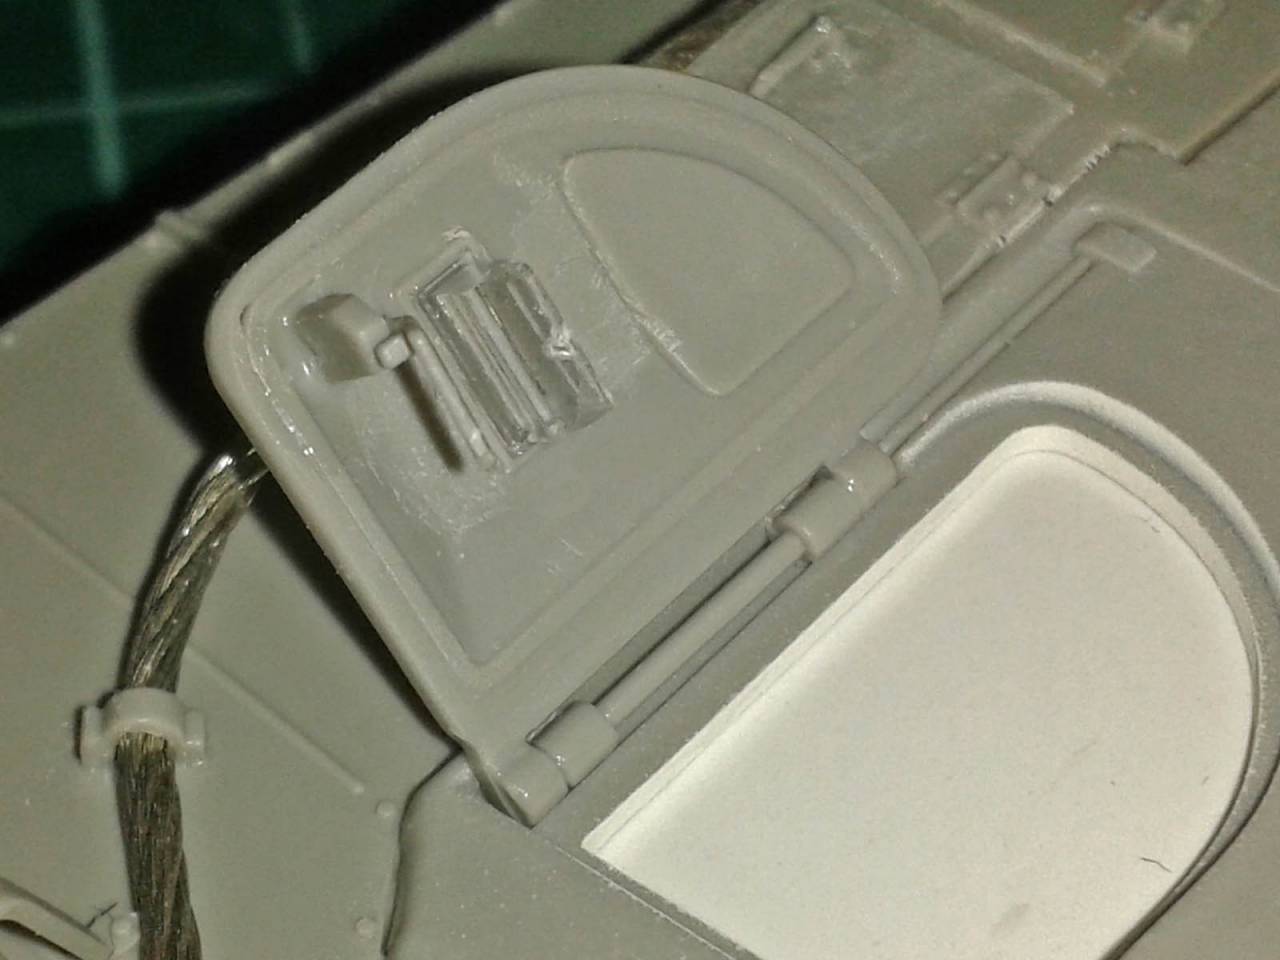
Finally I'm not convinced by the poorly detailed periscopes - these are fine if the hatch is closed, but the underside lacks any of the mount details seen on the real things. I may yet snip them off in favour of better examples from the spares stash.
Turret fun starting soon...
I grabbed a little time this weekend to finish the hull of my T29E3. Mostly it went according to instructions, but there were a few things needing fixed, and of course I disregarded the assembly sequence and started by getting the hull tops and fenders in place while they weren't covered in breakable details!

First hiccup are the exhausts, where the prominent welds are missing - Plastruct 0.010" rod to the rescue! The square ridge at the top needs to lean inwards, but on the kit parts it leans out - some channel stock sorted that out.


The storage box handles are a hoot to add - I lost two of these micro-parts to the ravenous Carpet Monster and had to use plastic rod instead. (If they are too visible at the end I might add a convenient tarp...) It does not help that Takom gives only the exact number needed (no spares!) and attaches them to the sprue in a way that defies removal.


The tow cables are best assembled with both ends, then mounted starting at the front, where one end loops over the T-shaped towing hook - then the three clamps can be added to pin it to the fender. Another minor issue is the lack of tool straps - Takom follows the popular trend of assuming US pioneer tools were held on by wishful thinking. I'll need to make straps from plastic strip...

Finally I'm not convinced by the poorly detailed periscopes - these are fine if the hatch is closed, but the underside lacks any of the mount details seen on the real things. I may yet snip them off in favour of better examples from the spares stash.

Turret fun starting soon...

JSSVIII

Joined: March 28, 2007
KitMaker: 1,169 posts
Armorama: 1,067 posts

Posted: Monday, November 20, 2017 - 04:50 AM UTC
Nice work Tom, will you be giving the turret the same interior treatment?
Posted: Tuesday, November 21, 2017 - 02:36 AM UTC
Quoted Text
Nice work Tom, will you be giving the turret the same interior treatment?
Of course! (Glutton for punishment, me...)


JSSVIII

Joined: March 28, 2007
KitMaker: 1,169 posts
Armorama: 1,067 posts

Posted: Tuesday, November 21, 2017 - 05:42 AM UTC
Will the details be available on Shapeways like the drivers compartment set? (Pretty please?)
 |


